Enter Applications Screen
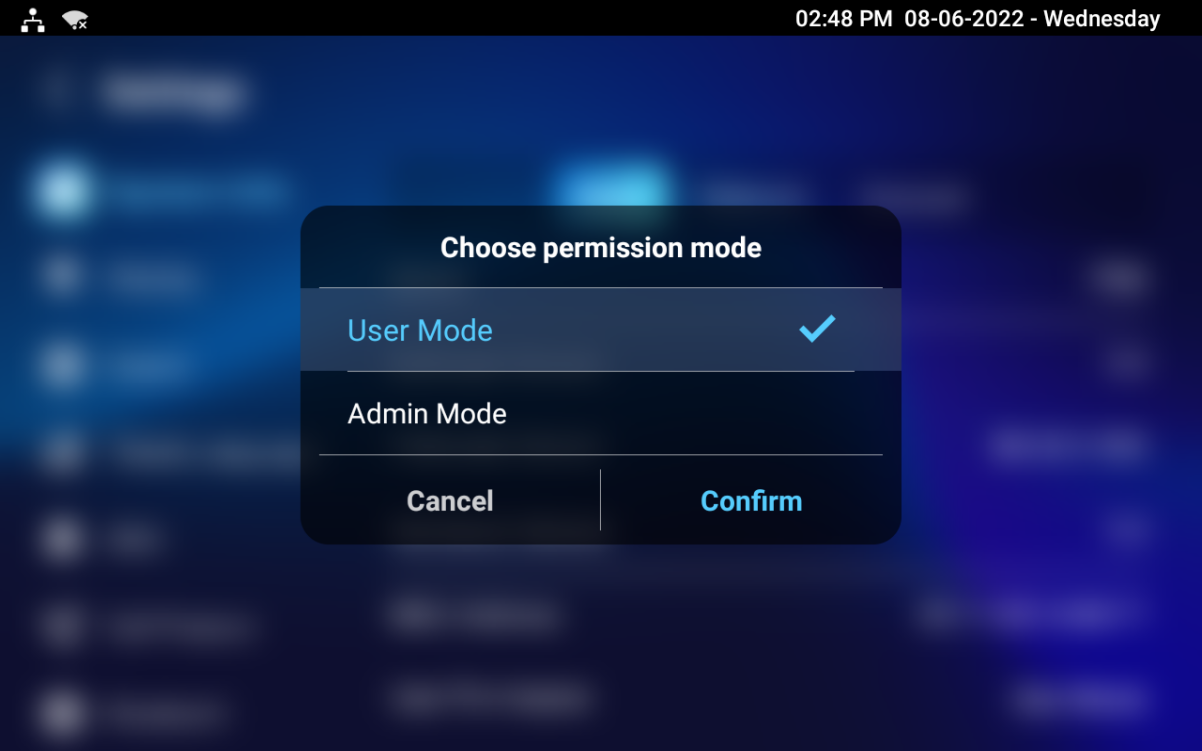
The indoor monitor supports User and Admin modes. In Admin mode, you can access both the third-party and default applications.
Go to the Settings > System Info interface. Tap on User Mode 10 times. Then select Admin Mode and tap Confirm.
.png "screenshots (15).png")
Install Third-party App
To install the third-party app, go to the web Device > Third Party APK interface. Upload the APK file from the PC by clicking Import. If you want to clear the APK file uploaded, click Reset.

To configure the installed third-party app, you can click the App Name to select the specific app for configuration. Then tick the check boxes of each field for the specific configuration.

App Name: Select the app to be configured.
Intervals Without Operating(S): Set the time to return to the app when there is no operation on the device.
Start Up Enabled: Allow the app to run automatically when the device is turned on.
Turn Back App: Allow automatic return to the app.
Turn Back App After Awakening: Allow the device to return to the app when the screen is awakened.
APP Keep-Alive: Allow the app to stay running without being turned off.
Turn Back App After Calling: Allow the device to return to the app automatically after finishing a call.
Show App Icon: Allow the app icon to be displayed on the screen.
Notification Pop-up: If enabled, the device will have a sound alert and pop-up notification when receiving notifications from third-party apps.
App Lock
The App Lock feature prevents abused access to third-party apps by requiring users to enter a password before accessing them.
It is available when third-party apps are installed on the device.
Set it up on the Device > Third-Party APK interface. It is disabled by default.

Current App Lock Code: The default is 123456.
Locked App: Move the app from the left to the right box to enable the feature.
Set it up on the Settings > App Lock screen.
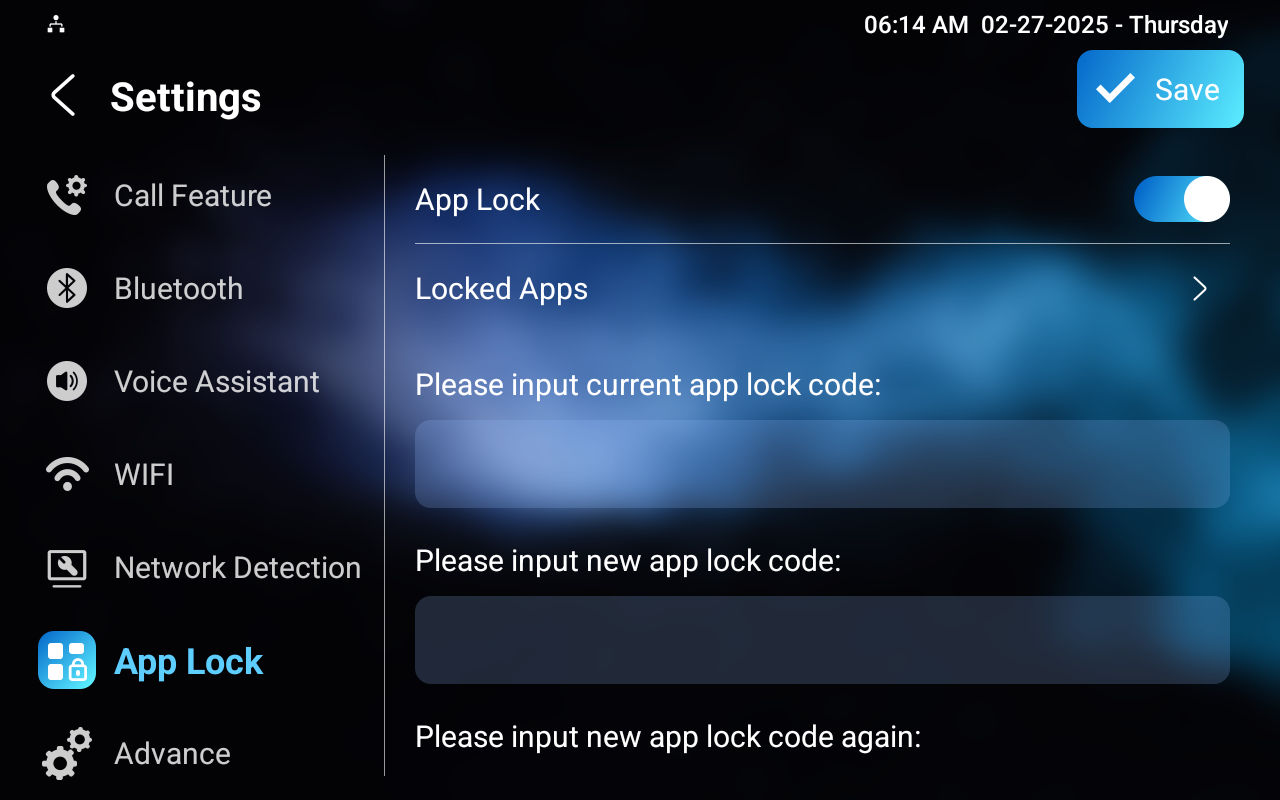
Locked App: Select the app to apply this feature.
Lock Code: The default code is 123456.
Integration via HTTP API
HTTP API is designed to achieve a network-based integration between the third-party device and the Akuvox device.
To set it up, go to the Security > API interface.

HTTP API: When the function is disabled, any request to initiate the integration will be denied and will return an HTTP 403 forbidden status.
Auth Mode:
Allowlist: You are required to fill in the IP address of the third-party device for authentication. It is suitable for operation in a LAN.
Digest: The password encryption method only supports MD5. MD5( Message-Digest Algorithm) In the Authorization field of the HTTP request header: WWW-Authenticate: Digest realm="HTTP API",qop="auth,auth-int",nonce="xx", opaque="xx".
None: No authentication is required for the HTTP API, as it is only used for demo testing.
Username: Set the user name when Digest authorization mode is selected. The default user name is admin.
Password: Set the password when Digest authorization mode is selected. The default password is admin.
Integration via External Relay
Users can control akubela or third-party smart home devices on the indoor monitor through an external relay controller.
To set it up, go to Device > External Relay interface.
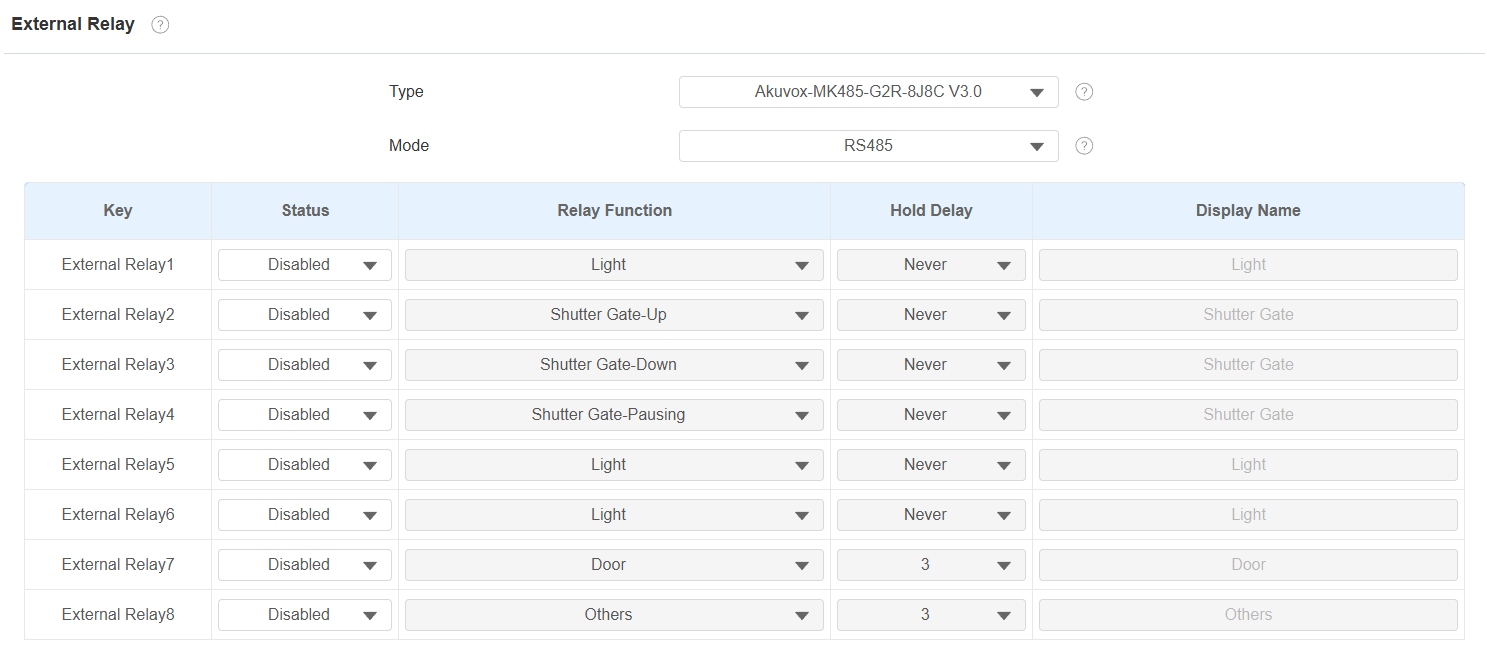
Type: Select the external relay type.
Mode: Set the external relay mode based on its connection with the indoor monitor. If it is the akubela RSAC-C1-R8, this option is RS485 by default.
Status: Enable/disable the relay.
Relay Function: Set the relay function based on the smart home devices connected.
Hold Delay: Specify the relay reset time from 1 to 60 seconds. Never means it keeps activated once it is triggered. By default, it is 3 seconds for Door and Others relay functions and Never for other functions.
Display Name: Set the tab’s name displayed on the indoor monitor’s External Relay screen.
Note
To display the External Relay button on the home screen, set it up on the Device > Display Setting interface.
Click here to view the detailed configuration of the external relay feature.