Smart Living Setting
You can control the home sensor through an HTTP command.
To set it up, go to the web Device > Smart Living interface.
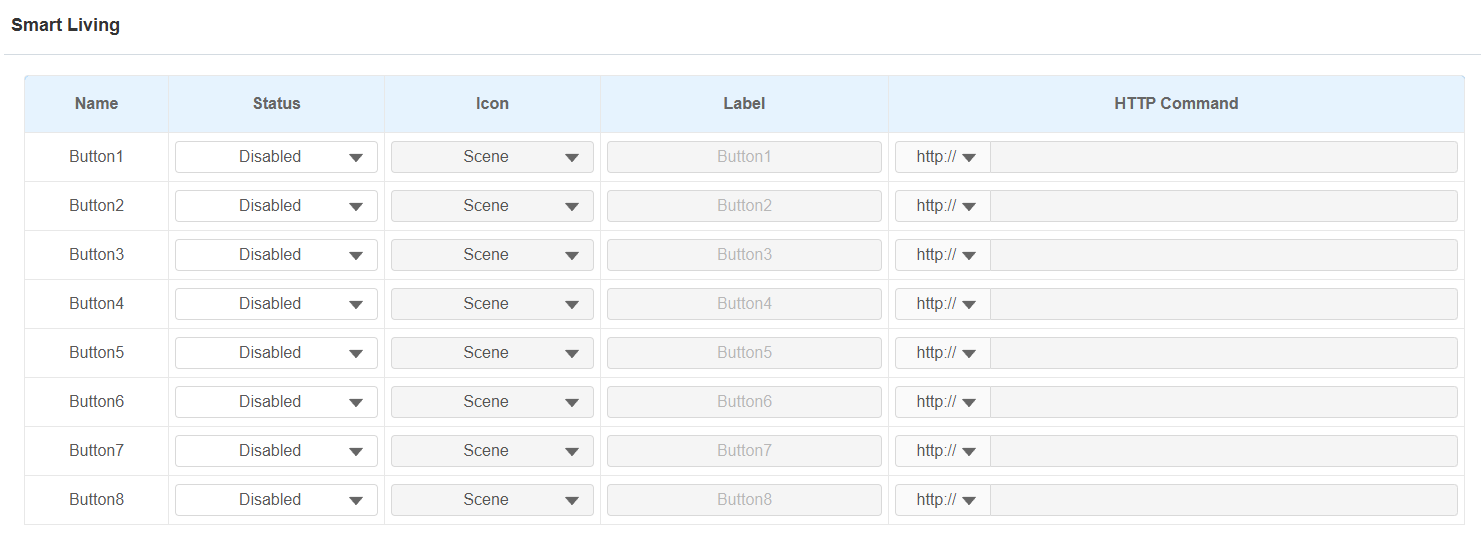
Status: Enable or disable this button. If disabled, the button won't appear on the home control page.
Icon: Select the preferred icon image.
Label: Customize the button display name.
HTTP command: The HTTP command to trigger the sensor.
Note
Set the Smart Living button to be displayed on the Device > Display Setting interface before using this feature.
.bmp)
Integration with Control4
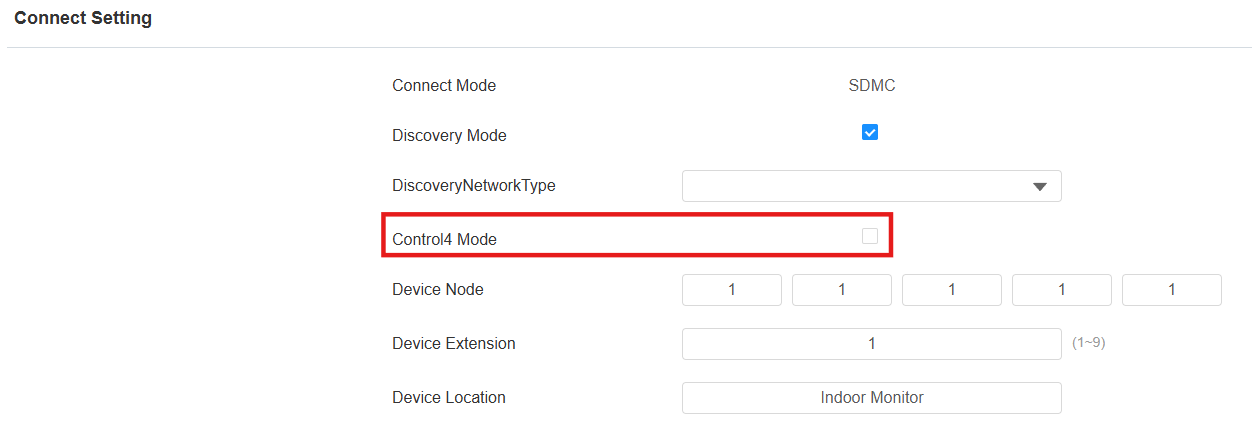
You need to enable the Control 4 mode before you can integrate the device with the Control 4 home center. To enable it, go to Network > Advanced > Connect Setting mode.
Note
Click here to view the detailed integration steps with Control4.
Integration via External Relay
Users can control akubela or third-party smart home devices on the indoor monitor through an external relay controller.
To set it up, go to Device > External Relay interface.
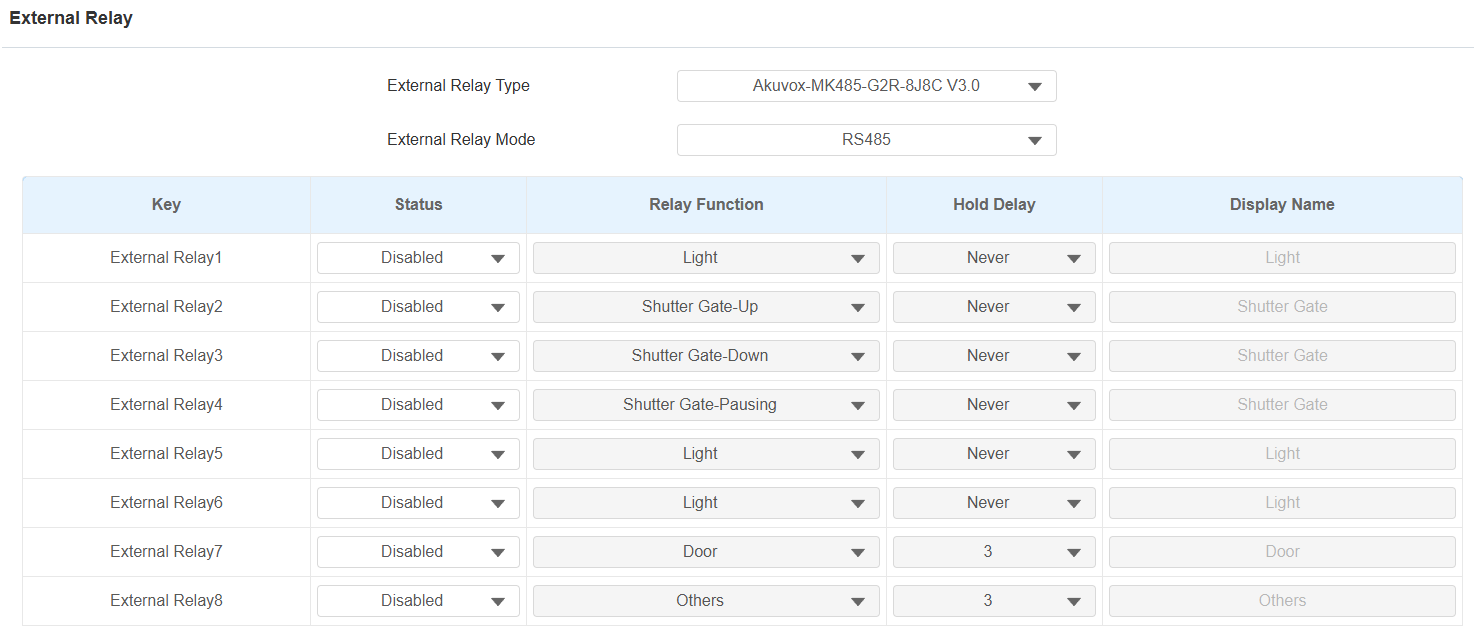
External Relay Type: Select the external relay type.
External Relay Mode: Set the external relay mode based on its connection with the indoor monitor. If it is the akubela RSAC-C1-R8, it is RS485 by default.
Status: Enable/disable the relay.
Relay Function: Set the relay function based on the smart home devices connected.
Hold Delay: Specify the relay reset time from 1 to 60 seconds. Never means it keeps activated once it is triggered. By default, it is 3 seconds for Door and Others relay functions and Never for other functions.
Display Name: Set the tab’s name displayed on the indoor monitor’s External Relay screen.
(1).png "screenshots (6)(1).png")
Note
To display the External Relay button on the home screen, set it up on the Device > Display Setting interface.
Click here to view the detailed configuration of the external relay feature.