The akubela system integrates with Control4 Composer via API, allowing users to control their Control4 system from both Control4 and akubela panels simultaneously.
Before Getting Started
Check akubela panel compatibility and firmware version:
Supported Device | Required Firmware |
HyPanel | 51.1.39.230 or later |
HyPanel (V2) | 251.1.39.204 or later |
Hypanel Plus | 52.1.39.213 or later |
HyPanel KeyPlus | 53.1.39.211 or later |
HyPanel Pro | 71.1.40.41 or later |
HyPanel Ultra | 281.1.40.29 or later |
HyPanel Supreme | 1001.1.40.23 or later |
HyPanel Elite 10 | 159.1.40.111 and later |
SmartPanel | 933.1.40.10 or later |
SmartPanel Elite 10 | 119.1.40.11 or later |
To check supported Akuvox intercom devices and firmware, refer to this guide.
Verify Control4 firmware version: Control4 OS3.3.4
Ensure both Control4 and akubela systems are on the same LAN network.
Prepare tools and devices:
akubela Hypanels
Akuvox intercom devices(optional)
C4 Gateway
C4 Panels
C4 Composer
Network devices (router, switch)
Other smart home integrations: For additional devices such as lighting or media, follow the Control4 instructions to complete the setup.
Configuration
1. C4 Composer Settings
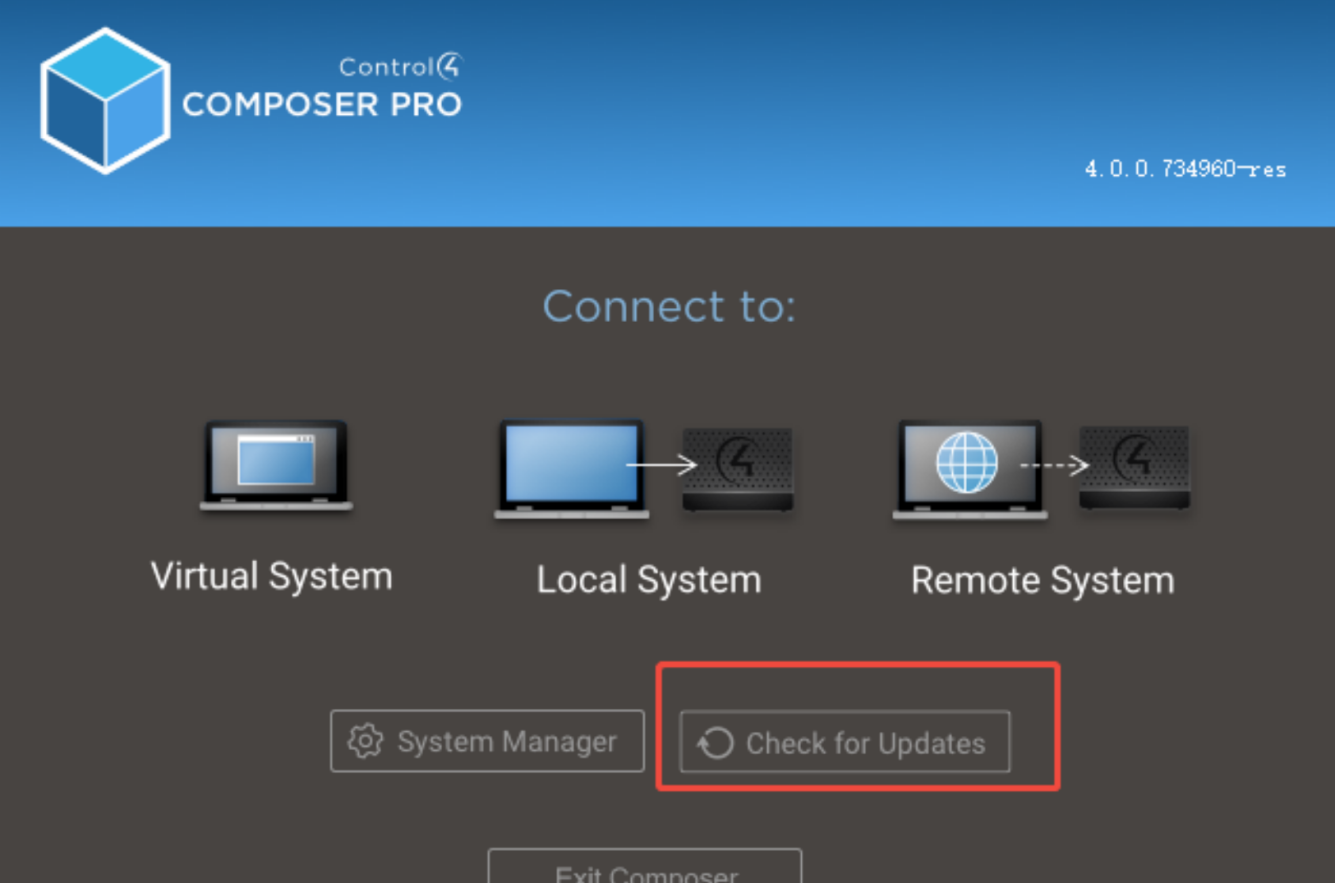
1.1. Install C4 Composer
(1) Download the C4 Composer tool from the official Control4 website and follow the onscreen instructions to complete the installation.
(2) Log in using the account and password provided by Control4.
.png)
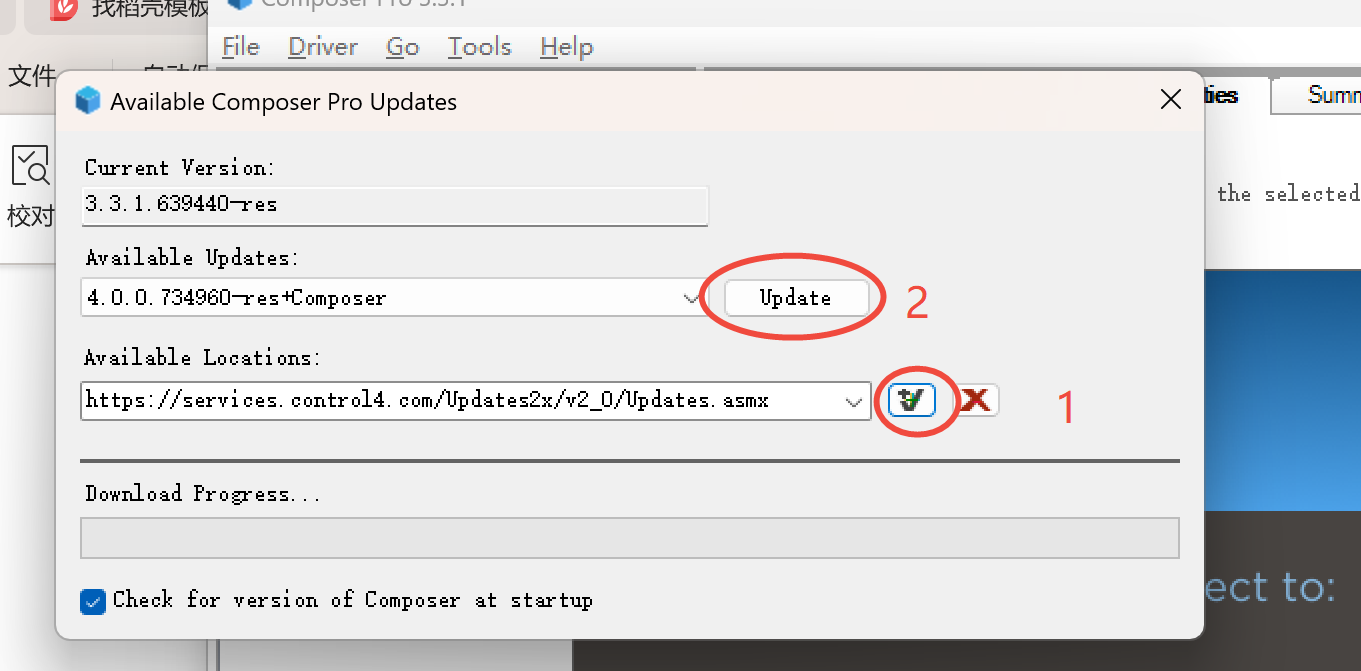
TIP:
Verify the Composer version before use. If the Composer version is lower than the Control4 gateway firmware, it will not work.
1.2. Connect the C4 Gateway
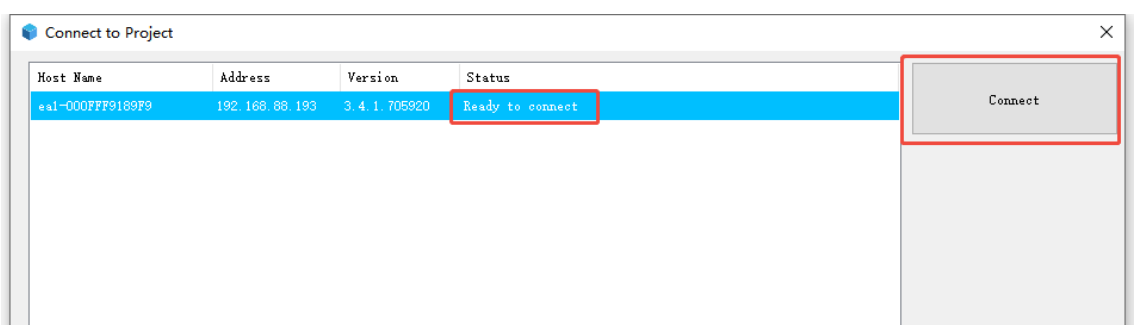
(1) Select Local System. The Composer will automatically detect the gateway.
(2) Select the detected gateway and click Connect.
NOTE:
The gateway must be added first; it takes priority over other devices.
If prompted with “Requires OS Management Package xxx”, select the gateway, then click Install and Connect. Once the package finishes downloading, reconnect.
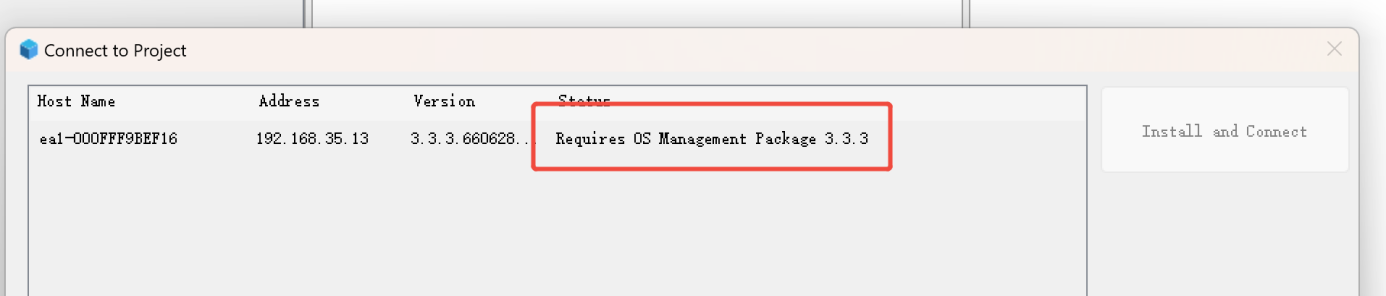
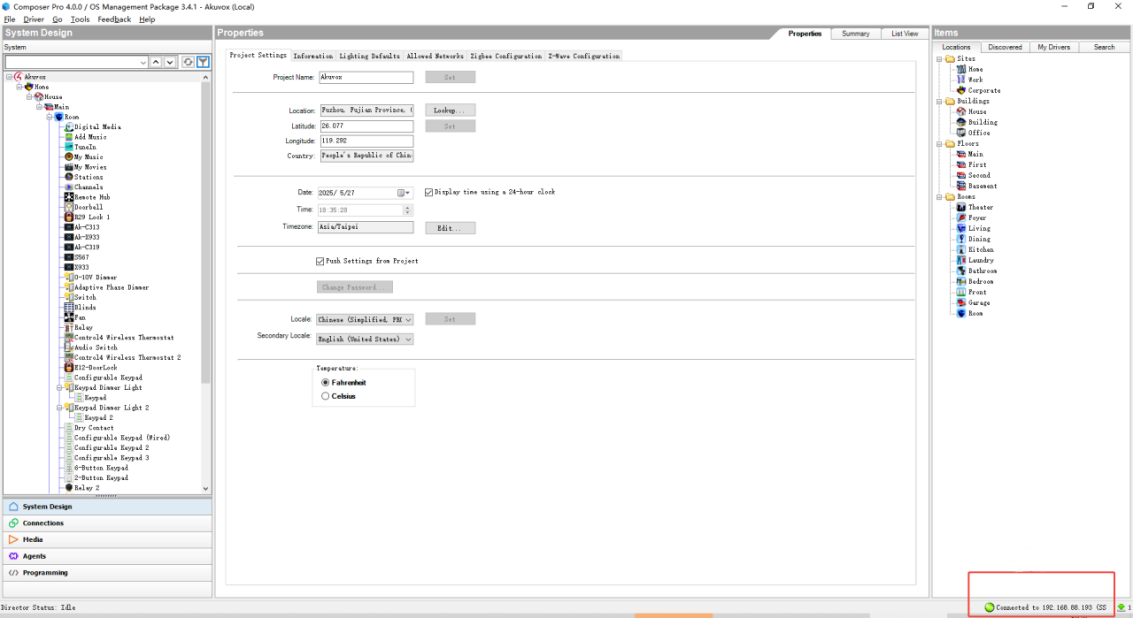
A green indicator at the bottom-right corner confirms a successful connection.
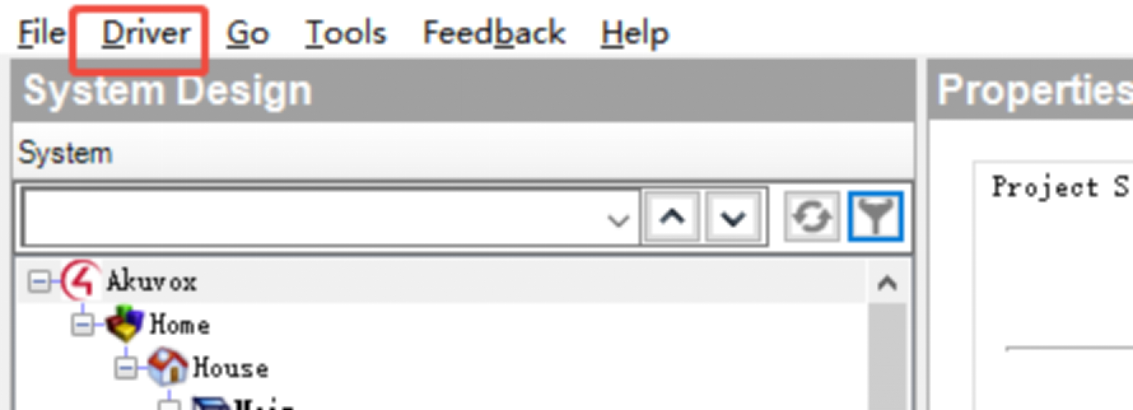
1.3. Import Driver
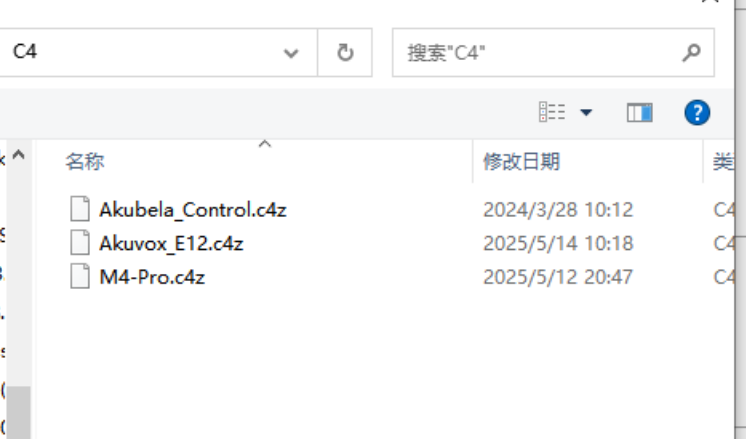
Click Driver, then select and import the akubela or Akuvox drivers.
1.4. Add C4 and akubela Panels
(1) Composer will automatically discover Control4 and Akuvox devices on the same LAN. In the Discovered list, double-click a device to add it.
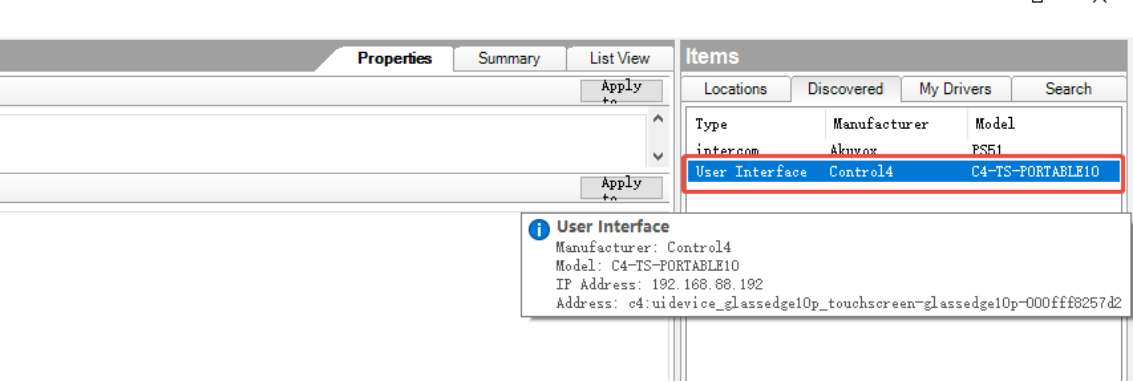
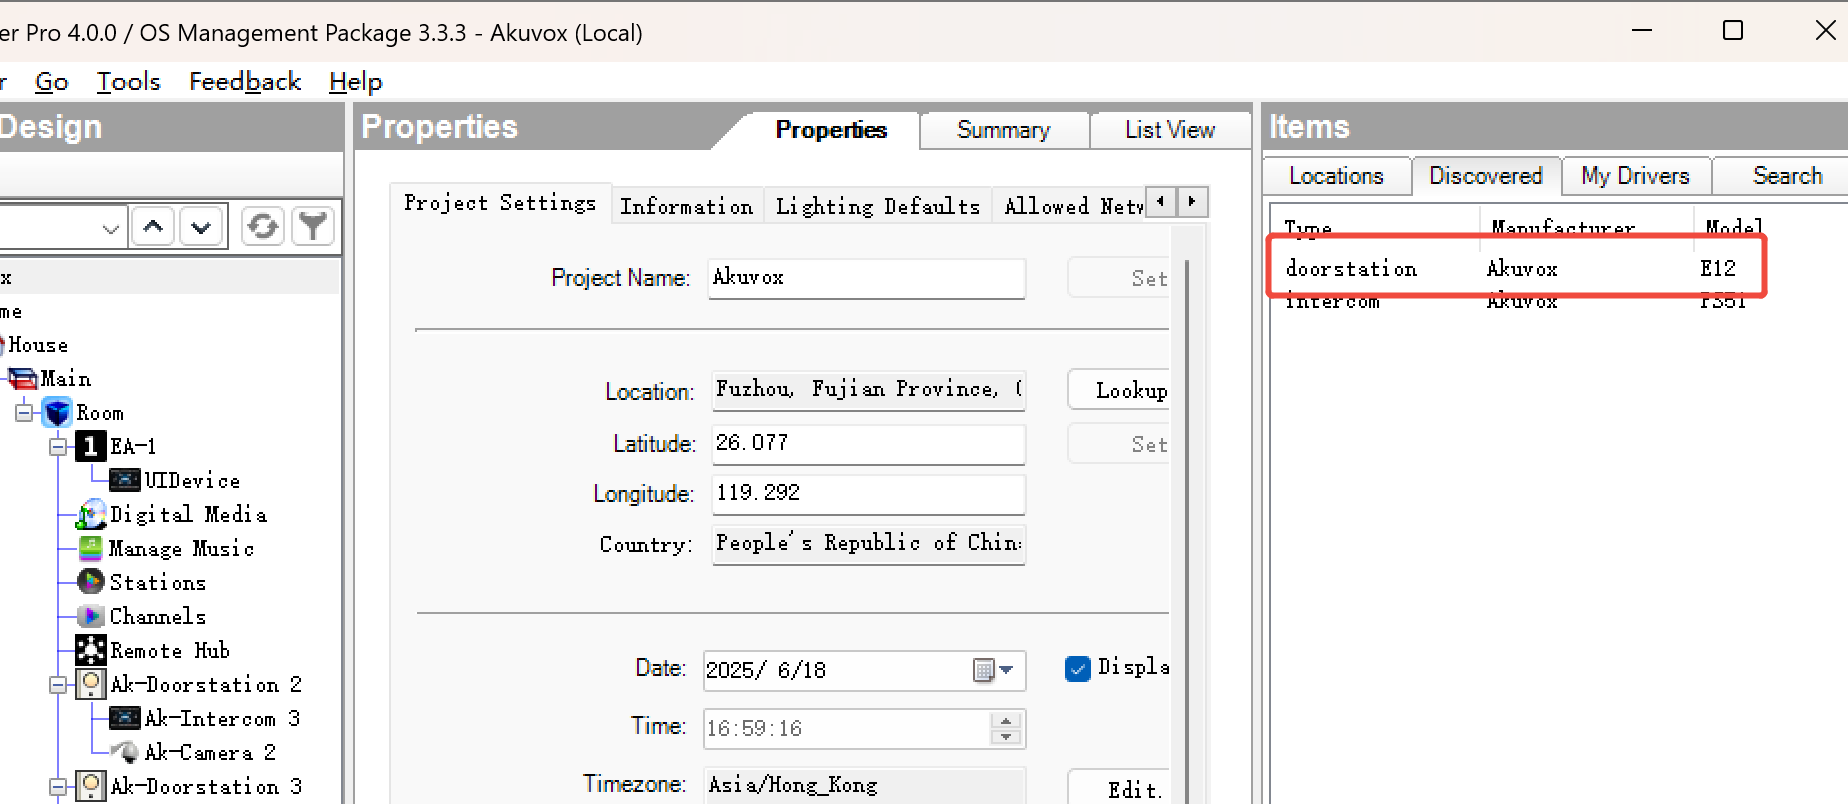
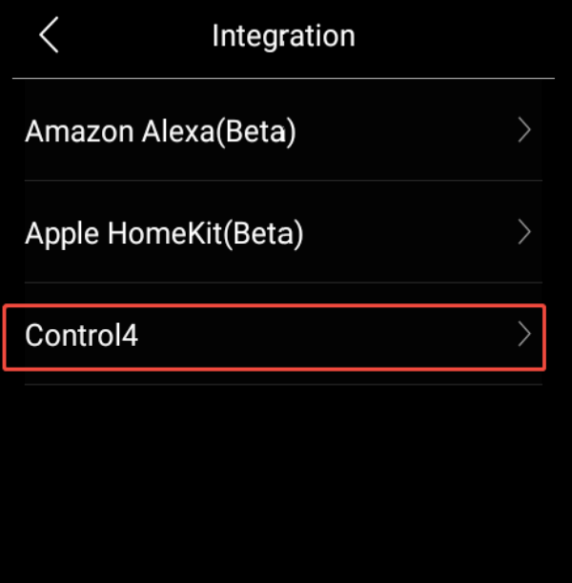
(2) On the akubela HyPanel, go to Settings > Integration > Control4.
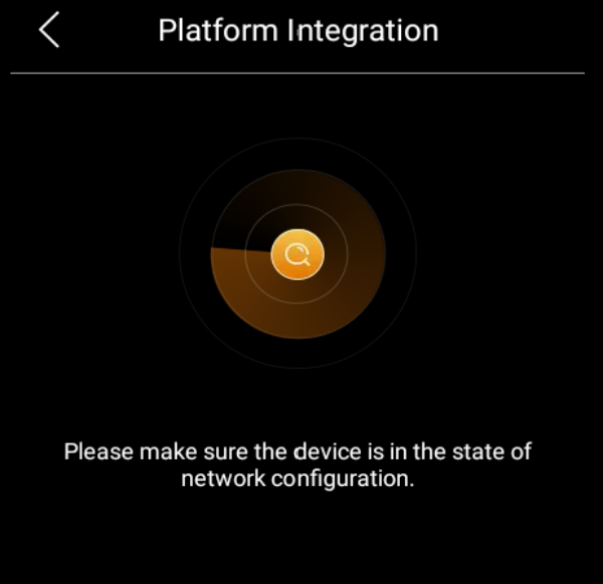
(3) Refresh Composer. The akubela HyPanel will appear, then double-click it to add.
.png)
(4) On the HyPanel, tap Confirm. The HyPanel status will then show as connected.
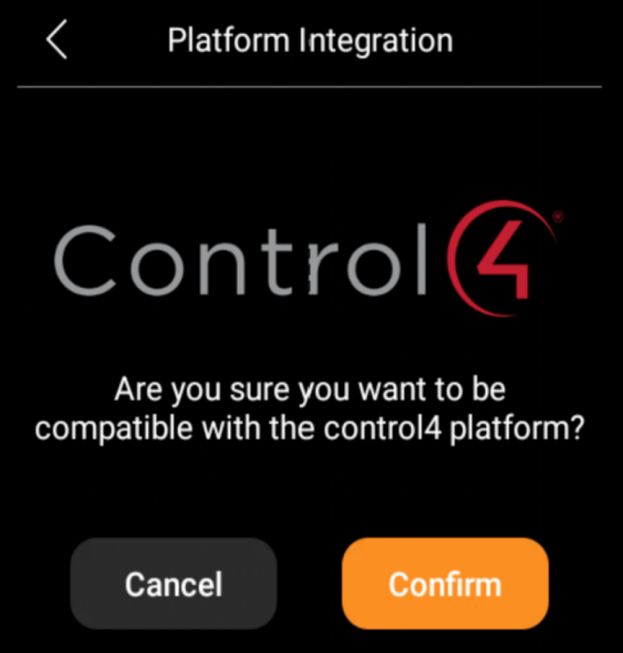
.png)
Once connected, the HyPanel will also receive a SIP account from Composer, allowing intercom calls between devices.
2. Intercom Settings
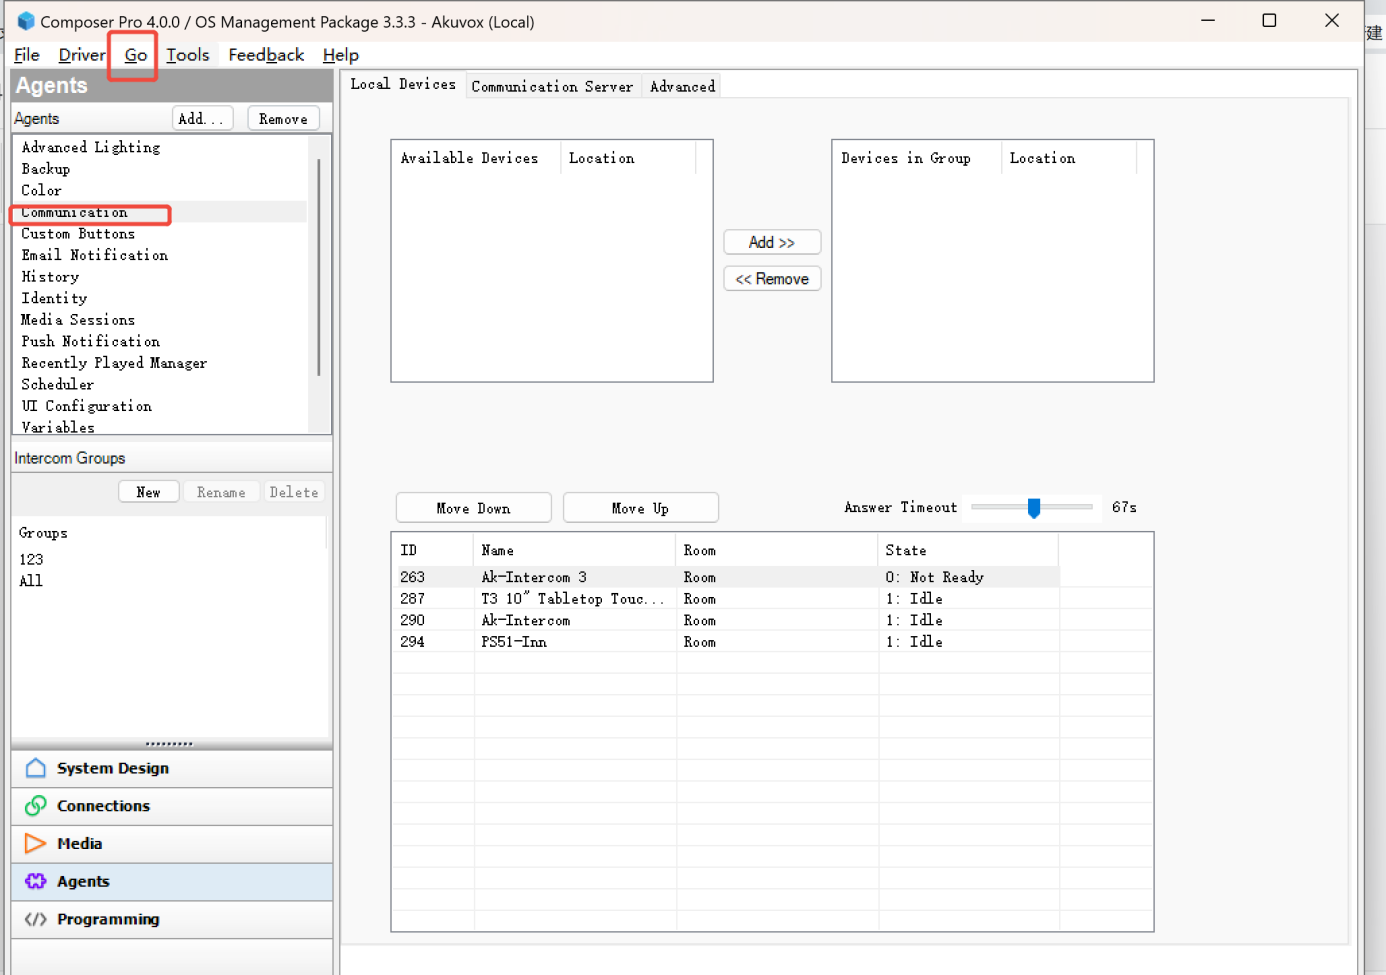
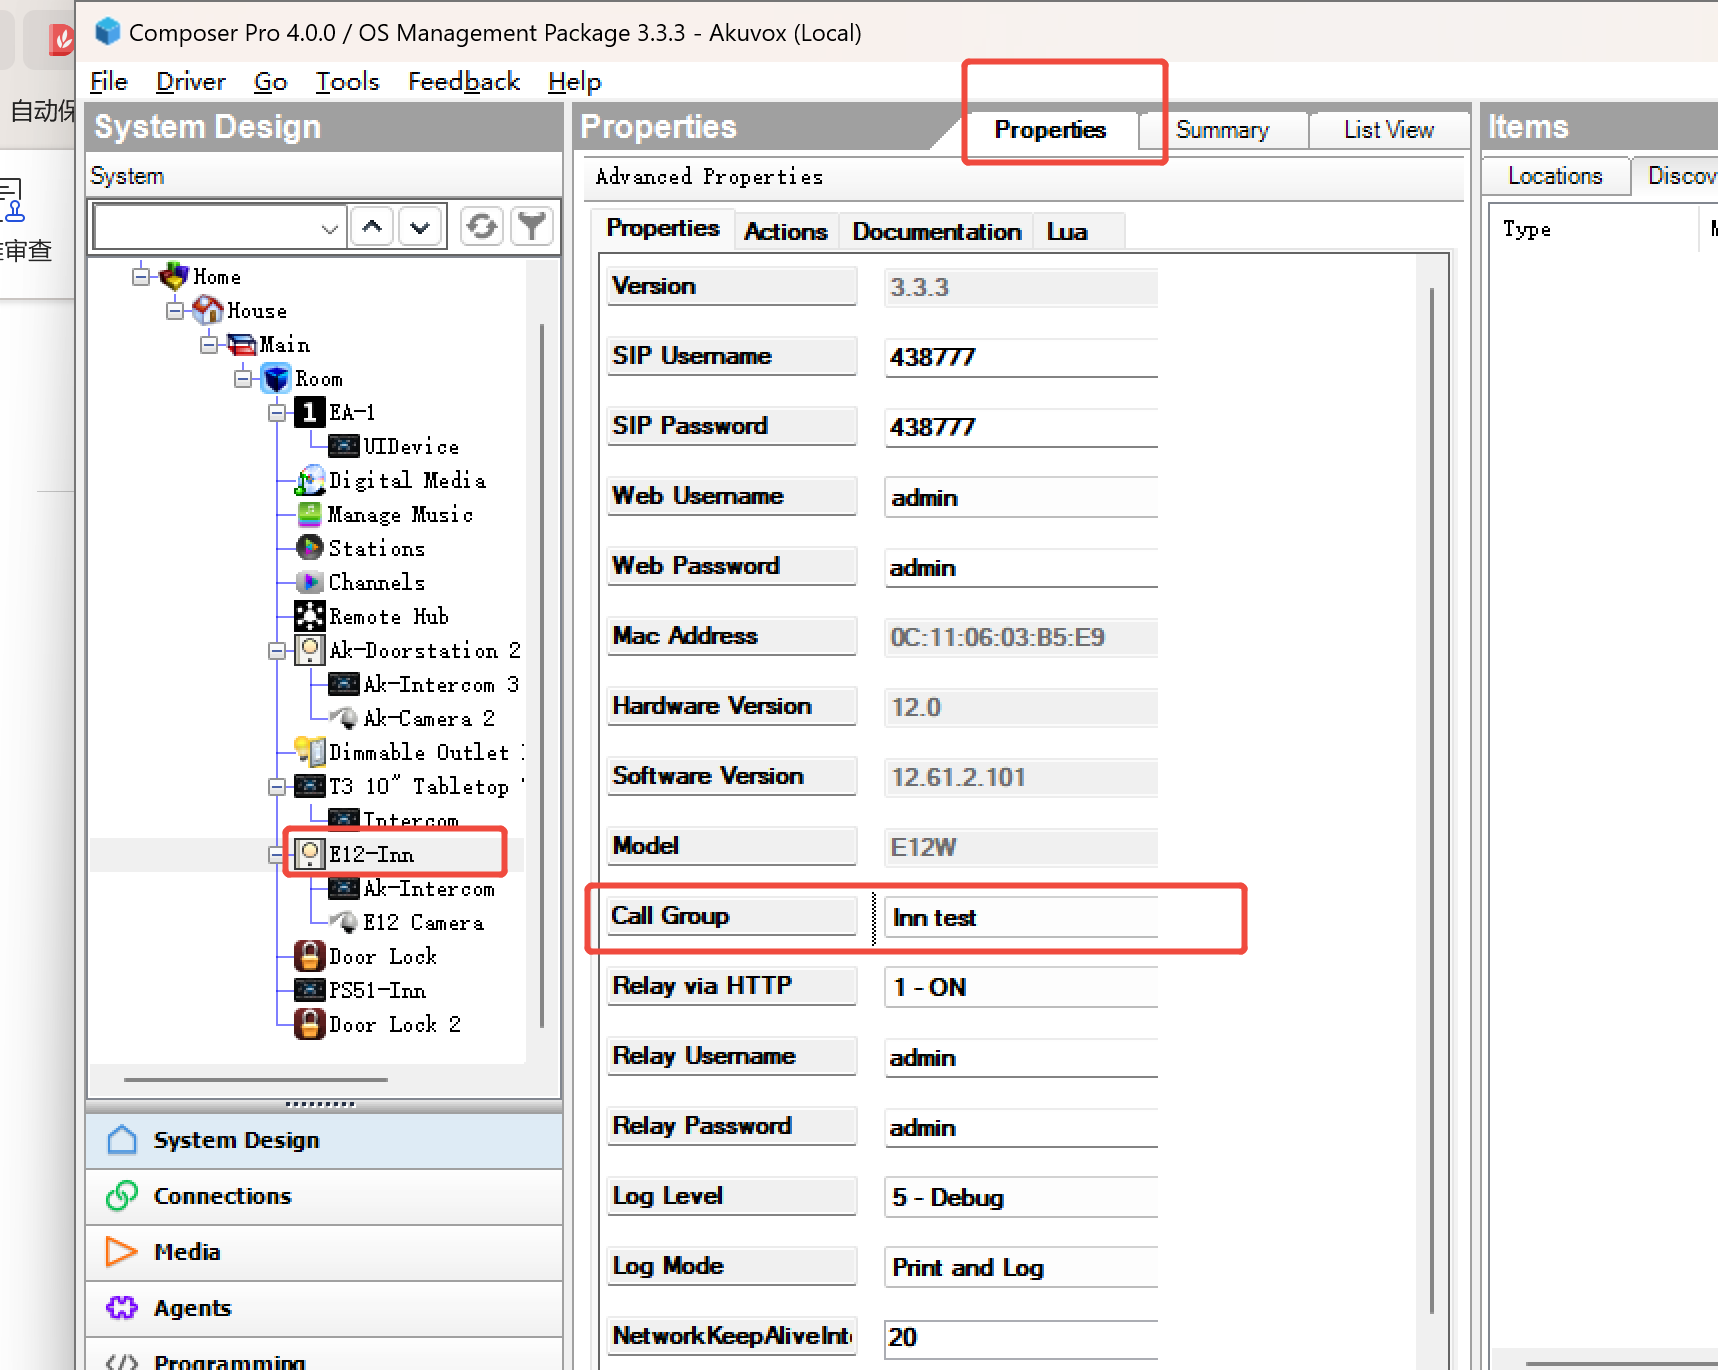
2.1. Group Call
(1) Go to Go >Agents > Communication.
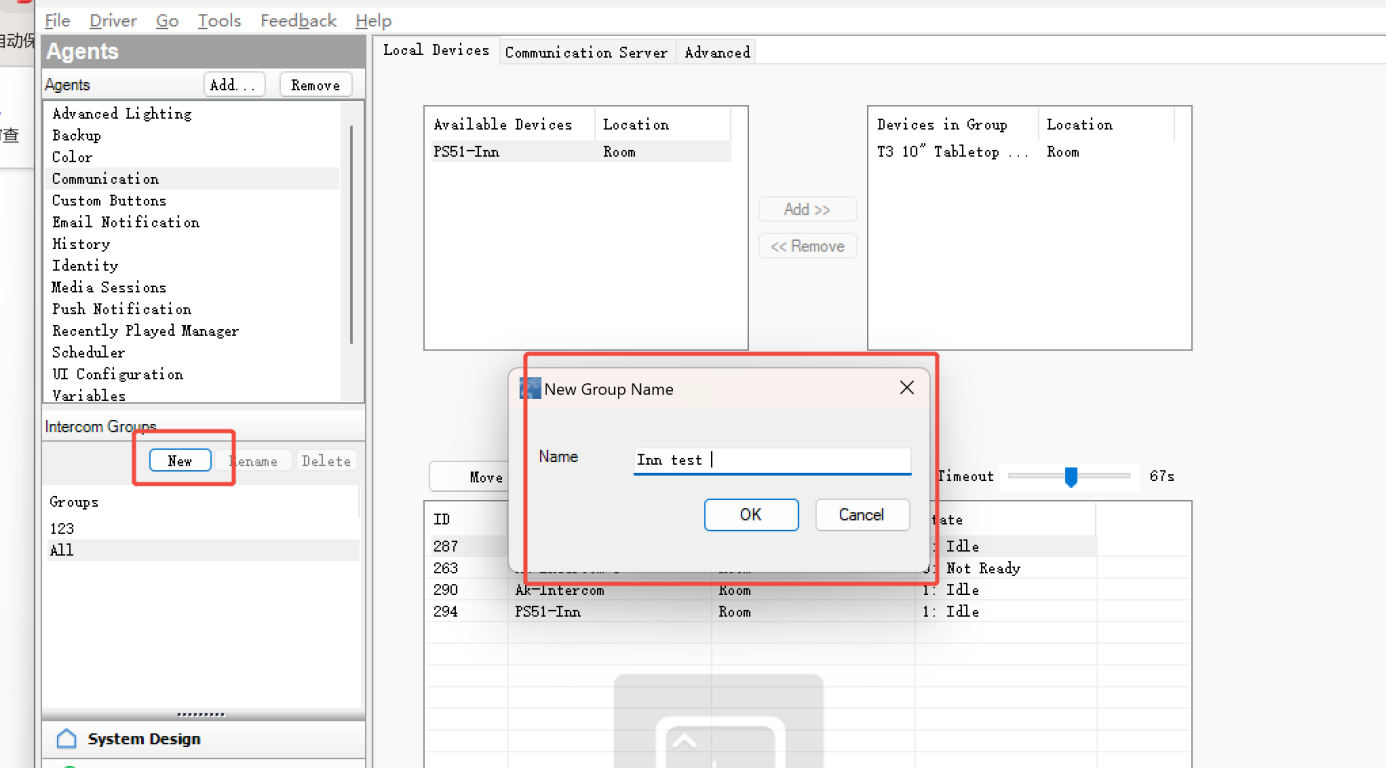
(2) Click New to make a new call group and name it.
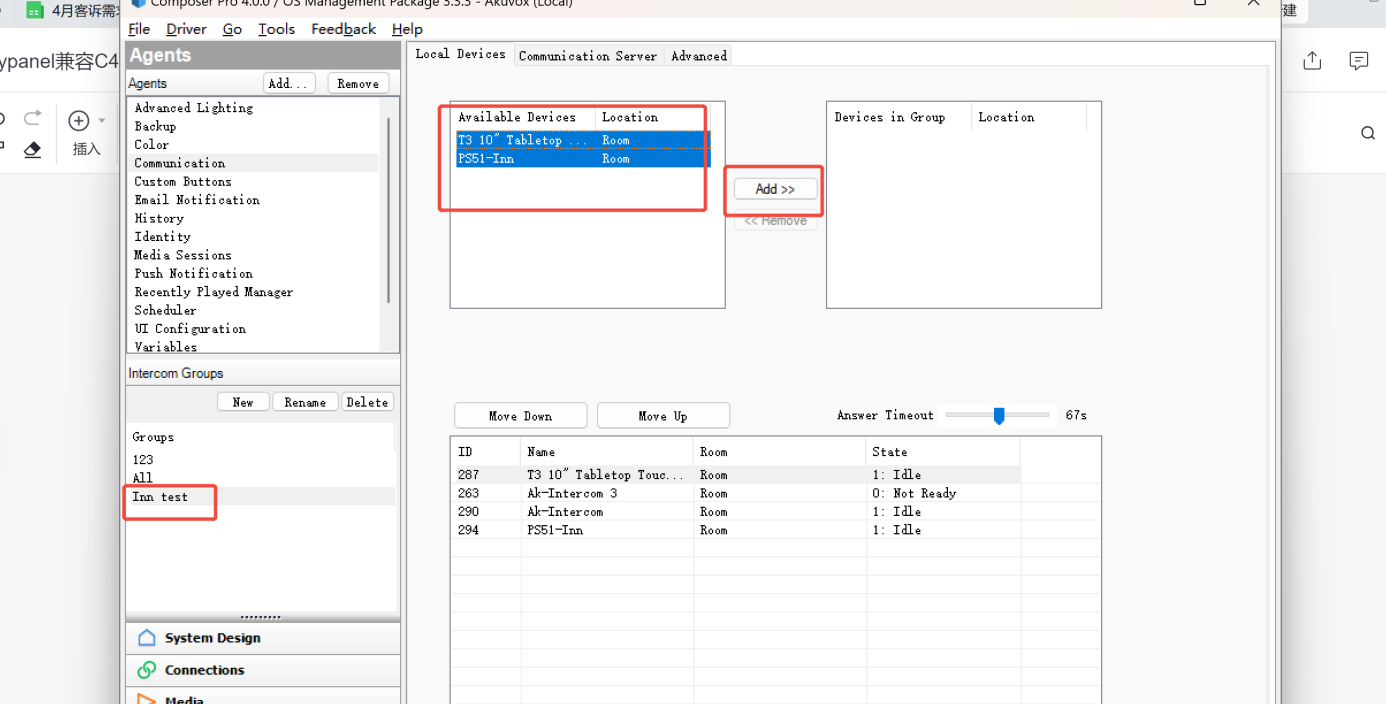
(3) Add the indoor devices that you want to include in the group call.
(4) Select a door phone, go to the Properties interface, choose Call Group, and click Set to save.
2.2. Unlock During the Call and Call Preview
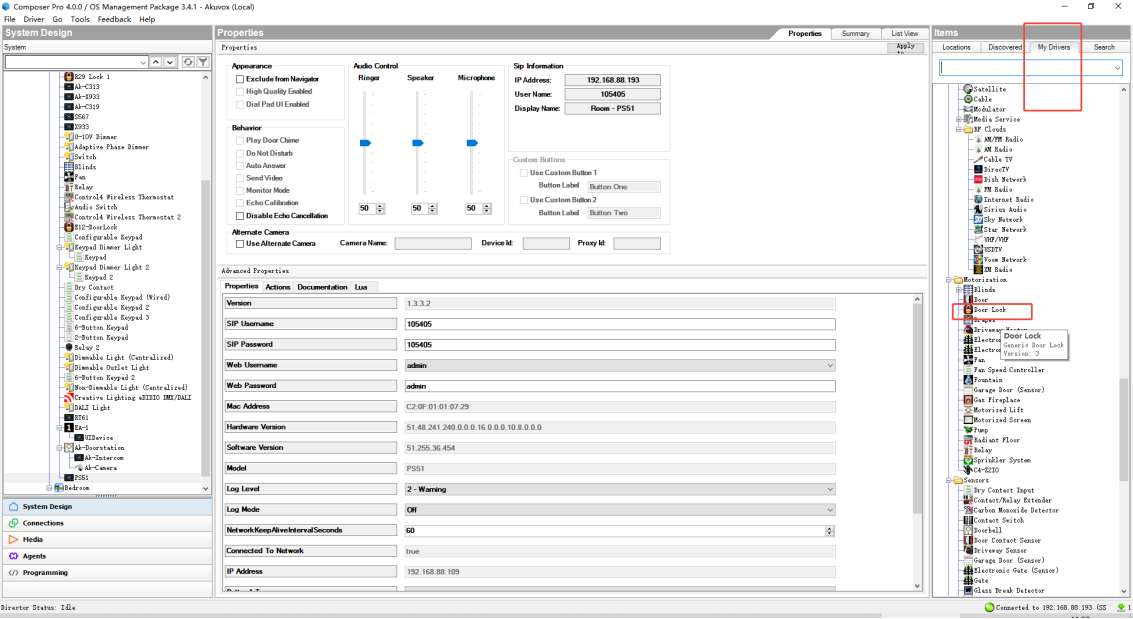
(1) In My Driver, double-click the virtual Door Lock to add it.
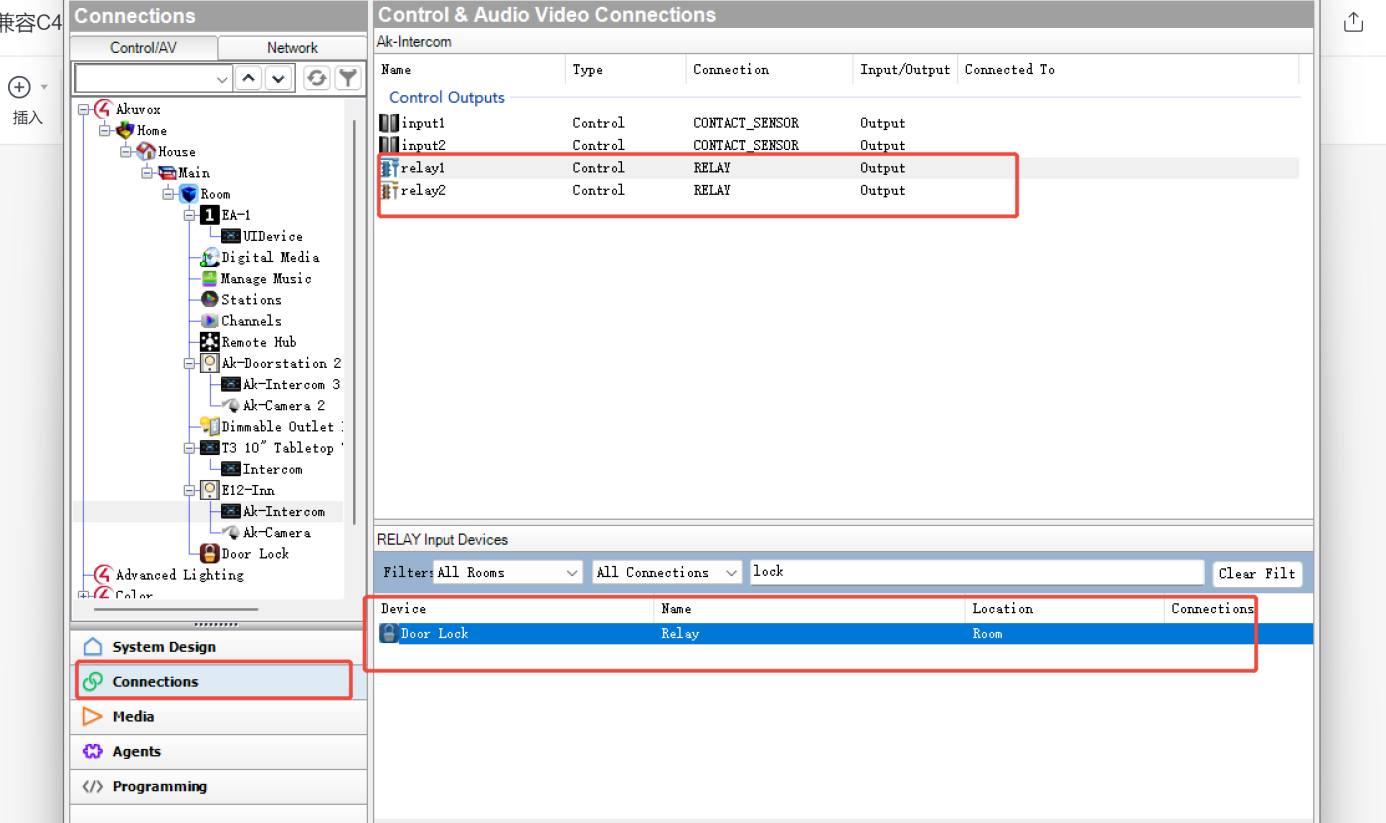
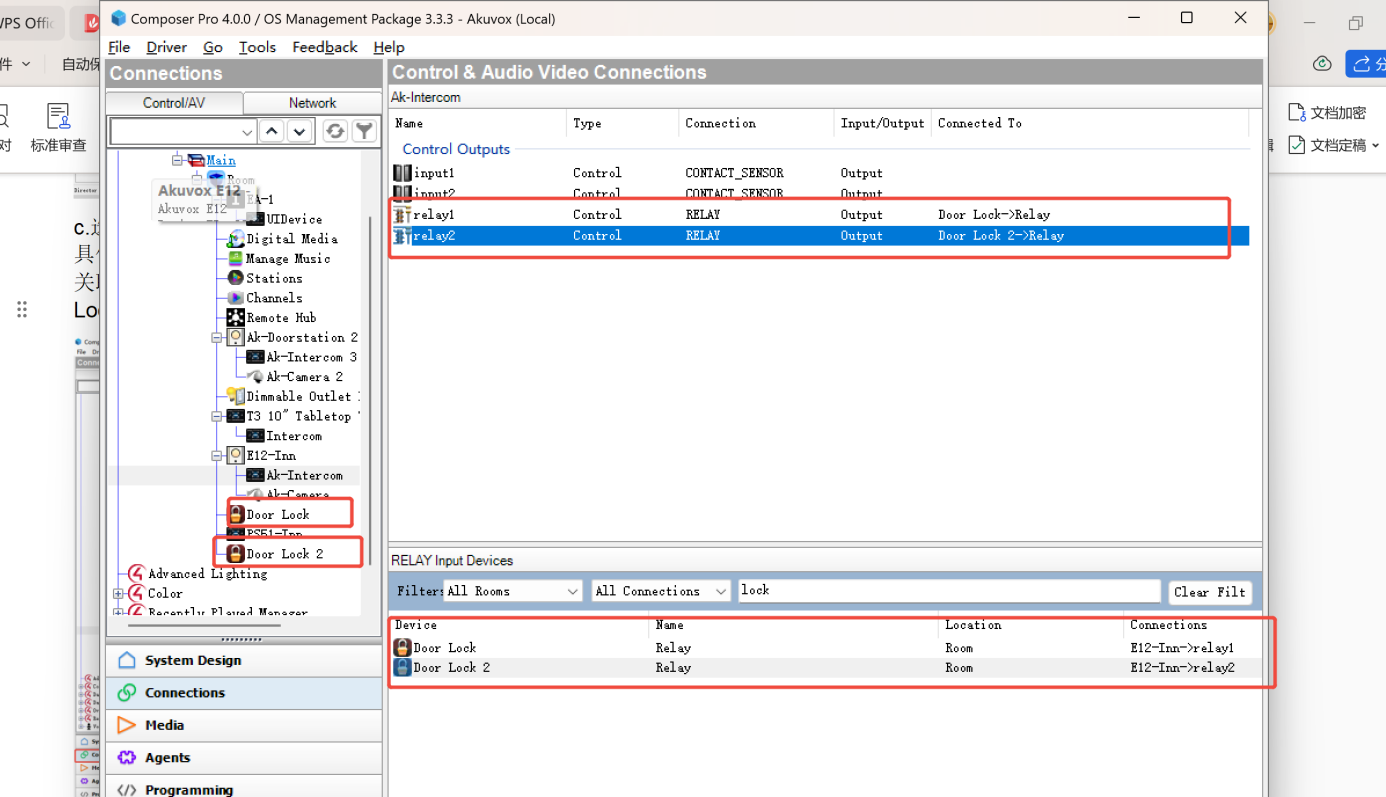
(2) Go to Connections, select a door phone, and view the available relays. Drag the relay you want to link to the Door Lock to complete the binding.
TIP:
If you need to control multiple doors, repeat steps 1 and 2.
(3) In the door phone’s Properties interface, enable Relay via HTTP and enter the username and password.
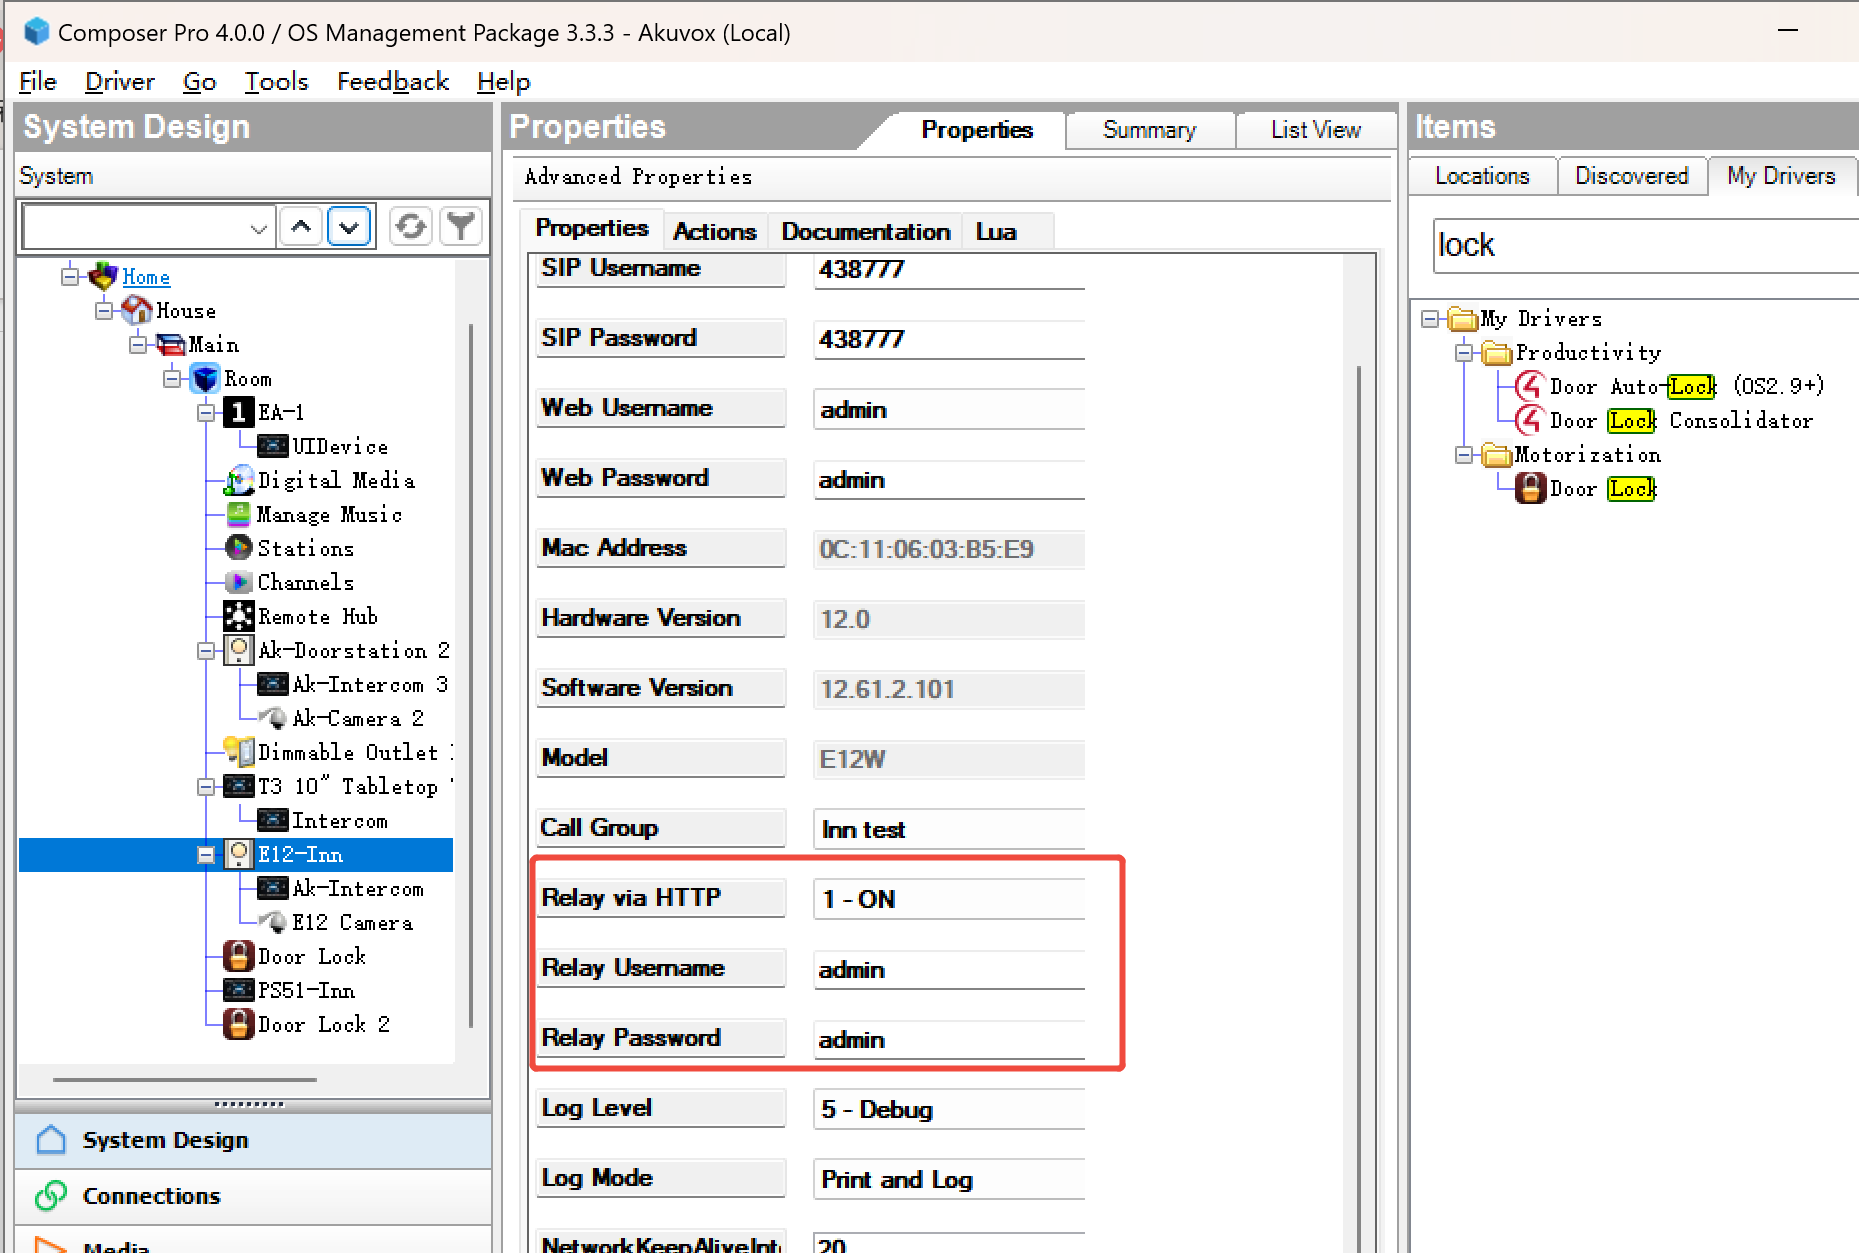
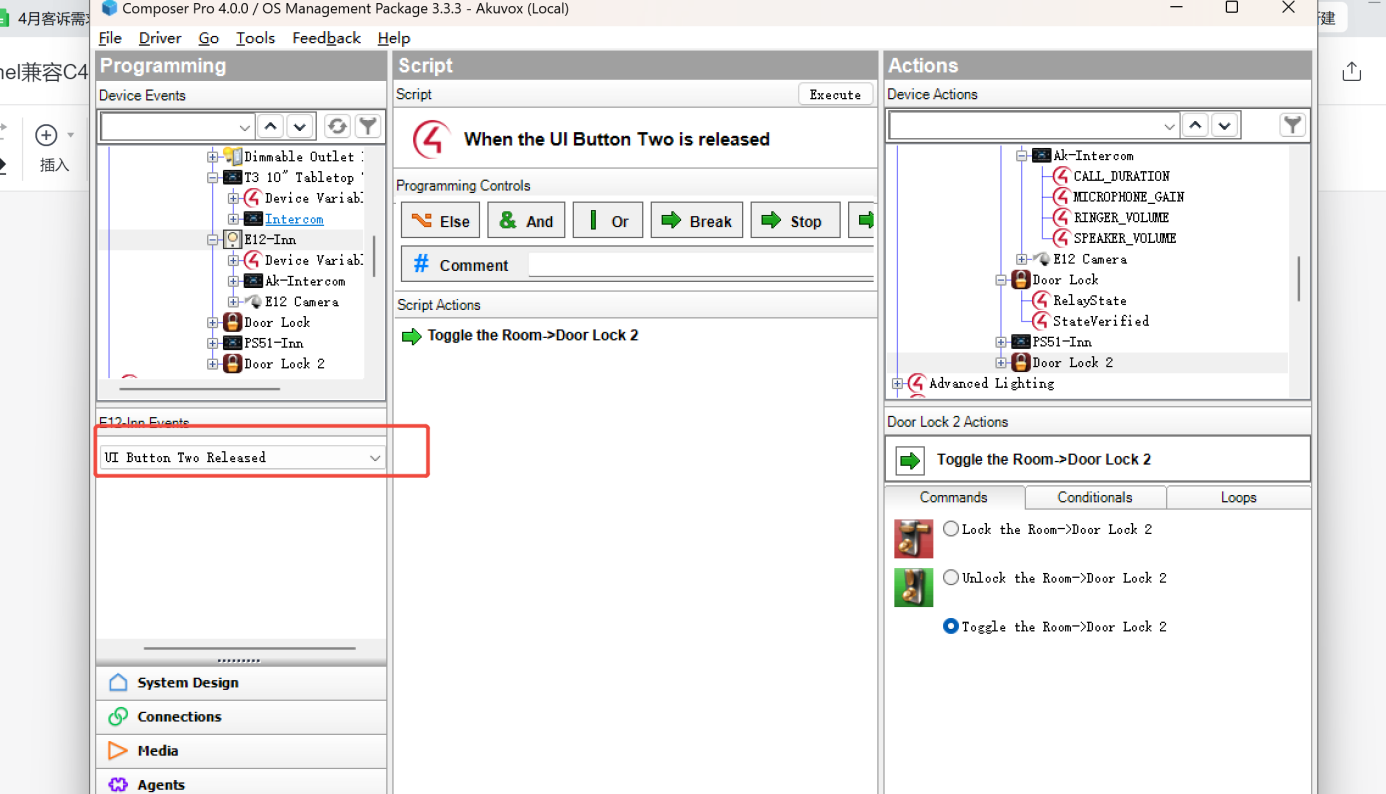
(4) Click the door phone > Events, and choose the unlock button status. In the Programming interface, select the Door Lock you set up earlier, then add Toggle the Room > Door Lock to the Script Actions.
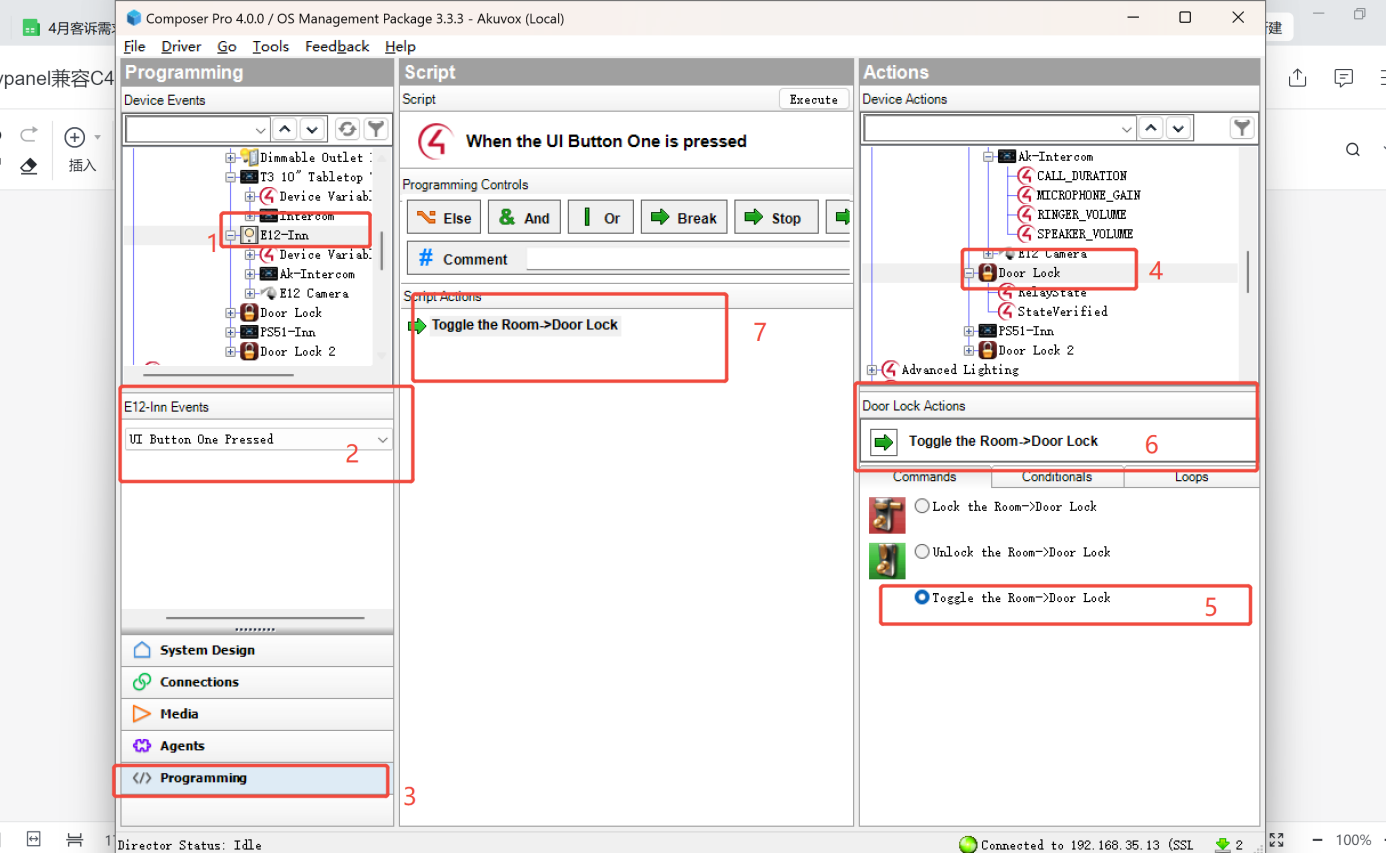
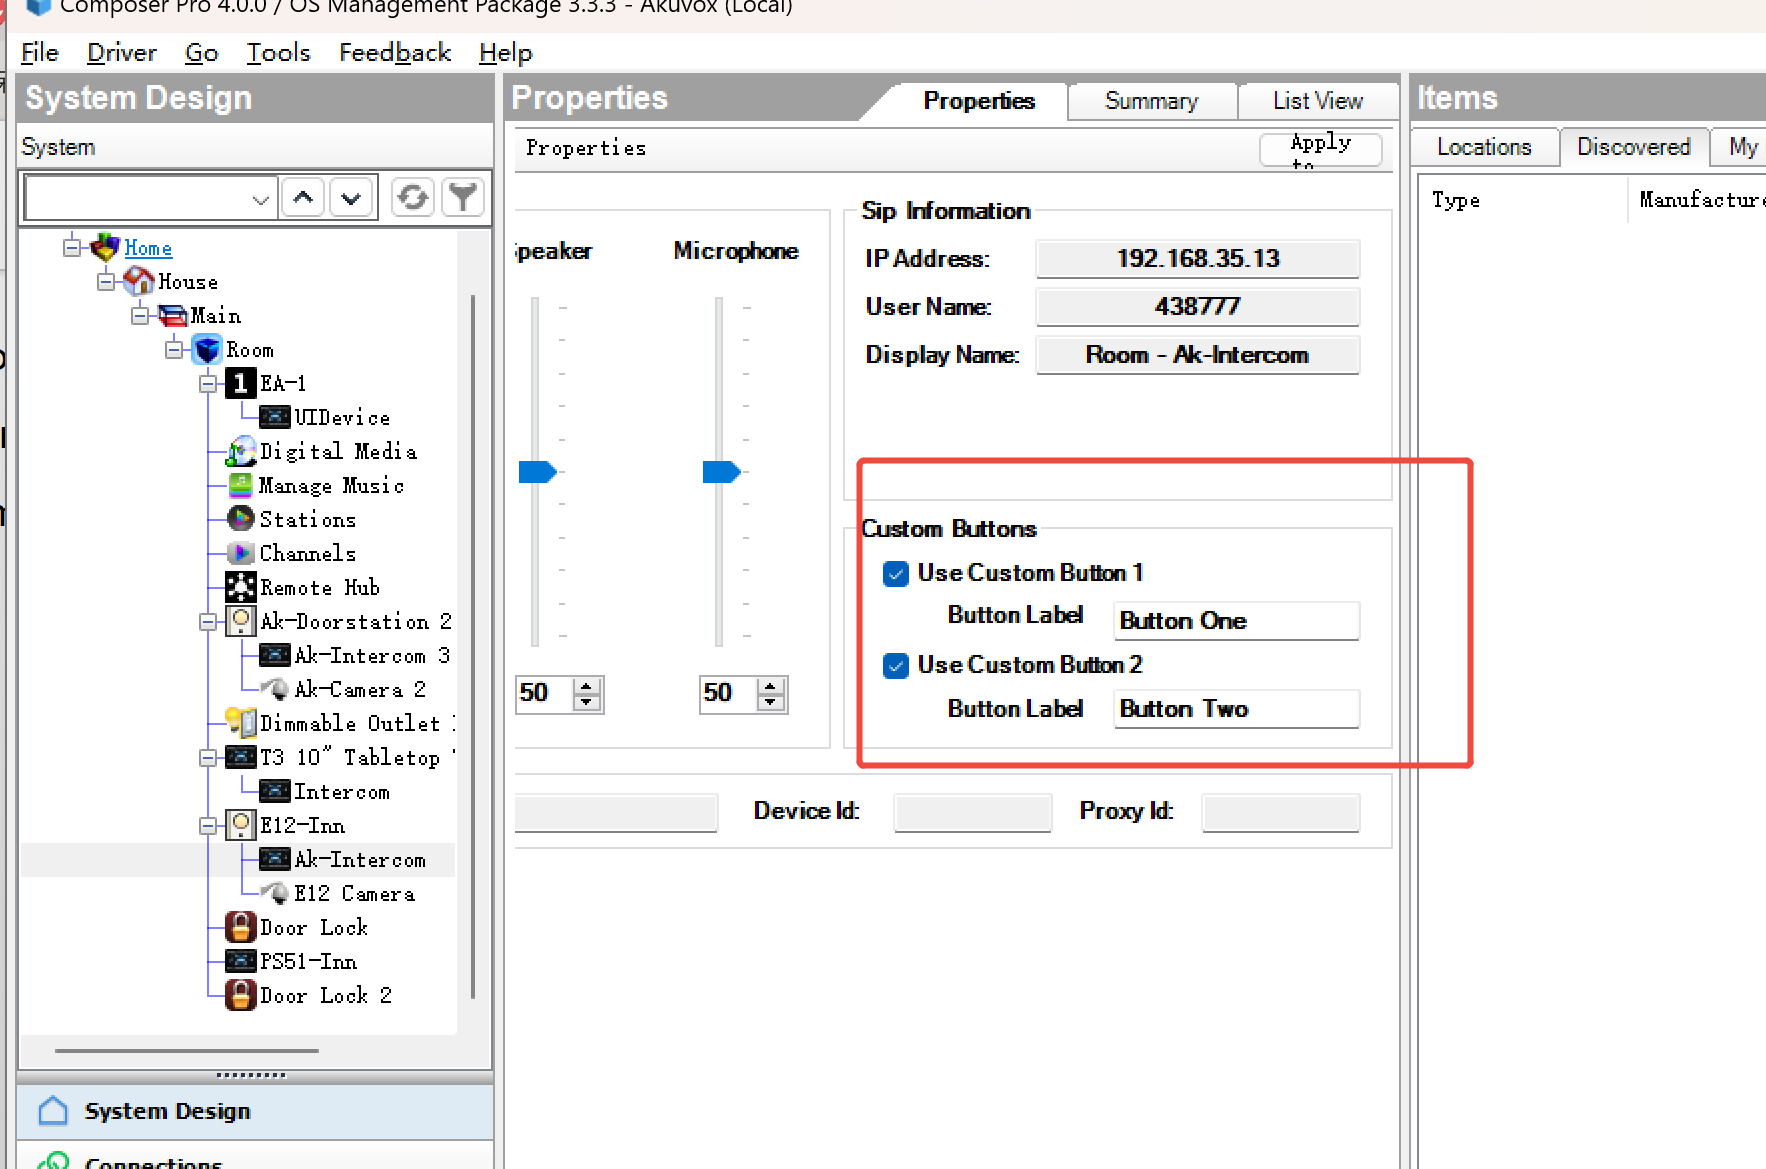
(5) To configure multiple unlock buttons, select a different button in the Event interface and repeat the setup steps.
(6) In the door phone Properties interface, configure the unlock button to appear during calls and on the preview page.
3. Lighting Settings
(1) The Composer will automatically detect the lighting driver. Double-click it to add.
.png)
(2) Search for and add the virtual DALI Light Driver.
.png)
(3) Select the added light, then click TEST LINE on the DALI ADDRESS interface to verify it works.
.png)
(4) Click SCAN to check the light address.
.png)
(5) Click the virtual Dali Light, and set its address to 0 (same as the light in the previous step), click Set to save.
.png)
(6) Test the light.
.png)
4. Scene Settings
(1) Click Agents > add, search for Custom Buttons, then add it.
.png)
(2) Under Agents, select Custom Buttons and choose the target room. All available buttons for that room will be displayed.
.png)
(3) Select a button to open the edit menu, and assign a scene name for each button.
.png)
(4) In the Programming interface, select the button you configured. Define which devices or actions the scene should control (e.g., turn on the light), then drag the commands into Script Actions.
.png)
5. Other Settings
5.1. Backup
Click Back Up or Back Up As to save the project.
.png)
5.2. Rename Devices
Right-click the device and select Rename.
.png)
5.3. Remove akubela from Control4
Go to Settings > Integration > Control4, click Disconnect, then delete it in Control4 Composer.