About Carson
Carson offers innovative and user-friendly software (both mobile and web applications) that enhances building operations. It achieves this by integrating property management systems, building hardware like access control, intercoms, smart locks, and more, along with a 24/7 live remote doorman service.
Integration with Akuvox
Compatible Models:
Device | Feature | Firmware Version or Higher |
|---|---|---|
A01 | Online door opening | 101.30.4.76 |
A03 | Online door opening | 101.30.4.4 |
X916 |
| 916.30.1.714 |
R29 |
| 29.30.10.128 |
E12W |
| 312.30.10.18 |
Set up Akuvox Devices
To achieve the integration, some permissions should be enabled on Akuvox devices.
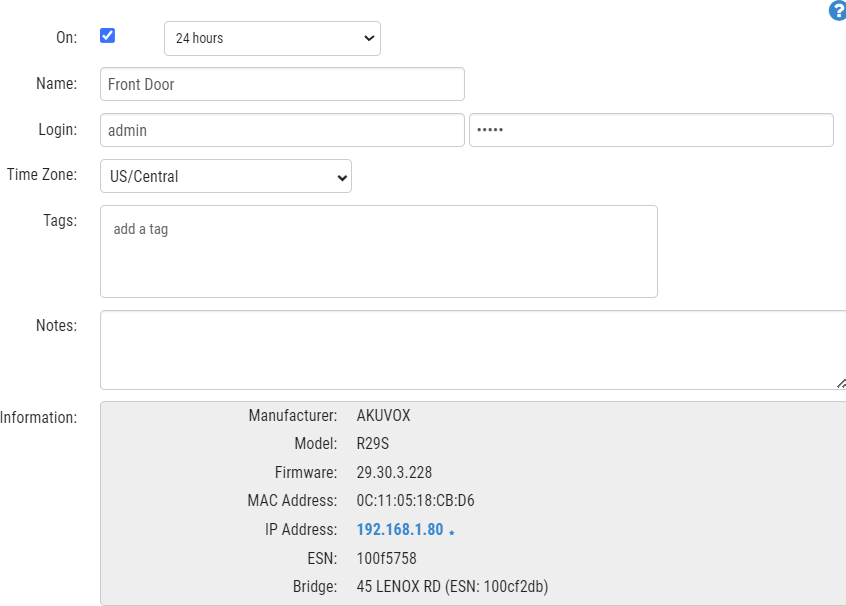
Take R29 as an example.
Use its IP address to log into its web interface. The initial username and password are admin.
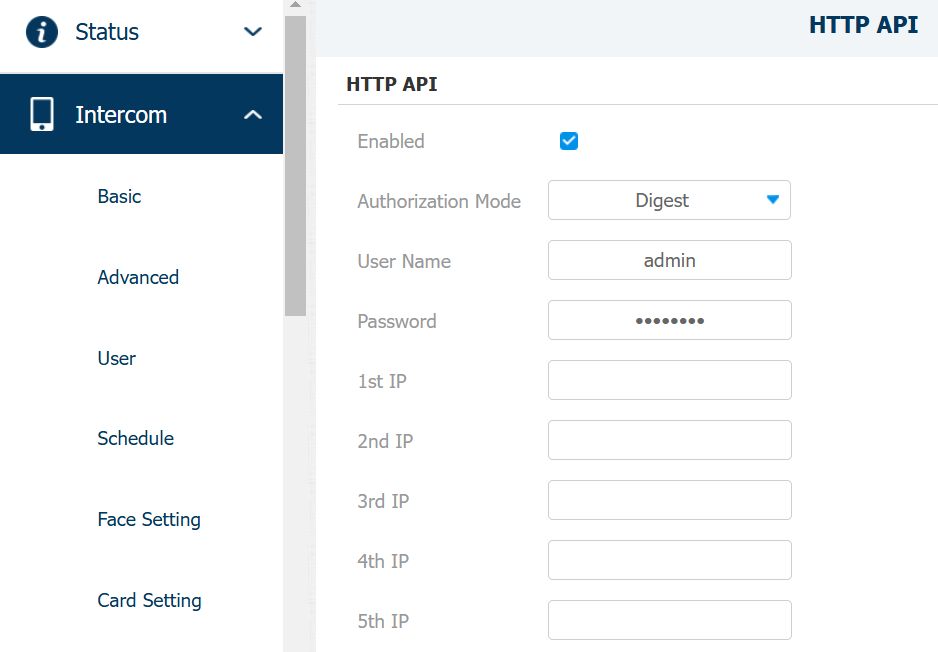
Enable HTTP API
Go to the Intercom > HTTP API interface.
Enable the feature and set the Authorization Mode to Digest.
Customize the username and password.
Optional
You can whitelist the allowed servers for security:
3.133.192.180
3.141.182.117
18.118.56.146
18.218.58.102
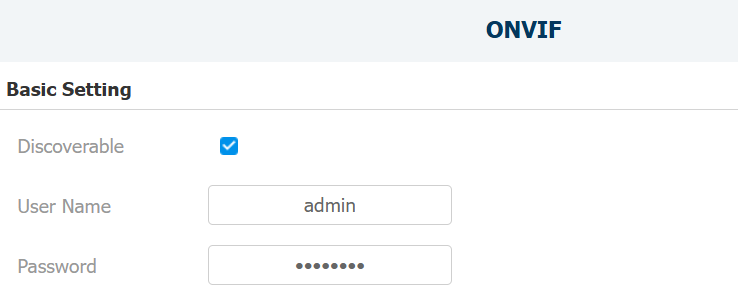
Enable ONVIF for Camera Integration
Go to the Intercom > ONVIF interface.
Enable Discoverable.
Customize the username and password.
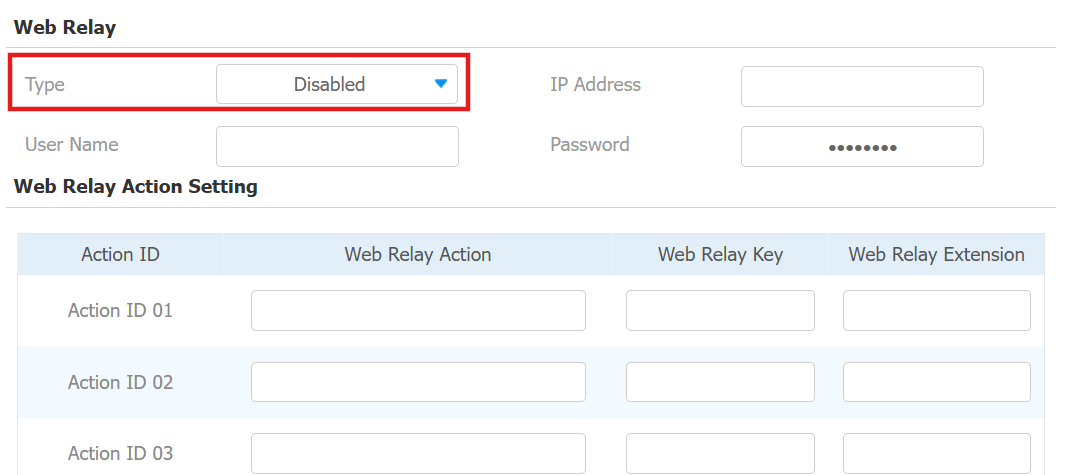
Set up DTMF Codes for Door Opening
Go to the Phone > Web Relay interface.
Set Type to Disabled or Both.
Go to the Intercom > Relay interface.
Select the DTMF Mode that determines the digits of the DTMF code.
Set the DTMF code.
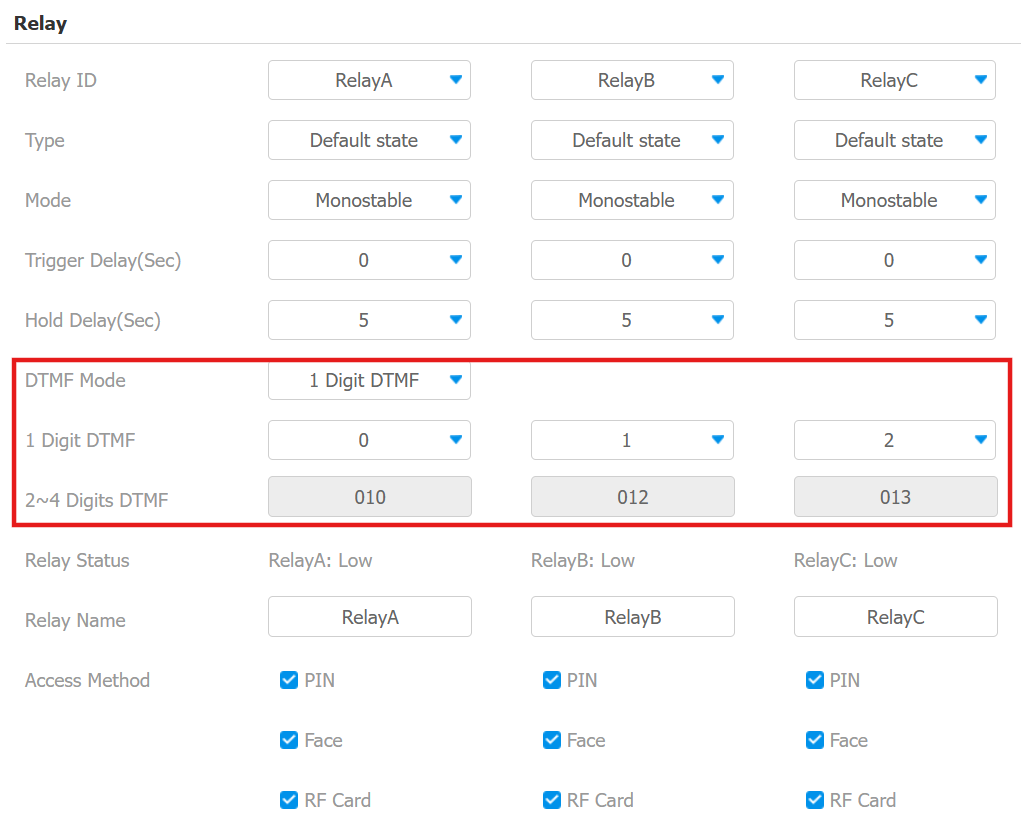
Scroll to the DTMF section and set Assigned The Authority For to All Numbers.

Register SIP Accounts
Go to the Account > Basic interface. Use Account 2 for registration since Account 1 is used by the SmartPlus Cloud by default.
Check the Account Enabled box.
Customize the Display Label and Display Name which can be the building address and location.
Enter the Register Name and User Name the same as the SIP number.
Enter the Password the same as the SIP password.
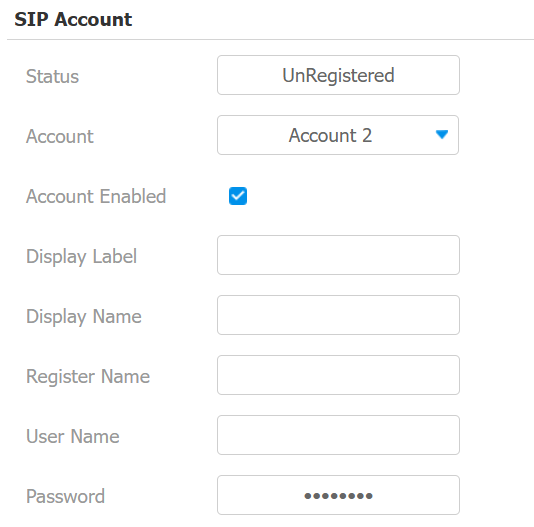
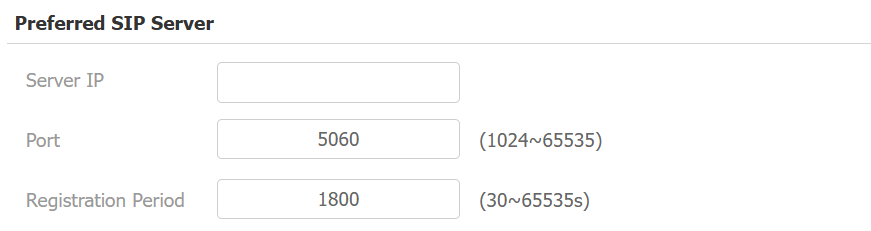
Enter the Server IP.
Use this IP when no indoor monitor is used: 2NSIP_call_center@2n.carson.sip.us1.twilio.com/2
Use this IP when indoor monitors are used: Parallel.carson.sip.us1.twilio.com
Click Submit. When the registration succeeds, the Status will change to Registered.
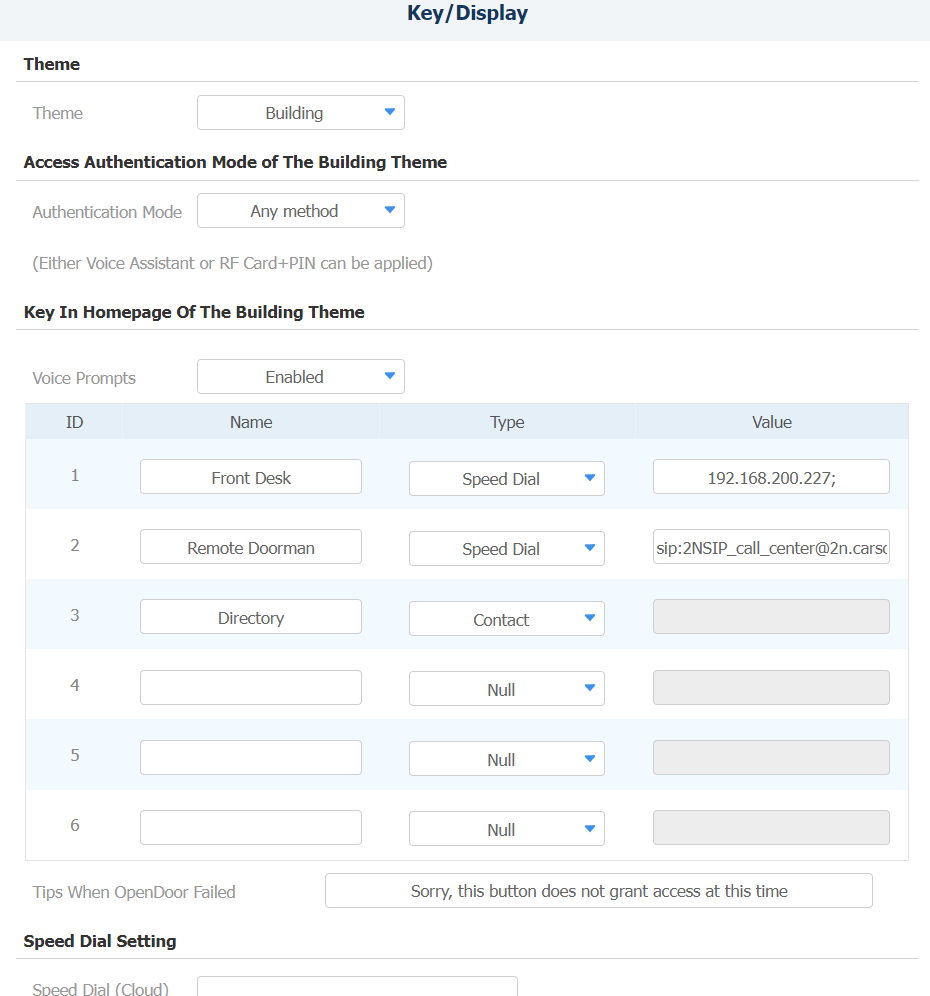
Display the Remote Doorman Key for Speed Dial
Go to the Intercom > Key/Display interface.
Rename a desired key and set its Type to Speed Dial.
Enter the SIP address in the value field dependent on the SIP domain used.
2NSIP_call_center@2n.carson.sip.us1.twilio.com/2
2NSIP_call_center@Parallel.carson.sip.us1.twilio.com/2
Set up Contacts
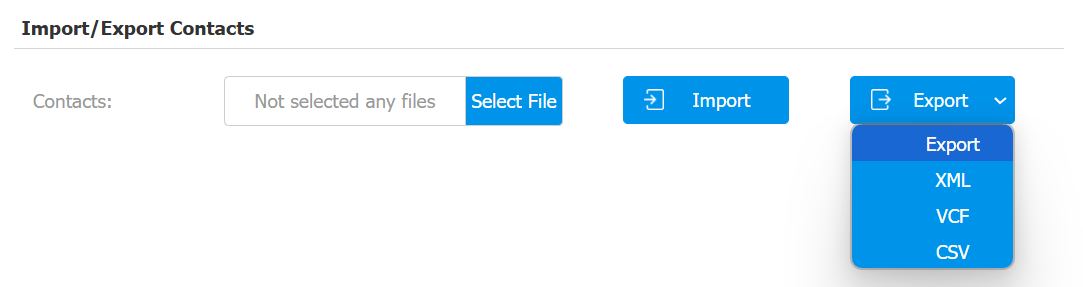
Go to the Contacts > Contacts List > Import/Export Contacts interface.
Click Export to download the template in the CSV format. Please add a contact as a template example before exporting the file.
Fill in the template.
Example:


Click Select File to choose the file from your local driver and upload it by clicking Import.

After successful import, the contacts will be displayed on the Local Contacts List.
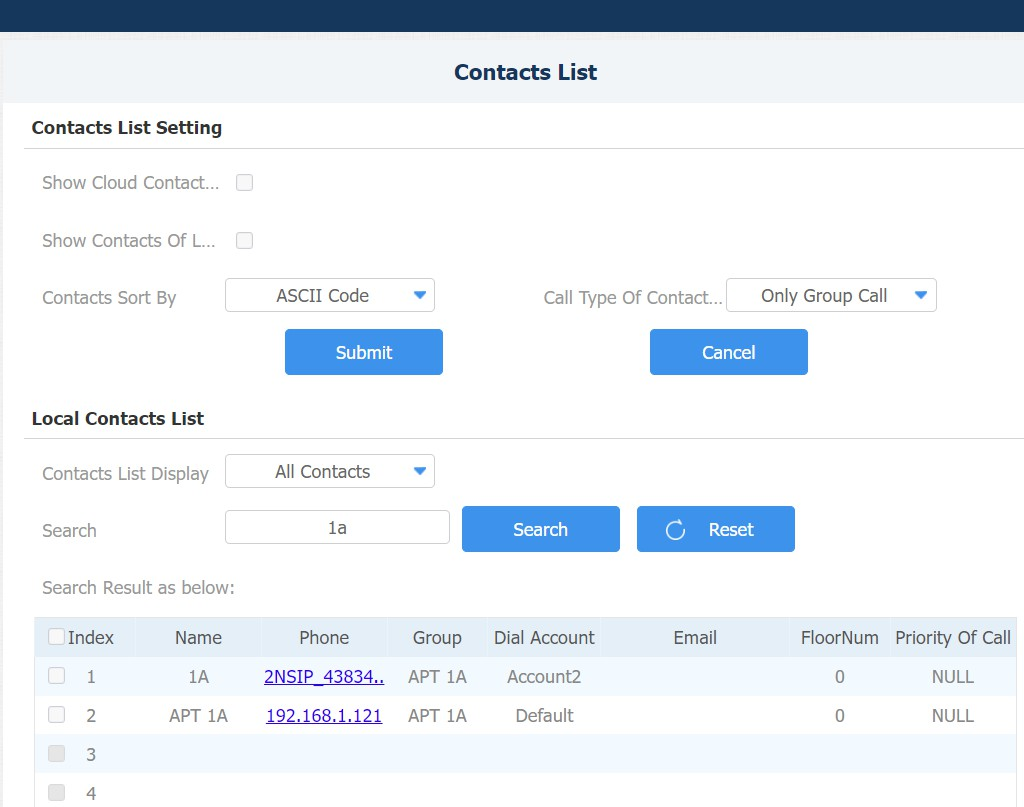
Set up Contact Display
Go to the Contacts > Contacts List > Contacts List Setting interface.
Set Contacts Display Mode to Groups Only.
Set Call Type of Contact Group to Only Group Call.
When users tap the group on the device’s Directory screen, both Akuvox devices and the Carson App will receive the call.
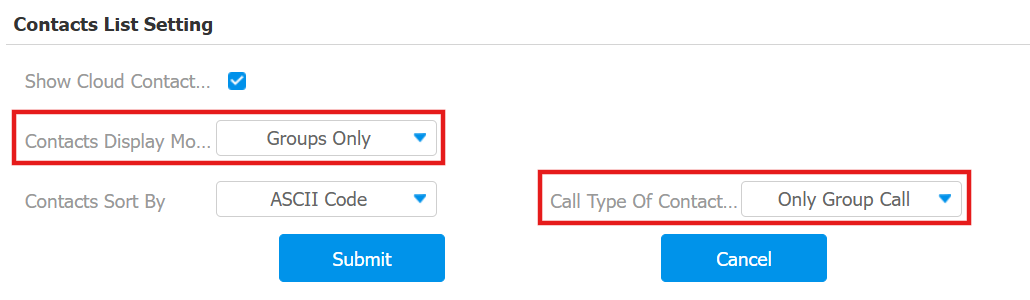
Set up Screensaver
Go to the Phone > Import/Export interface.
Click Delete to remove the original screensavers.
Click Select File to choose a local picture and click Upload. Format: JPG; Max size: 2M pixels; Recommended resolution: 800×1280.
Click Submit
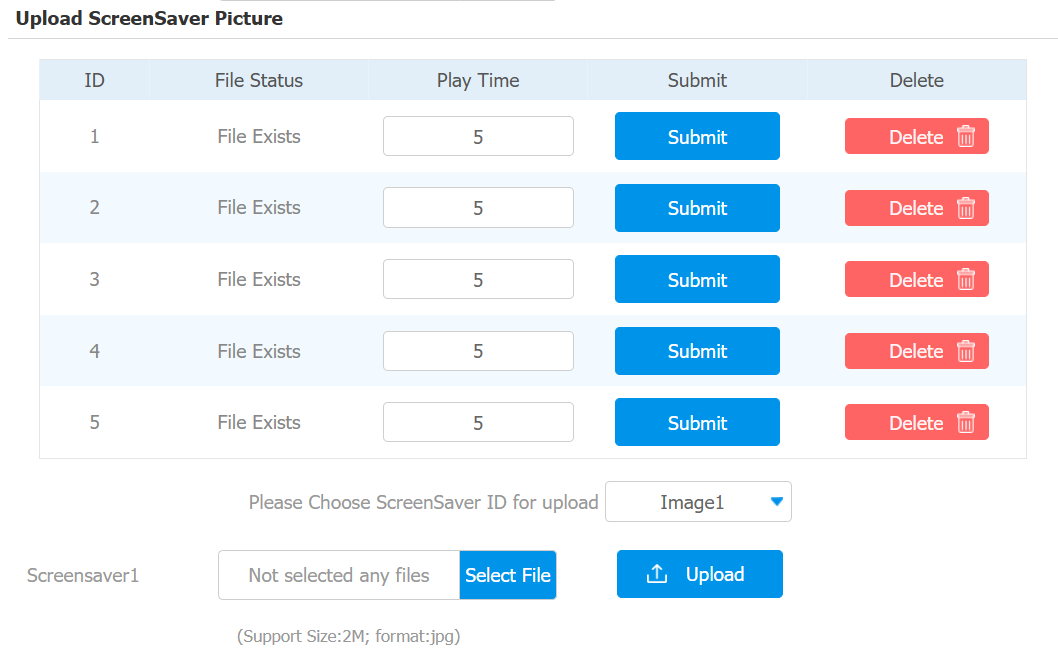
You can set the screensaver display time on the Intercom > Advanced > Standby Interface Display interface.
Connect Akuvox Device to Eagle Eye
The Eagle Eye Bridge should be connected to the WAN of the same network that the Akuvox device is on. At the bottom, you will find the available cameras that can be added to the bridge.
Tip
An Eagle Eye Bridge is an on-premise device used by the Eagle Eye Cloud VMS to connect cameras to Eagle Eye cloud data centers.
This is how an added Akuvox camera looks in Eagle Eye.
Configuration on Carson
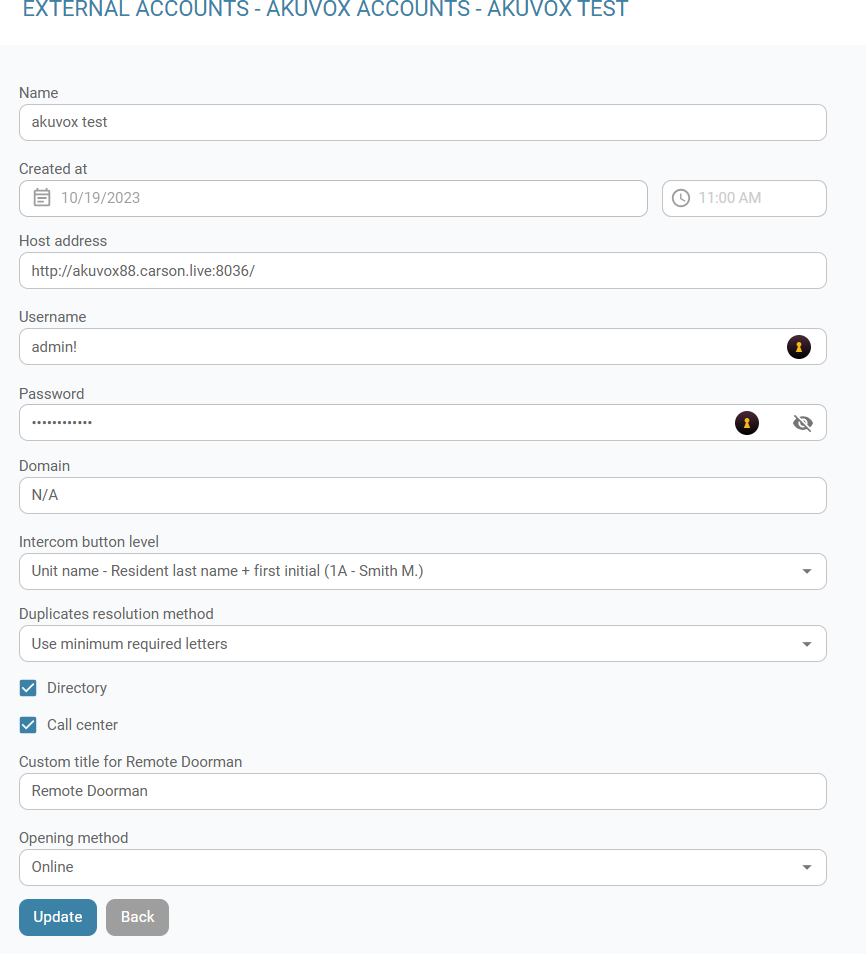
Create an External Account
Please contact Carson to create an account for you first and following settings should be configured.
The configuration path is Carson Admin < External account < Akuvox < Create Account.
Item Name | Description |
|---|---|
Name | The site name. |
Host Address | The public IP with port number for the Akuvox devices. |
Username | |
Password | |
Intercom Button Level | Choose the Directory format displayed on the Akuvox intercom devices. |
Directory | Should be enabled if the directory will be updated daily. Disable this option if indoor monitors are used. |
Call Center | Enable this option if remote doorman is used at this site so that it will be displayed in the directory list. |
Custom Title for Remote Doorman | Customize the name based on the end user’s needs. |
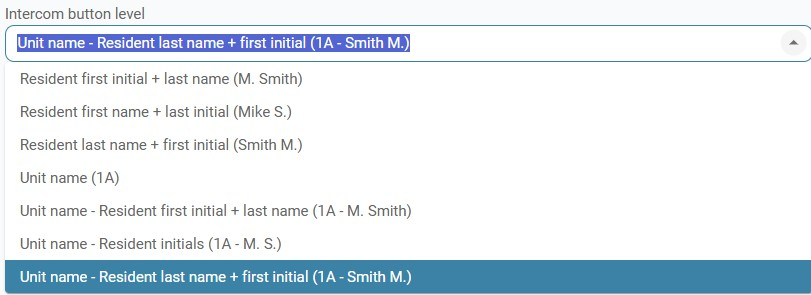
Set up Directory Format
Keep the setting at default unless the client requests a change; if indoor monitors are used, the displayed name will be the unit name.
Connect to Building
Go to the Settings < Access Control of the building you are working on.
Select the newly created account in Akuvox.
Click Sync Person to synchronize users from Carson to the Akuvox intercom devices.
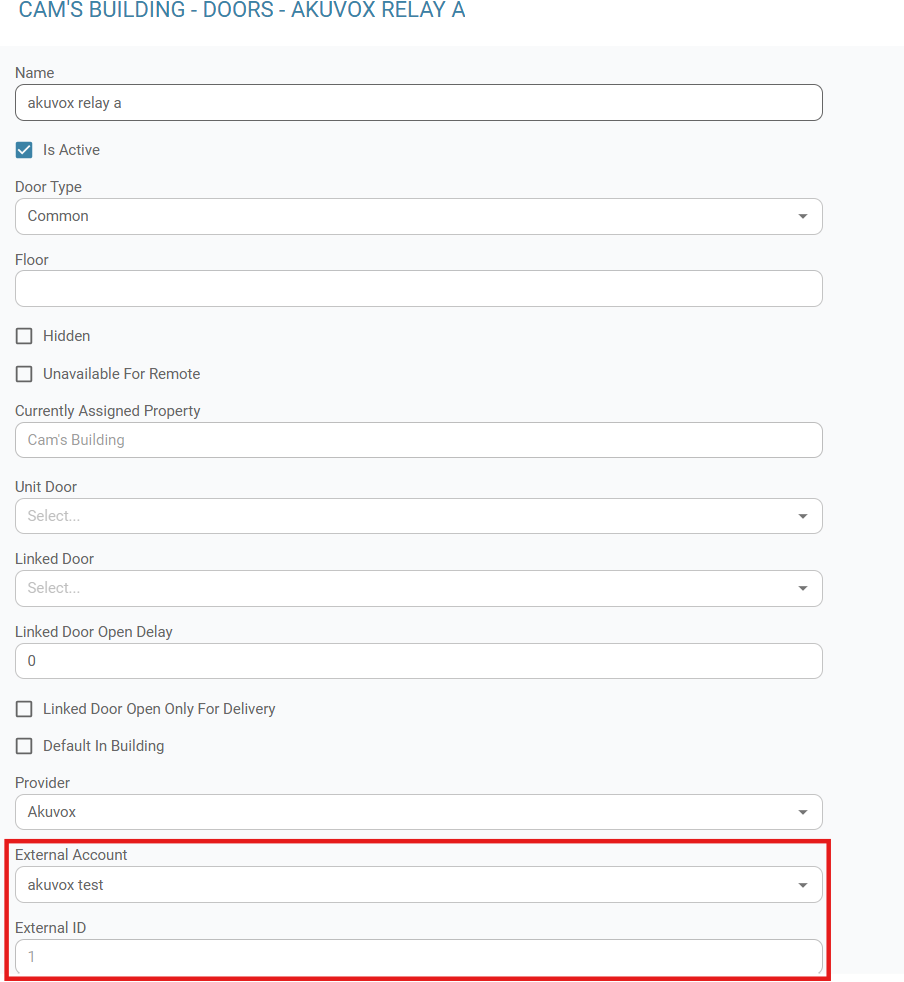
Create Doors
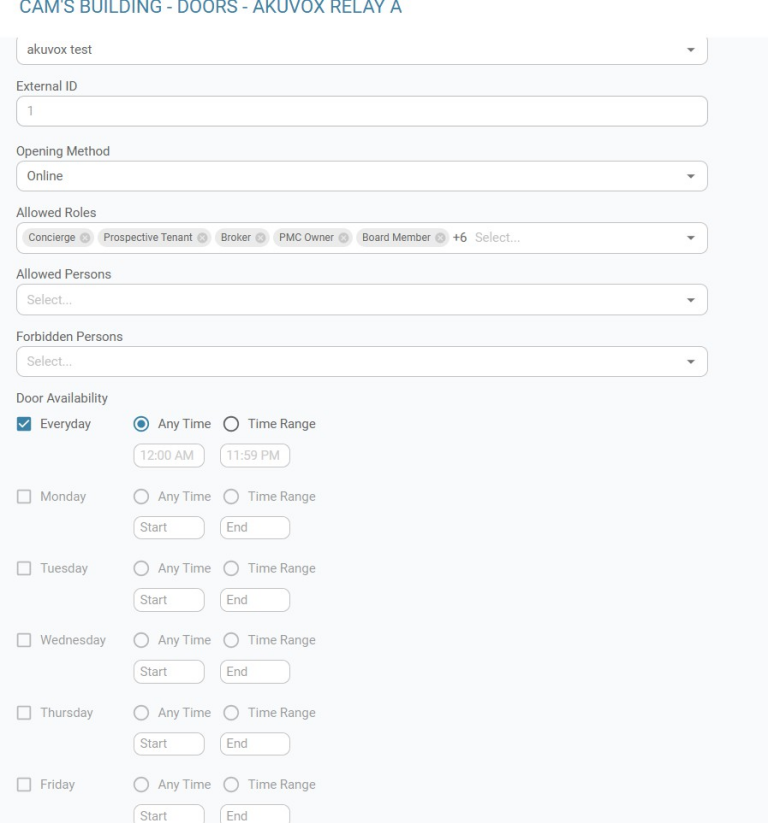
Go to Doors of {the Building} > Add Door.
Choose the Akuvox external account you are working on.
Relay | External ID |
|---|---|
Relay A | 1 |
Relay B | 2 |
Relay C | 3 |
Relay D | 4 |
Finish up Setup in Carson
Create Access Point
Enable Default Door
Add the Akuvox camera from Eagle Eye into Carson
Enable Door and Cameras