Local Relay
A local relay is an external unit that is physically nearby and directly connected to the intercom device. It allows the intercom system to trigger actions, such as unlocking a door, based on user input or authorization.
You can configure the relay switch(es) and DTMF for the door access on the web Access Control > Relay interface.
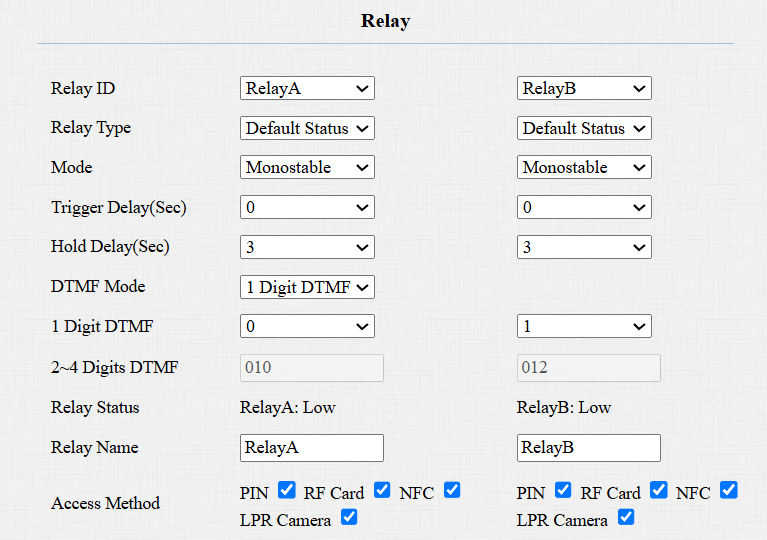
Relay Type: Determine the interpretation of the Relay Status regarding the state of the door:
Default State: A “Low” status in the Relay Status field indicates that the door is closed, while “High” indicates that it is open.
Invert State: A “Low” status in the Relay Status field indicates an opened door, while “High” indicates a closed one.
Mode: Specify the conditions for automatically resetting the relay status.
Monostable: The relay status resets automatically within the relay delay time after activation.
Bistable: The relay status resets upon triggering the relay again.
Trigger Delay(Sec): Set the delay time before the relay triggers. For example, if set to 5 seconds, the relay activates 5 seconds after pressing the Unlock button.
Hold Delay(Sec): Determine how long the relay stays activated. For example, if set to 5 seconds, the relay remains to be opened for 5 seconds before closing.
DTMF Mode: Set the digits of the DTMF code.
1 Digit DTMF: Define the 1-digit DTMF code within the range(0-9 and *,#) when the DTMF Mode is set to 1-digit.
2~4 Digits DTMF: Set the DTMF code based on the number of digits selected in the DTMF Mode.
Relay Status: Indicate the states of the relay, which are normally open and closed. By default, it shows low for normally closed(NC) and high for Normally Open(NO).
Relay Name: Assign a distinct name for identification purposes.
Access Method: Check the access method that can trigger the relay.
Security Relay
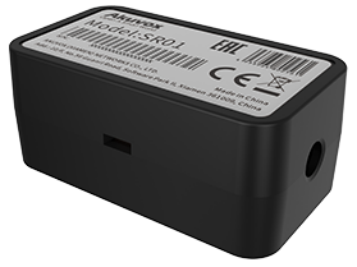
The Security Relay, known as Akuvox SR01, is a product designed to bolster access security by preventing unauthorized forced entry attempts. Installed inside the door, it directly governs the door opening mechanism, ensuring that the door remains secure even in the event of damage to the device.
Click here to view how to set up the security relay.
To set up the security relay, go to Access Control > Relay > Security Relay interface.
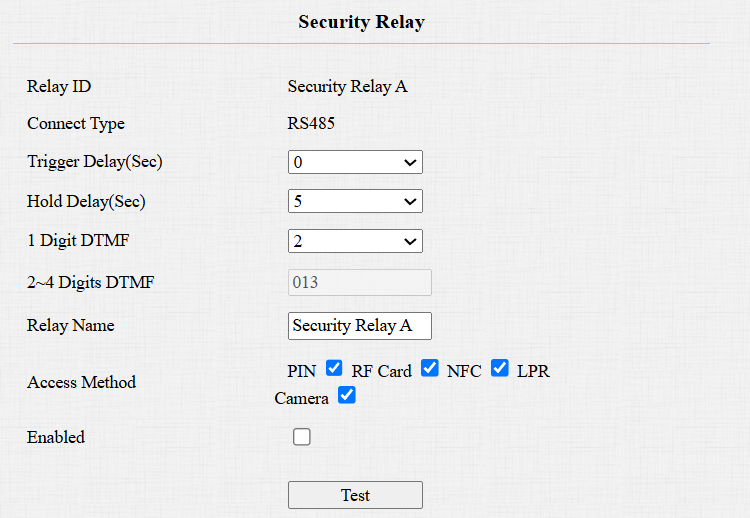
Connect Type: The connection type is RS485 by default.
Trigger Delay(Sec): Set the delay time before the relay triggers. For example, if set to 5 seconds, the relay activates 5 seconds after pressing the Unlock button.
Hold Delay(Sec): Determine how long the relay stays activated. For example, if set to 5 seconds, the relay remains open for 5 seconds before closing.
1 Digit DTMF: Define the 1-digit DTMF code within the range(0-9 and *,#) when the DTMF Mode in the Relay section above is set to 1-Digit.
2~4 Digits DTMF: Set the DTMF code based on the number of digits selected in the DTMF Mode.
Relay Name: Name the security relay. The name can be displayed in the door-opening logs. When connecting to the SmartPlus Cloud, the Cloud server will automatically assign the relay name.
Access Method: Check the access method that can trigger the security relay.
Test: Click to send the signal to the SR01. When the door phone and SR01 are pairing, click Test to finish the matching.
Web Relay
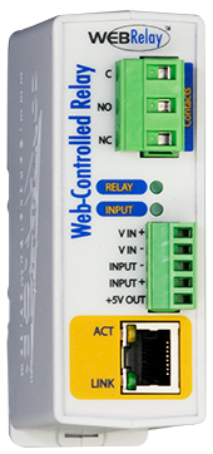
A web relay has a built-in web server and can be controlled via the Internet or a local network. The device can use a web relay to either control a local relay, or a remote relay somewhere else on the network.
Click here to view how to set up web relay.
To set it up, go to Access Control > Web Relay interface.

Type: Determine the type of relay activated when employing door access methods for entry.
Disabled: Only activate the local relay.
Web Relay: Only activate the web relay.
Both: Activate both the local relay and web relay. Typically, the local relay is triggered first, followed by the web relay.
IP Address: The web relay IP address provided by the web relay manufacturer.
User Name: The user name provided by the web relay manufacturer.
Password: The manufacturer-provided authentication key for the web relay. Authentication occurs via HTTP. Leaving the Password field blank indicates non-use of HTTP authentication. You can define the password using HTTP GET in the Web Relay Action field.
Web Relay Action: Configure the actions to be performed by the web relay upon triggering. Enter the manufacturer-provided URLs for various actions, with up to 50 commands.
NOTE
If the URL includes full HTTP content (e.g., http://admin:admin@192.168.1.2/state.xml?relayState=2), it doesn't rely on the IP address that you entered above. However, if the URL is simpler (e.g., state.xml?relayState=2), the relay uses the entered IP address.
Web Relay Key: Determine the methods to activate the web relay based on whether the DTMF code is filled.
- Filling with the configured DTMF code restricts activation to card swiping and DTMF.
- Leaving it blank enables all door-opening methods.
Web Relay Extension: Specify the intercom device and the methods it can use to activate the web relay during calls.
- When an intercom device’s IP/SIP is specified, only that device can trigger the web relay (except for via card swiping or DTMF) during calls.
- If left blank, all devices can trigger the relay during calls.