Tamper Alarm
The tamper alarm function prevents anyone from removing the device without permission. Akuvox devices support two types of tamper proof: gravity detection and button status detection.
Click here to view which type is supported by the device and learn the function details.
To set it up, navigate to the web System > Security interface.

Disarm: When the tamper alarm goes off, you can press the Disarm tab to clear the alarm.
Key Status: The tamper alarm will not be triggered unless the key status is shifted from Low to High status.
Note
The disarm tab will turn grey when the tamper alarm is cleared.
Security Notification Setting
Email Notification Setting
Set up email notifications to receive messages of unusual motion from the device.
Go to Setting > Action > Email Notification interface.

SMTP Server Address: The SMTP server address of the sender.
SMTP Username: The SMTP username is usually the same as the sender's email address.
SMTP Password: The password of the SMTP service is the same as the sender's email address.
Email Test: Used to test whether the email can be sent and received.
Action URL
You can use the device to send specific HTTP URL commands to the HTTP server for certain actions. These actions will be triggered when the relay status, PIN code, or RF card access changes.
Akuvox Action URL:
No | Event | Parameter format | Example |
1 | Relay Triggered | $relay1status | Http://server ip/relaytrigger=$relay1status |
2 | Relay Closed | $relay1status | Http://server ip/relayclose=$relay1status |
3 | Valid Code Entered | $code | Http://server ip/validcode=$code |
4 | Invalid Code Entered | $code | Http://server ip/invalidcode=$code |
5 | Valid Card Entered | $card_sn | Http://server ip/validcard=$card_sn |
6 | Invalid Card Entered | $card_sn | Http://server ip/invalidcard=$card_sn |
7 | Tamper Alarm Triggered | $alarm status | Http://server ip/tampertrigger=$alarmstatus |
8 | Break In Alarm | $input5status | Http://server ip/inputtrigger=$input5status |
9 | Alarm Door Open Timeout | $input6status | Http://server ip/inputtrigger=$input6status |
For example: http://192.168.16.118/help.xml? mac=$mac:ip=$ip:model=$model:firmware=$firmware:card_sn=$card_sn
To set it up, navigate to the web Setting > Action URL interface. You can set up the username and password for authentication.

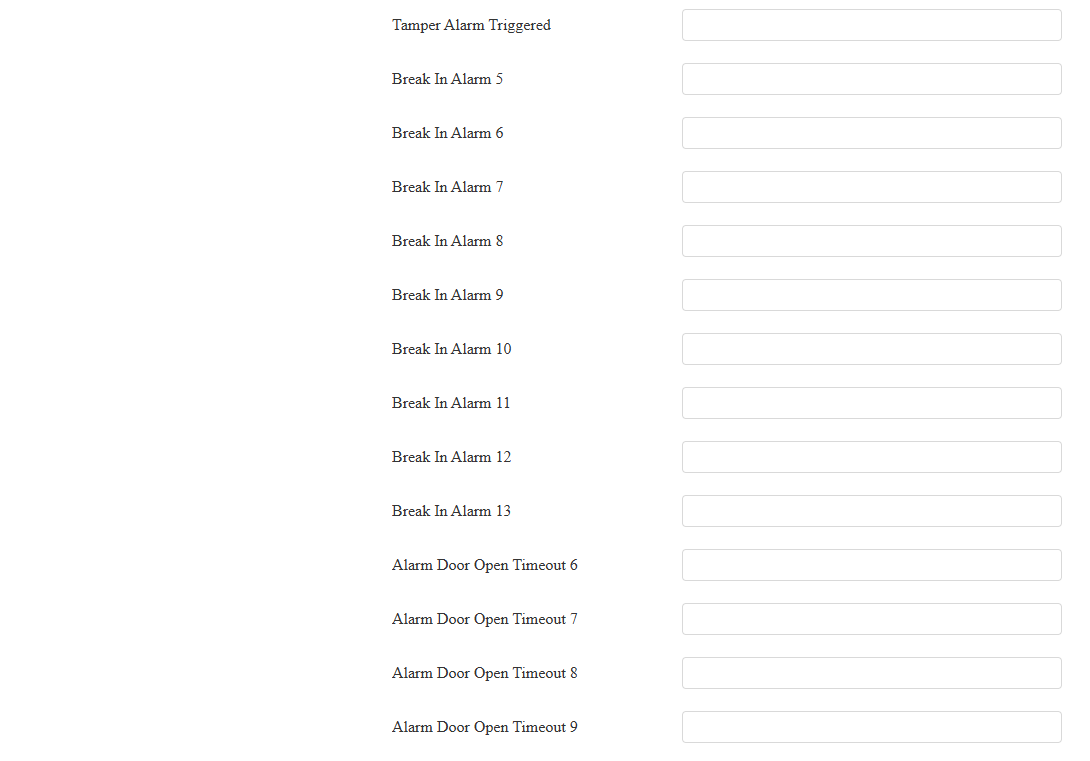
Break In Alarm 5 to 13: Refer to the break-in alarm triggered by General Input(Input 5), Door Magnetic A to D(Input 6 to 9), and Auxiliary Input A to D(Input 10 to 13).
Alarm Door Open Timeout 6 to 9: Refer to the door open timeout alarm triggered by Door Magnetic A to D(Input 6 to 9).
High Security Mode
High security mode is designed to enhance the security. It employs encryption across various facets, including the communication process, door opening commands, password storage methods, and more.
Enable High Security Mode on the System > Security > High Security Mode interface.

Important Notes
1. The High Security mode is off by default when you upgrade the device from a version without the mode to one with it. But if you reset the device to its factory settings, the mode is on by default.
2. This mode makes the old version tools incompatible. You need to upgrade them to the following versions or higher to use them.
PC Manager: 1.2.0.0
IP Scanner: 2.2.0.0
Upgrade Tool: 4.1.0.0
SDMC: 6.0.0.34
3. The supported HTTP format for relay triggering varies depending on whether high secure mode is enabled or disabled.
If the mode is on, the device only accepts the new HTTP formats below for door opening.
http://username:password@deviceIP/fcgi/OpenDoor?action=OpenDoor&DoorNum=1
http://deviceIP/fcgi/OpenDoor?action=OpenDoor&DoorNum=1
If the mode is off, the device can use both the new formats above and the old format below:
http://deviceIP/fcgi/do?action=OpenDoor&UserName=username&Password=password&DoorNum=1
4. It is not allowed to import/export configuration files in tgz. format between a device with the high security mode and another one without it. For assistance with file transfer, please contact Akuvox technical support.
Web Interface Automatic Log-out
You can set up the web interface's automatic log-out timing, requiring re-login by entering the user name and the passwords for security purposes or for the convenience of operation.
To set it up, navigate to the web System > Security interface.

Real-time Monitoring
This feature displays the door status when the device is connected to the SmartPlus Cloud. Property managers and end users can check the door status, respectively, on the SmartPlus Property Manager platform and SmartPlus App. You need to specify the relay(s) or input(s) that apply this feature.
Click here to see the detailed configuration.
Set it up on the System > Security > Real-time Monitoring interface.

Emergency Action
This feature can keep the door(s) open when an emergency happens(the input is triggered). You need to specify the Input that applies the feature.
Set it up on the System > Security > Emergency Action interface.

Local Action: Set whether to trigger the local relays with the input trigger. An option called “End Now” will be available when the relay is activated. You can click it to close the relay.
None: Disable the feature.
Time: Set the duration time of the relay activation.
Always: The relay keeps activated once it is triggered.
Note
When the device is deployed on the SmartPlus Cloud, property managers can apply emergency actions and the local action will be overwritten. For example, when the local relay is set to be activated for 5 minutes. At 3 minutes, the Cloud issues the Emergency Unlock action, the relay will not be closed after 5 miniutes but only closed when the Cloud issues the Emergency Close action.