Before proceeding, please have the ETS software installed on your computer. In this guide, we will be using ETS6.
Create a project
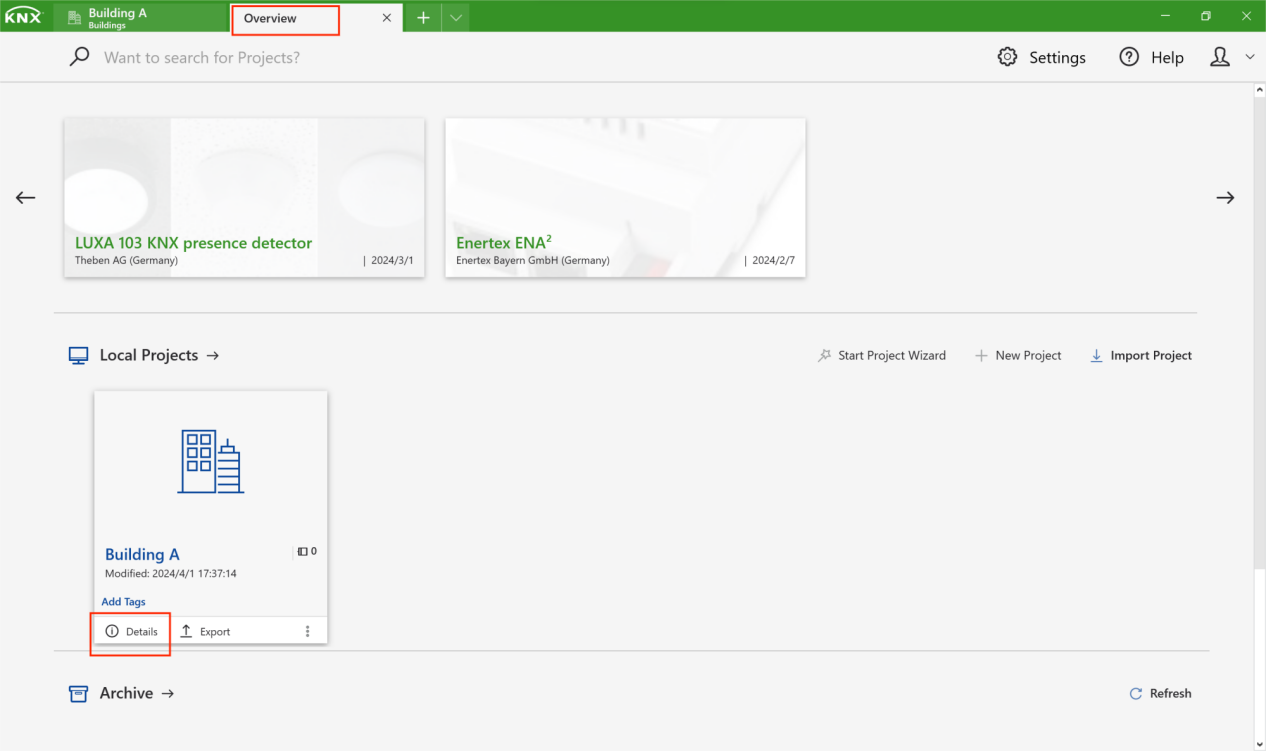
Open ETS6. On the dashboard, click on the New Project button under the Overview tab.

The New Project window opens, and do as the following:

Name your project.
Specify the Project Type. It helps you find your project quickly and does not affect functionality.
Select the medium for the Backbone line.
TP(Twisted pair): Ideal for small projects like apartments.
IP(Internet Protocol): Ideal for large projects with long distance between devices.
Check the Create Line 1.1 option.
If checked, the Area 1, Main line 1.0 (implicitly) and Line 1.1 are auto-created in the topology using the medium specified in the dropdown menu.
If not checked, only a Backbone line is created in the topology, using the specified medium.
Specify the medium of topology based on the scenario.
TP
PL(Power line): Data transmission over power grid.
RF(Radio-frequency)
Specify the group address display style. The Three Level style is recommended for the convenience.
Click on Create Project.
Tip
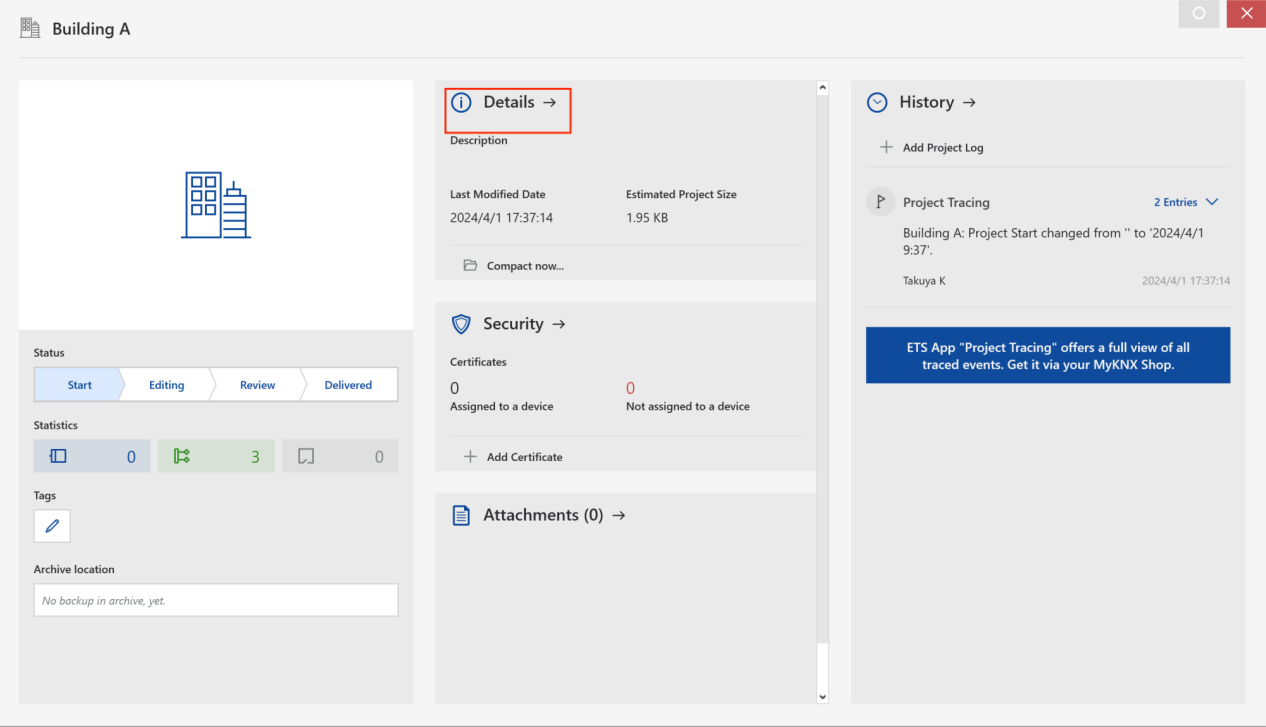
If you’d like to see the new project’s details or to change its settings, go to the Overview tab and click on Details > Details of the project.
Create a topology
Configuring the project’s topology includes creating and managing areas, lines, and individual addresses of KNX devices.
Note
In areas with multiple lines, each line must feature KNX power supply and Line Couplers. Line Couplers can expand the network further, allowing up to 15 lines to be operated via Line Couplers on a single line.
Under the Overview tab, double click the newly-created project to open its configuration panels.
Tip
The default configuration panel that opens is “Buildings”. It enables you to create a building structure mirroring the real physical layout and place devices into the specific structure elements, helping in device management and troubleshooting. Importantly, the building structure has no impact on actual wiring or project functionality. For more details, see here.
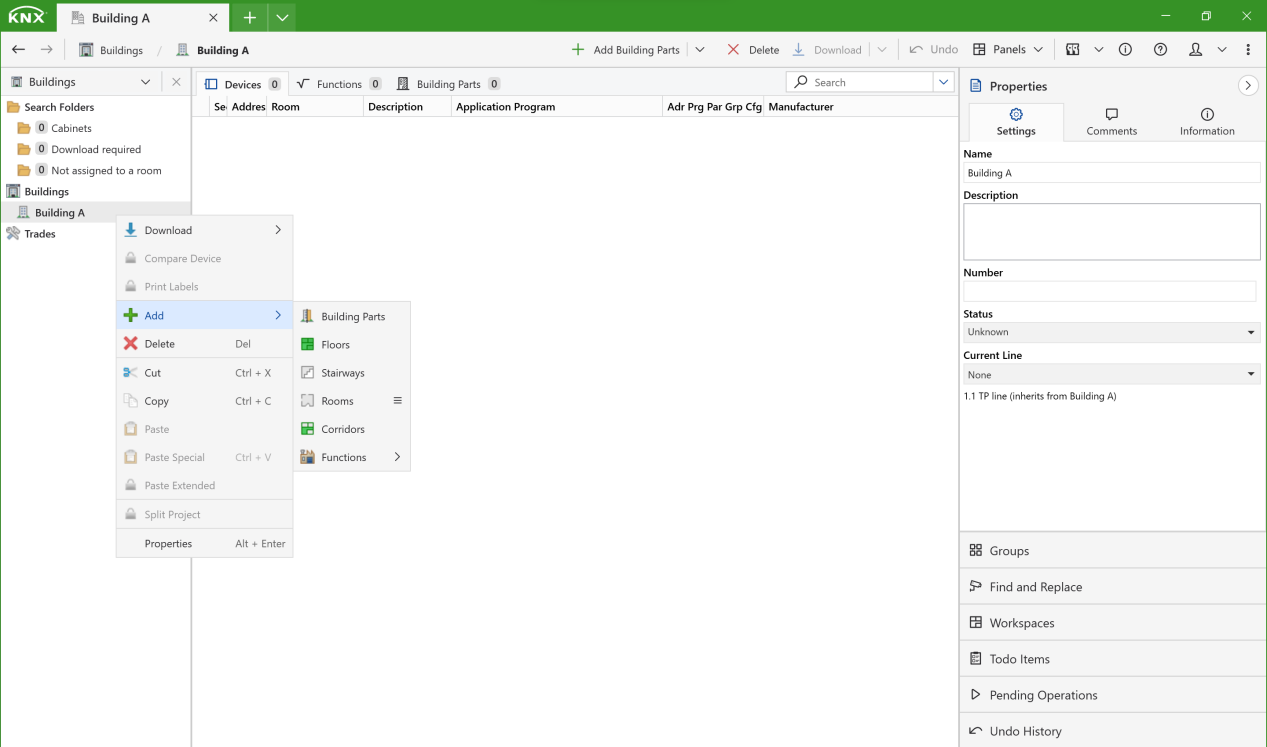
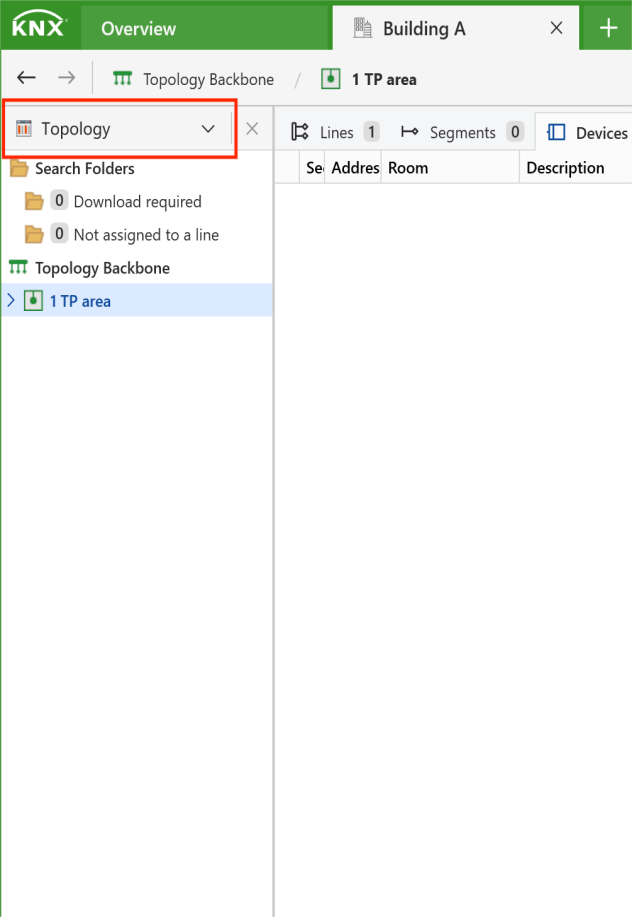
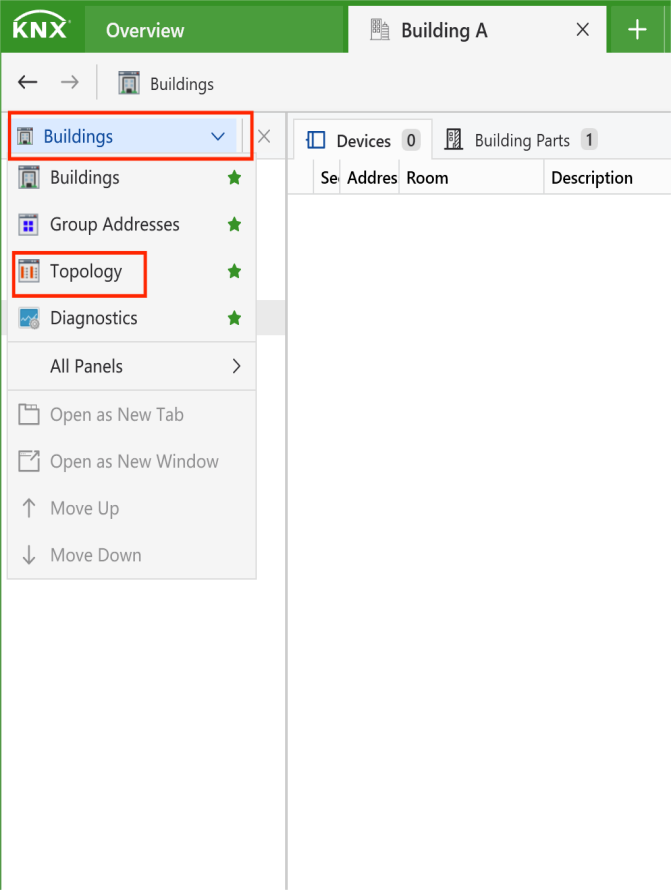
To change to the topology configuration page, click on Buildings and select Topology from the dropdown list.
To create an area before adding the line(s), do any of the following:
Select the Topology Backbone in the tree view, then click Add Areas button in the upper bar;
Right-click on the Topology backbone > Add > Areas.

Select the area to which additional line(s) to be added, then do any of the following:
Click the Add Lines button in the upper bar;
Right-click on the area and click Add > Lines.

Add devices onto lines
On the Topology panel, it is possible to drag and drop existing devices or insert new devices into the desired lines. Once added, the device can be assigned an individual address, and have its behaviour programmed.
You can add new devices in three ways: import local product lists, use the online catalog, or copy from other projects.
Import your product list
In the upper bar, select Panels > All Panels > Catalog to open the Catalog panel.

Click Import to upload the list file in .knxprod format.

Select the desired product, and drag and drop it to the desired line.

Select from the online catalog
Once you specify the market, the Catalog panel will display the products offered for that market by manufacturers. From there, you can easily drag and drop the desired product to the specific line.
Copy from other projects
Open the project where you want to use its devices.
Go to its Topology panel, right-click on your desired product in the tree view, and select Copy.

Return to the current project, right-click on the desired line, and select Paste. The product will then be displayed in the list.


Once devices are added onto the lines, you can configure their parameters and proceed to perform a download to transfer the configurations to the devices.