Install Third-party App
To check the used/total storage of the device and install the third-party app, go to the web Device > Third Party APK interface. Upload the APK file from the PC. If you want to clear the APK file uploaded, click Reset.

To configure the installed third-party app, you can click the App Name to select the specific app for configuration. Then tick the check boxes of each field for the specific configuration.
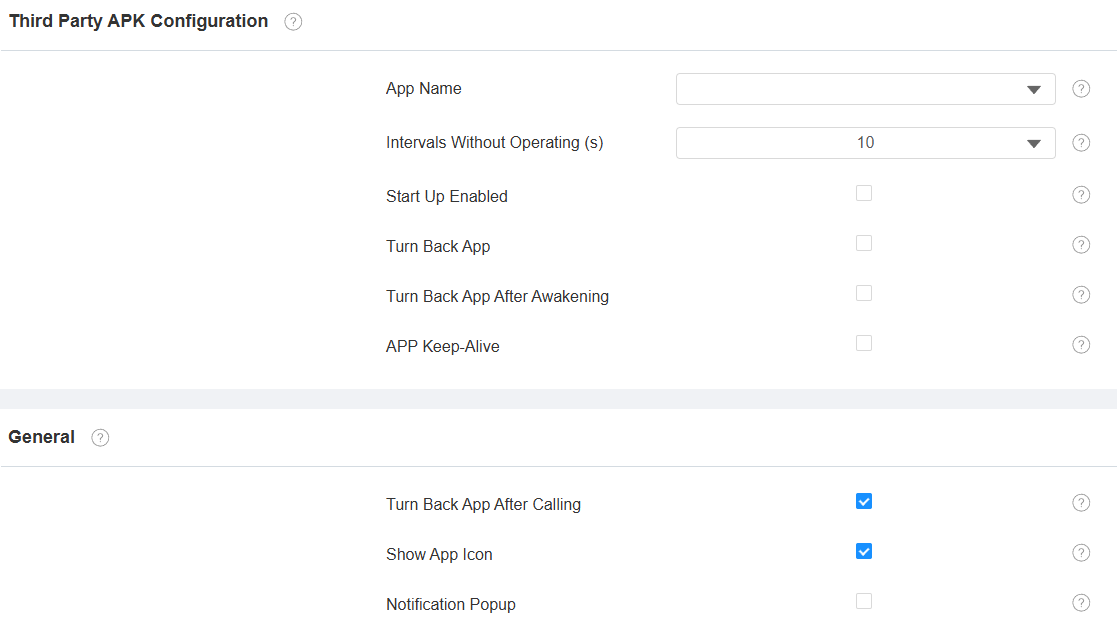
App Name: Select the app to be configured.
Intervals Without Operating(Sec): Set the time to return to the app when there is no operation on the device.
Start Up Enabled: Allow the app to run automatically when the device is turned on.
Turn Back App: Allow automatic returning to the app.
Turn Back App After Awakening: Allow the device to return to the app when the screen is awakened.
APP Keep-Alive: Allow the app to stay running without being turned off.
Turn Back App After Calling: Allow the device to return to the app automatically after finishing a call.
Show App Icon: Allow the app icon to be displayed on the screen.
Notification Pop-up: If enabled, the device will have a sound alert and pop-up notification when receiving notifications from third-party apps.
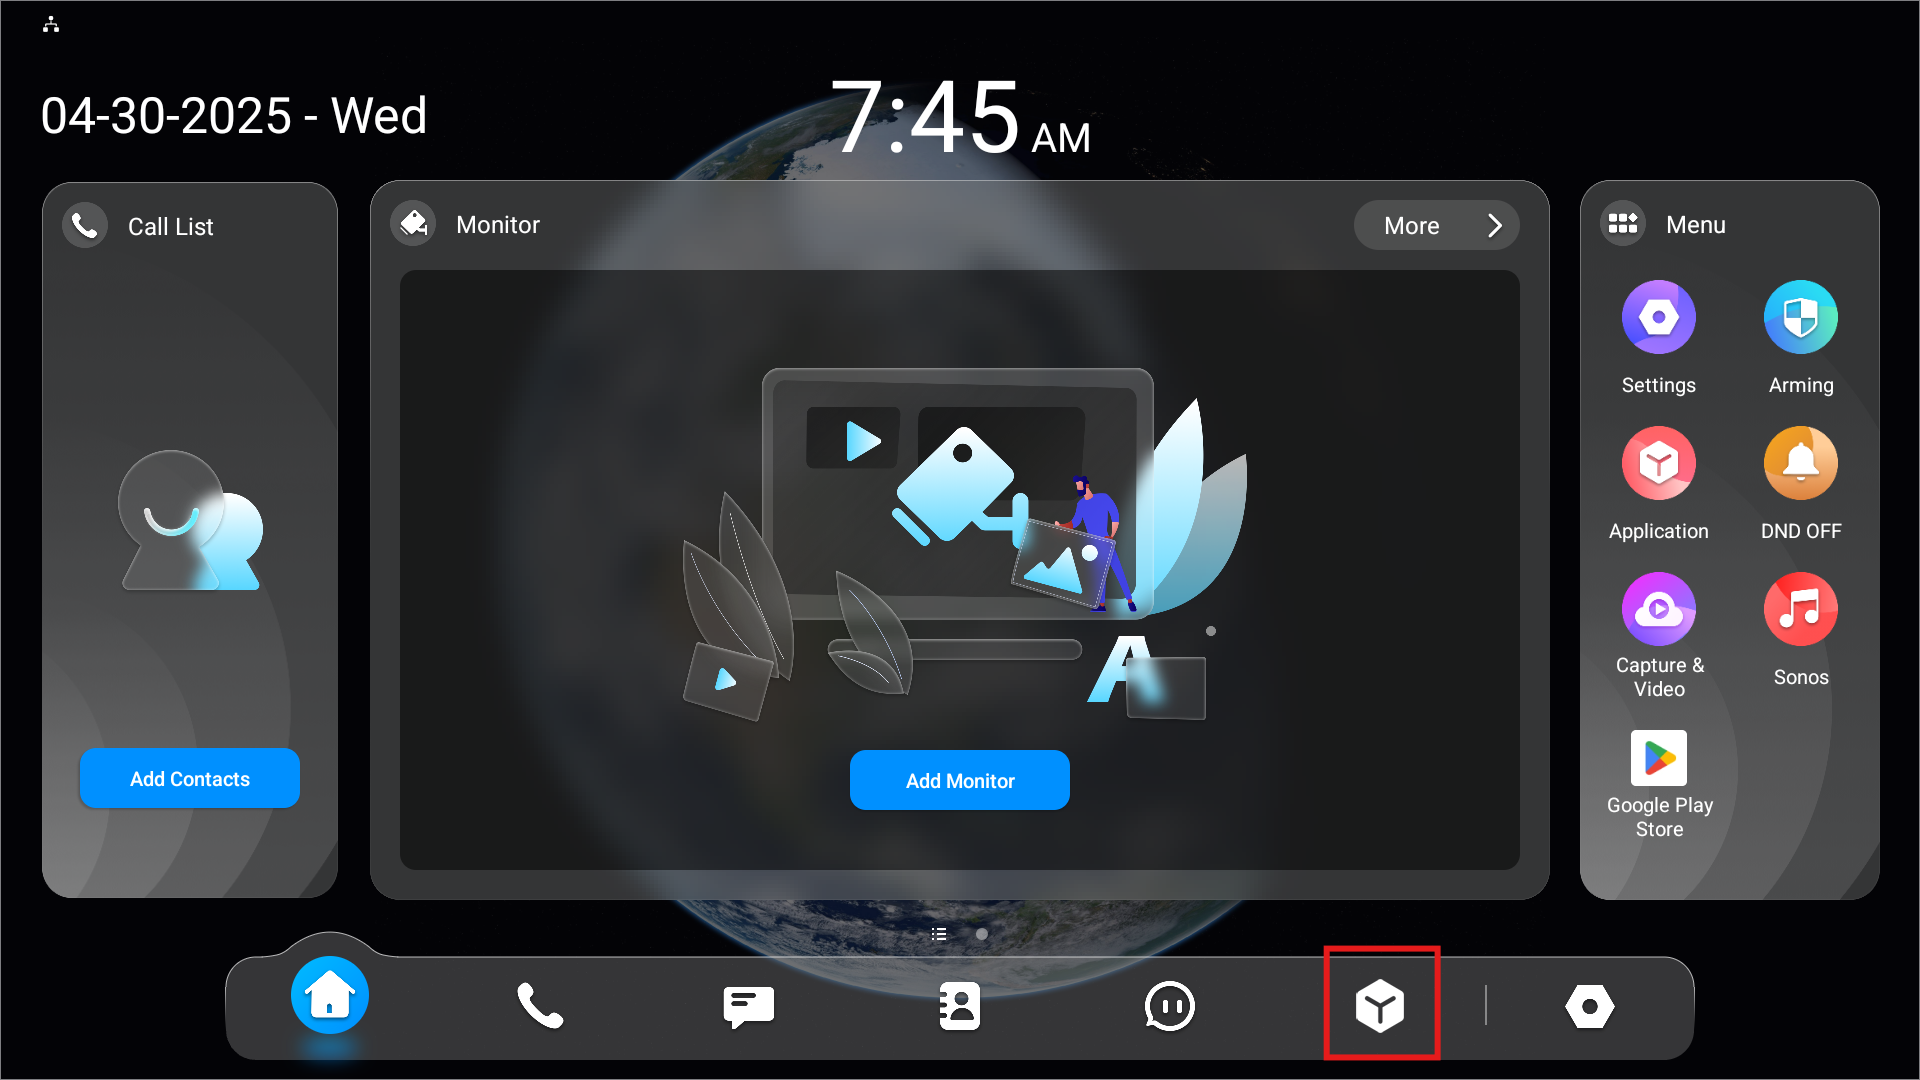
Enter Applications Screen
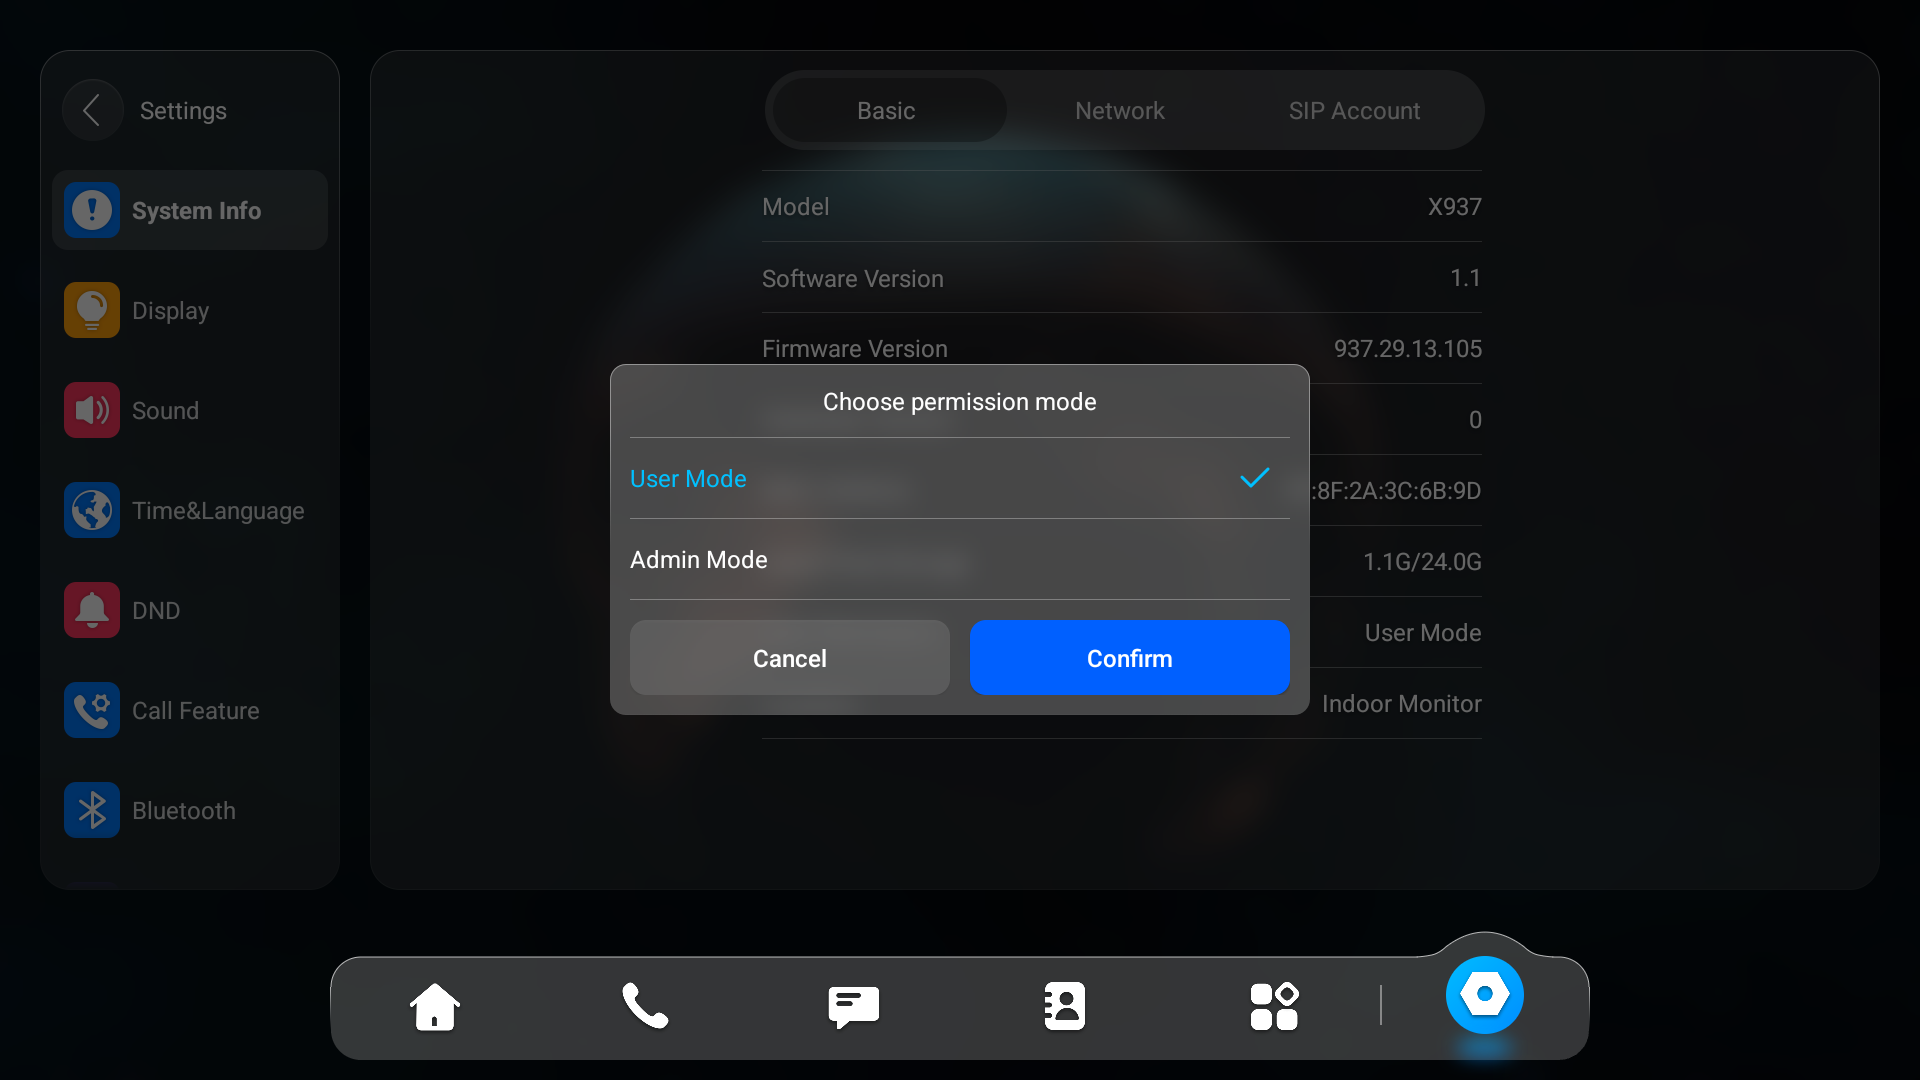
The indoor monitor supports User and Admin modes. In Admin mode, you can access both the third-party and default applications.
Go to the Settings > System Info interface. Tap on User Mode 10 times. Then select Admin Mode and tap Confirm.
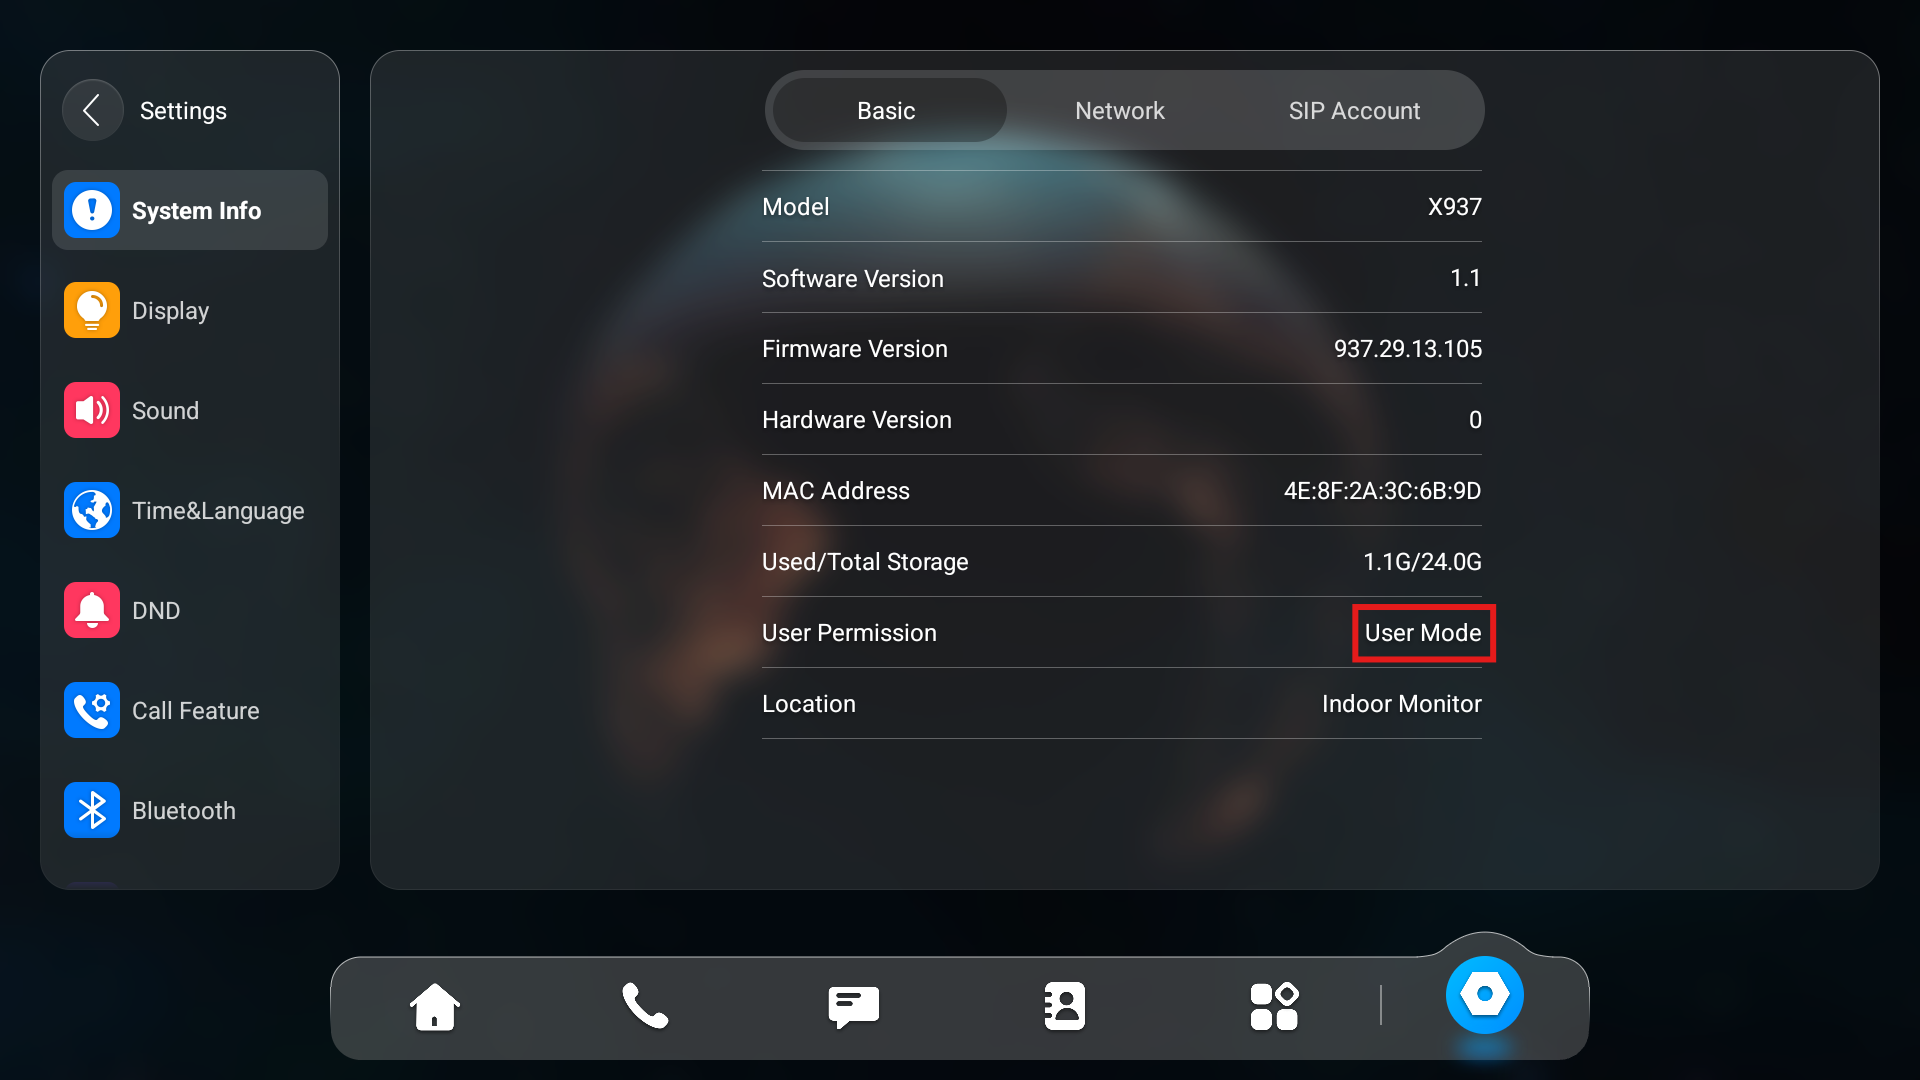
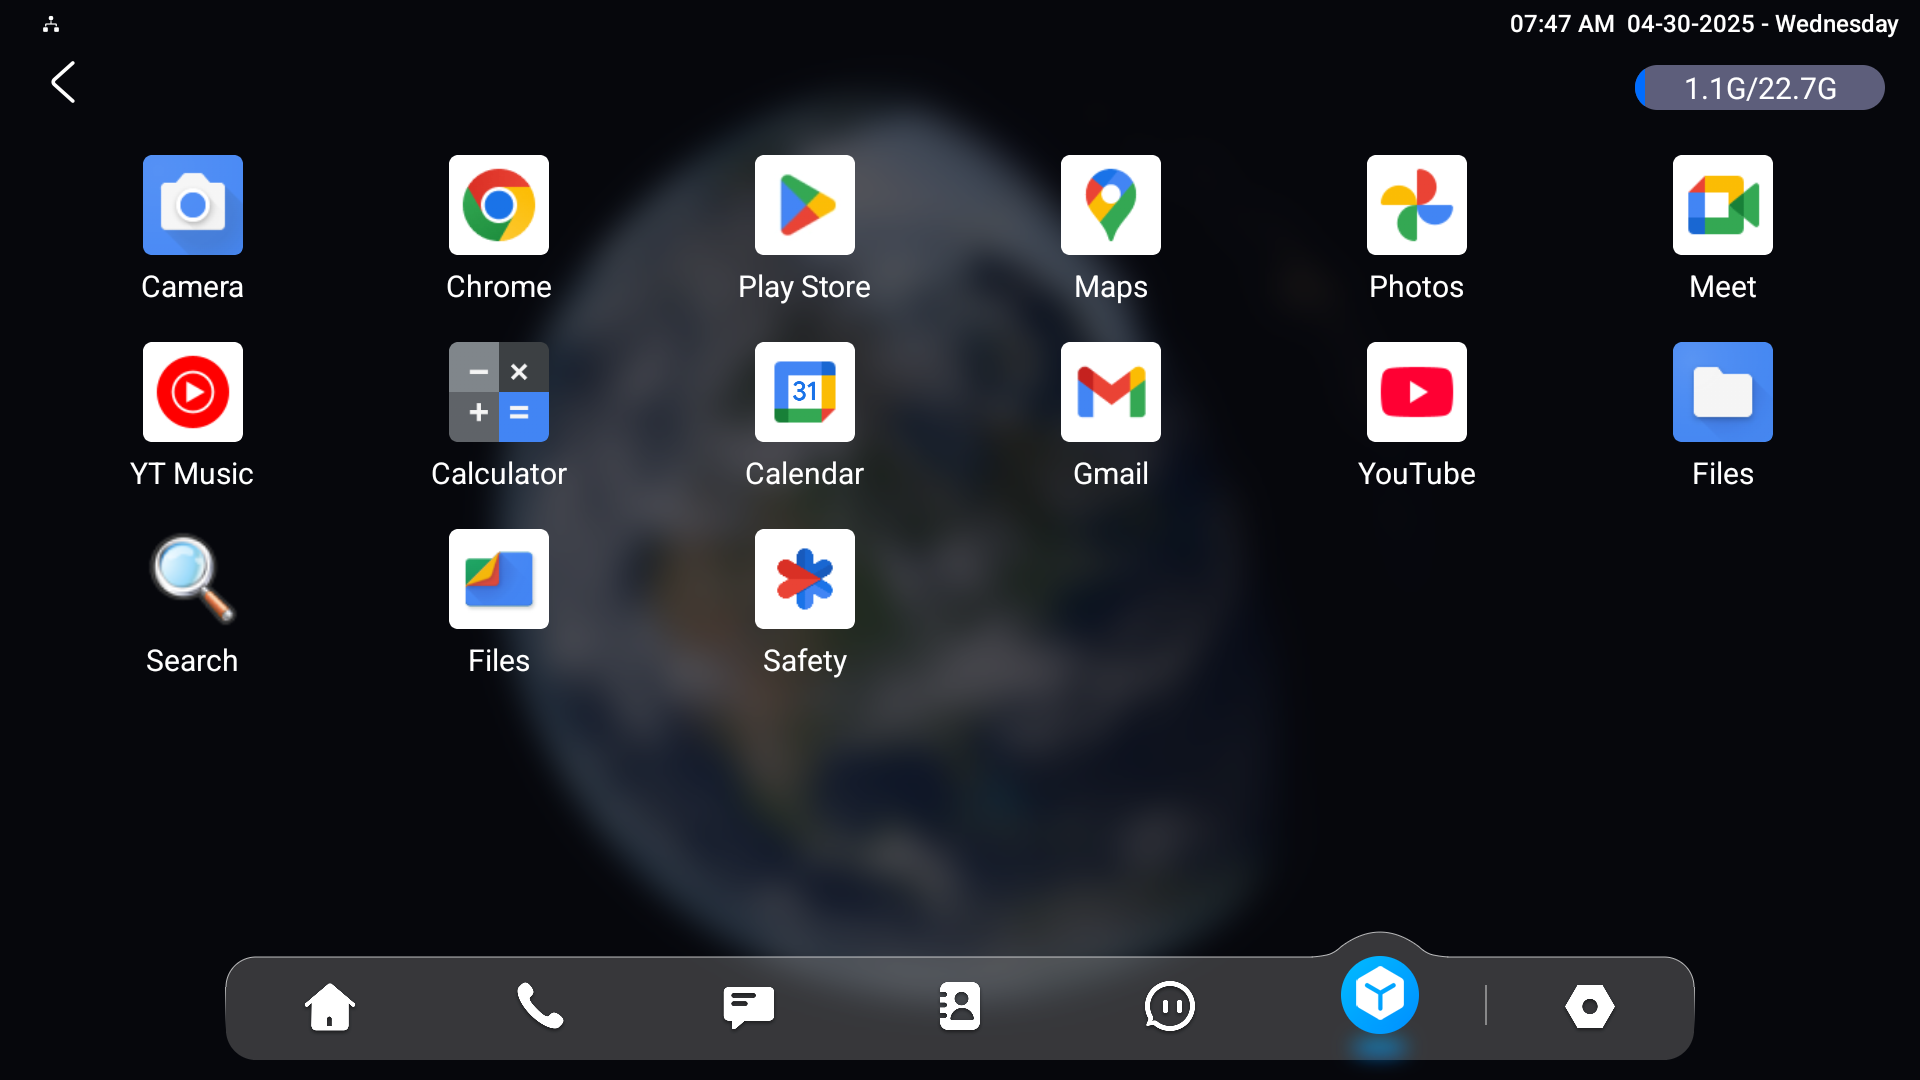
The Application tab will display on the home screen. Tap it to access applications.
App Lock
The App Lock feature prevents abused access to third-party apps by requiring users to enter a password before accessing them.
It is available when third-party apps are installed on the device.
Set it up on the Device > Third-Party APK interface. It is disabled by default.

Current App Lock Code: The default is 123456.
Locked App: Move the app from the left to the right box to enable the feature.
Set it up on the Settings > App Lock screen.
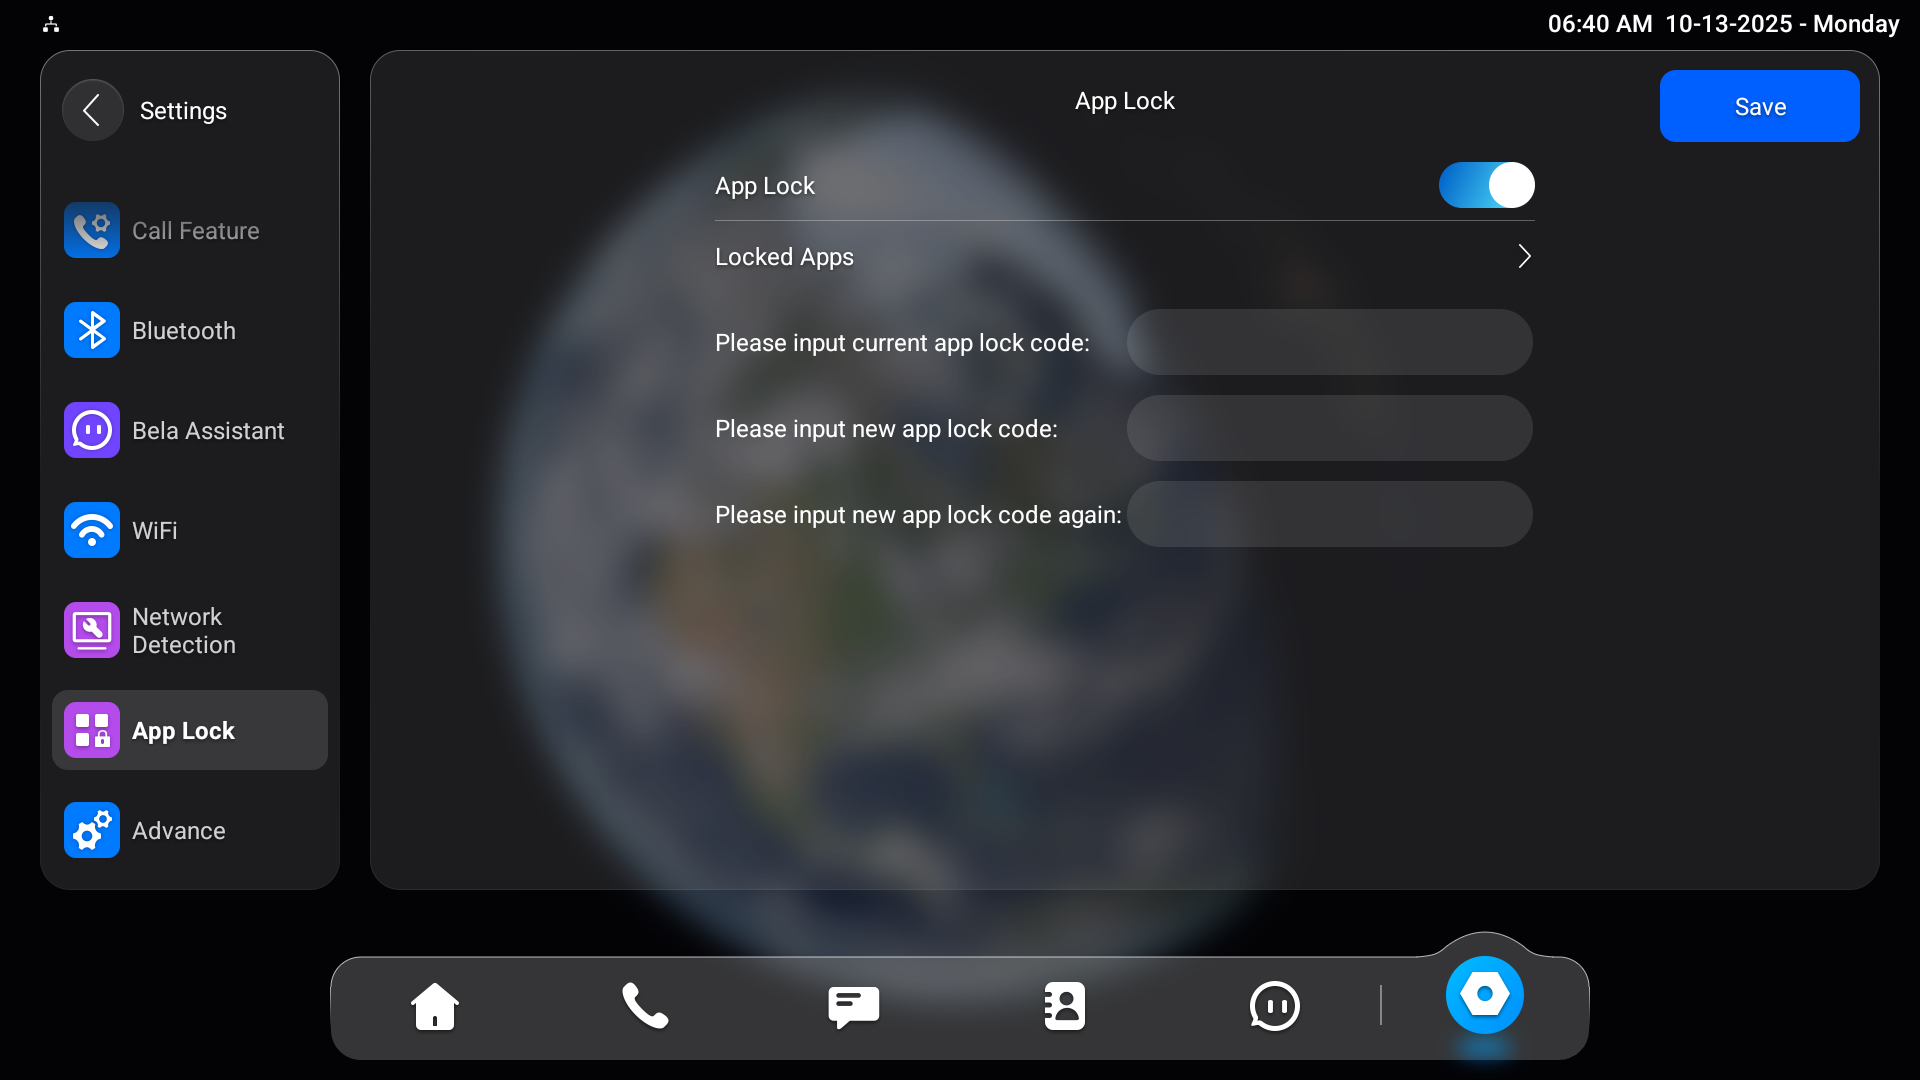
Locked Apps: Select the app to apply this feature.
Lock Code: The default code is 123456.
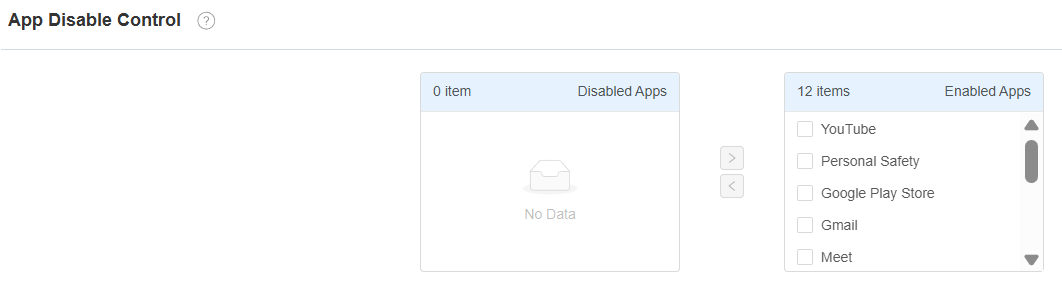
App Control
You can enable/disable the use of third-party apps.
Set it up on the Device > Third Party APK interface. Disable specific apps by checking them and moving to the left box.
Integration via HTTP API
HTTP API is designed to achieve a network-based integration between the third-party device and the Akuvox device.
To set it up, go to the Security > API interface.
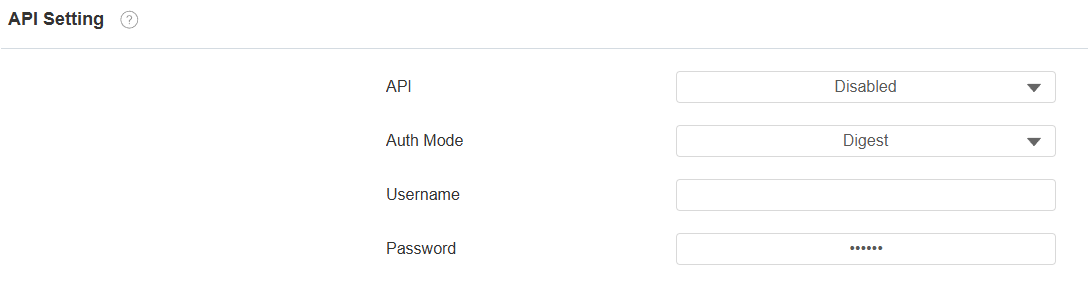
API: When the function is disabled, any request to initiate the integration will be denied and return HTTP 403 forbidden status.
Auth Mode:
Allowlist: You are required to fill in the IP address of the third-party device for authentication. It is suitable for operation in a LAN.
Digest: The password encryption method only supports MD5. MD5( Message-Digest Algorithm) In the Authorization field of the HTTP request header: WWW-Authenticate: Digest realm="HTTP API",qop="auth,auth-int",nonce="xx", opaque="xx".
Username: Set the user name when Digest authorization mode is selected. The default user name is admin.
Password: Set the password when Digest authorization mode is selected. The default password is admin.
Integration via External Relay
Users can control akubela or third-party smart home devices on the indoor monitor through an external relay controller.
To set it up, go to Device > External Relay interface.
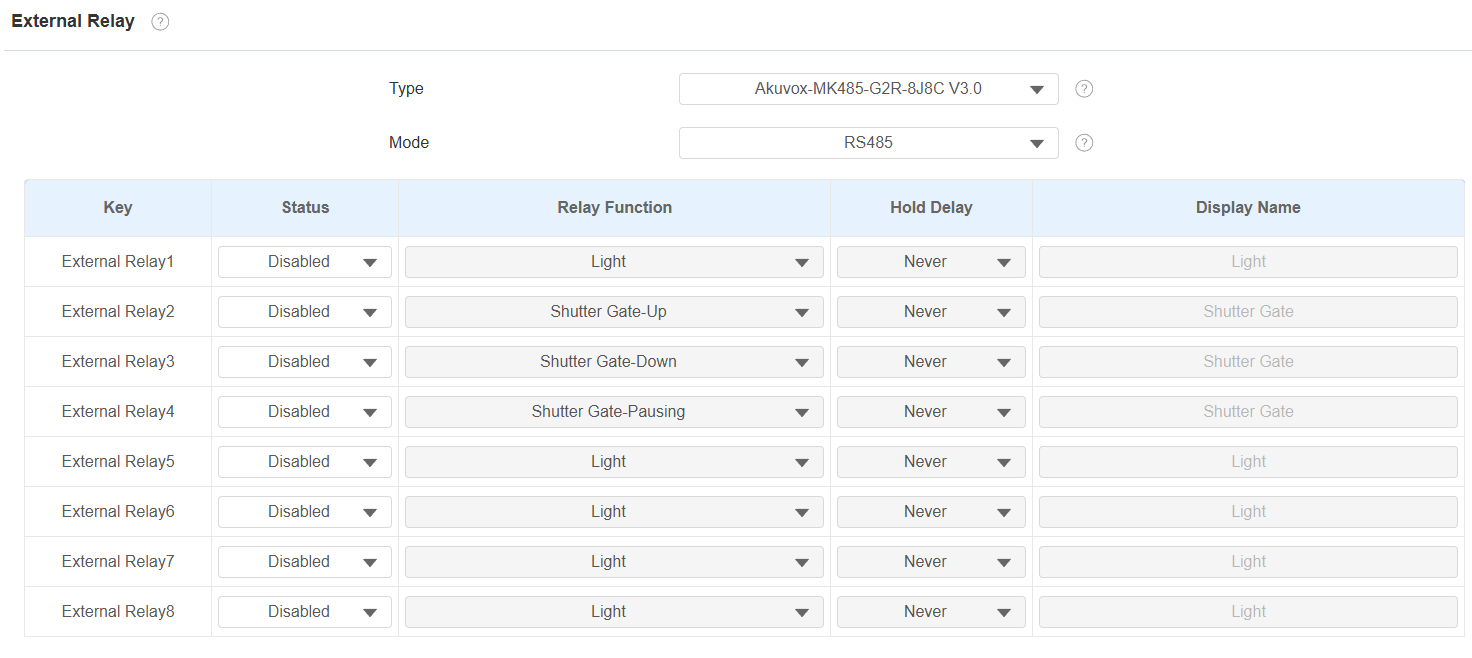
Type: Select the external relay type.
Mode: Set the external relay mode based on its connection with the indoor monitor. If it is the akubela RSAC-C1-R8, this option is RS485 by default.
Status: Enable/disable the relay.
Relay Function: Set the relay function based on the smart home devices connected.
Hold Delay: Specify the relay reset time from 1 to 60 seconds. Never means it keeps activated once it is triggered. By default, it is 3 seconds for Door and Others relay functions, and Never for other functions.
Display Name: Set the tab’s name displayed on the indoor monitor’s External Relay screen.
Note
To display the External Relay button on the home screen, set it up on the Device > Display Setting interface.
Click here to view the detailed configuration of the external relay feature.
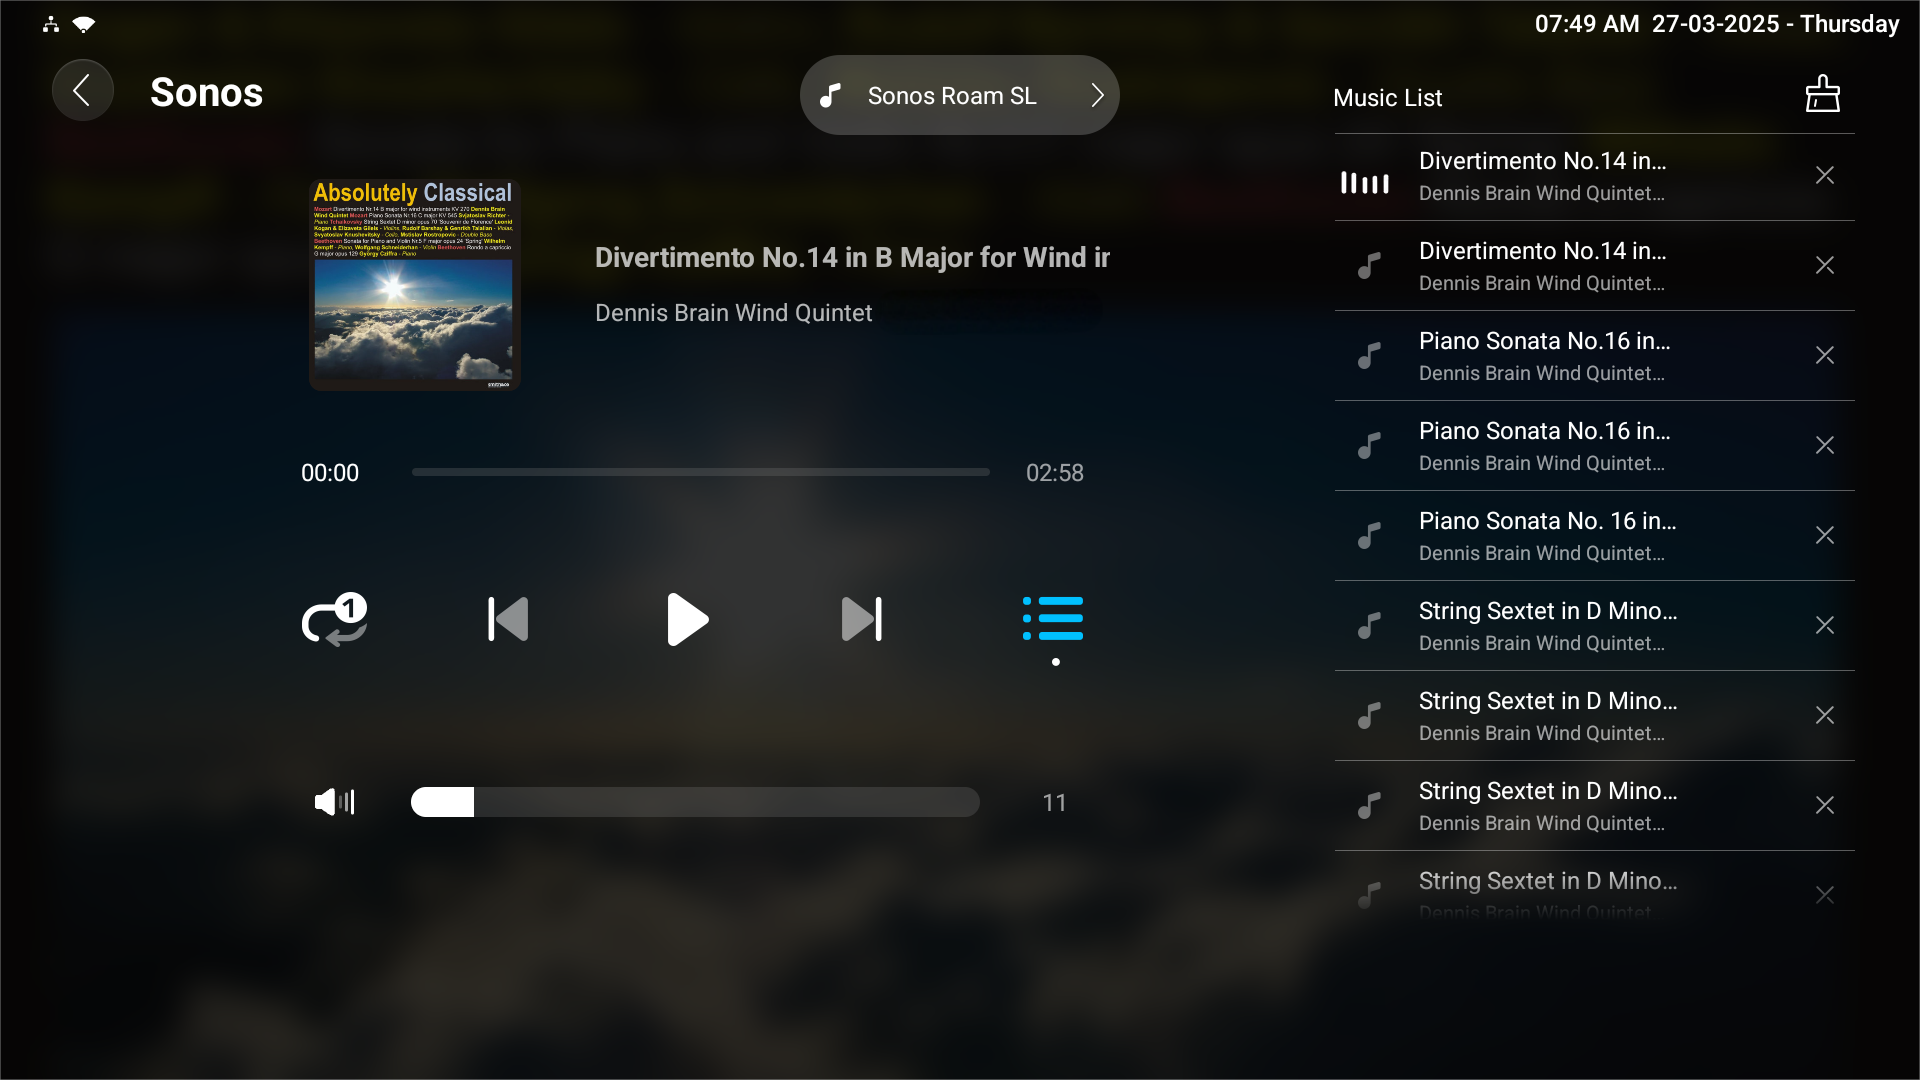
Control Sonos Speaker
The device can scan and add a Sonos speaker on the same network. Users can play music on the device.
Click here to view the instructions for adding the Sonos speaker.
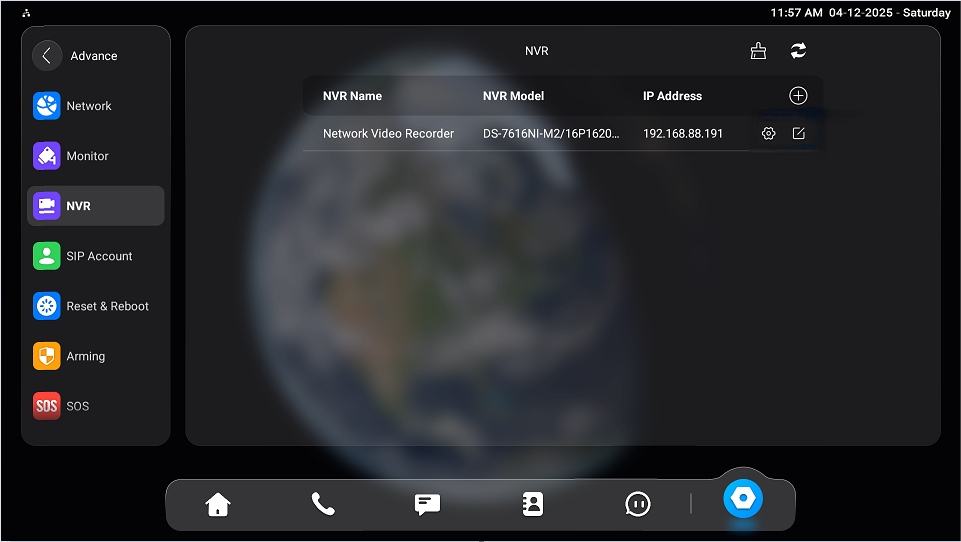
Integration with Third-Party NVRs
The device can be connected to the Hikvision or Uniview NVR via HDMI port and used as a monitor.
Click here to view the detailed configuration.
To set it up, go to Settings > Advance > NVR screen.
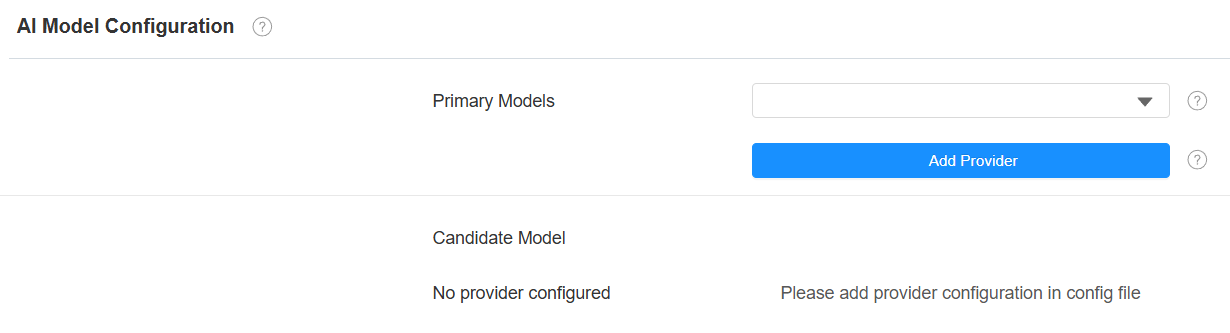
AI Agent Integration via OpenClaw
The X937 supports AI agent integration through OpenClaw, allowing installers and administrators to enable AI-based device control and chat interaction.
With this feature, users can control devices through natural language, integrate with third-party chat platforms, execute automation skills, and manage AI models directly on the device.
Click here to view the detailed configuration of the feature.
Set this feature up on the Settings > OpenClaw interface.