Akuvox Lift Controller
The device can be connected to the Akuvox lift controller for the lift control. Users can summon the lift to go down to the ground floor when they are granted access through various types of access methods on the device.
Click here to watch a demonstration video of configuring the lift control feature.
To set up the lift control, navigate to the Device > Lift Control interface.
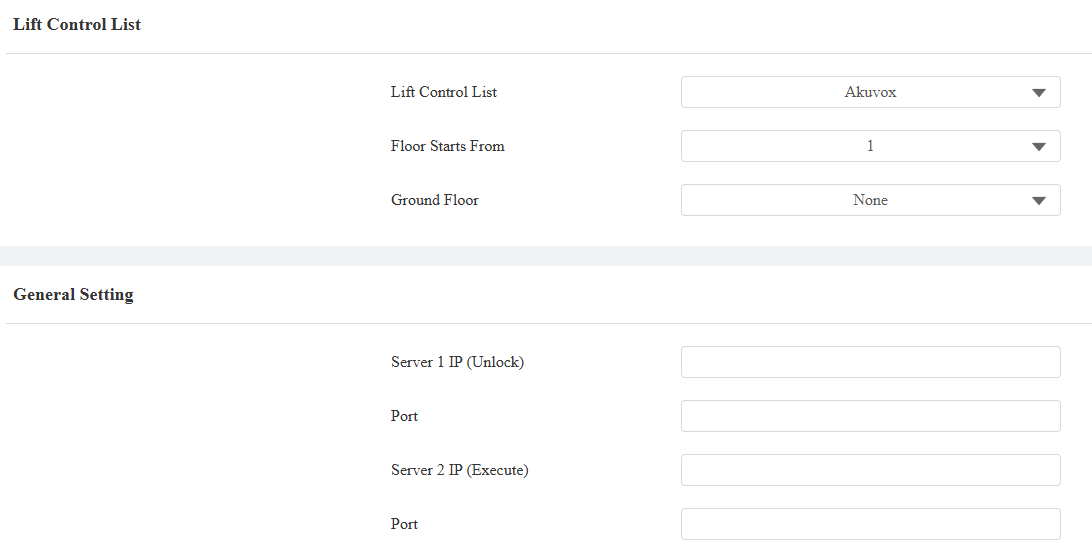
Lift Control List: Select None to disable the function, and select Akuvox to integrate the door phone with the Akuvox controller.
Floor Starts From: Set the floor from which the floor count starts. For example, if you select -3, then the 3rd floor in the basement will be considered as the first floor, matched with relay#1 (first floor).
Ground Floor: If there are ground floors between the -1 and 1 floors, configure this option.
Server 1 IP(Unlock): The IP address of the Akuvox lift control server. It supports up to 10 server addresses separated by ";".
Server 2 IP(Execute): The IP address of the server that triggers lift control.
Port: The server port of the lift controller server.
User Name: The username of the lift controller for the authentication.
Password: The password of the lift controller for the authentication.
Floor NO. Parameter: Enter the floor number parameter provided by Akuvox. The default parameter string is “$floor”. You can define your parameter string if needed.
URL To Trigger Specific Floor: Enter the Akuvox lift control URL for triggering a specific floor. The URL is /cdor.cgi?open=0&door=$floor, but the string “$floor” at the end must be identical to the parameter string you defined.
URL To Trigger All Floors: Enter the Akuvox URL for triggering all floors.
URL To Close All Floors: Enter the Akuvox URL used for closing all floors, meaning all the buttons that are triggered for the corresponding floors will become invalid.
Device Location: Select the floor where the device is installed.
KONE Lift Controller
The device supports the integration with the KONE lift control panel. Users can use their credentials configured on the door phone to unlock the lift button and access the desired floor.
Click the following articles to view the detailed configuration steps and different integration scenarios.
Set it up on the Device > Lift Control interface. Select KONE in the Lift Control List.
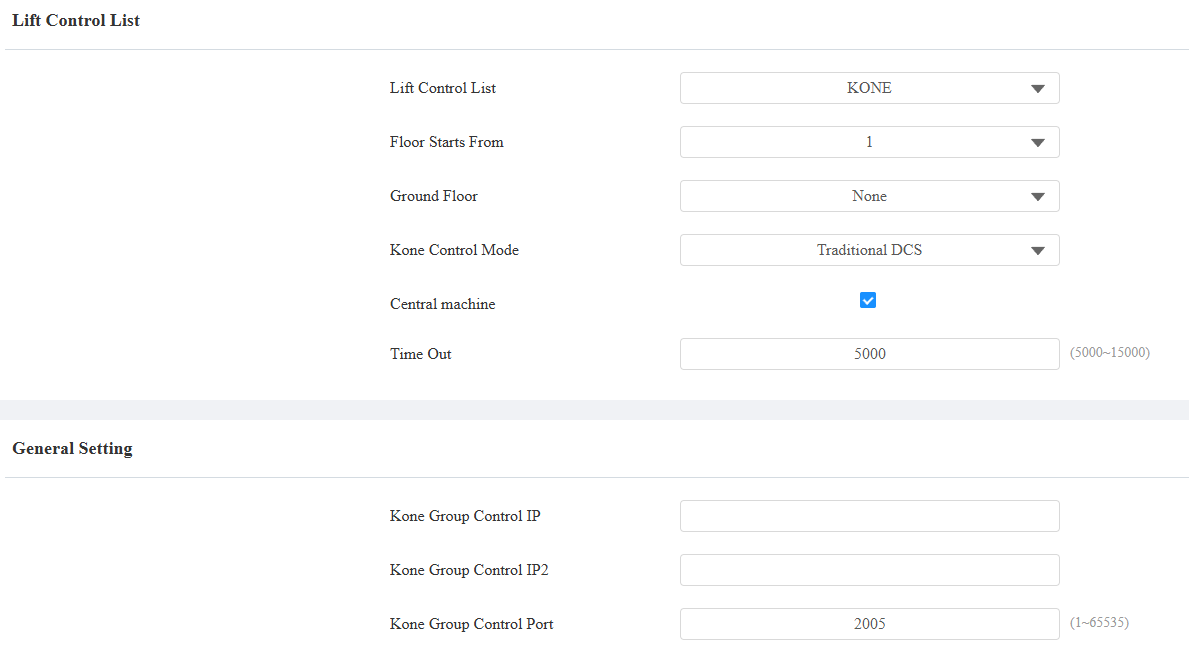
Floor Starts From: Set the floor from which the floor count starts. For example, if you select -3, then the 3rd floor in the basement will be considered as the first floor.
Ground Floor: If there are ground floors between the -1 and 1 floors, configure this option.
KONE Control Mode: Select the option based on the lift control scenario.
Traditional DCS: The destination operating panels are on all floors, and there are no buttons on the car operating panel.
Conventional: Passengers select their destination floors on the control panel inside the lift car.
Hybrid DCS: The destination operating panels are located only on the main floors, while other floors have conventional landing signalization. Cars have a conventional operating panel.
Turnstile Integration: Passengers use their credentials at the entrance and call the lift.
Central Machine:
When the door phone is used as the central machine, configure the following options.
KONE Group Control IP/IP2: The KONE control panel’s IP address. You can enter three IPs for each group, separated by “;”.
Kone Group Control Port: The KONE control panel’s port number.
When the door phone is NOT used as the central machine, configure the following options.
KONE Central IP: The IP address of another door phone that is used as the central machine.
KONE Central Port: The port number of another door phone that is used as the central machine.
Username: The username of the HTTP API authentication set in the central machine.
Password: The password of the HTTP API authentication set in the central machine.
Time Out: Available for Traditional DCS, Conventional, and Hybrid DCS. It is 5000ms by default; define the time for users to press the lift button.
After choosing the KONE Control Mode, you need to fill in specific options. Please confirm them with the KONE service provider.
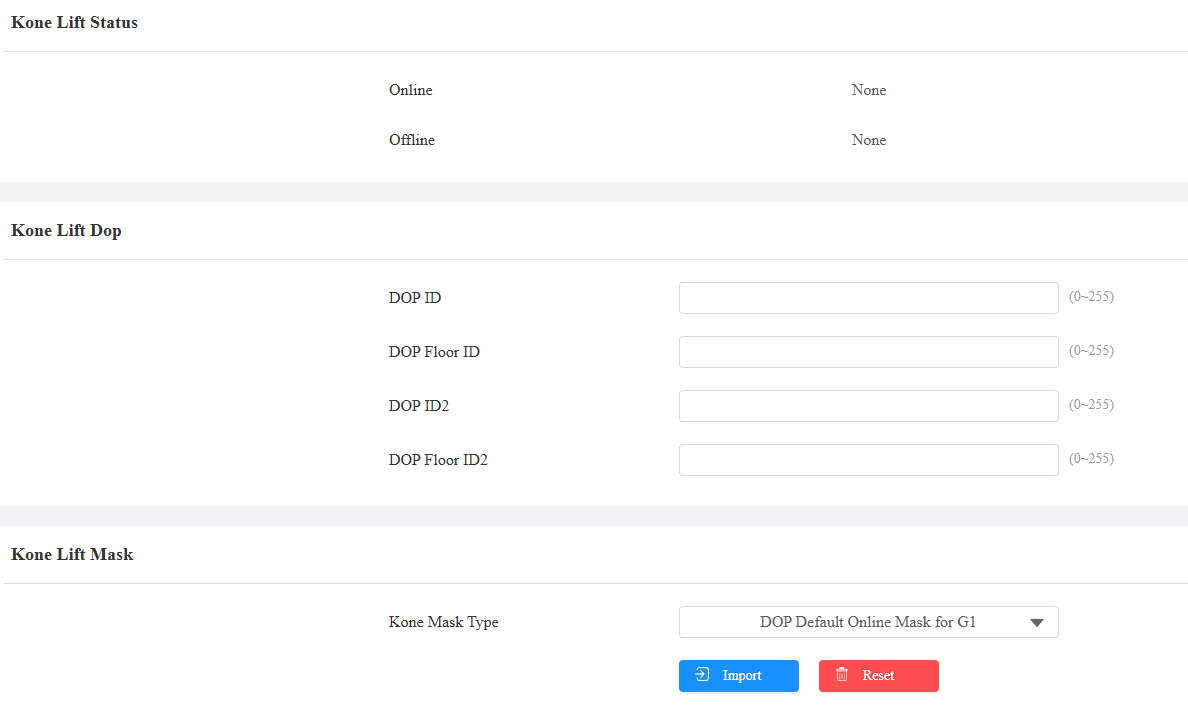
Kone Lift Dop | Kone Lift Cop | Lift Turnstile |
|---|---|---|
DOP ID | COP Elevator ID | Device Terminal ID |
DOP Floor ID | COP Group ID | Device Floor ID |
DOP ID2 | COP Elevator ID2 | Device Door |
DOP Floor ID2 | COP Group ID2 | Device Terminal ID2 |
Device Floor ID2 | ||
Device Floor ID2 |
KONE Mask Type: Available when the Central Machine is checked. Upload the default or specific mask file. To obtain the configuration file, please contact the Akuvox tech team.
Mitsubishi Lift Controller
The device supports integration with the Mitsubishi lift control system. Users can use their credentials configured on the door phone to unlock the lift button and access the desired floor.
To set this feature up, go to the Device > Lift Control interface. Select Mitsubishi in the Lift Control List.

Floor Starts From: Set the floor from which the floor count starts. For example, if you select -3, then the 3rd floor in the basement will be considered as the first floor.
Ground Floor: If there are ground floors between the -1 and 1 floors, configure this option.
ELSGW IP: The IP address of the Mitsubishi lift control server.
Elevator Bank Number: The options are 1-4 and FFh. For example, choosing 3 selects the third group of elevators, while FFh selects all groups without specifying one.
Device Number: Select a number(1~127) for the device to distinguish it from others.
Device Location: Select the floor where the device is installed.
Heart Beat Timeout: Specify the time interval for the device to send heartbeat packets to the lift control server. The default is 3 seconds.
Note
Configure local users’ credentials and select their accessible floors on the Directory > User interface. For details, see the Door-opening Configuration chapter.
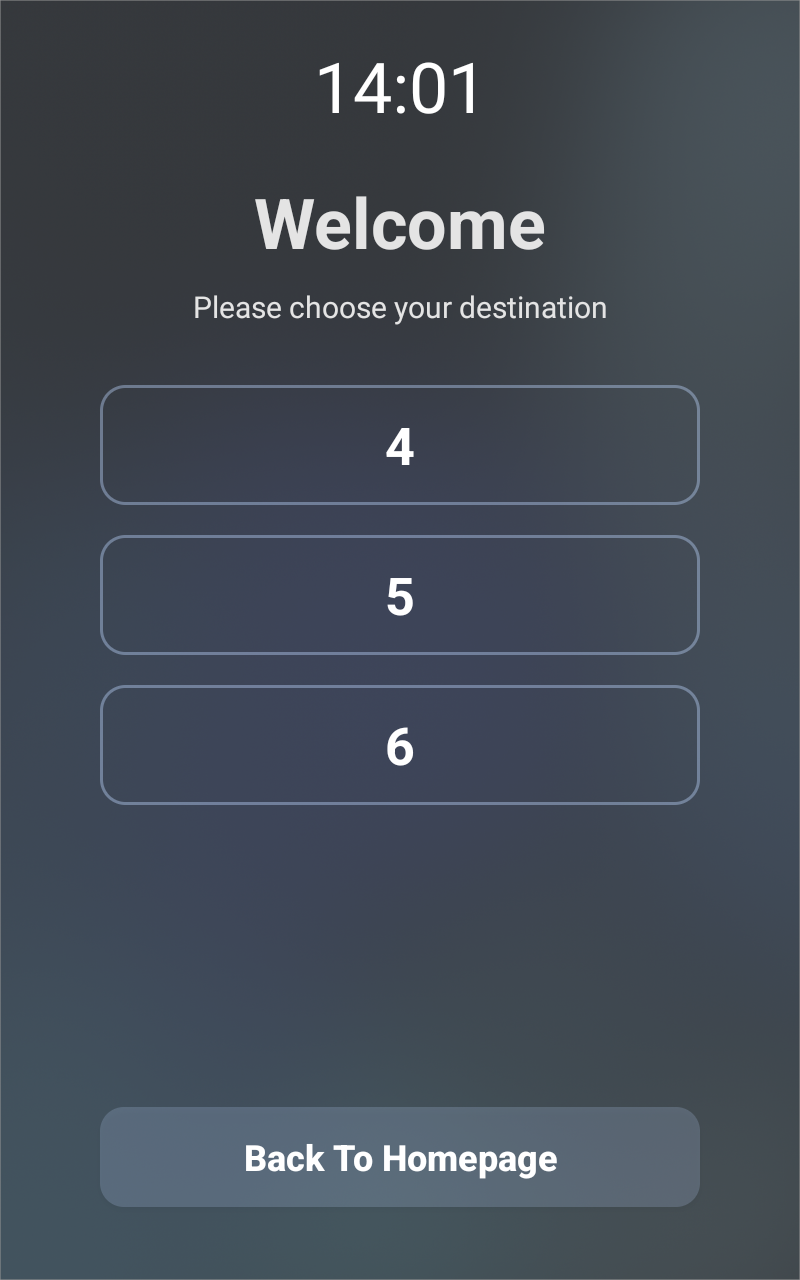
When users use their credentials, the accessible floor options will display on the device.
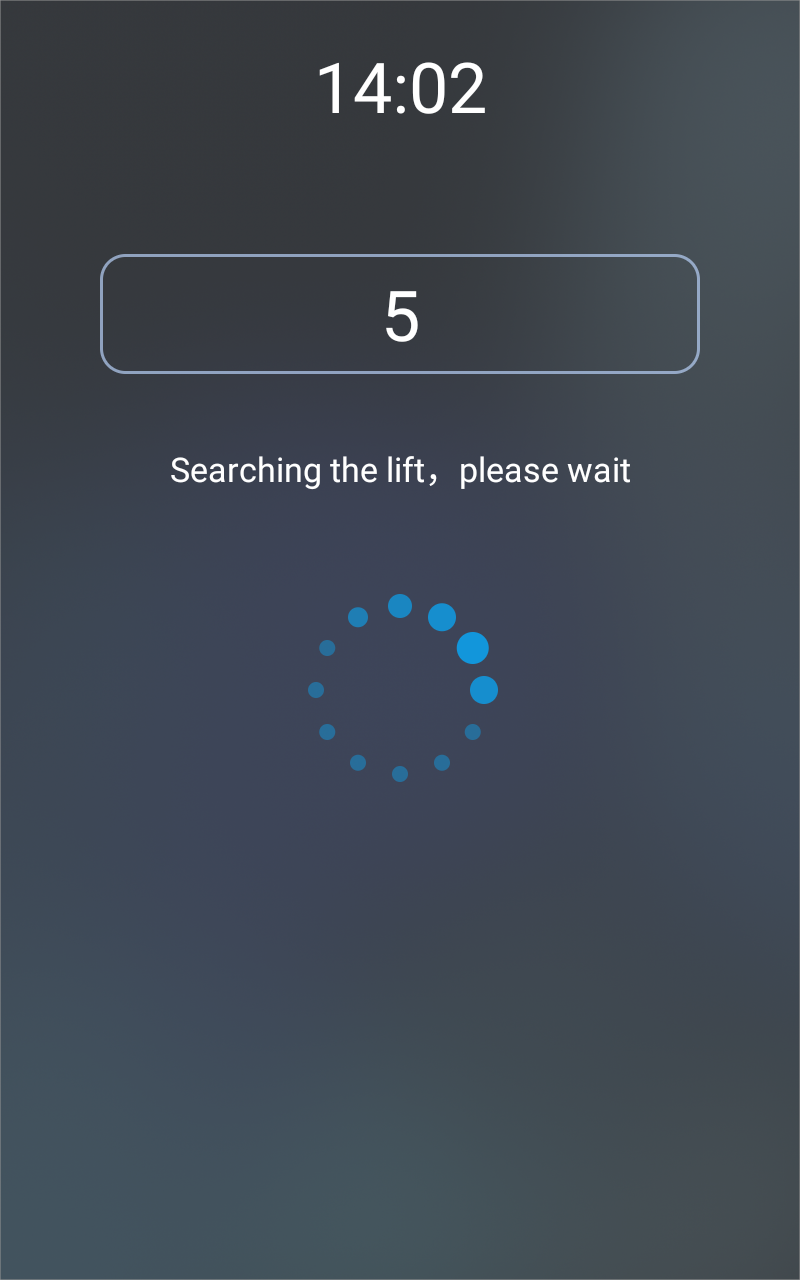
Users can select the desired floor number.