The double-channel DALI gateway complies with the KNX Secure standard, ensuring secure system operation.
KNX Secure is supported on this device, providing effective protection against unauthorized access and manipulation through encryption and installation authentication. The security function can be activated/deactivated in ETS, and doing so requires professional expertise.
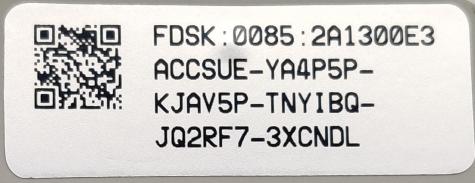
The device includes an FDSK device certificate label for secure commissioning - please keep it properly.
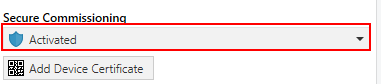
If secure commissioning is activated in the ETS project, consider the following information during device commissioning:
Fig.5.1 (1)
When secure commissioning is enabled in the ETS project and connected to the DCA, ETS cannot send control commands to the DALI Gateway. However, commands from other KNX devices on the bus can still be received. This issue occurs because of an ETS connection problem, which prevents diagnosis and control of the gateway through ETS.
Assign a project password immediately after importing a KNX Secure device into a project. This protects the project from unauthorized access.
NOTE:
The password must be kept safe. Without it, access to the project is impossible - even for the KNX Association or the device manufacturer, and the FDSK device certificate cannot be imported.
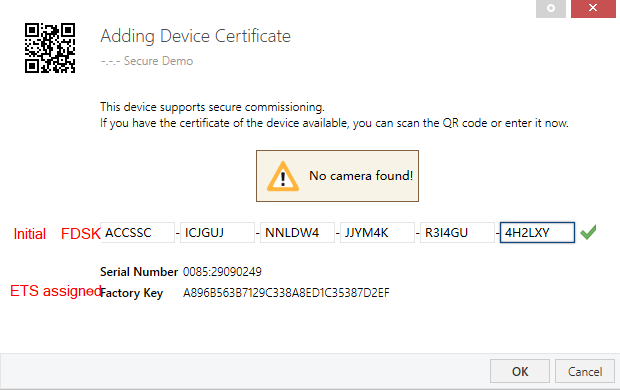
An FDSK device certificate(FDSK = Factory Default Setup Key) is required when commissioning a KNX Secure device for the first time. The FDSK is provided on a label attached to the device and must be imported into ETS before the first download.
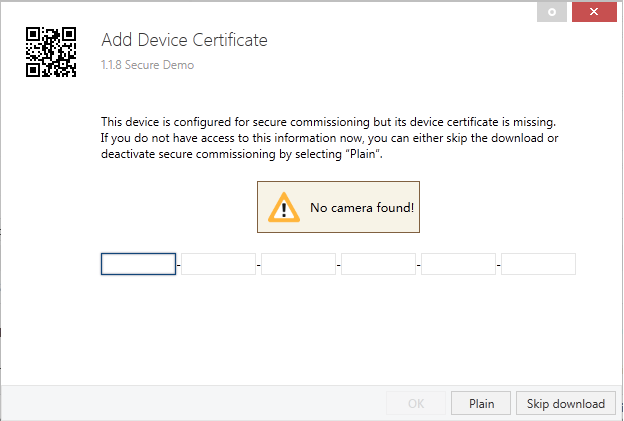
During the first download, ETS will automatically prompt you to enter the key, as shown in Fig. 5.1 (2).
The certificate can also be scanned directly from the device using a QR code scanner (recommended).
Fig.5.1(2) Add Device Certificate Window
Certificates for all Secure devices can be added to ETS in advance:
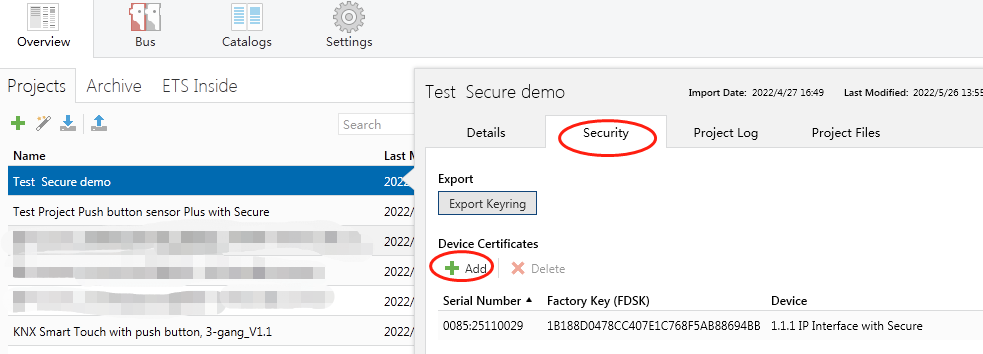
On the Security tab in the project overview (Fig. 5.1 (3)), or
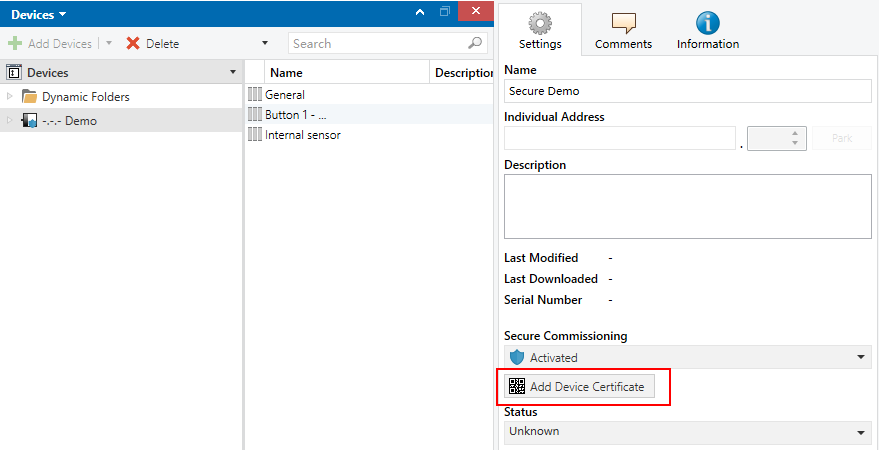
Under the selected device in the project (Fig. 5.1 (4)).
Fig.5.1(3) Add Device Certificate
Fig.5.1(4) Add Device Certificate
The device includes an FDSK label, which shows the FDSK number.
NOTE:
Without the FDSK, the device cannot operate in KNX Secure mode after being reset.
The FDSK is required only during initial commissioning. After entering the initial FDSK, ETS will assign a new key, as shown in Fig.5.1(5) below.
The FDSK will only be required again if the device is reset to factory settings (e.g. when used in another ETS project).
Fig.5.1(5)
To replace a device:
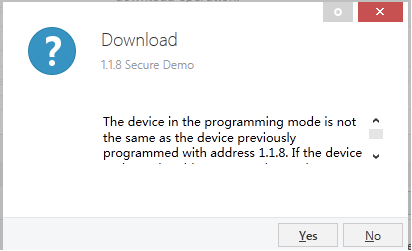
If the application in the project needs to be used with a different device, it will no longer match the original one. When downloading the application to the new device, the prompt shown on the left of Fig.5.1(6) will appear. Click “Yes” to open the Add Device Certificate window, then enter the new device’s FDSK. You must reset the device to factory settings before downloading - unless it is already in factory default state.
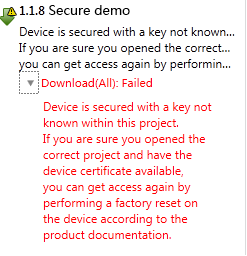
Otherwise, ETS will display an error message, as shown on the right of Fig. 5.1 (6).
Fig.5.1(6) Example
Regardless of whether the device is replaced within the same project or in a different one, the process is the same: Reset the device to factory settings and reassign the FDSK.
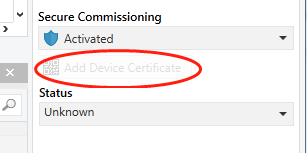
After a successful download, the Add Device Certificate option turns gray, indicating that the key has been successfully assigned, as shown in Fig.5.1(7) .
Fig.5.1(7)
ETS generates and manages keys:
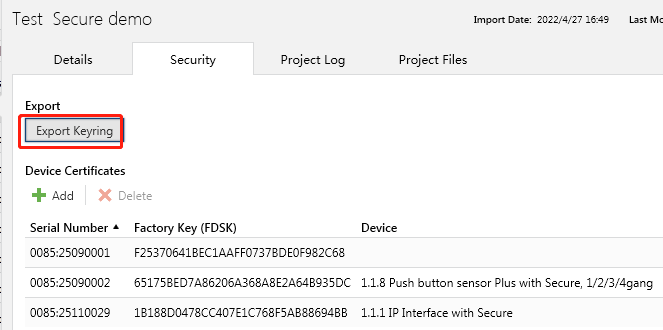
Keys and passwords can be exported when security keys need to be used outside the corresponding ETS project. The exported file uses the extension .knxkeys, as shown in Fig. 5.1(8).
Fig.5.1(8)
NOTE:
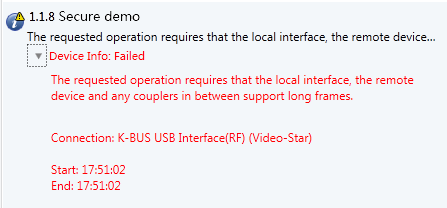
Any USB interface used for programming a KNX Secure device must support long frames. Otherwise, ETS will report a download failure information, as shown in Fig. 5.1 (9).