Before you start
To ensure a smooth integration, confirm the following prerequisites are met before starting the process:
Connect and configure HVAC devices linked to the CoolMaster. For detailed guidelines, refer here.
Connect your HyPanel device and the CoolMaster device to the same network.
Power on the CoolMaster and your HyPanel devices.
Find the IP address displayed at the bottom of the CoolMaster device’s screen. You will need this during the integration process.
Confirm that your akubela products support CoolMaster integration and have the required firmware versions:
Supported Device/App | Required Firmware Version | |
HyPanel | 51.1.36.229 and later | |
HyPanel (V2) | 251.1.36.212 and later | |
HyPanel Plus | 52.1.36.214 and later | |
HyPanel KeyPlus | 53.1.36.222 and later | |
HyPanel Pro | 71.1.38.246 and later | |
HyPanel Ultra | 281.1.38.226 and later | |
HyPanel Supreme | 1001.1.38.224 and later | |
SmartPanel | 933.1.38.208 and later | |
SmartPanel Pro | 119.1.38.215 and later | |
BelaHome app | ||
- iOS | 3.15.4 and later | |
- Android | 3.15.0005 and later | |
Huawei | 3.15.1005 and later | |
Xiaomi | 3.15.1105 and later | |
OPPO | 3.15.1205 and later | |
Vivo | 3.15.1305 and later | |
TIP:
To update a panel to the required firmware version, please refer to Update akubela Panels for detailed instructions.
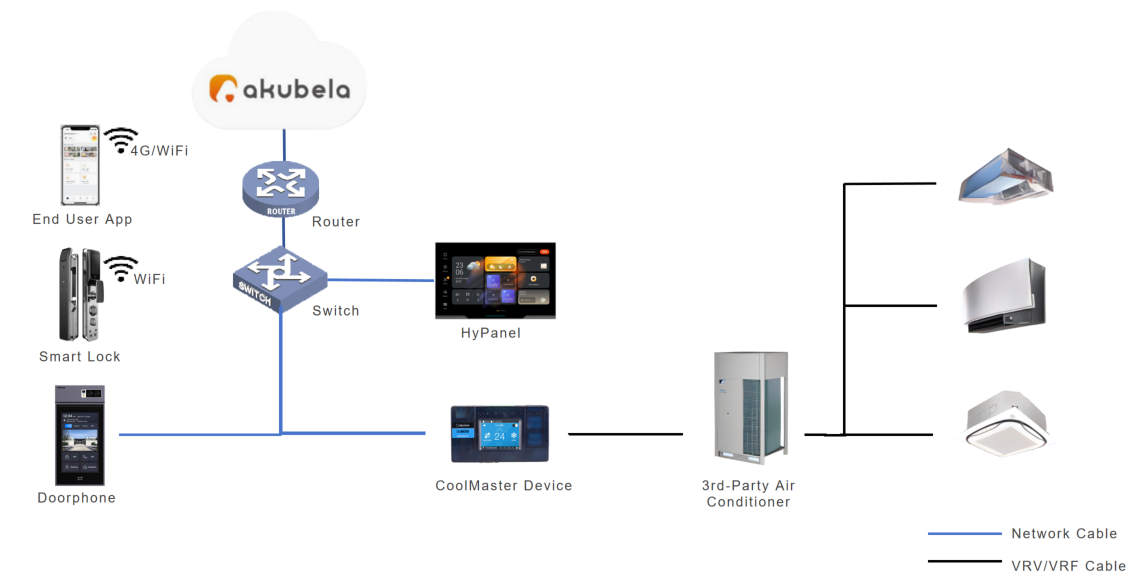
Connection and wiring
Integration process
You can integrate the CoolMaster device with your HyPanel on the device directly, via the user web portal, or using the BelaHome app.
Using HyPanel device
Here we use HyPanel Pro with version 71.1.36.224 as the example.
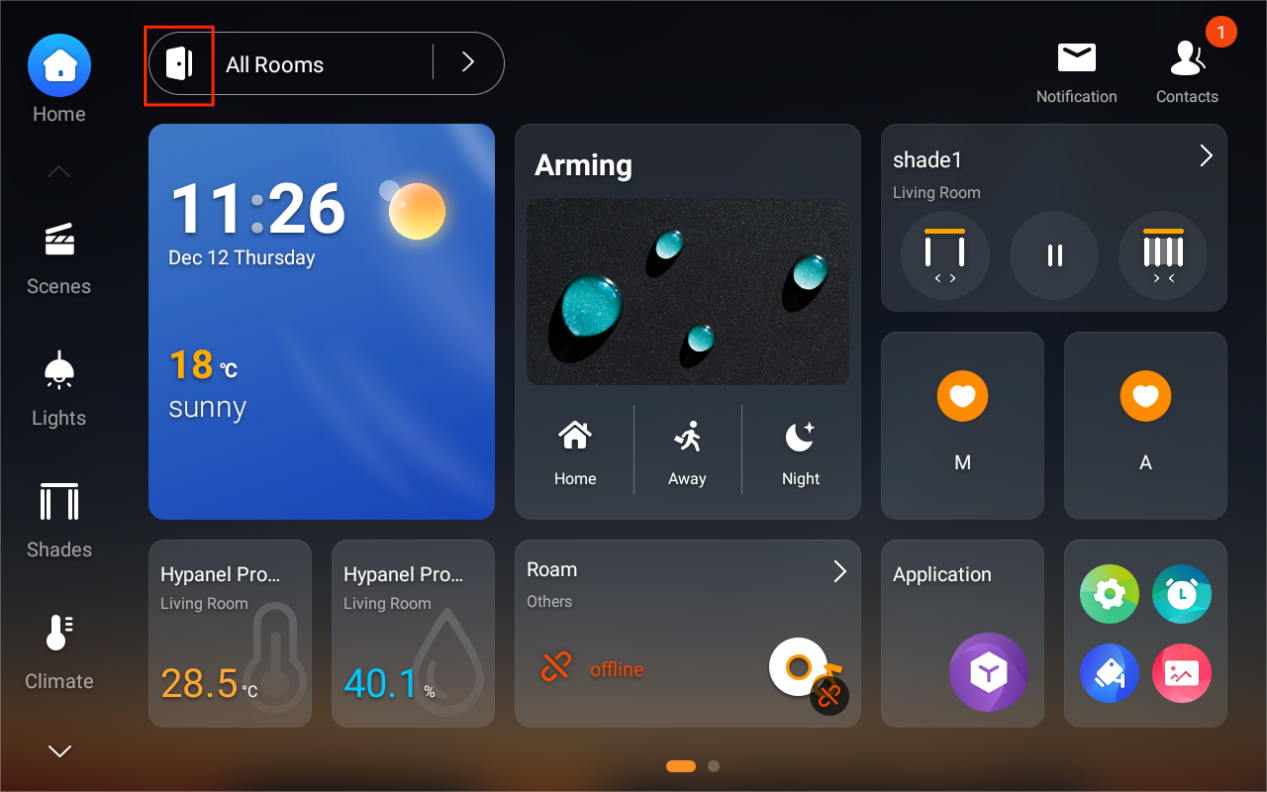
Tap
 at the upper left to open the device setup screen.
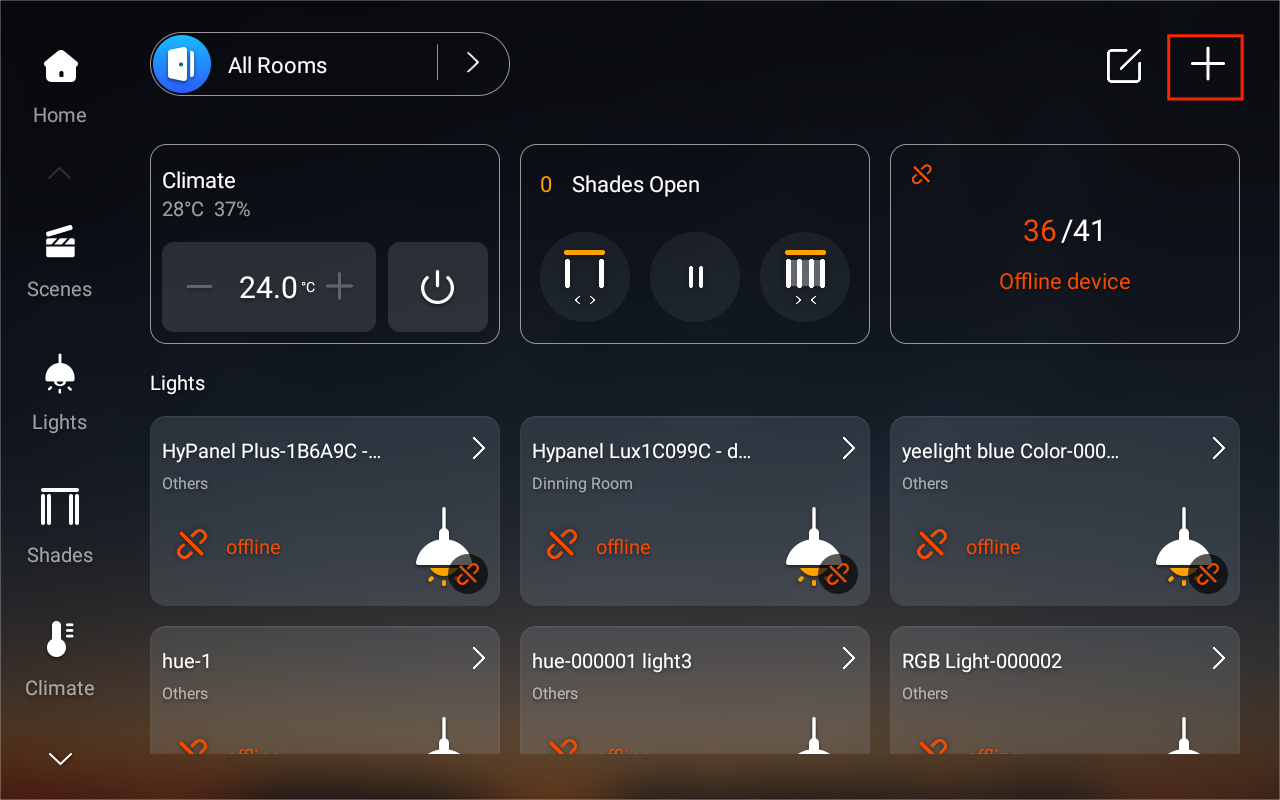
Tap
 at the upper right corner.
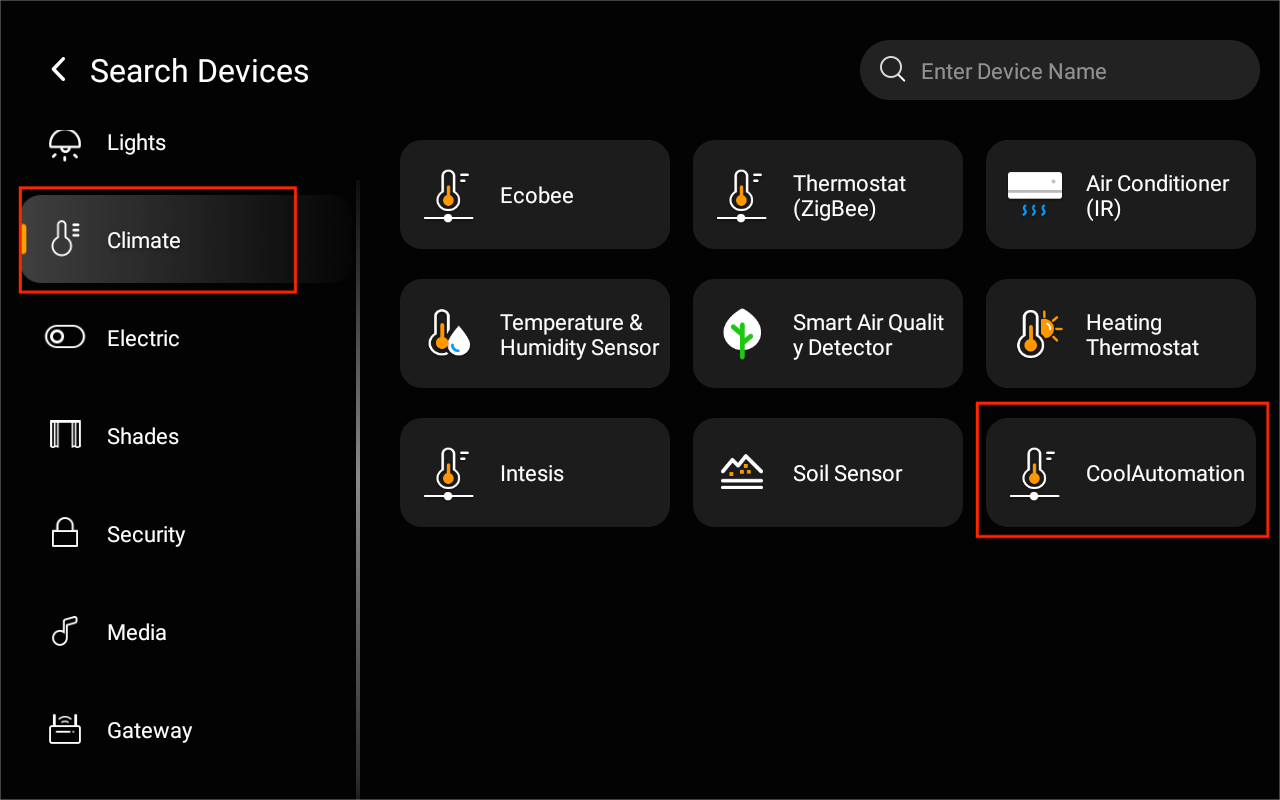
Select Climate > CoolAutomation.
Enter the CoolMaster device’s IP address.
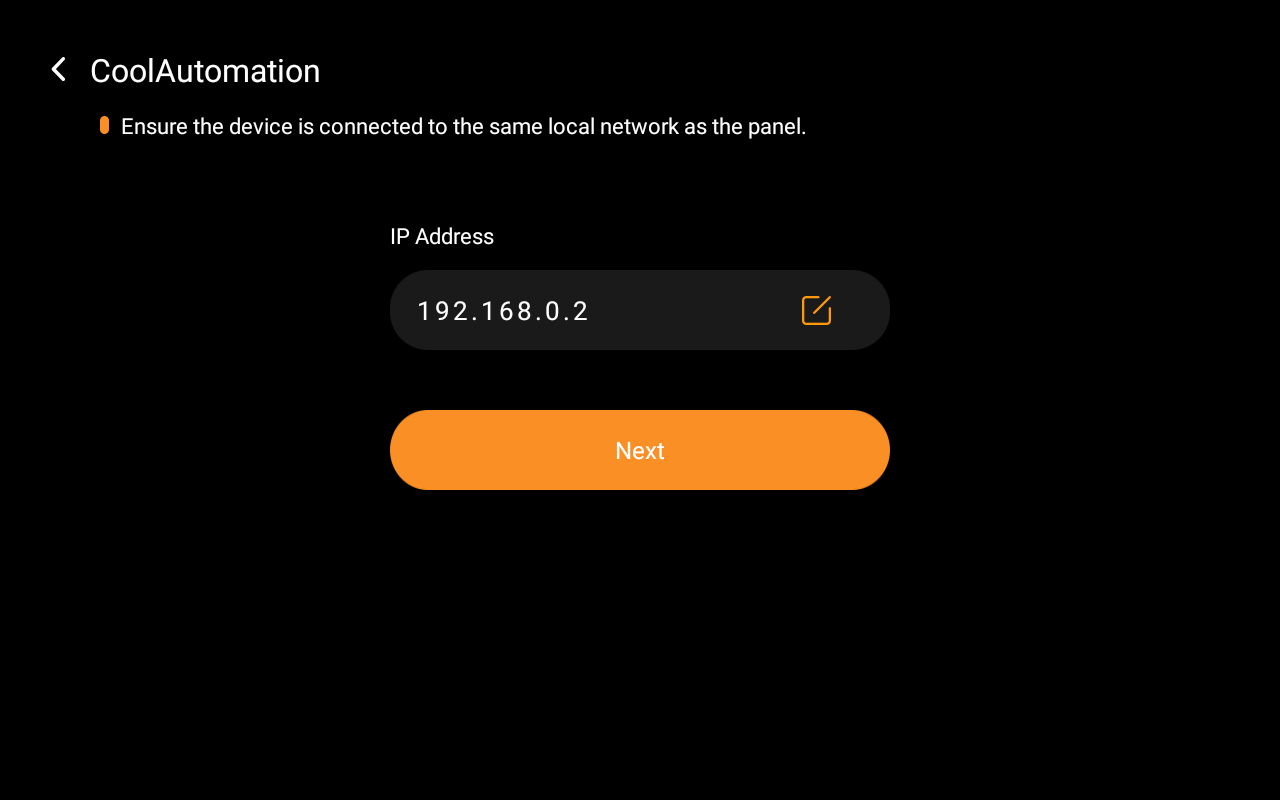
Tap Next to proceed to the Device Setting screen.
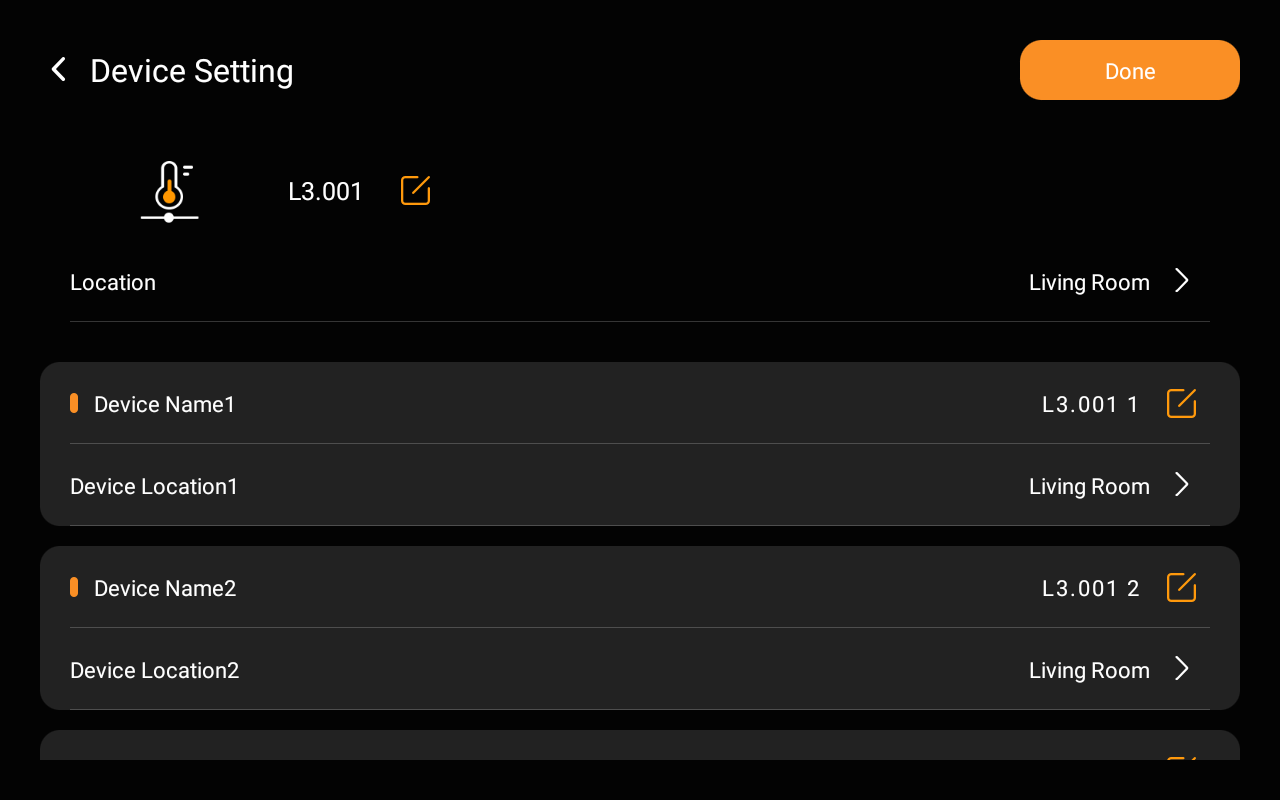
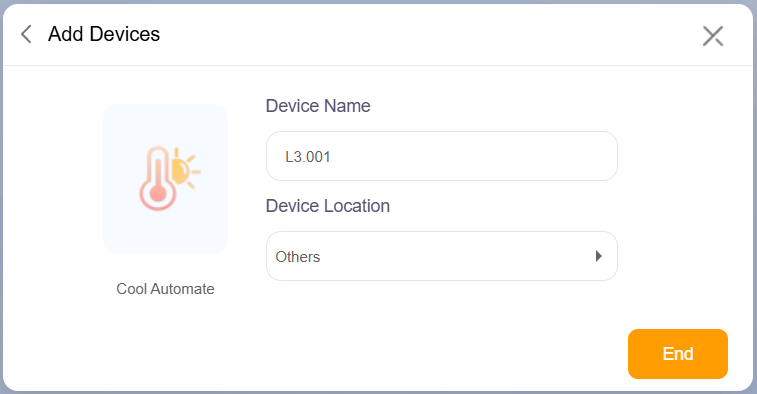
Choose one of the following options to configure device display names and locations.
Keep default names as shown on the CoolMaster device:
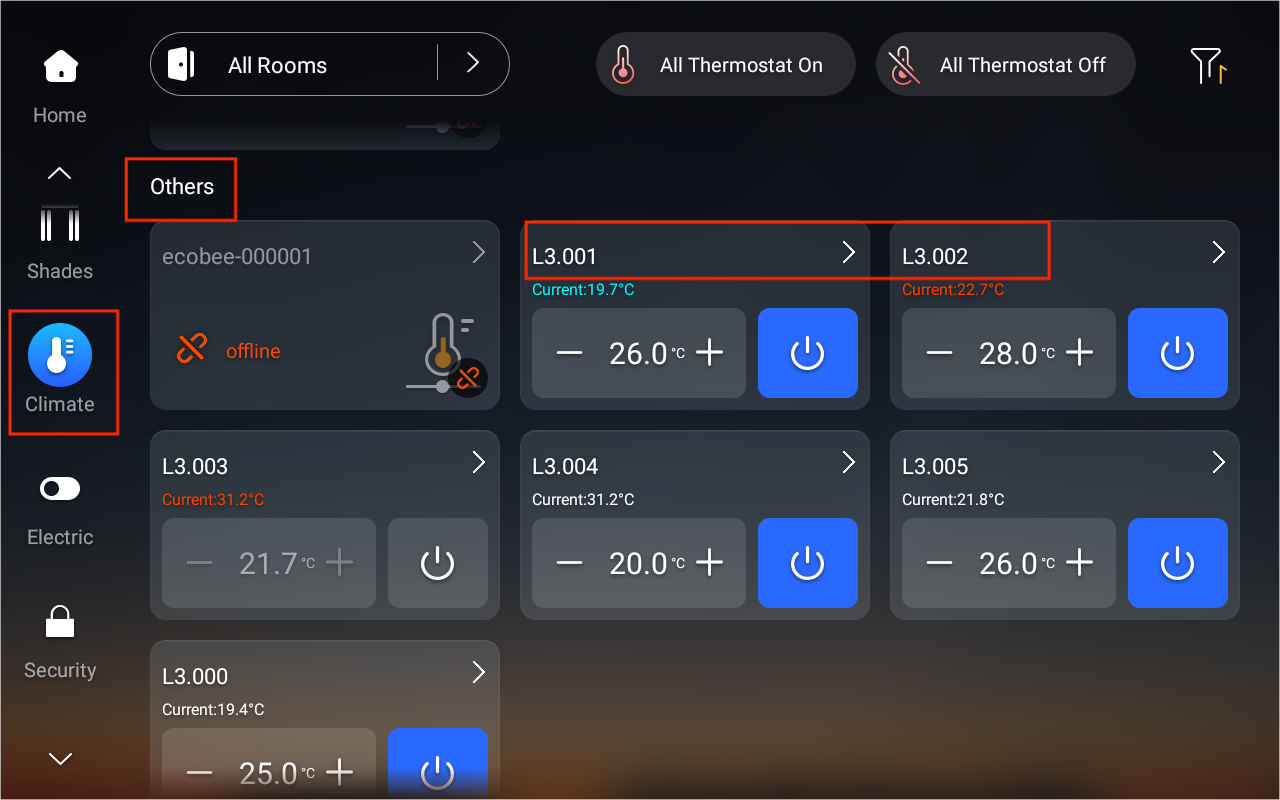
Tap ![]() in the upper left corner. The devices will appear in the Others space under the Climate section.
in the upper left corner. The devices will appear in the Others space under the Climate section.

Use existing names and locations shown on the Device Setting Screen:
Tap Done without making changes.
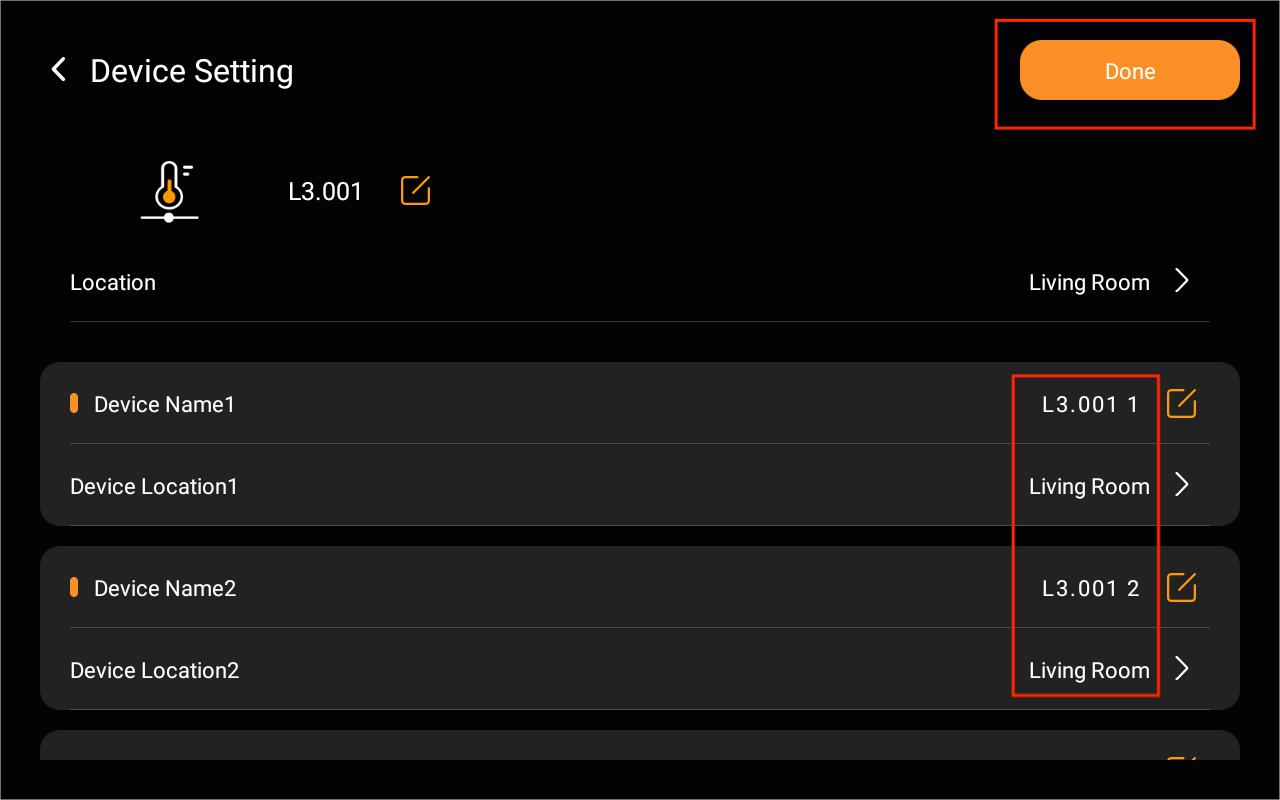
Customize names and locations:
For all devices at once, tap
 at the top, select a location, and tap Done.
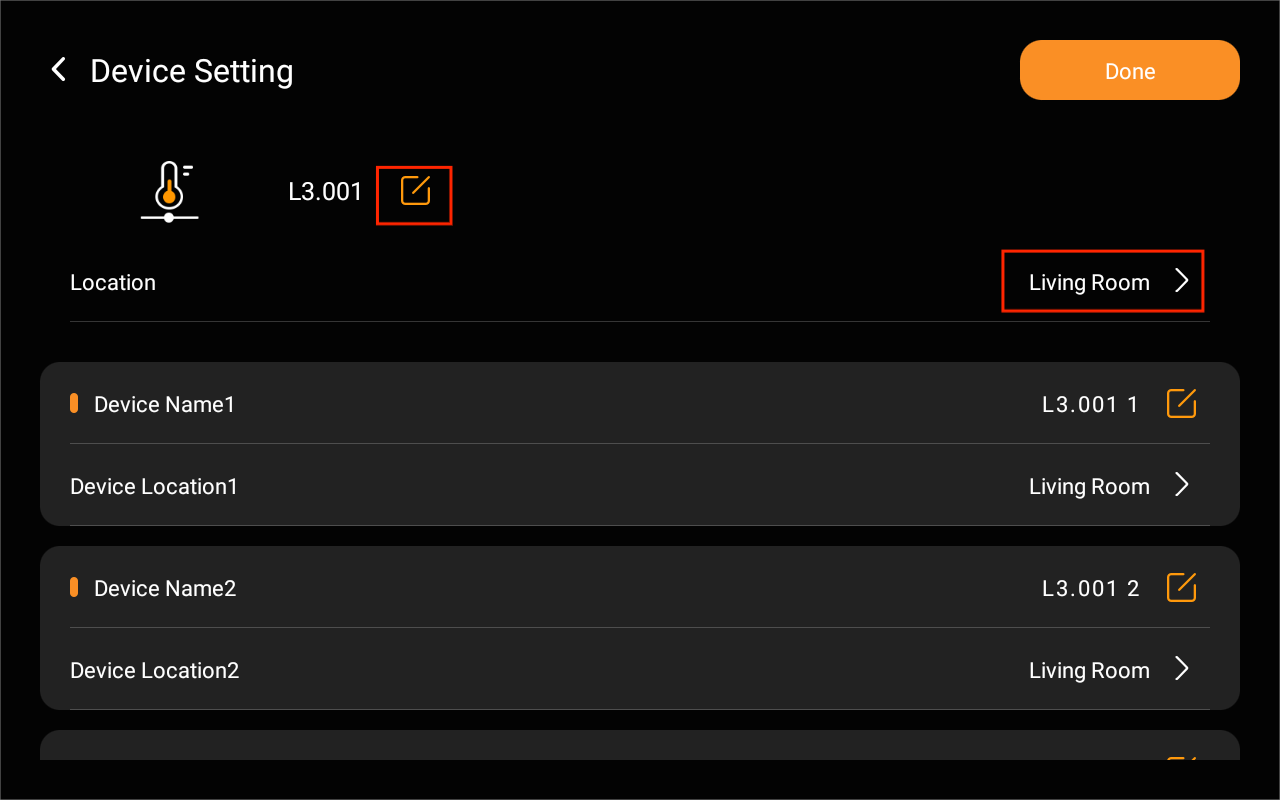
For individual device, tap
 next to a specific device to rename it, tap
  to select its location, then tap Done.

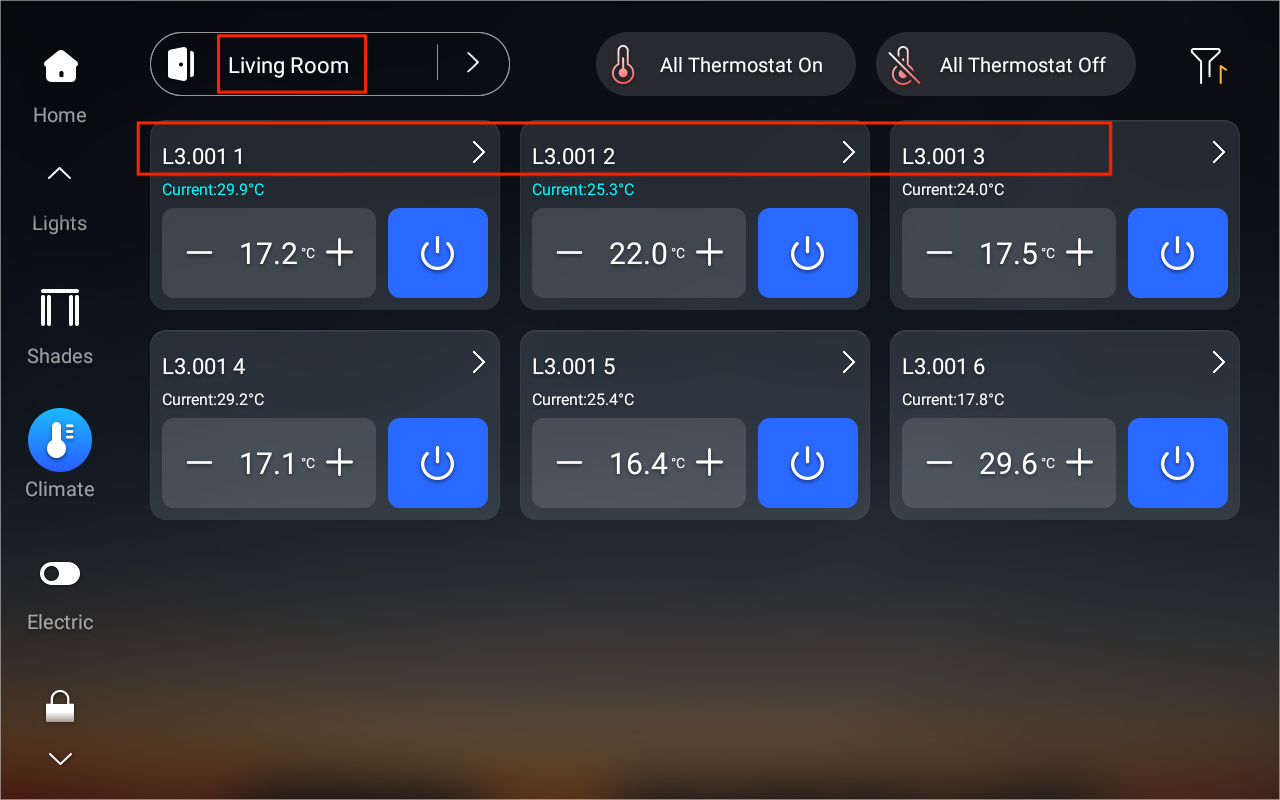
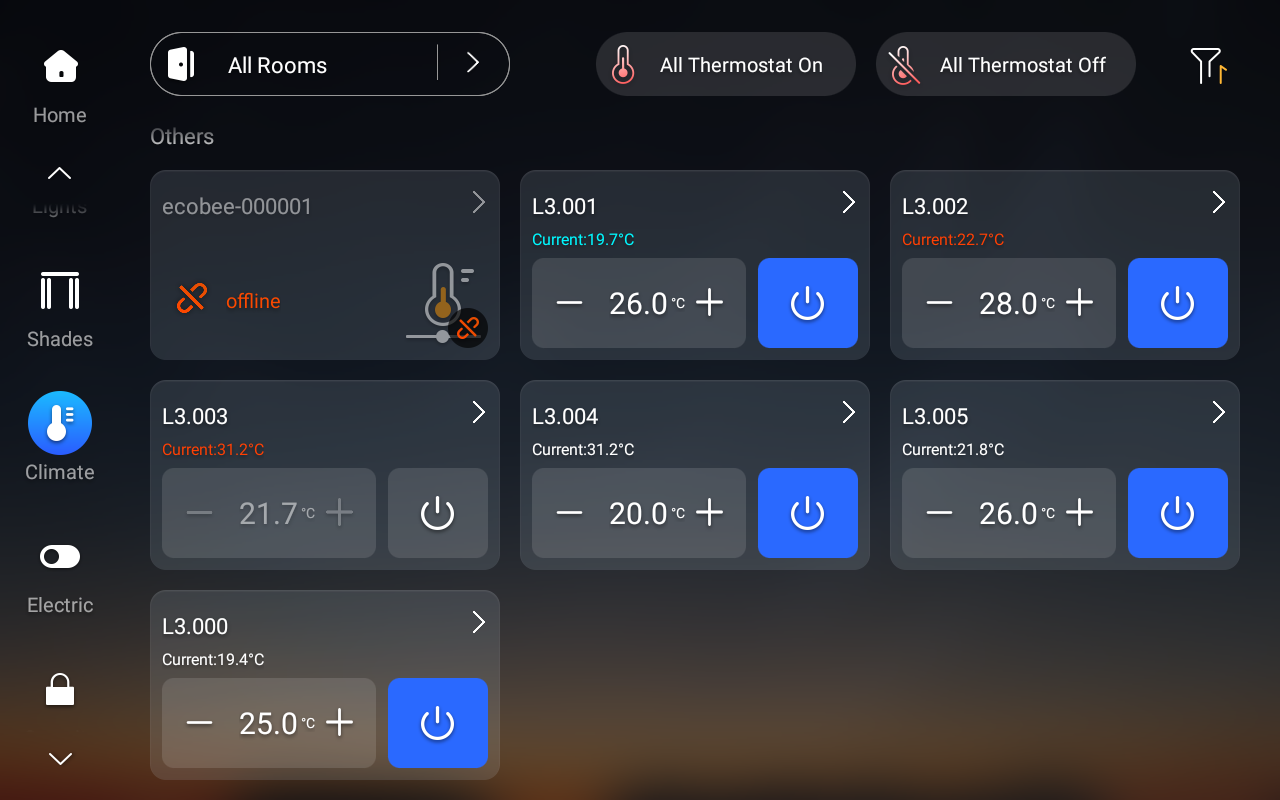
Once added, all devices connected to the CoolMaster will be listed under the Climate section of your HyPanel screen.

Via user web portal
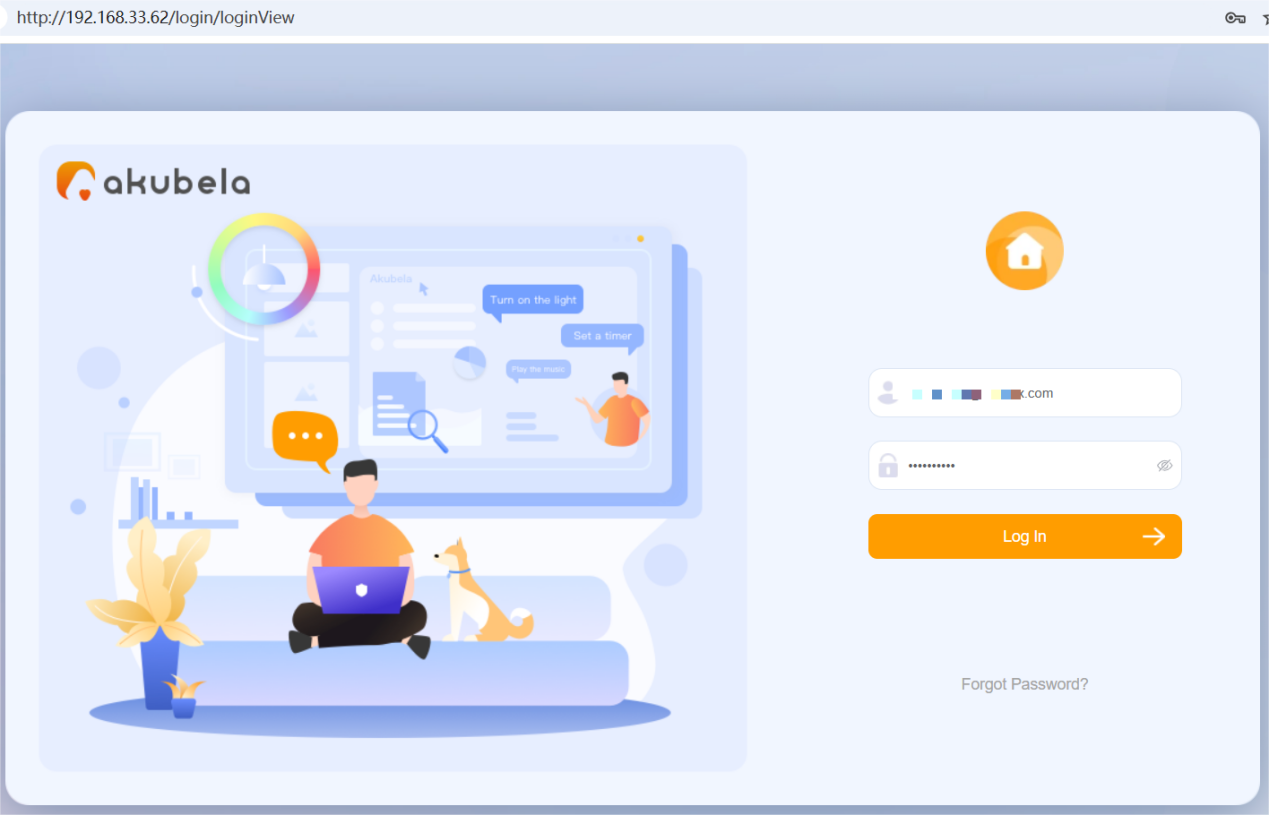
Connect your computer to the same network as the CoolMaster and the HyPanel device.
Open a web browser and enter your HyPanel device’s IP address, or visit https://my.akubela.com.
Sign in using the family’s administrator account.
Click
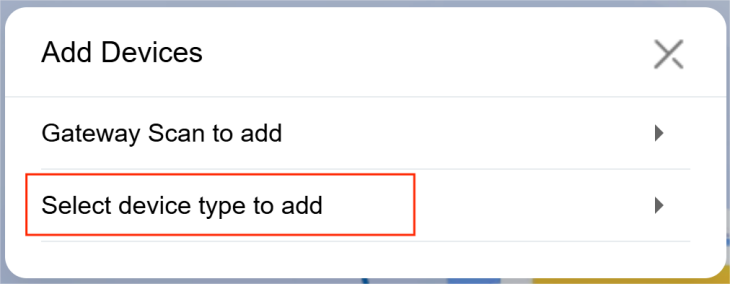
 in the upper right corn and select Add Devices.
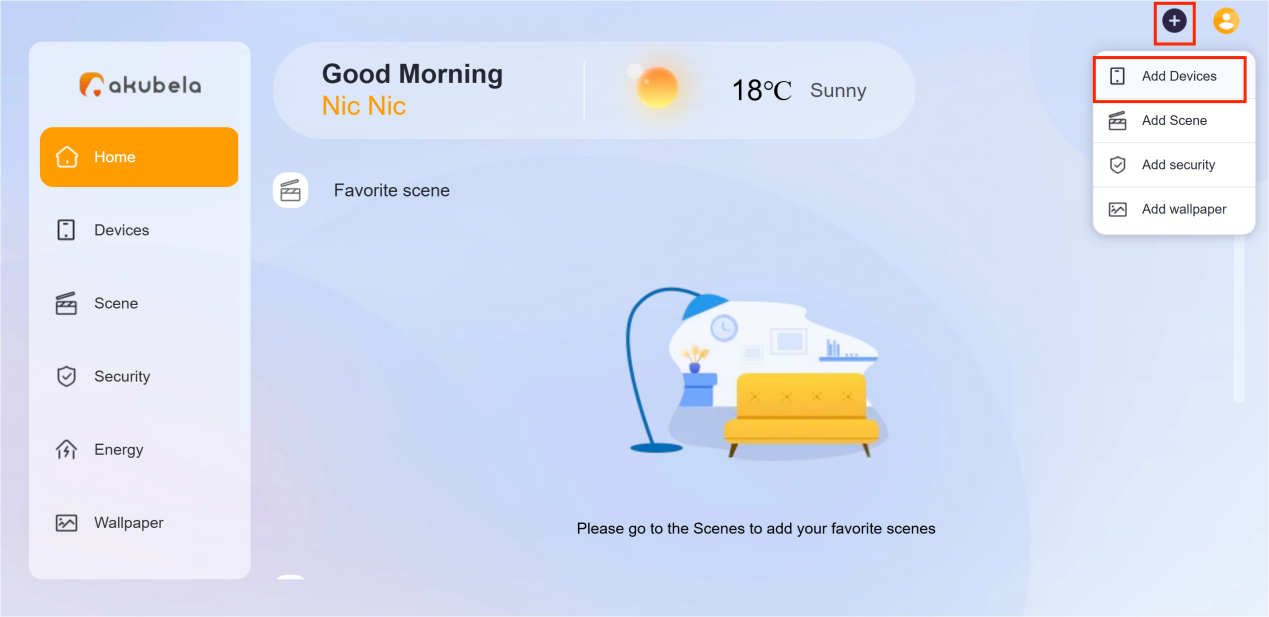
Click Select device type to add.
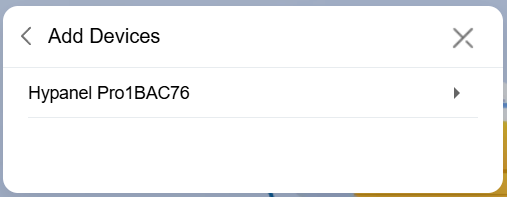
Choose a panel for integration.
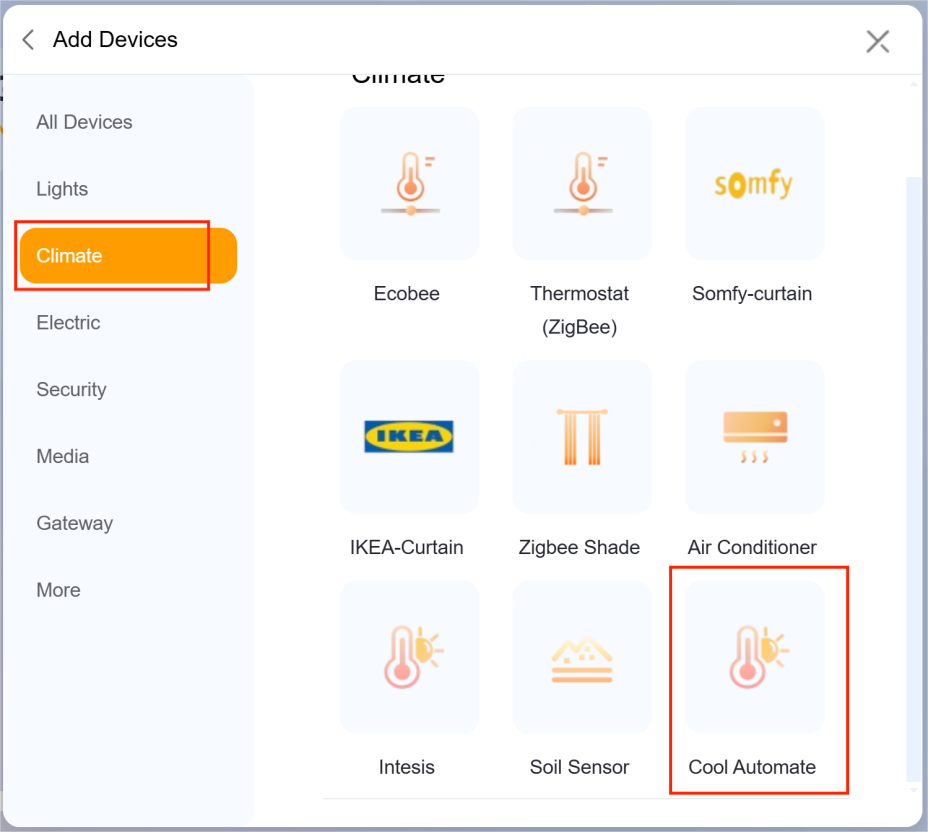
Select Climate > Cool Automation.
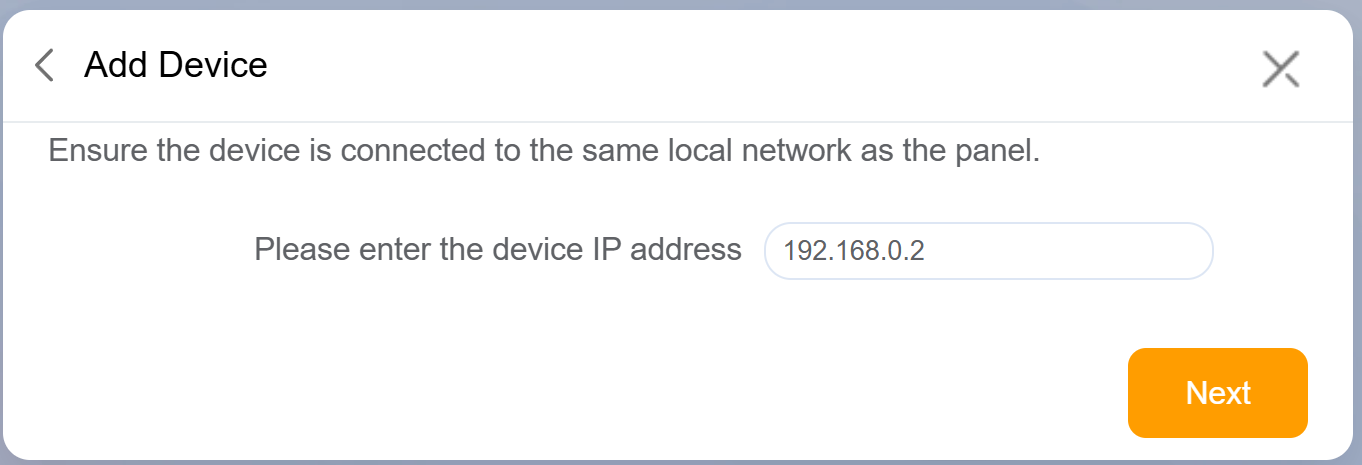
Input the CoolMaster device’s IP address and click Next.
Click End.
NOTE:
The name and location setting here apply only for the 001 device. To rename and relocate other devices, refer to here.
Once added, all devices connected to the CoolMaster will be listed under the Climate section of your HyPanel screen.
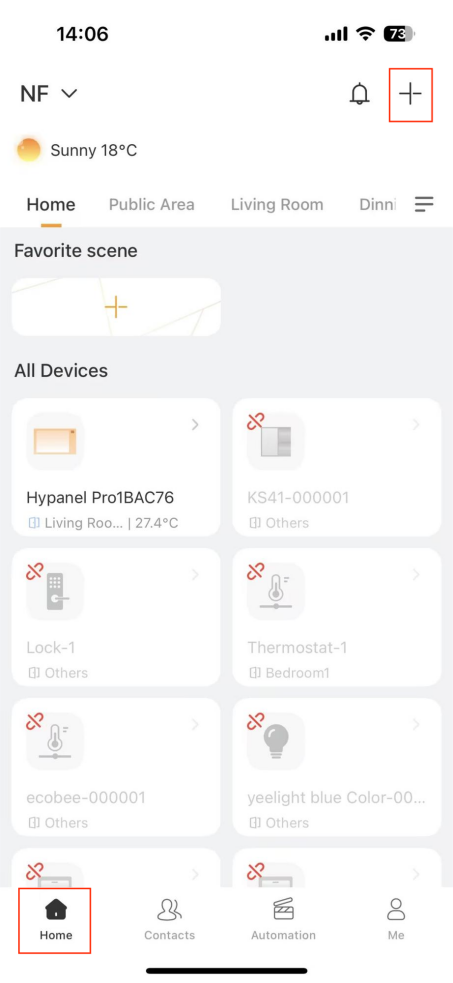
Via BelaHome app
On the Home screen, tap
 in the upper right corner.
Choose the panel where you want to add the CoolMaster device.
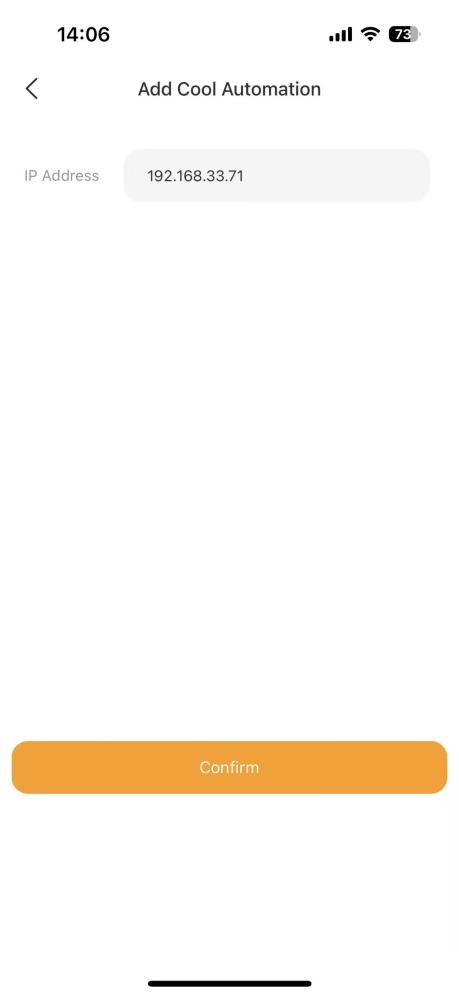
Select Cool Automation from the list.
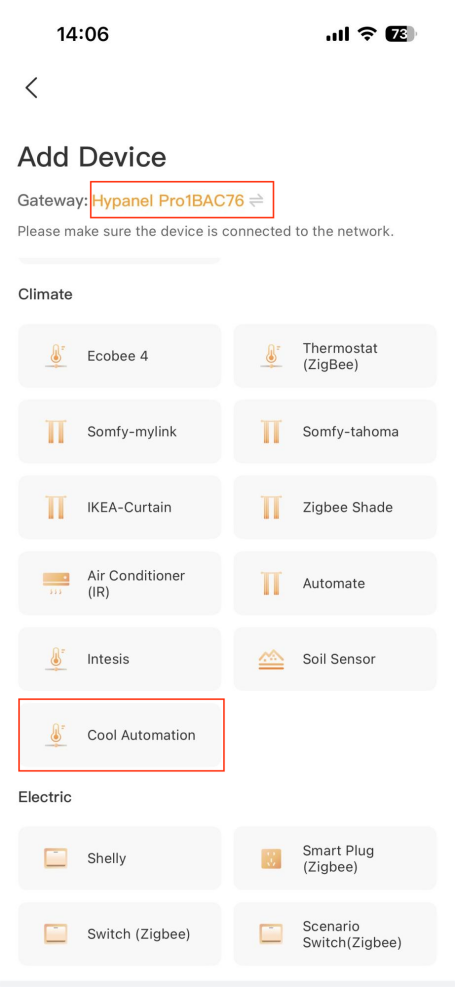
Input the CoolMaster device’s IP address, and tap Confirm.
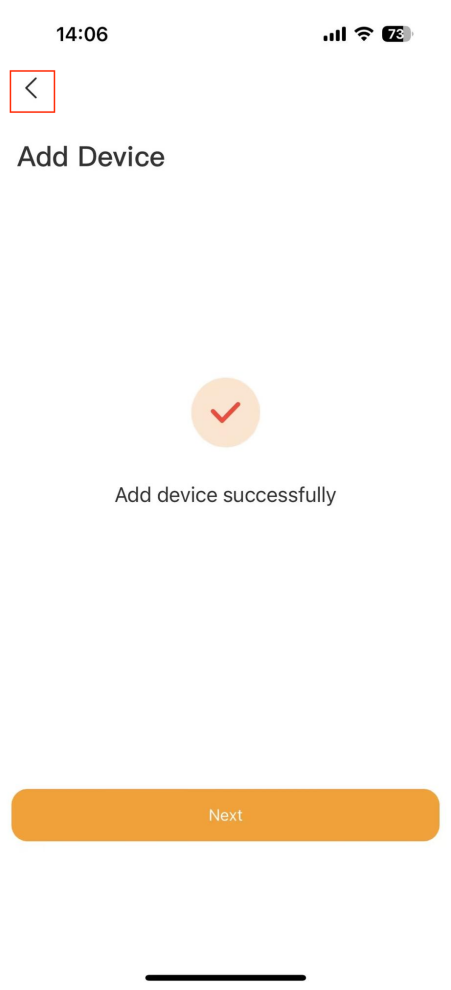
Wait for the device to be added successfully, then tap
 in the upper left corner.
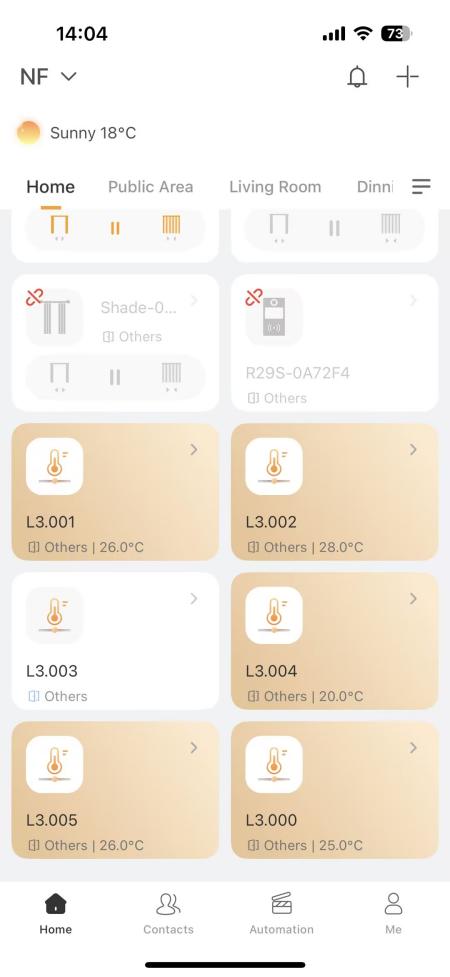
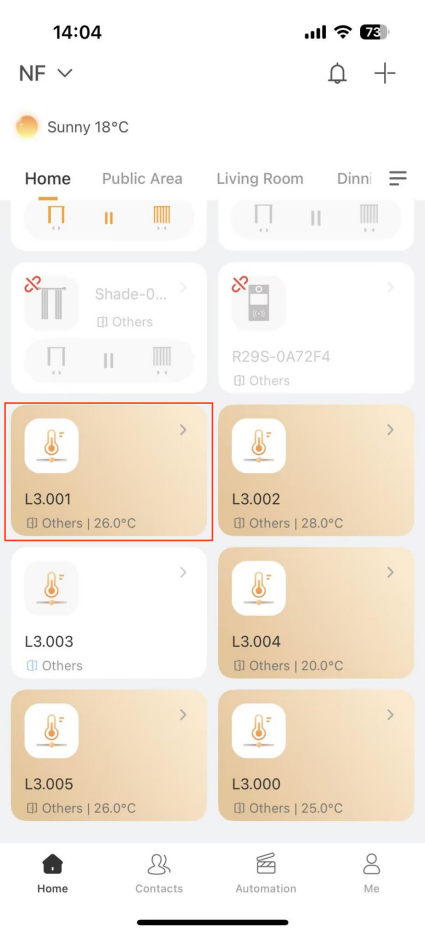
After integration, all devices will be listed on the app’s Home screen.
Device control and management
Using HyPanel Device
Control a device
Go to the Climate
 screen.
Find the desired device card.
Tap
 to quickly turn it on or off.
Tap
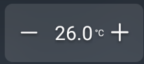 to adjust the temperature.
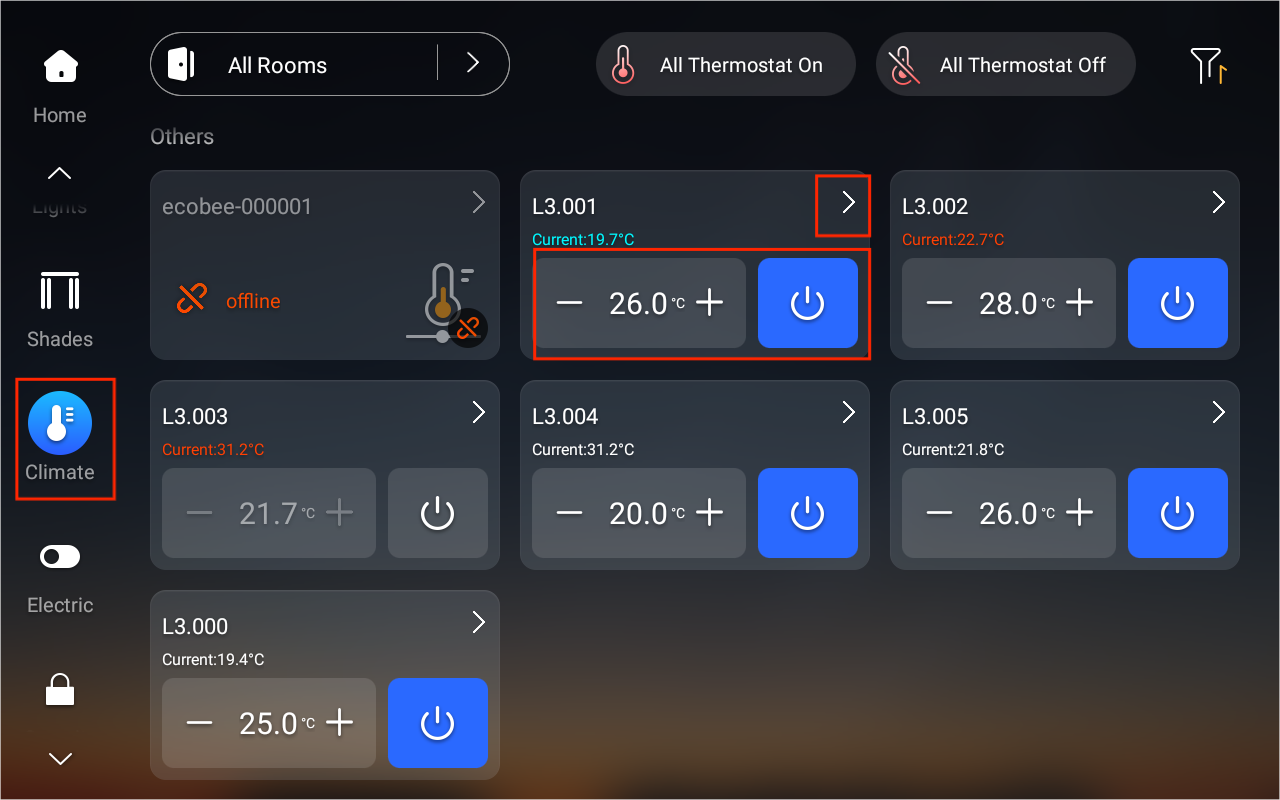
For more control options, such as mode, fan speed, and more, tap
 in the upper right corner of the device card to access the control screen.
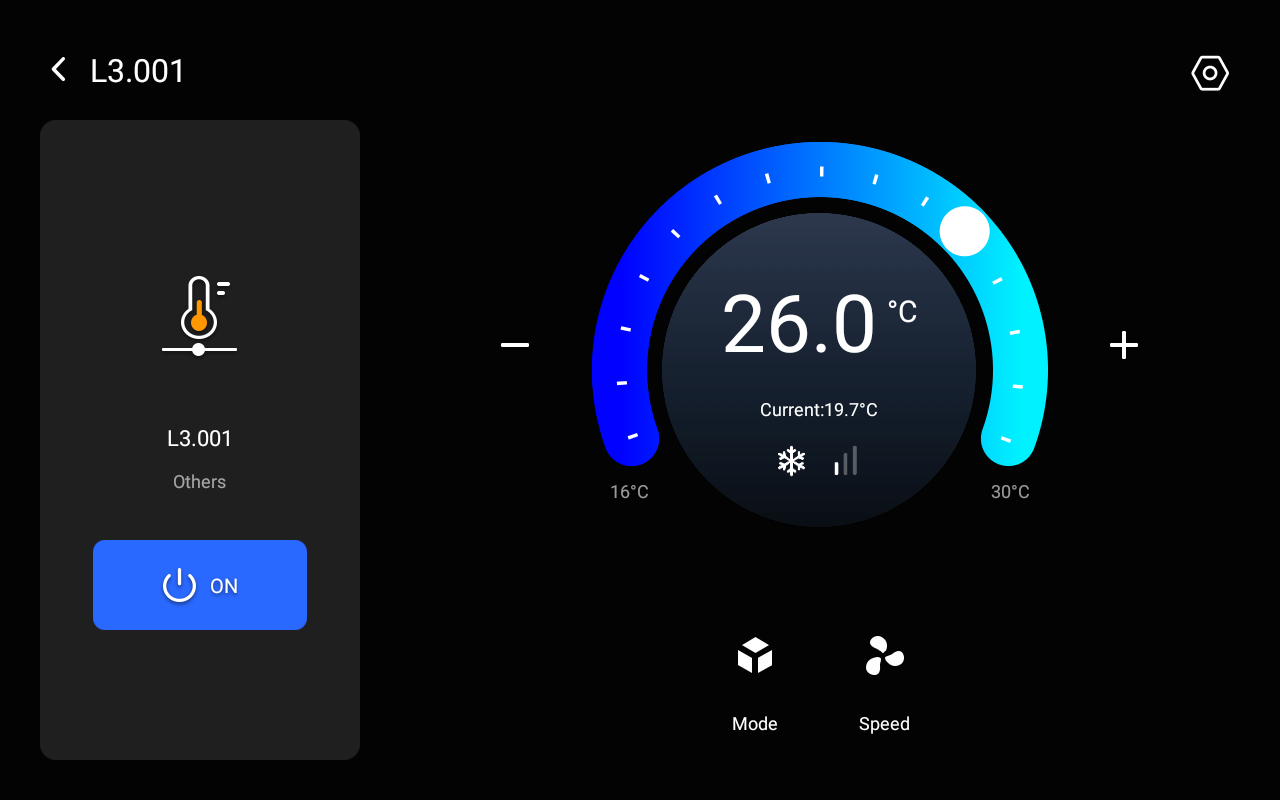
The changes will be synced to the CoolMaster device.
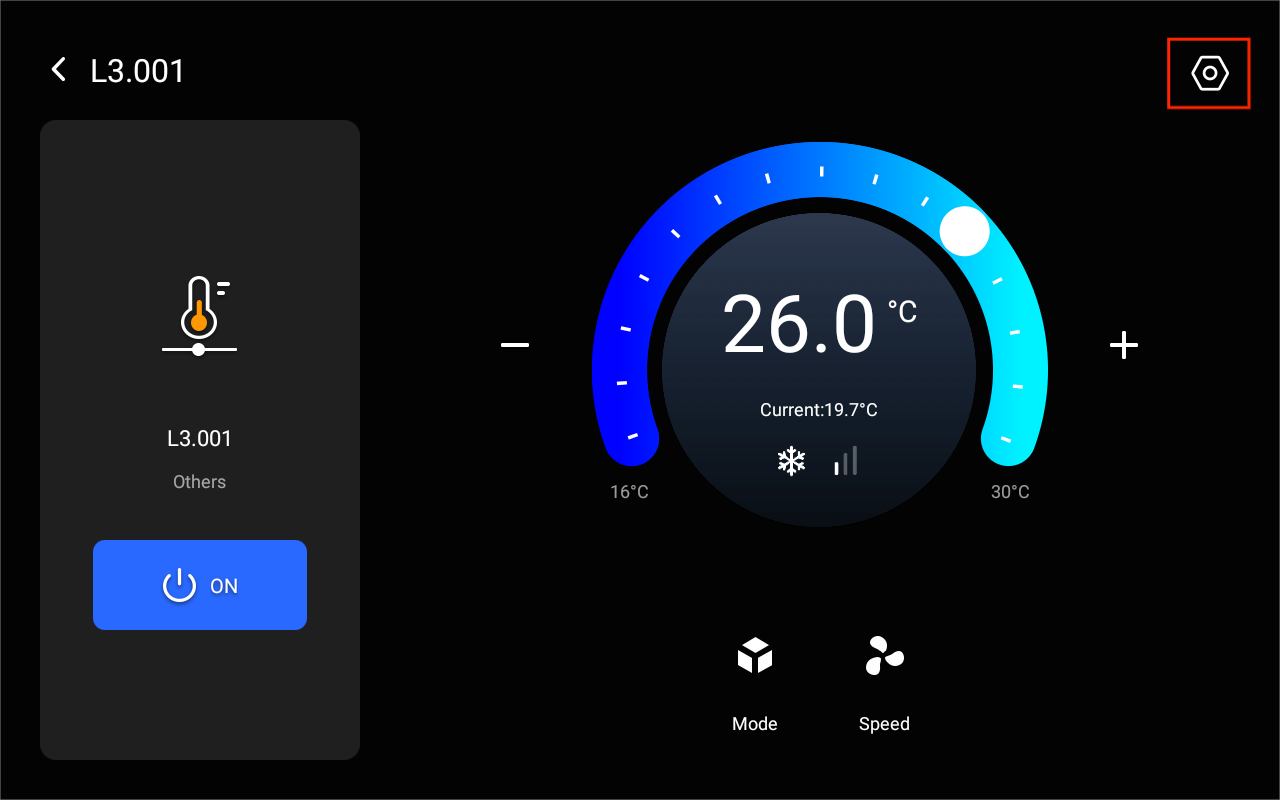
Edit device details
To modify a device’s name, location, or delete it:
Tap
 in the upper right corner of the control screen.
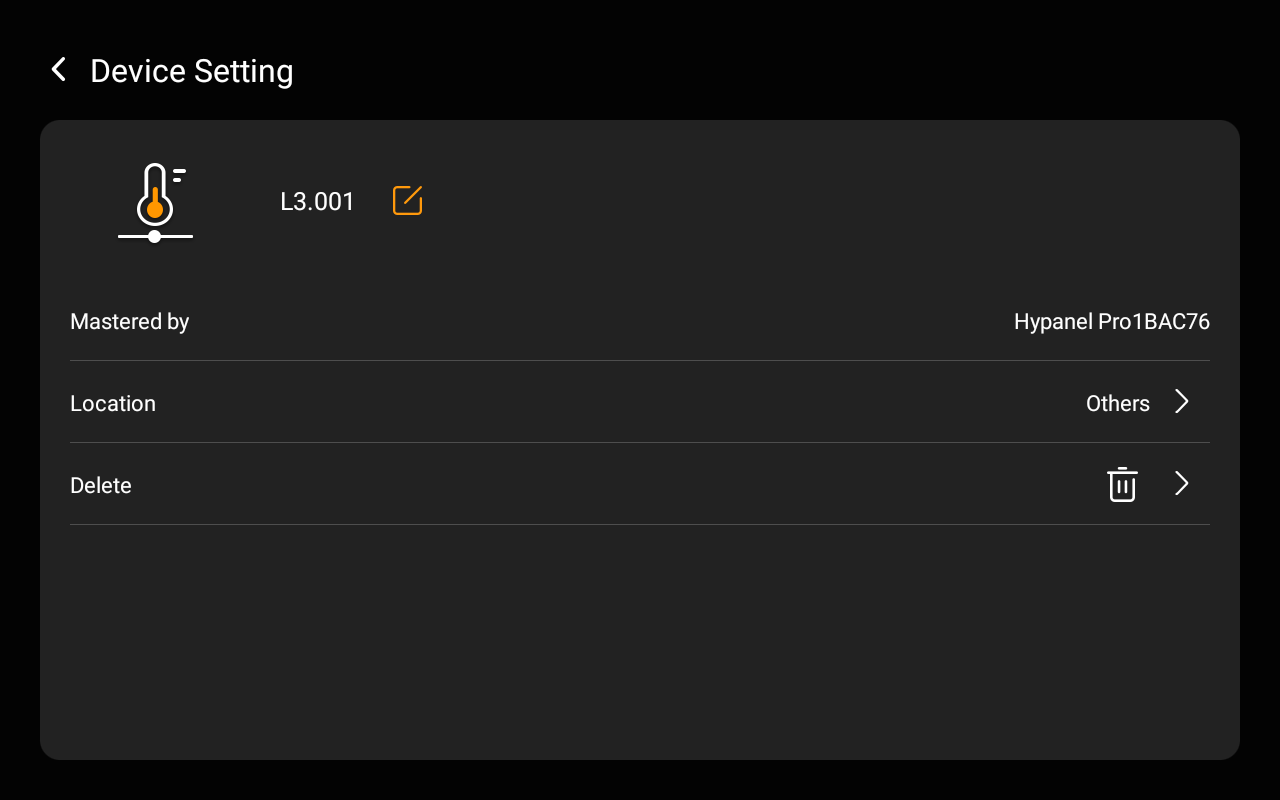
On the Device Setting screen, you can:
Edit the HVAC device’s name by tapping
 .
.Relocate the device by selecting the new location.
Remove the device by tapping
 .
.
NOTE:
When you confirm deletion, all HVAC devices under the same module line (e.g., L3 000 to L3 005) will be removed together.
Via the BelaHome app
Control a device
Open the BelaHome app, tap and scroll down to find the desires device card.
Tap the device card to quickly turn in on or off. When its card is highlighted, indicating that it is on.
For more control options, tap
 to access its control screen, where you can:
Adjust the temperature.
Change operating modes.
Set fan speed.
The changes will be synced to the CoolMaster device.


Edit device details
To modify a device’s name, location, or delete it:
Tap
 in the upper right corner of the control screen.
On the Setting screen, you can:
Edit the device’s name by tapping
 .
.Change the device’s space.
Move it to the top of the Home screen for easier access.
Remove the device by tapping
 .
.
NOTE:
When you confirm deletion, all HVAC devices connected to the same module line (e.g., L3 000 to L3 005) will be removed together.