Add Zigbee Devices
Zigbee devices, such as sensors, emergency button, and more, can be added via the user web portal.
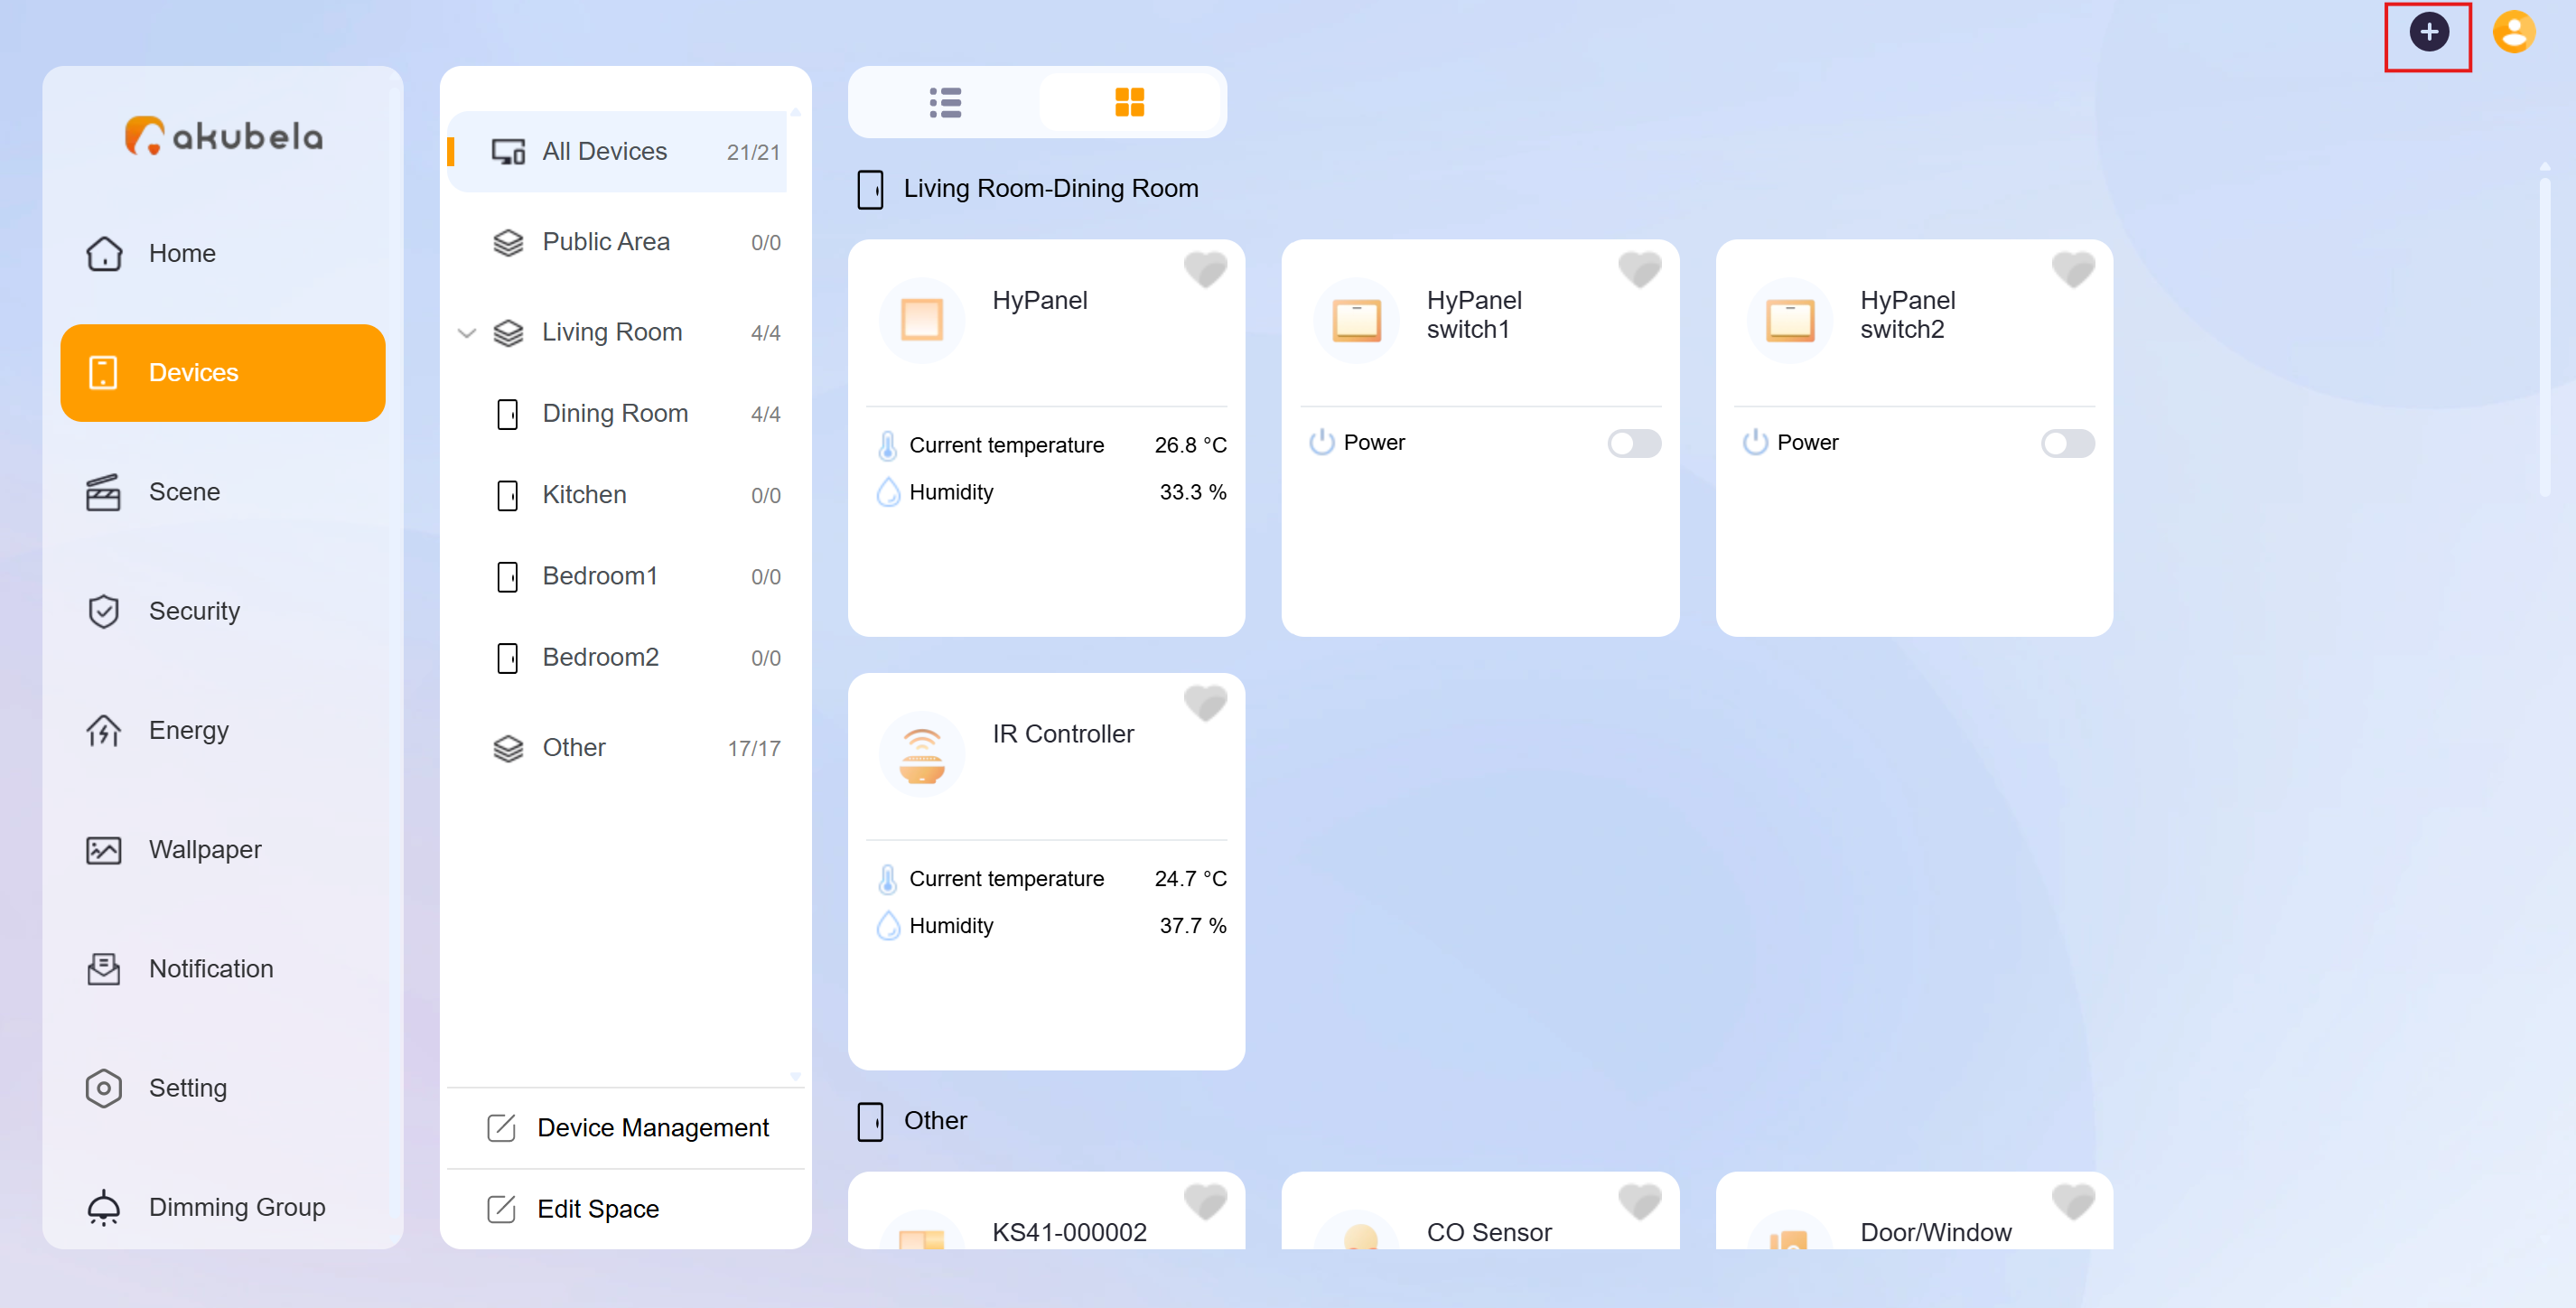
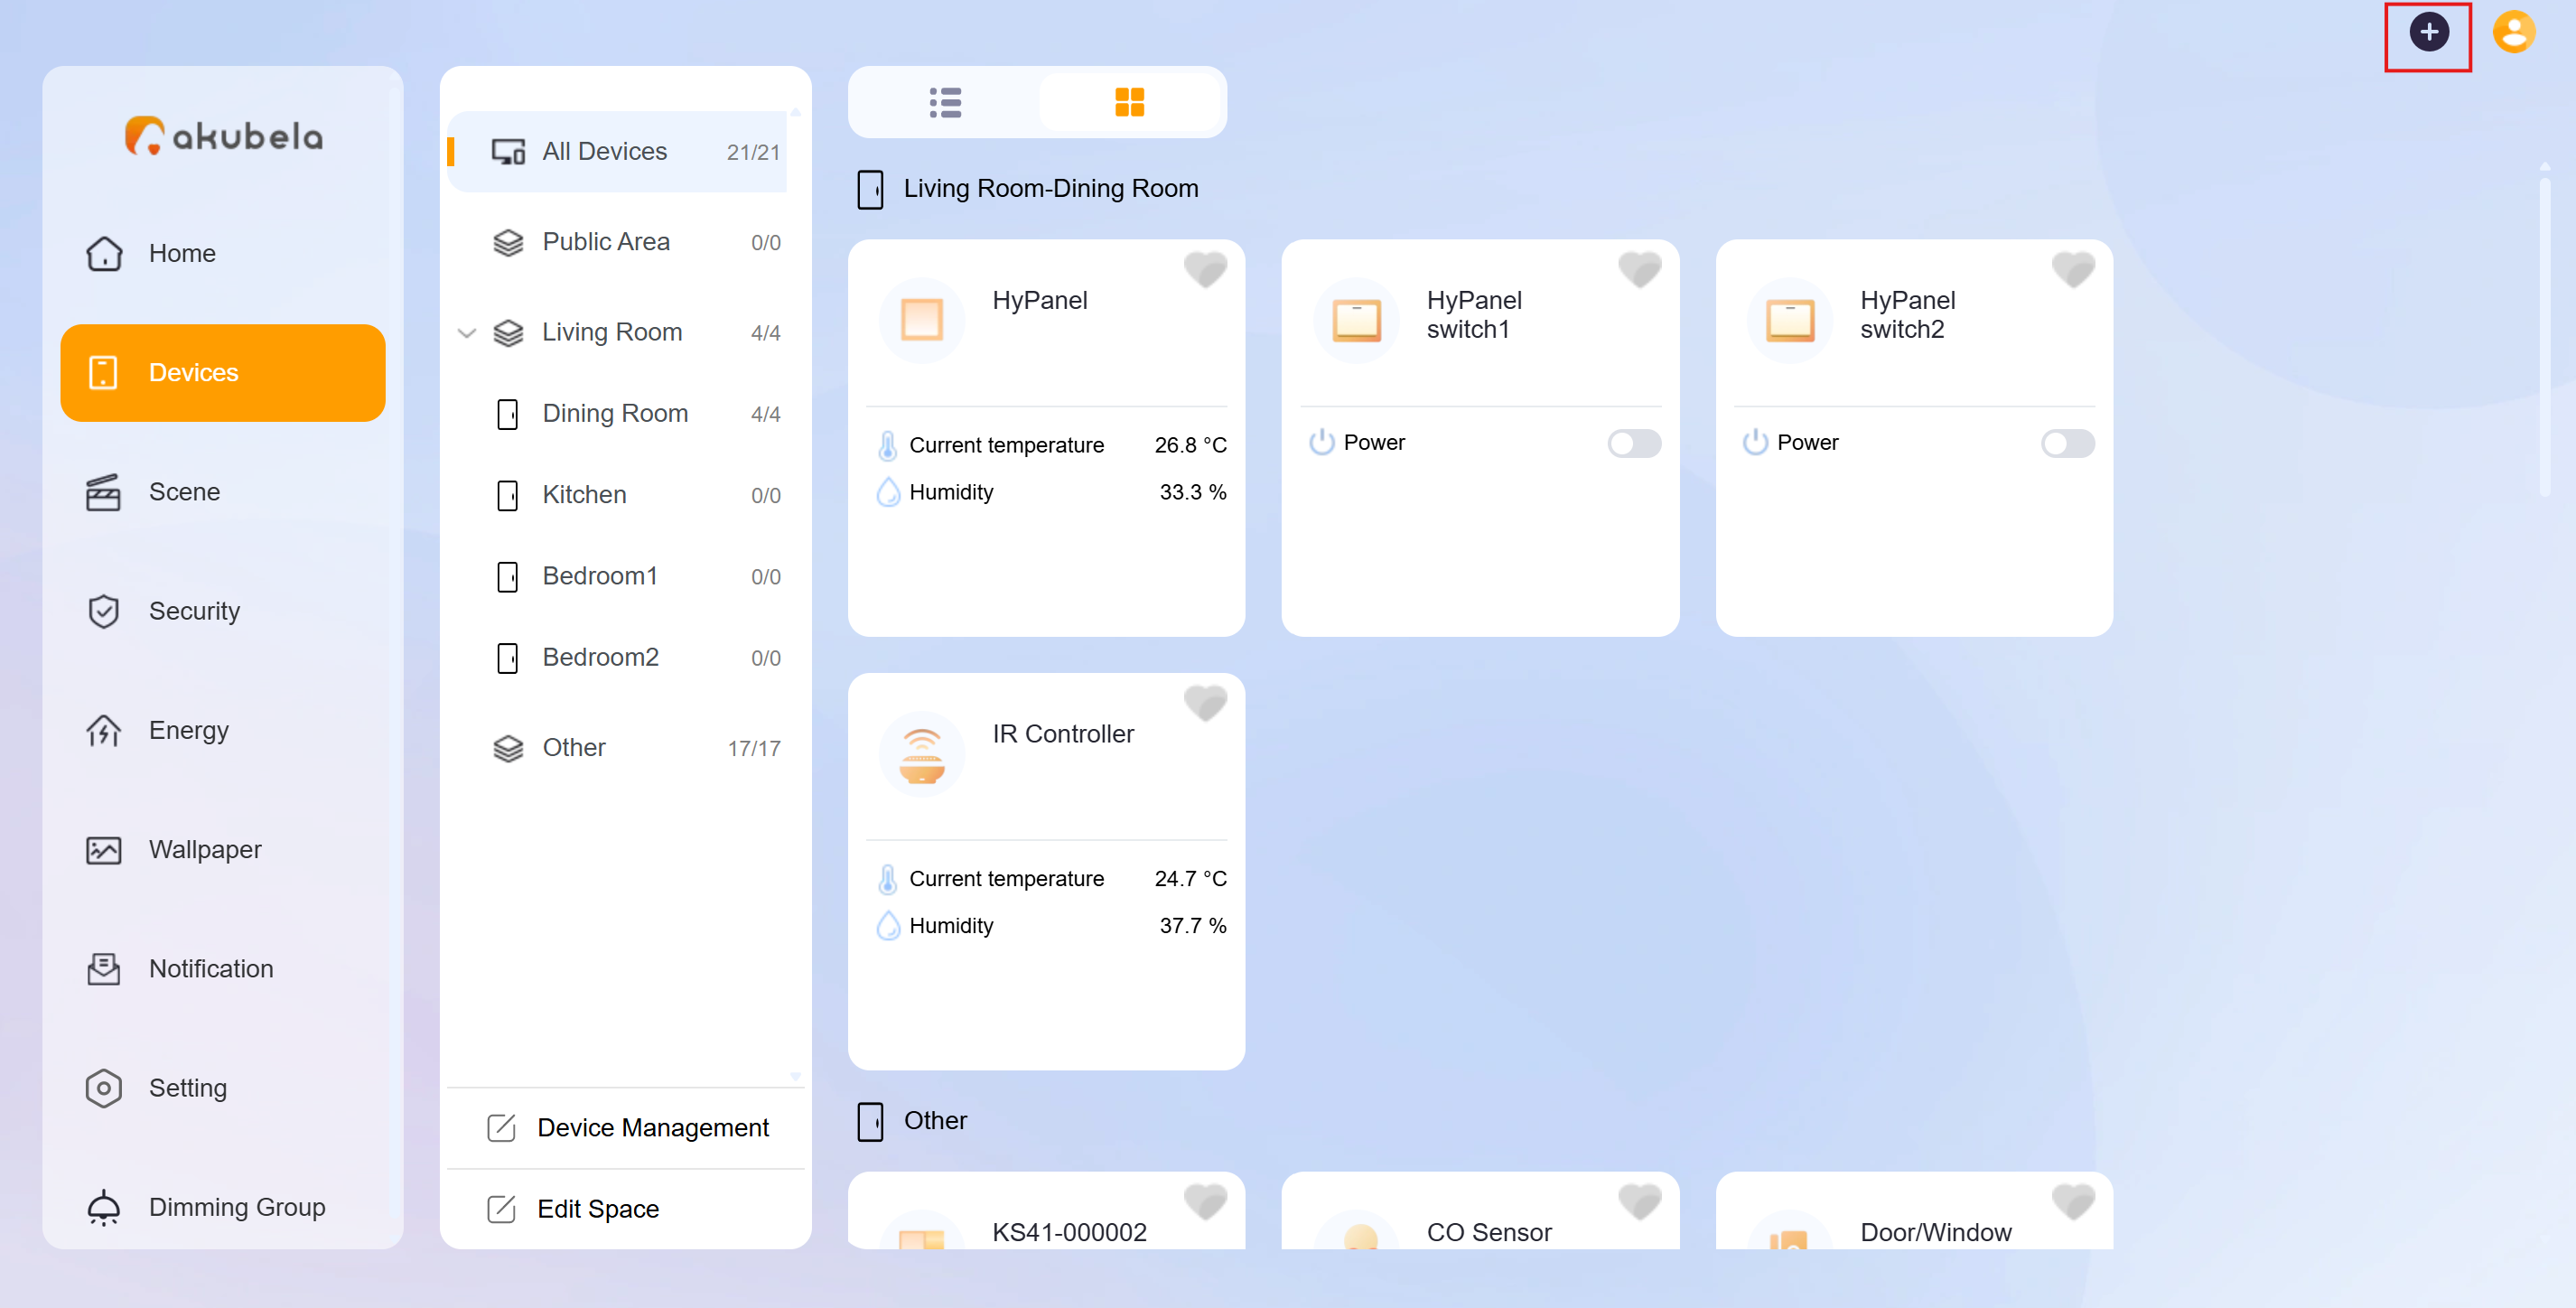
Click
 in the upper right corner.
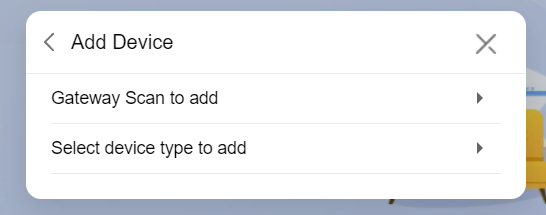
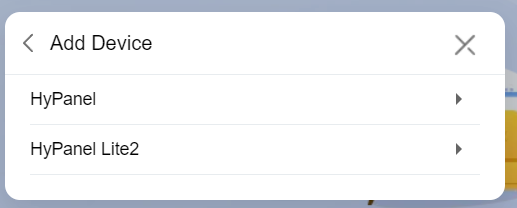
On the pop-up window, select Add Device > Gateway Scan to add.
Select the desired panel to add the device to.
Put the Zigbee device into pairing mode.
TIP:
Here are examples of how to put devices into pairing mode. For more devices, see the guide Put Zigbee Devices into Paring Mode, or refer to their manuals.
Zigbee device | How to put it to the pairing mode | |
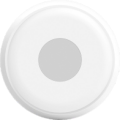
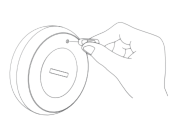
Smart Emergency Button | Insert a pin into the reset hole at its back cover for 5 - 10s until the green light flashes quickly. |
|
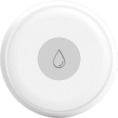
Smart Flood Sensor | Press and hold the reset button on the front for 5 - 10s until the green light flashes quickly. |
|
Smart Temperature and Humidity sensor
| Press and hold the reset button on the side for 5 - 10s until the signal icon flashes quickly. |
|
Smart Motion Sensor
|
|
|
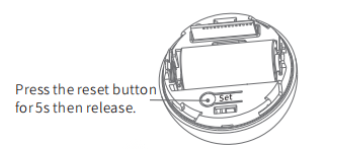
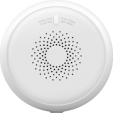
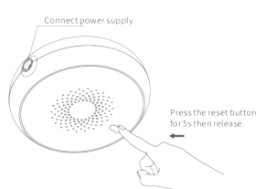
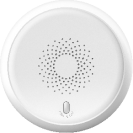
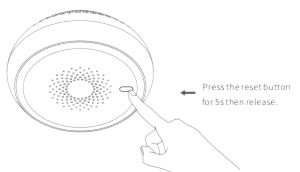
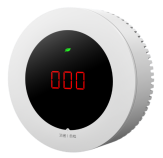
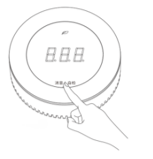
Smart Gas Sensor
| Press and hold the reset button on the front for at least 5s until the green light flashes quickly. |
|
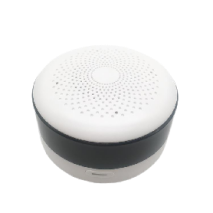
Smart Smoke Sensor
| Press and hold the reset button on the front for at least 5s until the green light flashes quickly. |
|
Smart CO Sensor
|
|
|
IR Controller
|
|
|
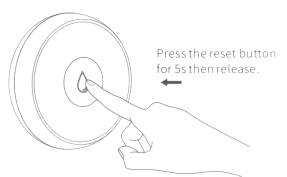
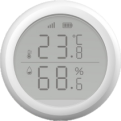
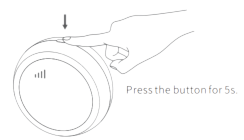
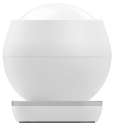
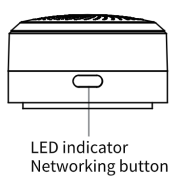
Place the Zigbee device to close to the gateway.
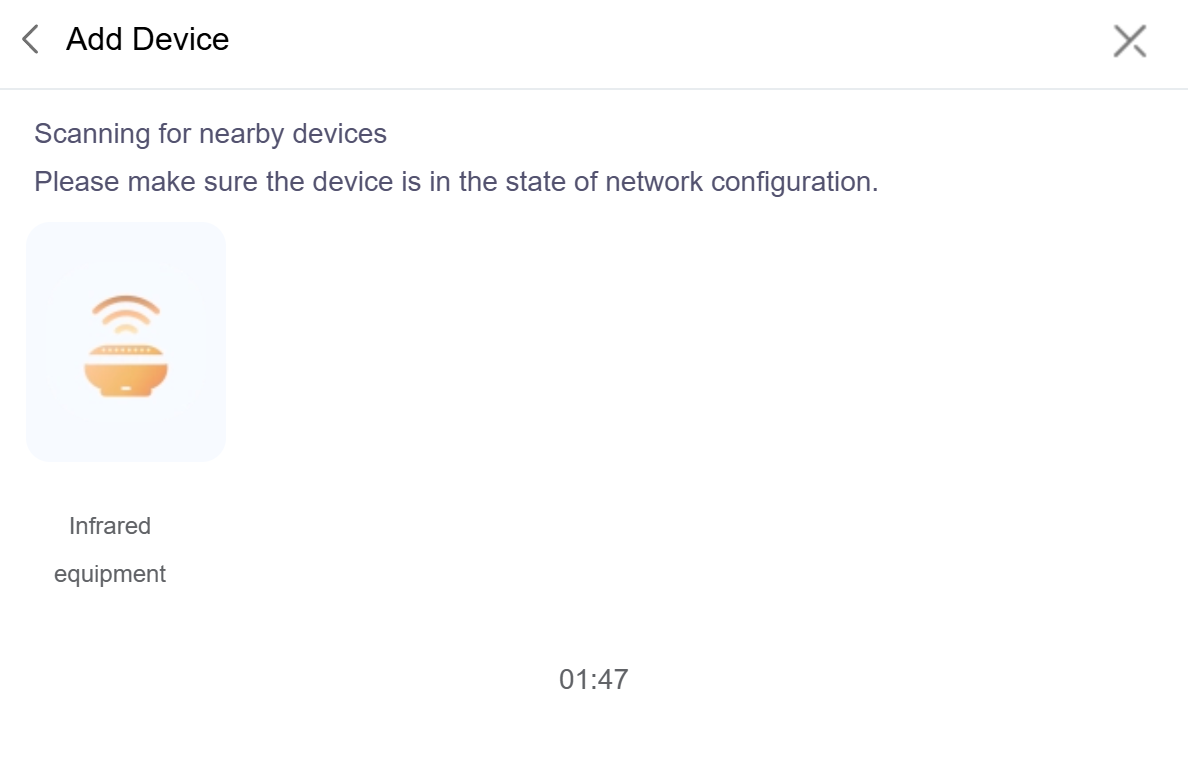
Wait for the device to be discovered. Select it and go to the next step.
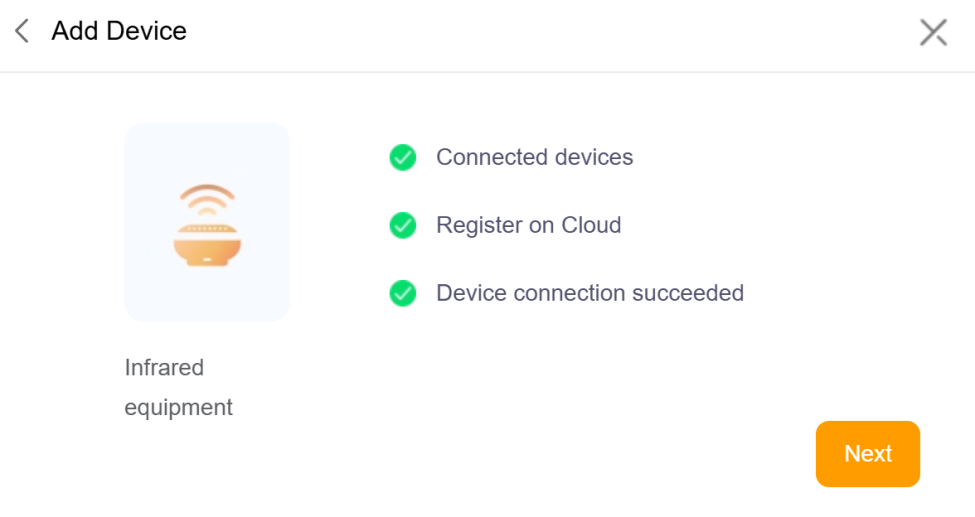
Click Next.
Add Third-Party Devices
Third-party smart home devices, such as Philips Hue, Ring Video Doorbell, Ecobee thermostat, Lutron Caseta, TP-Link kasa, Sonos, and more, can be added via the user web portal.
Click
 in the upper right corner.
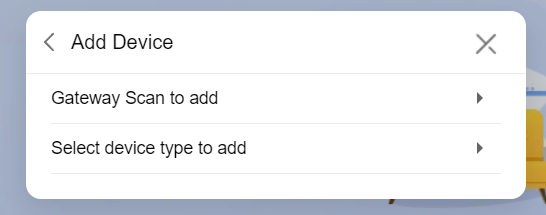
From the pop-up window, select Add device > Select device type to add.
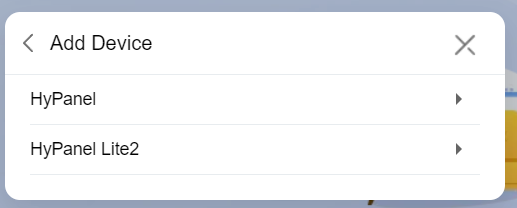
Select the desired panel to add the Zigbee device to.
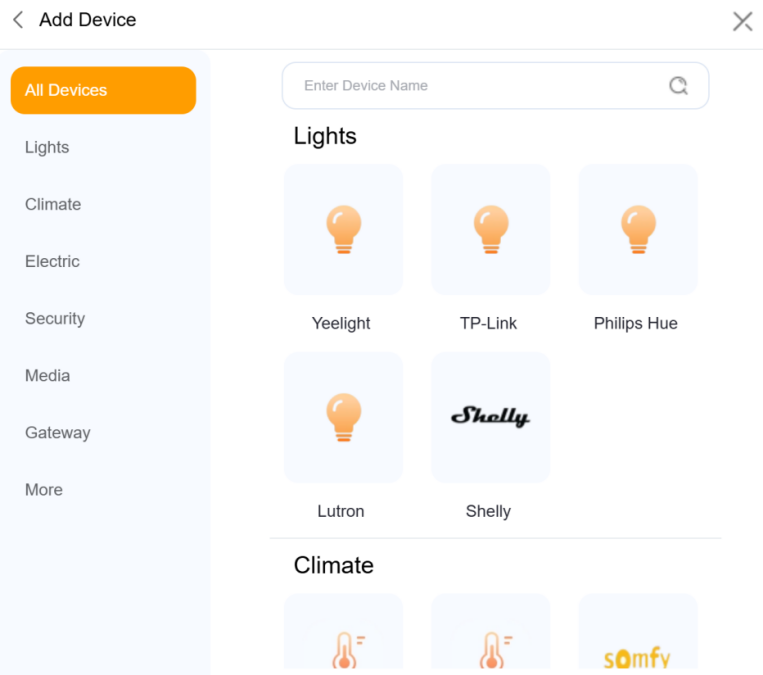
Select the device type from the list.
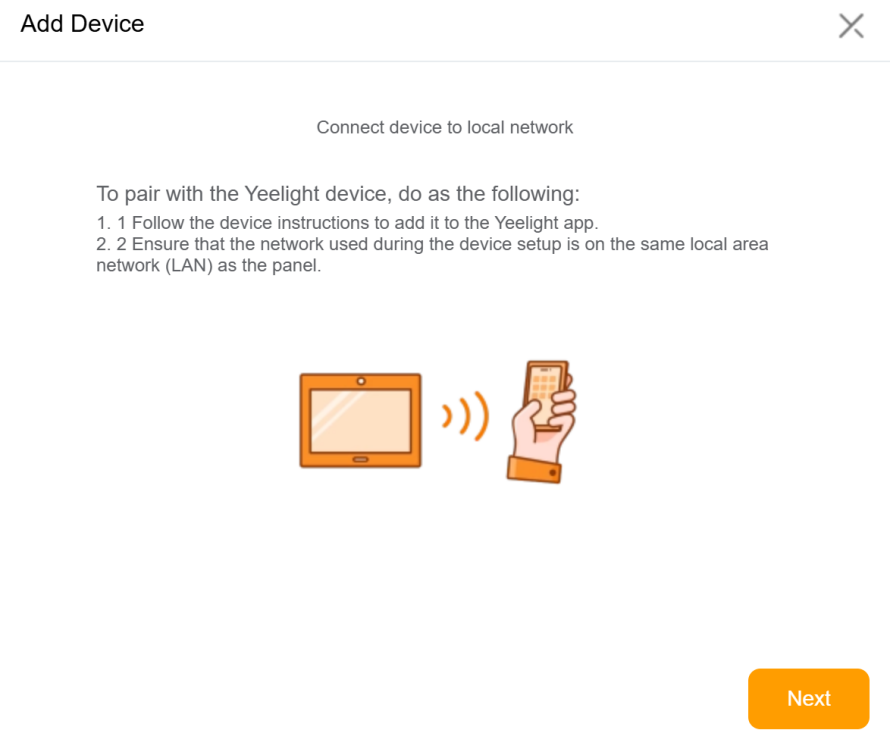
Follow the onscreen instructions to complete the adding.
TIP:
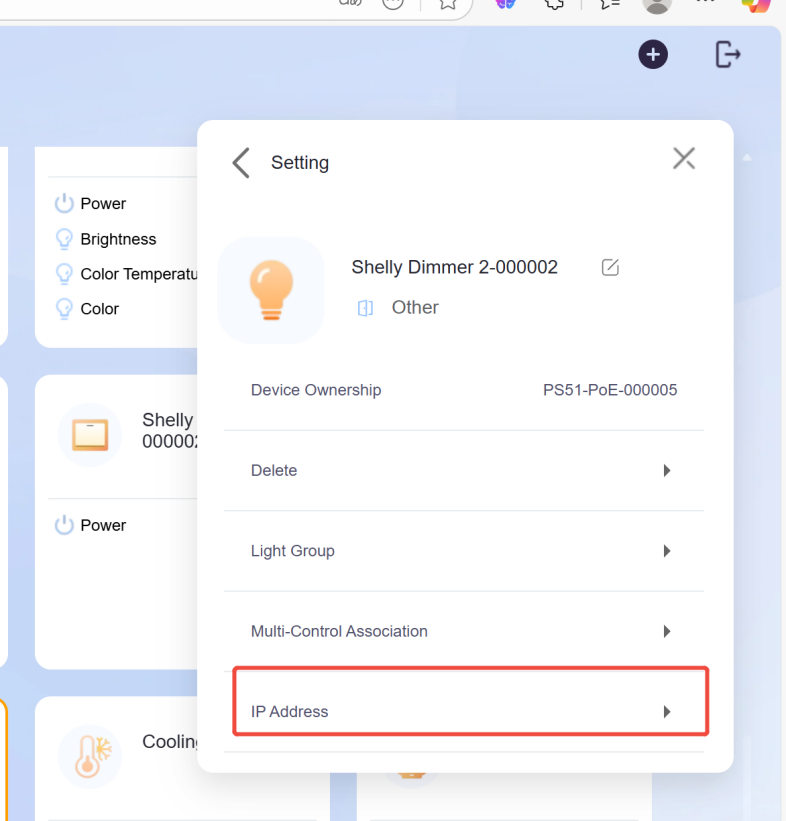
After adding a Shelly device, you can quickly access its web page for troubleshooting. Just click the Shelly device card, then select
> IP Address.
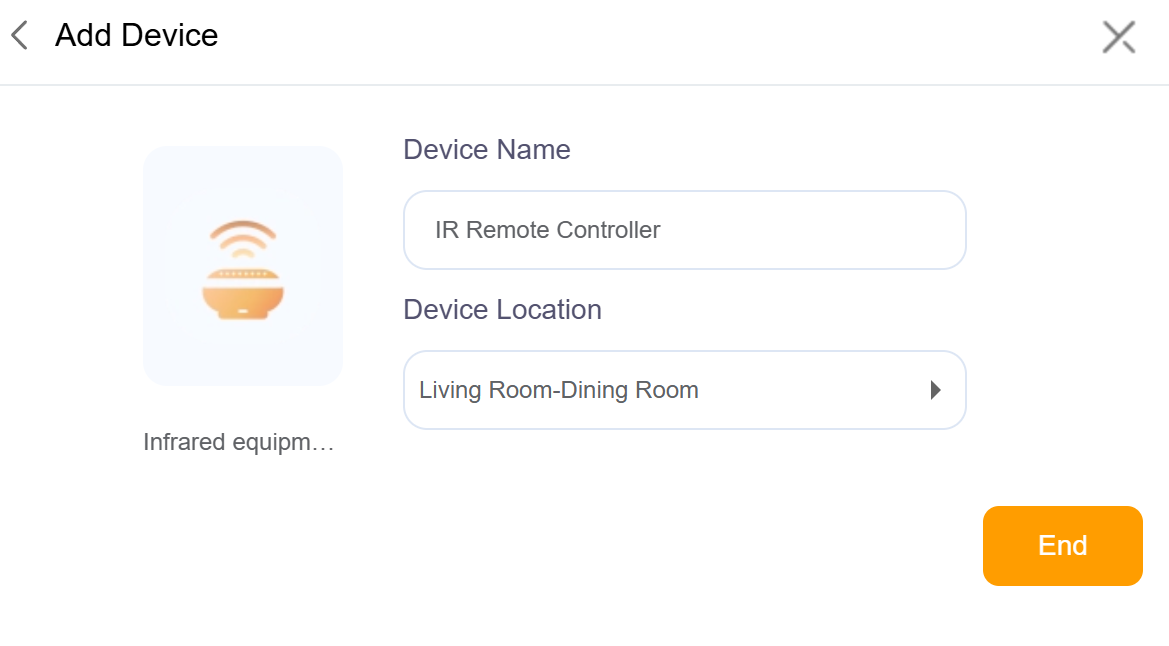
Rename and Relocate Devices
To edit device name and location, do any of the following:
On the Devices screen
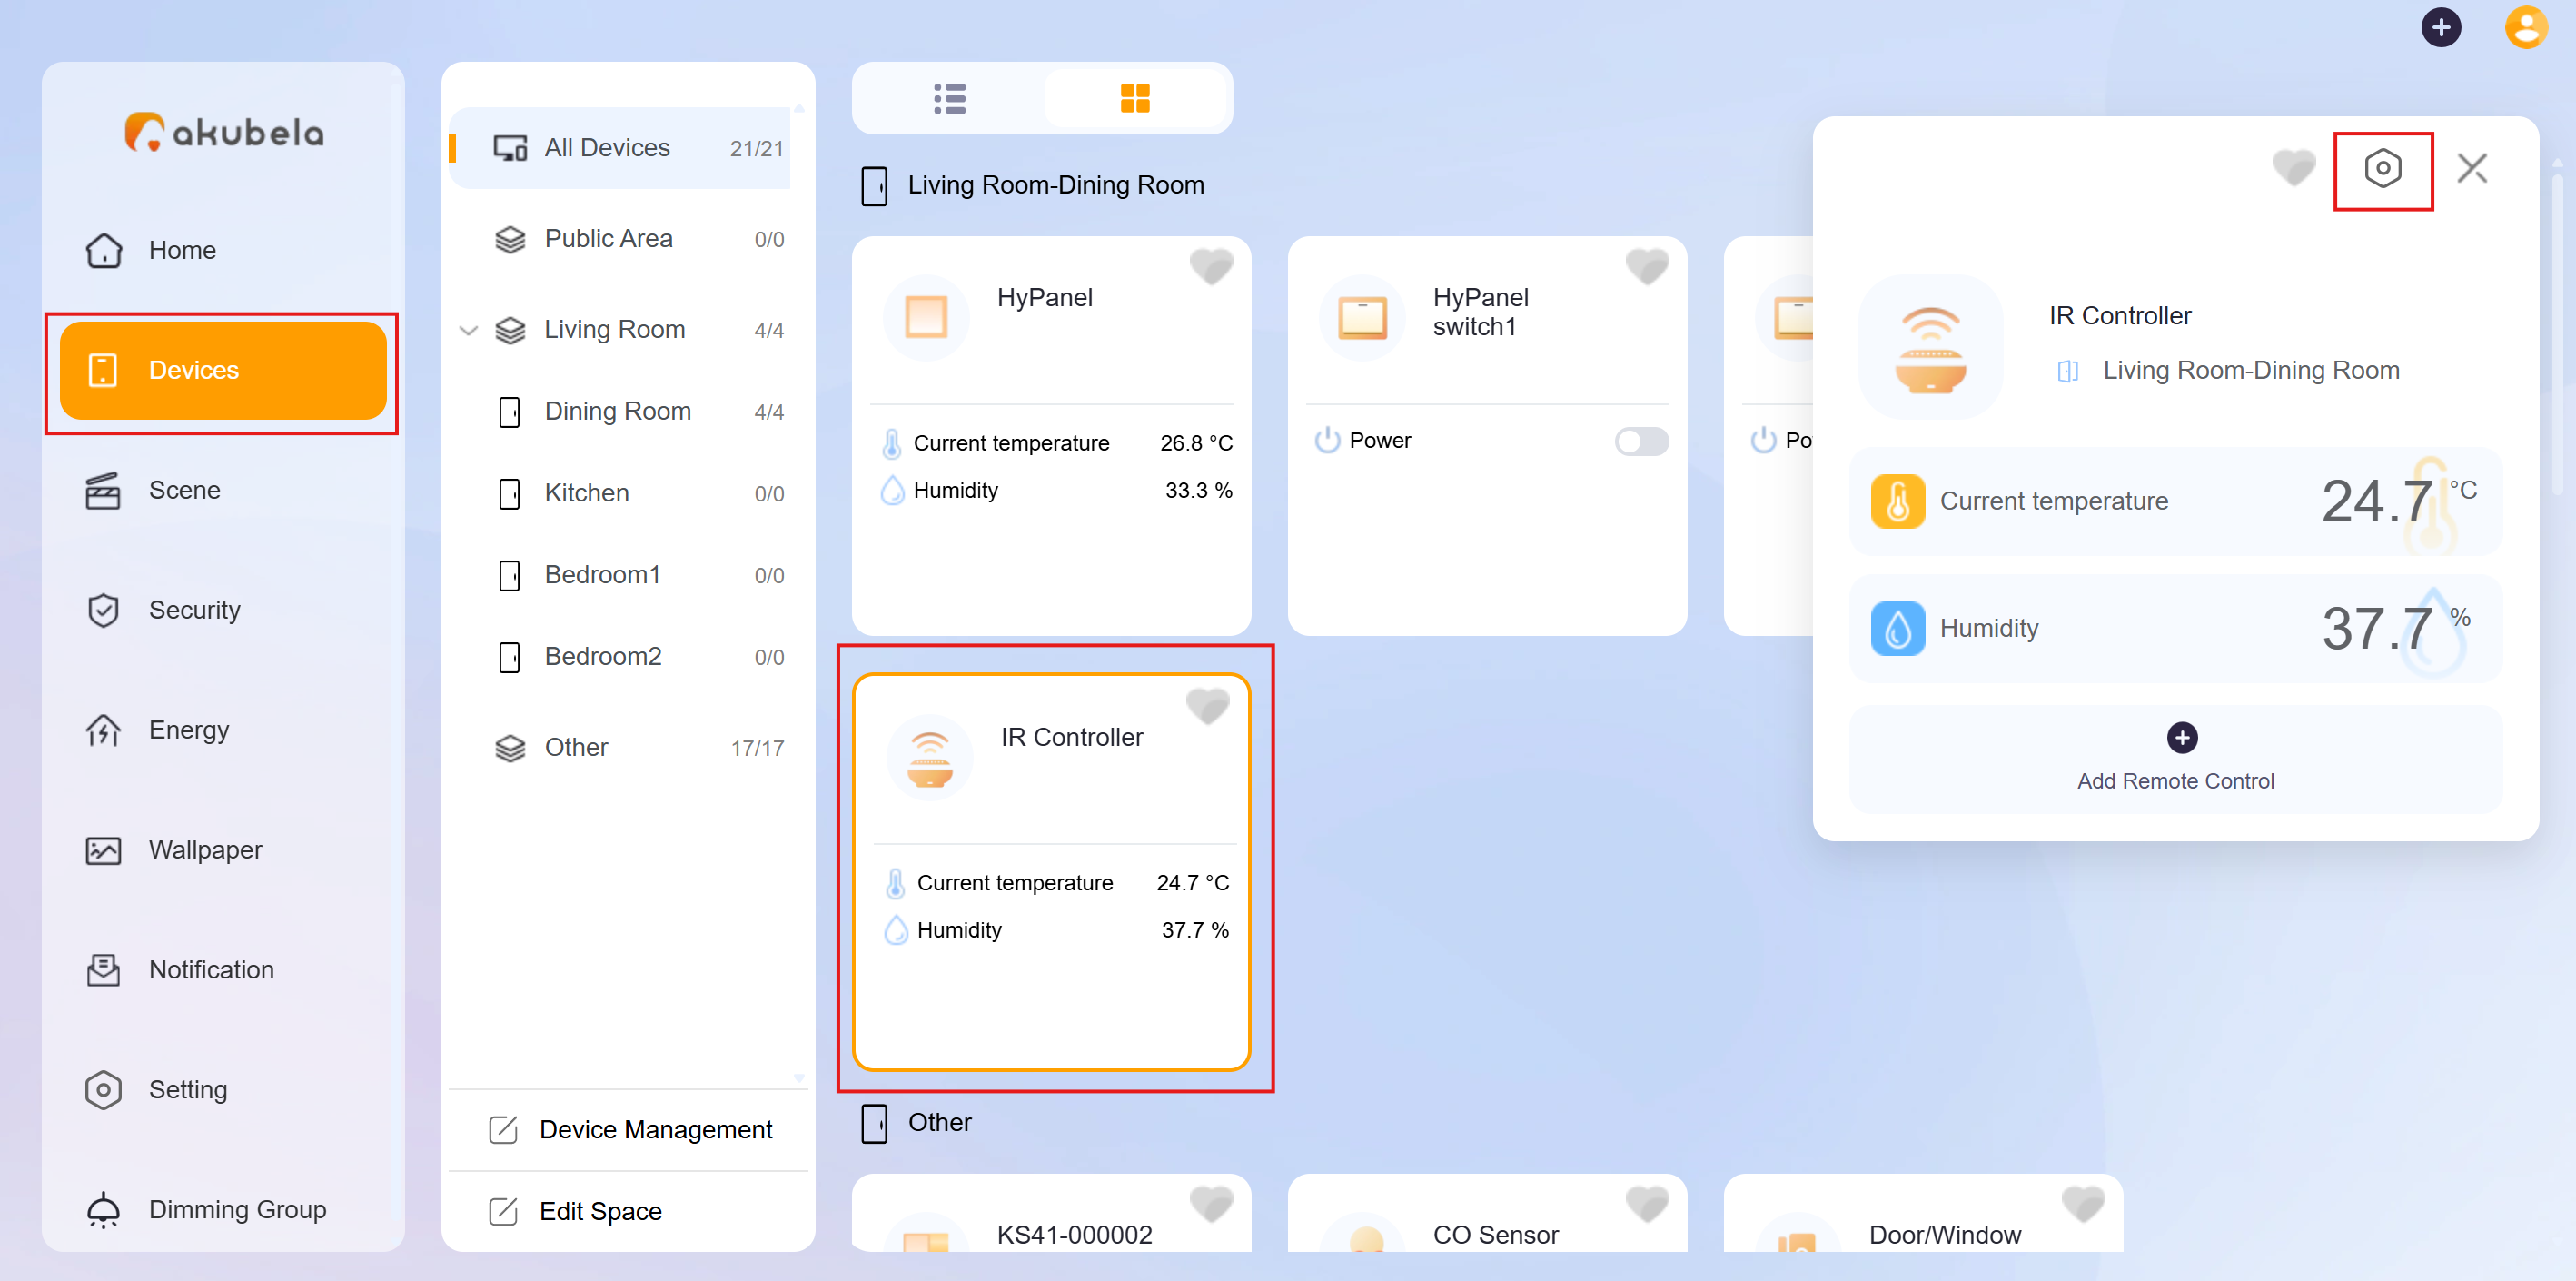
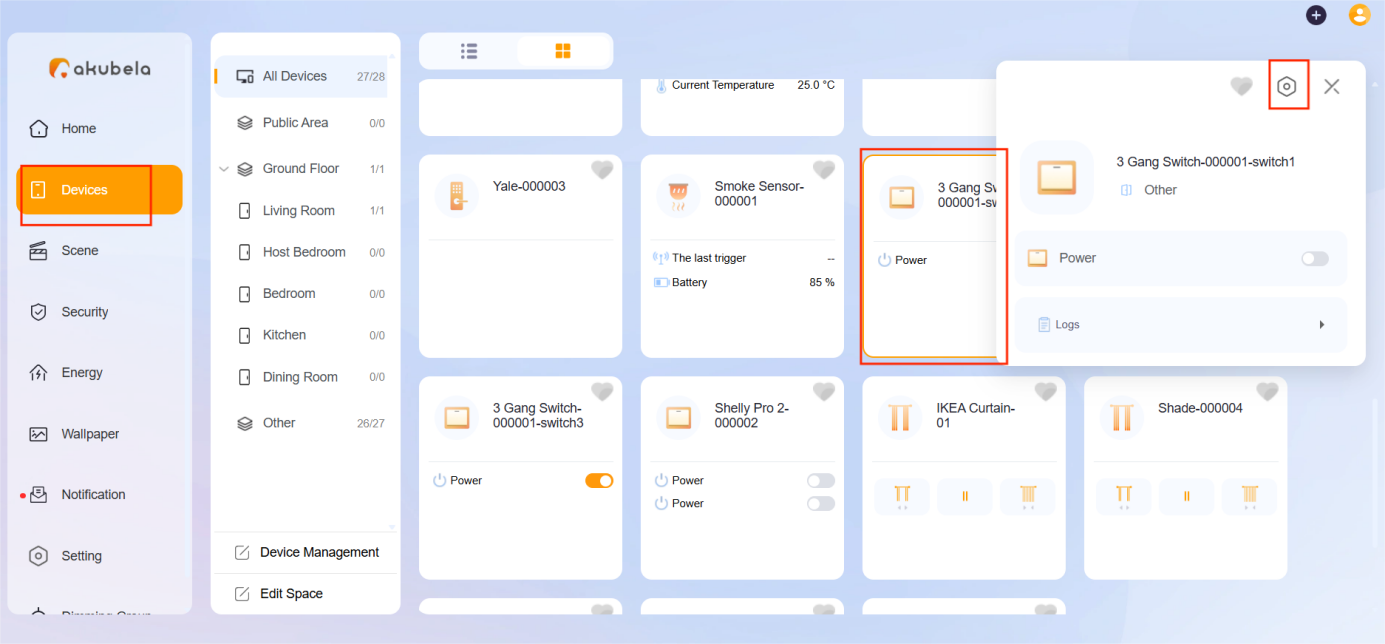
Click Devices > [Desired device] >
 .
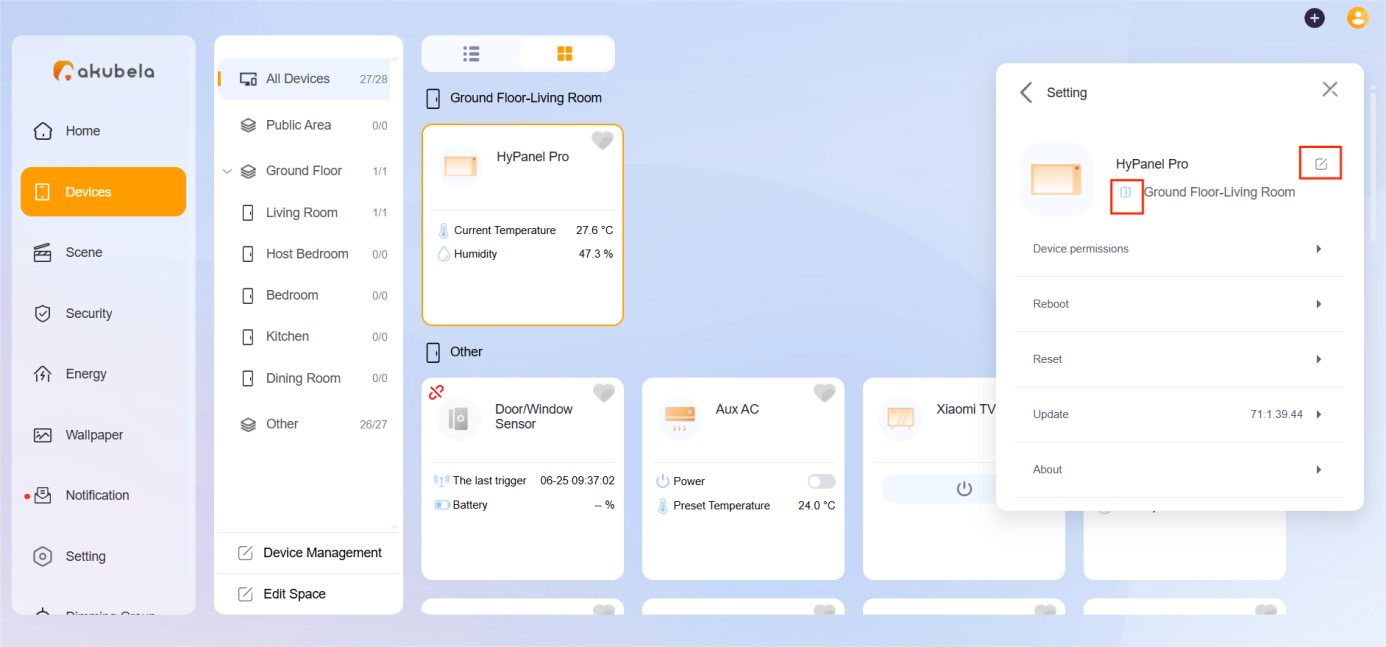
Click
 to rename and
 to change the location.
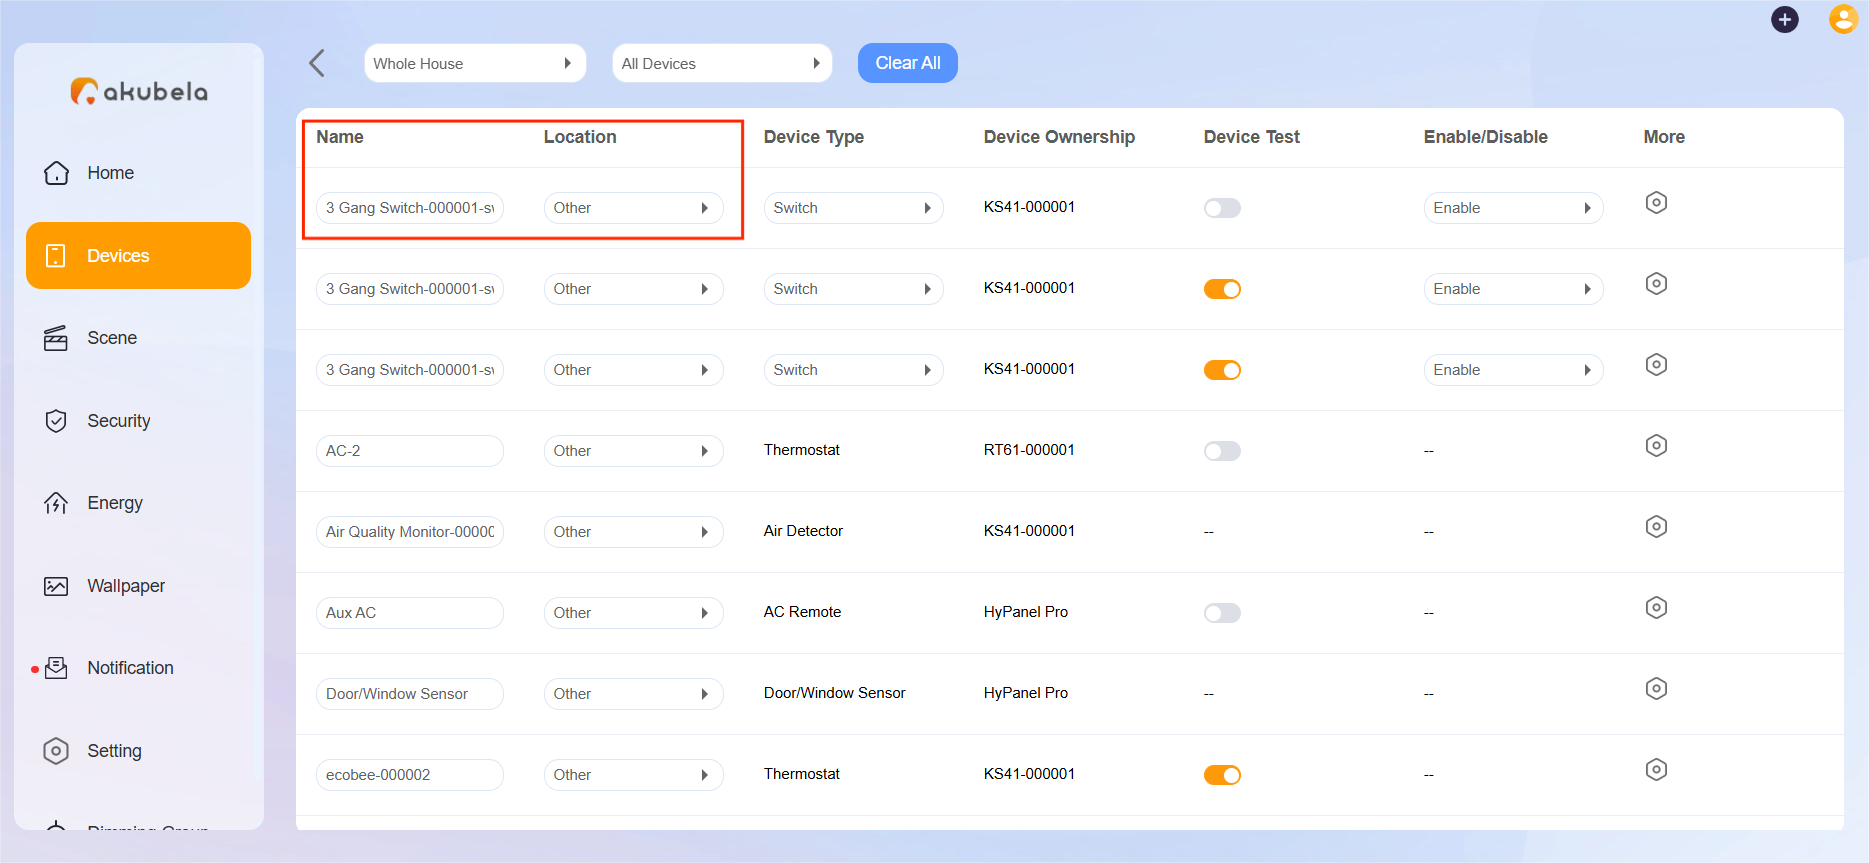
On the Device Management screen
Go to Devices > Device Management.
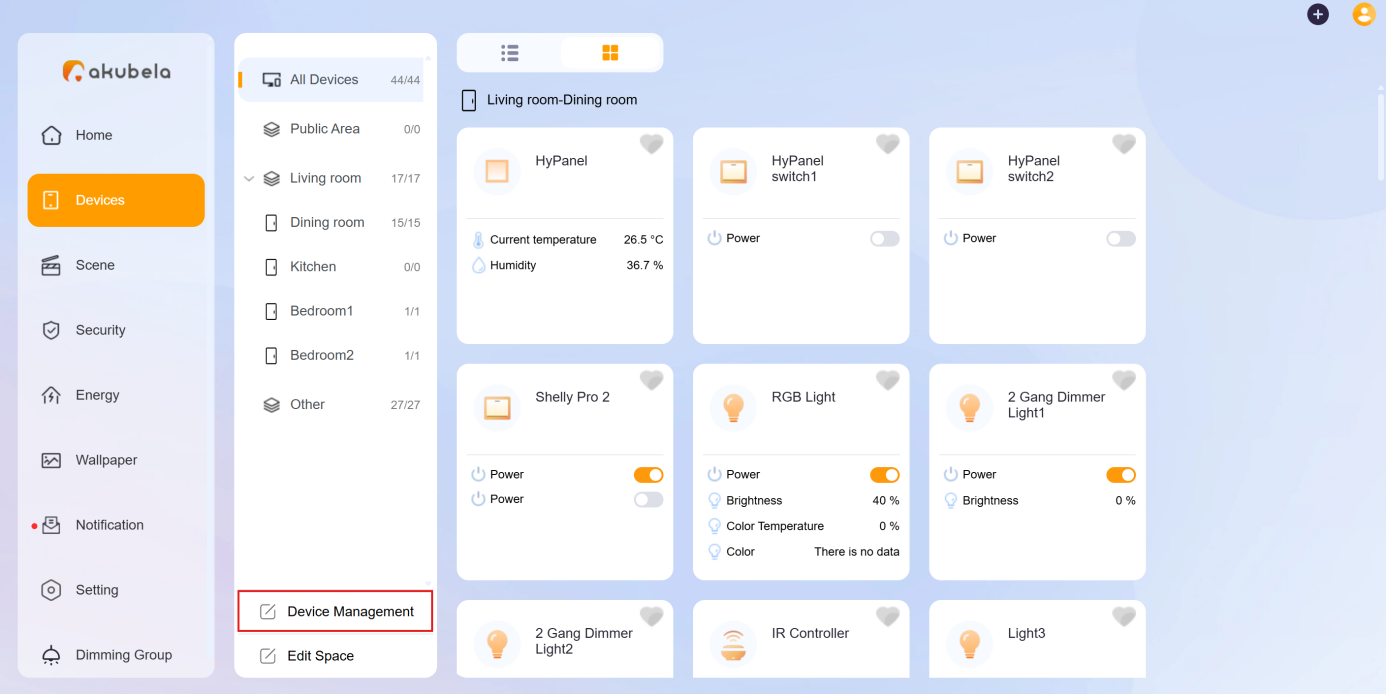
Find the desired device, then edit the name and location.
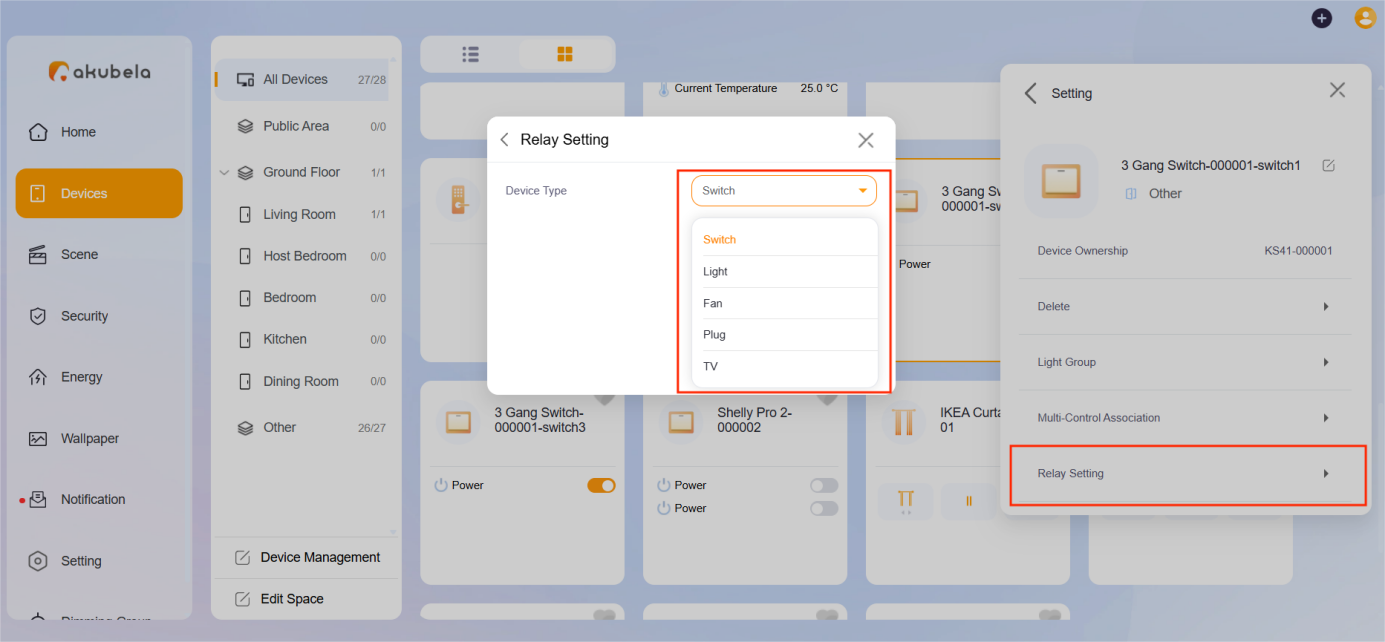
Change Relay Type
You can change the type of a connected relay.
Click on Devices > [Desired device] >
 .
Select Relay Setting and change its type.
Bypass Sensors
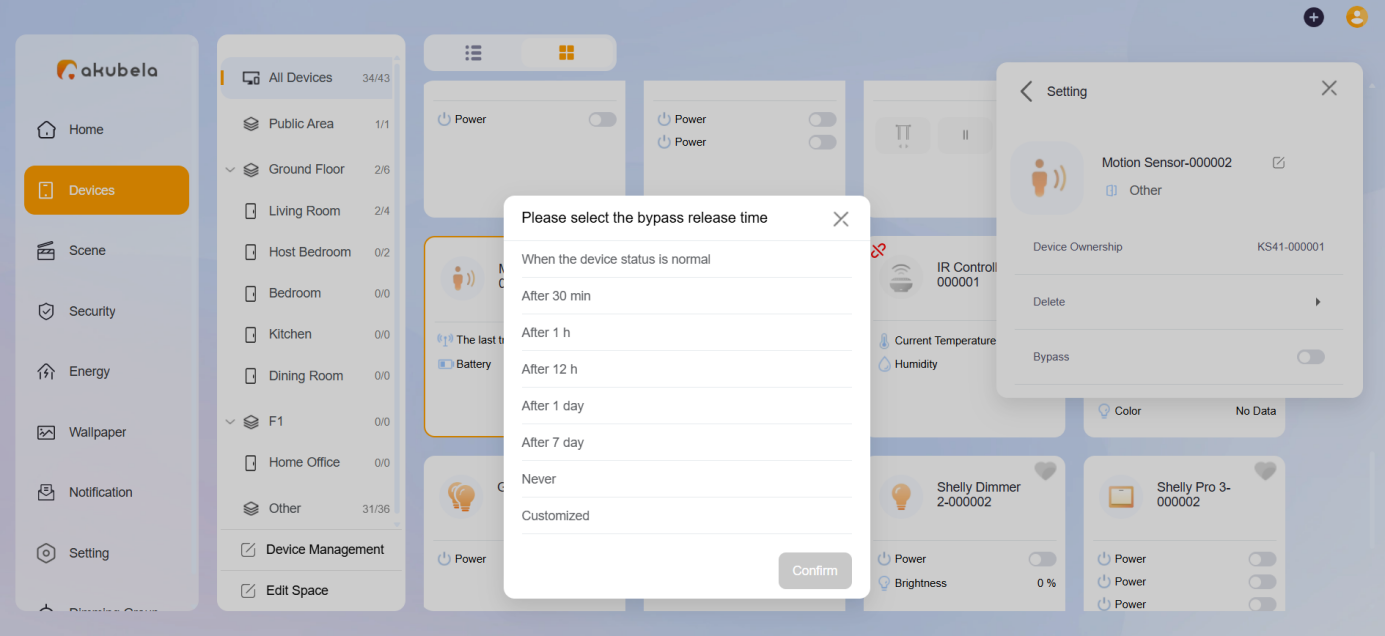
Some sensors can be temporarily bypassed to stop detection, helping prevent false triggers in scenarios such as maintenance.
To bypass a device:
Click Devices > [Desired device] >
 .
Enable Bypass, choose a time duration, and click Confirm.
Remove Devices
To remove an added device, do the following:
Click Devices > [Desired device] >
 .
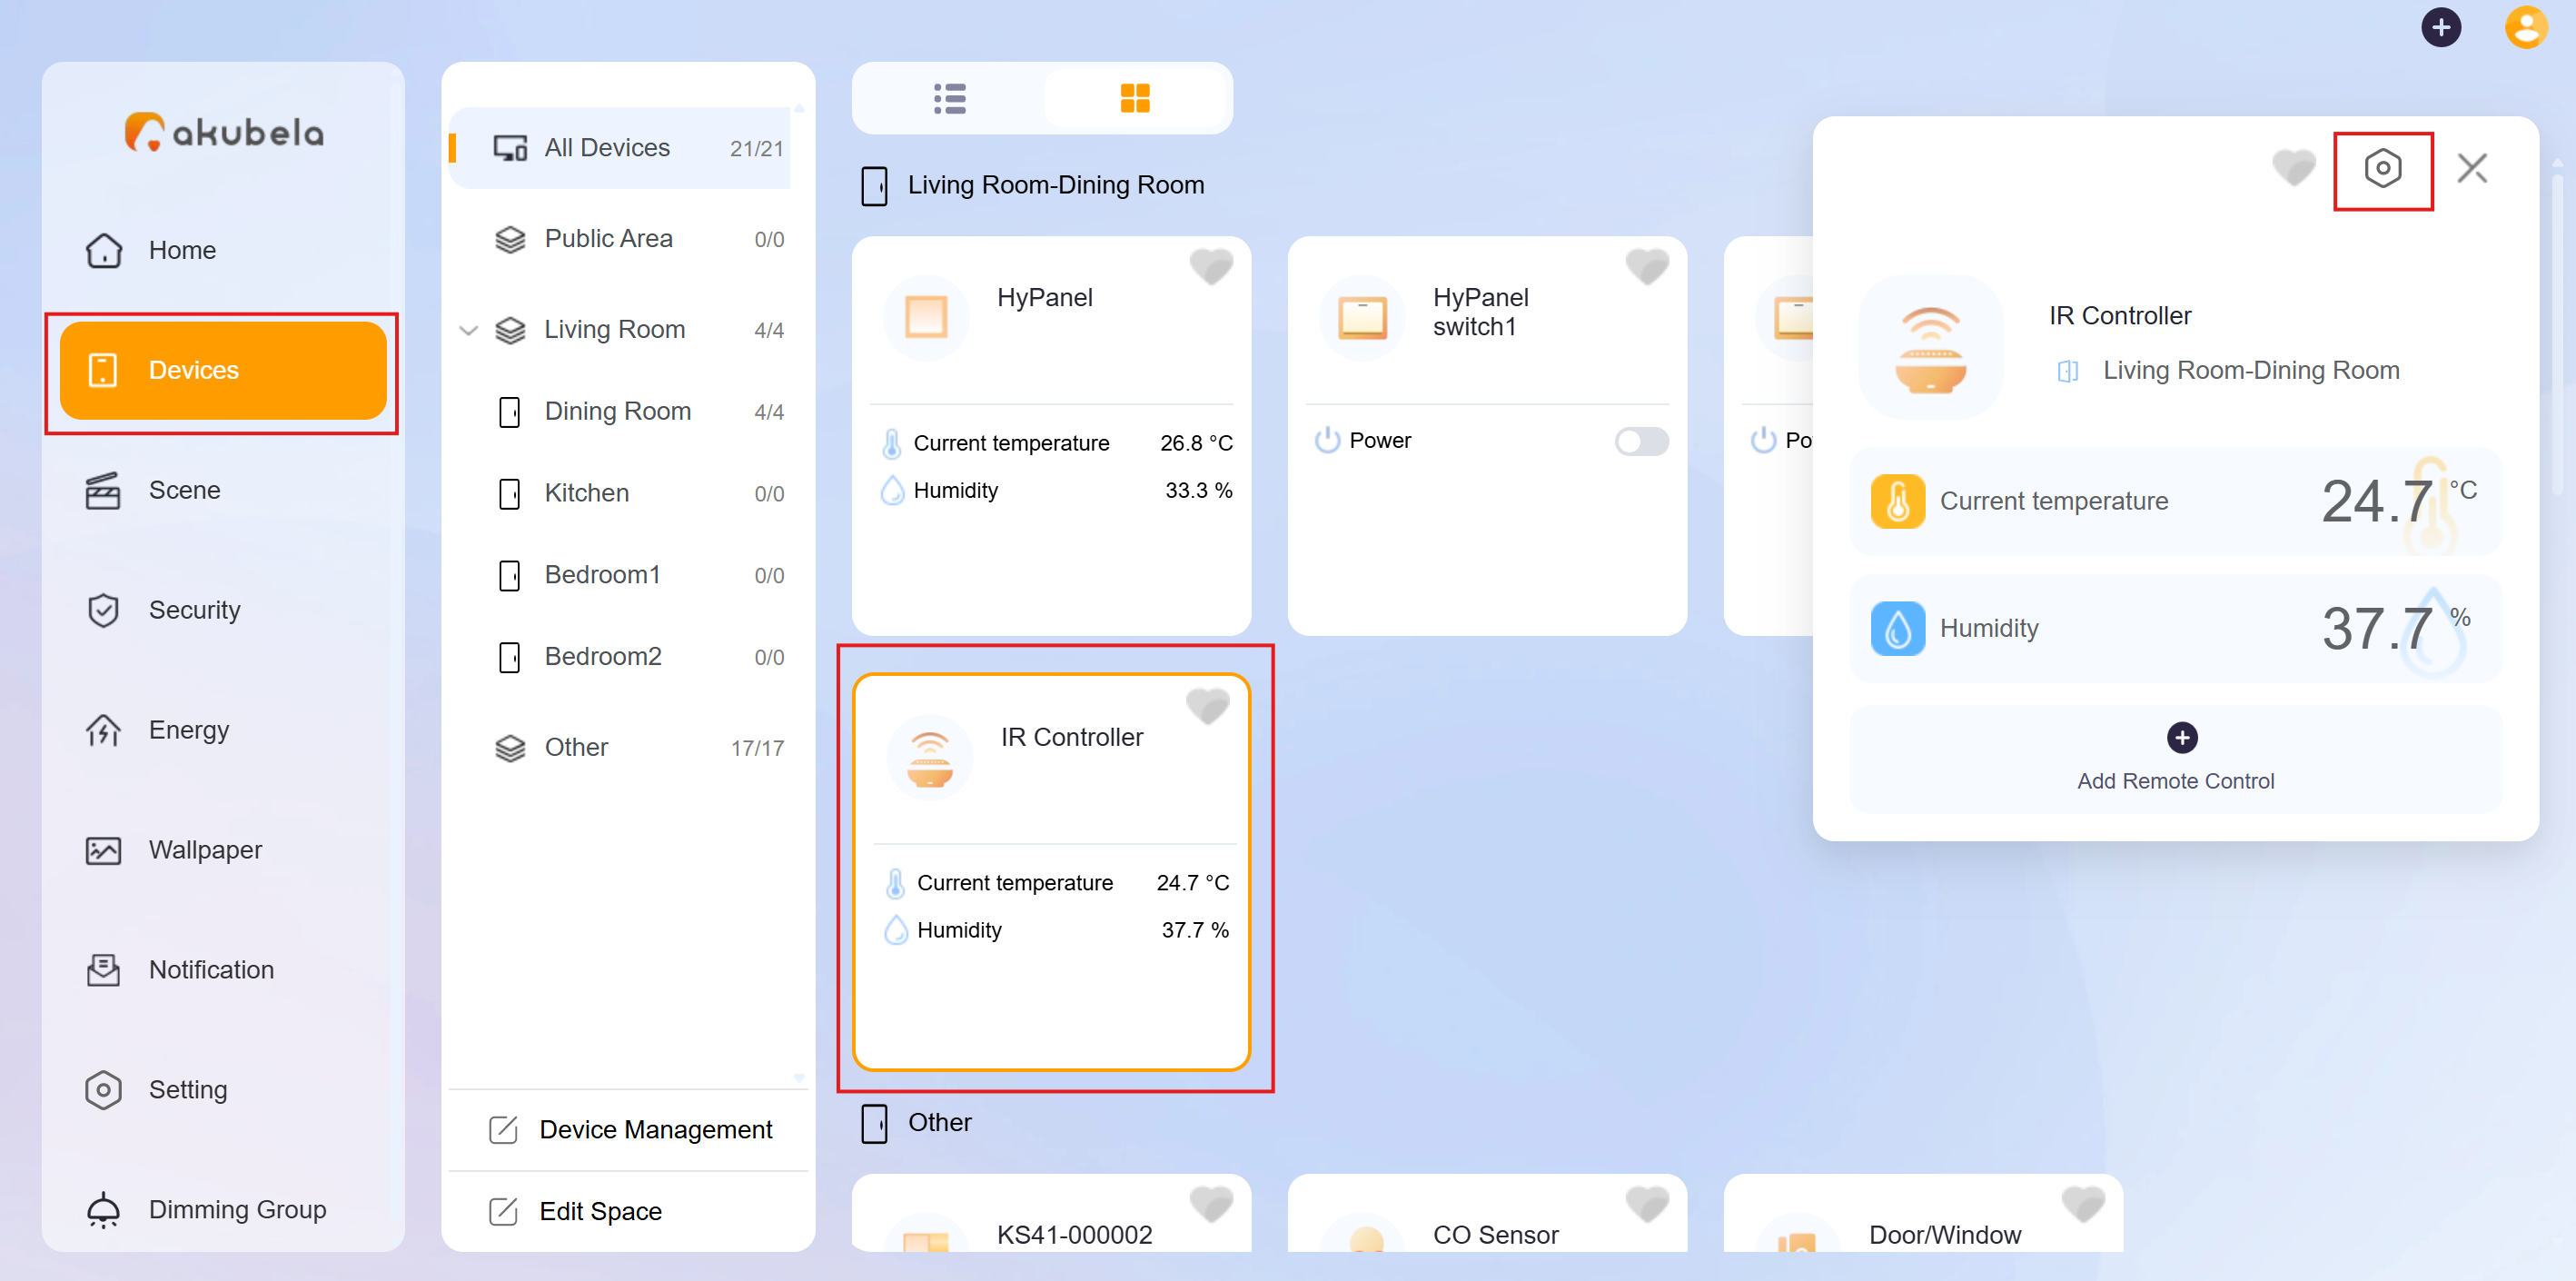
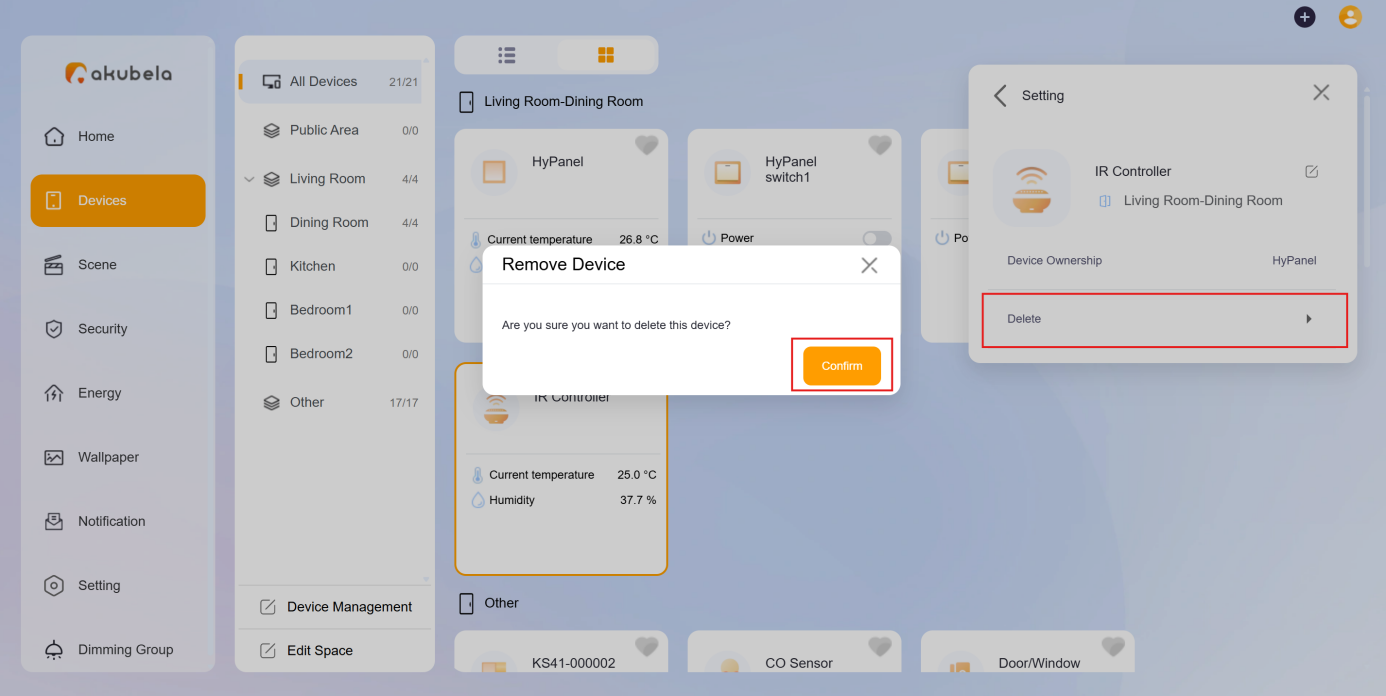
Select Delete and then Confirm.
Preset Temperature Limits
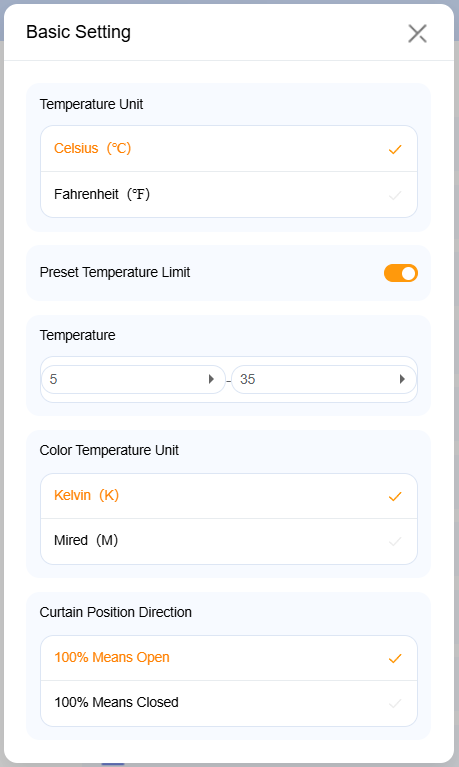
Set the minimum and maximum allowable temperatures to keep the HVAC system operating within an energy-efficient range.
To configure, go to Setting > Basic Setting > Preset Temperature Limit.
Adjust Shade & Curtain Direction
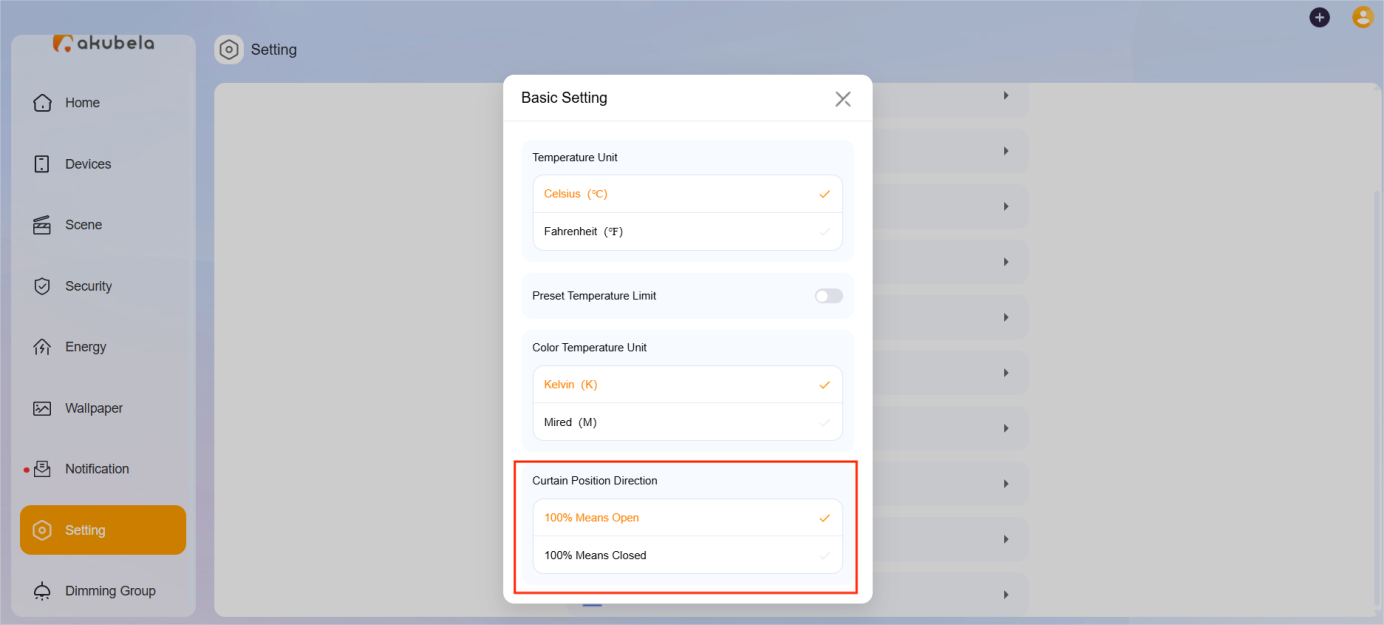
To apply a universal direction setting to all shade devices in the home:
Go to Setting > Basic Setting > Curtain Position Direction.
To fine-tune a specific device:
Go to Devices > [your desired shade device] >
 > Curtain Position Direction.
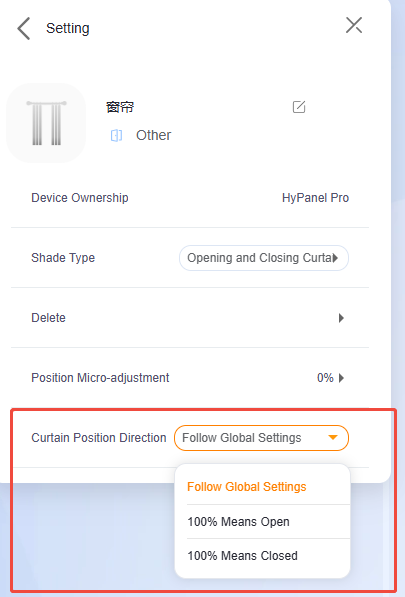
NOTE:
The device-level setting overrides the full house global setting.
Control a Single Device
To turn a device on or off, locate its card and toggle the Power button. You can also use other available control buttons directly from the card.
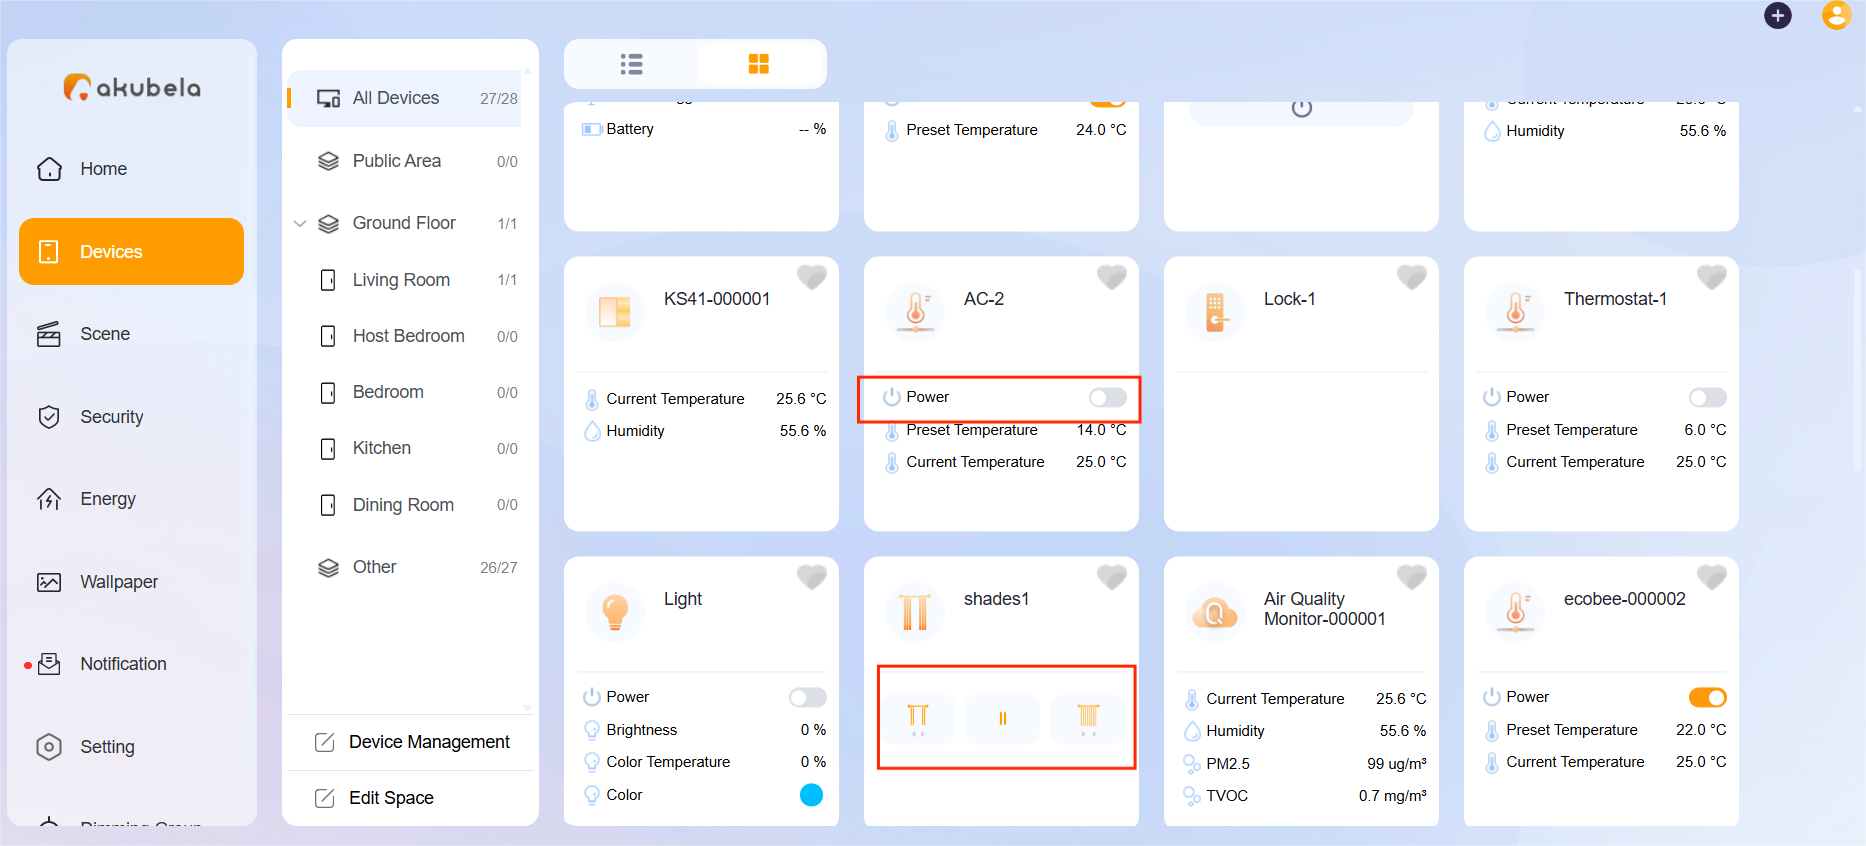
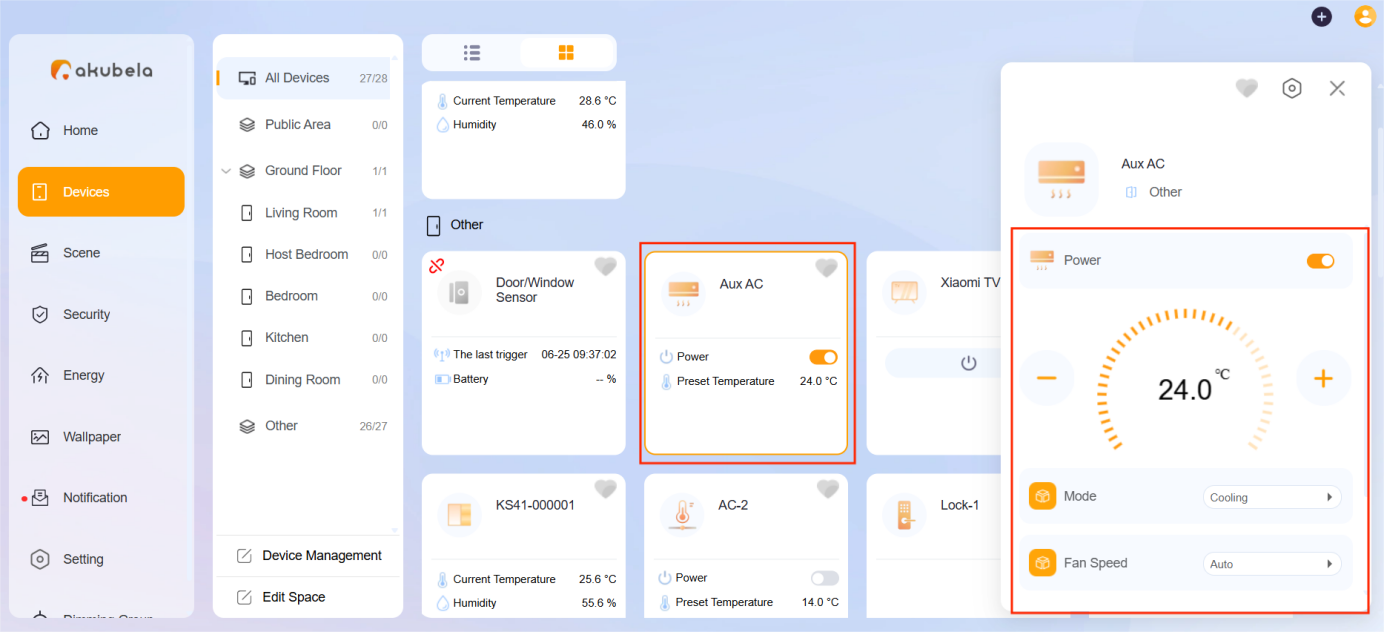
For more control options, click the device card to open the Control menu.
Group Control Devices
Virtual Three-Level Dimming Group
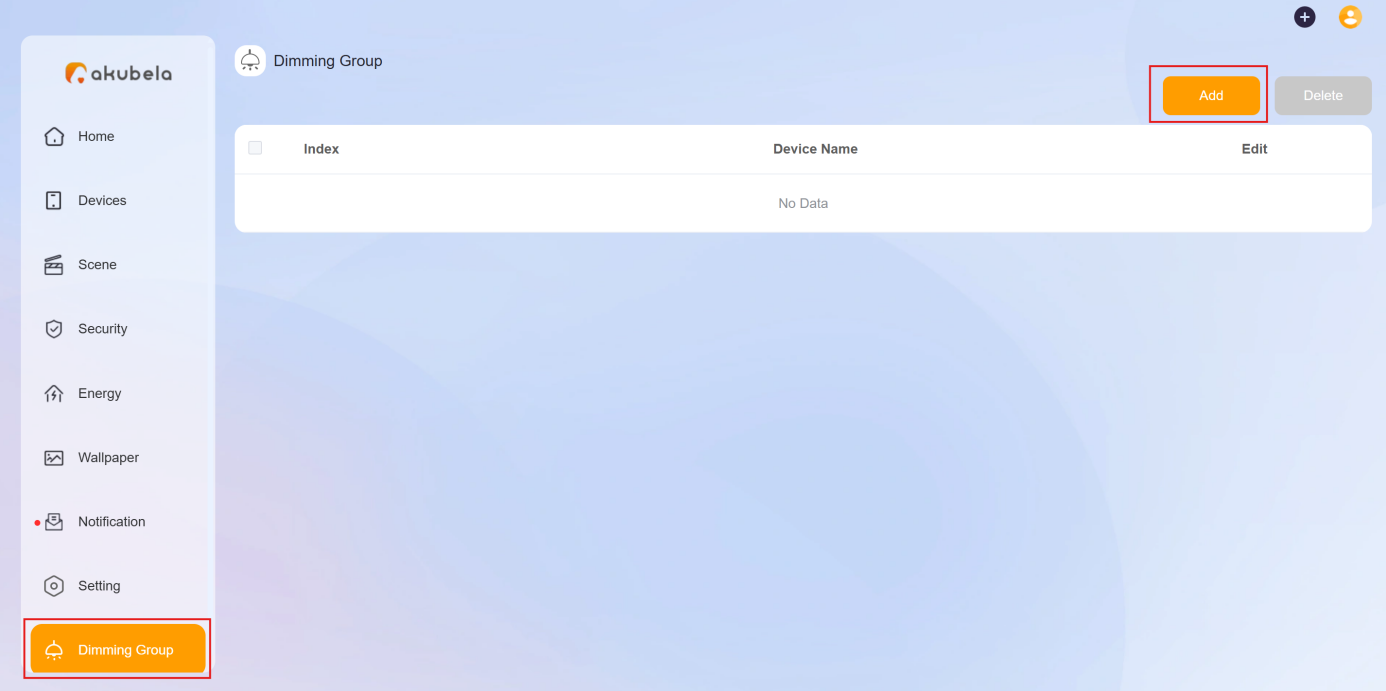
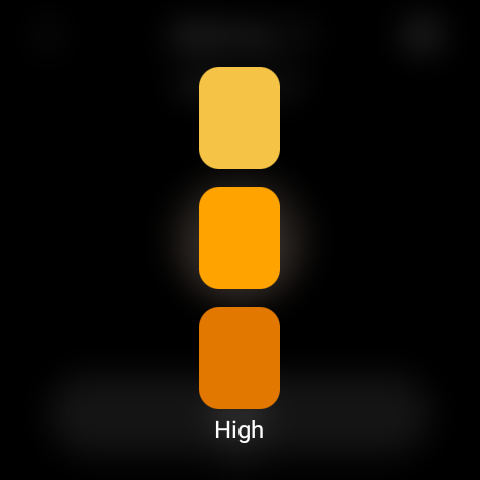
You can create a virtual three-level dimming group to control non-dimmable (on/off) lights as if they support dimming. This feature lets you assign a different number of lights to each brightness level—low, medium, and high—for unified group control.
Click Dimming Group > Add.
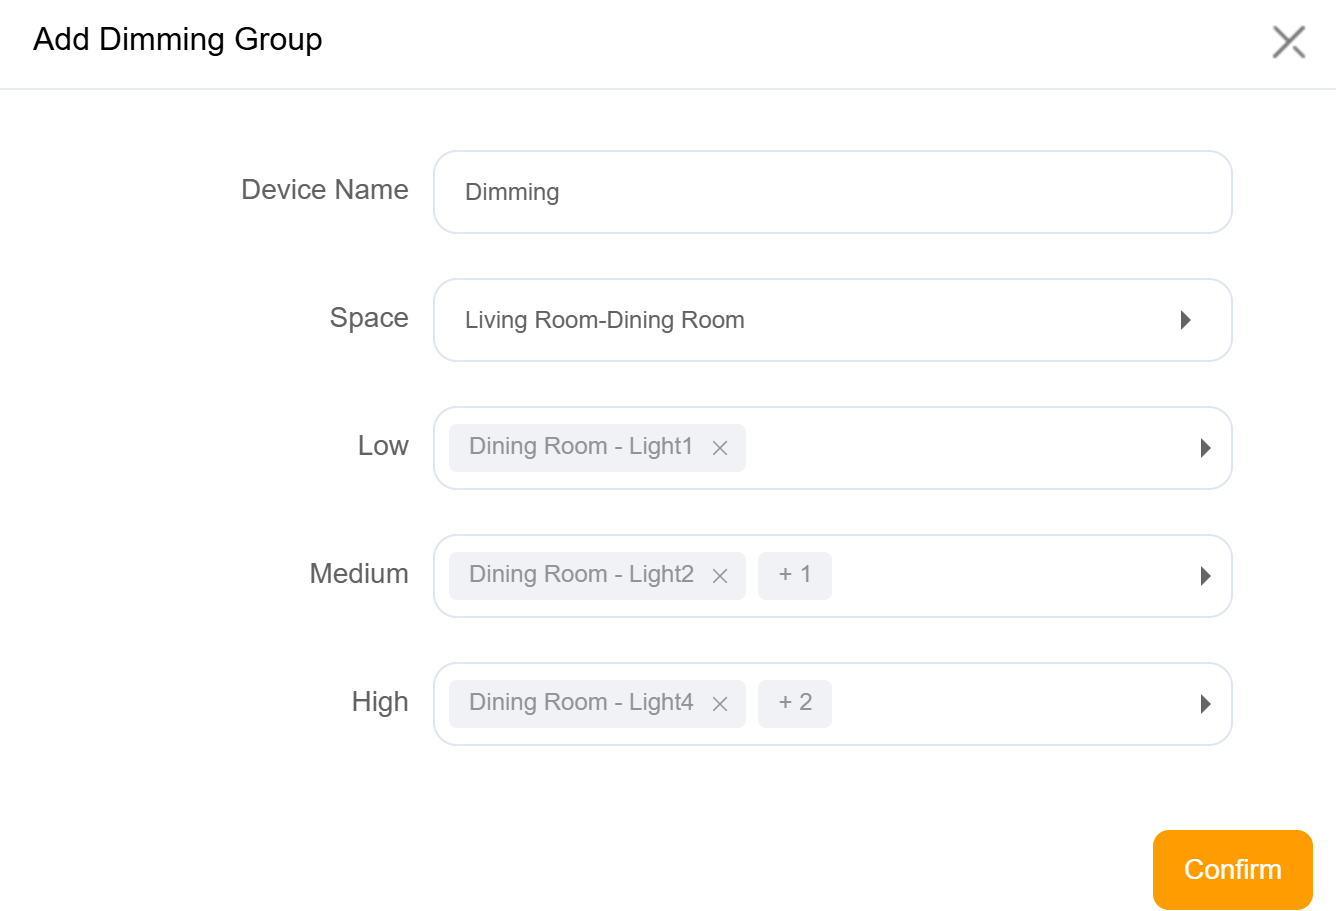
Name the group.
Select the space where the group will be used.
Assign lights to each level.
Click Confirm.
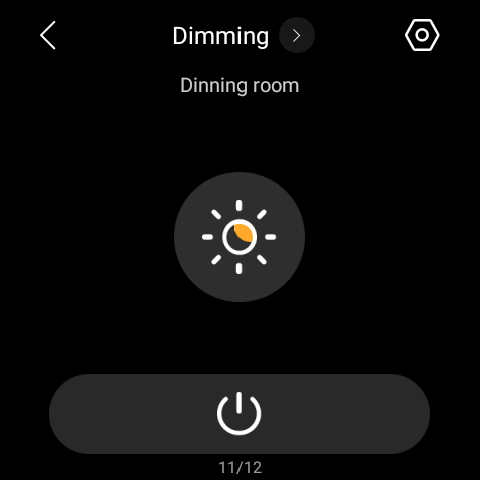
The three-level dimming group will appear on the panels for easy control.
Lighting Group
Group specific devices of the same type (e.g., lights) to control them together.
NOTE:
If grouped devices have different features, only the shared functions will be available. For example, grouping a switch light and a dimmable light will only show the switch function.
To customize a group and manage it:
On the Devices screen, tap the desired lighting device card, then tap
 > Light Group.
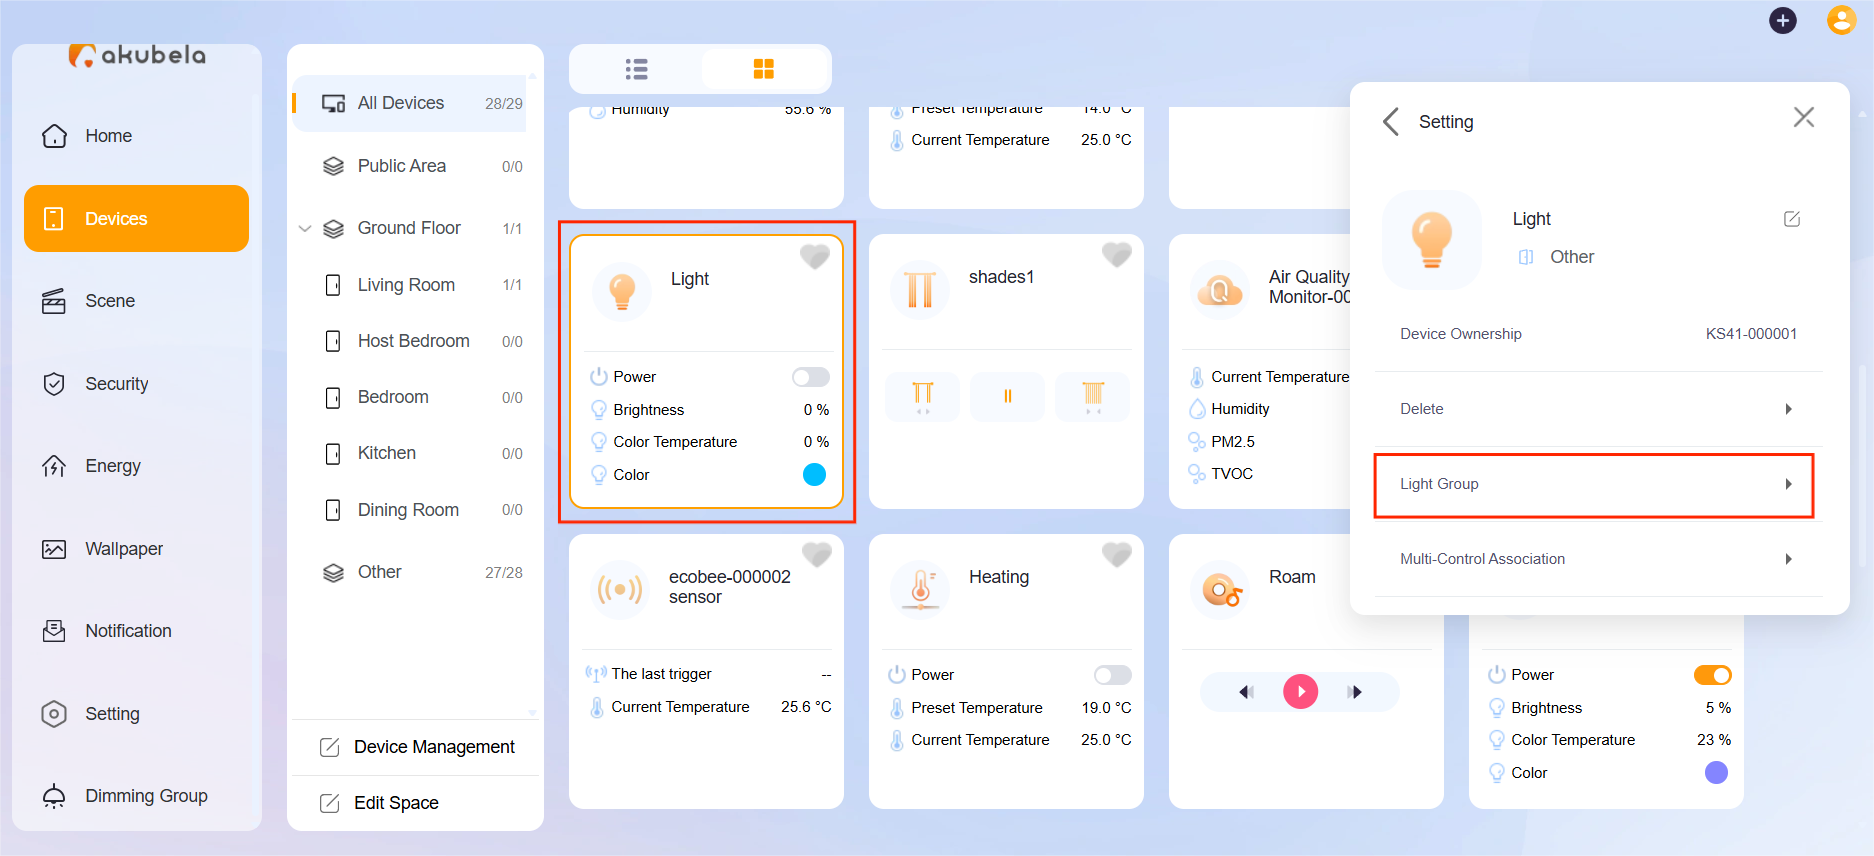
Click Add New Group to create a new group.
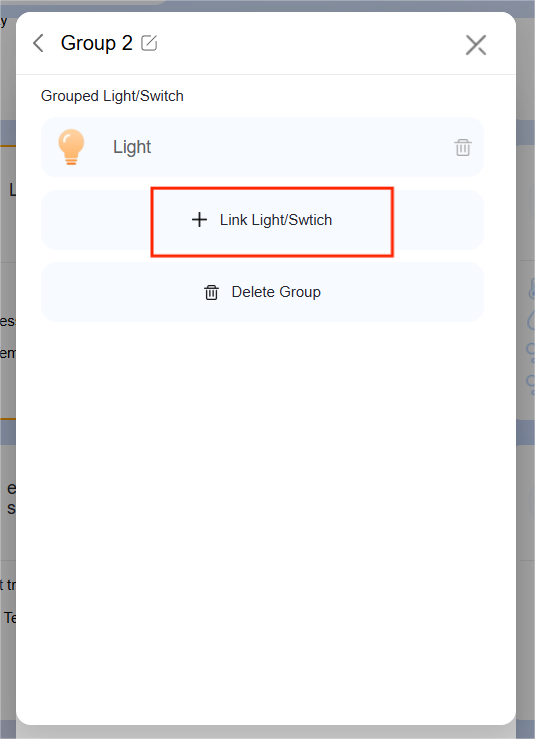
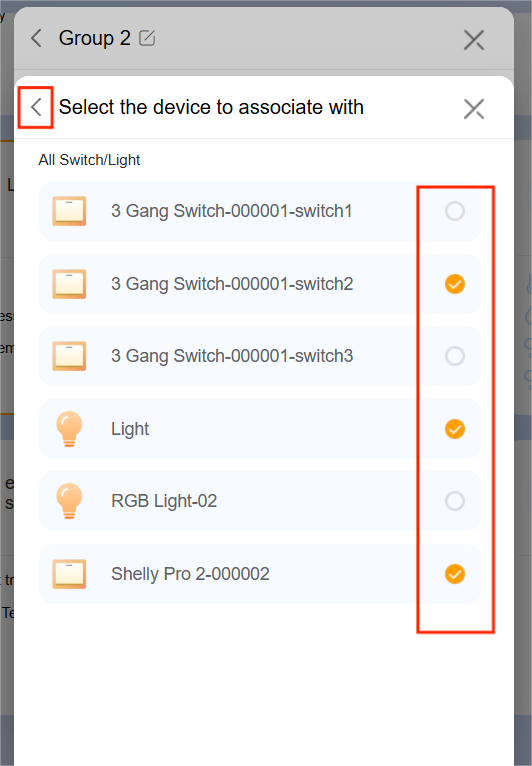
Click Link Light/Switch to add devices into this group, then click
 to confirm.
Click
 to change the group name.
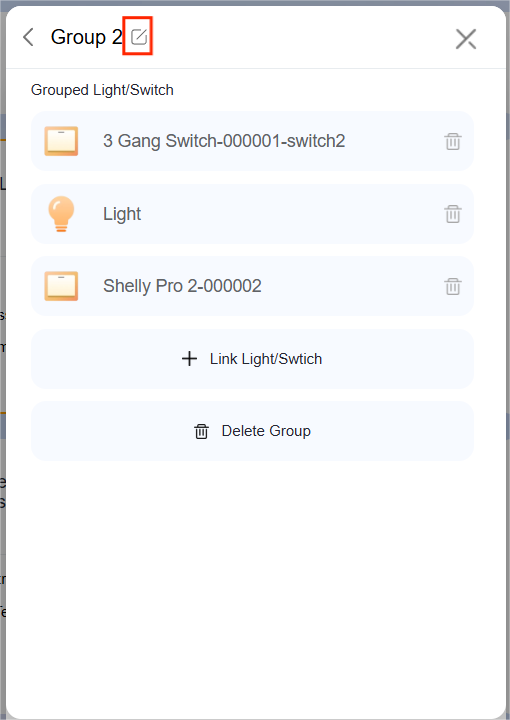
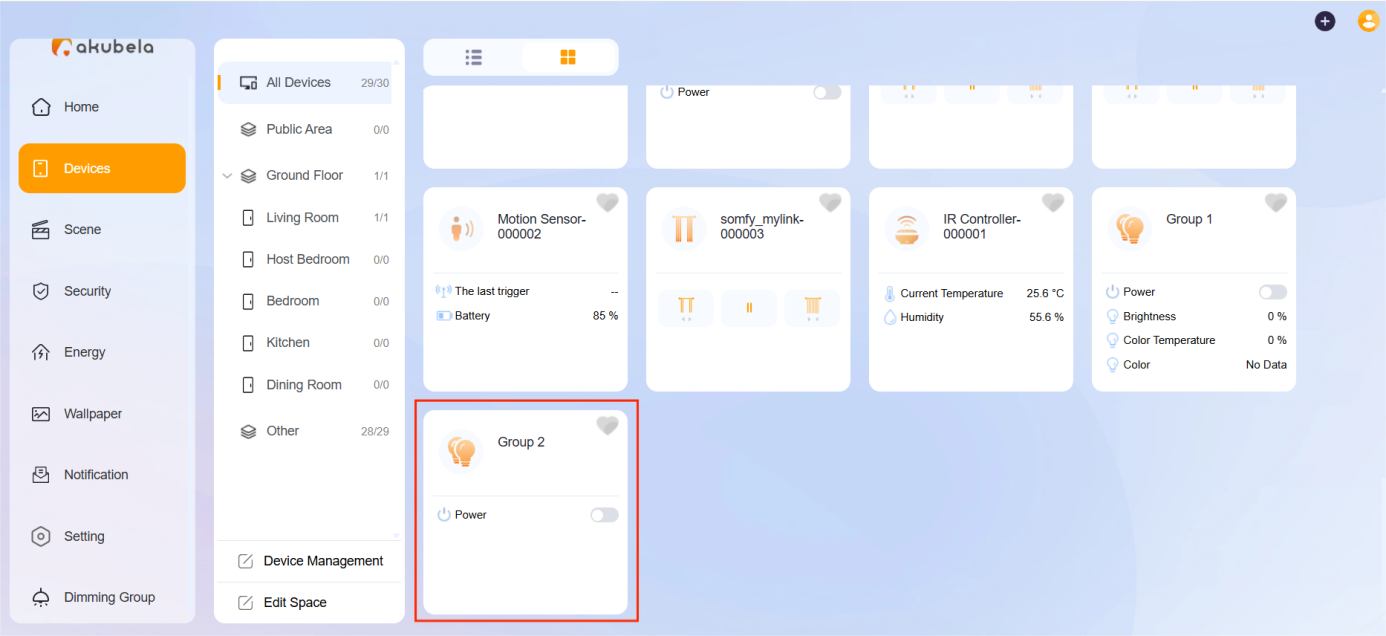
Once completed, the group will appear on the Devices screen in the web portal and the panel’s Lights screen.
Multi-Control Association
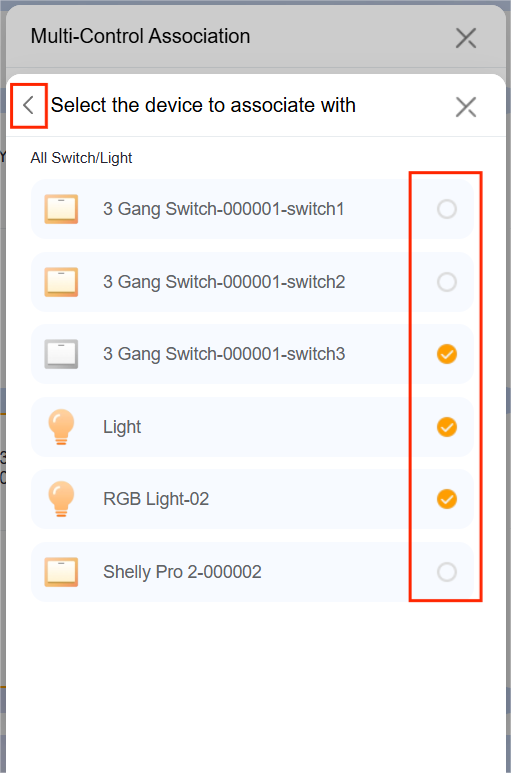
This feature links switches and lights to keep their on/off states synchronized. When one device changes state, all associated devices update accordingly. For example, if multiple switches control the same light, associating them ensures they reflect the same on/off status.
Go to Devices > [Desired device] >
 > Multi-Control Association.
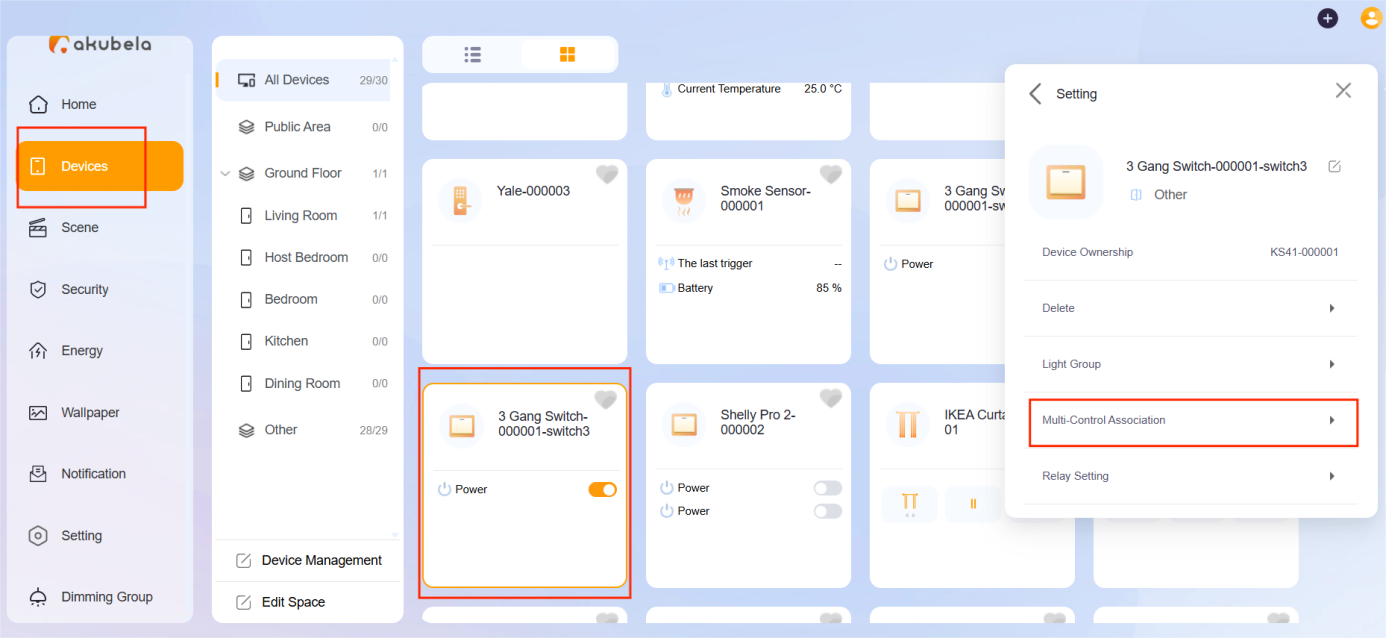
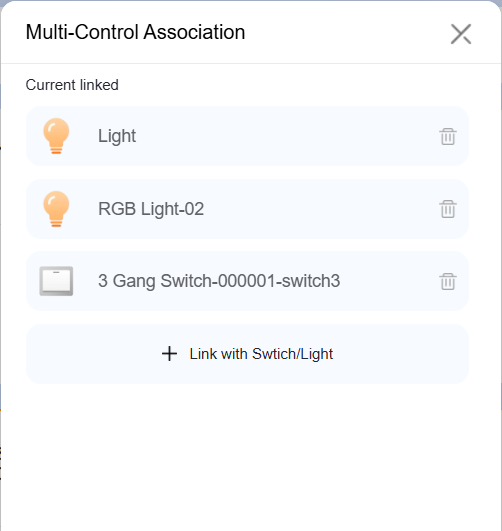
Click Link with Switch/Light.
Select the devices you want to associate, then click
 to complete.
NOTE:
You can link up to eight devices.
The associated devices will appear in the list.