Relay Switch Setting
Local Relay Setting
A local relay is an external unit that is physically nearby and directly connected to the intercom device. It allows the intercom system to trigger actions, such as unlocking a door, based on user input or authorization.
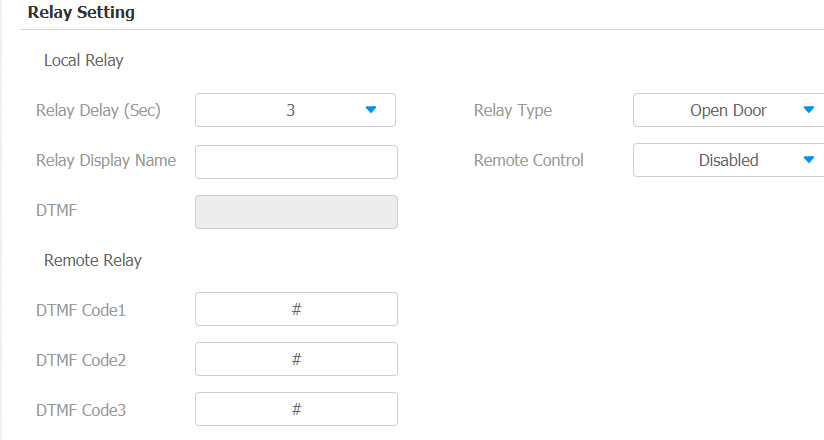
You can do this configuration on web Phone > Relay > Relay Setting > Local Relay interface.
Parameter Set-up:
- Relay Delay: set the relay delay time after the relay is triggered.
- Relay Type: set relay action type. There are two types of the relay, chime bell and open door.
- Chime Bell: when there is a call, the chime bell will ring, Chime bell relay can be triggered (the chime bell will be on) by the incoming call or by the arming zone alarm. But the chime bell relay will be reset by the preset relay reset time.
- Open door: when you press the unlock icon, the local relay will be opened.
- Other Switches (Reset By Event): select it when you want the relay to be triggered automatically by the incoming caller by the arming zone alarm. When the relay is triggered by an alarm event, it will not be reset until the triggered event is dealt with.
- Relay Display Name: give a name to the relay for identification.
- Remote Control: enable it to trigger local relays by DTMF and vice versa.
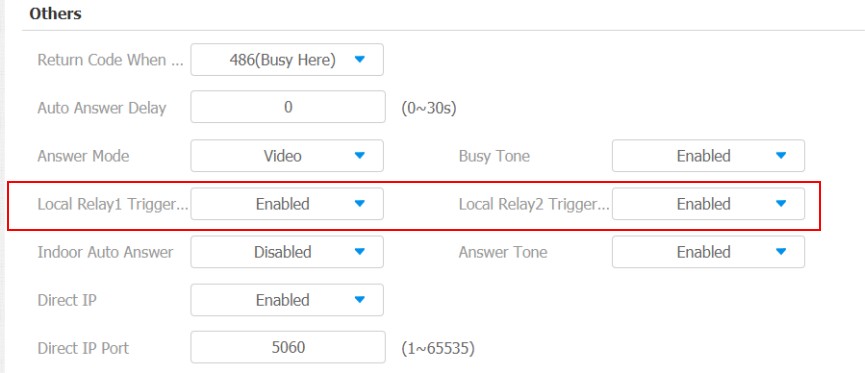
Your local relay can be triggered by the incoming call. You can connect your relay to certain devices for certain actions, for example, if the relay is connected to a light, then the light will be turned on for incoming calls. To set it up, go to Phone > Call Feature > Others.
Remote Relay Switch Setting
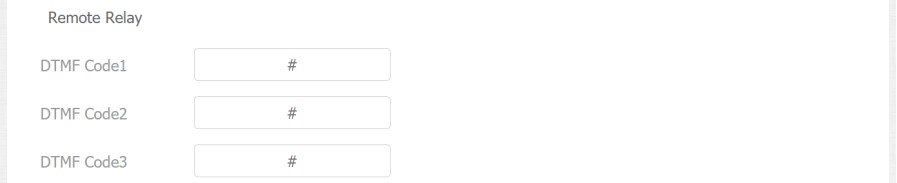
You can use the unlock tab during the call to open the door on web Phone > Relay > Relay Setting > Remote Relay interface. You are required to set up the same DTMF code in the door phone and indoor monitor.
Parameter Set-up:
- DTMF Code: to set DTMF code for the remote relay, which is # by default.
Web Relay Setting
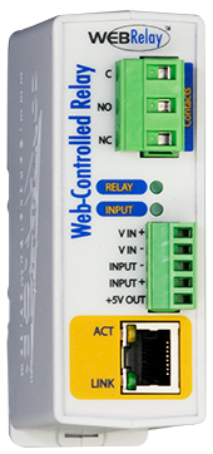
A web relay has a built-in web server and can be controlled via the Internet or a local network. The device can use a web relay to either control a local relay, or a remote relay somewhere else on the network.
Click here to view how to set up web relay.
To do this configuration on web Phone > Relay > Web Relay interface.
Parameter Set-up:
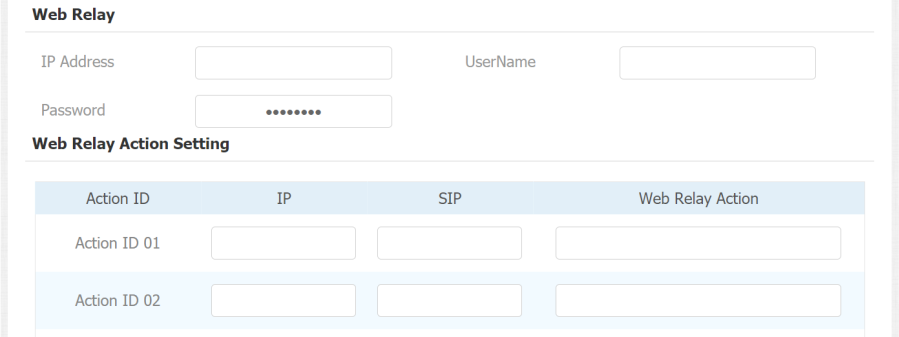
- IP address: enter the web relay IP address.
- User Name: enter the User name provided by the web relay manufacturer.
- Password: enter the password provided by the web relay manufacturer. The passwords are authenticated via HTTP and you can define the passwords using Http Get in Action.
- IP/SIP: the relay extension information, which can be an IP address or SIP account of an intercom device such as an indoor monitor, so that the specific action command will be sent when unlock is performed on the intercom device. This setting is optional.
- Web Relay Action: the specific web relay action command provided by the web manufacturer for different actions by the web relay. The example format: state.xml?relayState=2.
-If you have not entered the IP address, username, and password, you need to enter the complete HTTP command in such a format: http://Username:Password@IP address/state.xml?relayState=2.
Door Unlock Configuration
Door Unlock by DTMF Code
DTMF codes can be configured on the web Account > Advanced > DTMF interface where you can set up identical DTMF codes on the corresponding intercom devices, which allows residents to enter the DTMF code on the soft keypad or press DTMF code attached unlock tab on the screen to unlock the door for visitors etc., during a call.

Parameter Set-up:
- Type: select DTMF type among five options: Inband, RFC2833, Info, Info+Inband, and Info+RFC2833 according to your need.
- How to Notify DTMF: select among four options: Disable, DTMF, DTMF-Relay, and Telephone-Event according to your need.
- DTMF Payload: select the payload 96-127 for data transmission identification.
Please refer to the chapter Relay Switch Setting for the specific DTMF code setting. Intercom devices involved must be consistent in the DTMF type, otherwise, DTMF code cannot be applied.
Door Unlock via HTTP Command
The device supports remote door unlocking via an HTTP command. Simply enable this feature and input the HTTP command (URL) for the device. This will trigger the relay and open the door, even if the users are away from the device.
To do this configuration on web Phone > Relay > Open Relay Via HTTP interface.

Parameter Set-up:
- Status: enable it to allow the relay to be triggered remotely using the HTTP command.
- Username: enter the device username to be used as a part of the HTTP command to trigger the local relay.
- Password: enter the device password to be used as part of the HTTP command to trigger the local relay. Please refer to the following example: http://192.168.35.127/ fcgi/do?action=OpenDoor&UserName=admin&Password=12345&DoorNum=1
- DoorNum in the HTTP command above refers to the relay number #1 to be triggered.