Language
Configurez la langue lors de la configuration initiale de l’appareil ou plus tard via l’appareil ou l’interface web selon vos préférences.
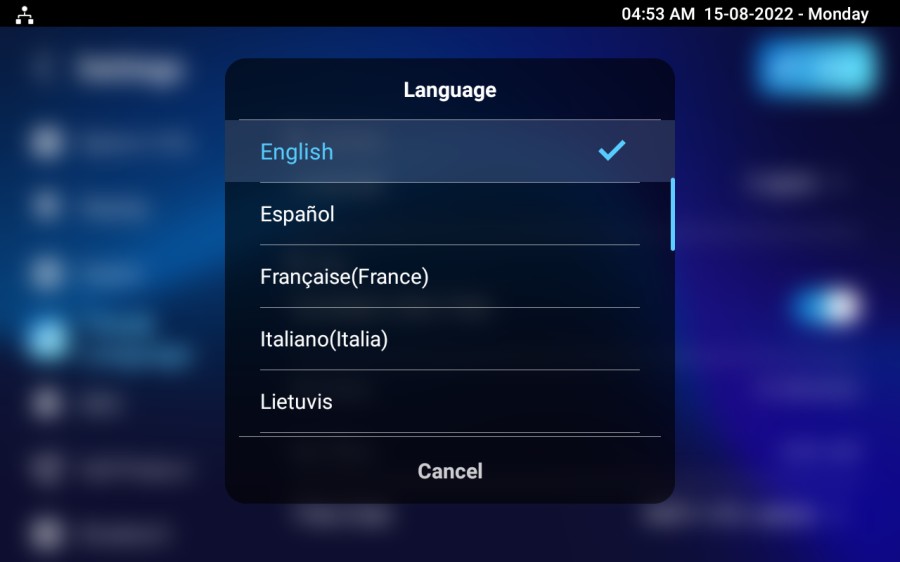
On the Device
To select the language, go to Settings > Time & Language screen.
The device supports the following languages:
Bosnian, Czech, Danish, German, English, Spanish, French, Italian, Lithuanian, Mongolian, Norwegian, Polish, Portuguese, Russian, Slovenian, Swedish, Turkish, Vietnamese, Korean, Simplified Chinese, Traditional Chinese, Japanese, Ukrainian, Dutch, Arabic, and Hebrew.
On the Web Interface
You can switch the device's web language in the upper right corner.

The device web interface supports the following languages:
English, Simplified Chinese, Traditional Chinese, Russian, Czech, Portuguese, Spanish, Dutch, French, German, Polish, Turkish, Japanese, Mongolian, Vietnamese, and Italian.
You can select the LCD language on the Device > Time/Lang > LCD Language interface.

The device supports the following languages:
Bosnian, Czech, Danish, German, English, Spanish, French, Italian, Lithuanian, Mongolian, Norwegian, Polish, Portuguese, Russian, Slovenian, Swedish, Turkish, Vietnamese, Korean, Simplified Chinese, Traditional Chinese, Japanese, Ukrainian, Dutch, Arabic, and Hebrew.
Custom Language
You can customize configuration names and prompt text by exporting, editing, and uploading the .json file to the device. To set it up, navigate to Device > Time/Lang > Custom Language interface.

Time
Les réglages horaires, y compris le fuseau horaire, le format de date et d’heure, et plus encore, peuvent être configurés soit sur l’appareil, soit sur l’interface web.
On the Device
Set up time on the device Settings > Time&Language screen.
Automatic Date Time: The automatic date is switched on by default, which allows the date & time to be automatically set up and synchronized with the default time zone and the Network Time Protocol(NTP) server. You can also set it up manually by switching off the automatic date and entering the time and date.
Time Zone: Select the specific time zone depending on where the device is used. The default time zone is GMT+0:00.
Time Format: Select a 12-hour or 24-hour time format.
Date Format: Select the date format from the provided options: Y-M-D, Y/M/D, D-M-Y, D/M/Y, M-D-Y, and M/D/Y.
NTP Server1/2: Enter the NTP server address. NTP server 2 is the backup.
On the Web Interface
Les réglages d’heure de l’interface web permettent de configurer l’adresse du serveur NTP pour une synchronisation automatique de l’heure et de la date. Une fois un fuseau horaire sélectionné, l’appareil notifiera le serveur NTP du fuseau horaire choisi, lui permettant de synchroniser les réglages du fuseau horaire sur votre appareil.
Navigate to Device > Time/Lang interface.

Automatic Date&Time: The automatic date is switched on by default, which allows the date & time to be automatically set up and synchronized with the default time zone and the Network Time Protocol(NTP) server. You can also set it up manually by switching off the automatic date and entering the time and date.
Time Format: Select a 12-hour or 24-hour time format.
Date Format: Select the date format from the provided options: Y-M-D, Y/M/D, D-M-Y, D/M/Y, M-D-Y, and M/D/Y.
Time Zone: Select the specific time zone depending on where the device is used. The default time zone is GMT+0:00.
Preferred Server: Enter the NTP server address.
Secondary Server: Enter the backup server address. When the main NTP server fails, it will change to the backup server automatically.