Users can set up the indoor monitor’s time, language, network, etc., when they initiate it for the first time or after resetting the device.
This article takes S567 with version 567.30.13.702 as an example.
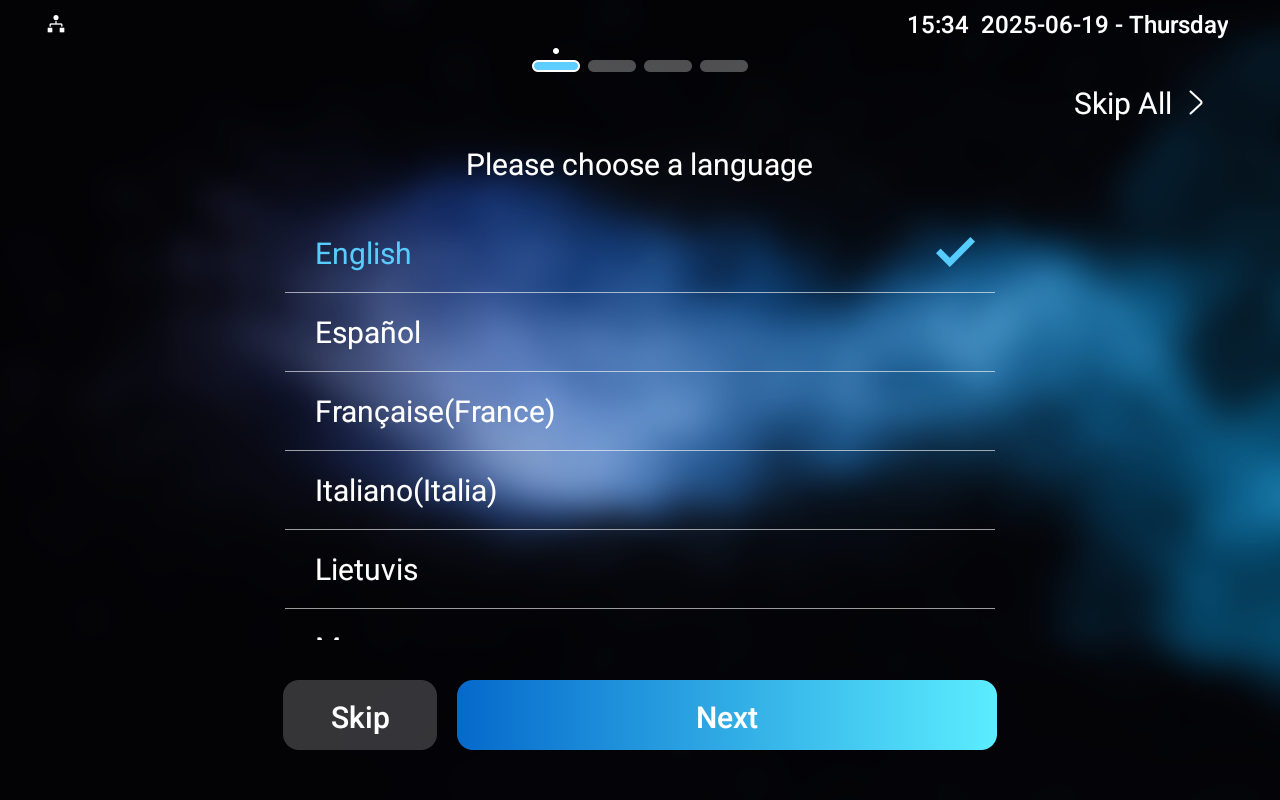
Select a Language
The supported LCD languages vary by model.
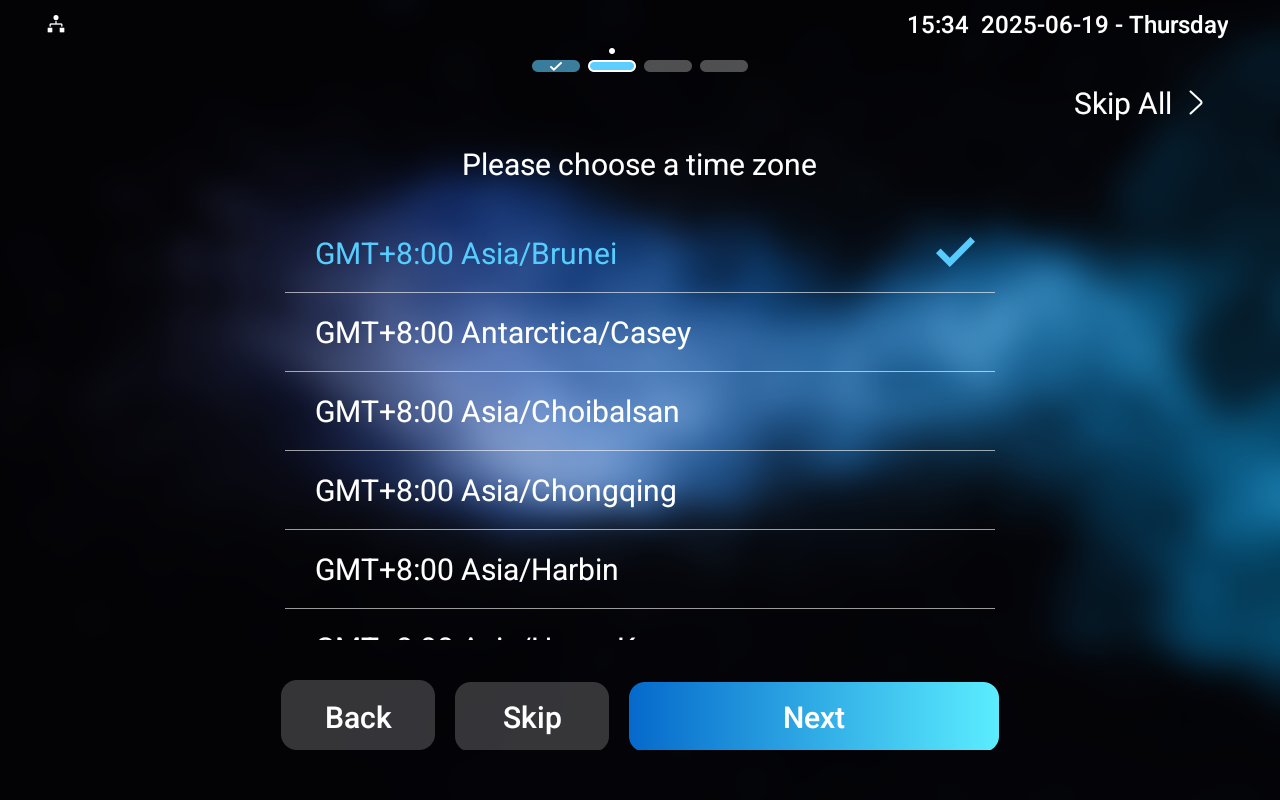
Select a Time Zone
Select the time zone based on the device’s location. The Network Time Protocol(NTP) server will synchronize time with the time zone.
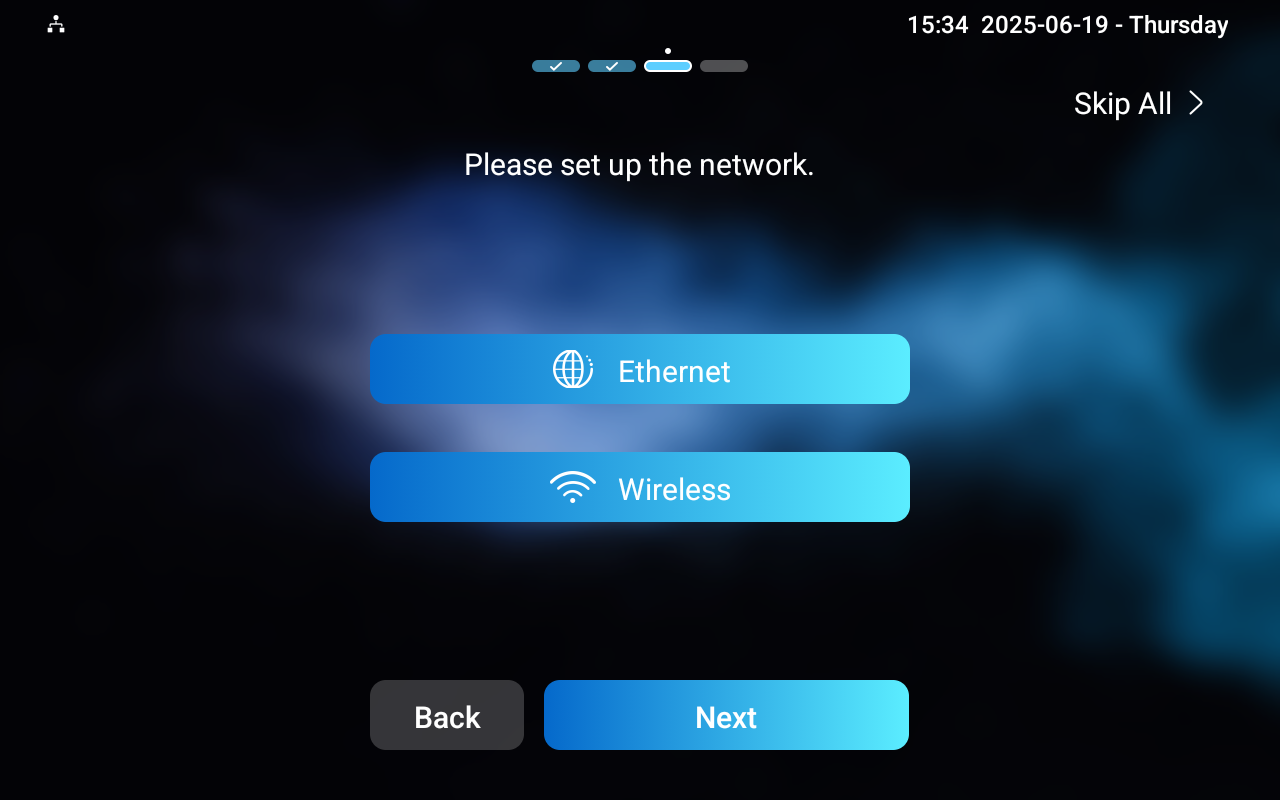
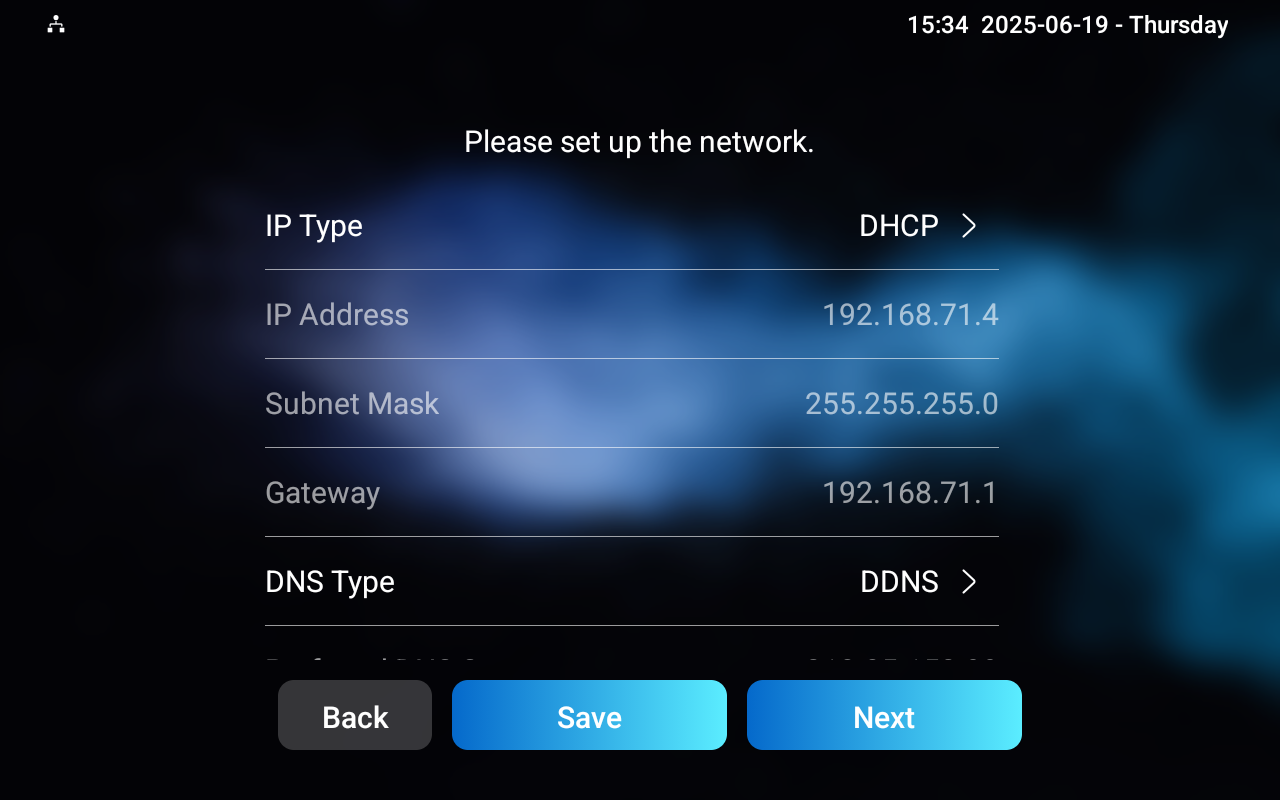
Set up the Network
Select the Ethernet or Wireless network connection. ONLY the device model supporting WiFi has the wireless network setting.
Ethernet Connection
If the DHCP mode is turned on, the device will automatically be assigned by the DHCP server with an IP address, subnet mask, default gateway, and DNS server address.
If it is turned off, the network settings need to be configured manually.
Wi-Fi Connection
Select the desired Wi-Fi and enter the correct password for connection.

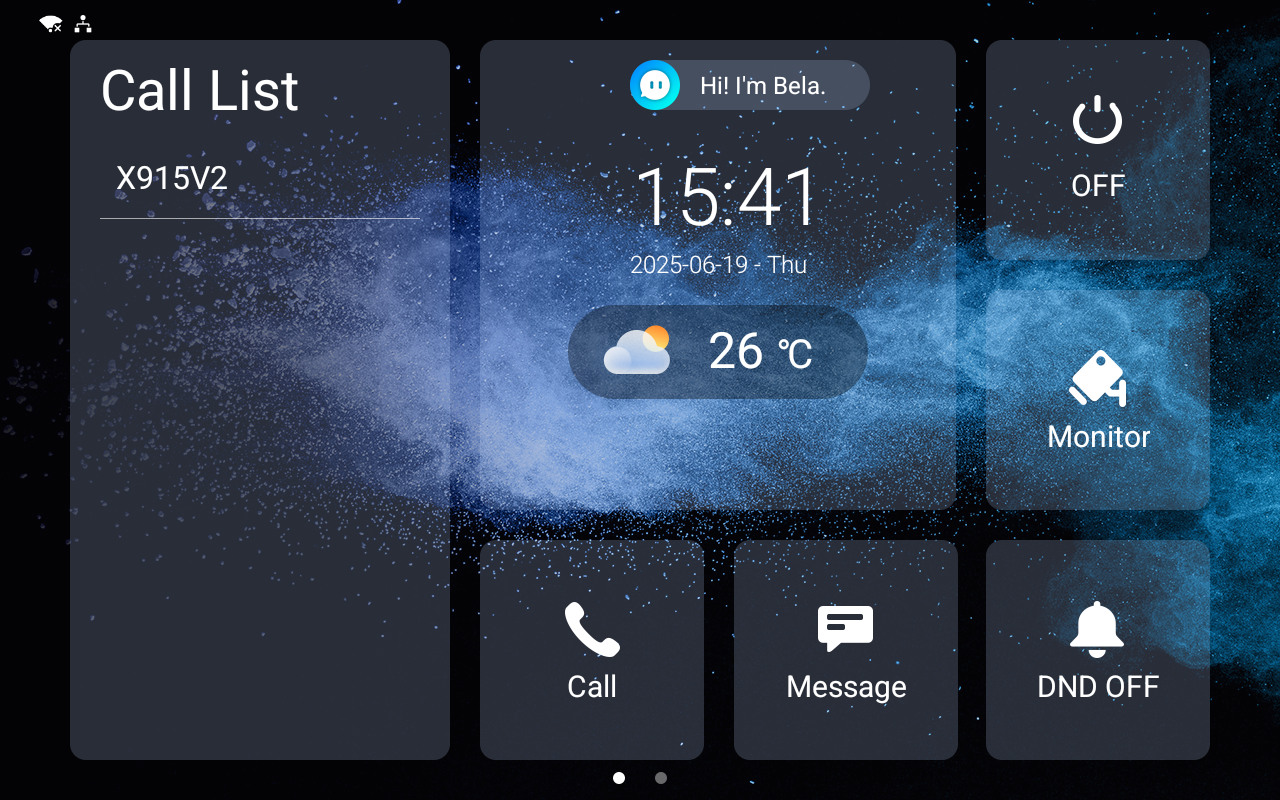
Select a Theme
You can select the Default or Call List home screen display. In the Default theme, users need to swipe right on the screen to display the call list.
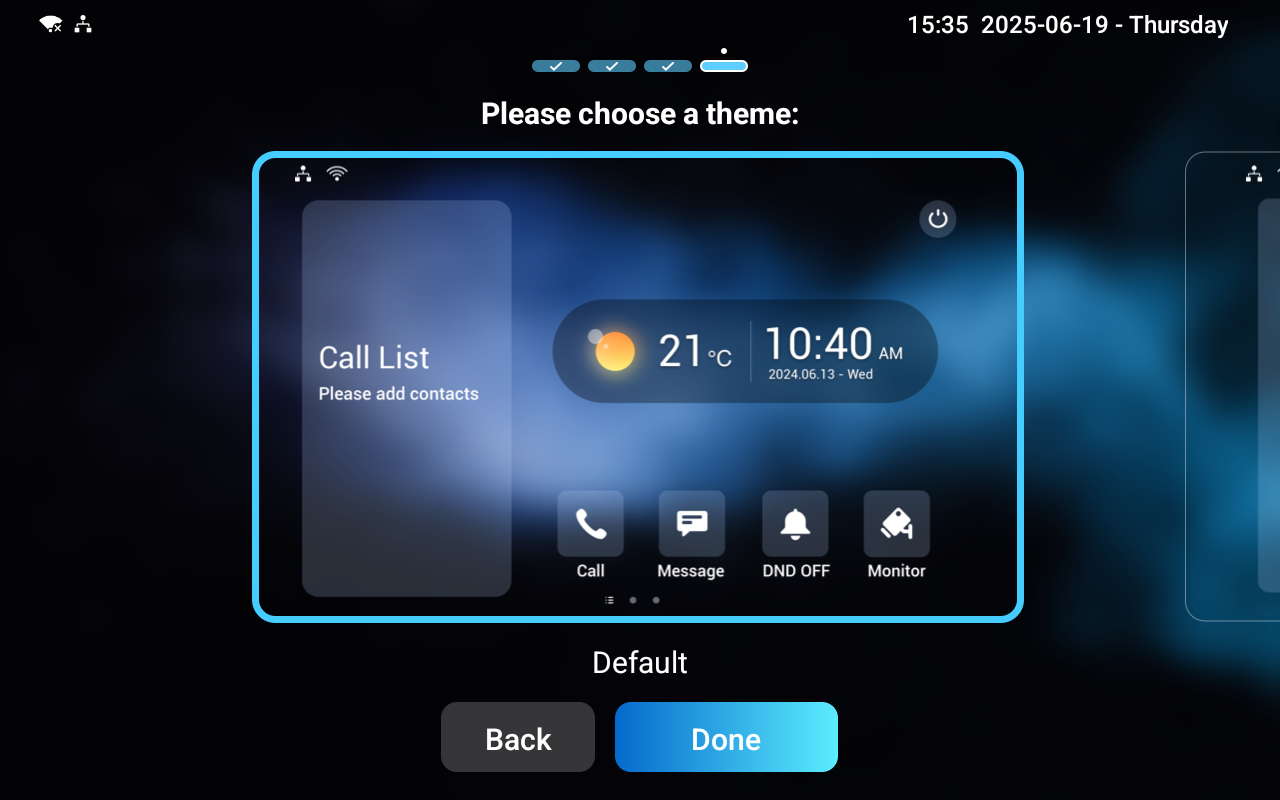
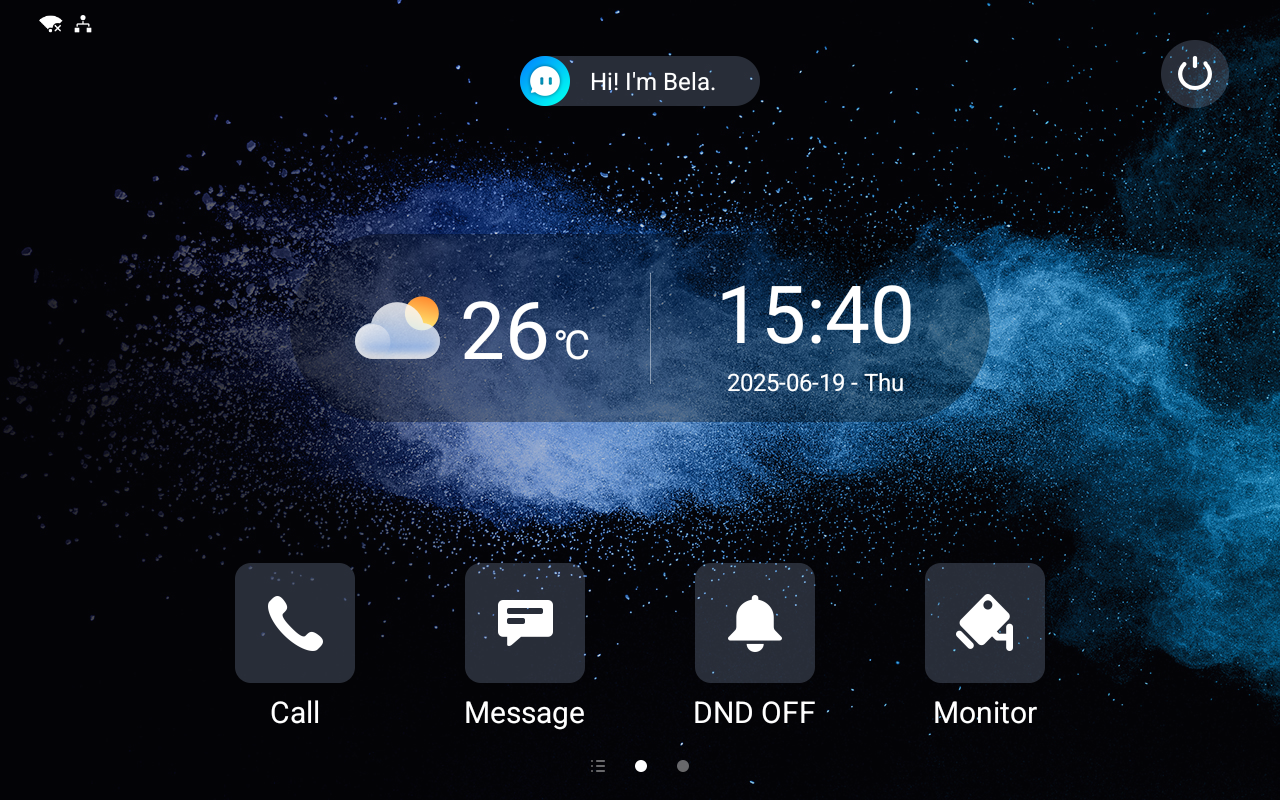
Default Home Screen:
Call List Home Screen: