Quick Start: This section provides quick access to the device’s key settings, such as network, user, relay, etc.
Device Management:
Status: This section gives you basic information, such as product information, network information, account information, etc.
Account: This section concerns the SIP account, SIP server, proxy server, transport protocol type, audio & video codec, etc.
Network: This section mainly deals with DHCP & static IP settings, RTP port settings, device deployment, etc.
Intercom: This section covers intercom settings, relay, monitoring settings, etc.
Surveillance: This section includes motion detection, RTSP, ONVIF, and live stream settings.
Access Control: This section is about input, relay, web relay, and card settings.
Directory: This section is about user management.
Device: This section includes light, Wiegand, lift control, RS485, audio settings, etc.
Setting: This section includes time and language settings, action URL, schedule, HTTP API, etc.
System: This section includes device upgrade, auto-provisioning, maintenance, security, settings, etc.
Engineer Management: This section provides quick access to upgrading, maintaining, and debugging the device.

Introduction to Quick Start Module
The Quick Start module allows you to configure the device’s core features on a single interface, instead of switching between different interfaces.
You can redirect to the feature detail interface by clicking Details in the upper right corner.
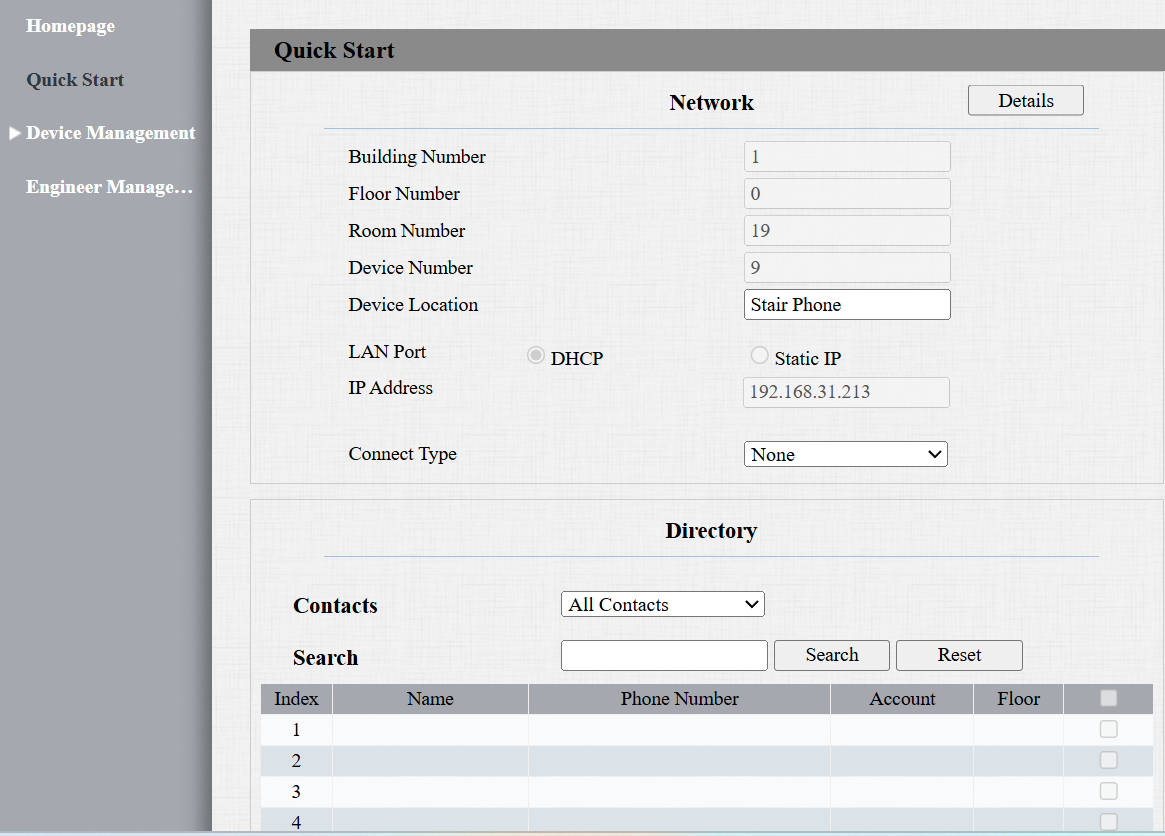
Network: Display the location information of the device.
Device Location: Enter the device’s location to distinguish it from others. By default, it is [the device name_the last 4 characters of its MAC address] in the Self-organizing Network Solution.
Connect Type: It is automatically set up according to the actual device connection with a specific server in the network, such as SDMC, Cloud, or None.
Directory: Display all local contacts. Click Add to add a new contact after filling in its information.
Auto-Discovery Contact List: Display the contacts, such as indoor monitors, in the Self-organizing Network Solution.
Username: Set a username for authentication in HTTP command URLs.
Password: Set a password for authentication in HTTP command URLs.