Language
Set up the language during initial device setup or later through the device or web interface according to your preference.
On the Device
To select the desired language, go to Settings > Time & Language screen.
The following languages are supported:
English, Traditional Chinese, Russian, Korean, Portuguese, Spanish, Italian, Dutch, French, German, Hebrew, Turkish, Polish, Japanese, Slovak, Simplified Chinese, Norwegian, Vietnamese, Lithuanian, Czech, Ukrainian, and Arabic.

On the Web Interface
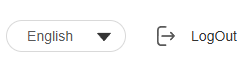
You can switch the web language in the upper-right corner.
The following languages are supported:
English, Simplified Chinese, Traditional Chinese, Russian, Portuguese, Spanish, Dutch, French, German, Polish, Japanese, and Korean.
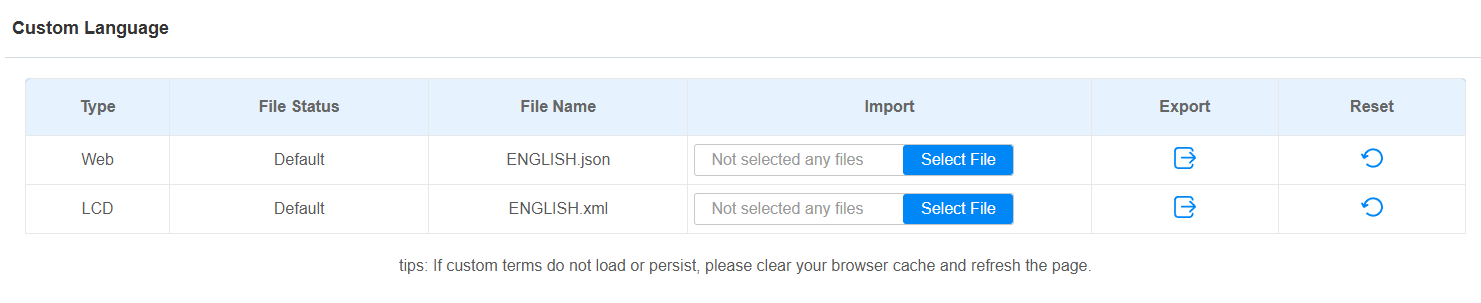
Custom Language
You can customize the configuration names and prompt texts on the device and its web portal such as the file name error warning.
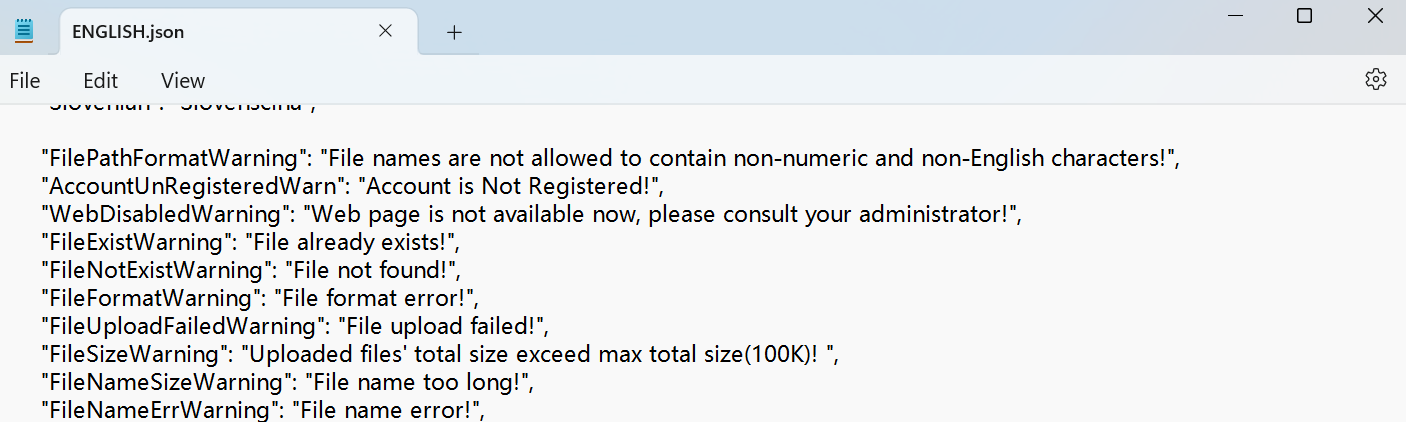
Export the .json file for editing. You may edit it with the notepad on your computer.
Import the .json file and its size should be smaller than 1 MB.
File Example:
Set it up on the Device > Time/Lang interface.
Time Setting
Time settings, including time zone, date and time format, and more, can be configured either on the device or the web interface.
On the Device
Set up time on the device Settings > Time & Language screen.

Automatic Date Time: The automatic date is switched on by default, which allows the date & time to be automatically set up and synchronized with the default time zone and the Network Time Protocol(NTP) server. You can also set it up manually by switching off the automatic date and entering the time and date.
Time Zone: Select the specific time zone depending on where the device is used. The default time zone is GMT+0:00.
Time Format: Select a 12-hour or 24-hour time format.
Date Format: Select the date format from the available options.
NTP Server 1/2: Enter the NTP server address. NTP server 2 is the backup.
On the Web Interface
The time settings on the web interface allow you to configure the NTP server address for automatic time and date synchronization. Once a time zone is selected, the device will notify the NTP server of the chosen time zone, enabling it to synchronize the time zone settings on your device.
To set it up, navigate to the web Device > Time interface.

Automatic Date&Time: The automatic date is switched on by default, which allows the date & time to be automatically set up and synchronized with the default time zone and the Network Time Protocol(NTP) server. You can also set it up manually by switching off the automatic date and entering the time and date.
Time Format: Select a 12-hour or 24-hour time format.
Date Format: Select the date format from the available options.
Time Zone: Select the specific time zone depending on where the device is used. The default time zone is GMT+0:00.
Preferred Server: Enter the NTP server address.
Alternate Server: Enter the backup server address. When the main NTP server fails, it will change to the backup server automatically.
Update Interval: The time between sending the update request to the NTP server.
Daylight Saving Time
Daylight Saving Time is the practice of advancing clocks (typically by one hour) during warmer months so that darkness falls at a later clock time. You can modify the time parameters to achieve longer evenings or daytime, especially in summer.
Set it up on the Device > Time interface.

Daylight Saving Time Enabled: Enable or disable the feature. Auto means that the device adjusts the daylight saving time automatically.
Offset: 60 minutes as default, setting the clocks an hour ahead of the standard time.
Update Interval: There are two options: By Date and By Week. By Date sets the date schedule for daylight saving time. By Week sets the schedule for daylight saving time according to the week and month.