Language
Set up the language during the initial device setup or later through the device or web interface.
On the Device
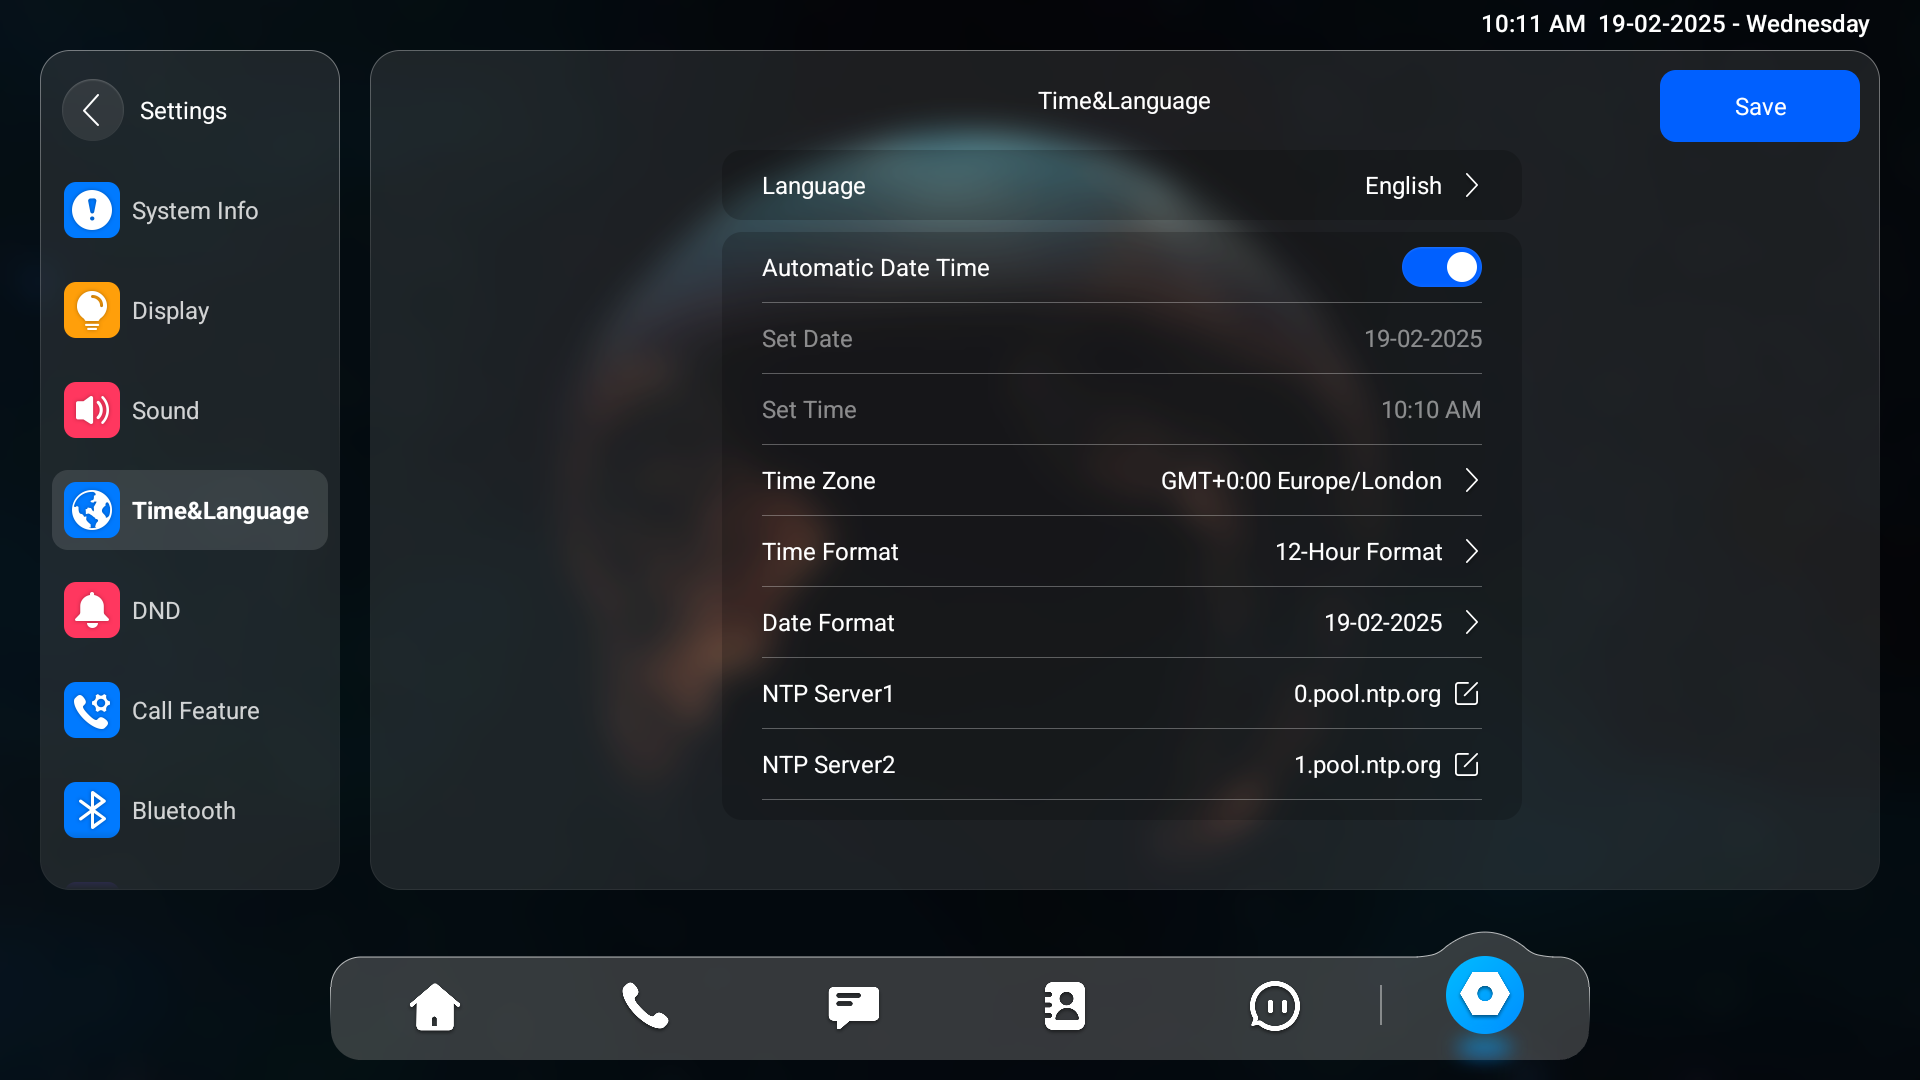
To select the desired language, go to Settings > Time & Language screen.
The device supports the following languages:
Bosnian, Czech, Danish, German, English, Spanish, French, Italian, Lithuanian, Mongolian, Norsk, Polish, Portuguese, Russian, Slovene, Swedish, Turkish, Vietnamese, Korean, Simplified Chinese, Traditional Chinese, Japanese, Ukrainian, Dutch, Arabic, and Hebrew.
On the Web Interface
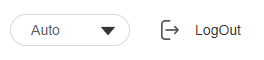
You can switch the device's web language in the upper-right corner.
The device web interface supports the following languages:
English, Simplified Chinese, Traditional Chinese, Russian, Czech, Portuguese, Spanish, Dutch, French, German, Polish, Turkish, Japanese, Mongolian, Vietnamese, and Italian.
Change the LCD language on the Device > Time/Lang interface.

The device supports the following languages:
Bosnian, Czech, Danish, German, English, Spanish, French, Italian, Lithuanian, Mongolian, Norsk, Polish, Portuguese, Russian, Slovene, Swedish, Turkish, Vietnamese, Korean, Simplified Chinese, Traditional Chinese, Japanese, Ukrainian, Dutch, Arabic, and Hebrew.
Custom Language
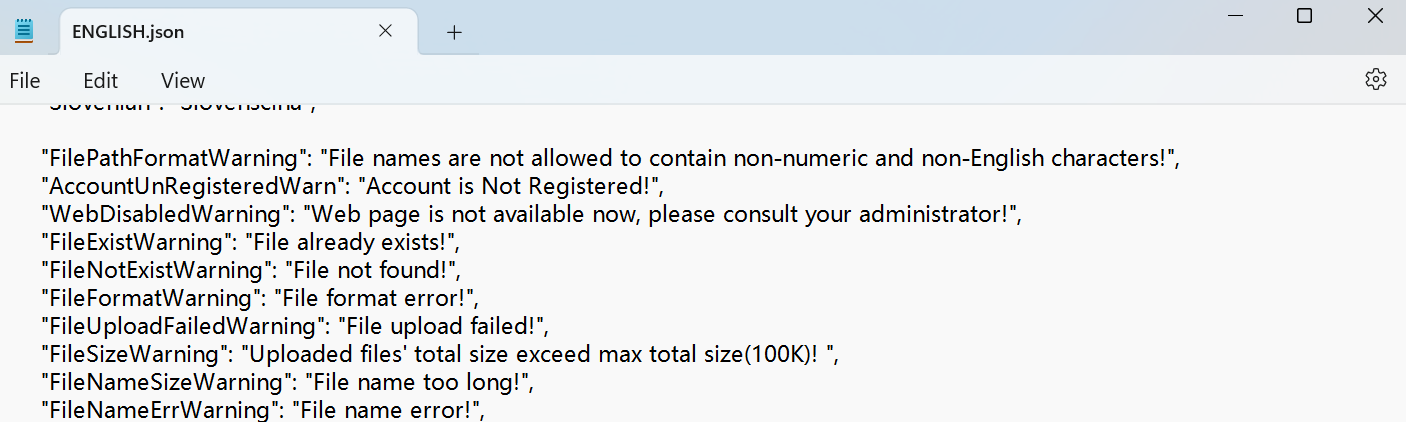
You can customize the configuration names and prompt texts on the device and its web portal such as the file name error warning.
Export the .json file for editing. You may edit it with the notepad on your computer.
Import the .json file and its size should be smaller than 1 MB.
File Example:
To set it up, navigate to Device > Time/Lang > Custom Language interface.

Time
Time settings, including time zone, date and time format, and more, can be configured either on the device or the web interface.
On the Device
Set up time on the device Settings > Time & Language screen.
Automatic Date Time: The automatic date is switched on by default, which allows the date & time to be automatically set up and synchronized with the default time zone and the Network Time Protocol(NTP) server. You can also set it up manually by switching off the automatic date and entering the time and date.
Time Zone: Select the specific time zone depending on where the device is used. The default time zone is GMT+0:00.
Time Format: Select a 12-hour or 24-hour time format.
Date Format: Select the date format from the provided options.
NTP Server 1/2: Enter the NTP server address. NTP server 2 is the backup.
On the Web Interface
The time settings on the web interface allow you to configure the NTP server address for automatic time and date synchronization. Once a time zone is selected, the device will notify the NTP server of the chosen time zone, enabling it to synchronize the time zone settings on your device.
Navigate to Device > Time/Lang interface.

Automatic Date Time: The automatic date is switched on by default, which allows the date & time to be automatically set up and synchronized with the default time zone and the Network Time Protocol(NTP) server. You can also set it up manually by switching off the automatic date and entering the time and date.
Time Format: Select a 12-hour or 24-hour time format.
Date Format: Select the date format from the provided options.
Time Zone: Select the specific time zone depending on where the device is used. The default time zone is GMT+0:00.
Preferred Server: Enter the NTP server address.
Secondary Server: Enter the backup server address. When the main NTP server fails, it will change to the backup server automatically.