Infrared LED Setting
Infrared LED is mainly designed to reinforce the light at night or in a dark environment.
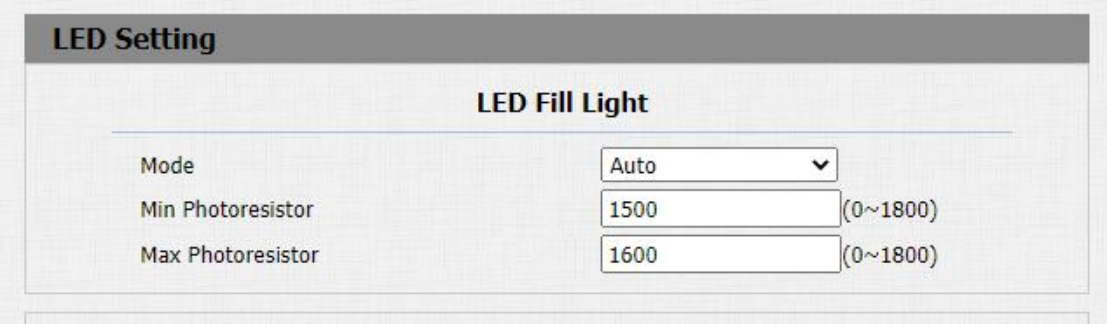
You can navigate to Intercom > LED Setting > LED Fill Light.
Parameter Set-up:
- Mode: select "Auto" if you want the Infrared LED light to be turned on automatically according to the setting. select "Aways ON" to enable the Infrared LED light to stay on permanently. select "Aways OFF" to turn off the Infrared LED light. LED mode is set "Always OFF" by default. select "Schedule" to turn on the infrared LED according to the time schedule.
- Min/Max Photoresistor: set the minimum and maximum photoresistor value based on the current actual photo-resistor value detected to control the ON-OFF of the LED light. You can set the maximum photoresistor value for the IR LED to be turned on and the minimum value for it to be turned off. While the default Minimum and maximum photoresistor value are from "0" minimum to "1000" maximum respectively.
- Start Time: set the start time for the infrared LED to be turned on.
- End Time: set the end time for the infrared LED to be turned off.
- Start Time and End Time will not be displayed unless you select Specific Time for your LED mode.
LED Display Status
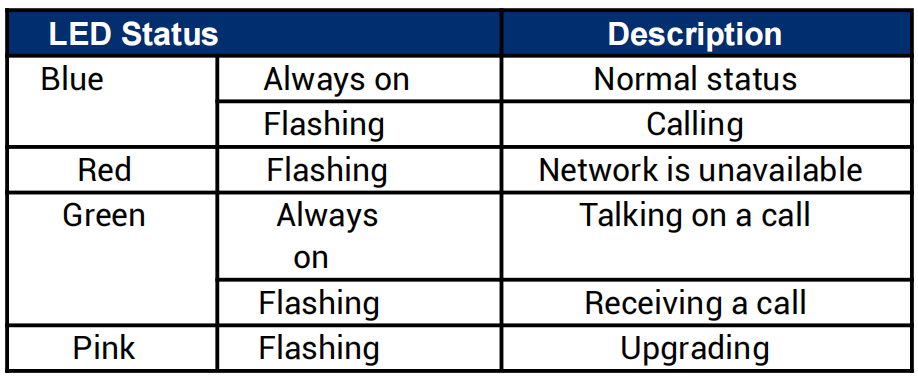
LED display adjustment is used to indicate the light changes of the call button in 5 statuses: normal (idle), offline, calling, talking, and receiving a call. The LED status allows users to verify the current mode of the device.
To set up on device web Intercom > LED Setting > LED Status interface.
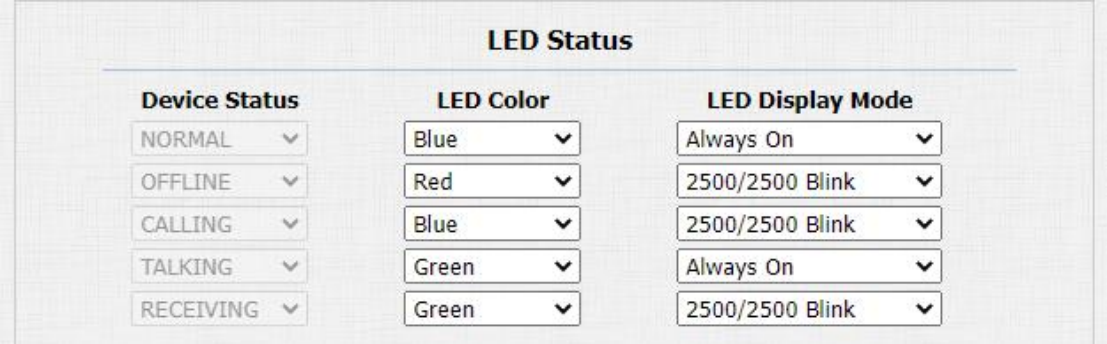
The default LED Display Status:
Parameters Set-up:
- State: there are five states: Normal, Offline, Calling, Talking and Receiving.
- LED Color: it can support three colors: Red, Green, Blue.
- LED Display Mode: to set up the different blink frequencies.
- The Status and Color of item can not be changed.
- The LED of upgrading mode can not be adjusted.
Set up LED Display from HTTP URL
Akuvox door phones support to use HTTP URL to remote control the LED display status. You can enter the HTTP URL in the browser to manage the LED color and frequency.
Parameters Set-up:
- HTTP URL format: http://PhoneIP/fcgi/do?action=LedAction&State=1&Color=1&Mode=250 0
- Status: 1=Idle; 2=OffLine; 3=Calling; 4=Talking; 5=Receiving; Color: 1=Green; 2=Blue; 3=Red; Mode: 0=Always On; 1=Always Off; 500/1000/1500/2000/25000/3000
LED Setting on Card Reader Area
You can enable or disable the LED lighting on the card reader area. You can also set a specific time to turn on the light.
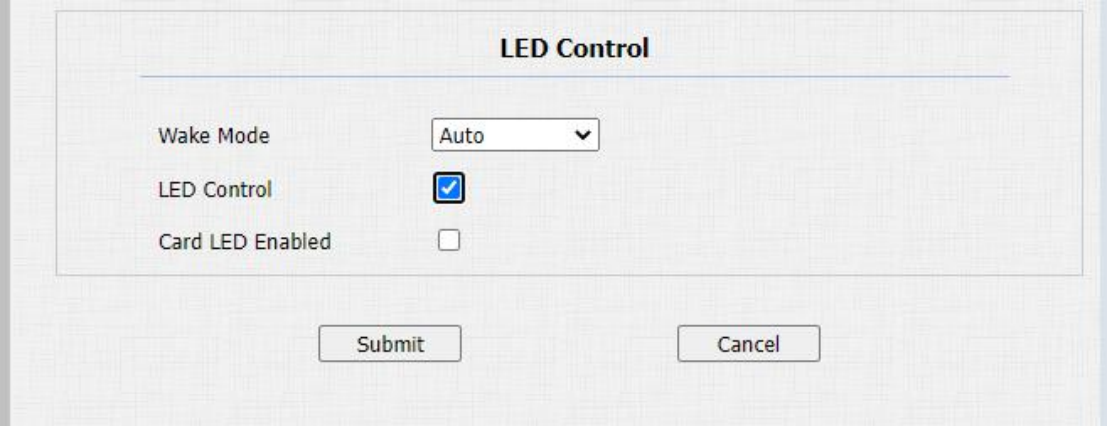
Path: Intercom > LED Setting > LED Control.
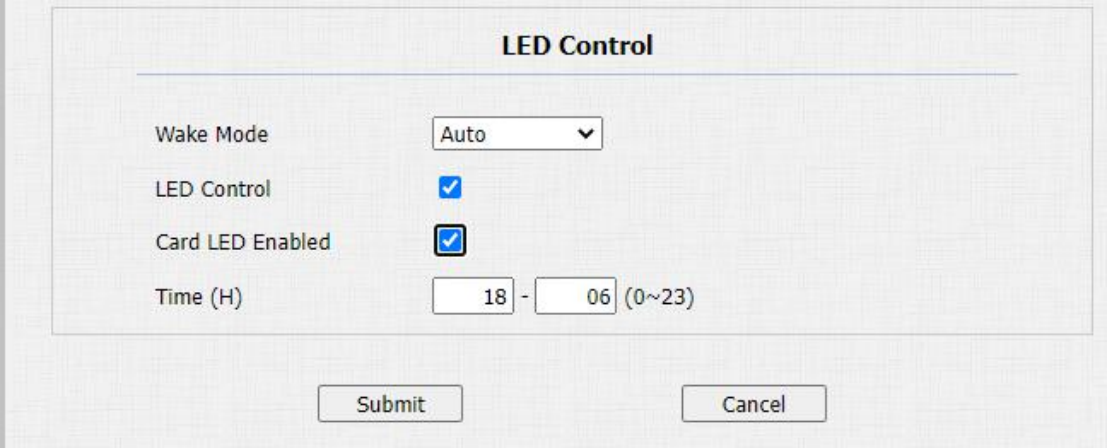
Parameters Set-up:
- Card LED Enabled: tick the check box if want to enable the card reader LED lighting and vice versa.
- Time (H): enter the time span for the LED lighting to be valid, e.g. if the time span is set from 8-0 (Sart time- End time) it means LED light will stay on during the time span from 8:00 am to 12:00 pm during one day (24 hours).