Before You Start
Make sure all devices are installed and powered on properly, and on the same local network(LAN).
Set the Door Phones in Public Areas
The building number of door phone A will be 0 by default, installed at the community entrance, which does not require extra configuration for basic calling, unlocking, and monitoring.
If the community only has one building, the building number of door phone B will be 1 by default. You do not need to change this setting.
If there are multiple buildings, you need to set up the building numbers on the device’s screen or its web interface,
Note
The following models with specific firmware versions or higher support changing location information on their screens.
S532: 532.30.10.265
S535: 535.30.11.13
R28 V2: 228.30.10.233
X915V2: 2915.30.10.520
E18: 18.30.11.12
On the Device Screen
S532
Press *2396#.
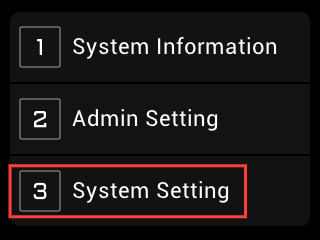
Press 3 to enter system settings.
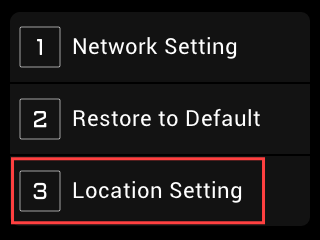
Press 3 to enter the location settings.
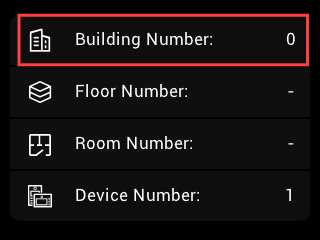
Change the building number based on the device location. The value range is 0-9 without DHCP; 0-99 with DHCP.
Press C to return to the last page, and the setting will not be saved.
Press # or
 to save the setting.
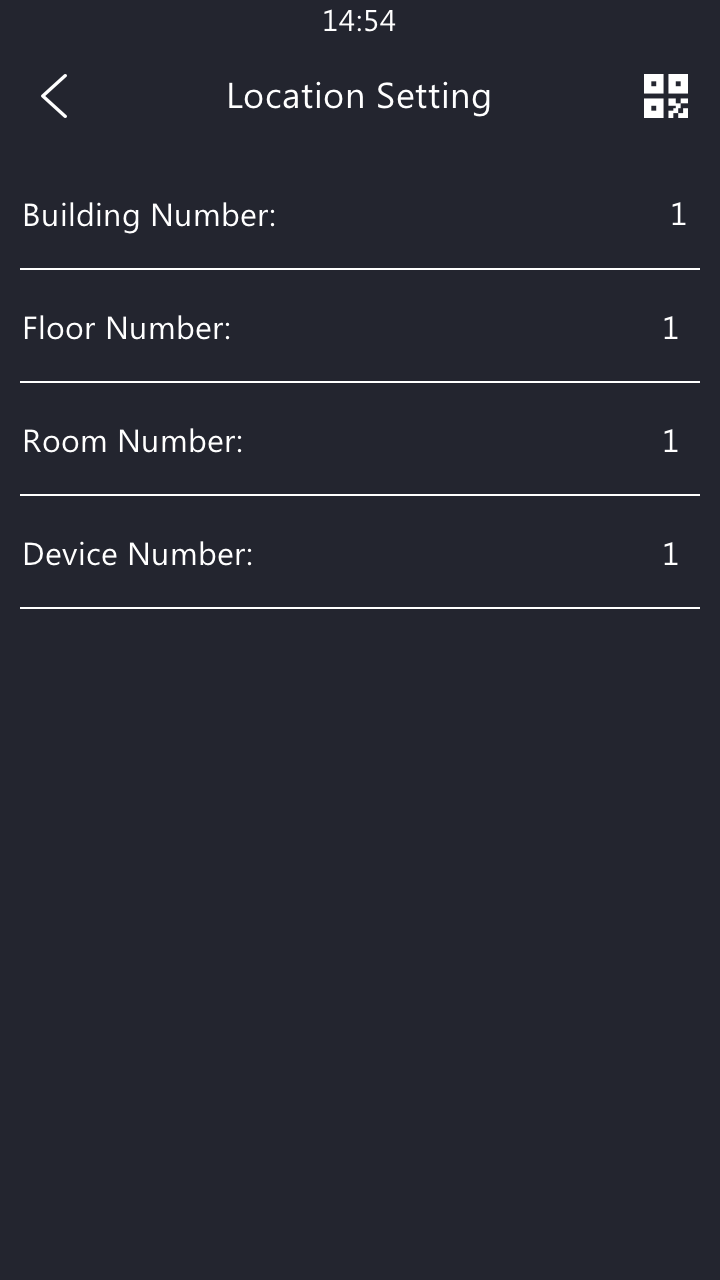
S535
Press 9999 > the Dial icon > 3888 > Confirm on the Dial screen to access settings.
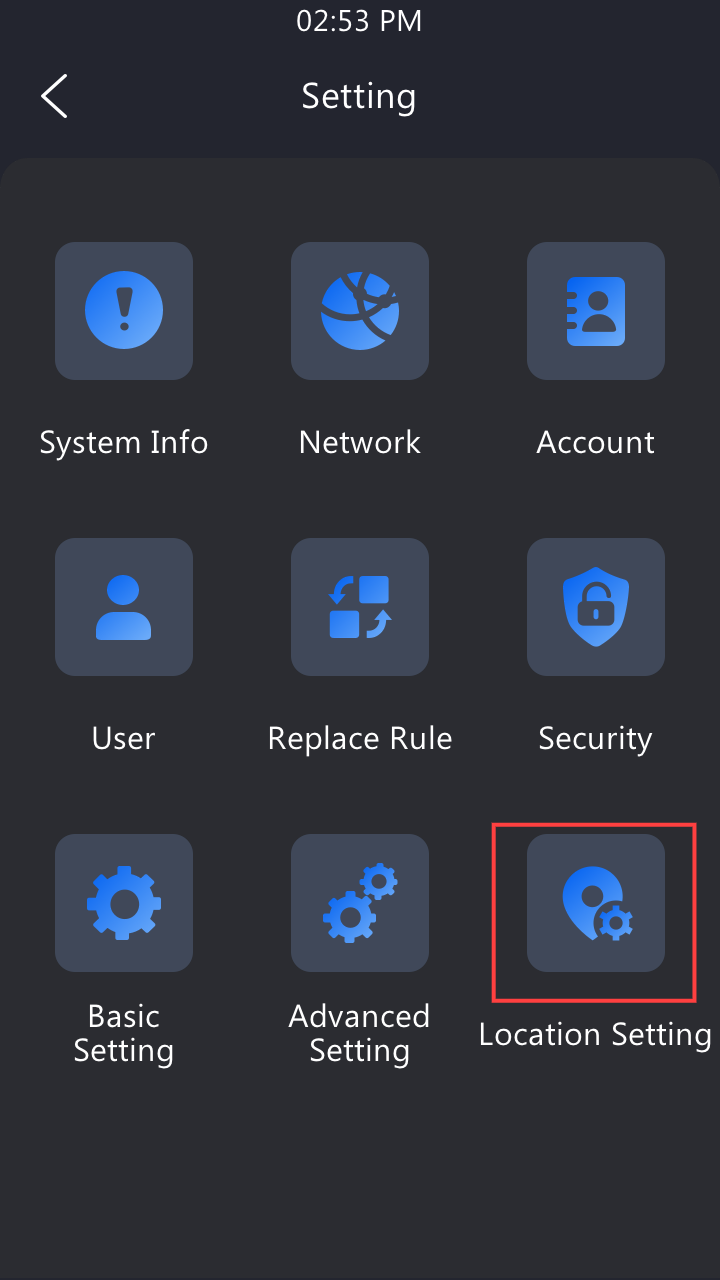
Press Location Setting.
Change the building number based on the device location. The value range is 0-9 without DHCP; 0-99 with DHCP.
R28
Press *2396#.
Press 3 to enter system settings.
Press 3 to enter the location settings.
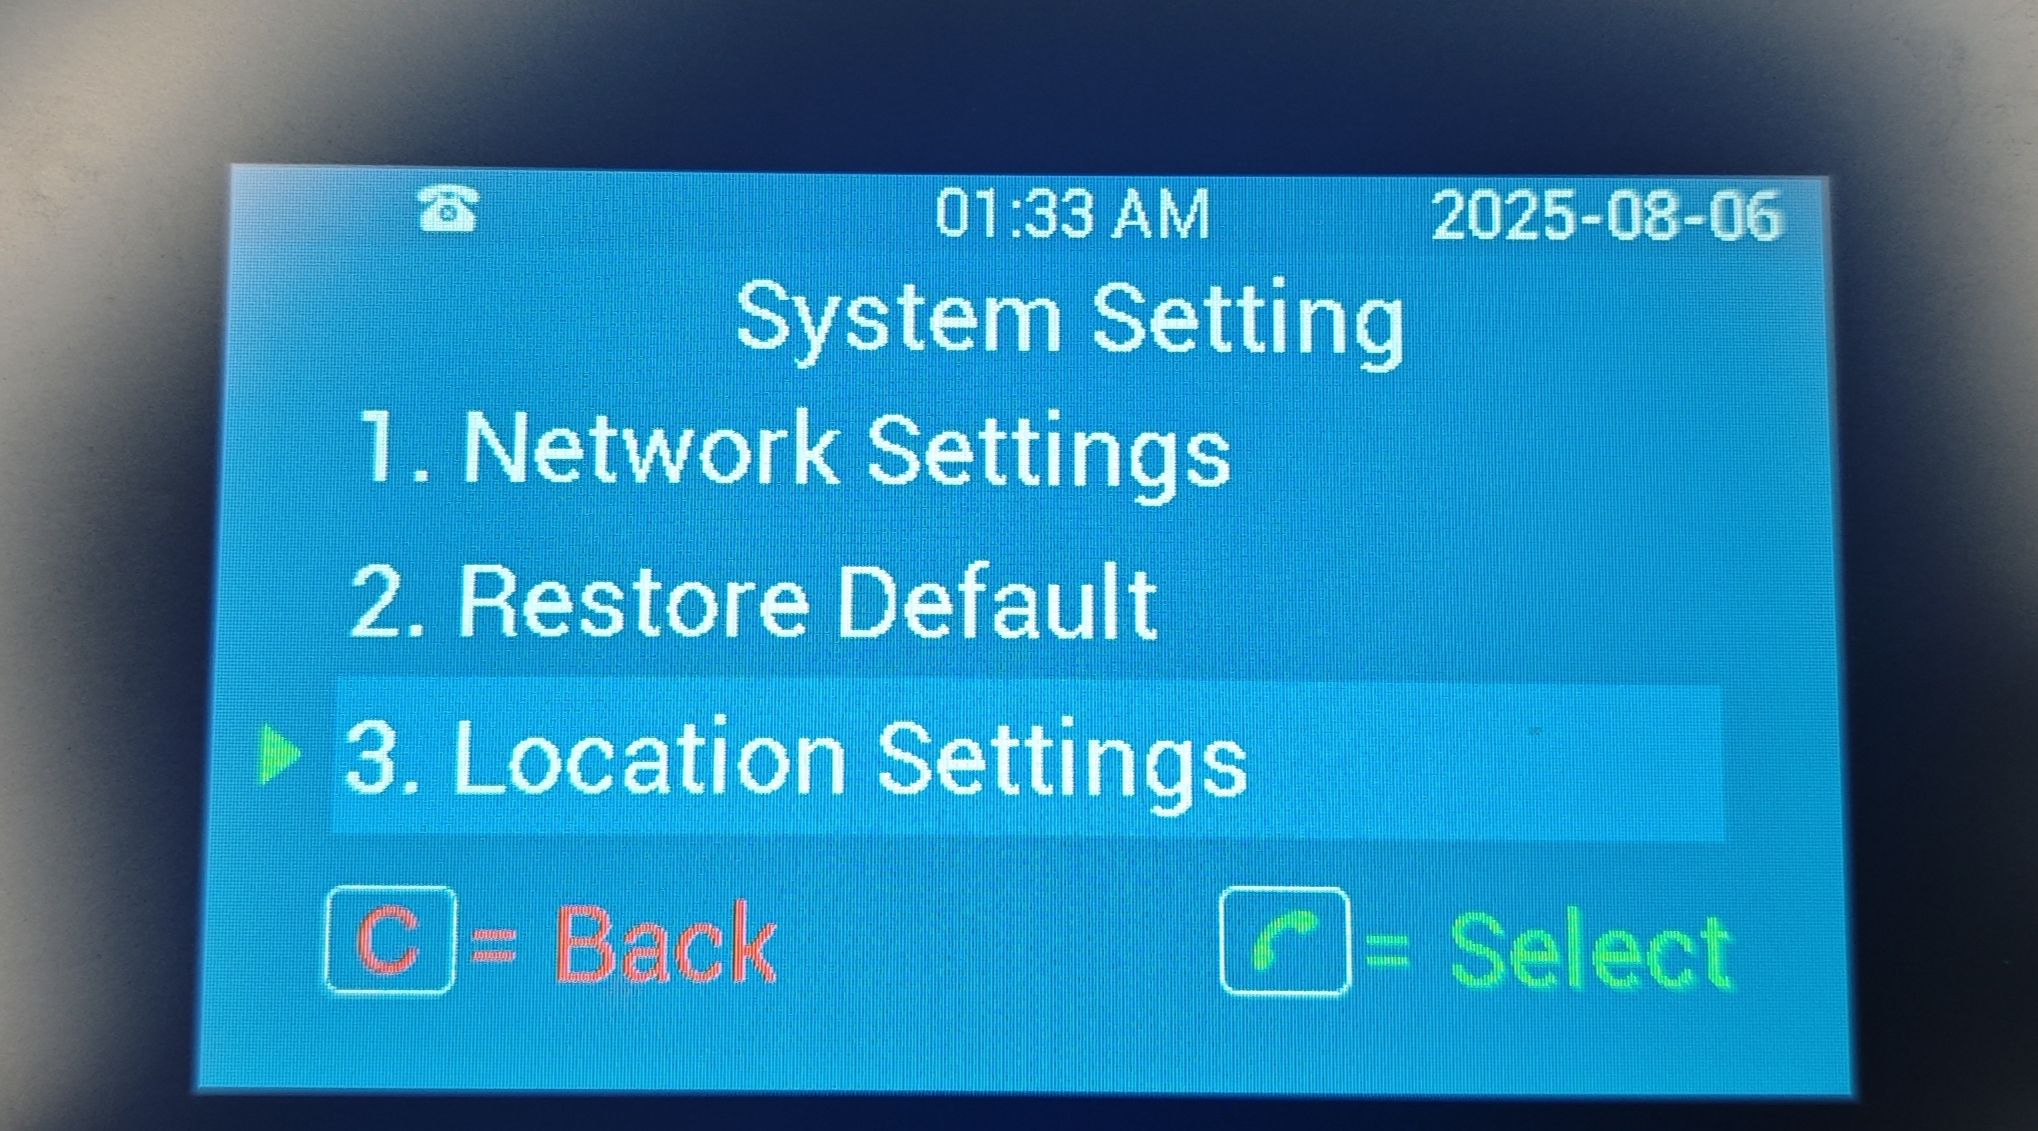
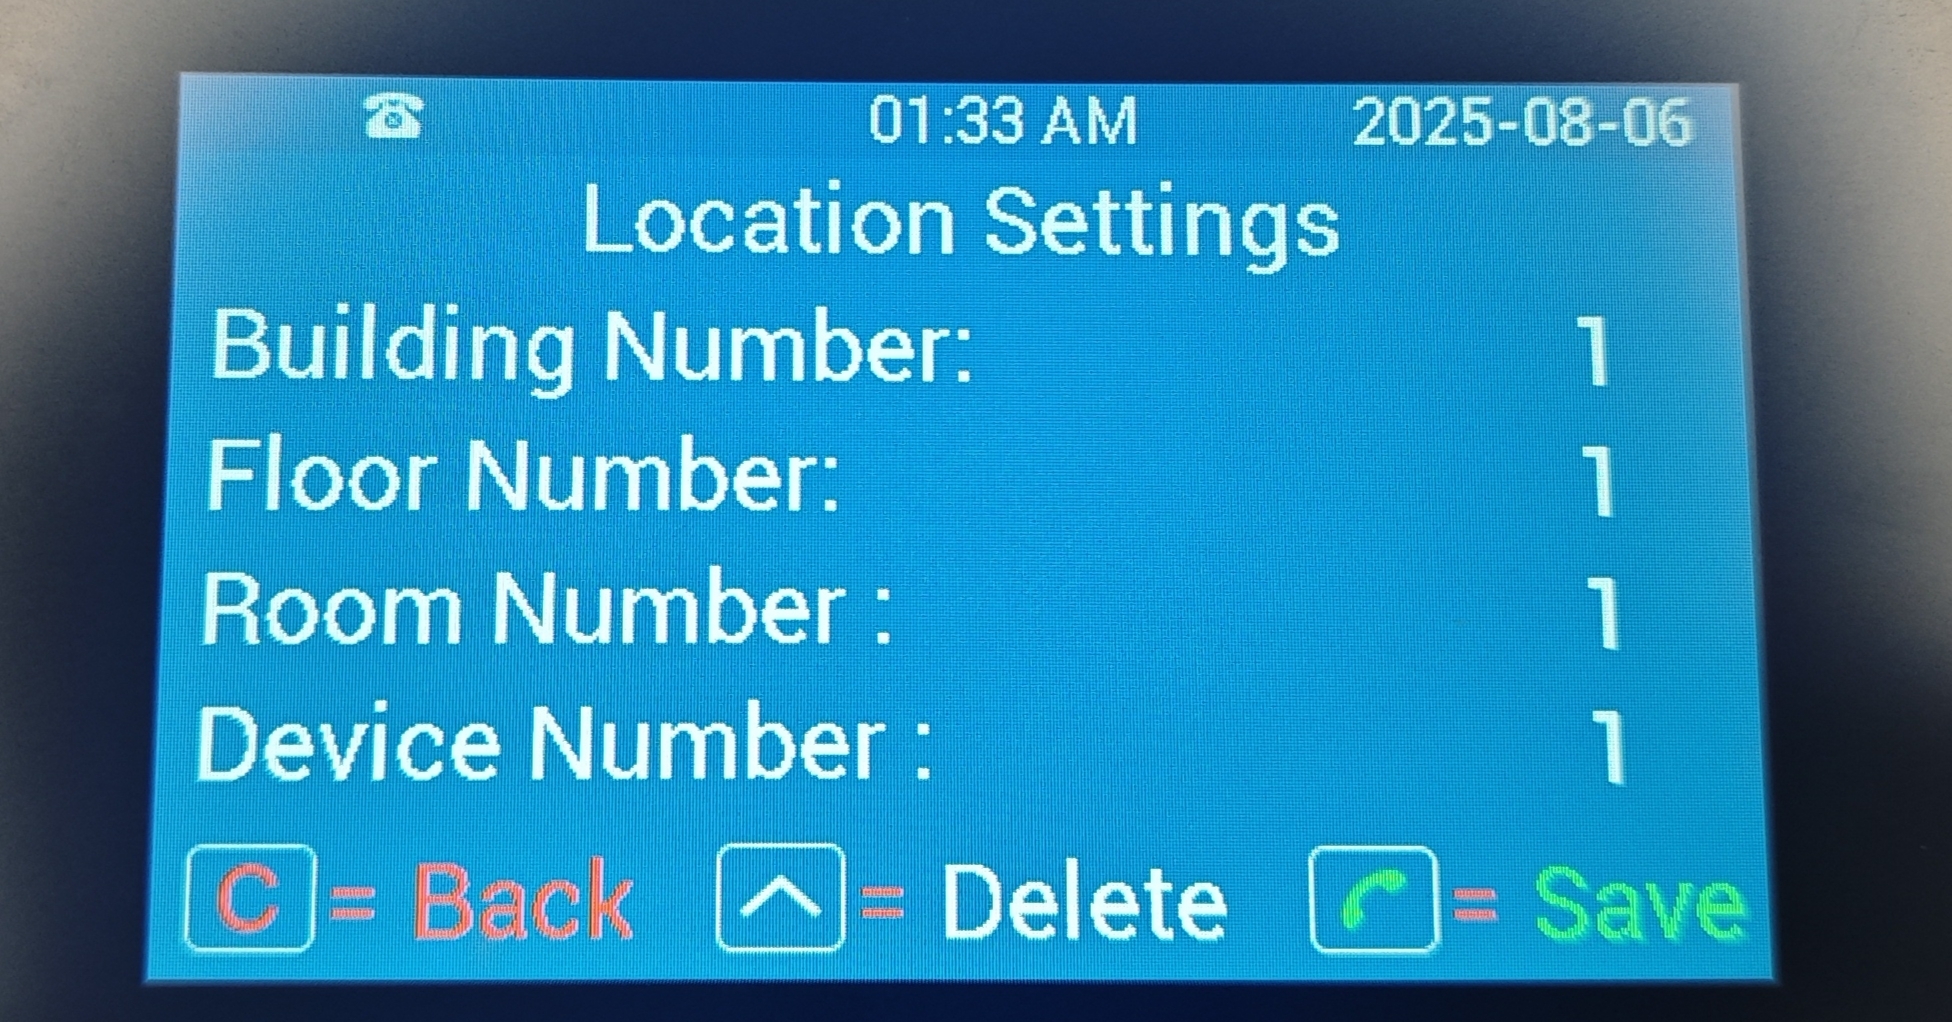
Change the building number based on the device location. The value range is 0-9 without DHCP; 0-99 with DHCP.
Press C to return to the last page, and the setting will not be saved.
Press
 to delete the entered value.
Press
 to save the setting.
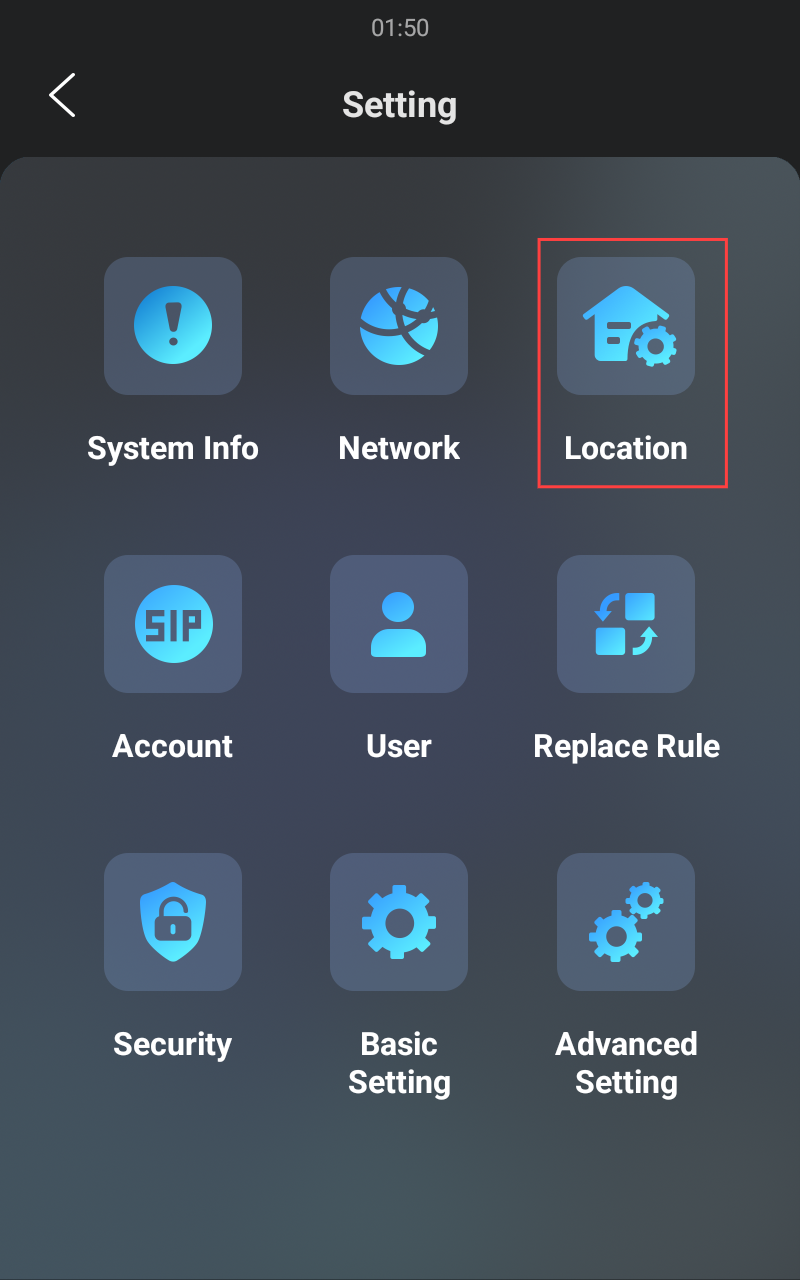
X915V2
Press 9999 > the Dial icon > 3888 > Confirm on the Dial screen to access settings.
Press Location.
Change the building number based on the device location. The value range is 0-9 without DHCP; 0-99 with DHCP.
E18
Long-press the device screen until the PIN entry screen appears.
Enter the system PIN. The default is “Admin321.”.
Press System Info > Location.
Change the building number based on the device location. The value range is 0-9 without DHCP; 0-99 with DHCP.

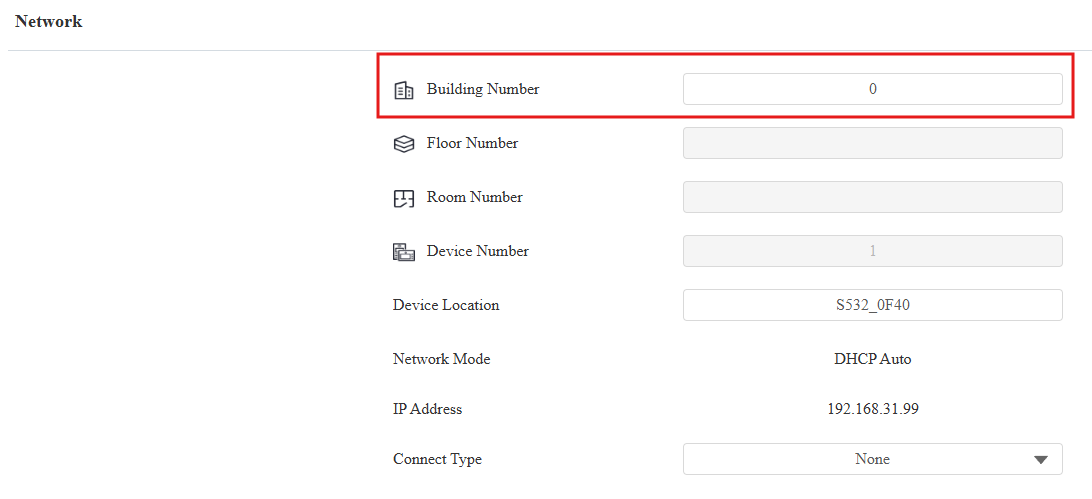
On the Web Interface
Use the device IP to log in to its web interface. The initial username and password are both admin.
Click Quick Start and change the building number based on the device location.
Set Indoor Monitors and Door Phones in Apartments
The indoor monitor and door phone installed in each apartment need to be paired up in the solution.
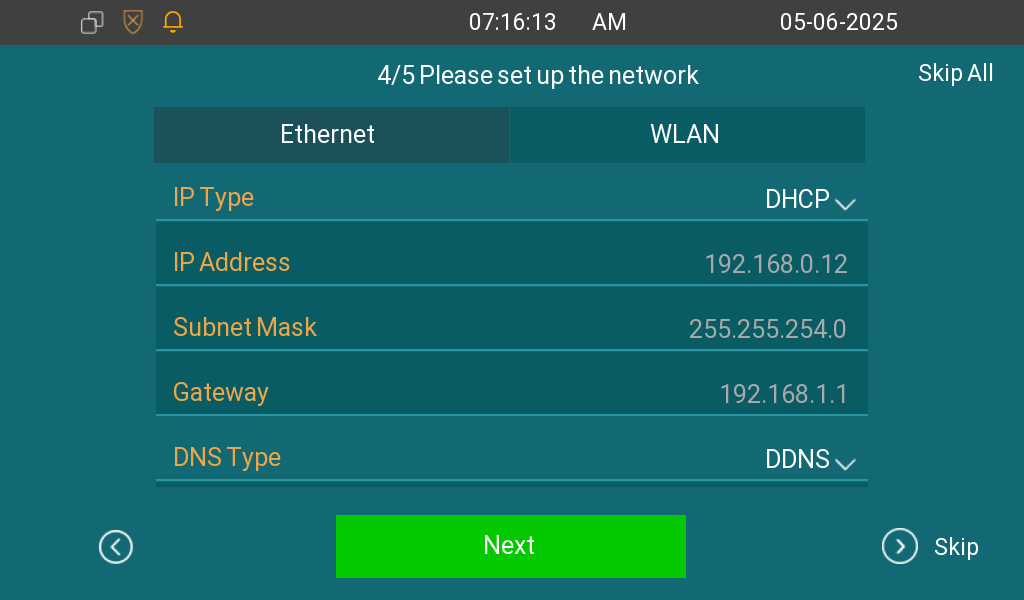
Select the device language and time zone on the device's initial setup screen.
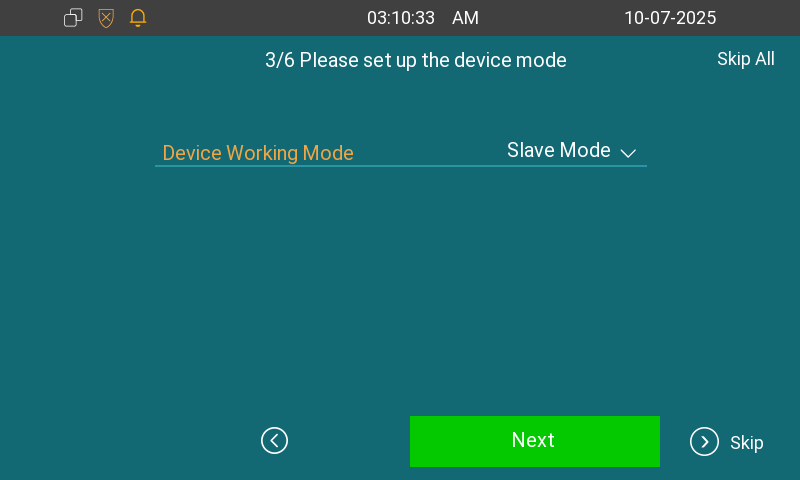
Tap Next. For the C313W-2, you need to choose the device working mode. Set it to Slave Mode since NS-2 works in Master Mode. If it is not a 2-wire device, simply skip this step.
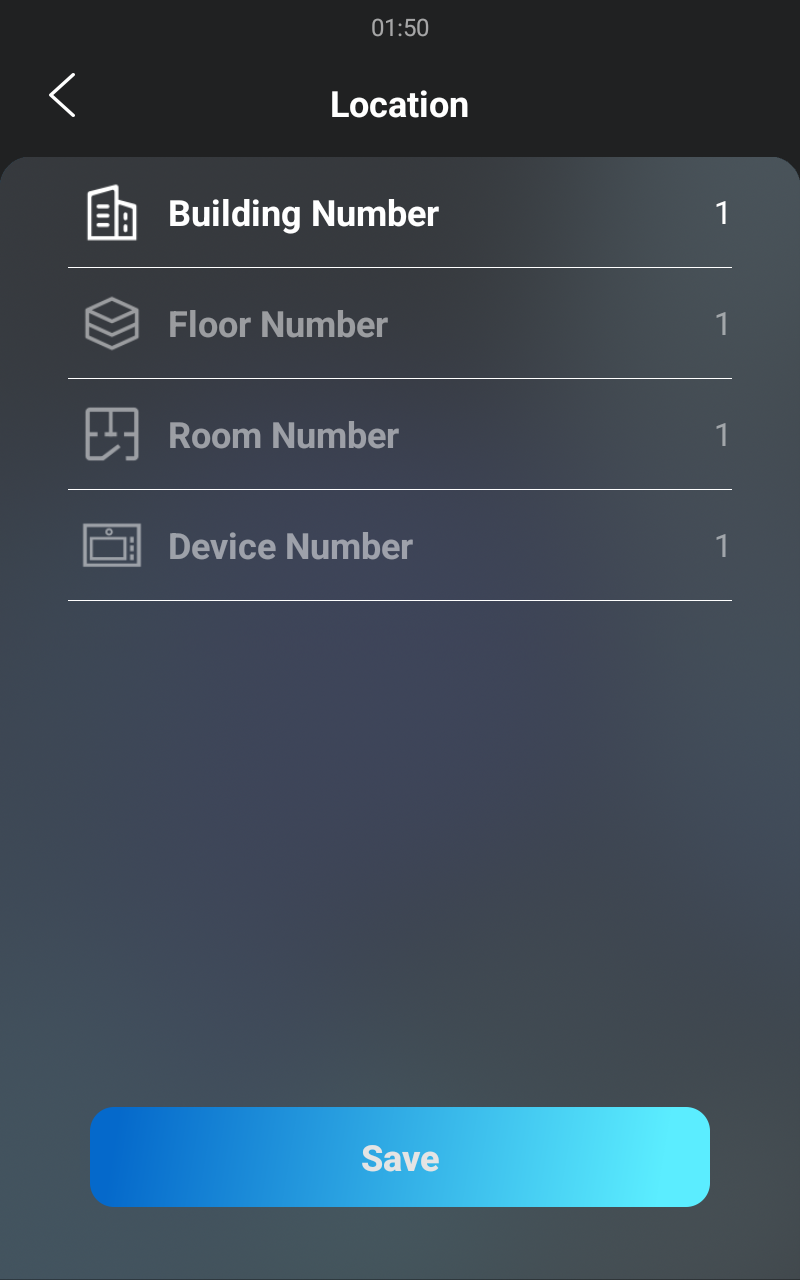
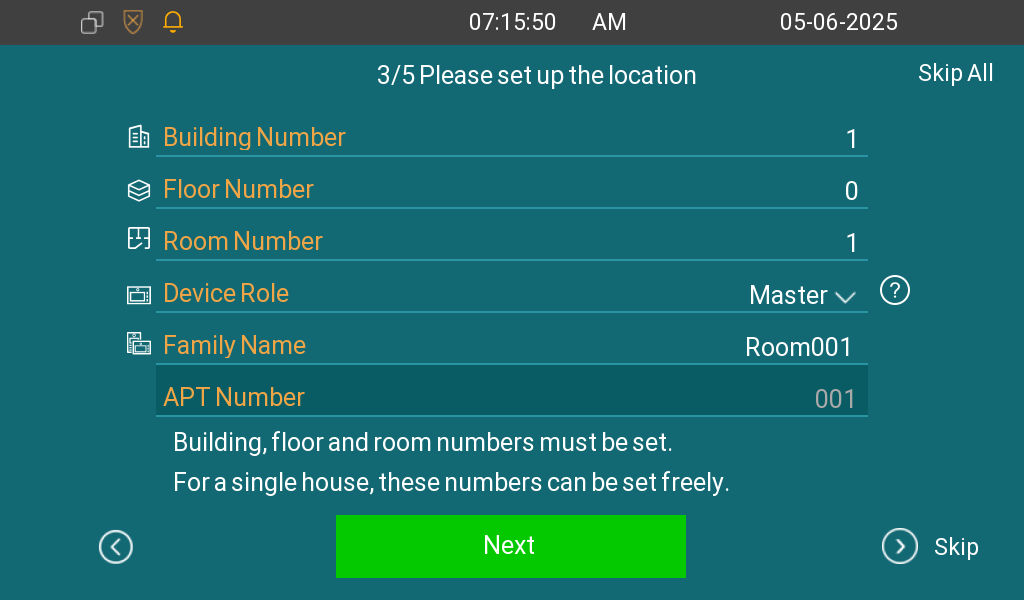
Set the device location and set its device role. If only one indoor monitor is installed in an apartment, designate it as the Master. In this case, it will be the main device where users scan the QR code and register the SmartPlus account. When the device is in Slave mode, select the device number ranging from 1 to 8.
Tap Next to set up the network.
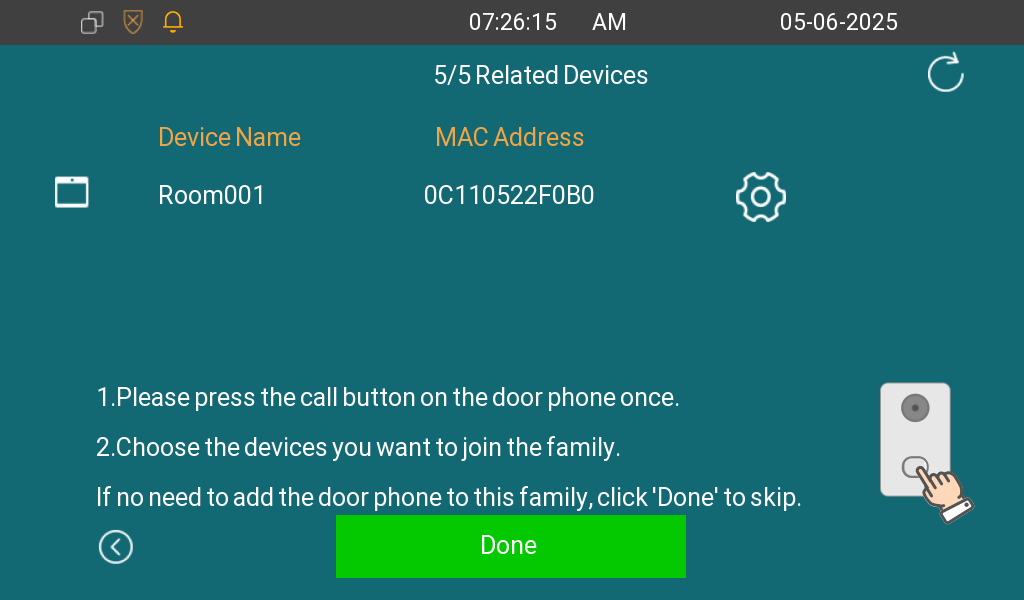
Tap Next. The indoor monitor will scan the devices on the same LAN as it.
At the moment, the door phone will play a “ding” sound, indicating that it is in the pairing mode.
Press the push button of the door phone in 5 minutes.
Check the door phone and tap Confirm.
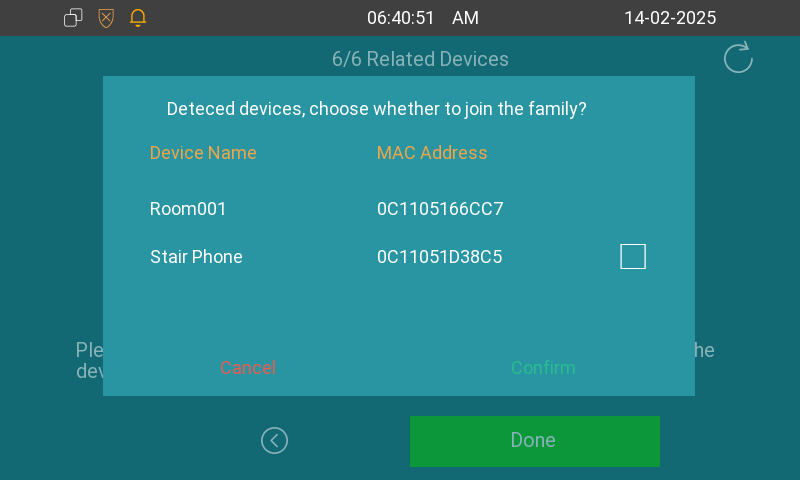
When pairing succeeds, “family sent successfully” will display on the device screen.
Tap Done to finish the setup.
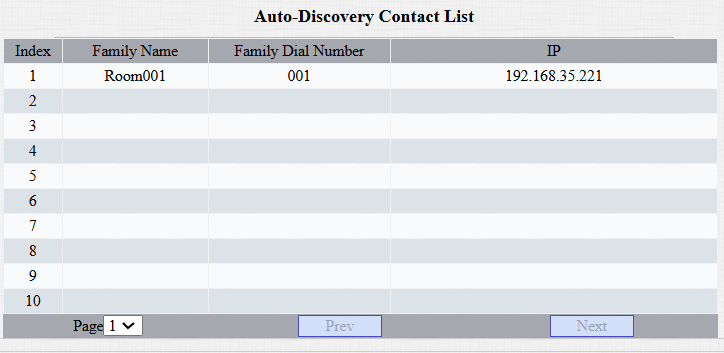
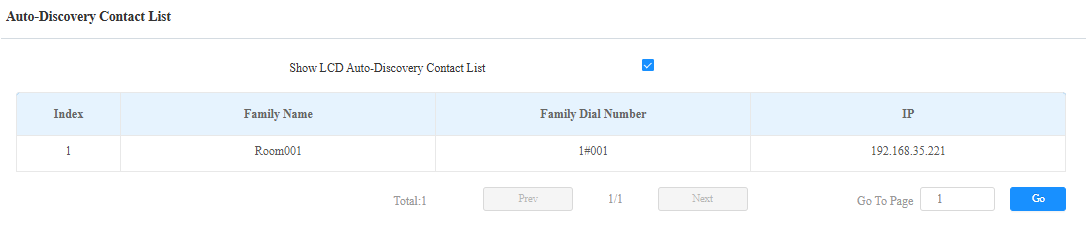
The indoor monitor will display as a contact on the door phones’ Quick Start > Auto-Discovery Contact List interface.
R20A
S532
Repeat the above steps until indoor monitors and door phones in all rooms are configured.
Note
Based on different models and their installation locations, the ways to call the indoor monitors are different.
At the Apartment Door:
R20A: Press the push button.
R20K: Enter the room number and press the Call button.
At the Building Gate:
R20K/R28/S532: Enter the [floor number+room number], e.g., 001, and press the Call button.
At the Community Entrance:
R20K/R28/S532: Enter the [building number#floor number+room number], e.g., 1#001, and press the Call button.