Connect to the Internet
Typically, the network is configured by your service provider during installation. You can modify the Wi-Fi network or connect the device to a local area network (LAN) anytime, but be aware that it may affect certain functions. To ensure continued proper operation, please check with your service provider before making any network changes.
NOTE:
All panels within the family should be in the same local network to ensure the proper communication. If you need to use SIP call and BelaHome app’s remote control function, panels must be connected to the cloud and the Internet.
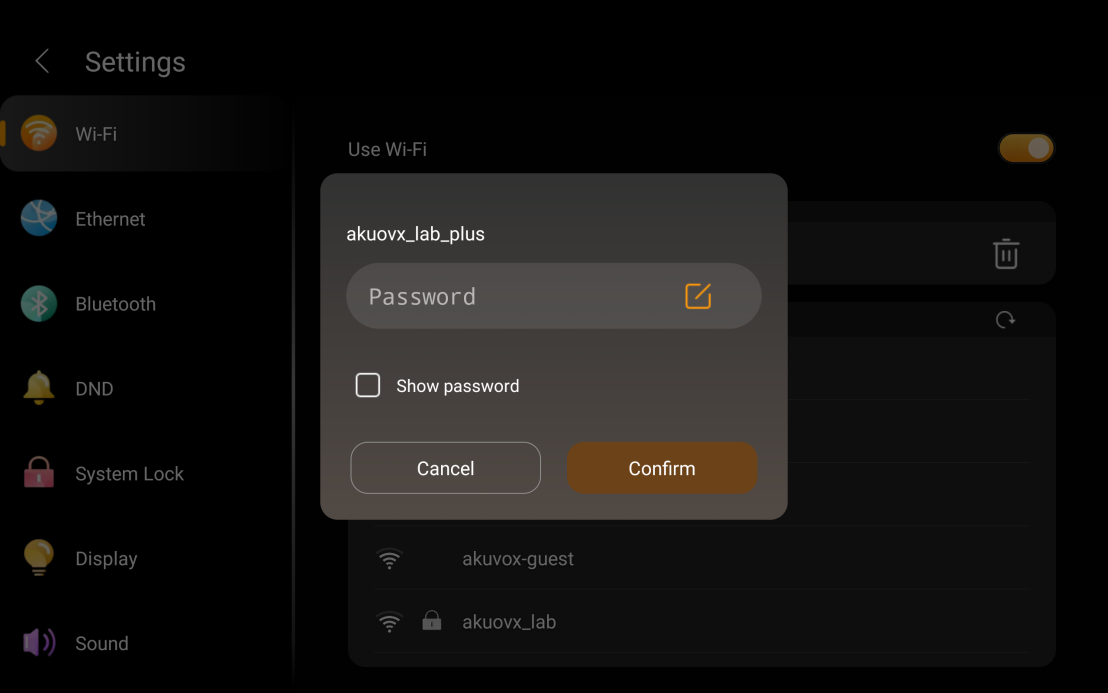
Change your Wi-Fi network
Swipe down from the top edge of any screen, and tap
 > Wi-Fi.
Toggle the Use Wi-Fi button to on.
Select the desired network.
Enter the password, and tap Confirm.
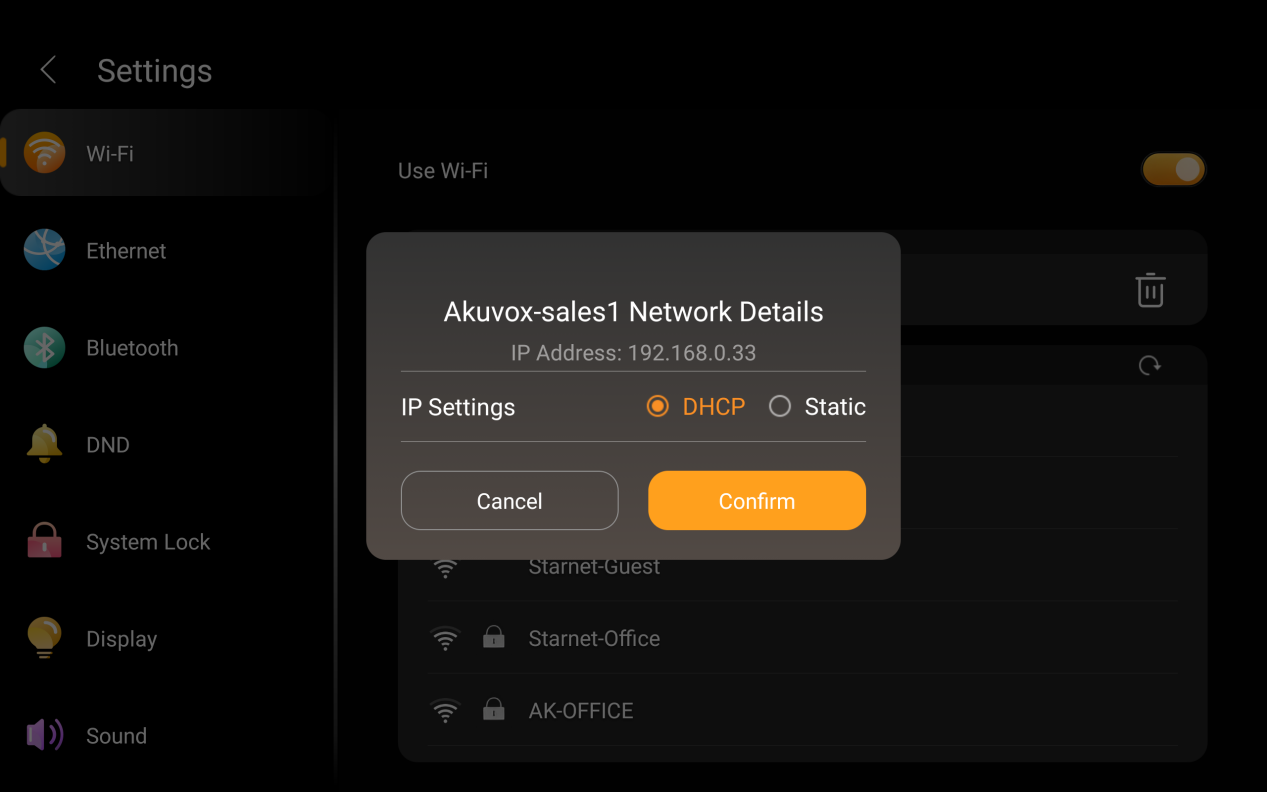
TIP:
You can tap the connected Wi-Fi name to view the HyPanel Pro’s IP address and configure a static IP if needed.
Configure LAN network
To configure a LAN network, do the following.
Swipe down from the top edge of any screen, and tap
 > Ethernet.
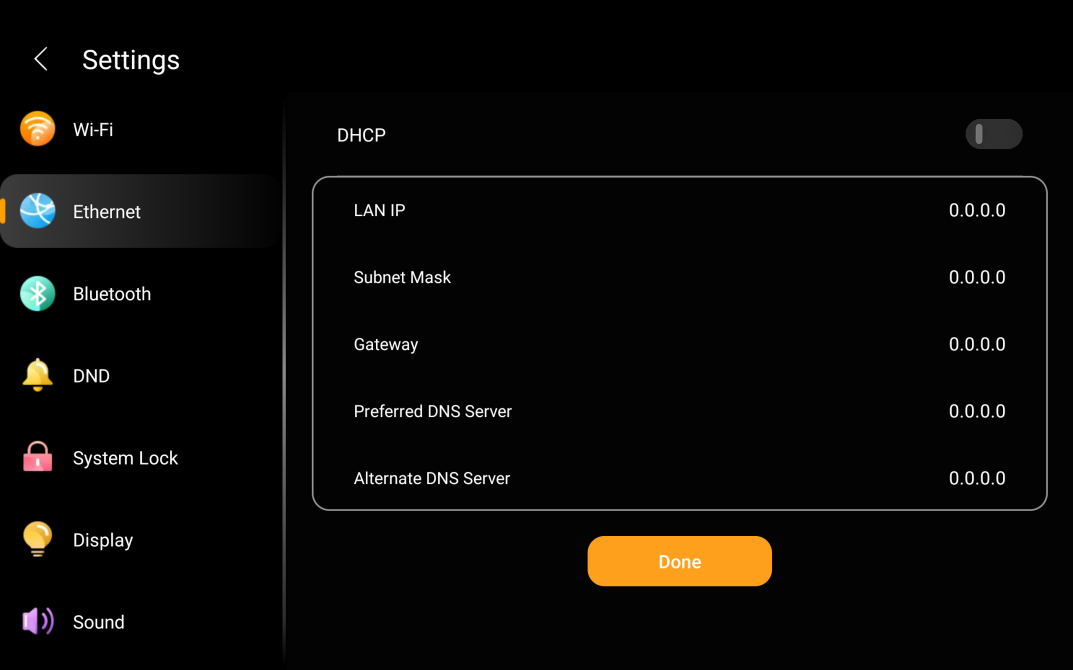
On the Network view, do any of the following:
Toggle on DHCP feature, and the device will be assigned IP address automatically.

Toggle off DHCP feature, and enter IP Address, Subnet Mask, Gateway, Preferred DNS Server, and Alternate DNS Server manually.
Configure network priority
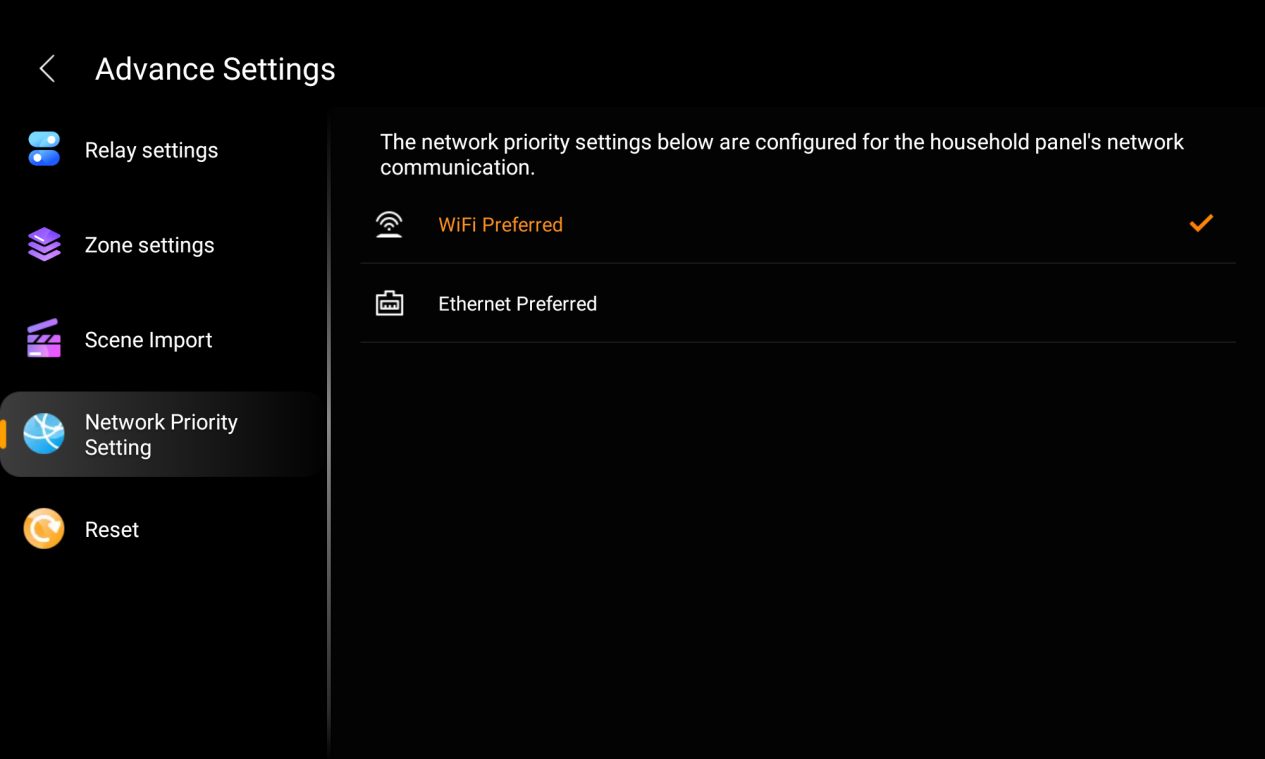
Starting from version 71.1.35.30, you can set the preferred network when both Wi-Fi and Ethernet are connected.
To set up the priority, go to ![]() > Advance Settings > Network Priority Setting to choose which network the device should prioritize for communication.
> Advance Settings > Network Priority Setting to choose which network the device should prioritize for communication.
Put HyPanel Pro in standby mode
To put HyPanel Pro in standby mode quickly, swipe down from the top edge of any screen to open Control Center, then tap ![]() .
.
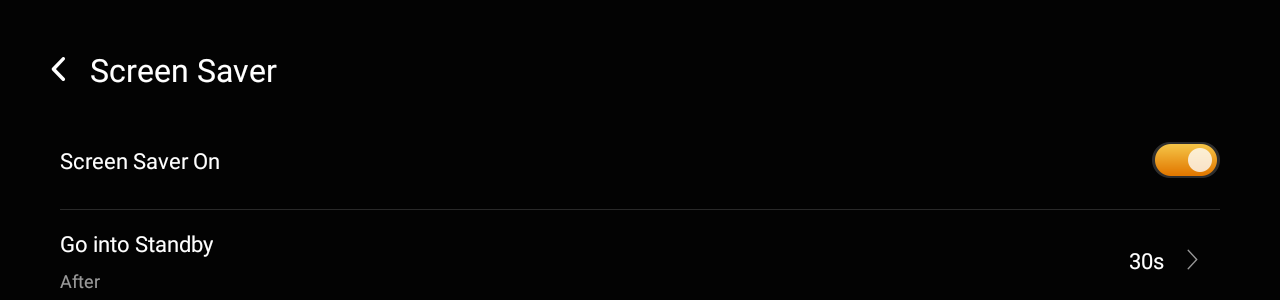
You can customize how long the device takes to enter the standby mode by tapping ![]() > Display > Screen Saver > Go into Standby. For example, if you choose 1 min, the HyPanel Pro will enter standby mode in 1 minute of inactivity.
> Display > Screen Saver > Go into Standby. For example, if you choose 1 min, the HyPanel Pro will enter standby mode in 1 minute of inactivity.
Change screen saver settings
In Screen Saver Settings, you can turn the screen saver on or off, and choose its style.
Swipe down from the top edge of any screen, and tap
 > Display > Screen Saver.
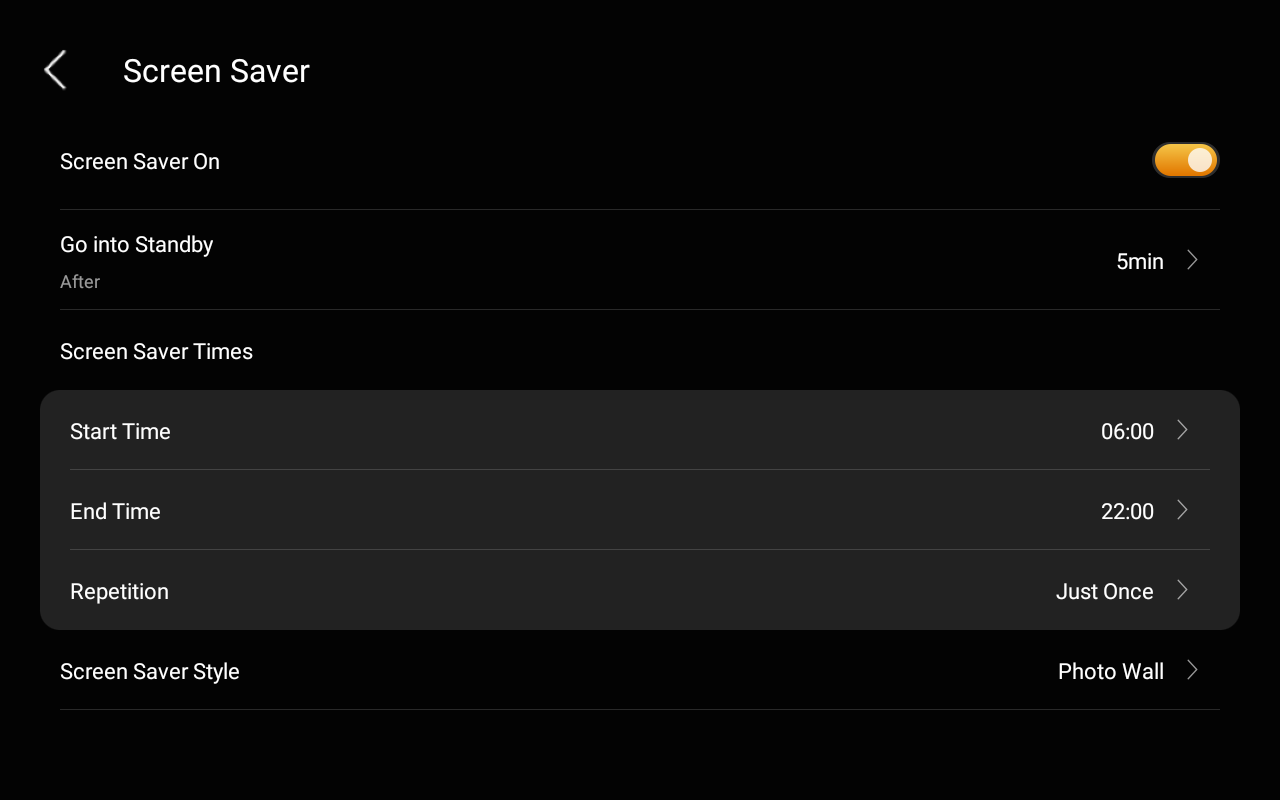
Do any of the following:
Turn on or off the toggle next to Screen Saver On.
When it is enabled, HyPanel Pro in standby mode will display photos and images; when disabled, the display will just stay off.
Schedule the screen saver to turn on automatically by setting Screen Saver Times.
Choose a screen saver style.
Select Photo Wall if you want to display images.
To add your preferred photos, please log into the BelaHome app and go to Me > Wall Paper.
Set up Do Not Disturb
To avoid interruptions from calls, messages, or notifications, enable Do Not Disturb(DND).
All calls and notifications will be silenced during the set period, while the alarm still rings.
Quickly turn DND on or off
You can quickly turn the DND feature on by swiping down from the top edge of any screen, and tapping ![]() . The icon will turn to
. The icon will turn to ![]() when the DND is enabled. Tap the icon again to turn the DND off.
when the DND is enabled. Tap the icon again to turn the DND off.
This feature can also be set up by going to ![]() > DND.
> DND.
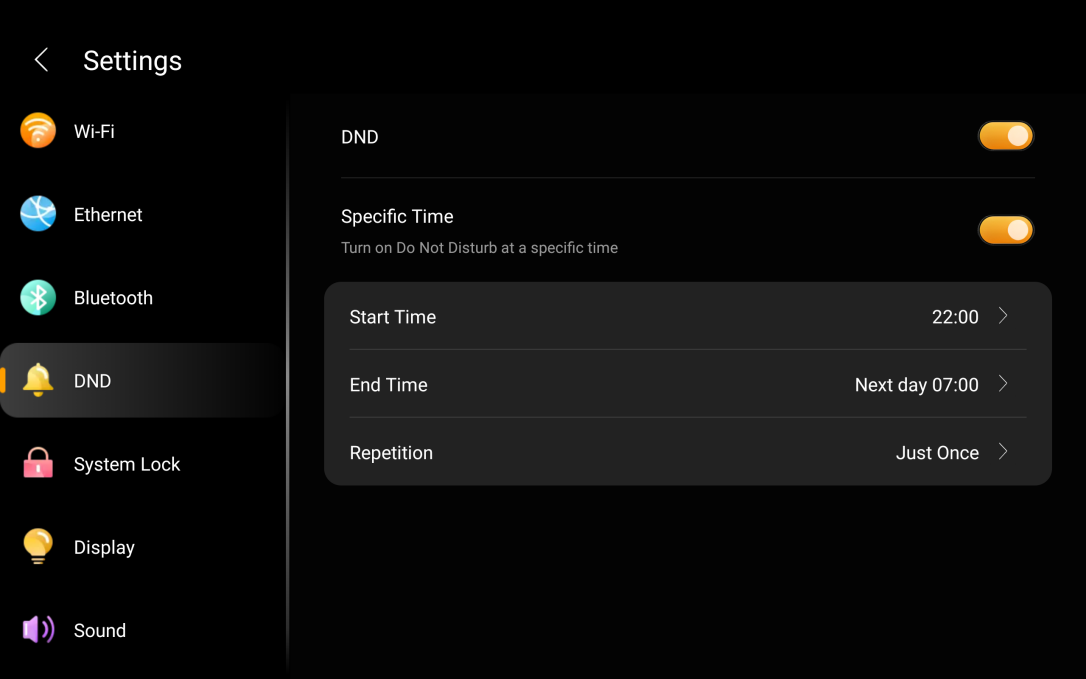
Schedule the DND to turn on automatically
To schedule DND to turn on automatically at certain times, do the following:
Swipe down from the top edge of any screen, and tap
 > DND.
Toggle on DND.
Toggle on Specific Time.
Set the DND start time and end time. DND will be activated automatically during the designated period and deactivated outside these hours.
Specify the number of times the DND schedule will be repeated. The default setting is 1 time.
Protect your HyPanel Pro
For better security, use screen lock or settings lock to prevent unintended access to your device or the settings screen.
Set up system lock
Swipe down from the top edge of any screen, and tap
 > System Lock.
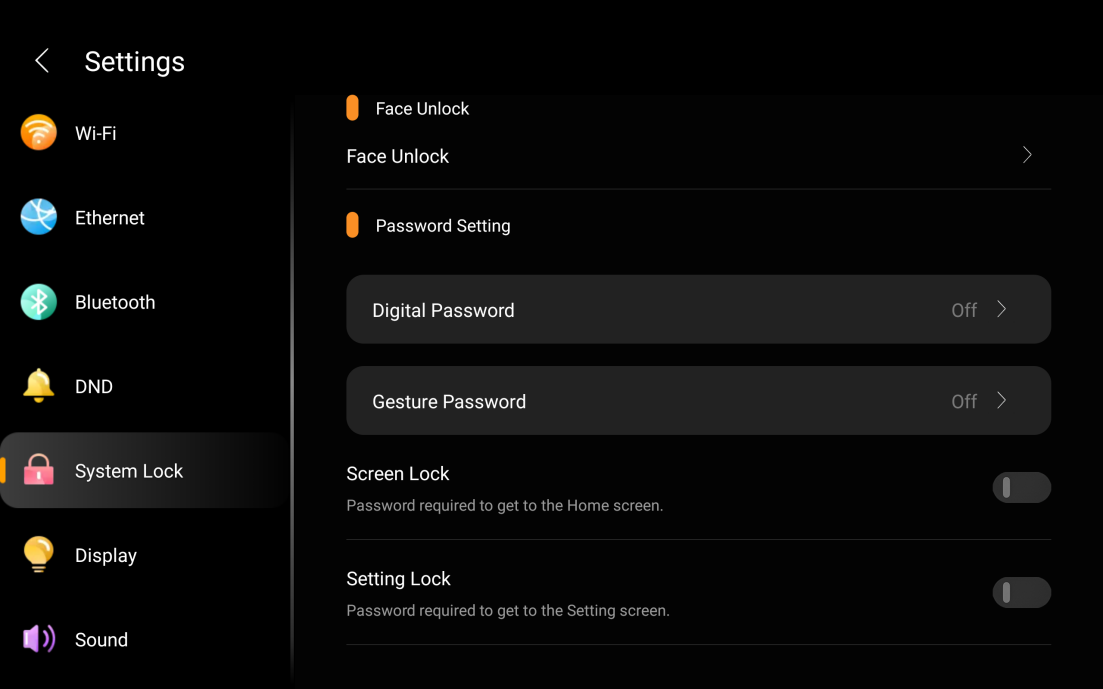
Choose your preferred password option among Face Unlock, Digital Password, and Gesture Password, and follow the onscreen instructions to set up.
NOTE:
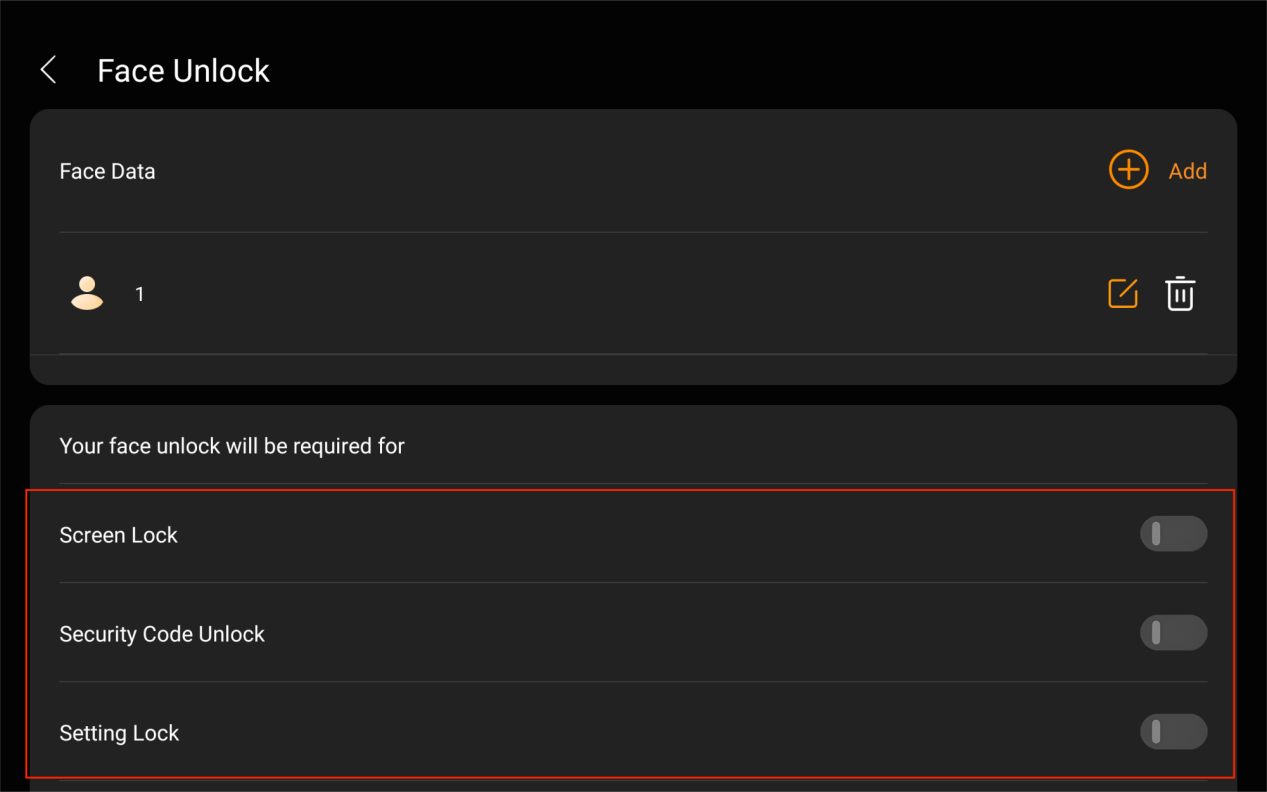
You can register up to 20 face IDs on this HyPanel Pro. All face data is saved solely on this device.
Select where to apply the password.
If you’ve set up the Face ID, tap the Face Unlock option to apply it to home screen, settings screen, and disarming/arming screen.
If you’ve set up a digital or gesture password, toggle on Screen Lock and/or Setting Lock to enable it.

NOTE:
The Screen Lock and Setting Lock use the same password. When both are active, you only need to input the password once to unlock both the device and the Settings screen.
Delete and modify passwords
Face unlock
To delete a face ID, go to ![]() > System Lock > Face Unlock, and tap
> System Lock > Face Unlock, and tap  .
.
To rename it, simple tap  .
.

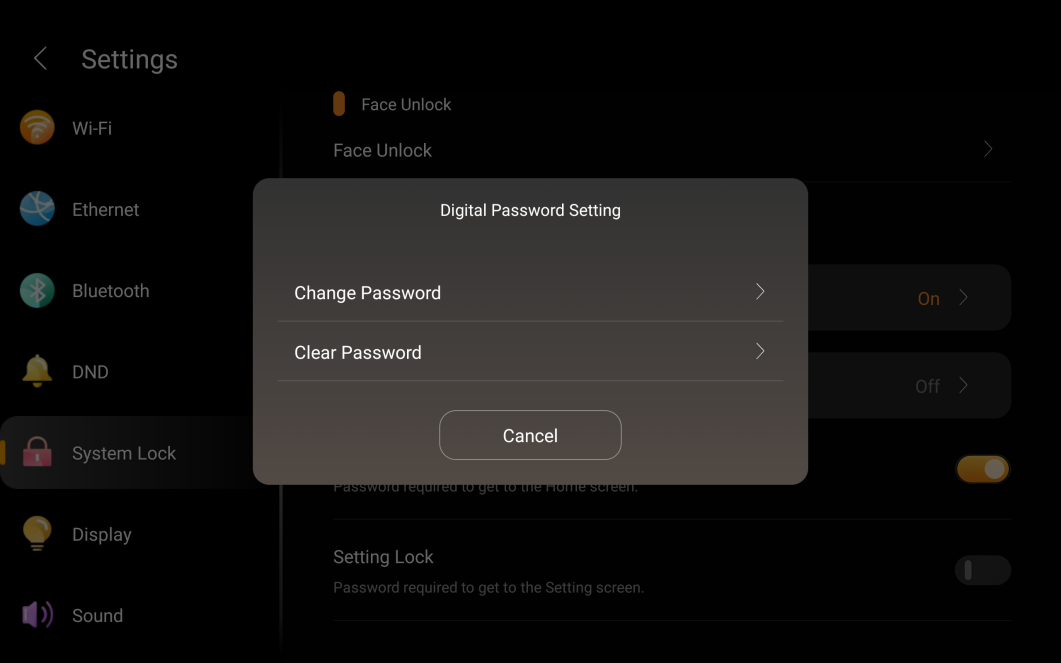
Digital and gesture password
On the
 > System Lock screen, tap the password type you want to modify or delete.
 Select the desired option and follow the onscreen instructions.
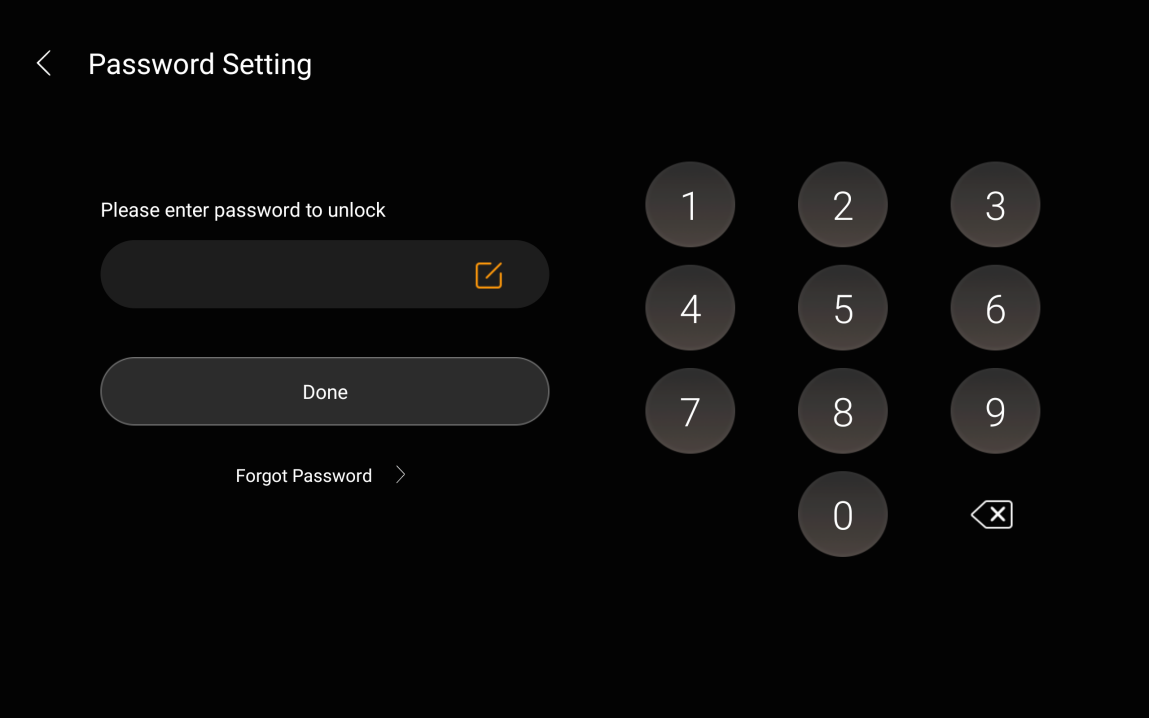
Forgot password
To clear the forgotten current password, tap Forgot Password on the password required screen and follow the onscreen instructions. Two resetting options are provided based on your cloud connection status.
Via reset email
If you’ve registered the administrator account and ensure that the devices are connected to the Internet, a password reset email will be sent to the family’s administrator email address once you tap Forgot Password. Follow the instructions included to clear the password.
On the user web portal
Log into the user web portal, find the desired panel, and tap its
 > Reset > Reset Panel screen lock password.
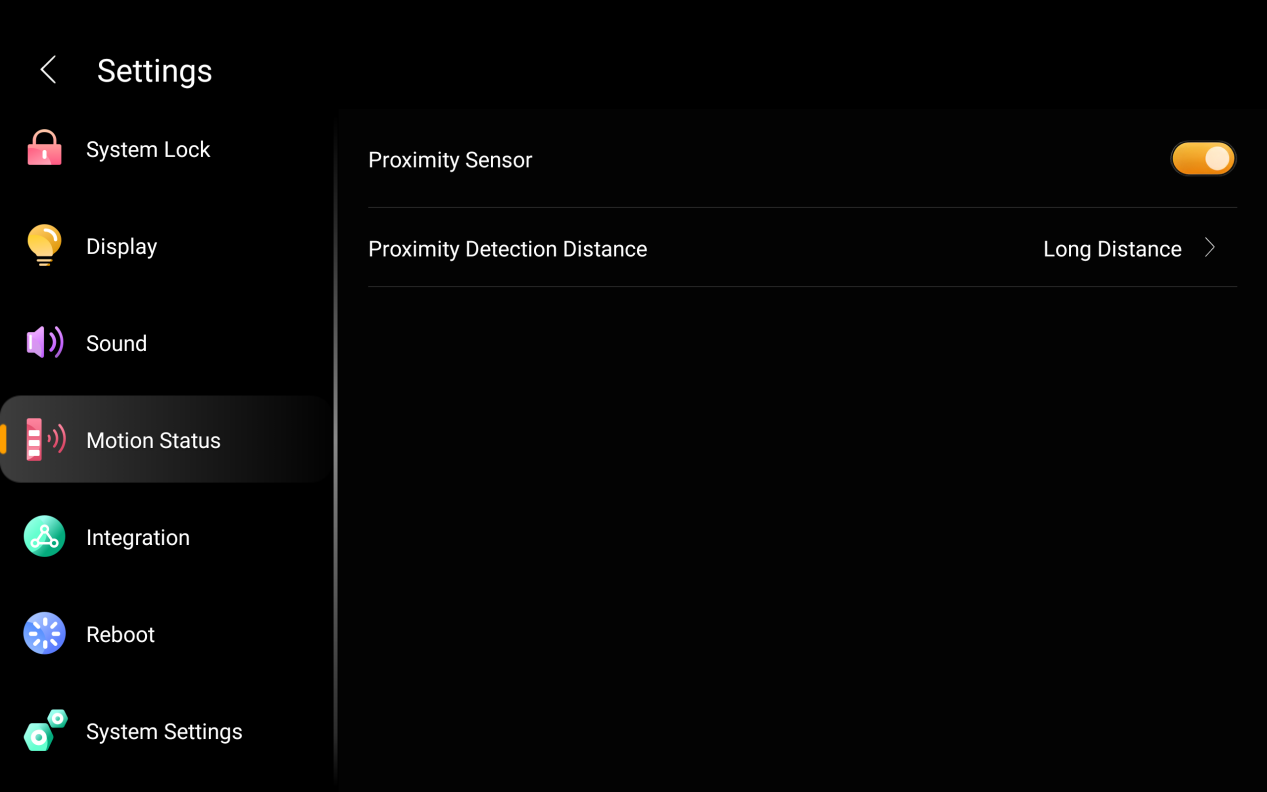
Configure Proximity Sensor Settings
The panel features a built-in proximity sensor that detects when someone approaches. For example, it can automatically wake the screen as you get near, offering a touch-free and responsive experience.
To adjust the sensor settings:
Swipe down from the top edge of any screen to open the Control Center.
Tap
 > Motion Status.
Do any of the following:
Enable/Disable the proximity sensor.
Adjust the sensitivity to set the detection distance.
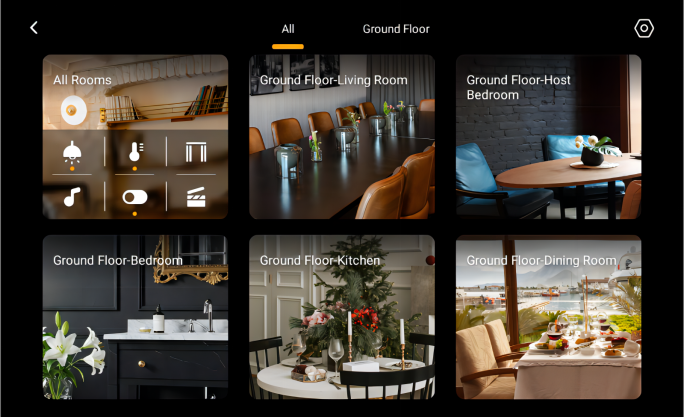
Manage spaces and rooms
You can customize your home floor plan by adding new floors and rooms. You can also reorder the room cards to match your preferences.
Create new floors or rooms
To better match your actual floor plan, you can add more detailed floors or rooms by following these steps:
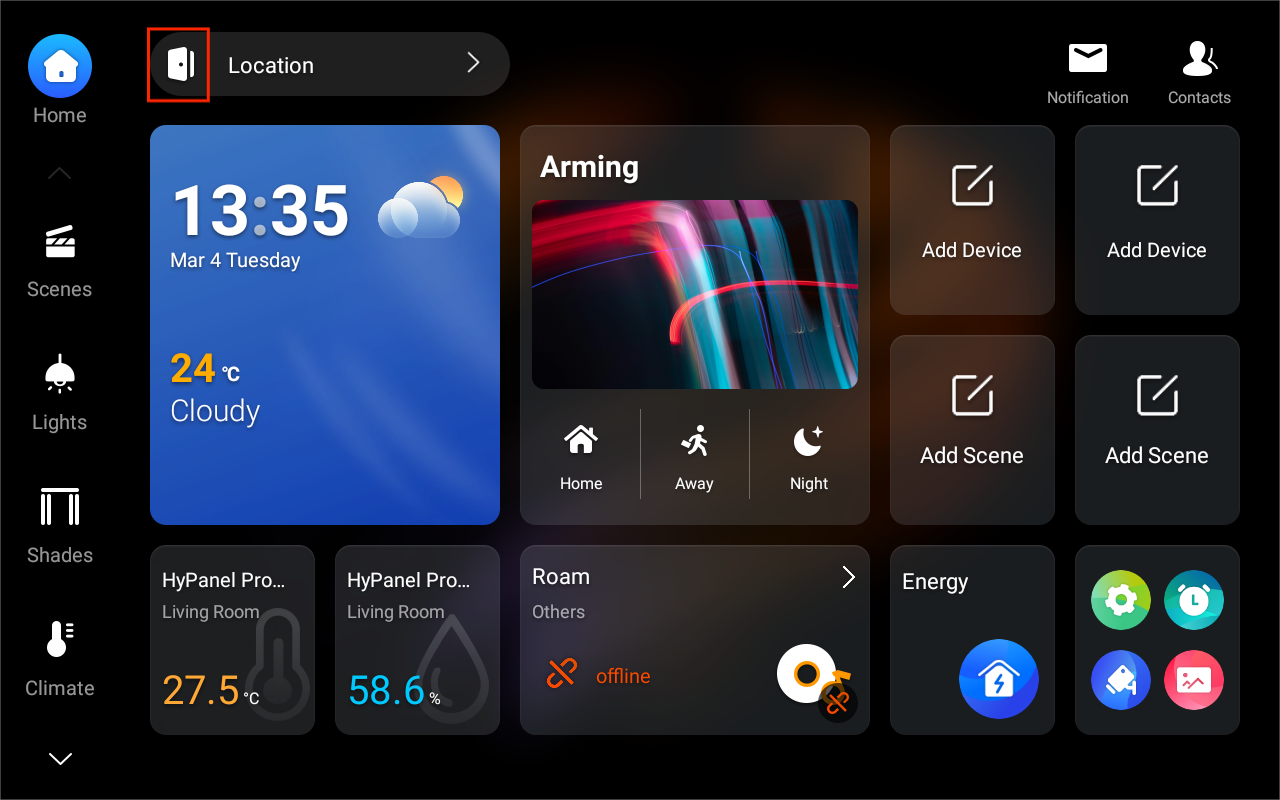
Tap
 at the top of the Home screen.
Tap
 in the upper right corner.
.png)
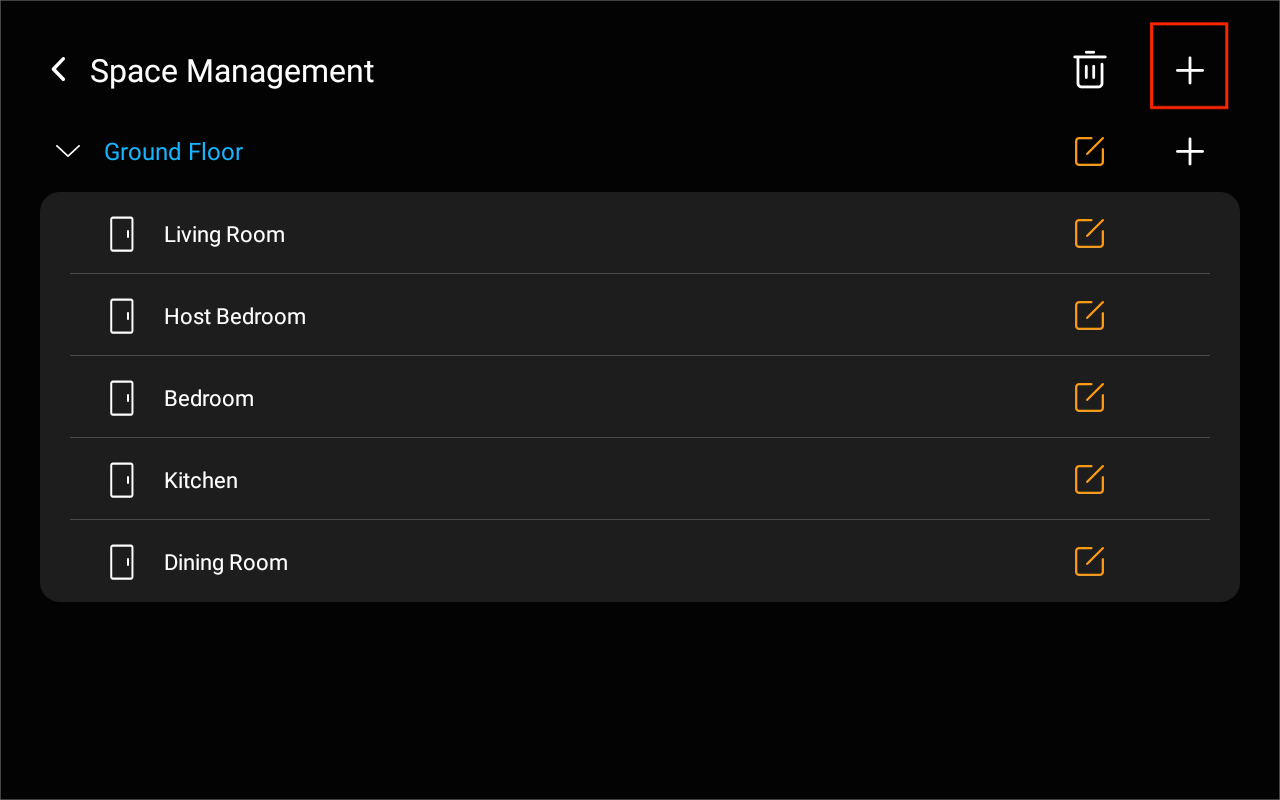
On the Space Management screen, tap
 .
.
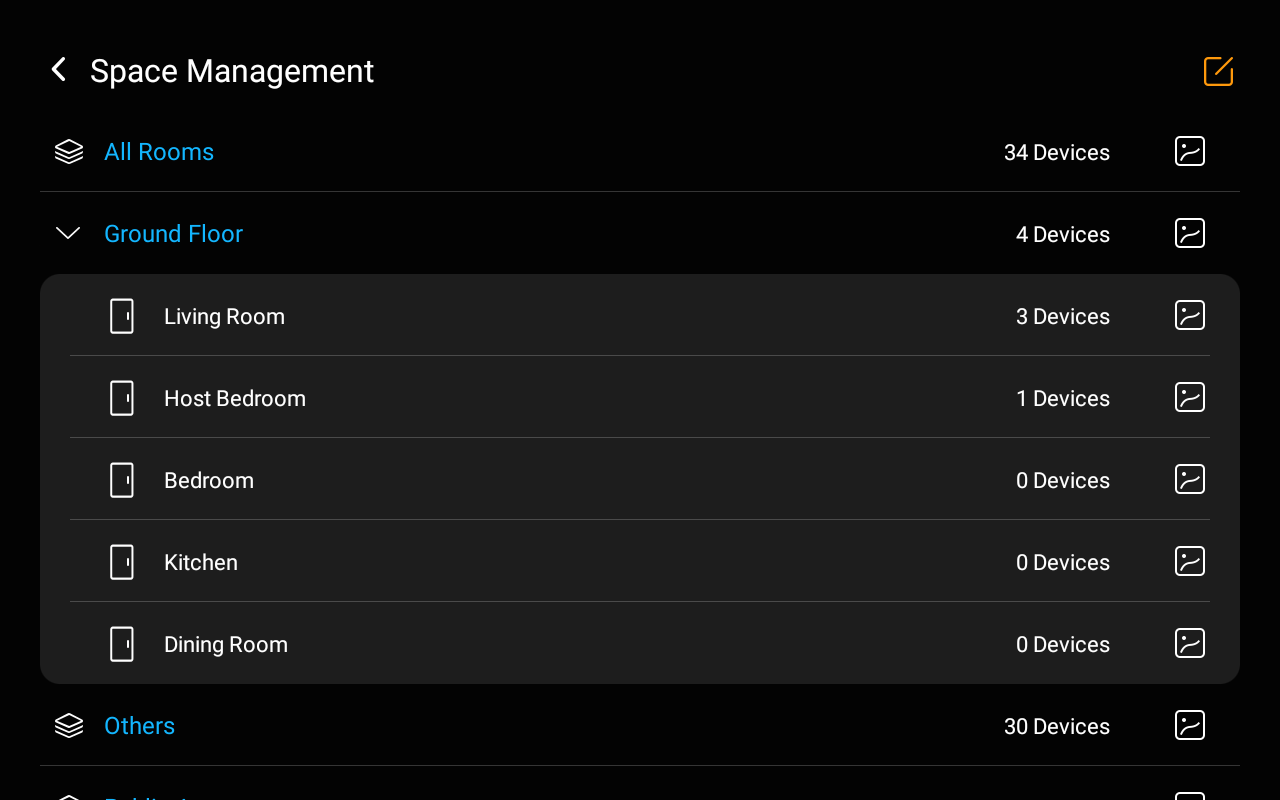
Based on your needs, do any of the following.
Tap
 at the top to add a new floor.
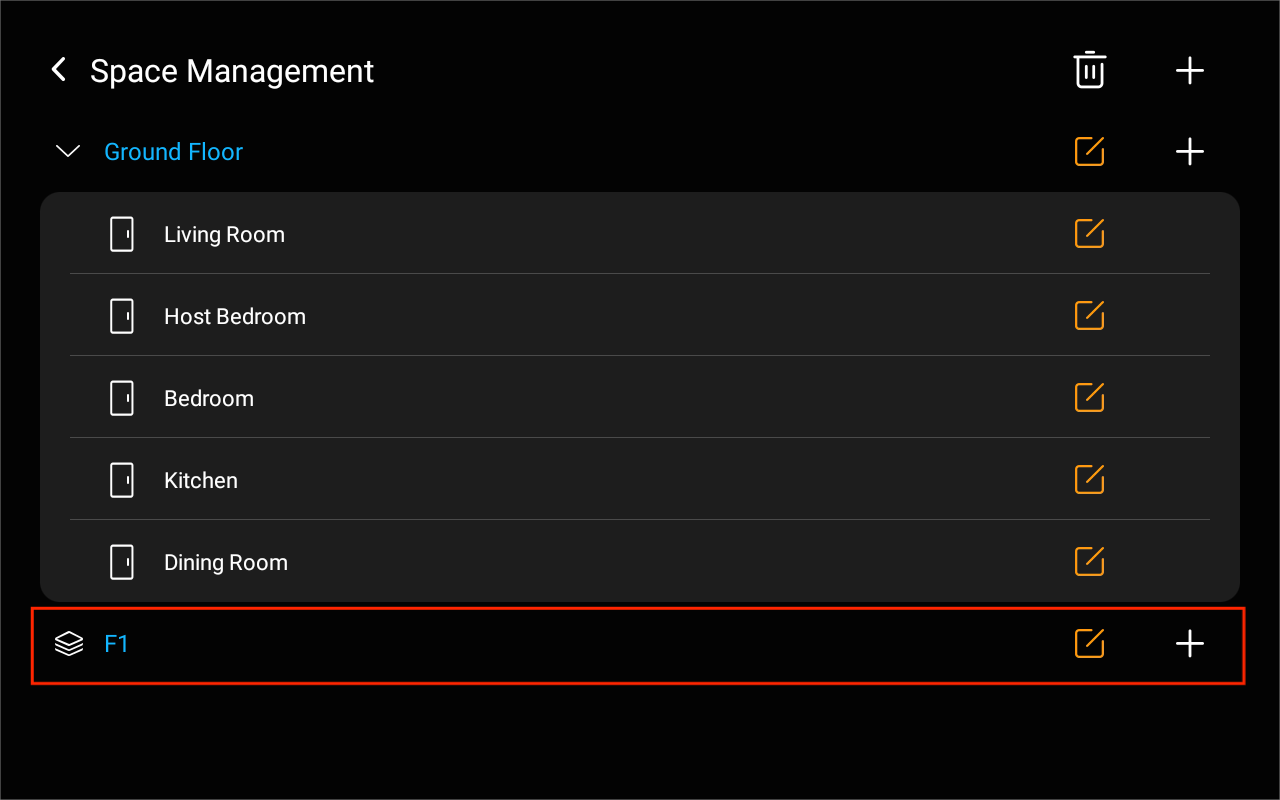
Tap
 next to a floor to add a new room under it.
.png)
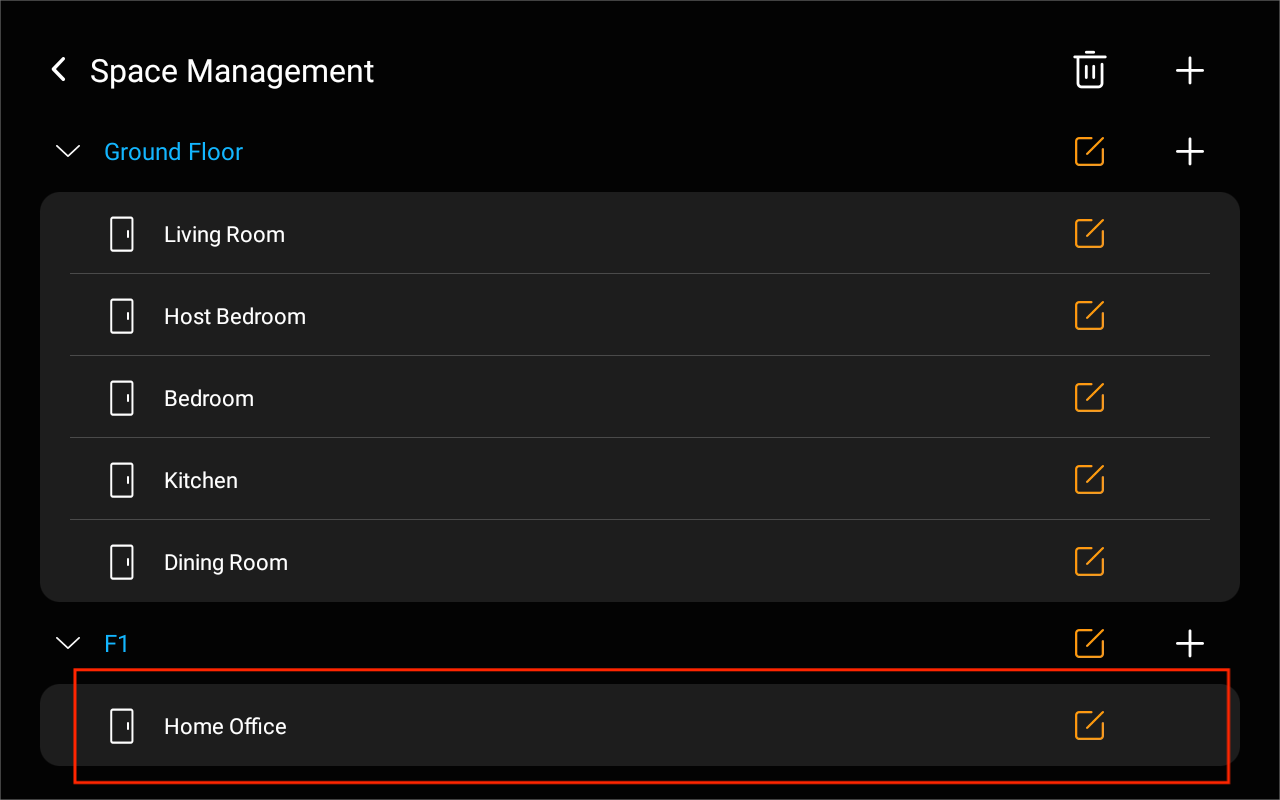
Tap
 to rename a floor or room.
Tap
 >
>  > Save to delete floors or rooms.
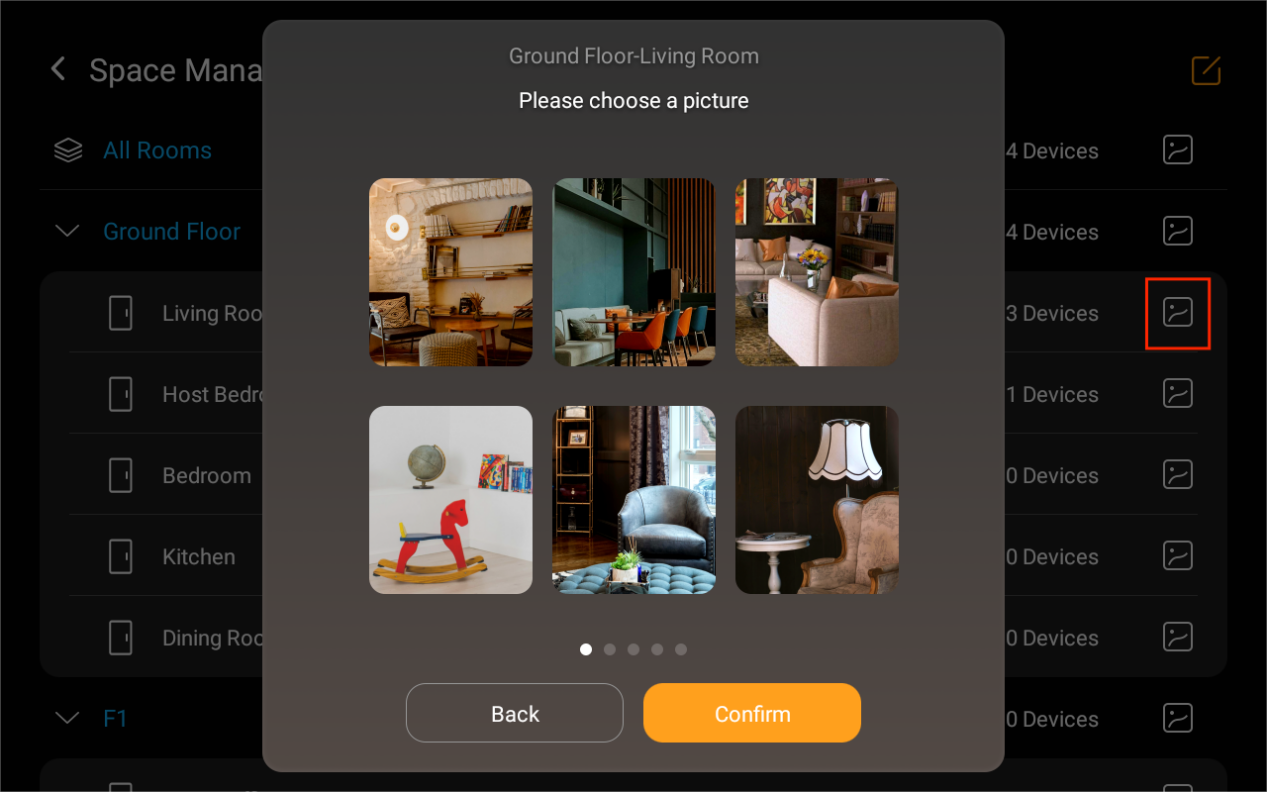
Tap
 to return to the room list, then tap
  to set a room picture.
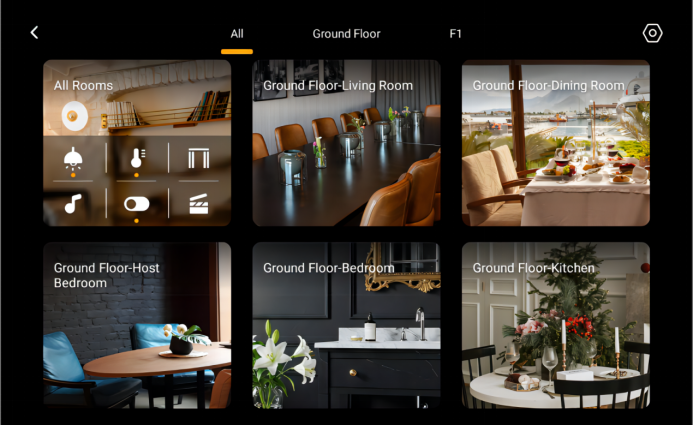
Reorder room cards
TIP:
You can hide any room and device via the user web portal by going to Devices >
> Device permissions > Rooms.
To reorder the room cards, do as the following.
Tap at the top of the Home screen
 .
.

Tap
 in the upper right corner.
Hold, drag, and drop the rooms to reorder them.
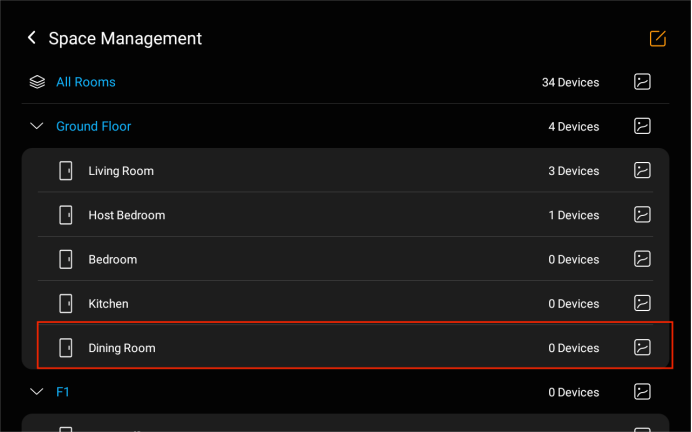
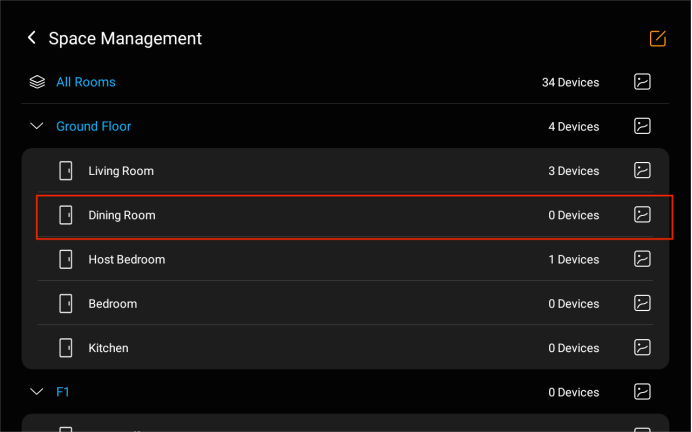
The order of room cards will change accordingly.