Akuvox door phones can be integrated with Milestone management software, achieving remote management of door phones’ video settings, inputs, and relays. Users can also check videos with XProtect Smart Client.
Note
The following device models with specific firmware versions or higher support this feature:
R29: 29.30.10.234;
R27: 227.30.10.2.
The tested software version is XProtect 2019/2020 R3.
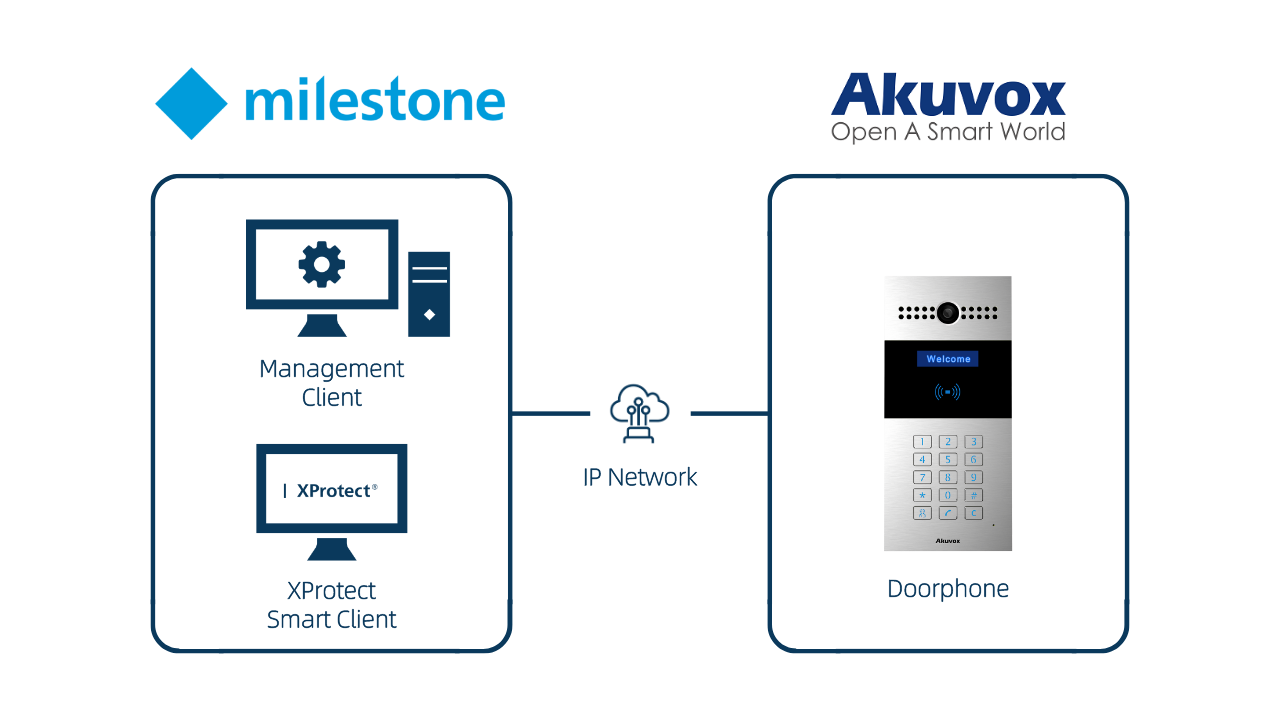
Integration Topology
Data exchanges between the milestone system and the Akuvox door phone can be achieved through an IP-based network. In this solution, the Milestone system refers to a set of software installed in a computer, which includes the Management Client application and the XProtect Smart Client application.
Before You Start
Make sure:
Akuvox devices are installed and powered on properly;
You have obtained the XProtect software from the Milestone’s official website and installed it;
Your computer is on the same LAN as the Akuvox devices.
Set up the Akuvox Door Phone
Use the device IP to log in to its web interface. The initial username and password are both admin.
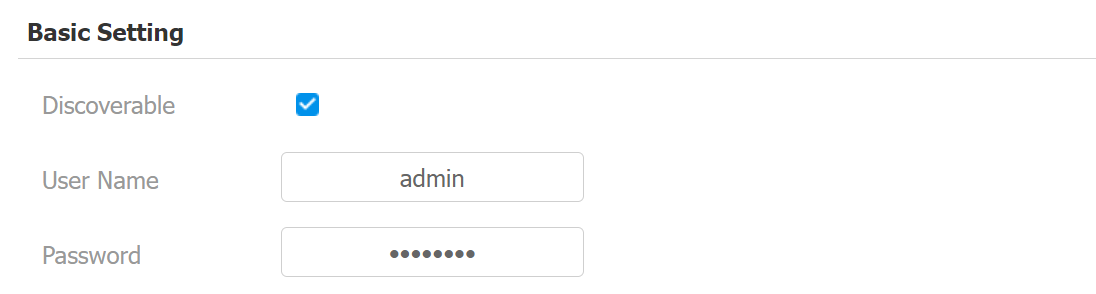
Go to Intercom > ONVIF > Basic Setting interface and check the Discoverable box.
Customize the username and password.
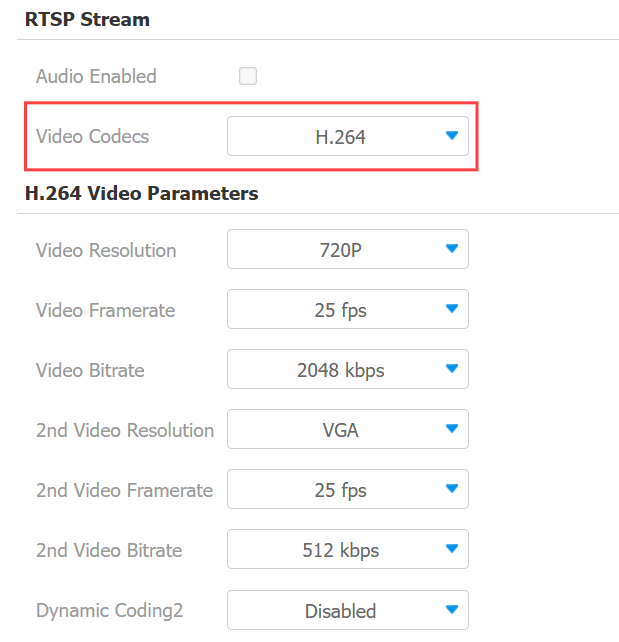
Go to Intercom > RTSP > RTSP Basic interface and enable RTSP.
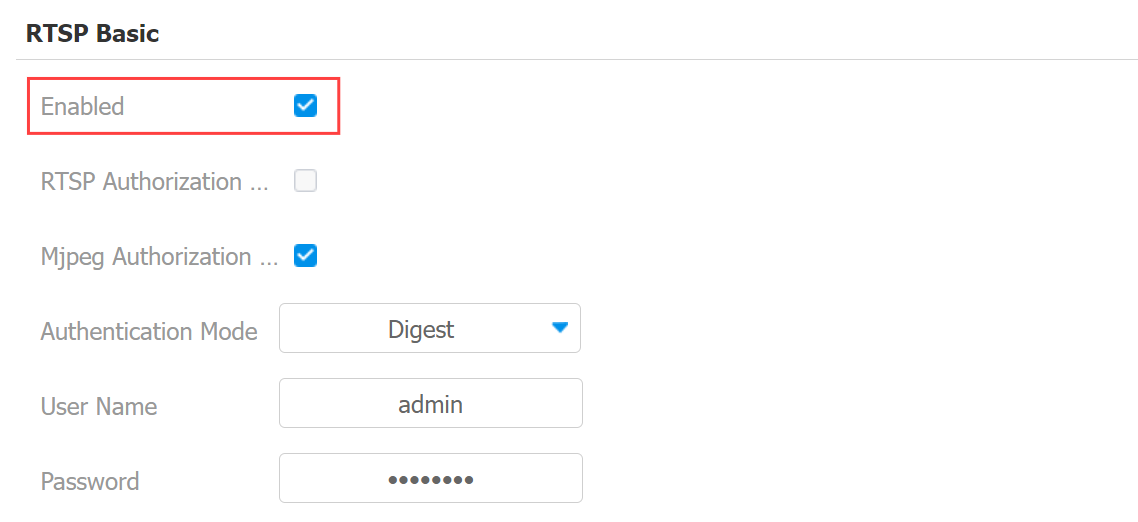
Scroll to the RTSP Stream part and set the Video Codec to H.264.
Set up the Milestone Video Management Software
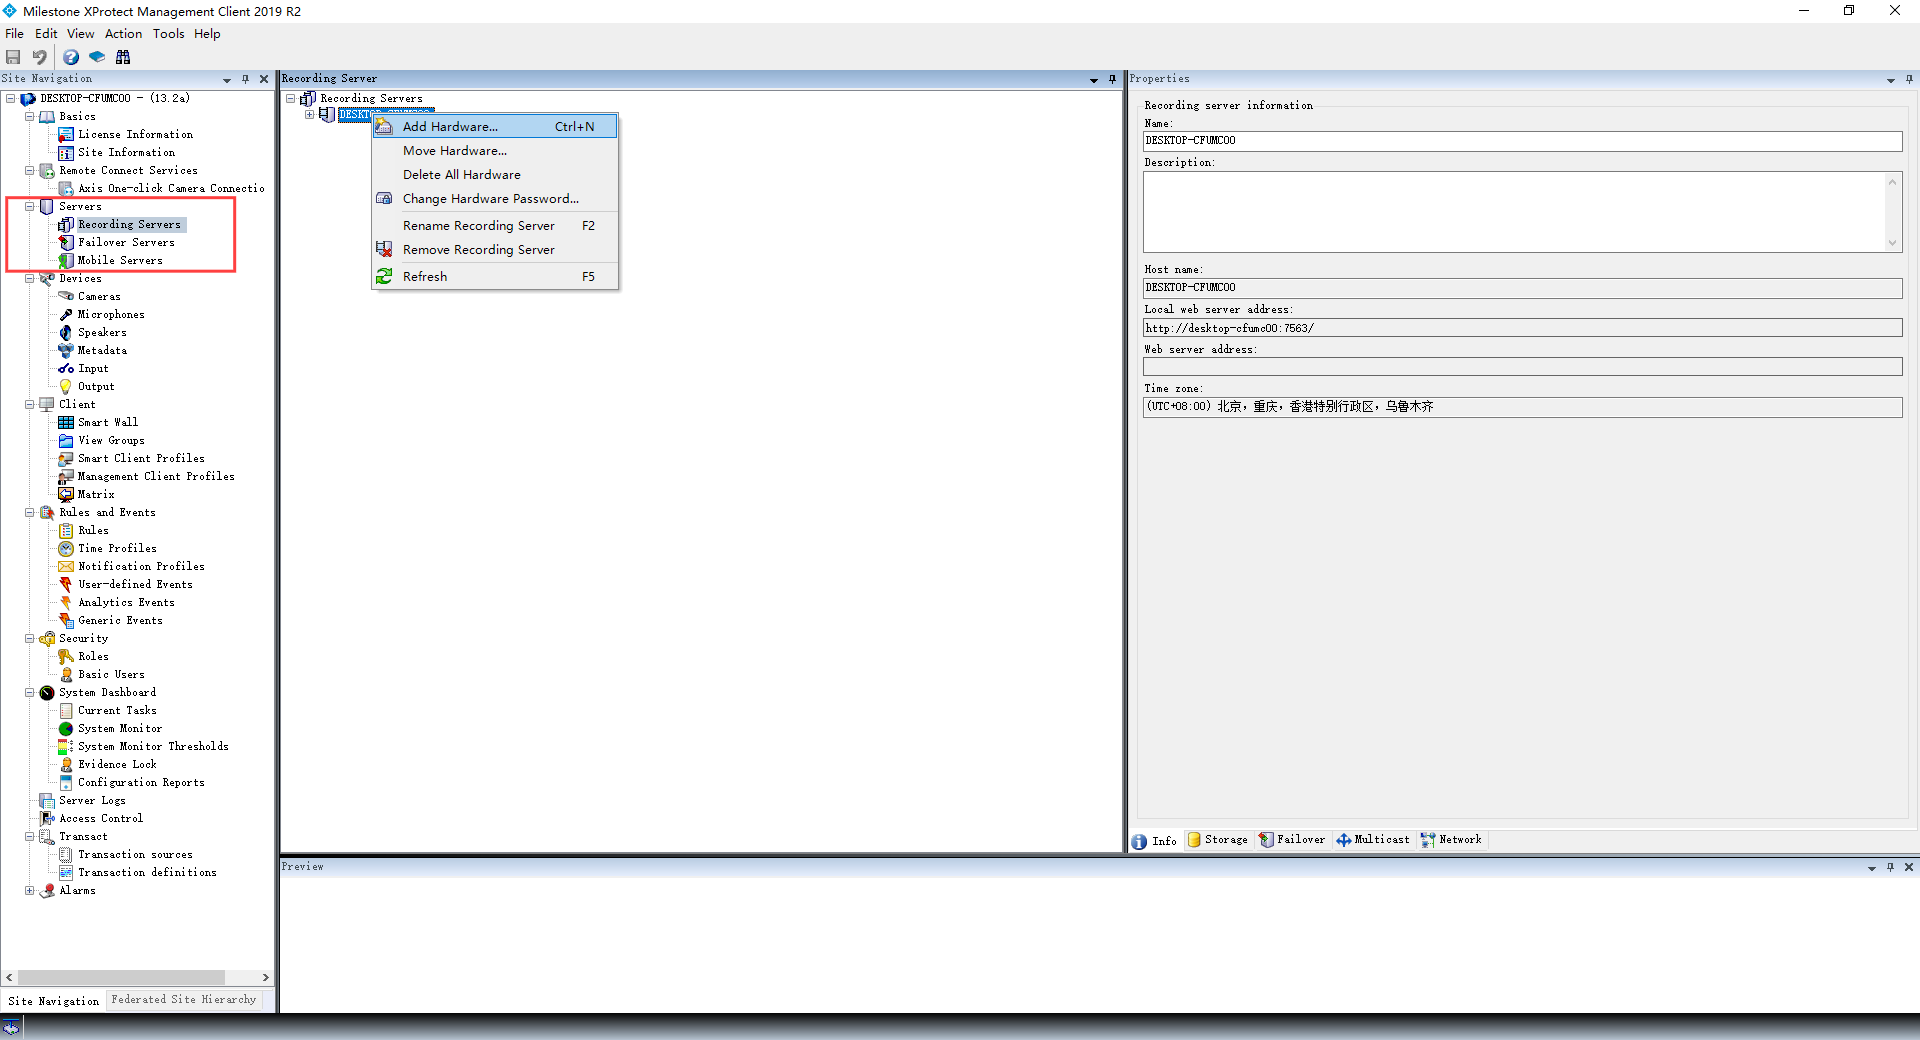
Click Servers > Recording Servers on the Milestone XProtect Management Client.
Right-click on your recording server and select Add Hardware. If the server is not authorized yet, you have to click Authorize first.
Select how the device is to be added. Click the recommended option Express and click Next. If the Express option fails when adding the device, you can try the Manual option.

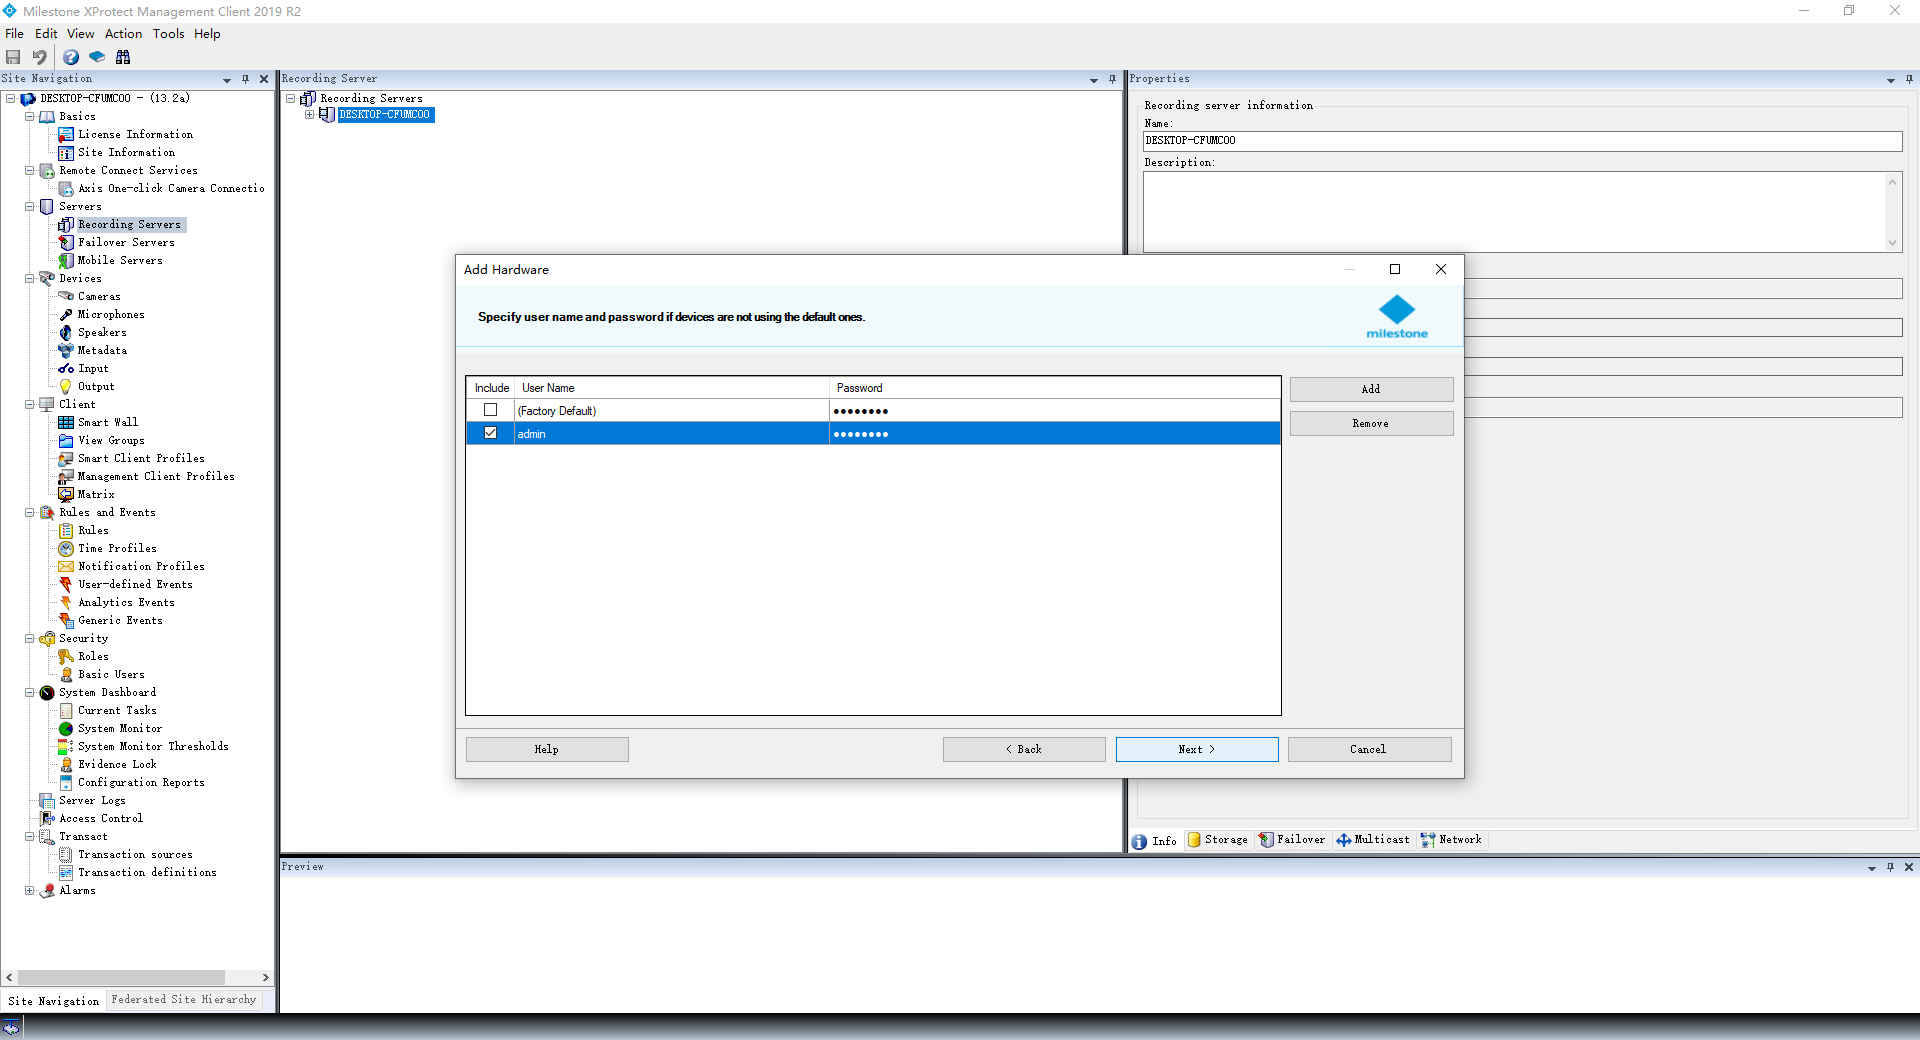
Click Add to add the Akuvox door phone and fill in the username and password set on the device’s web portal.
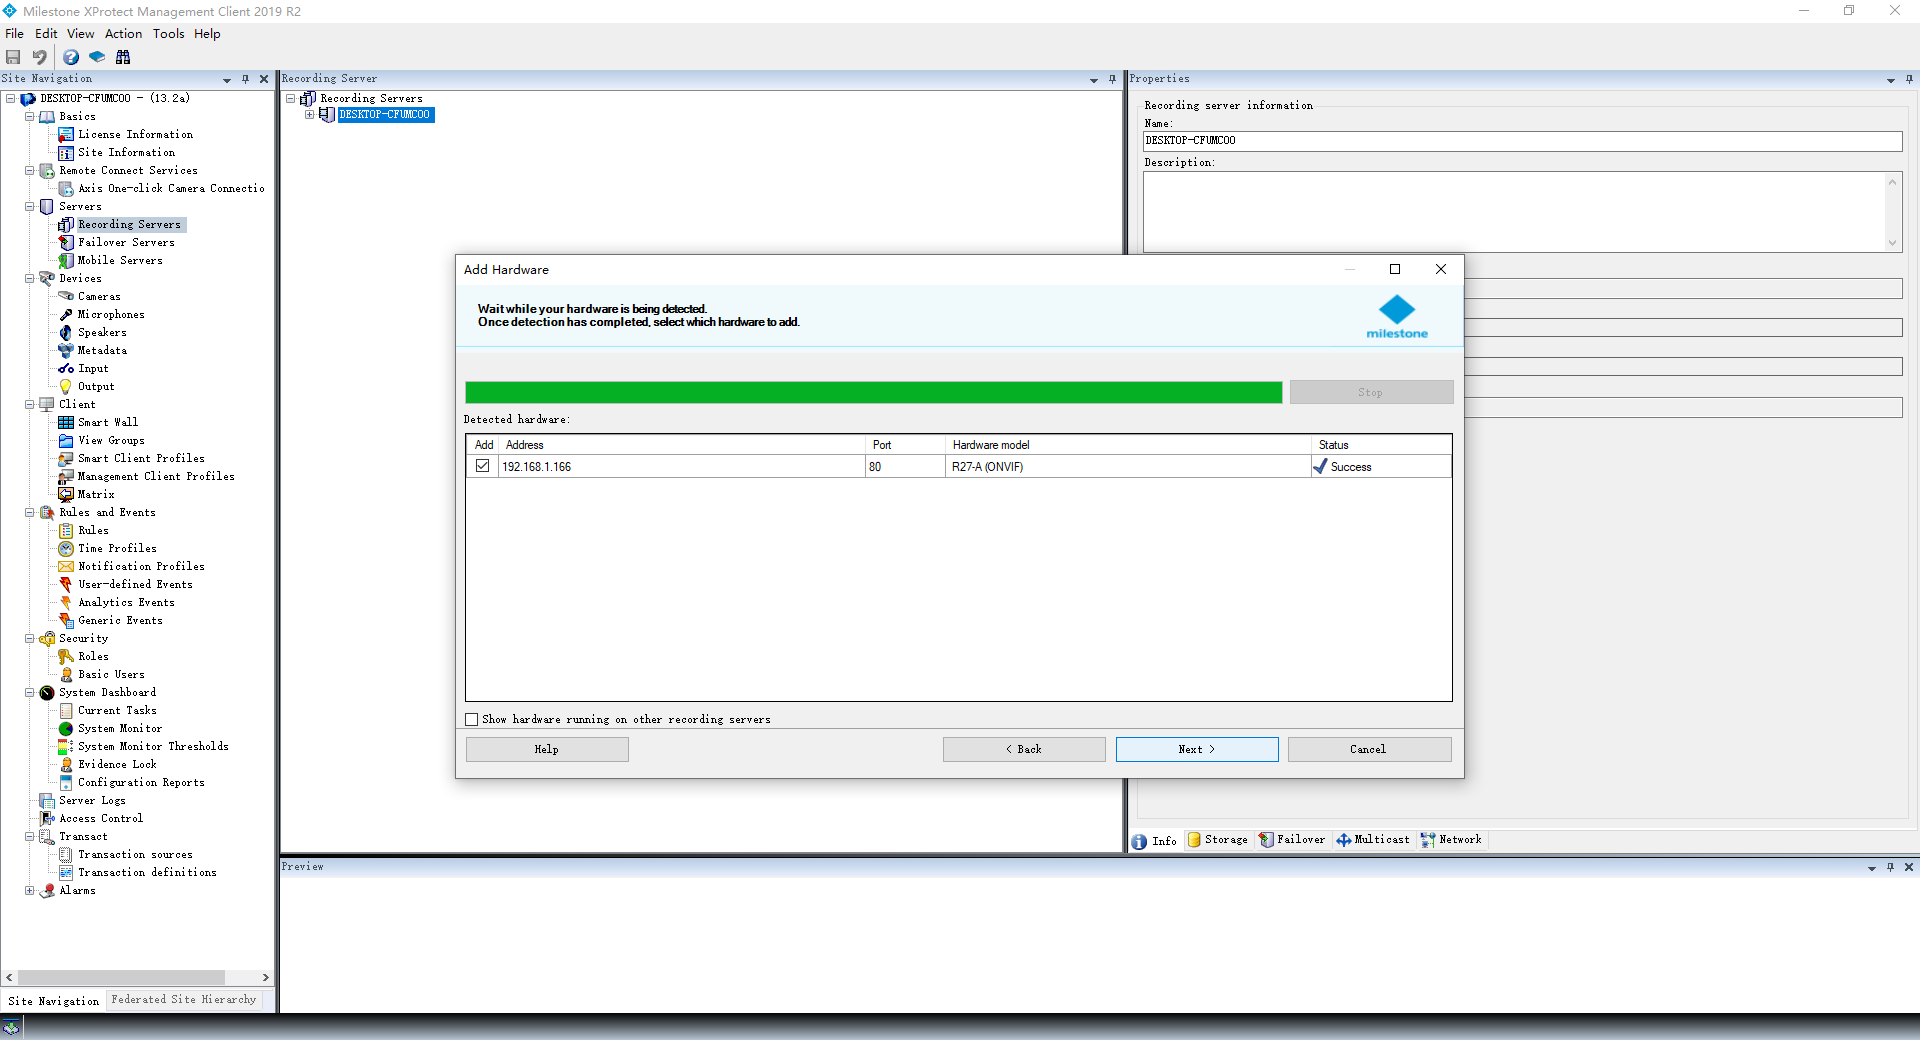
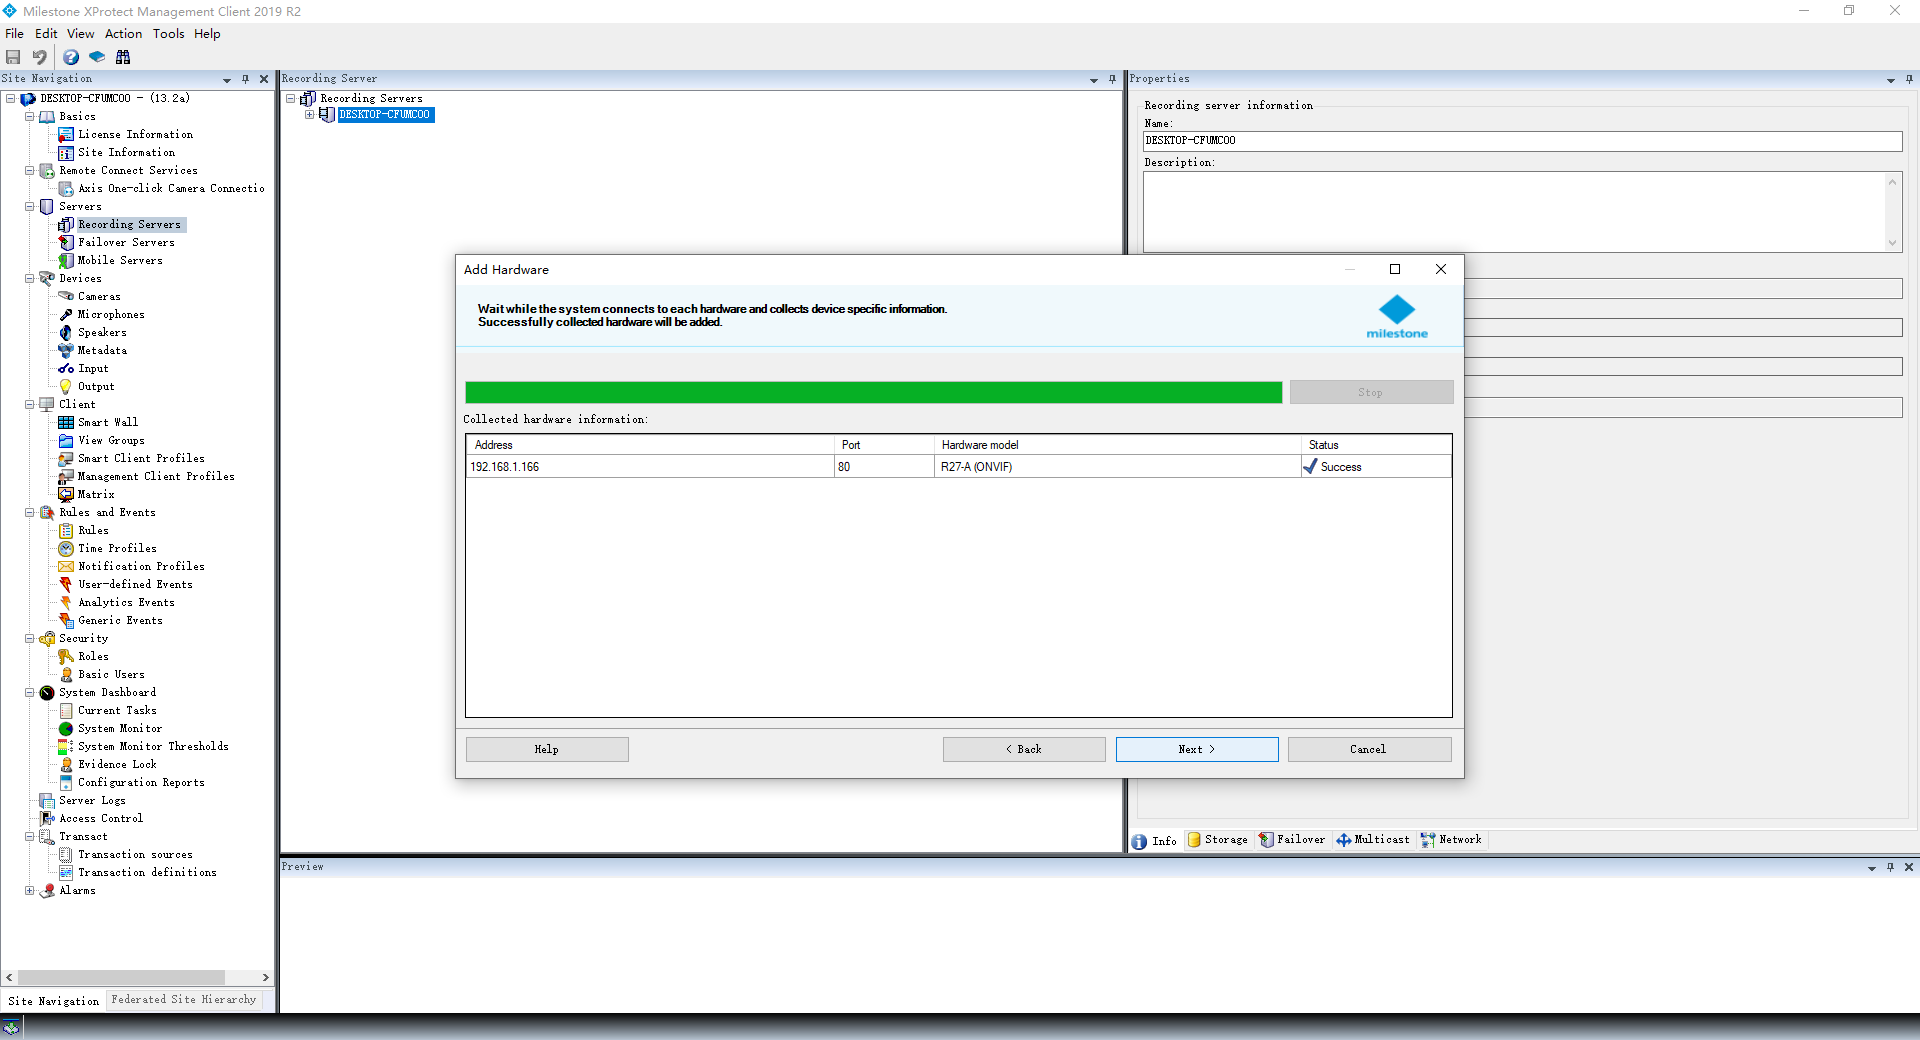
Click Next. Milestone will search for ONVIF devices in your network. Once the intercom is found, it will appear with the prompt "Success".
Check the door phone and click Next.
A prompt will inform you whether the device has been added successfully.
Click Next.
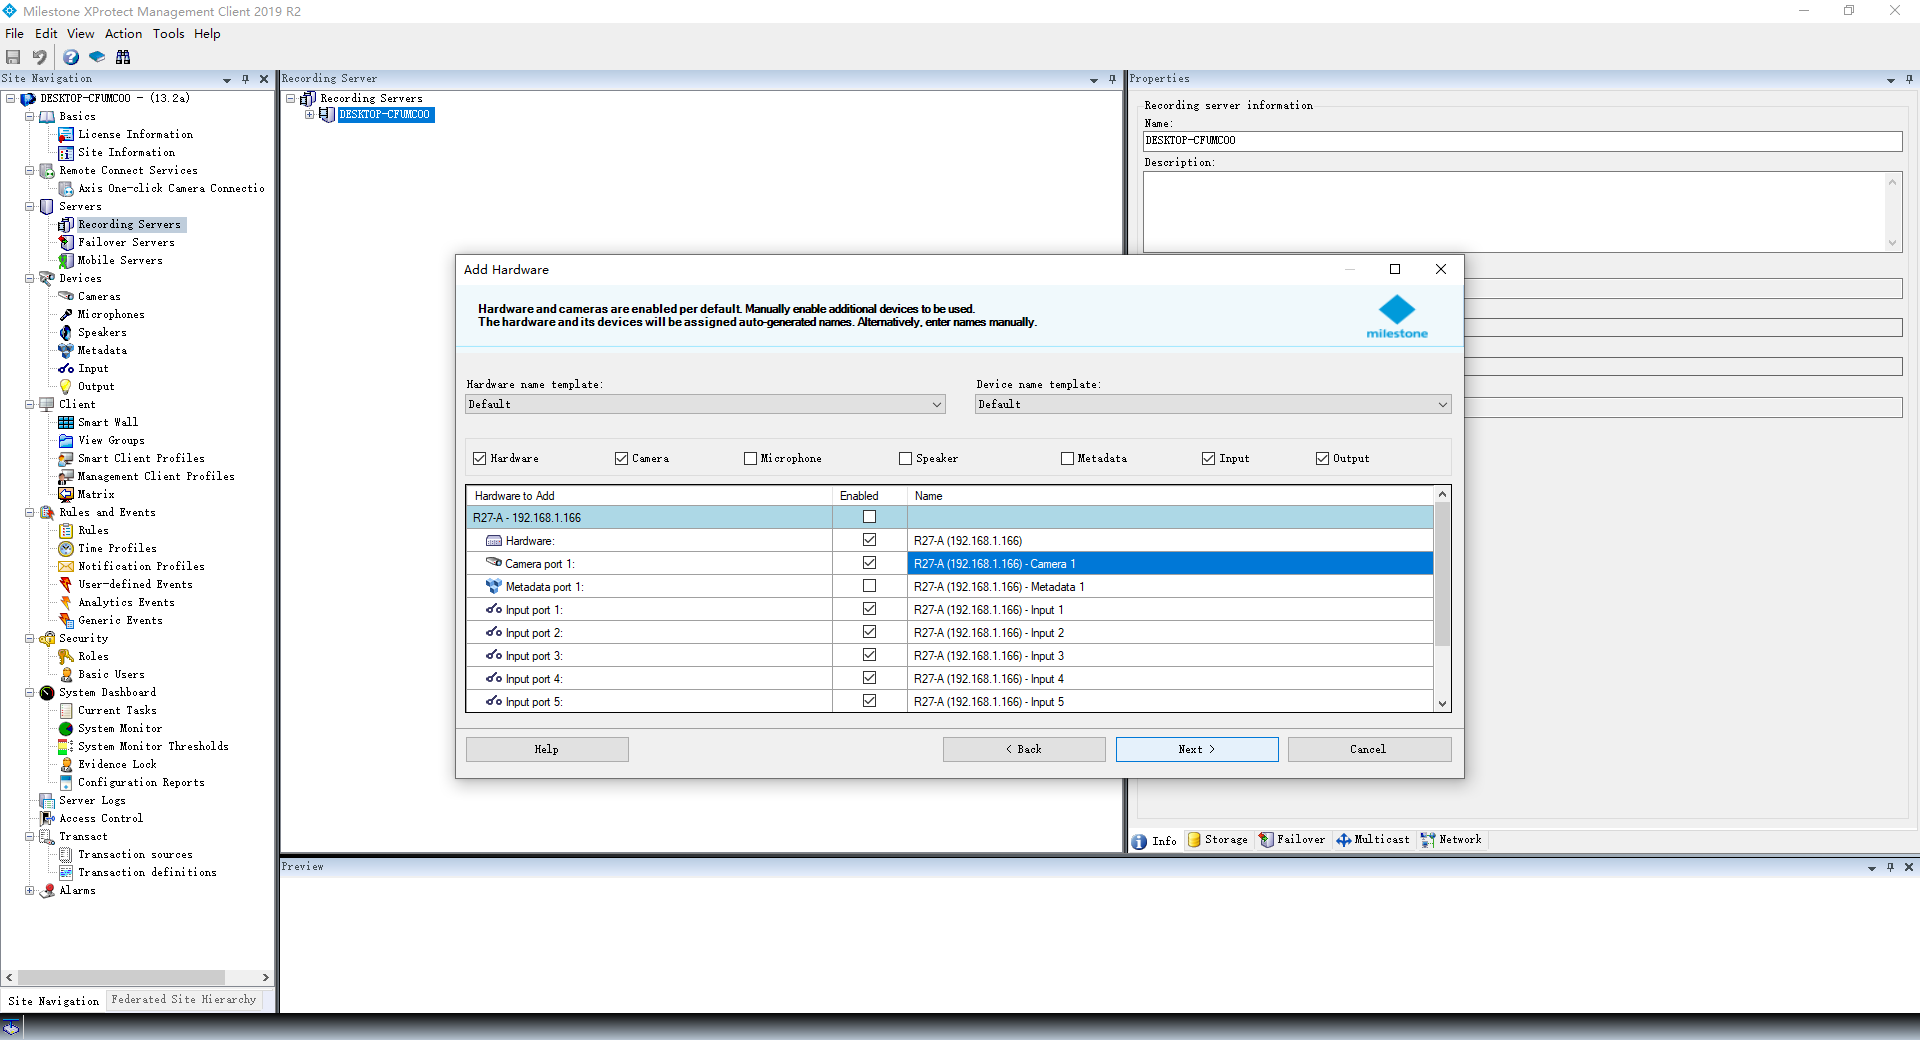
Check the desired hardware and click Next.
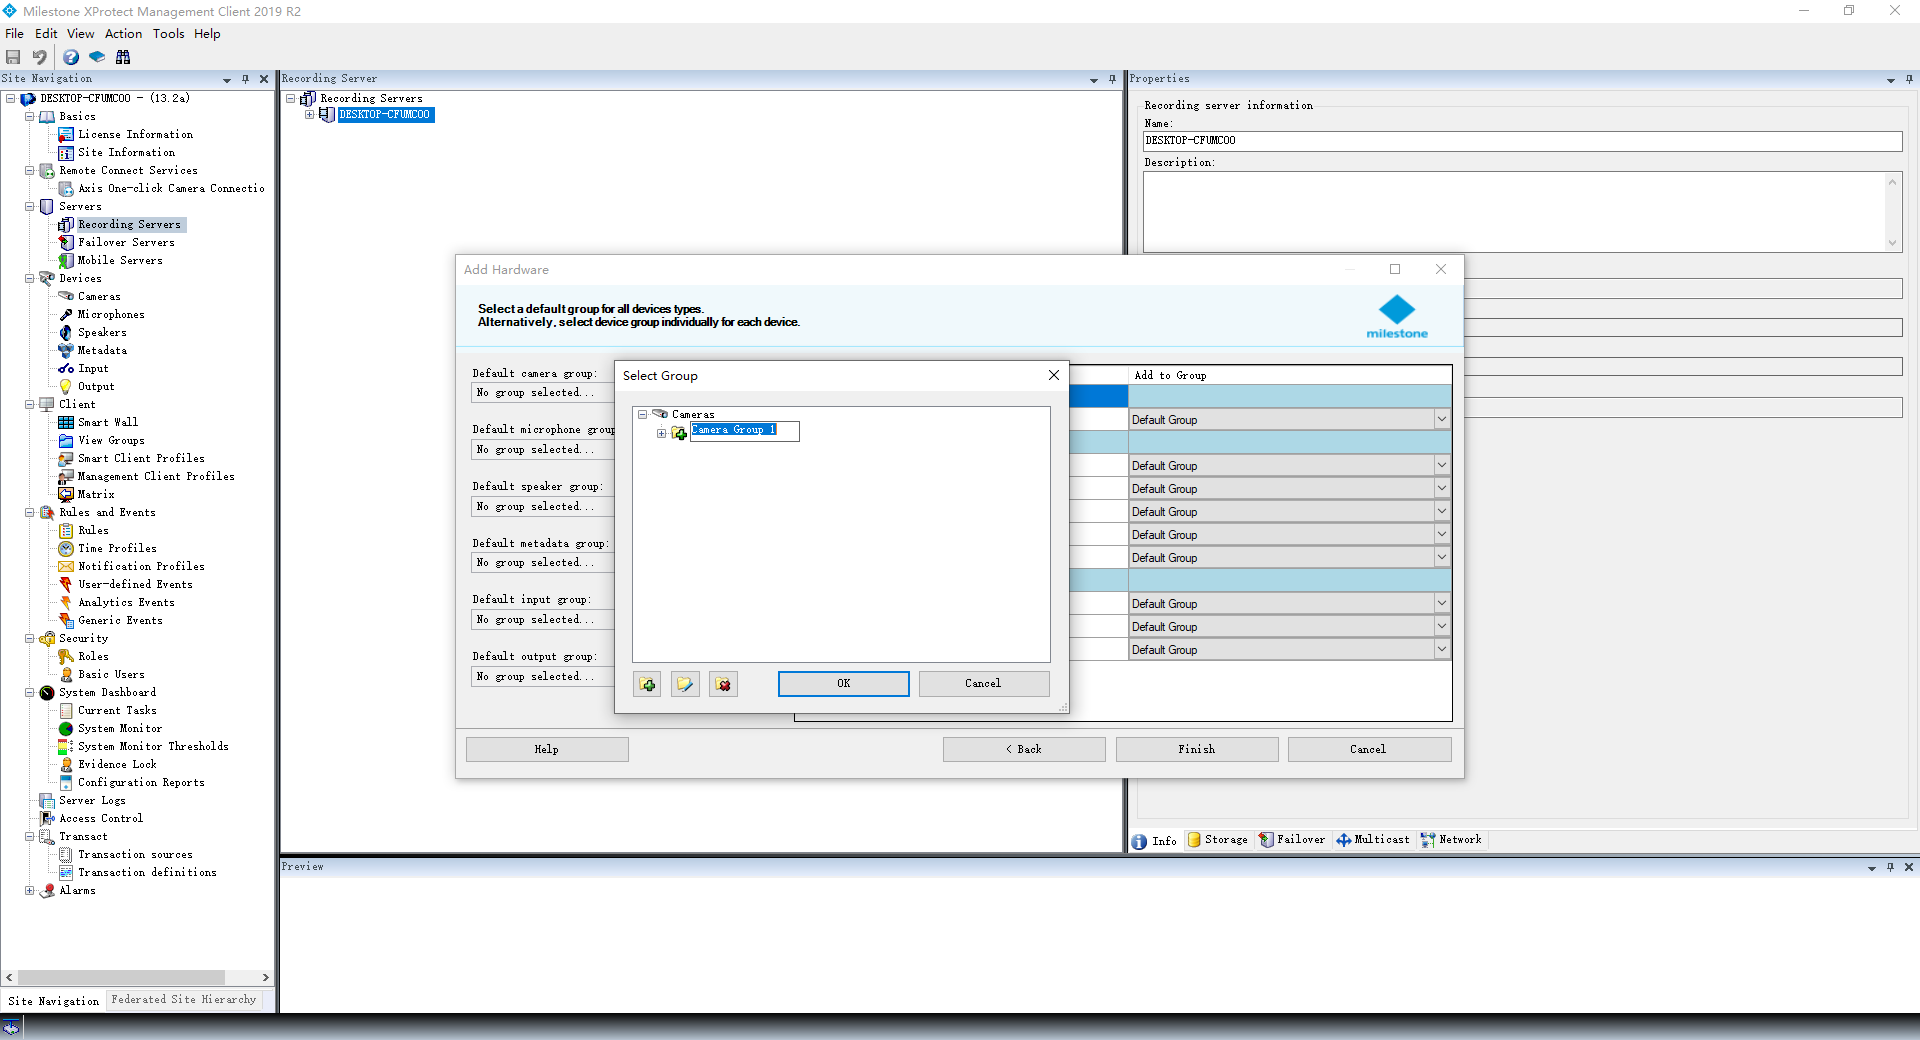
Add the chosen hardware to groups. If you have not created a group,
a. Click the folder of a particular group.
b. Click the Add icon. The group will be created with a default name; you can change it during this step. Ensure the group is selected, highlighted by the blue background color.
c. Click OK to set the group as the default for this type of hardware.
Click Finish.
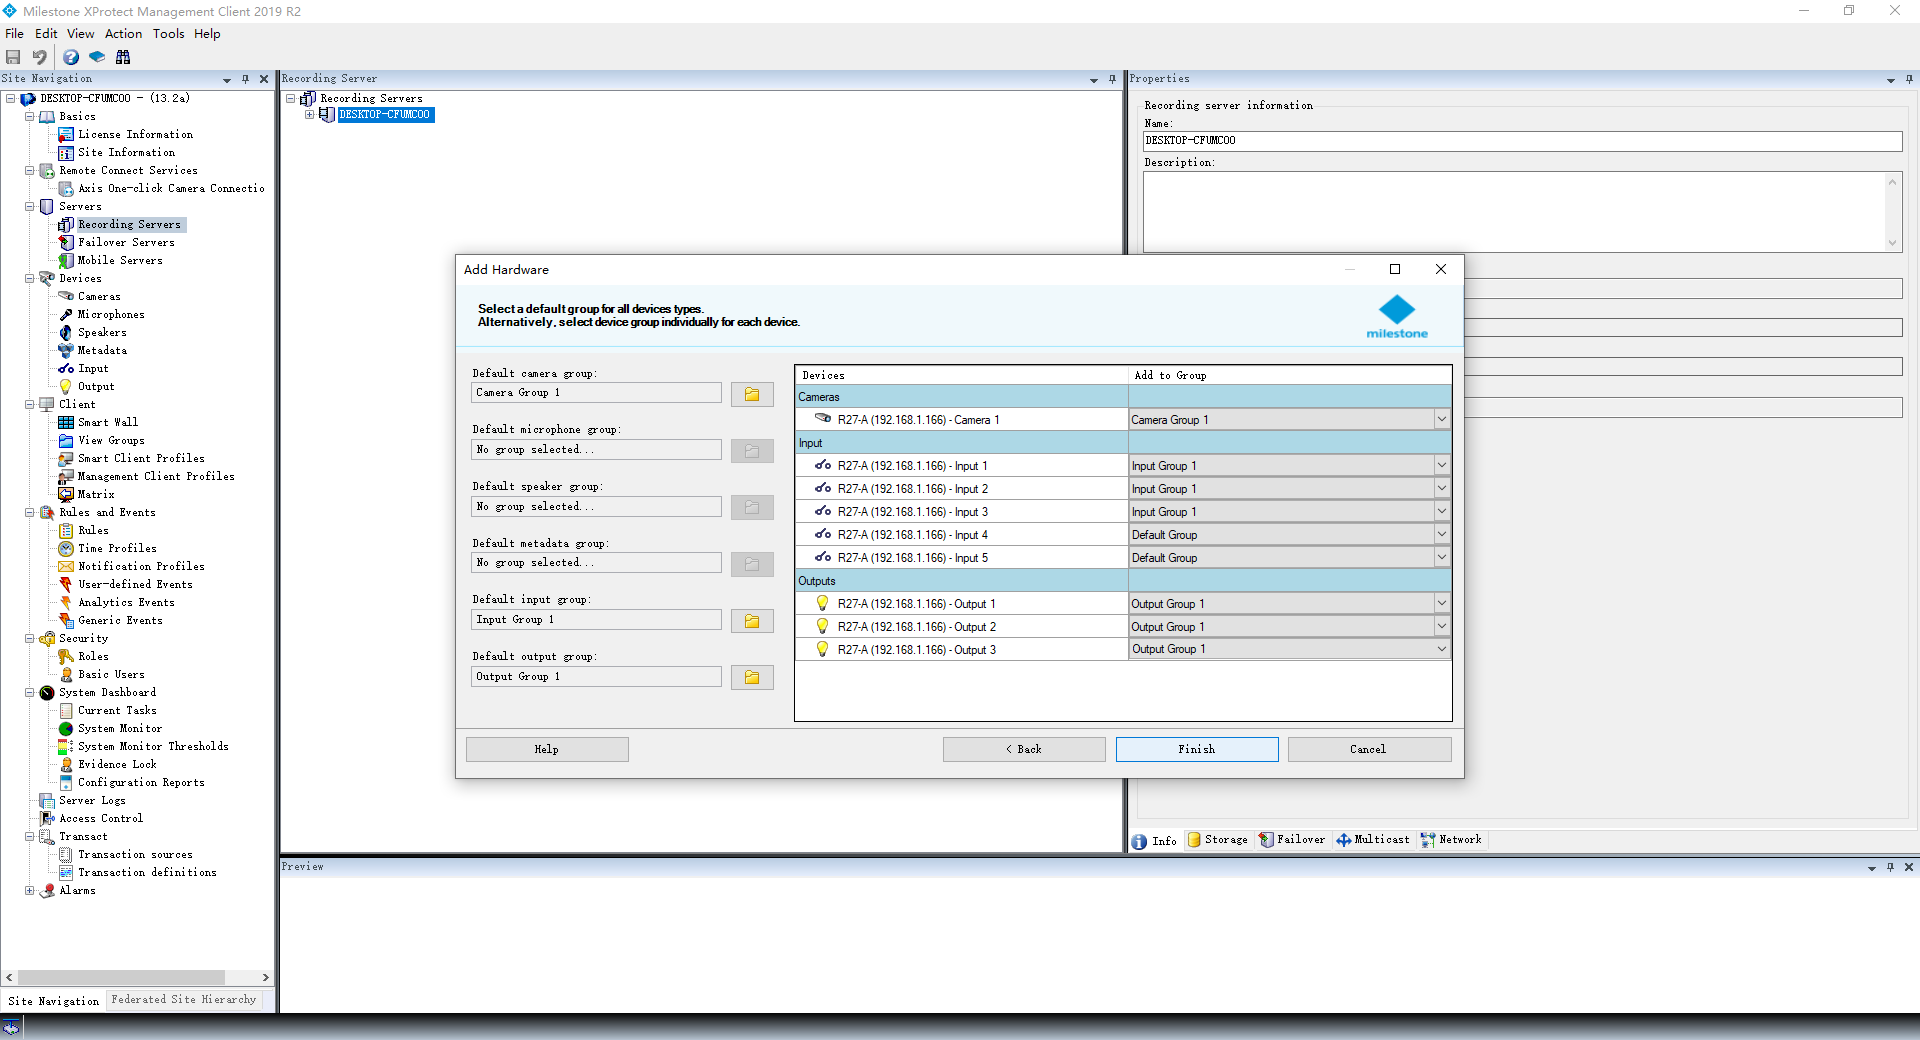
Once finished, you will see the added devices and their peripherals. Peripherals not previously added will be marked with a red cross; you can add them to groups.
You can:
rename both devices and peripherals;
view the video stream from the camera;
check the input status;
trigger the relay from the output.

Control Outputs and Monitor
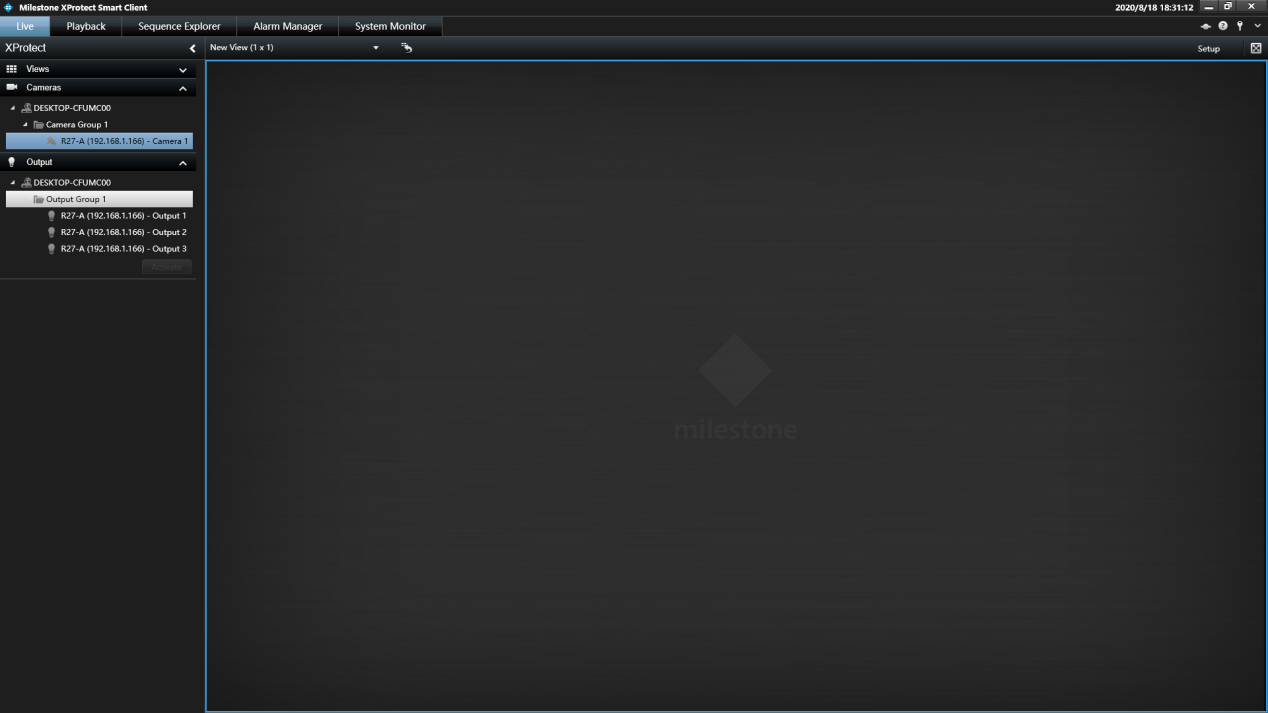
Start Milestones Smart Client for video monitoring (designed for security personnel). On the first run, you’ll see:
Left Side: Sections for added cameras and created outputs.
Right Side: No video preview is displayed initially.
Drag the desired camera from the left side.
Drop it into any window on the right side. Please note that this setting is only for the current login.
Select the appropriate output (relay).
Click the Activate button as shown in the accompanying image.