This manual provides instructions on setting up devices for on-premise projects without connection to the Internet. Users can make calls, open doors, and monitor with Akuvox devices.
Note
Take the following device models as examples:
The door phone R20 V5 with the firmware version 320.30.11.21;
The indoor monitor C313 V3 with the firmware version 313.30.14.306.
Before You Start
Make sure the devices are installed properly and powered on.
A router is needed for the offline setup. After the configuration and everything works, it can be disconnected.
Set up Network
Set up static IPs first, which can provide stable remote access and prevent connection issues caused by IP changes.
To access the device’s IP, your computer should be on the same local network(LAN) as the device.
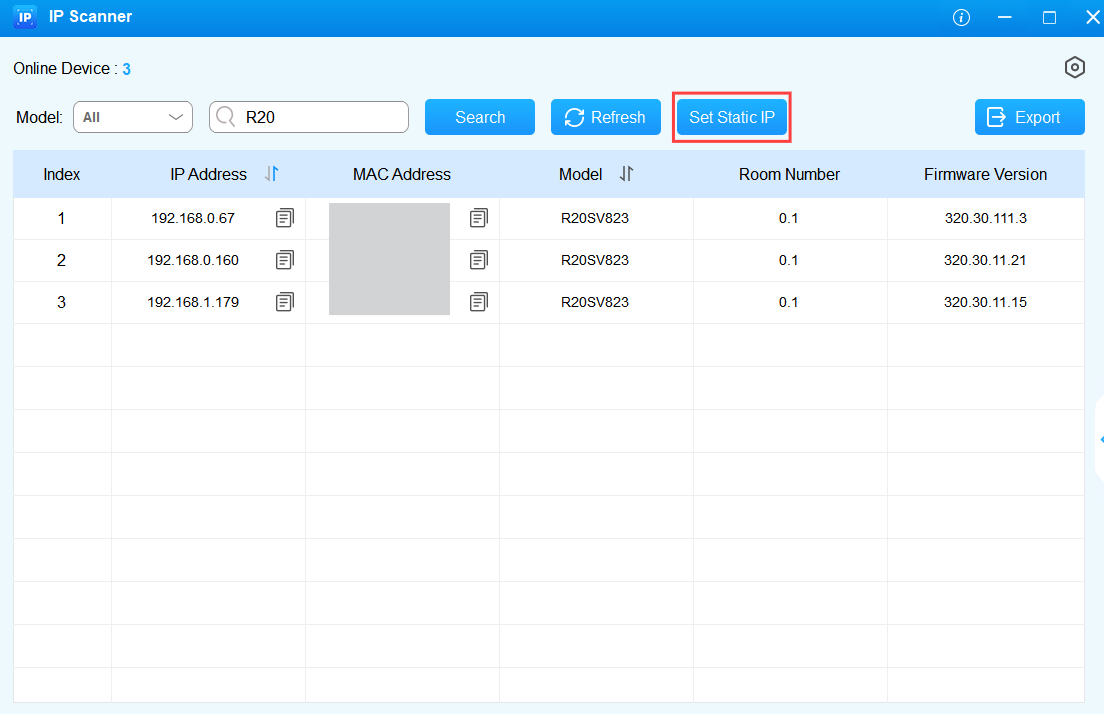
Open the IP scanner software. It displays all Akuvox intercom devices on the same LAN.
Click Set Static IP.
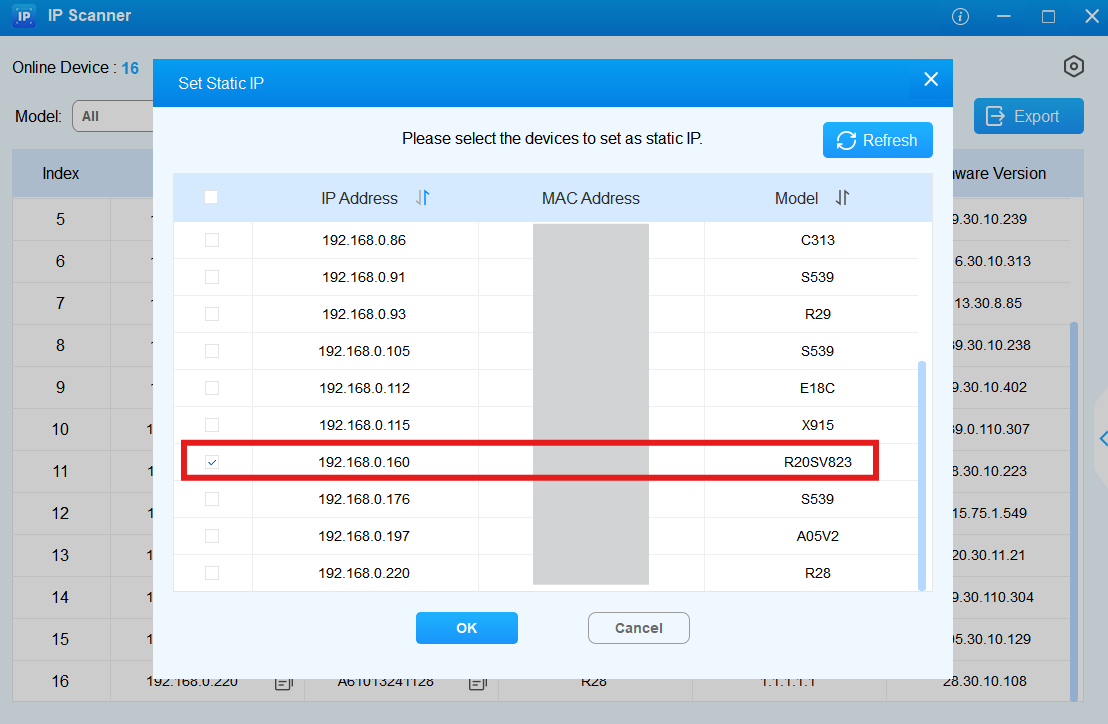
Check the target device and click OK.
After the configuration succeeds, you can use the IP to access the device’s web settings.
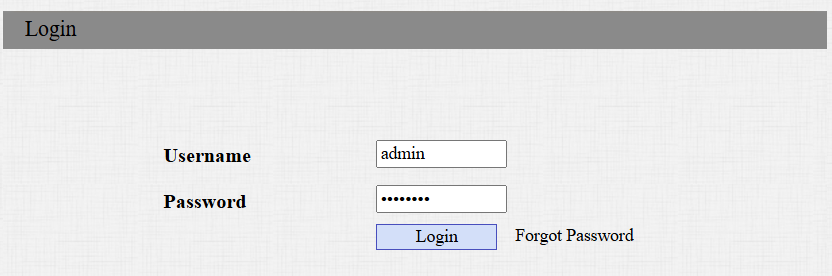
Enter the device IP in a browser.
Enter the username and password. The initials are both admin.
Do the same to set the static IP of the indoor monitor.
Suppose the static IPs are as follows, which will be used in the calling and door-opening configuration.
Door Phone: 192.168.0.160.
Indoor Monitor: 192.168.0.39.
Set up Calling
The IP addresses are used as phone numbers for the offline project.
On the Door Phone
Click Device Management > Intercom > Basic.
Enter the indoor monitor’s IP address. You can add more to make group calls to other indoor monitors.

Click Submit.
For Community Projects
If the door phone is R20K used for community projects, you can set up dial plan to call target apartments.
Click Device Management > Intercom > Dial Plan.
Click Add first.
Enter the name, prefix, and the replaced number. The prefix is what users enter on the keypad to call.

Click Submit.
On the Indoor Monitor
Click Contacts > Local Contacts. Find the Contact Setting part.
Name the door phone and enter its IP address.
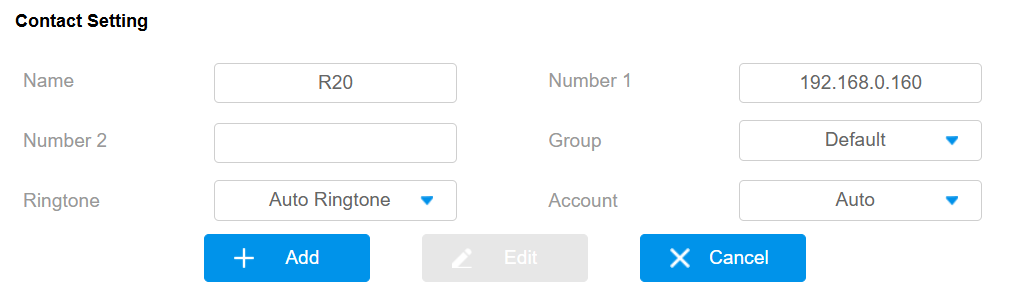
Click Add.
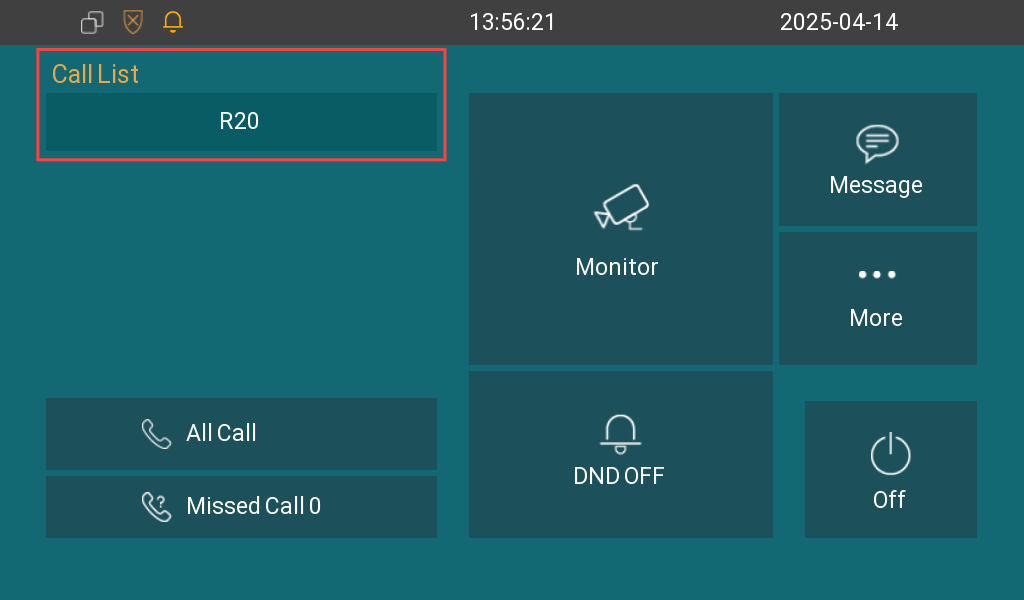
After configuration, the door phone will display on the indoor monitor’s Call List.
Set up Monitoring
Users can view the video stream from the door phone on the indoor monitor.
Click Device > Monitor on the indoor monitor’s web interface.
Enter the device number and name.
Enter the RTSP address: rtsp://192.168.0.160/live/ch00_0. The format is rtsp://{door phone’s IP}/live/ch00_0.
Enter the username and password, both admin by default.
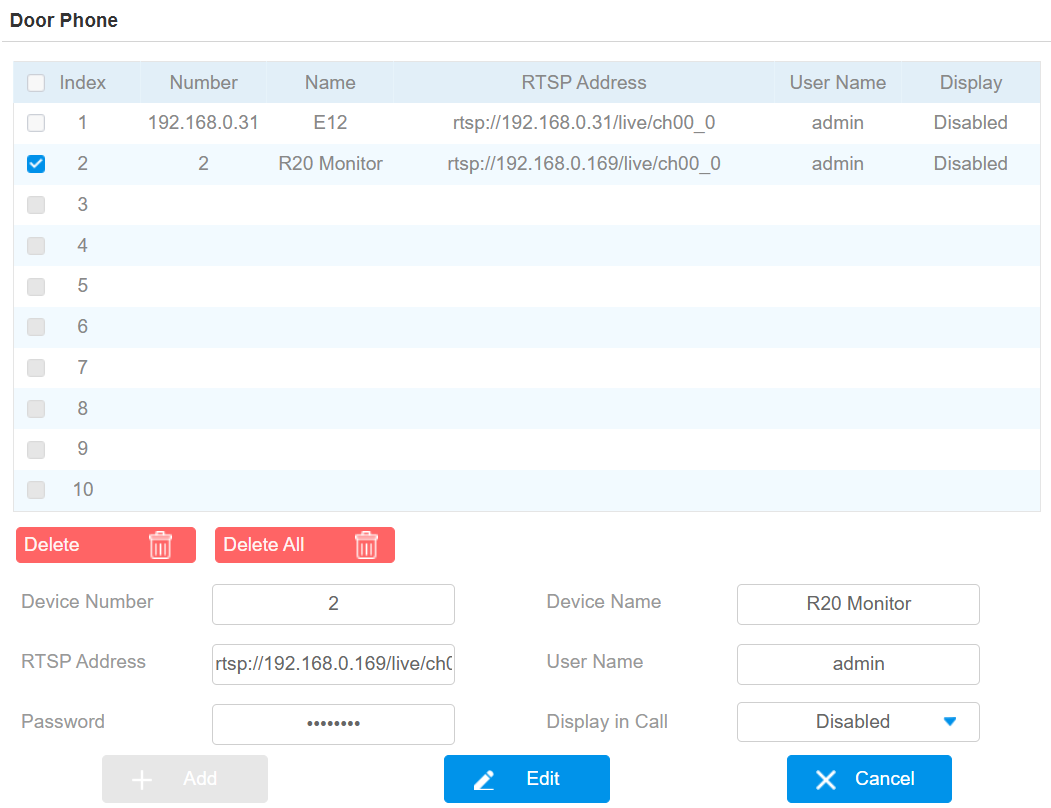
Click Add.
Note
The door phone’s RTSP feature is enabled by default. If you want to change the authentication username and password, navigate to the Device Management > Surveillance > RTSP interface.
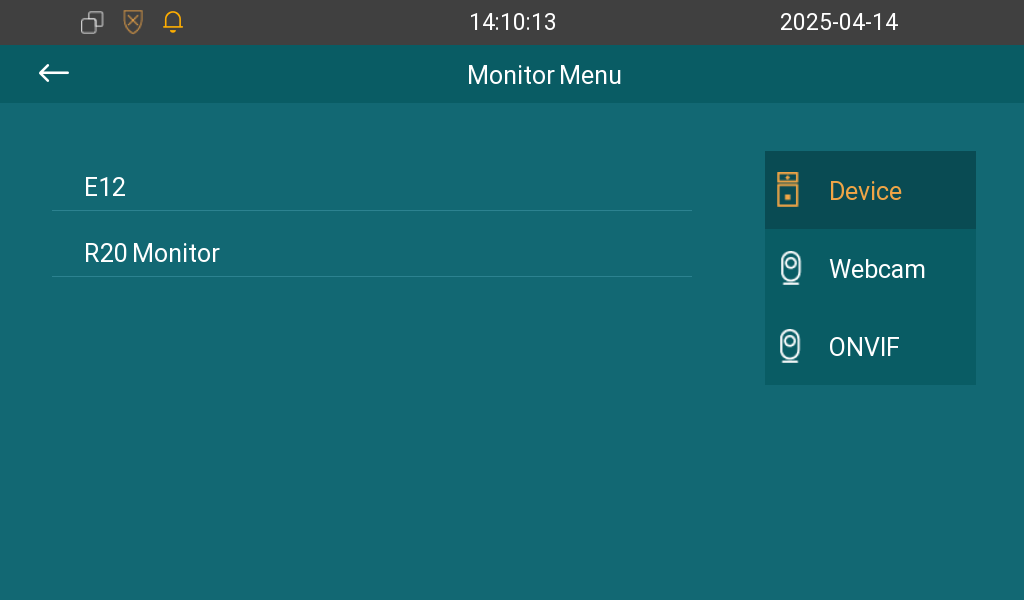
After configuration, users can tap Monitor on the indoor monitor’s home screen. Then, tap the device name to view the live stream.
Set up Unlocking
Users can open doors by tapping Unlock buttons on different screens of the indoor monitor. This is achieved by consistent DTMF codes between devices.
On the Door Phone
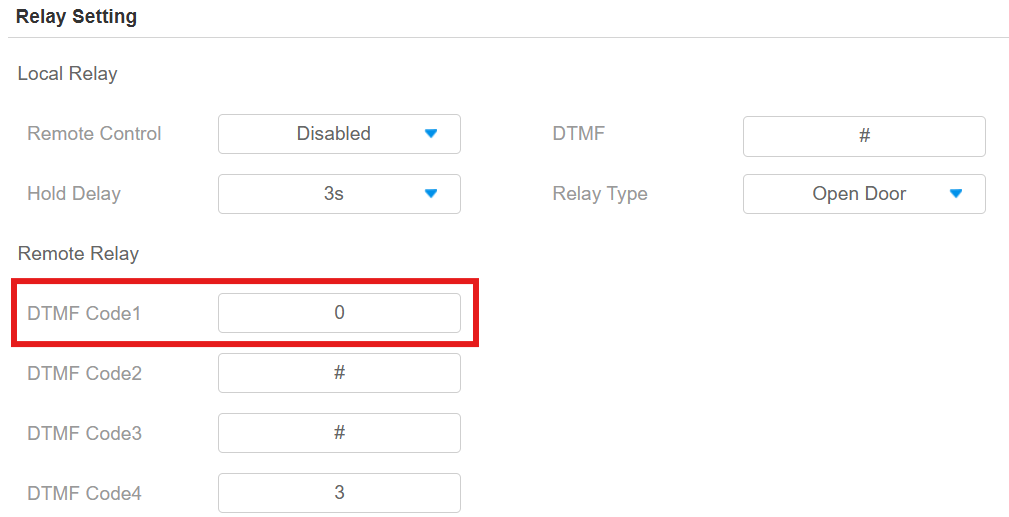
Click Device Management > Access Control > Relay. Configure the relay that is connected to the door lock.
Choose the desired DTMF code.
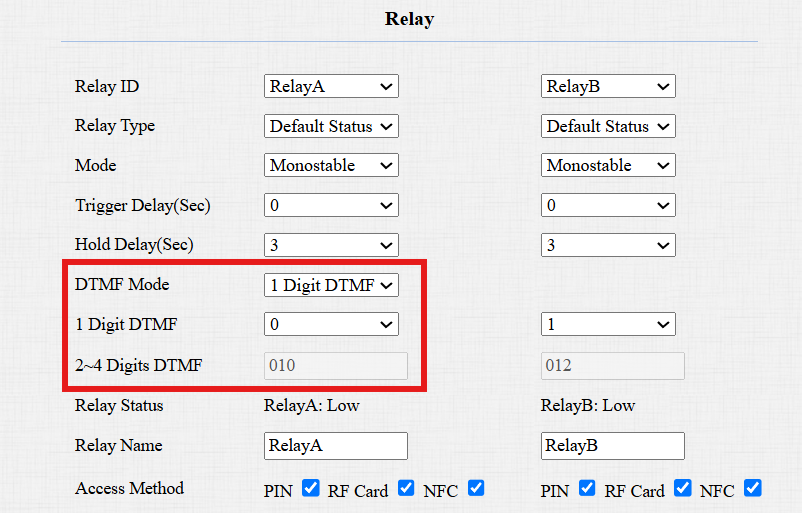
Click Submit.
On the Indoor Monitor
Click Device > Relay.
Change the code to the same one as the door phone’s.
Scroll to the Key Setting part on the same interface.
Select the DTMF option that is configured.
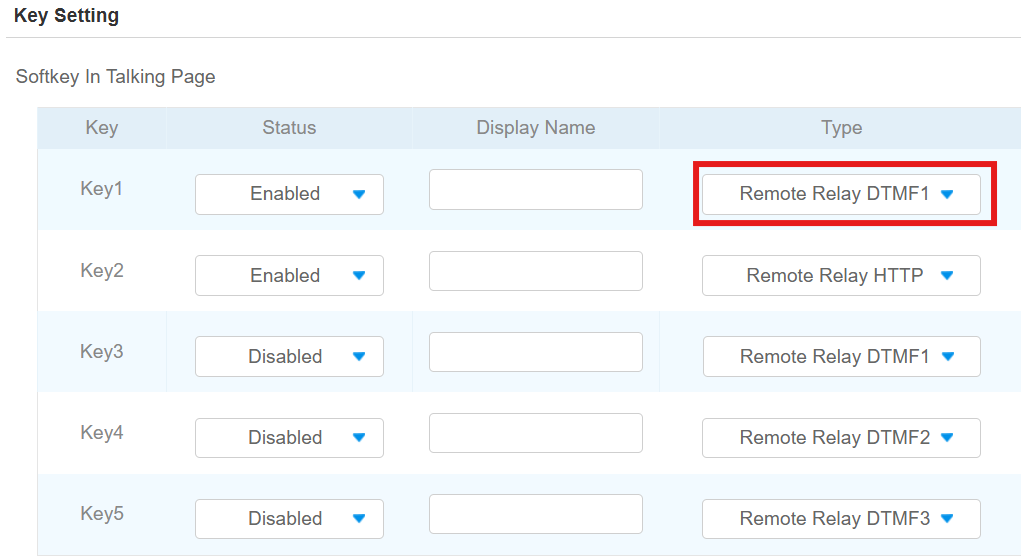
Click Submit.
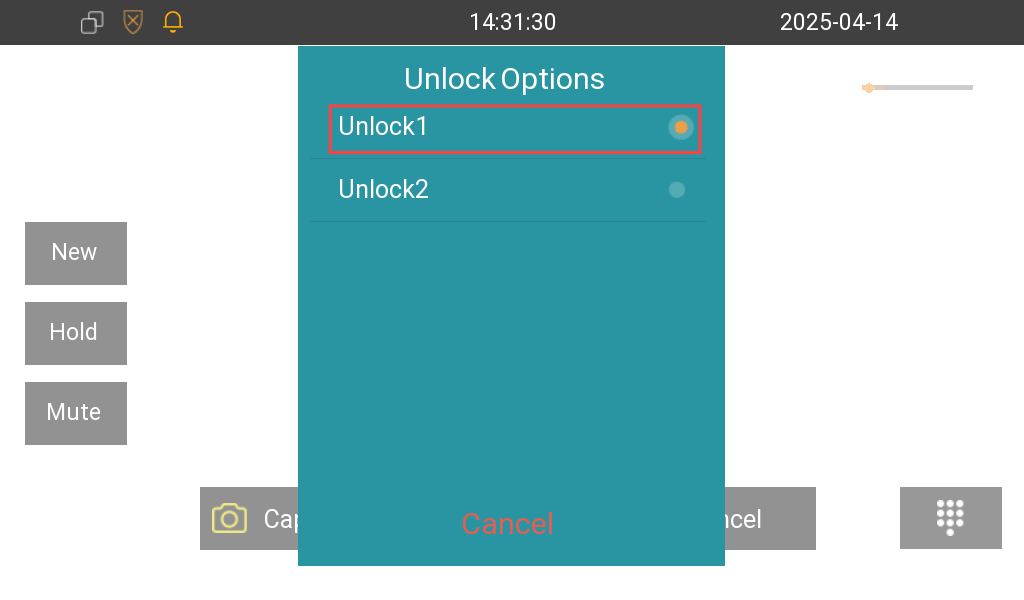
Users can tap the configured Unlock tab to open the door during a call.
Tip
Doors can also be opened via HTTP commands. Click here to view the detailed configuration.