Open Supervised Device Protocol(OSDP) is a communication protocol designed for security and access control systems. Akuvox access controller A094 and A095 can be connected to OSDP card readers for door opening.
Note
A094’s firmware should be 92.30.10.208 or higher.
Tested card reader models: HID Signo20 OSDP reader and STid OSDP reader.
Wiring
Please refer to the A094’s or A095’s quick guides.
For A094, the OSDP card reader should be connected via its RS485A/B interfaces.
For A095, it is connected via the READER interfaces.
Before getting started, ensure the devices are installed properly and powered on.
Note
For A094, one interface supports up to 4 card readers.
Configuration on the Device Web Interface
Take A094 as an example.
Set up RS485
Use the IP scanner to scan the device’s IP address and enter it in a browser.
Enter the username and password to log in. The initials are admin.
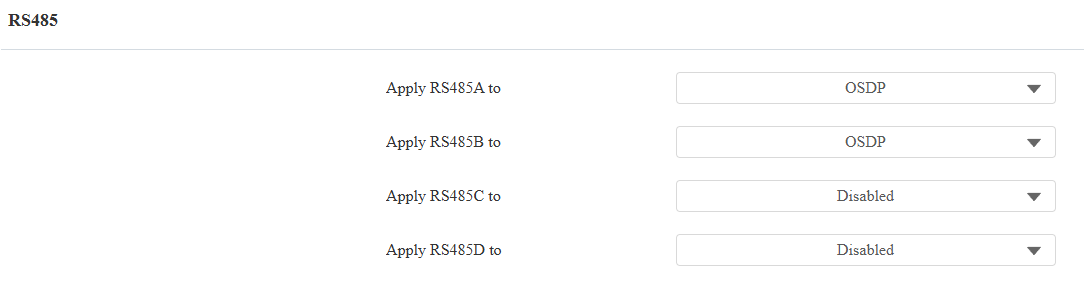
Go to Device > RS485 interface. Set RS485A/B to OSDP.
If the OSDP reader is encrypted, enable Encryption and enter the Encryption Key. Please confirm the key with the card reader service provider.
Click Scan. A094 will detect the reader and display it after processing is finished.
Check the relay to be opened.
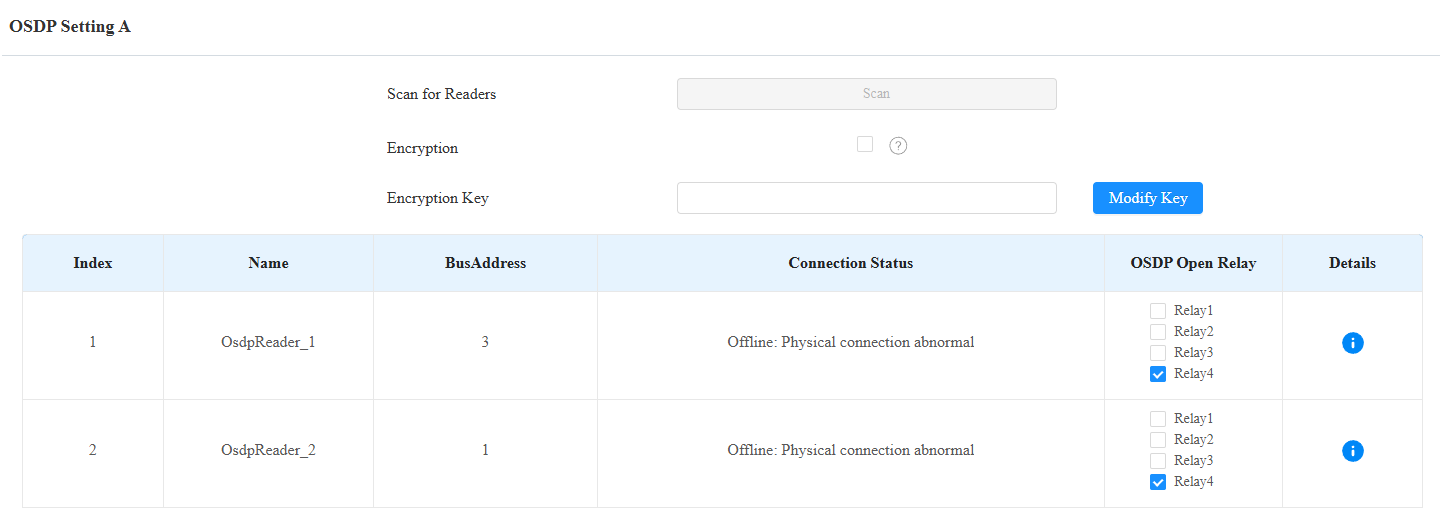
Click Submit.
After connection, you can click  to view the reader’s information, including device name, address, serial number, firmware, and status.
Then, scroll to the bottom to set up the Virtual Door Mode.

It is disabled by default. In this case, users can ONLY open relays that are checked on both the OSDP setting and Access Setting interfaces.
If it is enabled, users can open relays that are checked on the OSDP Setting interface with their credentials, regardless of whether they are checked on the Access Setting interface.
Assign Credentials to Users
Go to Directory > User interface.
Click Add to add a user or click
 to modify an existing one.
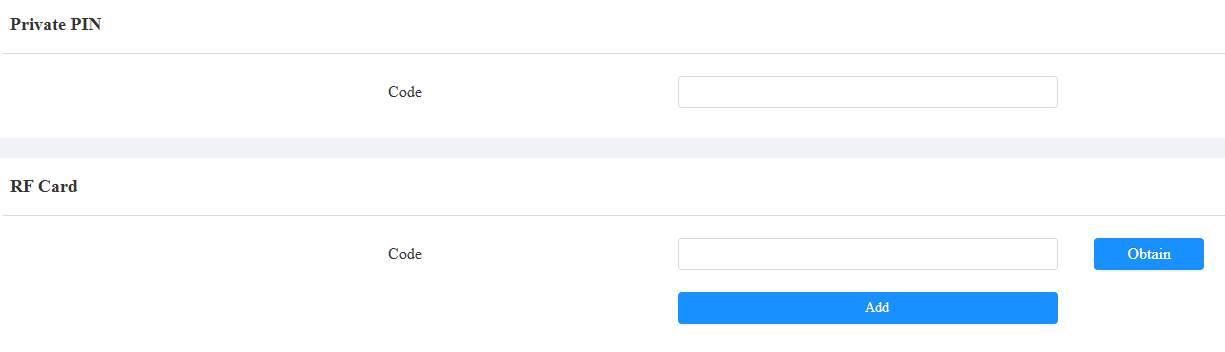
Set the private PIN code and/or RF card for the user.
Scroll to the Access Settings part. Check the relay to be opened by the user.
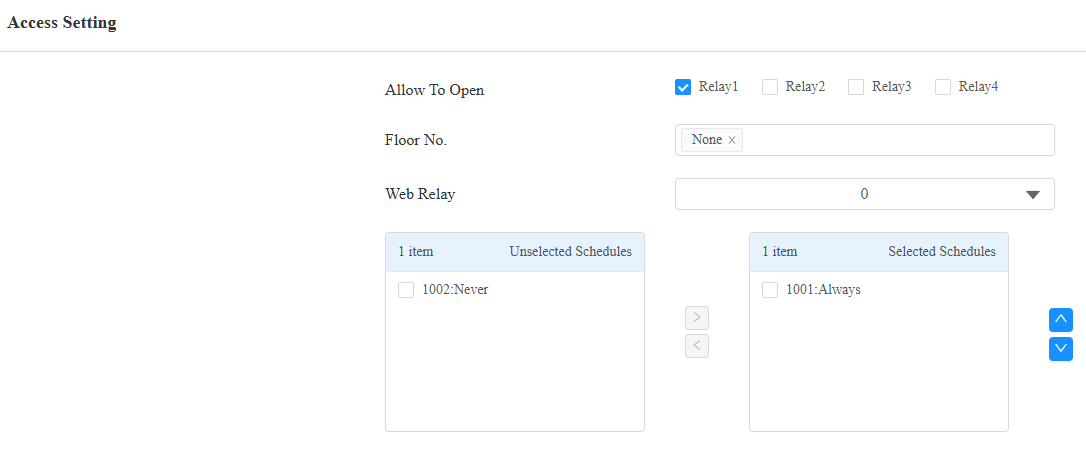
Click Submit.
After configuration, users can use their credentials on the OSDP reader to open the door.
Successful door opening: The card reader shows a green light for 5 seconds, and the buzzer sounds continuously for 3 seconds.
Failed door opening: The card reader shows a red light for 5 seconds, and the buzzer sounds 3 times.
Successful connection between A094 and the card reader: The card reader keeps a blue light.
Configuration on the Smart Access Cloud
When A095 is connected to the SmartPlus Cloud, you can set the reader on the cloud portal.
Note
The setting is currently only available in Commercial Projects.
The cloud settings will overwrite the local ones.
Log in to the cloud platform with an installer or a property manager account.
Navigate to where the device is installed.
Click
 .
.Click Door and set Entry/Exit Reader to RS485.
Select the RS485 address ranging from 0 to 127 if multiple readers are connected in a daisy chain state.
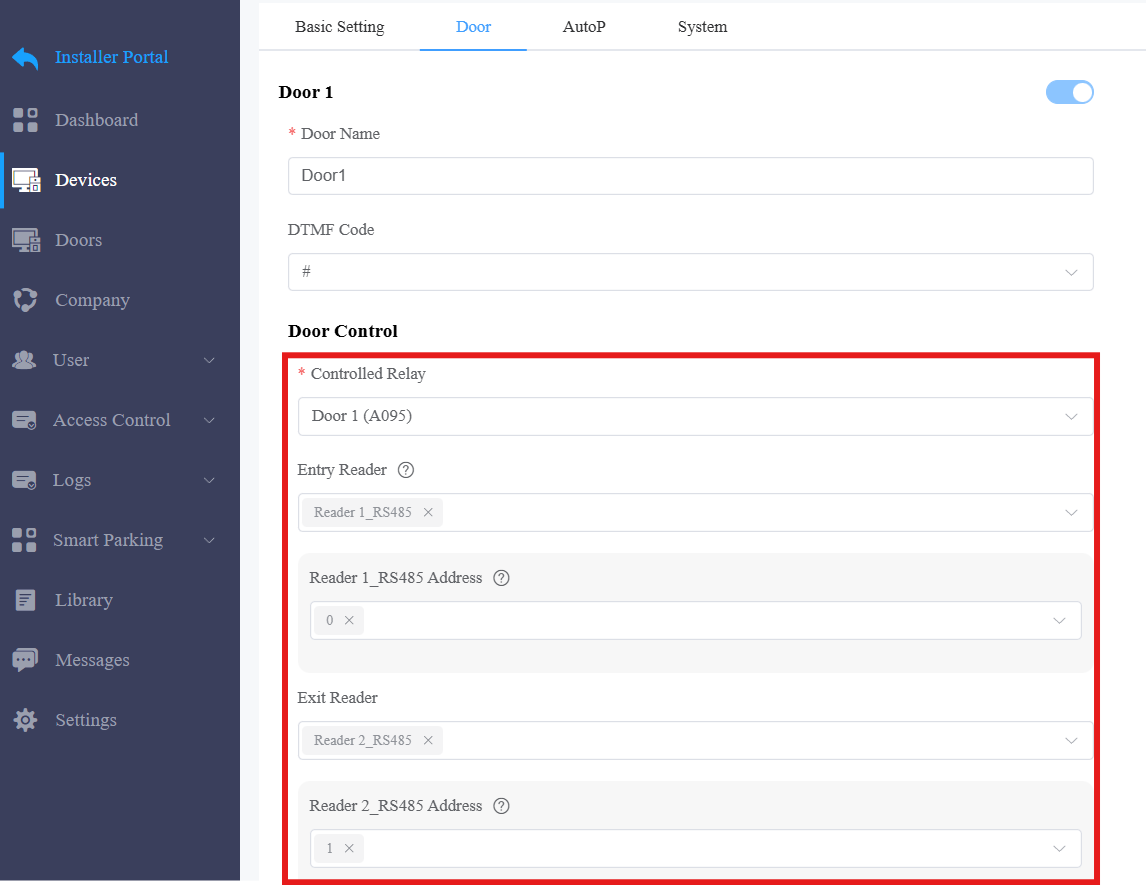
Click Submit.