Relay
The F51-R2-EU version of HyPanel Pro allows direct connection to two relays whose type can be switch, light, fan, heating/cooling system, and shade.
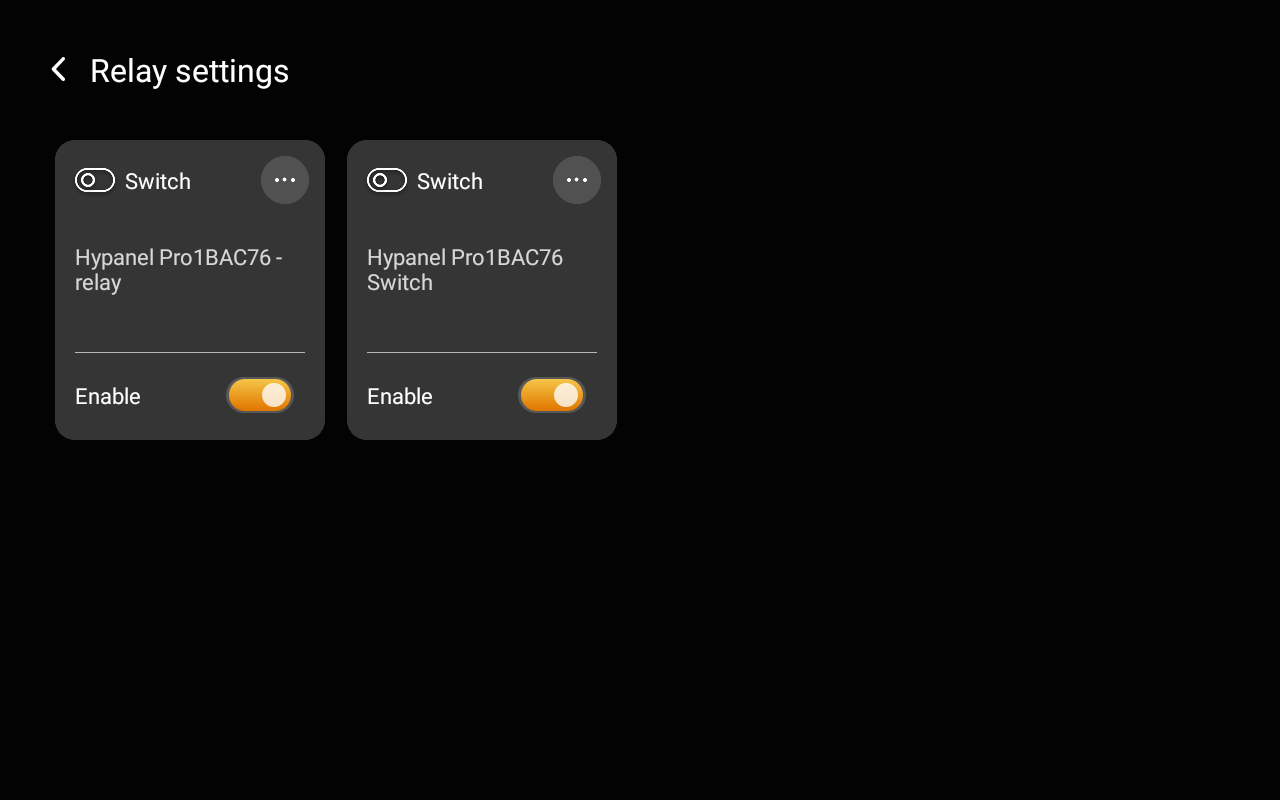
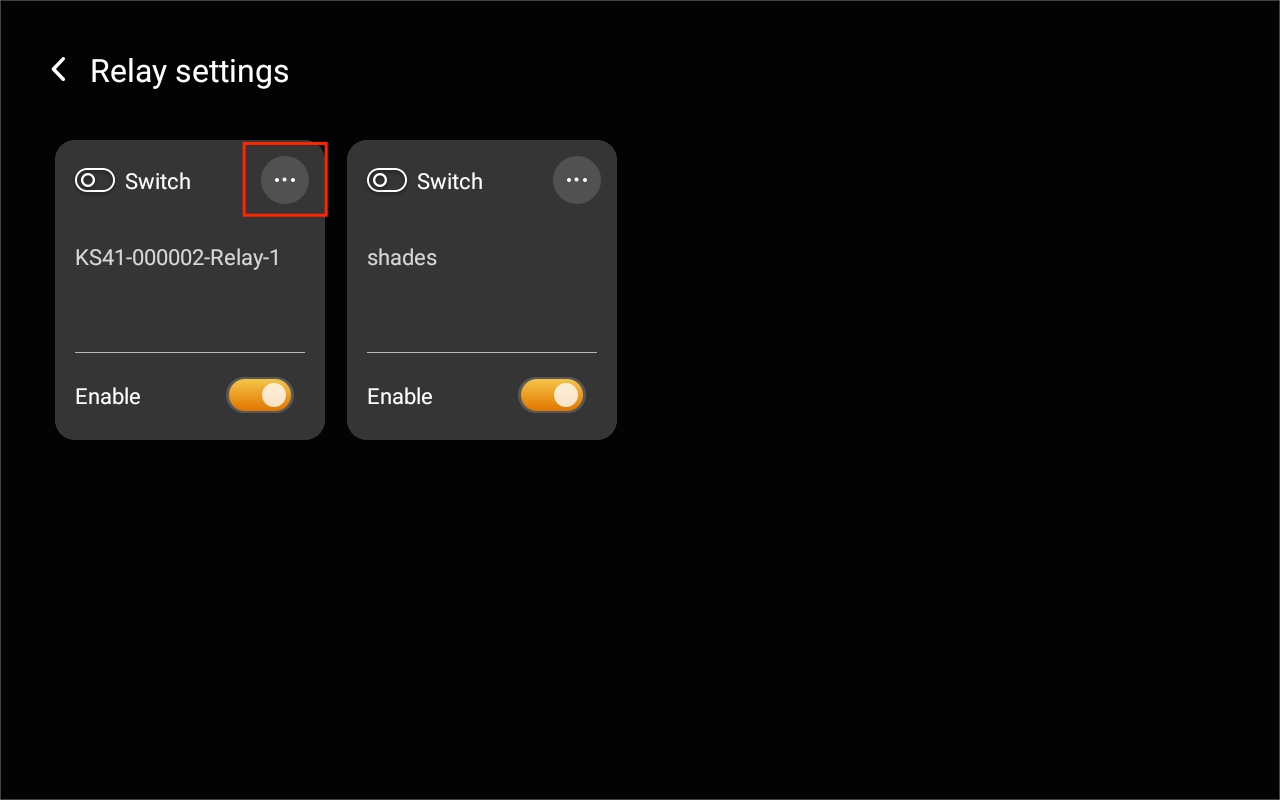
Enable and disable relay
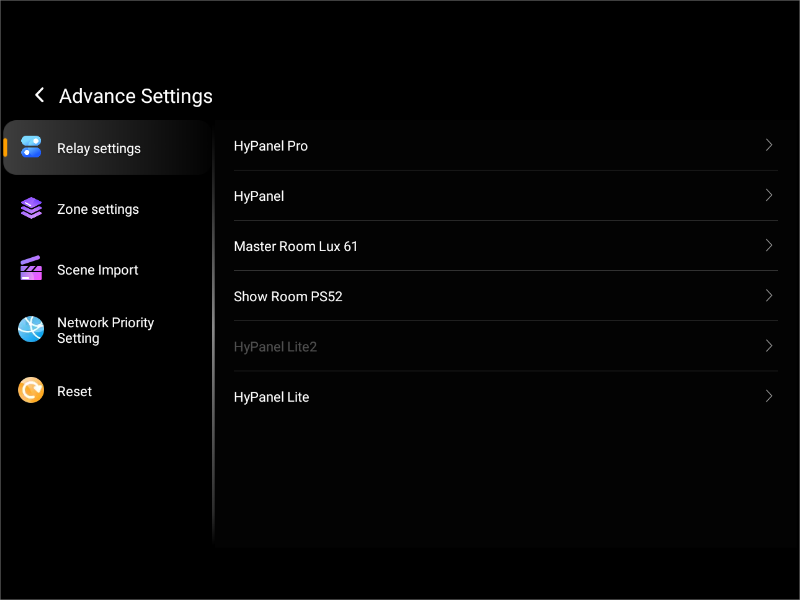
The F51-R2-EU version of HyPanel Pro has its 2 relays enabled by default. You can disable them by going to ![]() > Advance Settings > Relay Settings and selecting the desired device.
> Advance Settings > Relay Settings and selecting the desired device.
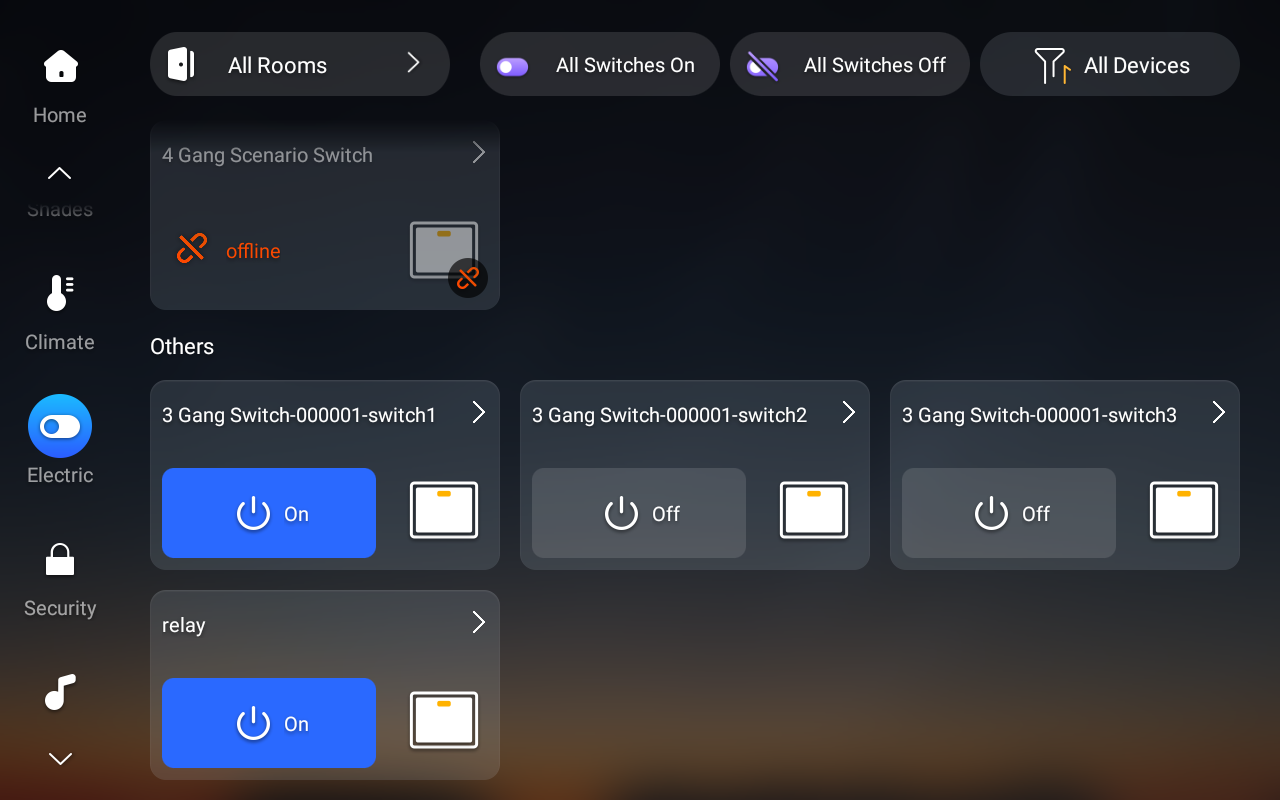
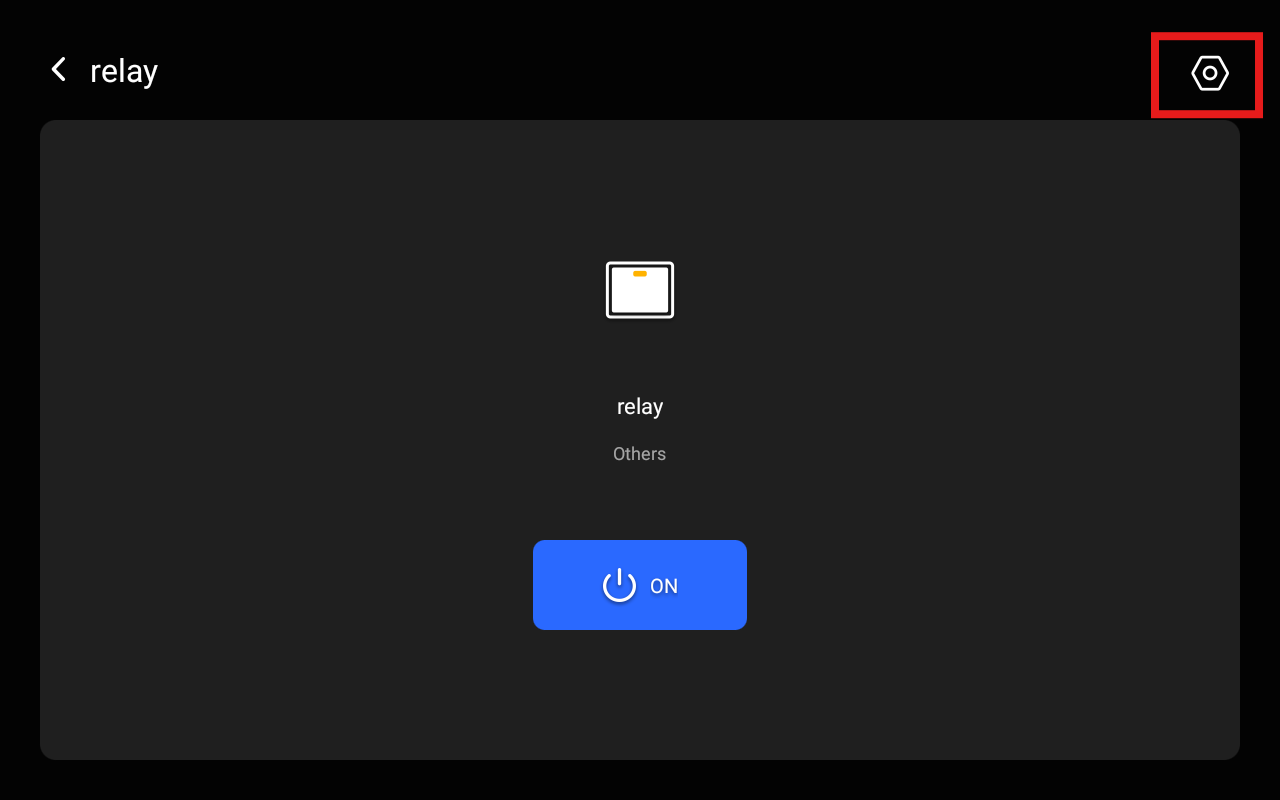
Control a relay
To open/close a relay, select the Electric from left-side menu, and tap the ON/OFF button.
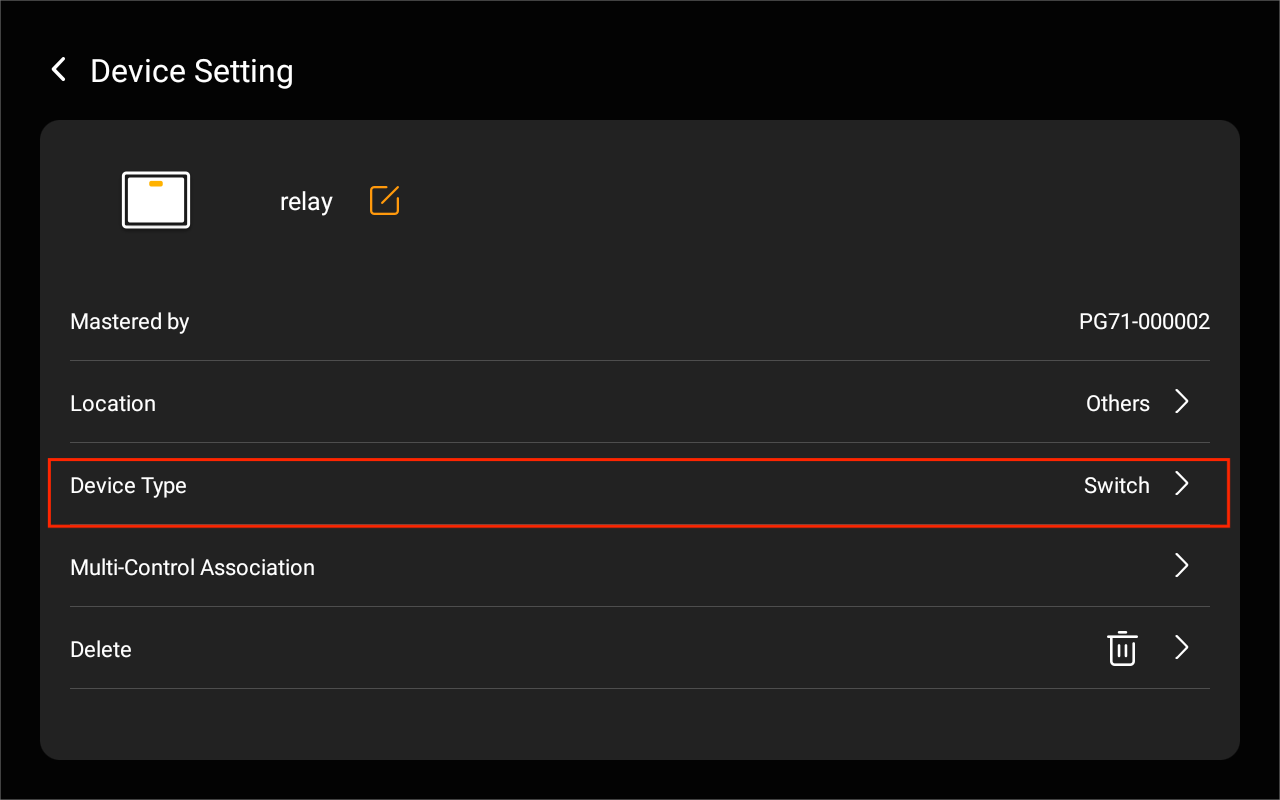
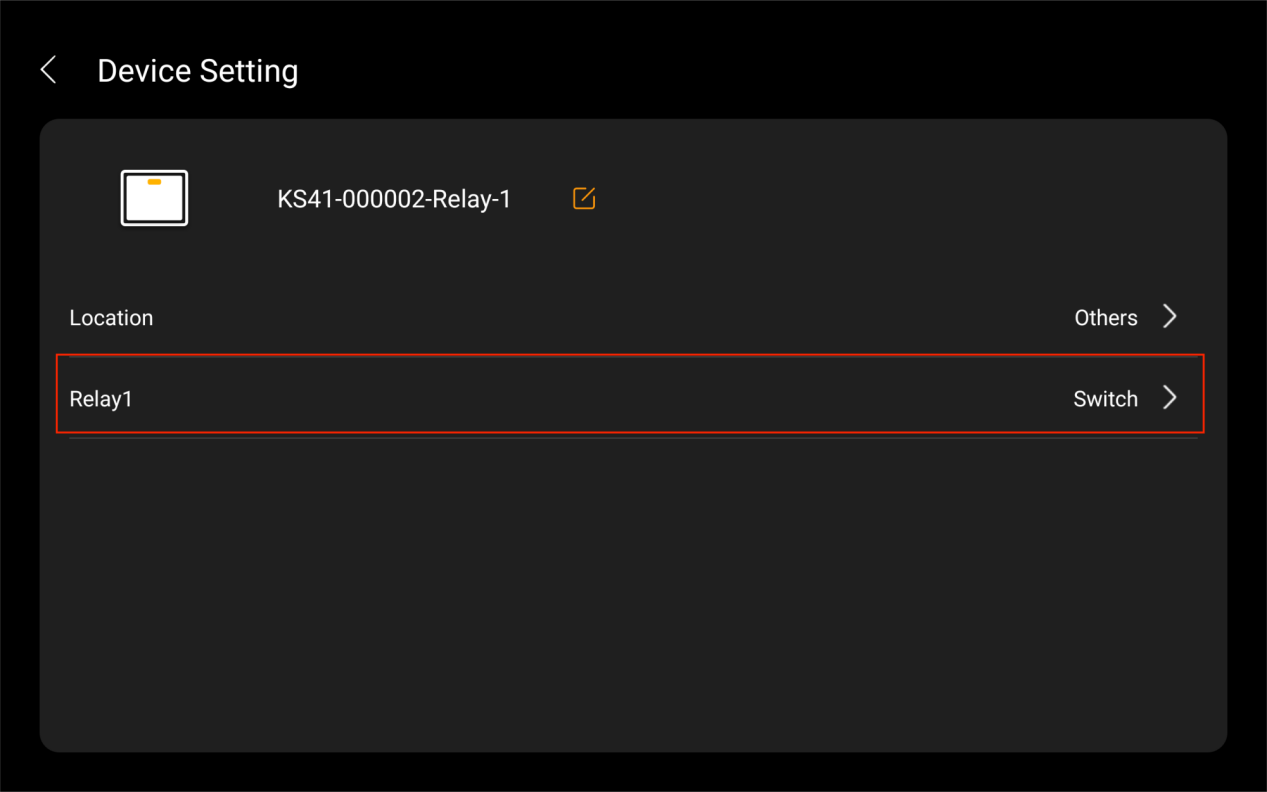
Modify relay’s type
To change a relay’s type, do any one of the following:
Note:
Changing the relay type will remove it from any scenes, group controls, or shortcuts added to the home page.
Find the desired relay, and enter its interface. Tap
 > Device Type.
Go to
 > Advance Settings > Relay Settings, then tap
  > Device Type.
Switch, plug, and socket
To turn on your switch, socket, siren or a light, simply tap the ON/OFF button.

Lighting devices
For lights that can only be turned on or off, simply tap the ON/OFF button.
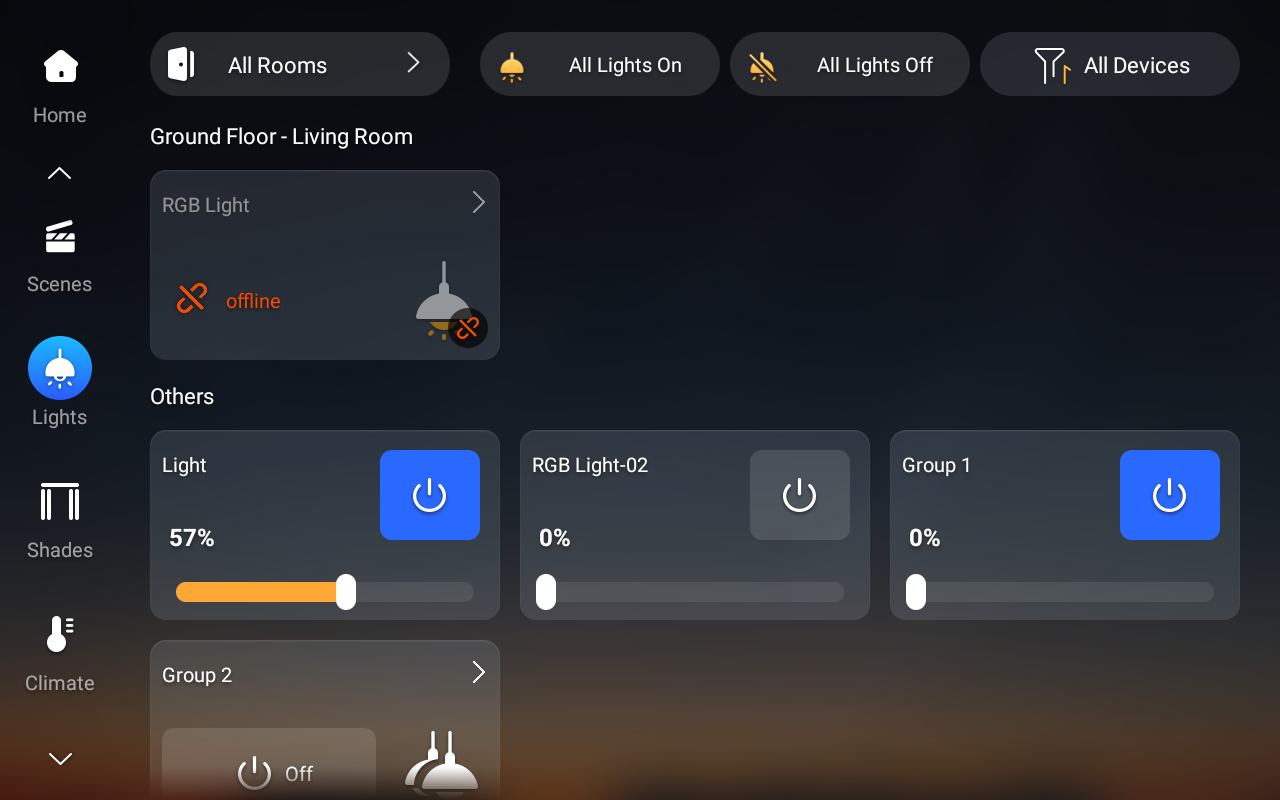
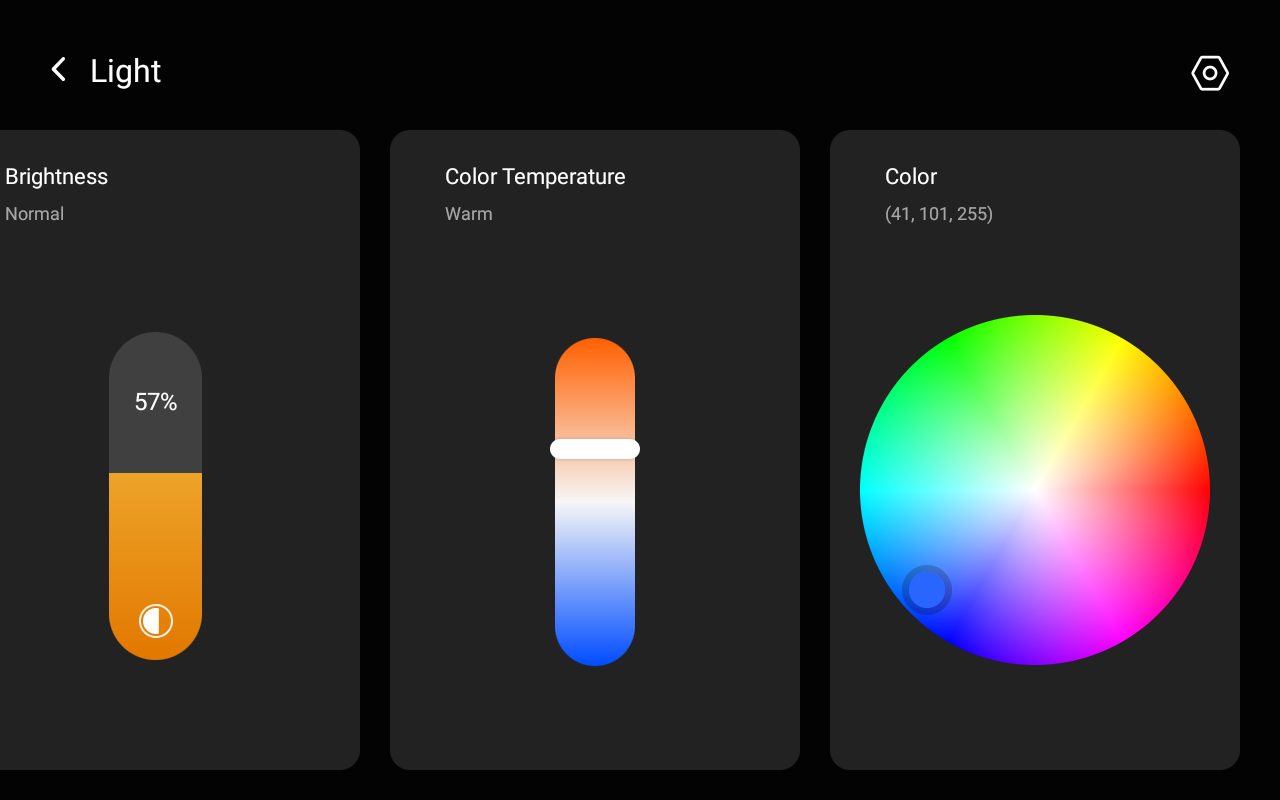
For others like RGB lights, you can adjust their brightness directly by adjusting the slider, or tap the device card to access more control options:
To turn a light on or off, tap the ON/OFF button.
To adjust the brightness and the color temperature, drag their sliders.
To change the light color, swipe left and pick the desired color from the palette.
Heating, cooling, and thermostat
You can turn on/off the device or adjust the target temperature directly on the Clime screen:
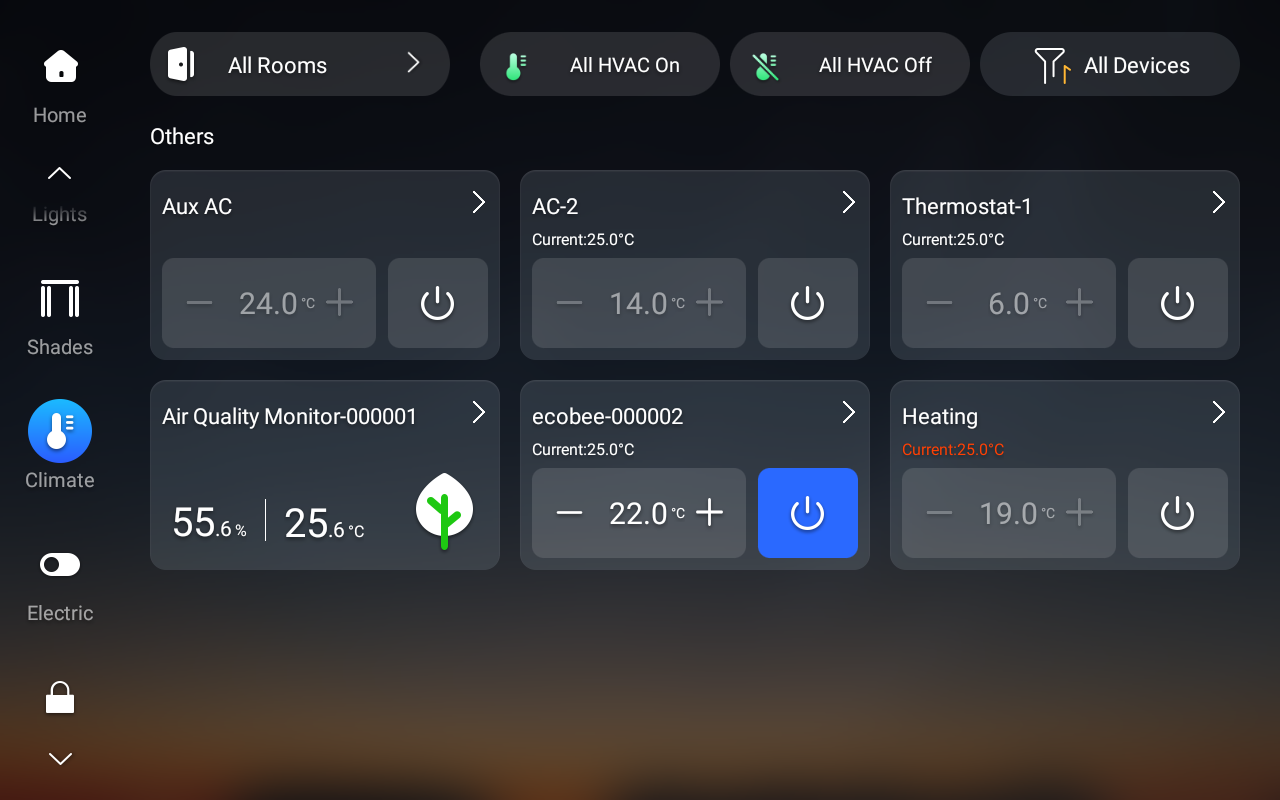
Or tap the device card to access more control options:
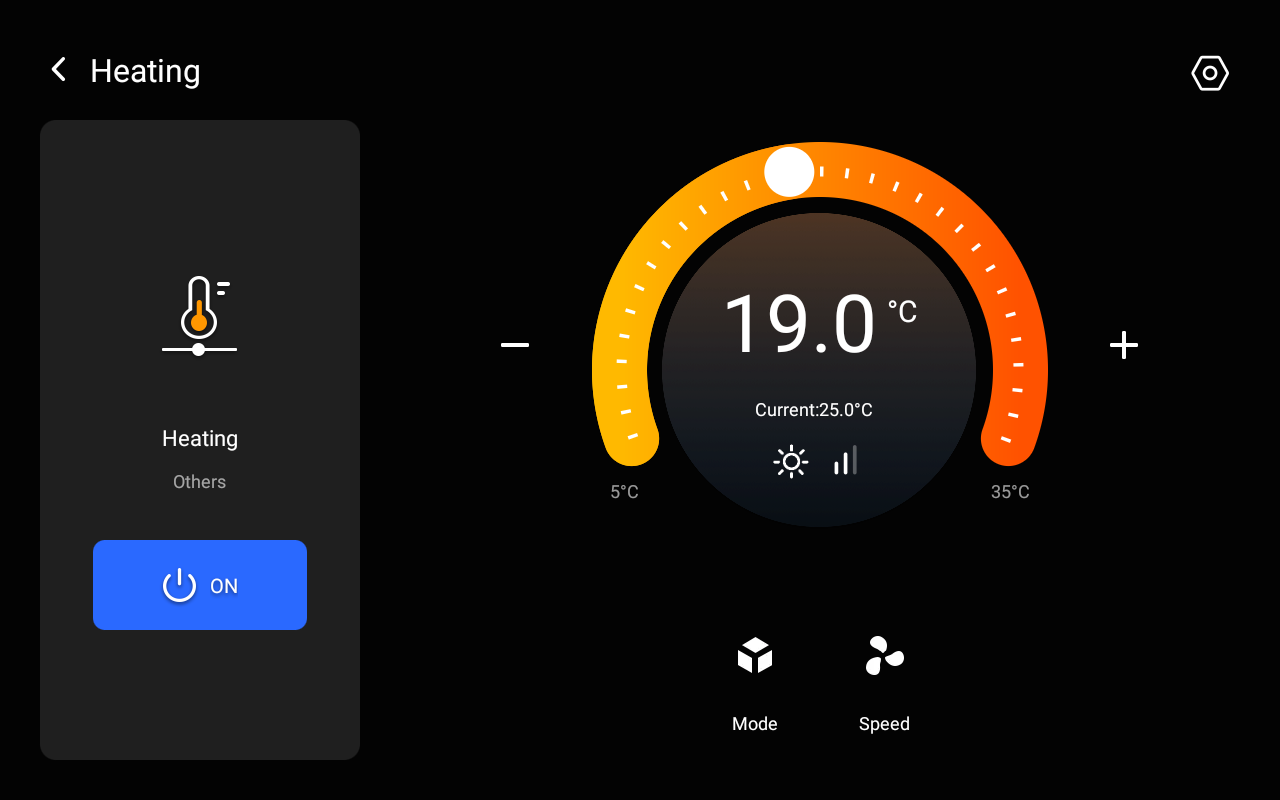
Tap
 to switch modes.
Tap
 to to set the fan speed.
Tap
 or
or  , or drag the slider, to adjust the desired temperature ranging from 5-35℃.
Tap
 to turn the device on or off.
Shade
On the Shades screen, control shades or curtains by doing as the following:
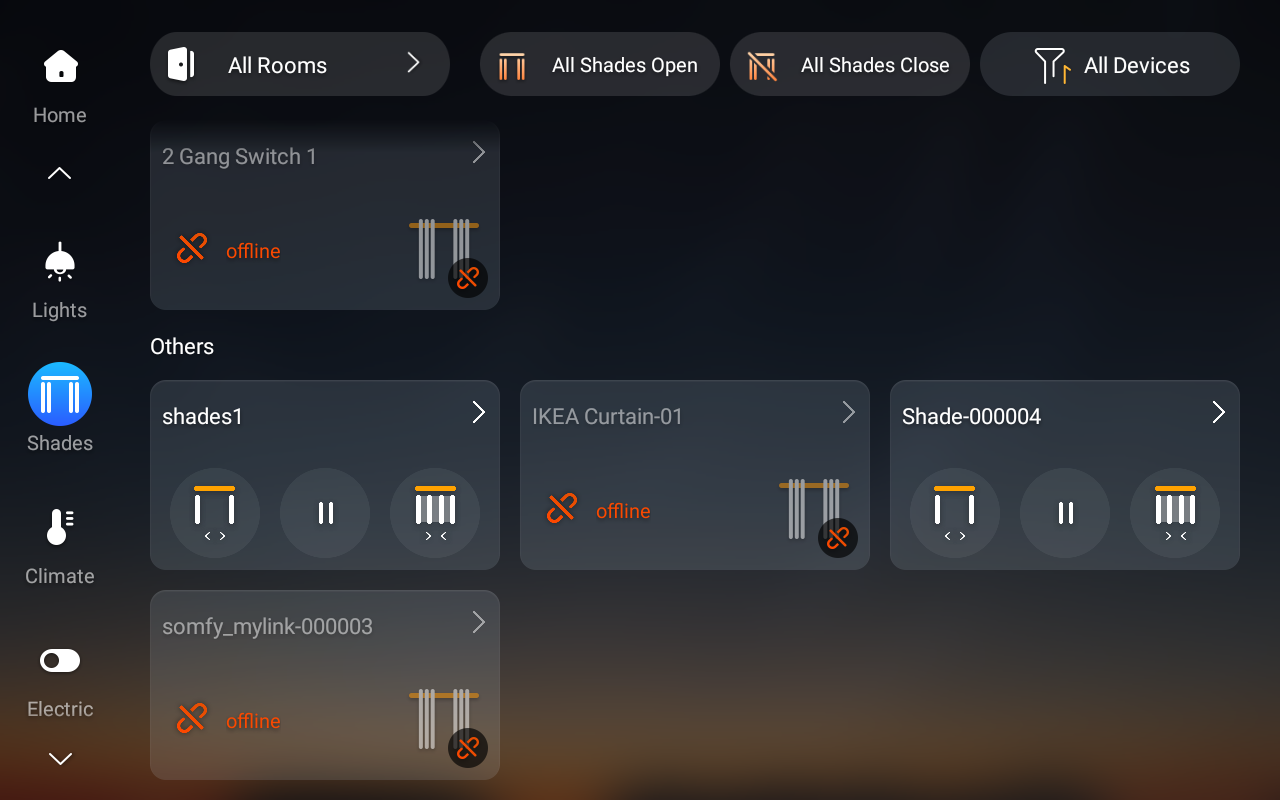
Tap
 to open the shade.
Tap
 to close the shade.
 Tap
 to stop the shade when it reaches the desired position.
Tap
 >
>  to access advanced settings.
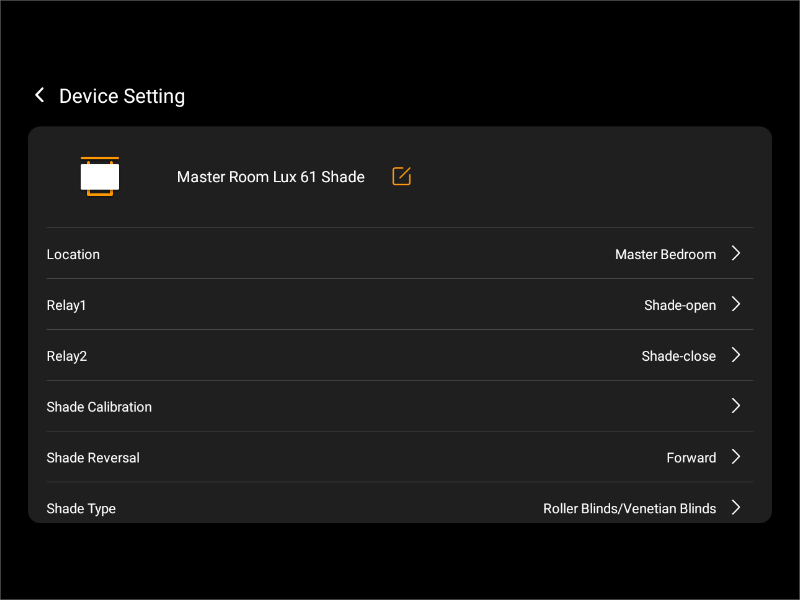
NOTE:
Available functions may vary depending on the shade model.
Shade Type: Set the type of shade or blind.
Shade Calibration: Adjust the opening and closing duration of the curtain. Follow the onscreen instructions to calibrate.
Shade Reversal: Reverse the direction of curtain movement if the open and close buttons operate in the opposite direction.
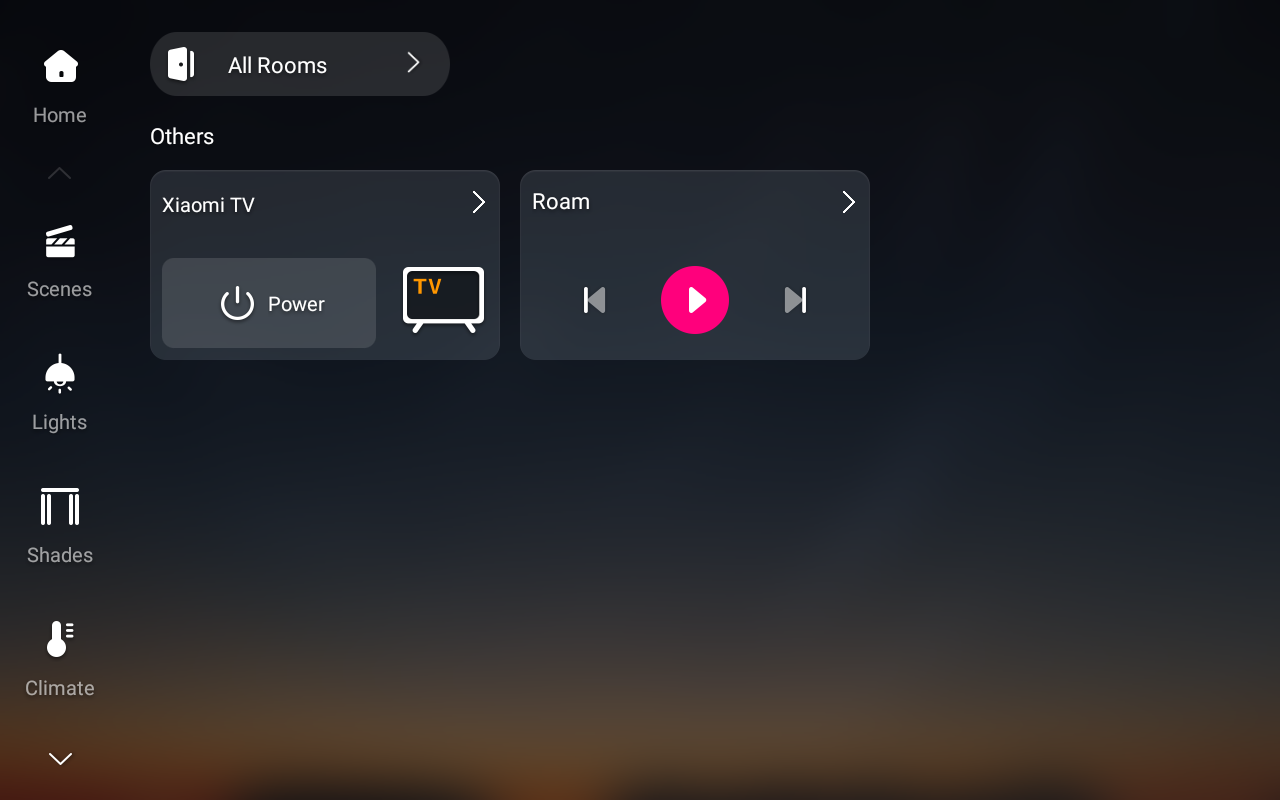
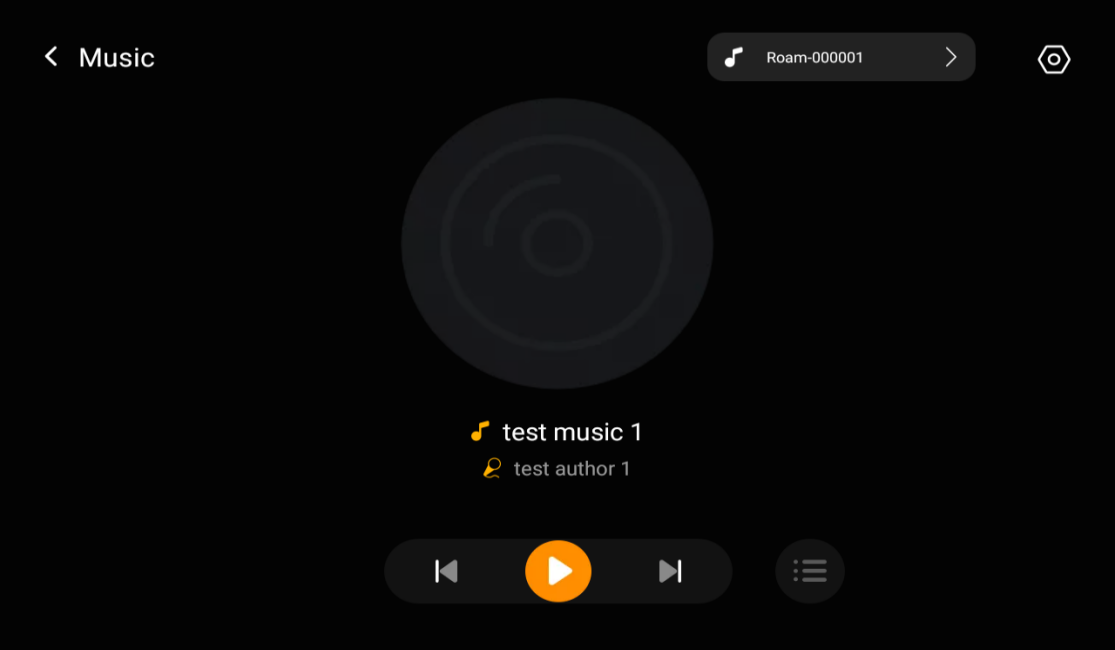
Speaker
To control speakers, go to Media screen, then select the desired device.
Group control devices
HyPanel Pro enables convenient one-touch control for individual spaces or entire device categories. It supports grouped lighting management and multi-control associations to synchronize device states across linked devices.
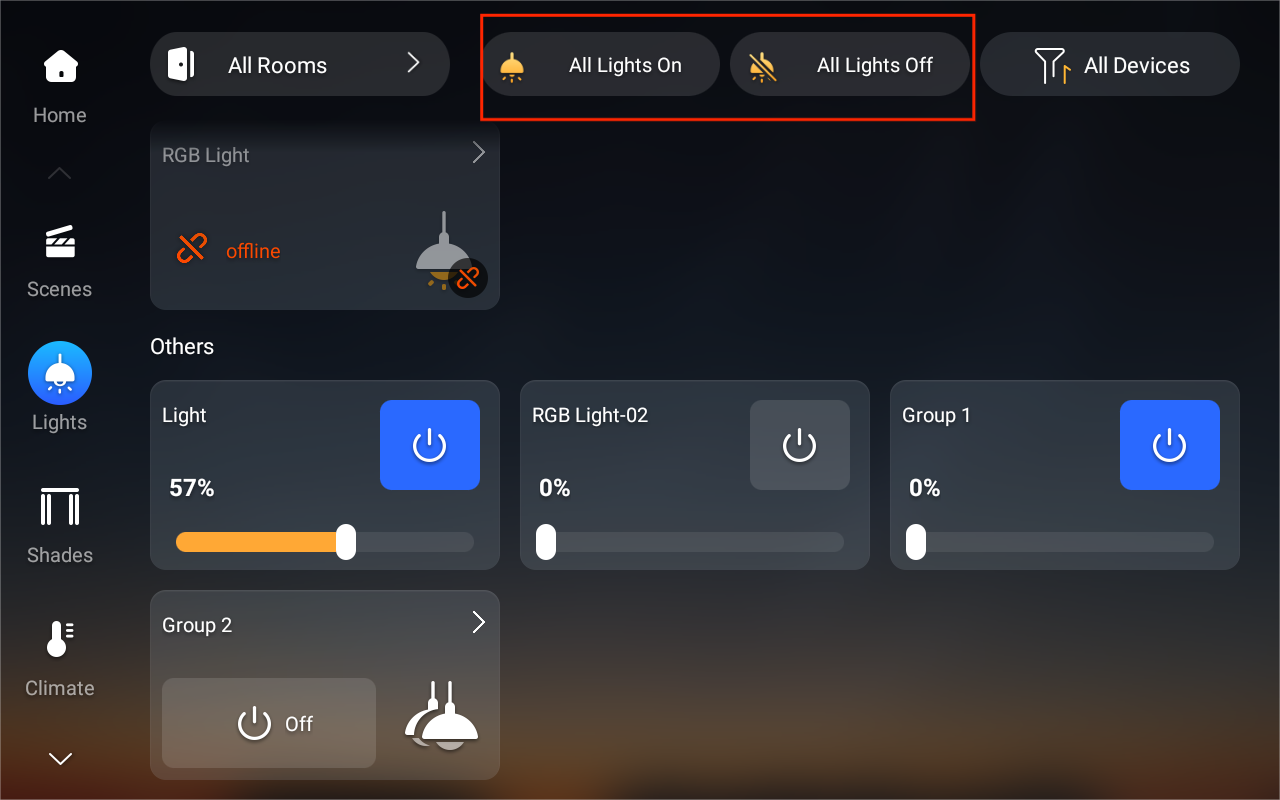
One-touch device control
On the upper right of some feature screens (e.g., Lights and Electric screens), tap the control buttons to turn all devices of the same type on or off at once.
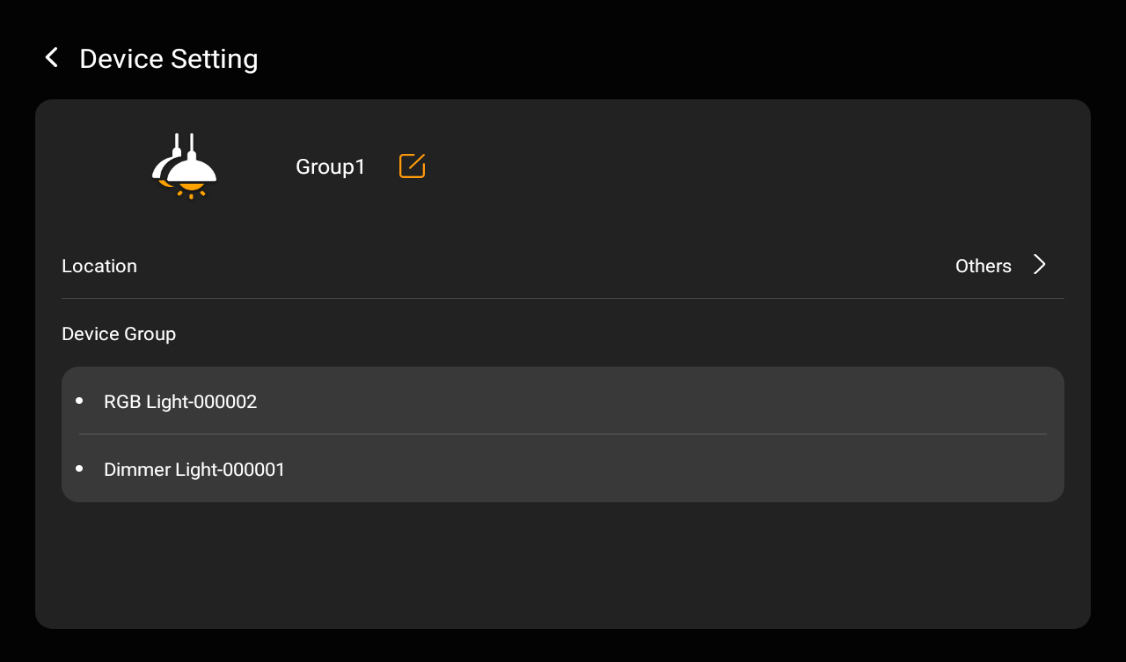
Lighting group control
You can group multiple lights for simultaneous control, making it easy to adjust brightness, color, and power status across different locations within the same room.
NOTE:
The device group should be created using the BelaHome app (Go to the home page, tap any desired device
> Device Group, and add devices into the group). Once created, a group card will appear in the Lights screen for easy one-touch access.
Group Control Capabilities
Devices with the same capabilities (e.g., RGB lights) will display those capabilities for the entire group.
Devices with different capabilities will only display the common capabilities in the group. For example, if a switch light and a dimmable light are grouped, only the switch capability will be shown.

You can tap the group card, and then tap  on the upper right of the group card to view all devices in the group.
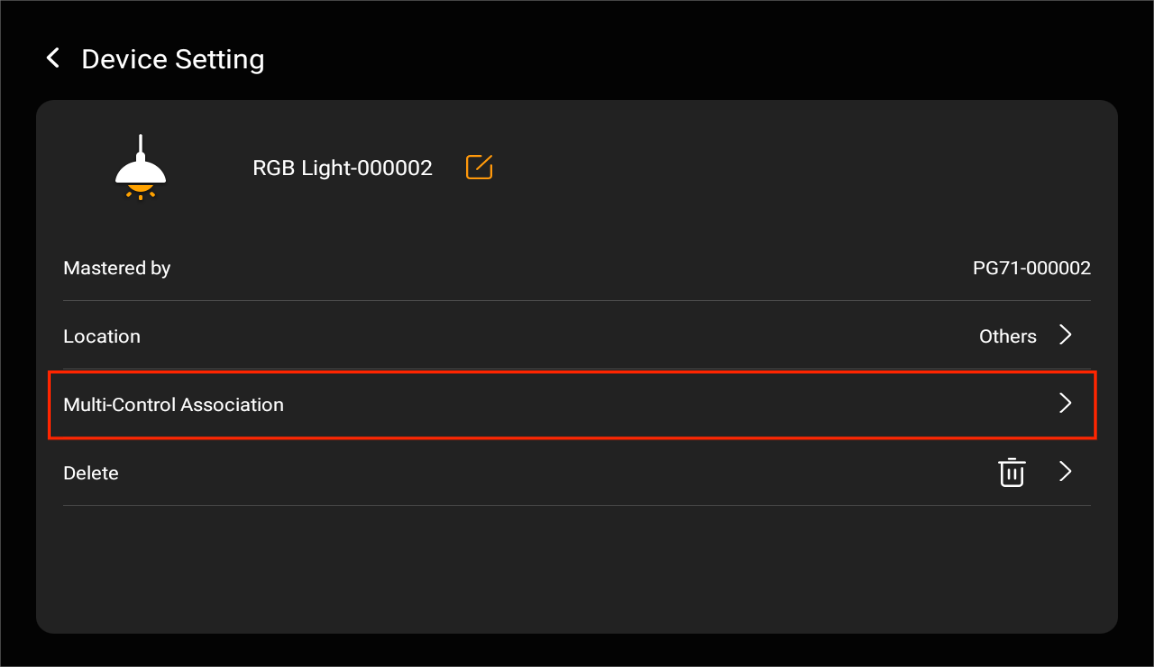
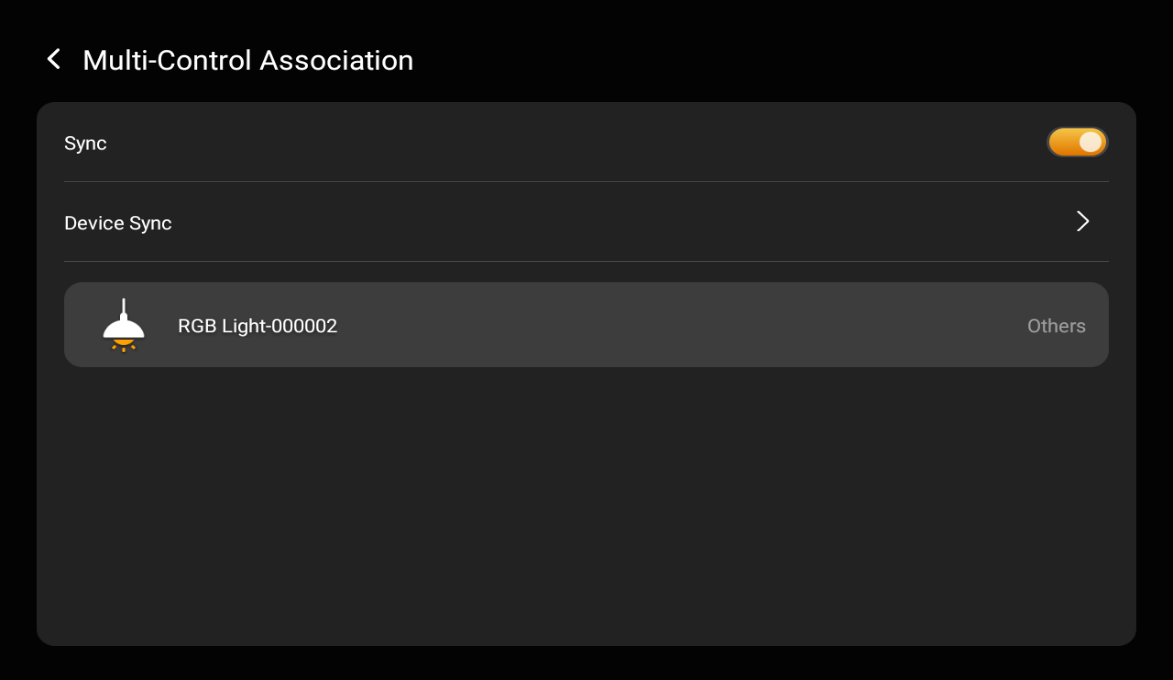
Multi-control association
This feature links switches and lights to keep their on/off states synchronized. When one device changes state, all associated devices update accordingly. For example, if multiple switches control the same light, associating them ensures they reflect the same on/off status.
In the left sidebar on the home page, select Lights or Electric.
Tap the desired device card.
Then tap
 > Multi-Control Association.
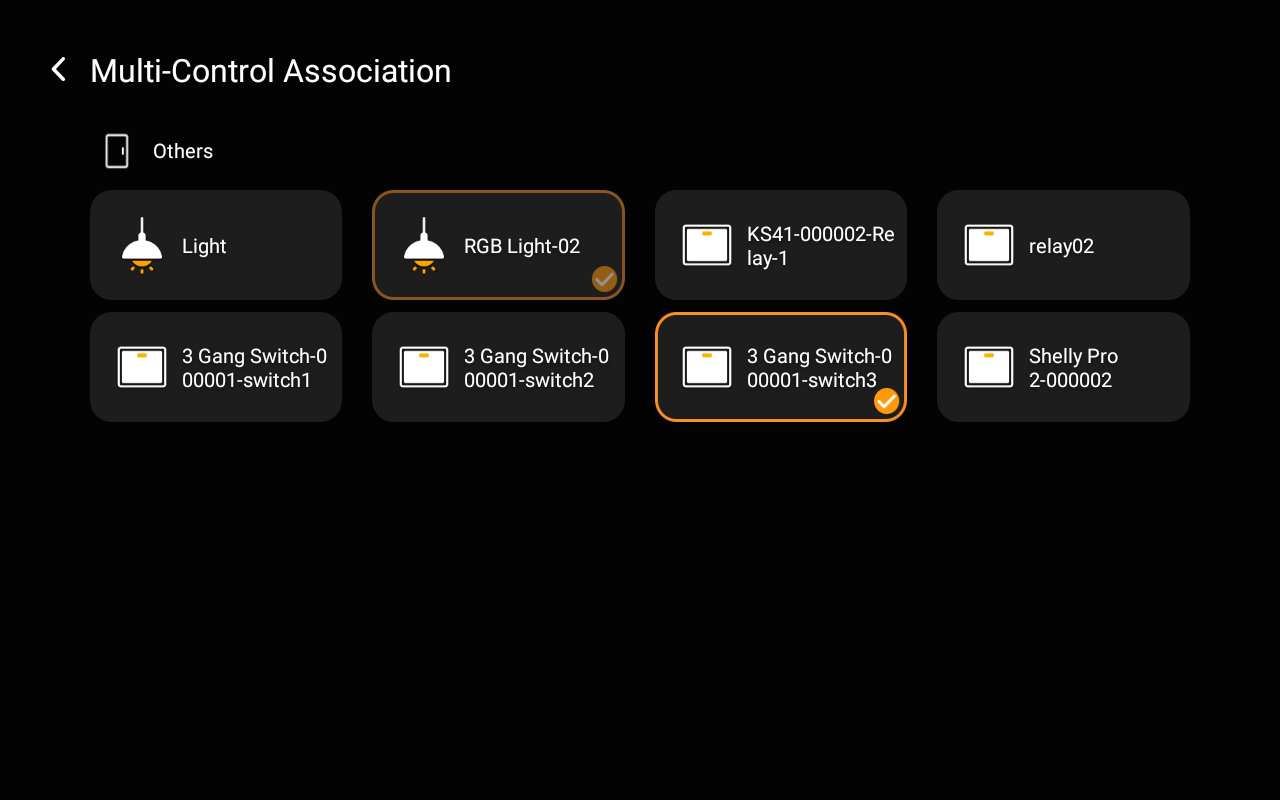
Tap Device Sync.
Select the devices you want to associate. Tap
 to complete.
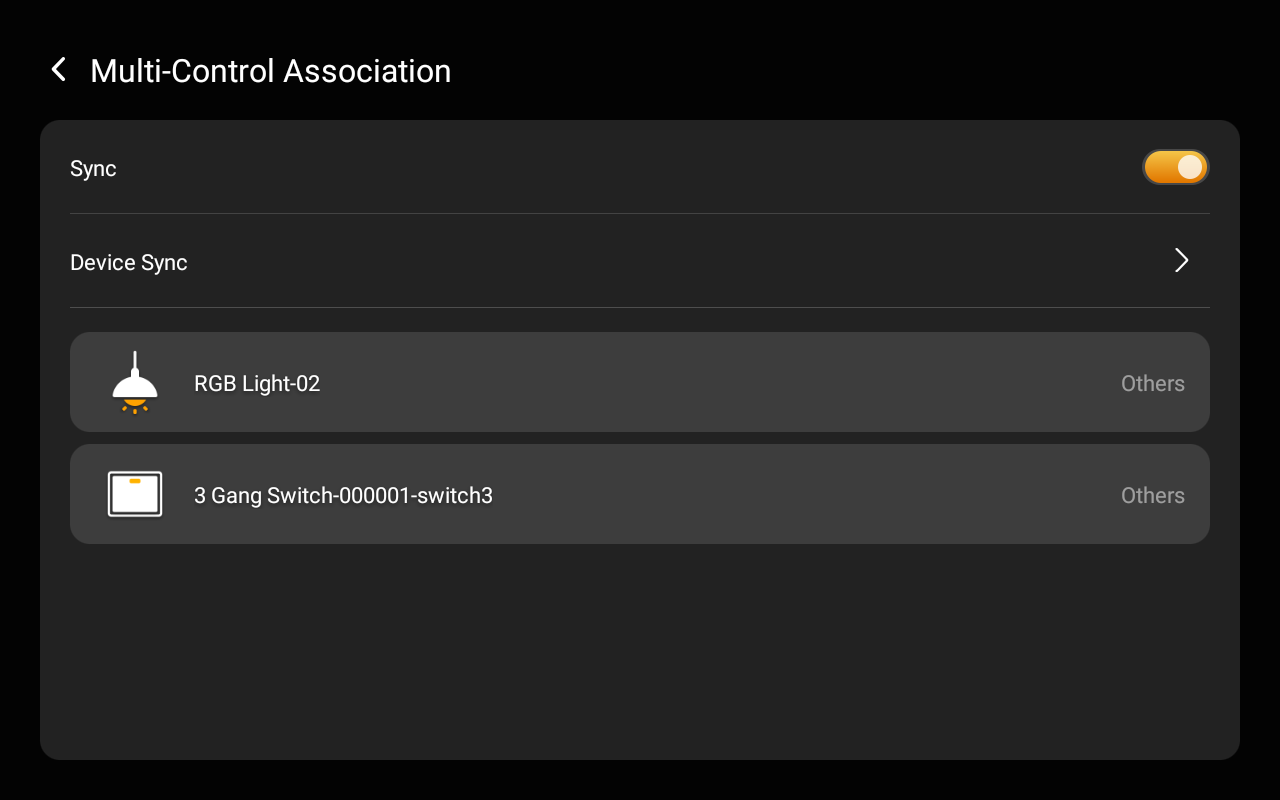
The associated devices will appear in the list.
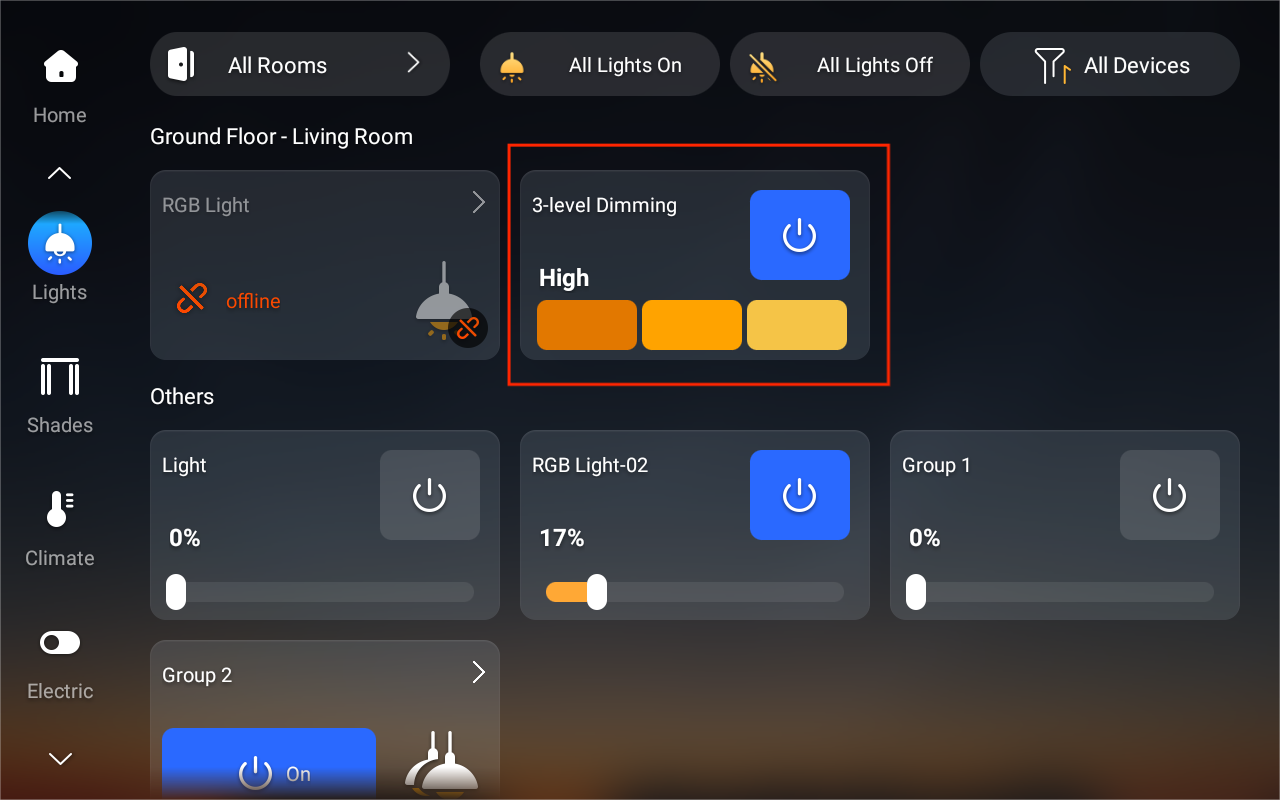
Virtual three-level dimming group
For unified control of non-dimmable lights (on/off only), you can create a virtual three-level dimming group. This allows you to assign a set number of lights to each brightness level for group control.
NOTE:
This feature must be configured in the user web portal (via Dimming Group > Add) before the control card will appear on the Lights screen.
Use the intercom
Unlock door remotely
When you know who is at your door, you can open the door directly without communicating with the door phone.
Tap Security.
Find the desired door phone, and do any of the following:
Tap
 to open the door directly.
Tap
 to view the live video feed.

Tap
 for additional options, such as taking a screenshot.
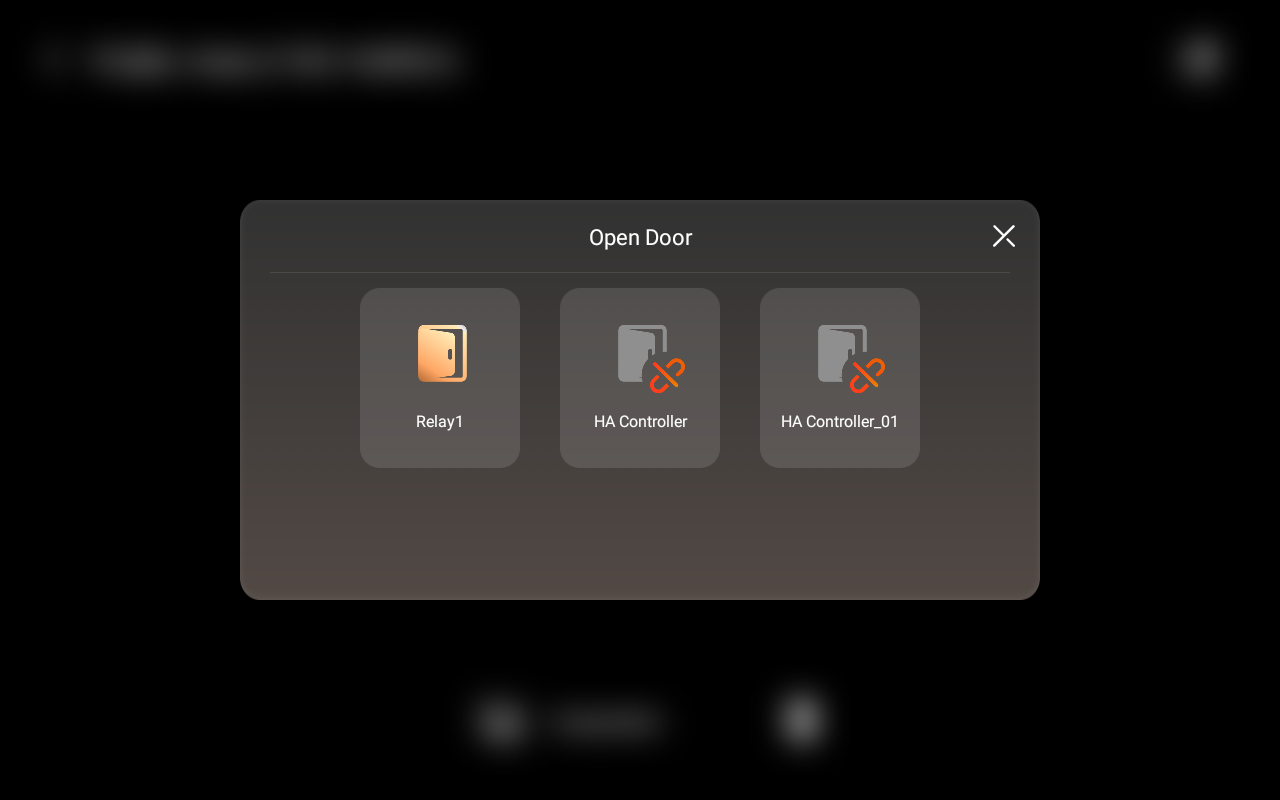
TIP:
If multiple doors are connected to the door phone, a pop-up list will let you select which one to open.
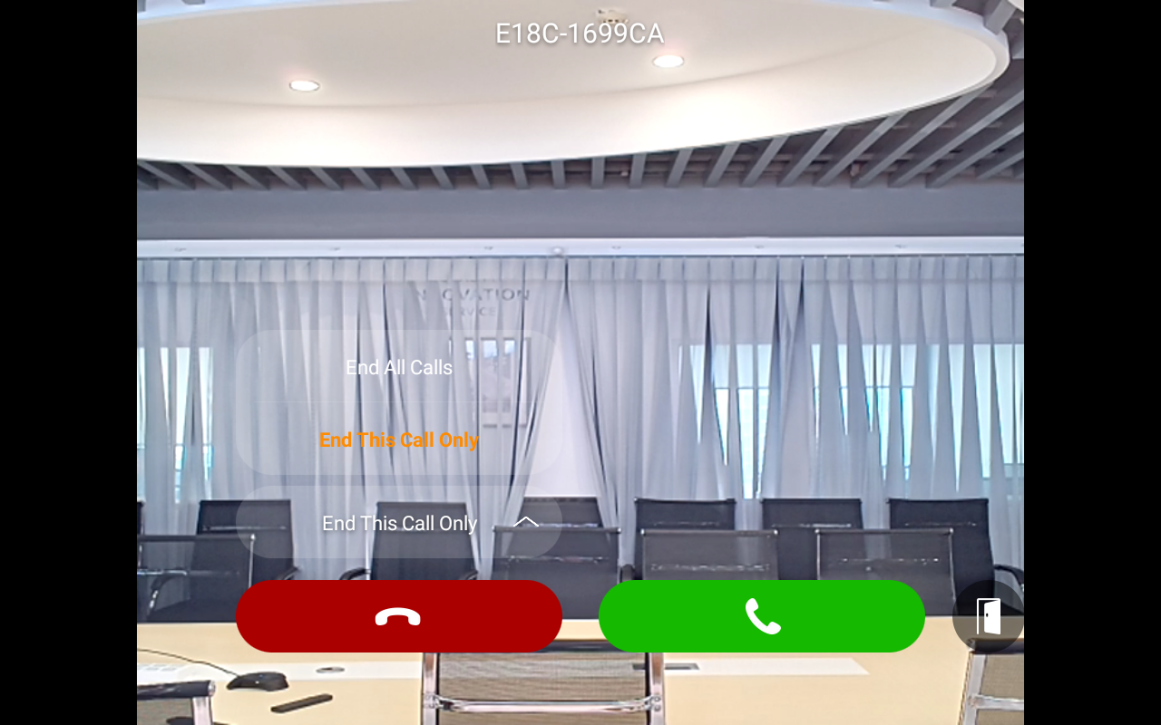
Unlock door before answering a call
When you receive a call from the door phone with a camera, you can preview its monitoring streaming and open the door without answering the call.
Unlock door during a call
You can answer the door phone call and unlock the door during the call.
To unlock the door, tap ![]() .
.
To capture the monitor streaming screen, tap ![]() .
.
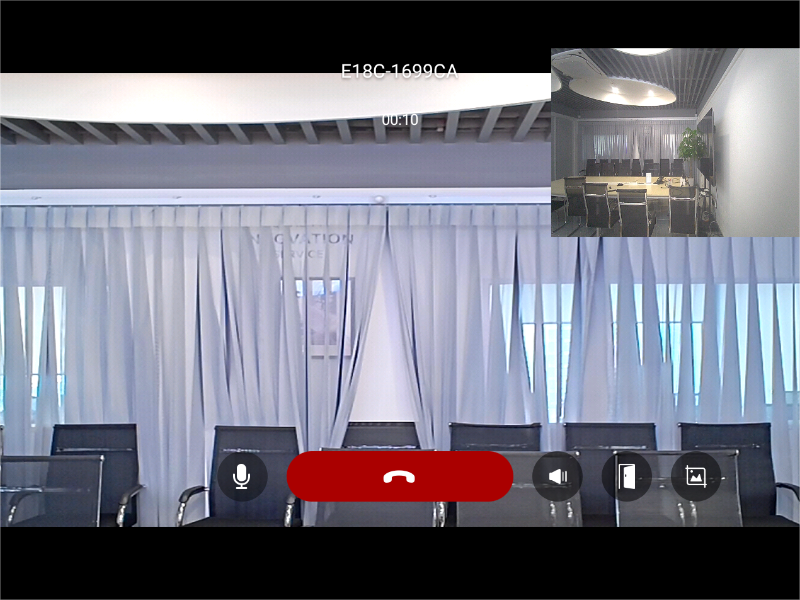
You are also able to call the door phone to see and hear who the visitor is. To do so, see the section Make one-to-one voice calls in this guide.
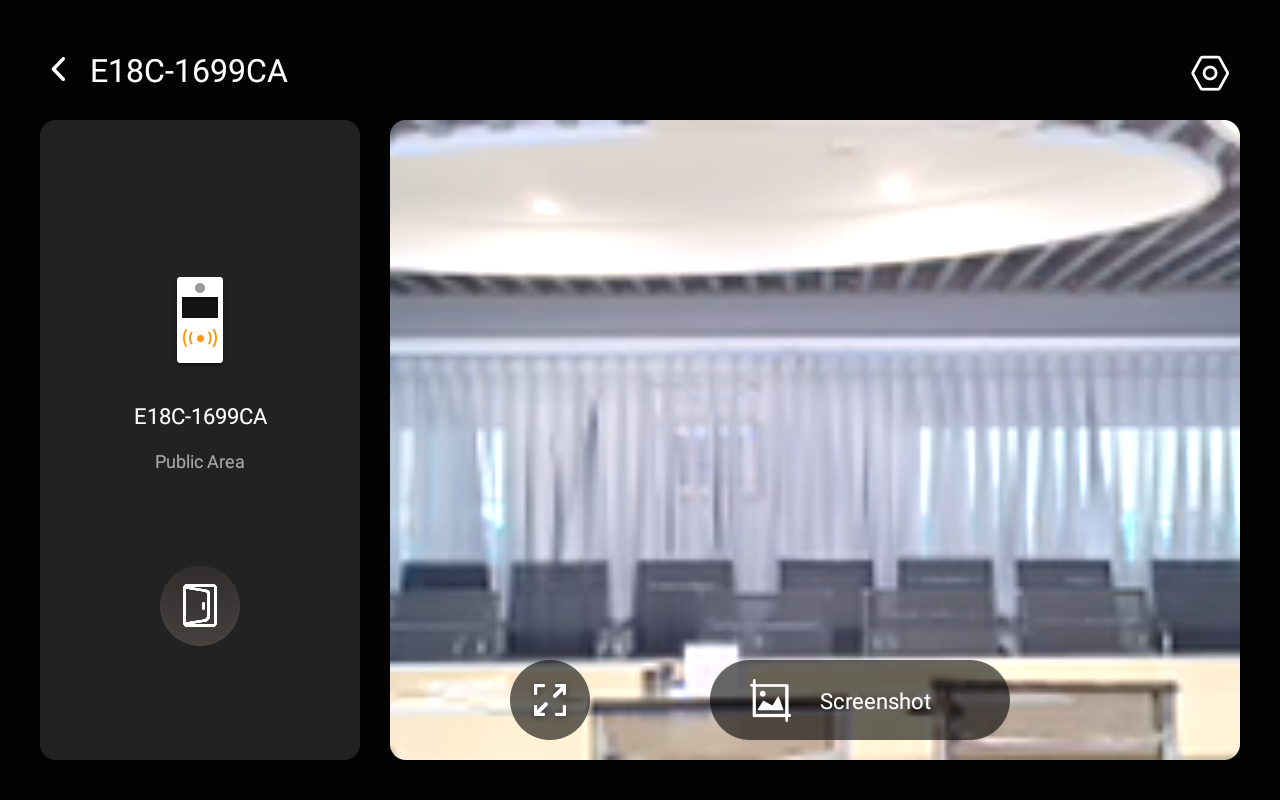
View monitoring feed
If the connected door phone has a camera, you can view its monitoring stream without making a call.
To see the feed, find the desired door phone, and tap
 .
.
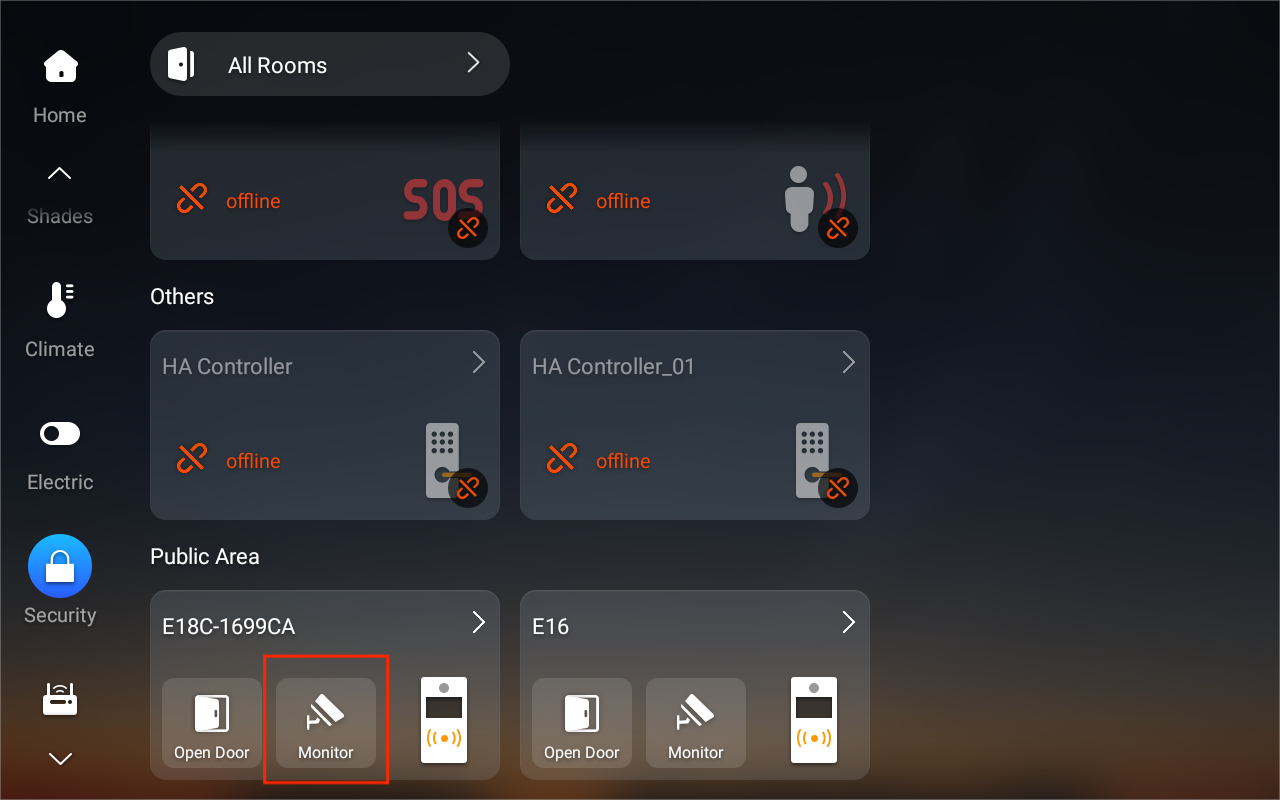
Tap the icon
 in the upper right corner to switch between available camera feeds.
Tap
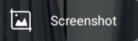 to capture a screenshot of the live feed.
Tap
 to open doors.
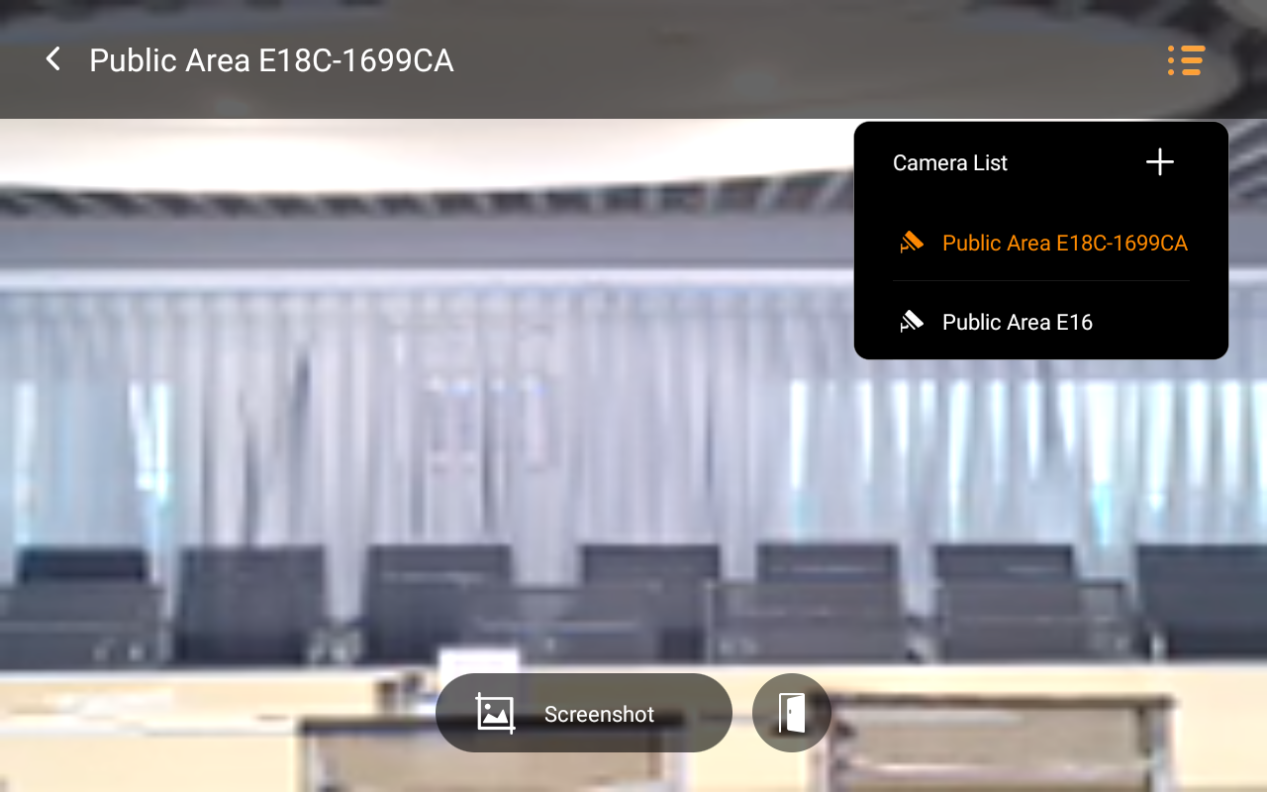
Link a sub-camera
If the area requiring access control is not covered by the door phone’s built-in camera, you can link a sub-camera to the door phone. Once linked, you can switch between views during previews or calls.
NOTE:
This setting is only available via the device web portal (Go to Set Mode > [The desired door phone] > Link Camera to configure).
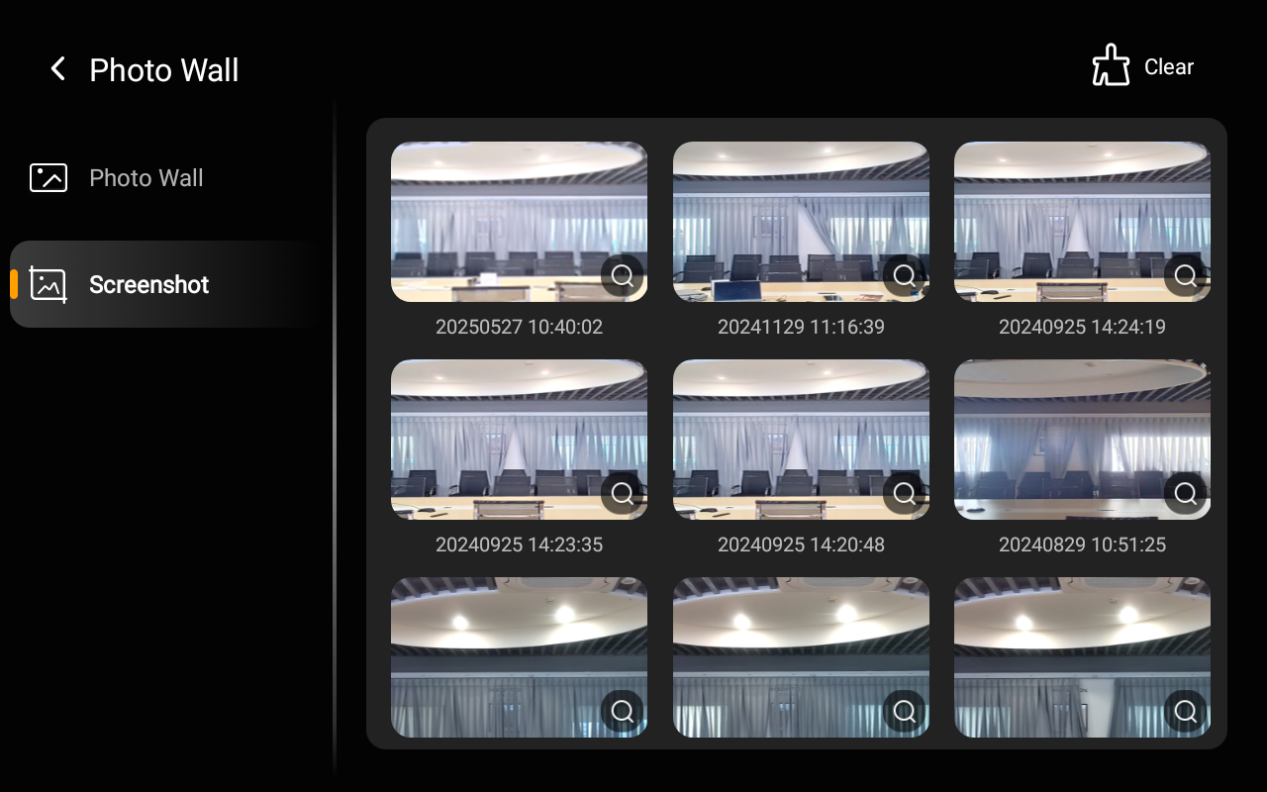
See screenshots of monitor streaming
HyPanel Pro automatically captures a picture of the monitoring stream when it receives a call from door phones.
You can also manually capture the monitor screen at any time while answering the door phone's call or viewing its surveillance.
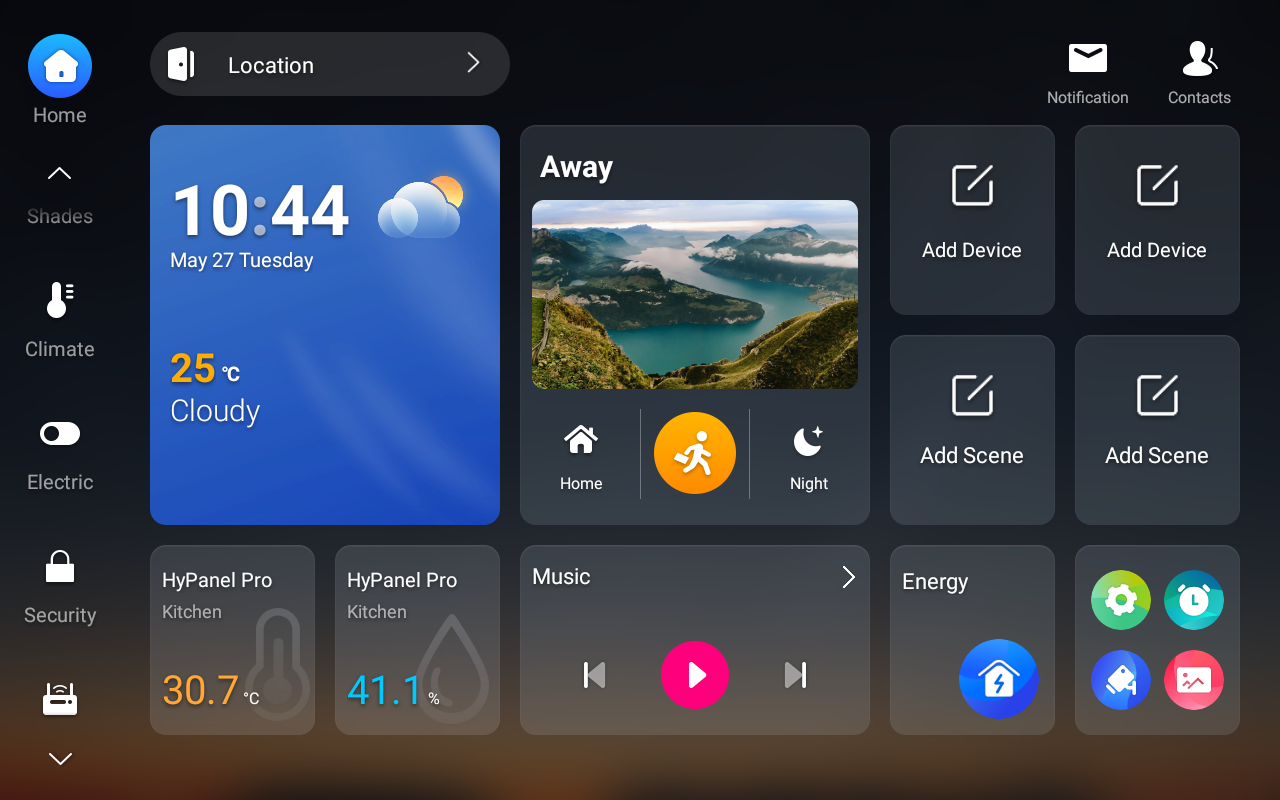
To see these screenshots, tap ![]() at the bottom right of the Home screen, and select Screenshot.
at the bottom right of the Home screen, and select Screenshot.