IC/ID Card Control
You can enable or disable the IC and ID card function if needed. You can navigate to Intercom > Card Setting > Card Type Support.

Parameter Set-up:
-
IC Support Enabled: tick this feature to allow to use IC card for access door access.
-
ID Support Enabled: tick this feature to allow to use ID card for door access.
Configure Access Card Format
If you want to integrate with the third party intercom system in terms of RF card door access, you can change the RF card code format to be identical with that applied in the third party system. You can do this configuration on web Intercom > Card Setting interface.
Parameters Set-up:
-
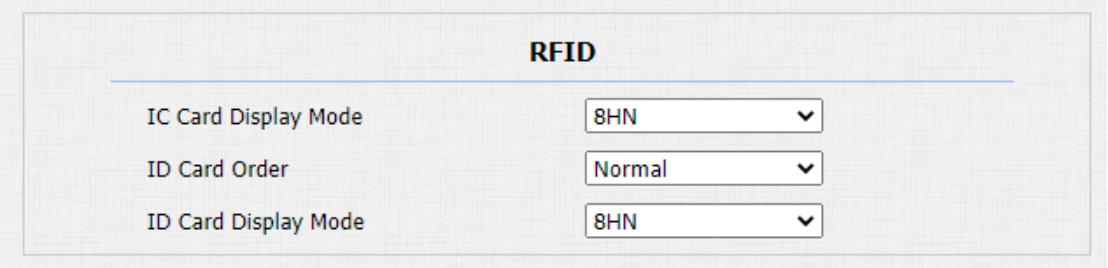
IC CARD Display Mode: select the card code format for the IC card for the door access among five format options: 8H10D; 6H3D5D(W26); 6H8D; 8HN; 8HR. The card code format is 8HN by default in the door phone.
-
ID Card Order: select normal or reversed display of ID card.
-
ID Card Display Mode: select the card format for the ID Card for the door access among five format options: 8H10D; 6H3D5D(W26); 6H8D; 8HN; 8HR. The card code format is 8HN by default in the door phone.
Configuring RF Card for Door Unlock
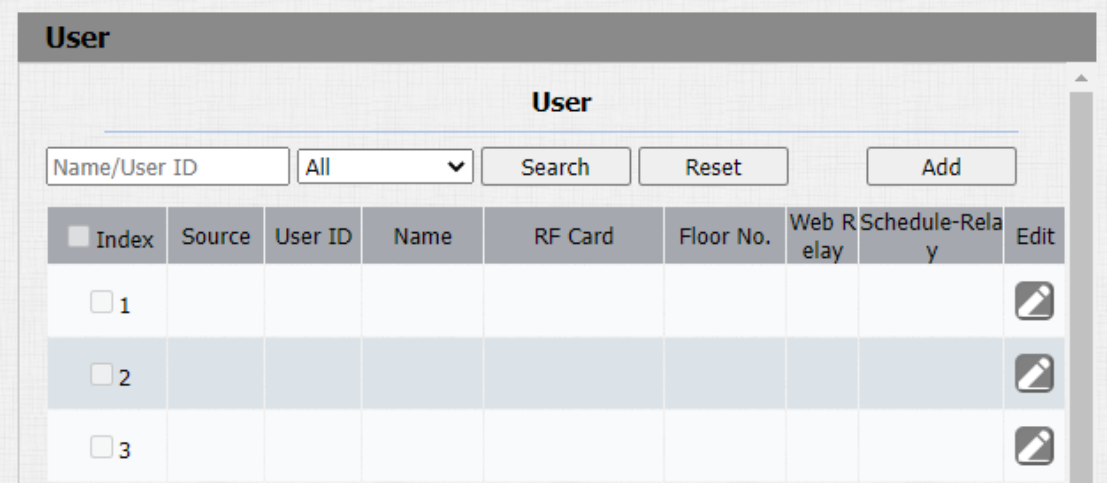
You can manage the card number and corresponding parameters on web Intercom > Card Setting interface.
Configure RF Card on the Web Interface
You can tap the RF card on the reader and click obtain to add RF card for the user. Path: Intercom > User.
Parameter Set-up:
-
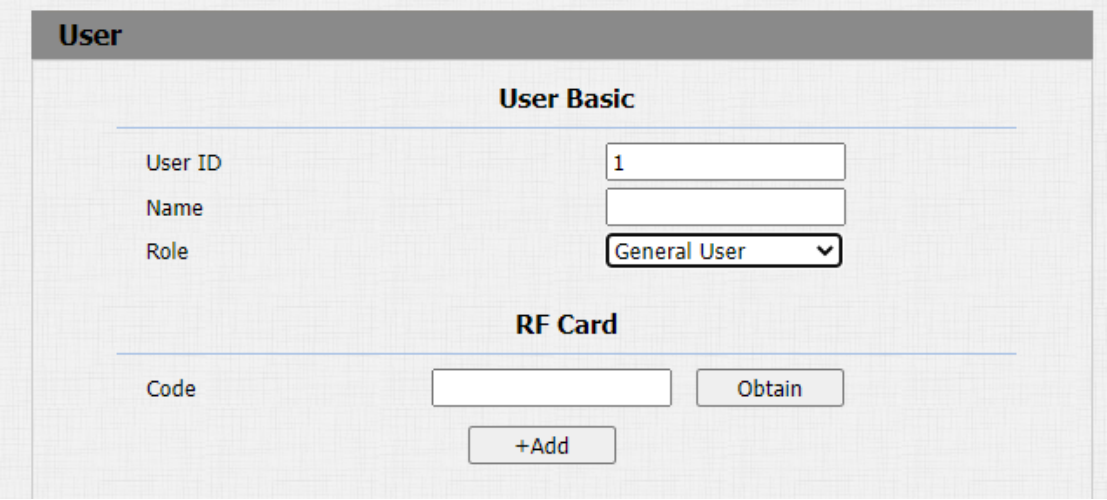
User ID: enter the user ID. The user ID is 11 digits maximum in length and can not be reused for other users. The User ID can be generated automatically or manually.
-
Name: enter the user name.
-
Role: select general users for residents and select administrator for the administrator.
-
Code: place the card on the device card reader area and click obtain.
- RF card with 13.56 MHz and 125 KHz can be applicable to the door phone for door access.
Import and Export Card Data of Access Control
Akuvox door phones support card data of access control to be shared among Akuvox door phones through import and export while you can also export the card data out of the door phone and then import to Akuvox door phones on web Intercom > Card Setting interface.

Parameter Set-up:
- Card AES Key: enter the AES code before importing the AES-encrypted .xml file to the door phone.
Mifare Card Encryption
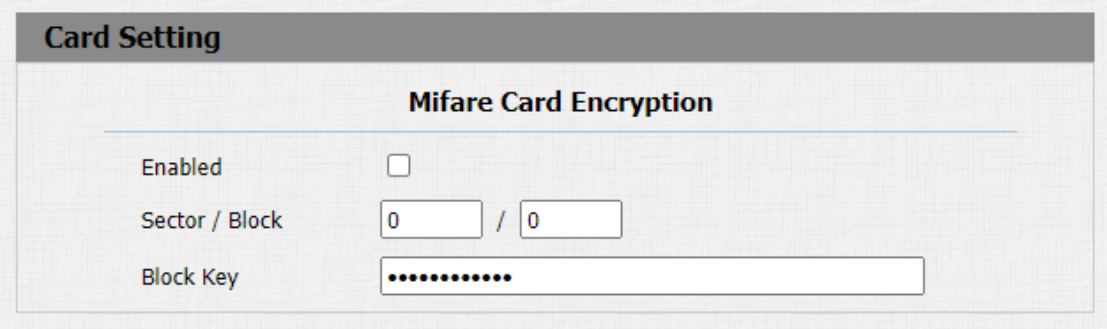
Mifare card can be encrypted for greater security. To encrypt the card, you can navigate to Intercom > Card setting > Mifare/Defire Card Encryption.
Parameter Set-up:
-
Enabled: enable the Mifare/Defire Card Encryption.
-
Sector/Block: enter the sector and block that you want the card number to be written into the Mifare/Defire Card. For example, you can write the card number into sector 3 and block 3 in the card.
-
Block Key: enter the block password for access.
NFC Card Setting
NFC function needs to be enabled before you can use the NFC for contactless door access. Path: Intercom > Card Setting interface.

Parameter Set-up:
- NFC Enabled: NFC feature is enabled by default. The device must be connected to SmartPlus for the NFC application.
Configure Open Relay via HTTP for Door Unlock
You can unlock the door remotely without approaching the device physically for door entry by typing in the created HTTP command (URL) on the web browser to trigger the relay when you are not available by the door for door entry.
To do this configuration on web Intercom > Relay > Open Relay Via HTTP interface.
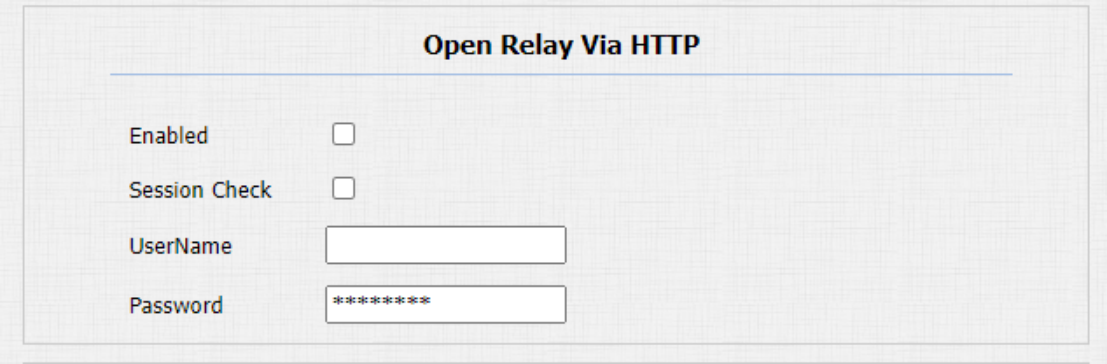
Parameter Set-up:
-
Enabled: enable the HTTP command unlock function by clicking on Enable field.
-
Session Check: enable it to protect data transmission security.
-
UserName: enter the user name of the device web interface, for example, “Admin”.
-
Password: enter the password for the HTTP command. For example: “12345”.
Please refer to the following example:
http://192.168.35.127/fcgi/do?action=OpenDoor&UserName=admin&Password=12345&DoorNum=1
- DoorNum in the HTTP command above refers to the relay number #1 to be triggered for the door access.
Configure Exit Button for Door Unlock
When you need to open the door from inside using the Exit button installed by the door, you can configure the door phone Input to trigger the relay for the door access on web Intercom > Input interface.
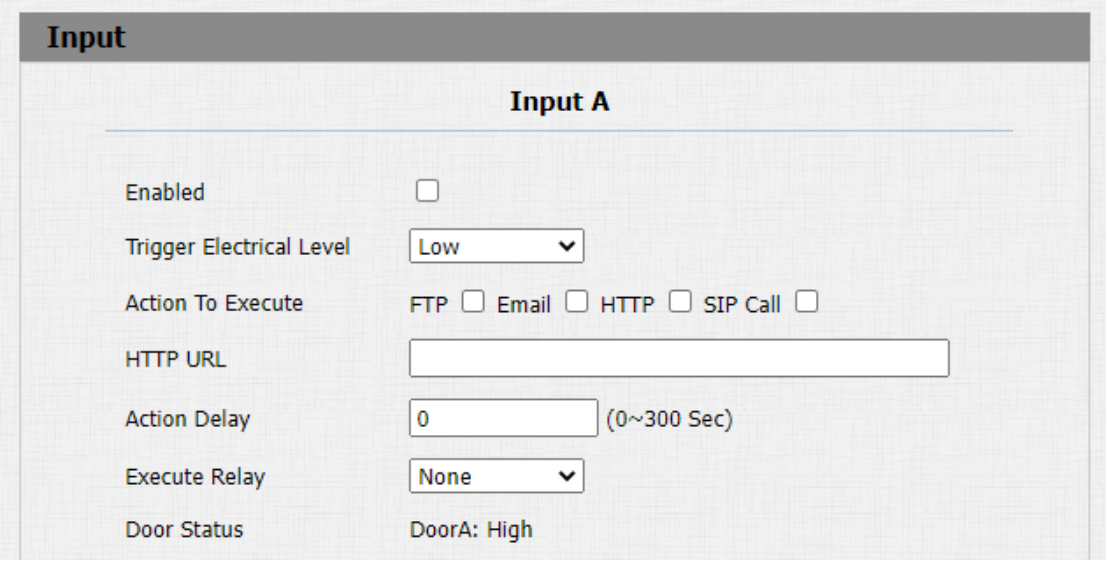
Parameter set-up:
-
Enabled: enable the function if needed.
-
Trigger Electrical Level: select the trigger electrical level options between "High" and "Low" according to the actual operation on the exit button.
-
Action To Execute: select the method to carry out the action among four options: FTP, Email, HTTP, TFTP.
-
Http URL: enter the URL if you select the HTTP to carry out the action.
-
Action Delay: set up the delay time when the action is carried out. For example, if you set the action delay time at 5 seconds, then the corresponding actions will be carried out 5 minutes after your press the button.
-
Execute Relay: set up relays to be triggered by the actions.
-
Door Status: display the status of the input signal.