Overview
This guide explains how to set up an Akuvox two-wire intercom system, including indoor monitor initialization, door phone pairing, local communication testing, and SmartPlus Cloud deployment.
After the local setup is complete, indoor monitors and paired door phones can communicate and perform basic door unlocking without an Internet connection. You can then connect the system to the Internet and add it to SmartPlus Cloud to enable cloud-based services.
Before You Start
Applicable Devices and Firmware Versions
Make sure the devices are running the following firmware versions or later.
Model | Minimum Firmware Version |
|---|---|
S562W-2 | 5622.30.15.18 |
C313W-2 / C313S-2 | 212.30.15.204 |
C313W-LP-2 | 311.30.15.231 |
R20A-2 / R20K-2 | 320.30.11.45 |
E12S-2 | 312.30.10.241 |
Network Requirements
Connect the indoor monitors and door phones to the same LAN for device discovery and pairing.
An Internet connection is required for SmartPlus Cloud deployment.
Local communication and basic door unlocking can work without an Internet connection after successful device pairing.
Application:
AK-Partner App: Android 1.0.6 or later / iOS 1.0.4 or later.
Part 1: Initialize the Indoor Monitor and Pair the Door Phone
Use an indoor monitor as the starting point for configuring each apartment. Take the S562W-2 indoor monitor as an example.
Power on the device.
Select the device’s language and time zone.
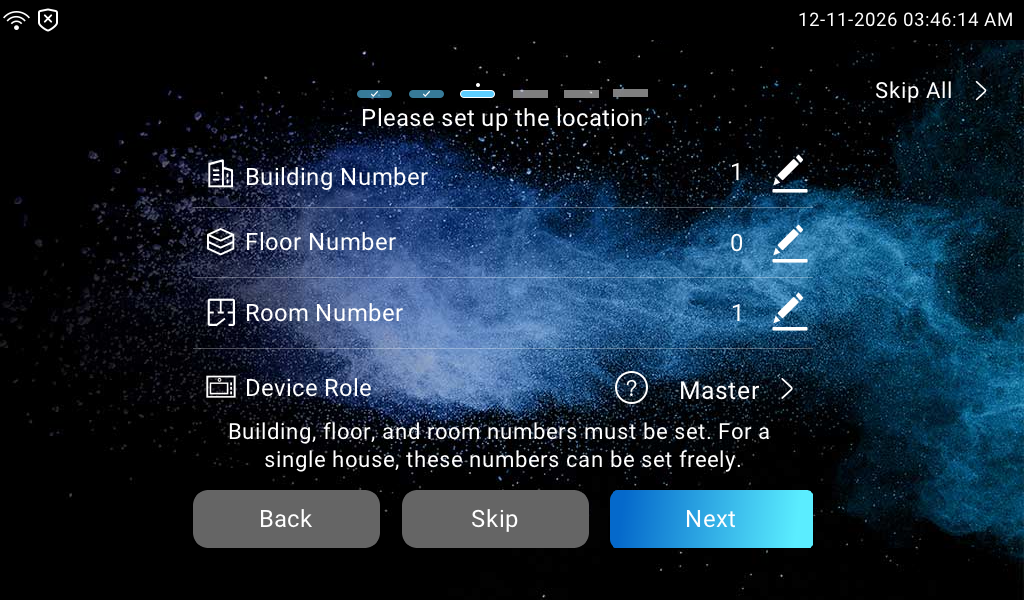
Set up the device’s location.
Building Number: ranges from 01 to 09.
Floor Number: ranges from 00 to 19.
Room Number: ranges from 01 to 19.
Device Role: Select Master if this is the only indoor monitor in the apartment. If multiple indoor monitors are installed, configure one as the Master and the others as Slaves. For a Slave, select a device number from 1 to 8.
NOTE: The Master indoor monitor is the primary device for displaying the QR code used for SmartPlus account registration.
Family Name: Customize the family name.
APT Name: Automatically generated based on the configured Building Number, Floor Number, and Room Number.
Tap Next.
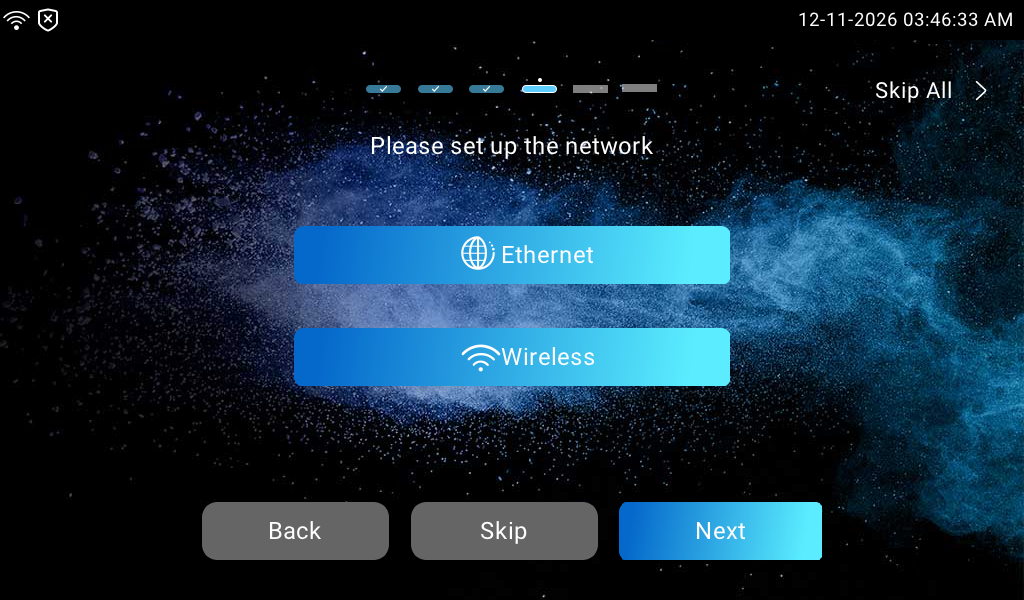
Select the network connection: Ethernet or Wi-Fi.
Tap Next to select the device’s display theme.
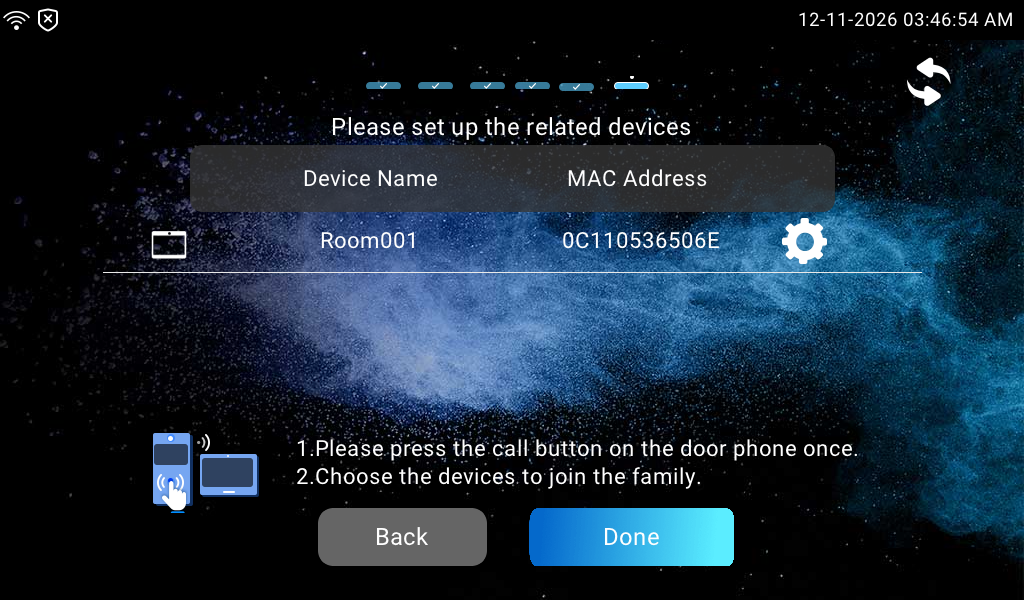
Tap Next. The indoor monitor will scan the devices on the same LAN during this step.
At the moment, the door phone will play a “ding” sound, indicating that it is in pairing mode.
Press the push button on the door phone in 5 minutes.
Check the door phone and tap Confirm.
When pairing succeeds, “family sent successfully” will display on the device screen.
Tap Done.
Repeat the above procedure for each apartment until all indoor monitors and their corresponding door phones have been configured.
Part 2: Verify Local Calling and Unlocking
After completing the local configuration, test communication between the door phones and indoor monitors.
The dialing method depends on the door phone model and its installation location.
At the Apartment Door:
R20A: Press the push button.
At the Building Entrance:
R20K: Enter the [floor number+room number], e.g., 001, and press the Call button.
At the Community Entrance:
R20K: Enter the [building number#floor number+room number], e.g., 1#001, and press the Call button.
During the call, press the Unlock button on the indoor monitor to open the door.
Part 3: Add the System to SmartPlus Cloud
After completing local configuration and testing, connect the indoor monitor to the Internet and add it to SmartPlus Cloud through AK-Partner.
When an indoor monitor is added to the cloud, the door phones paired with it in the same apartment are also uploaded.
Part 3-1: Display the QR Code
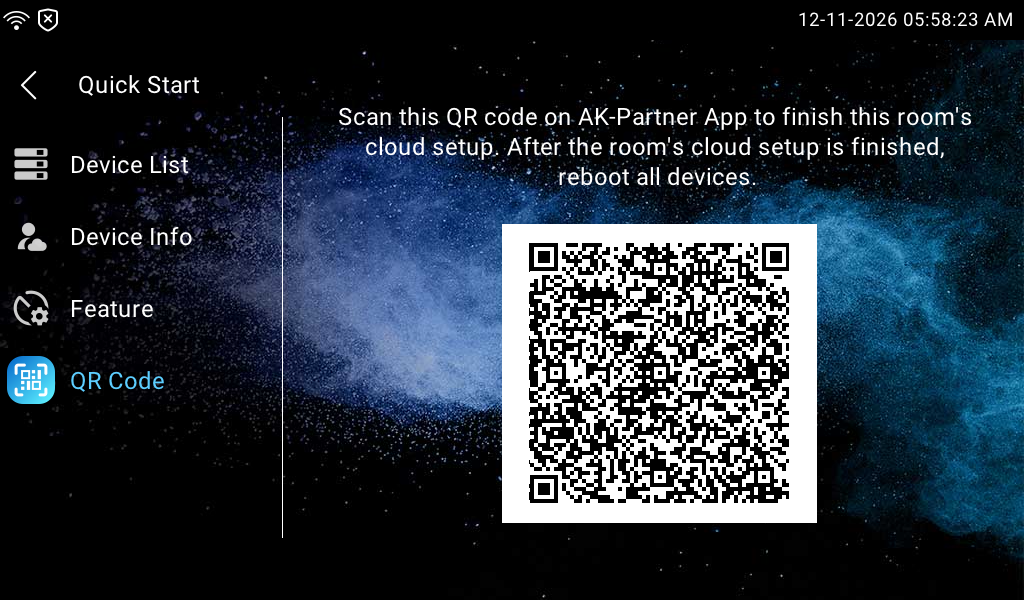
After the indoor monitor is connected to the Internet, a QR code is displayed on the device.
If you skip the QR screen during the initial setup, you can access it later through Settings > Advanced Settings > Quick Start > QR Code.
Part 3-2: Scan the QR Code with AK-Partner
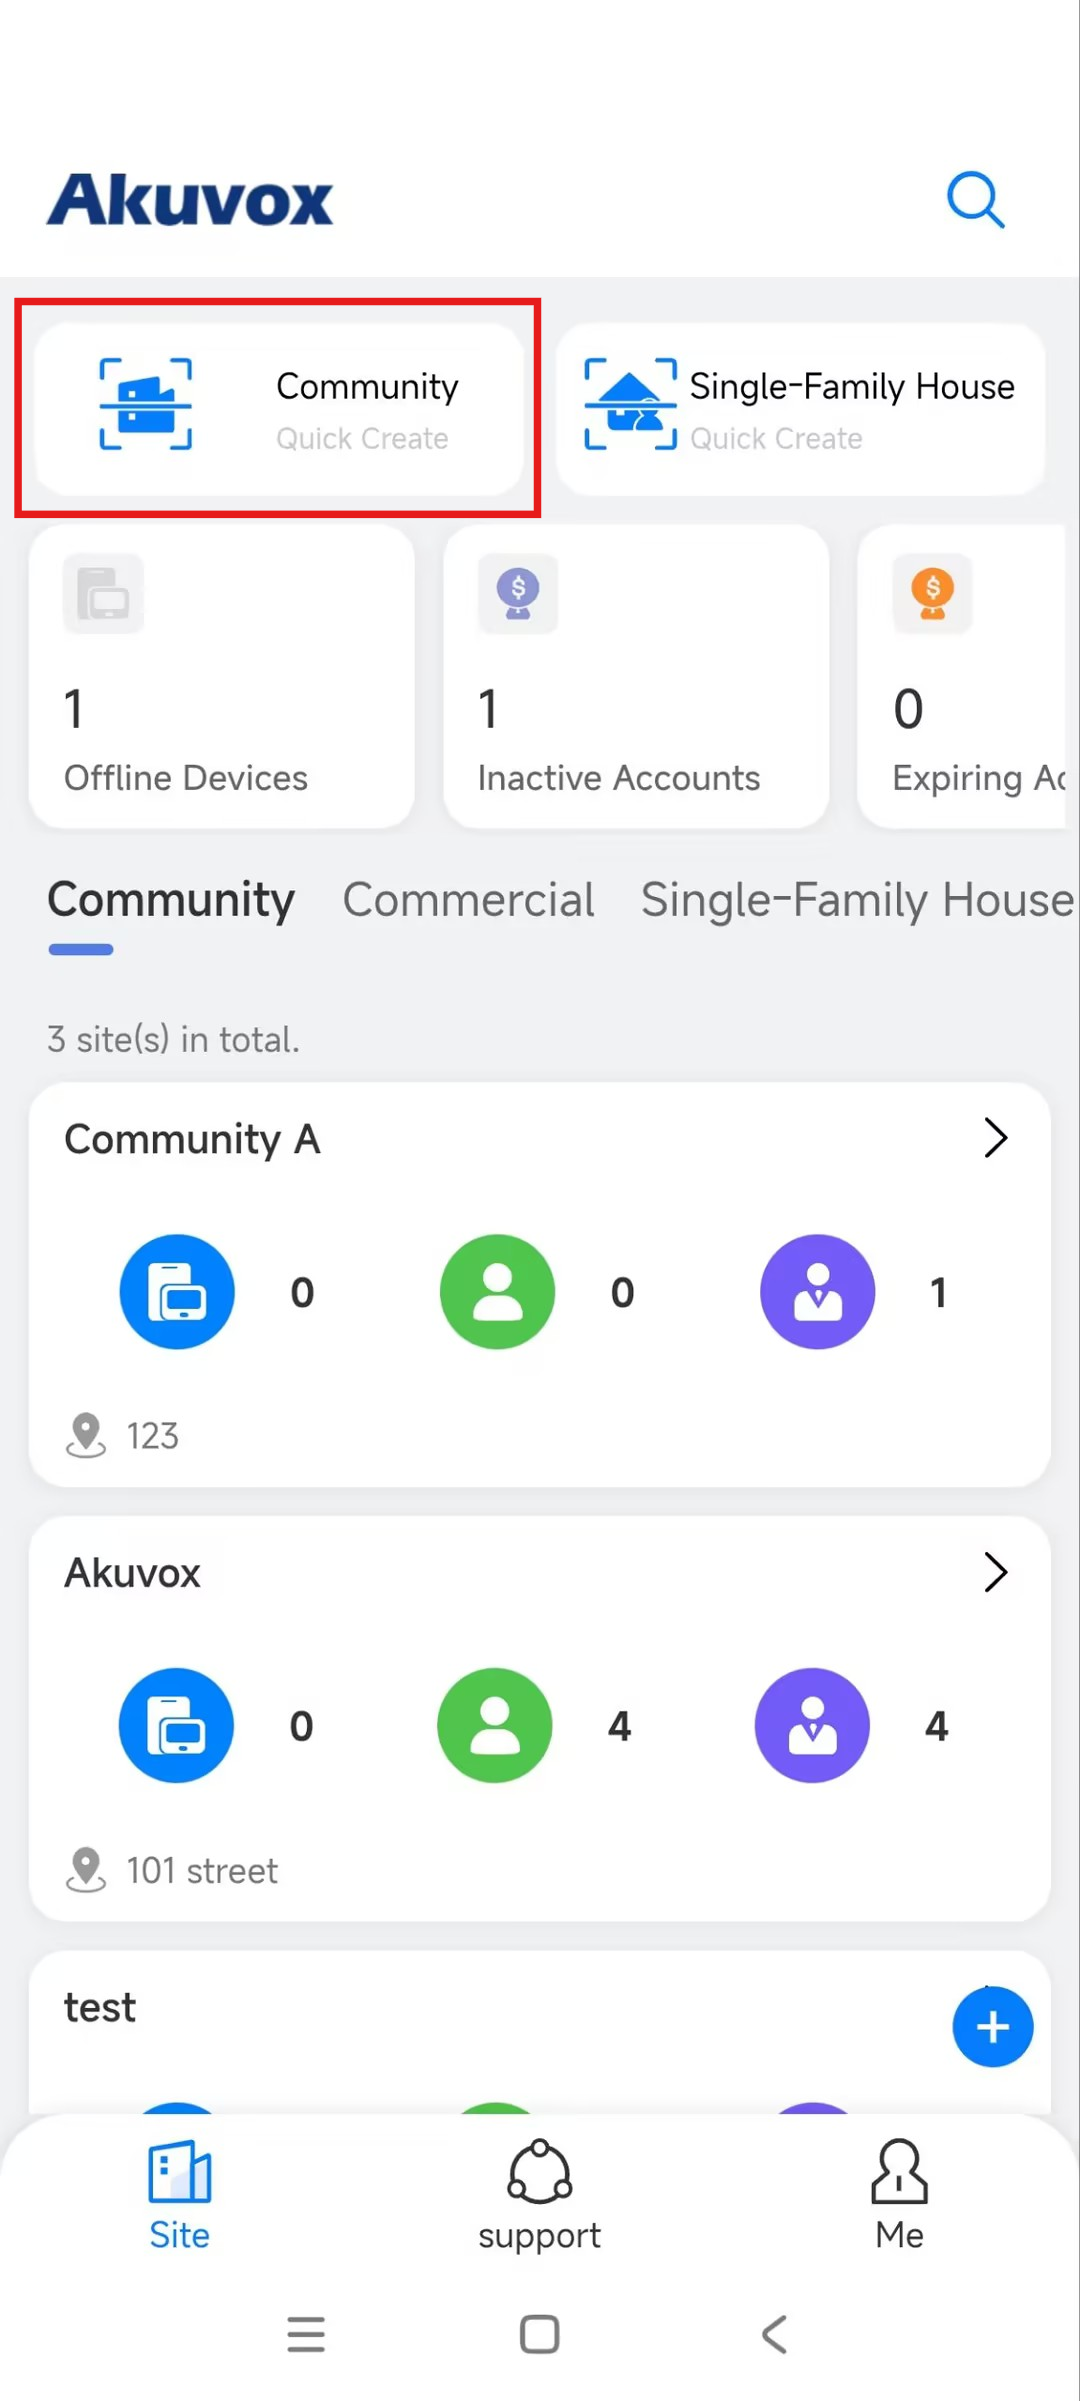
Tap Community Quick Create on the AK-Partner App’s homepage.
Scan the QR code on the indoor monitor.
Select the community on the app. You can tap +New to create a new community. Click here to view the instructions on creating a community.
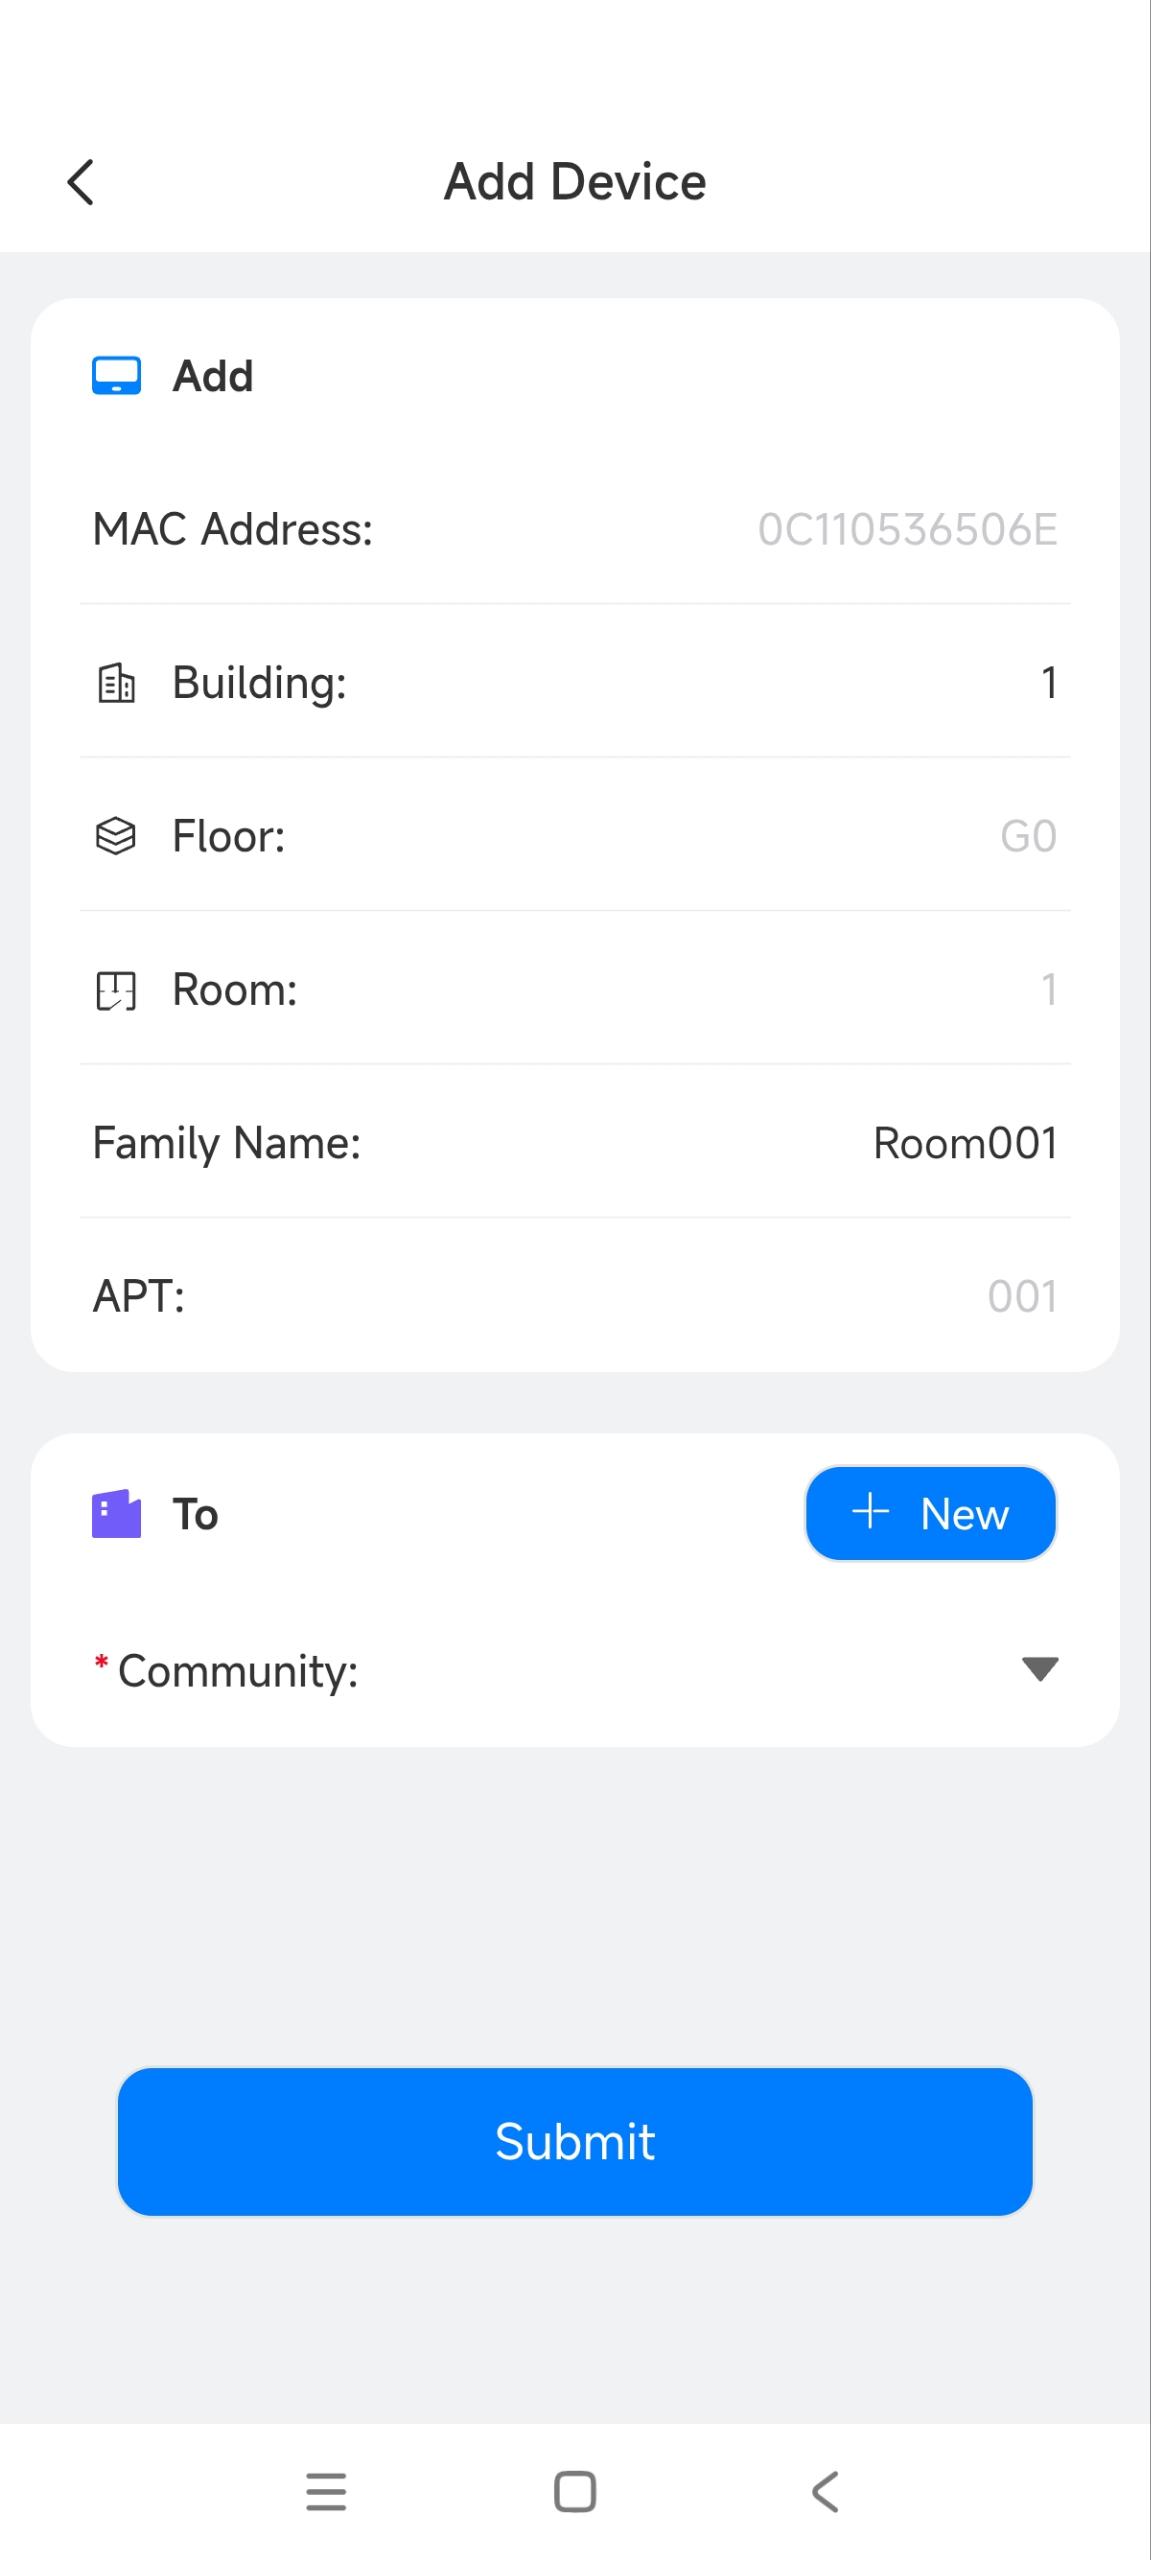
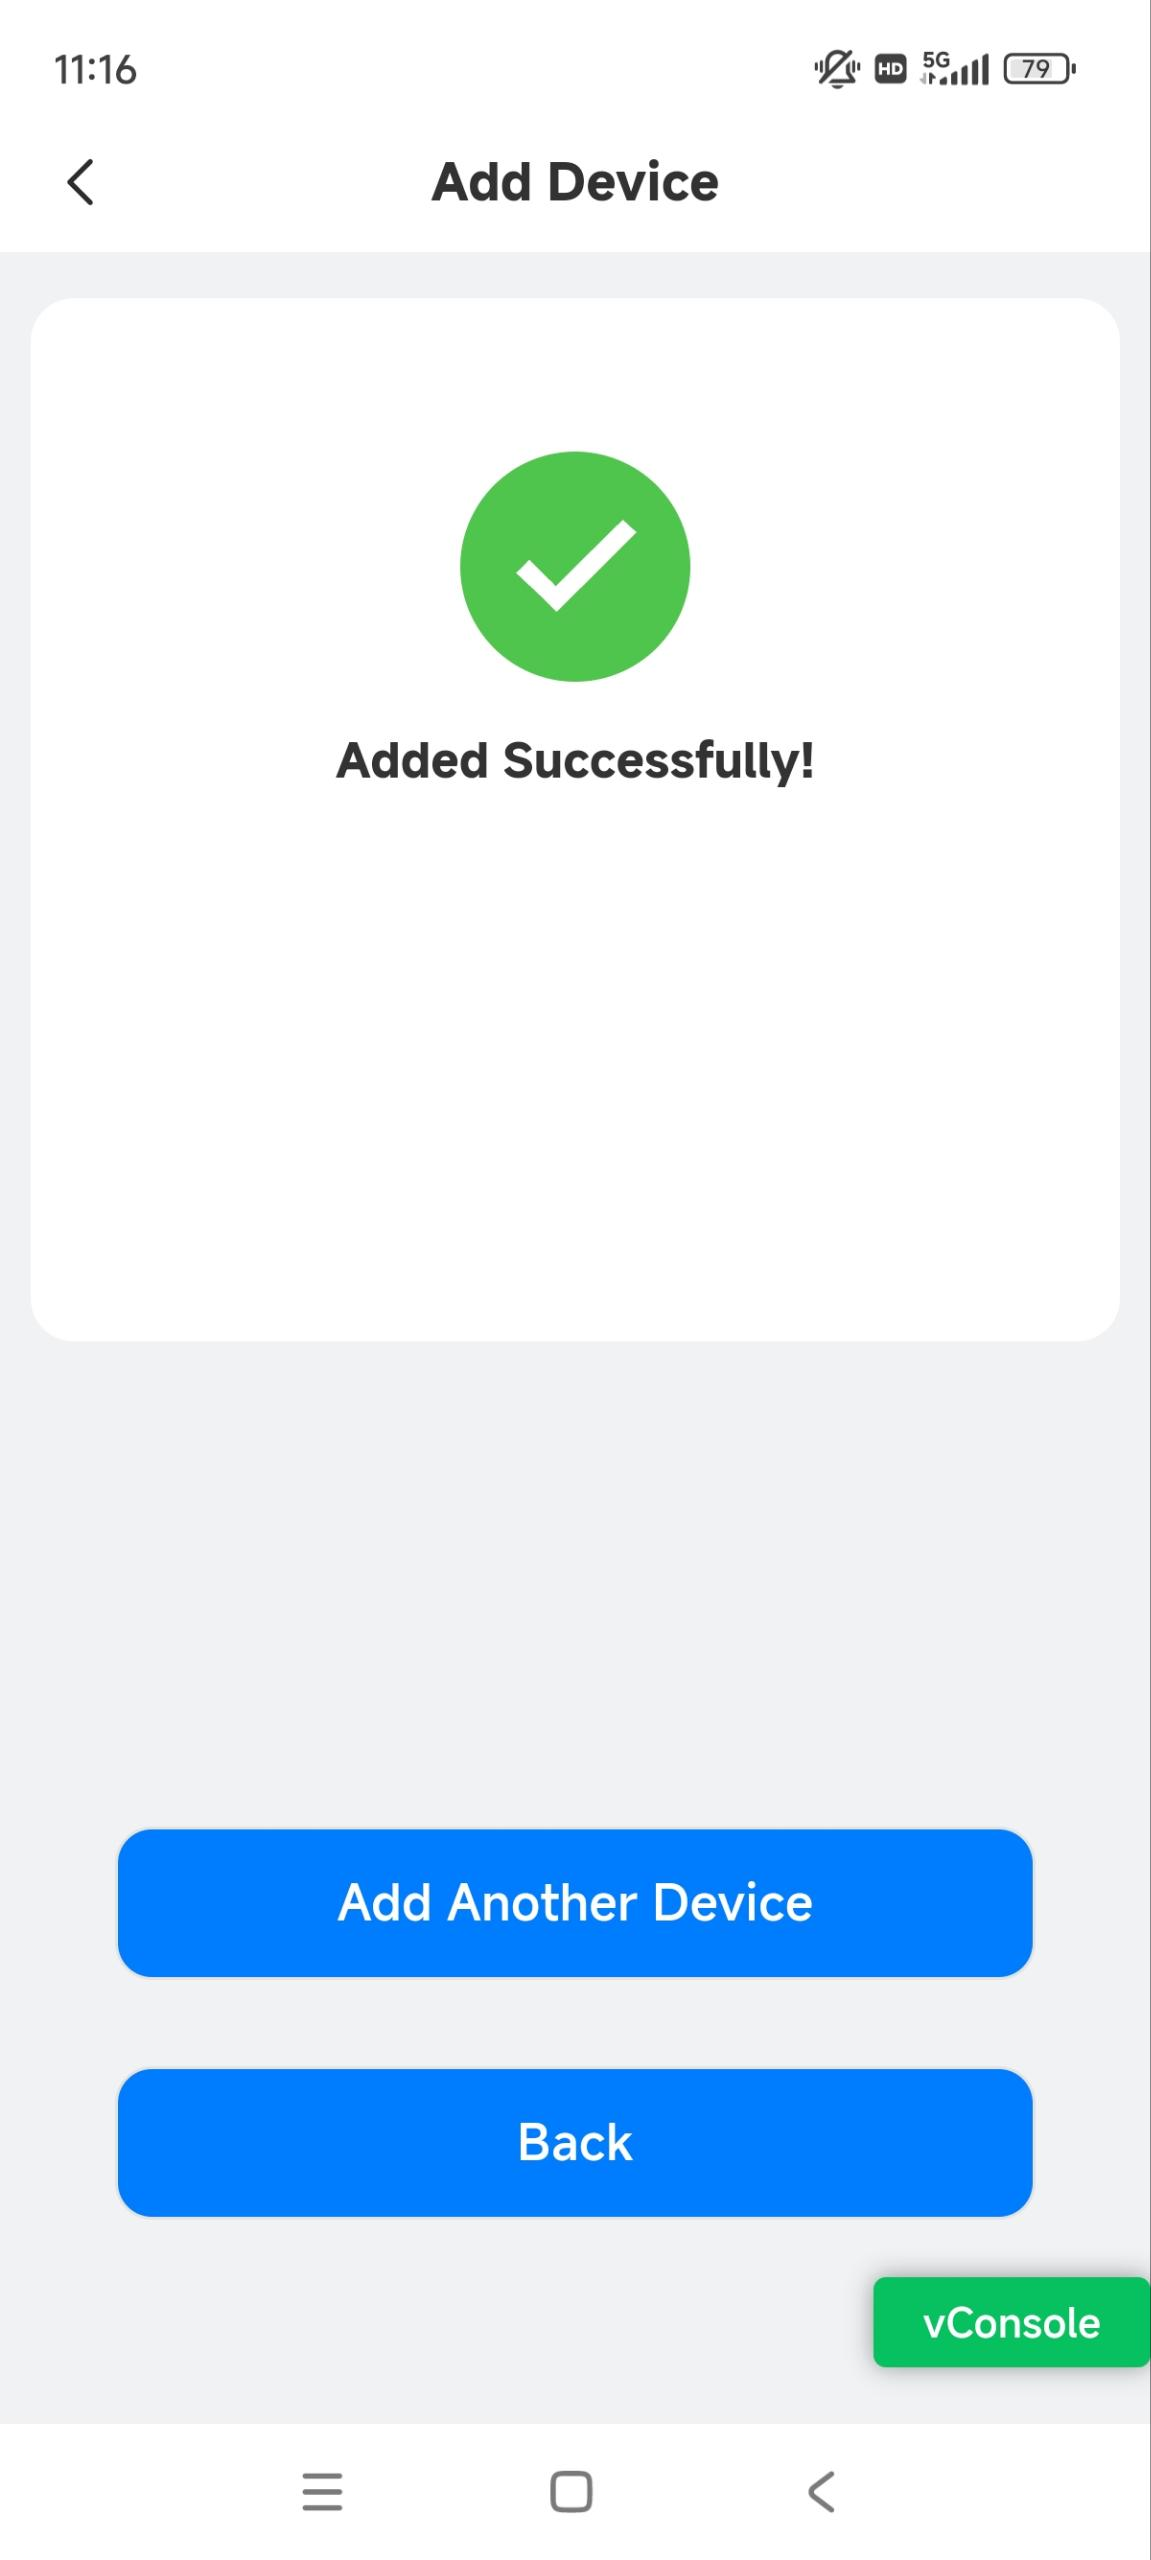
Tap Submit. Added successfully will display. You can tap Add Another Device to keep adding devices to the cloud. Or, tap Back to return to the homepage.
Part 3-3: Verify the Uploaded Devices
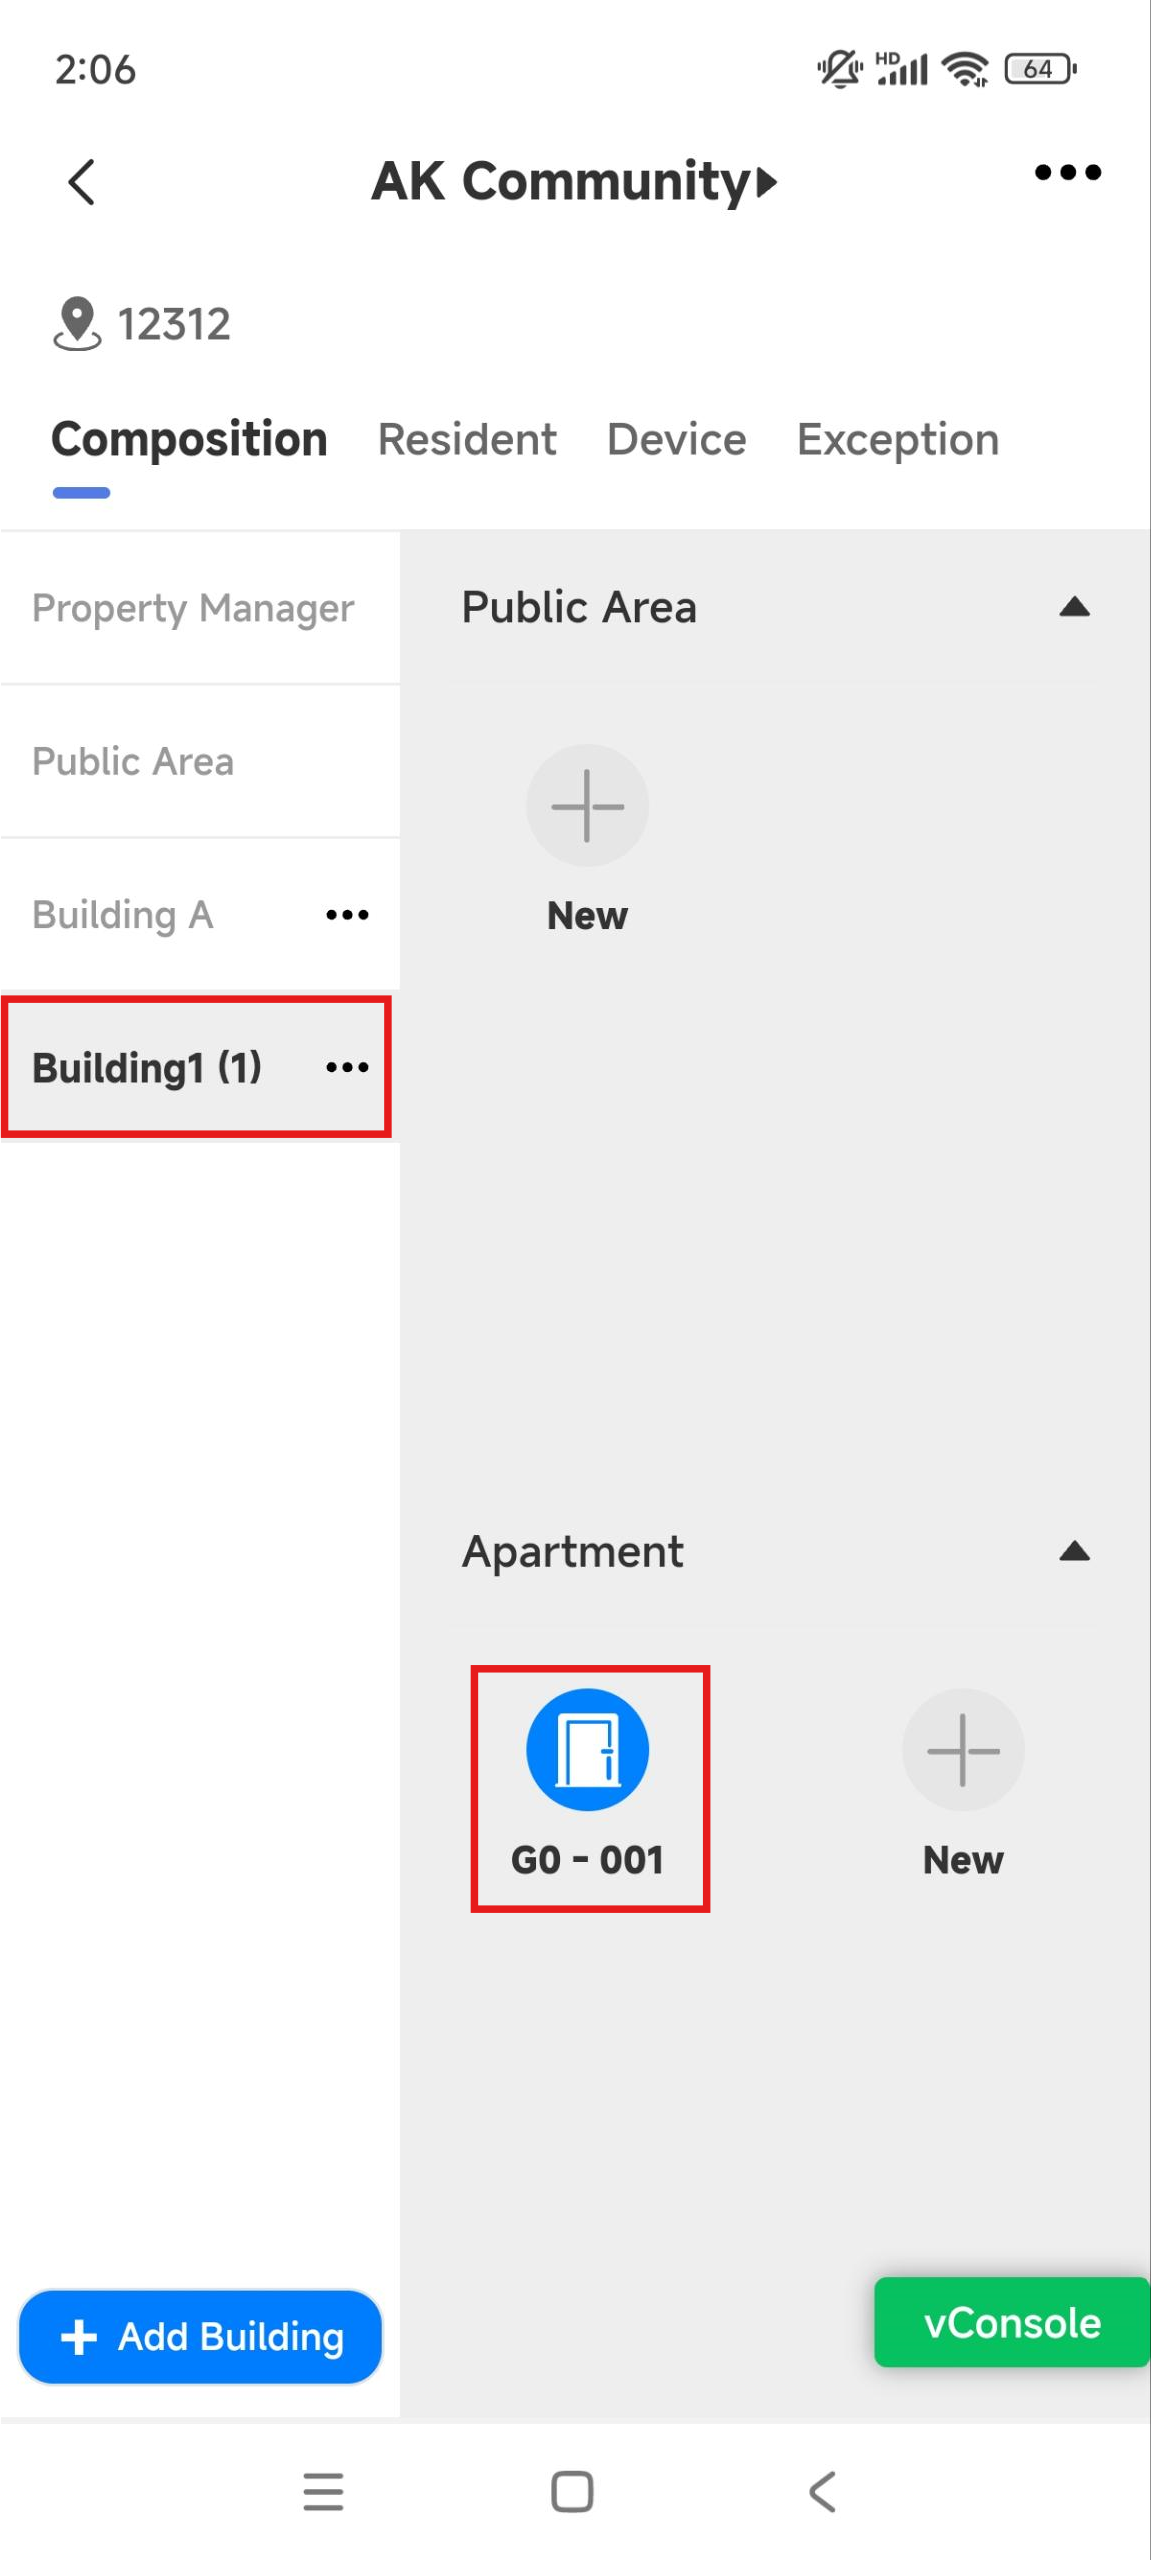
Tap the community name on the homepage. A default building and an apartment are created.
Tap the apartment to view its information.
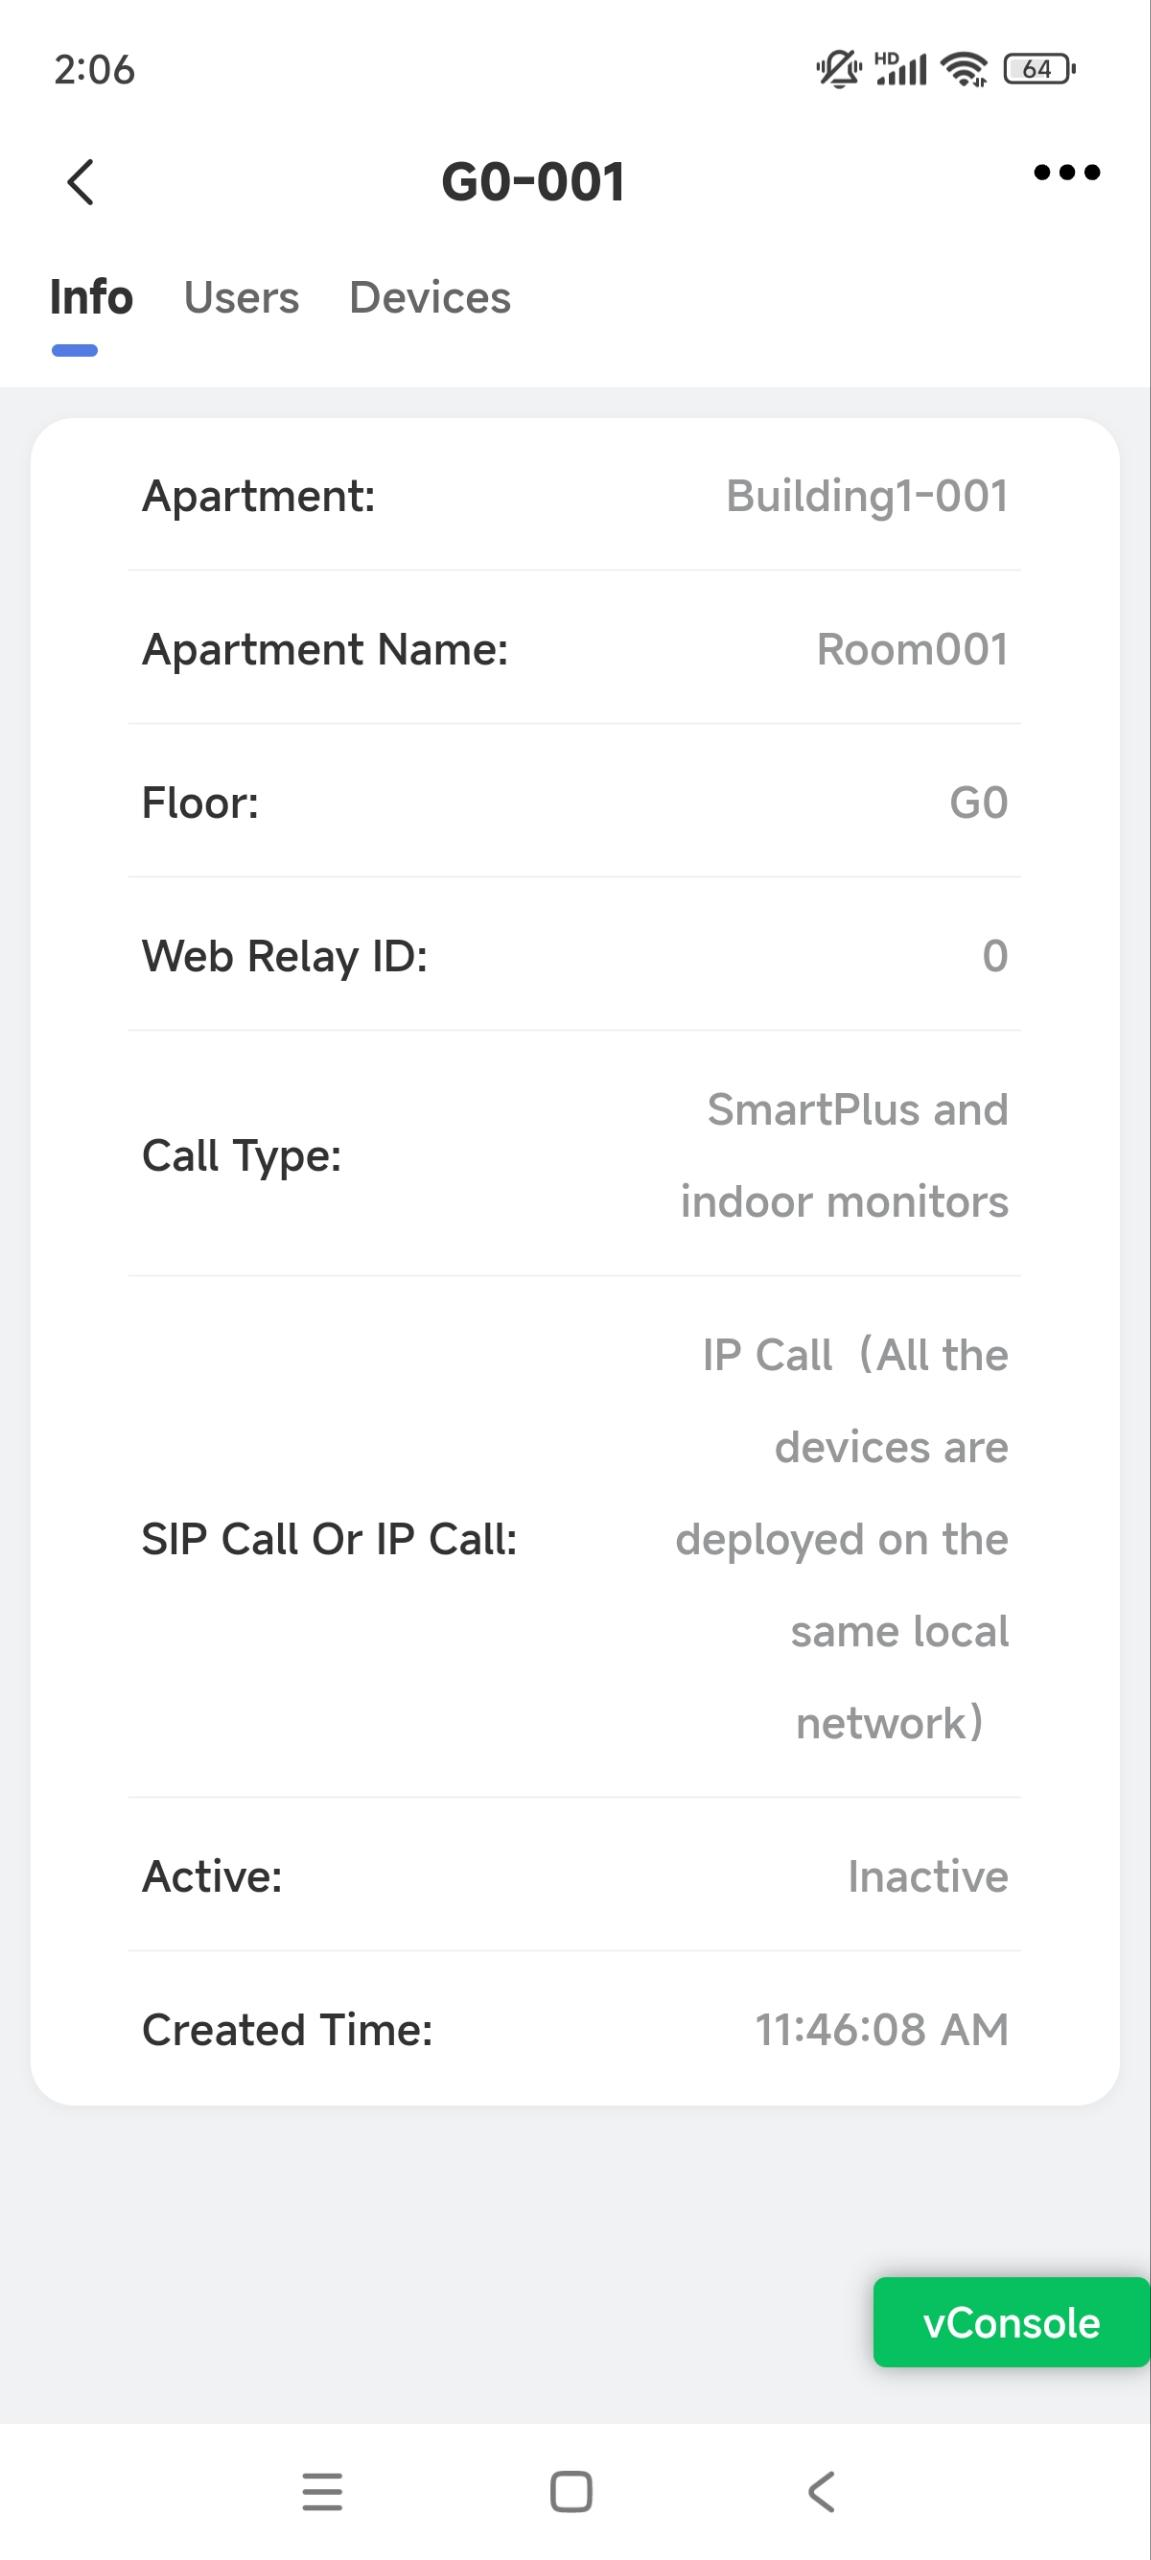
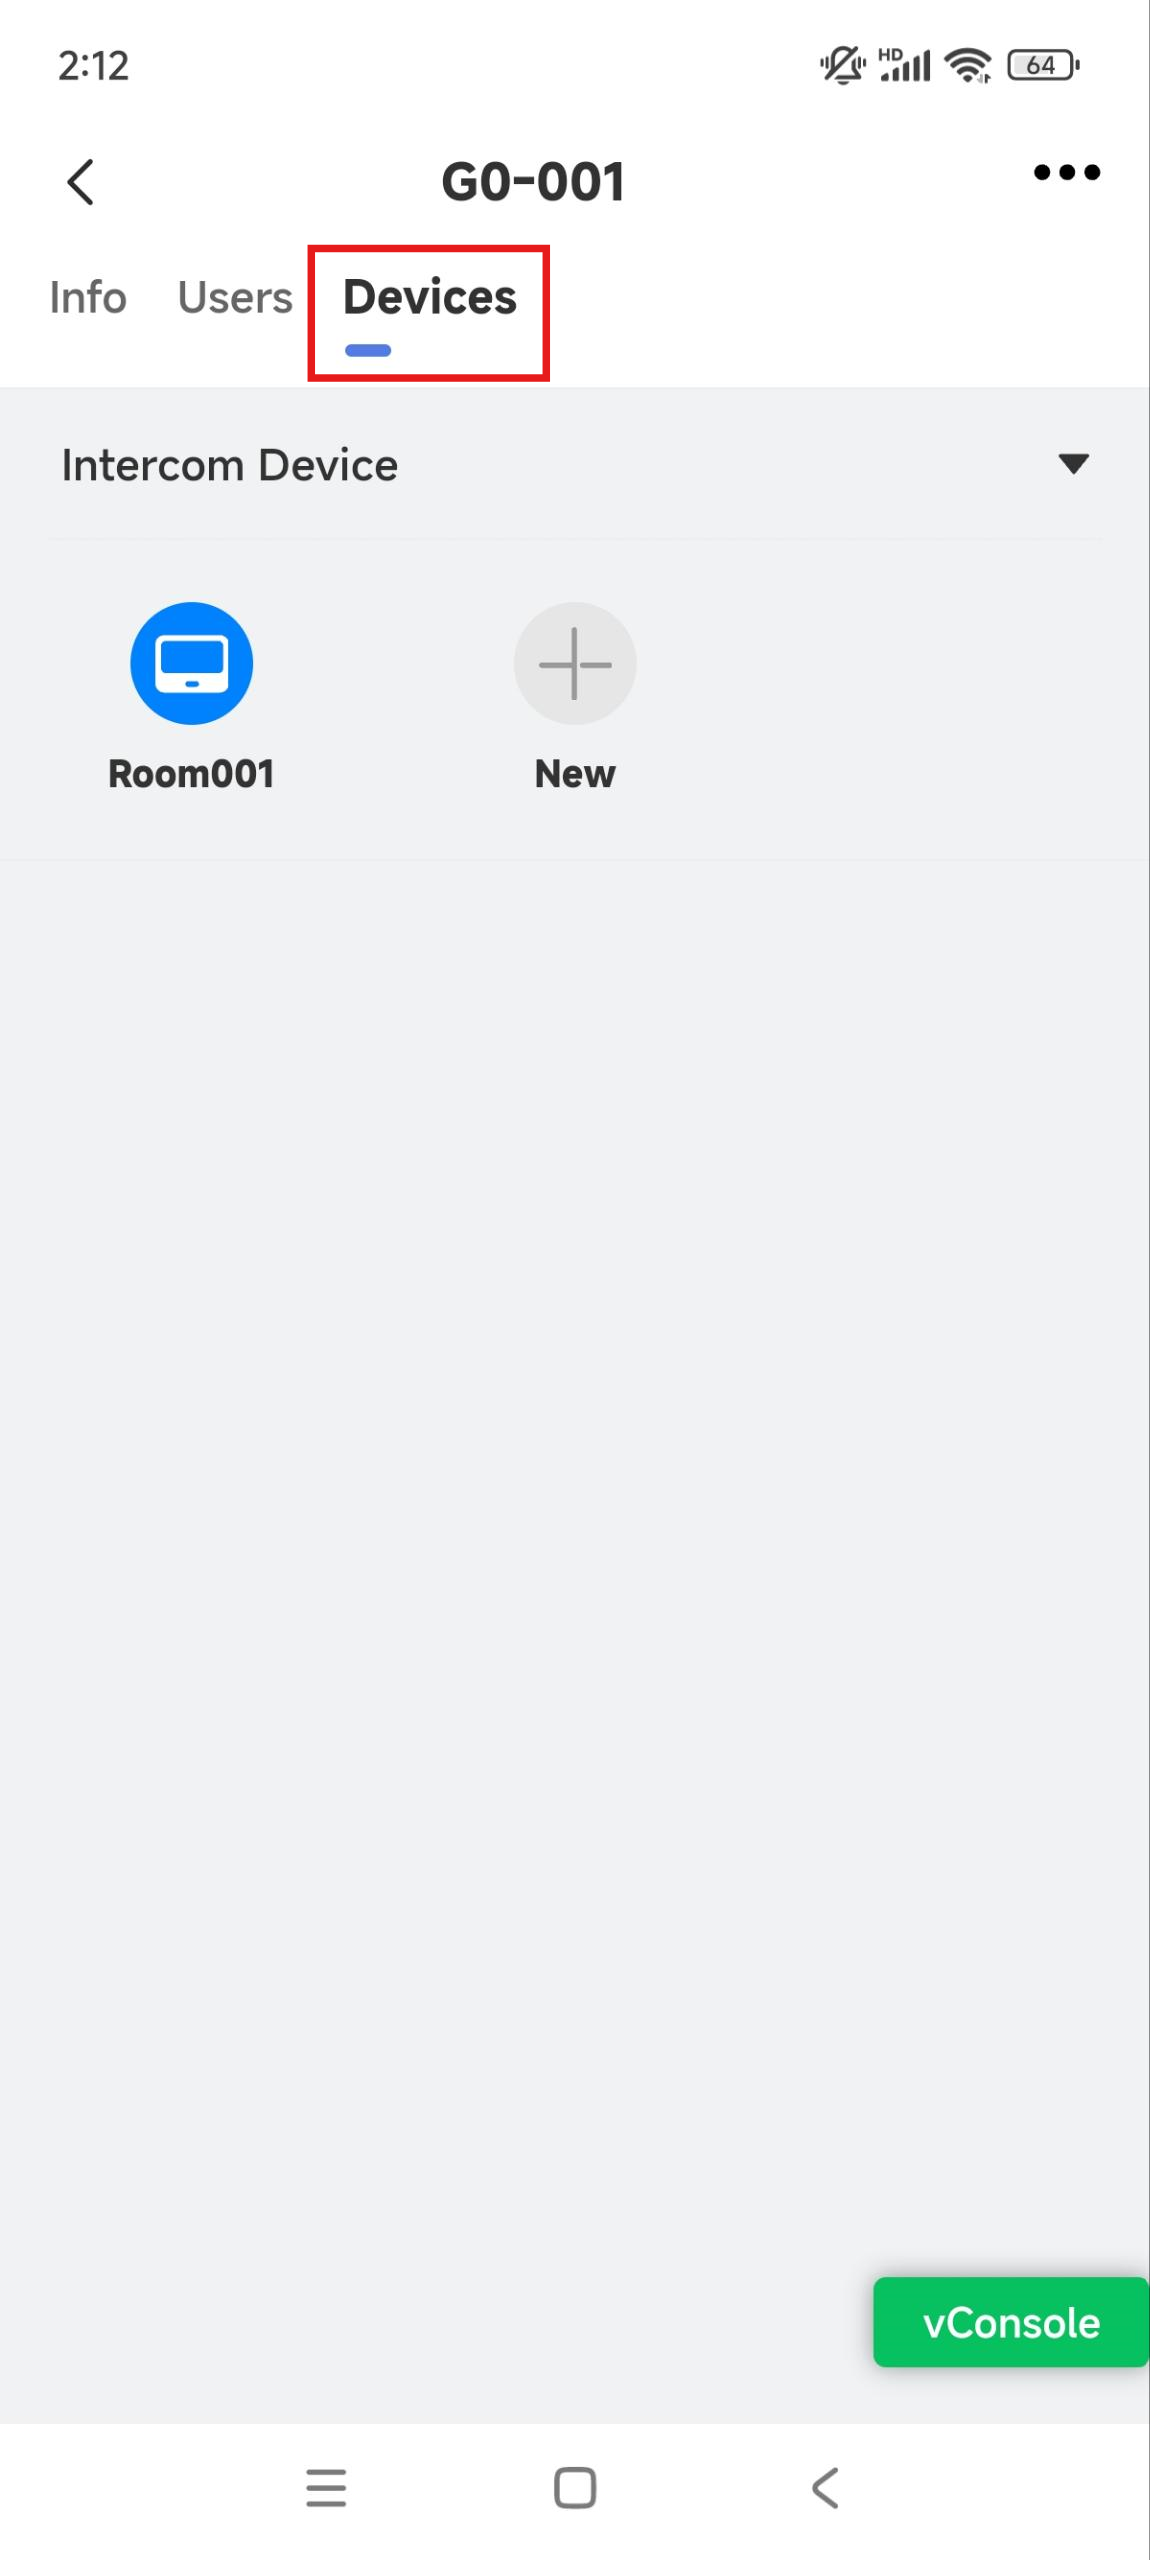
Select Devices to check the device just added.
Part 4: Resident Account Registration
Once the devices have been successfully added to SmartPlus Cloud, residents can register their SmartPlus accounts using the QR code displayed on the indoor monitor.
Account registration is normally completed by residents themselves. Property managers can guide residents through the registration process when needed.
On the indoor monitor, access Settings > SmartPlus Account.
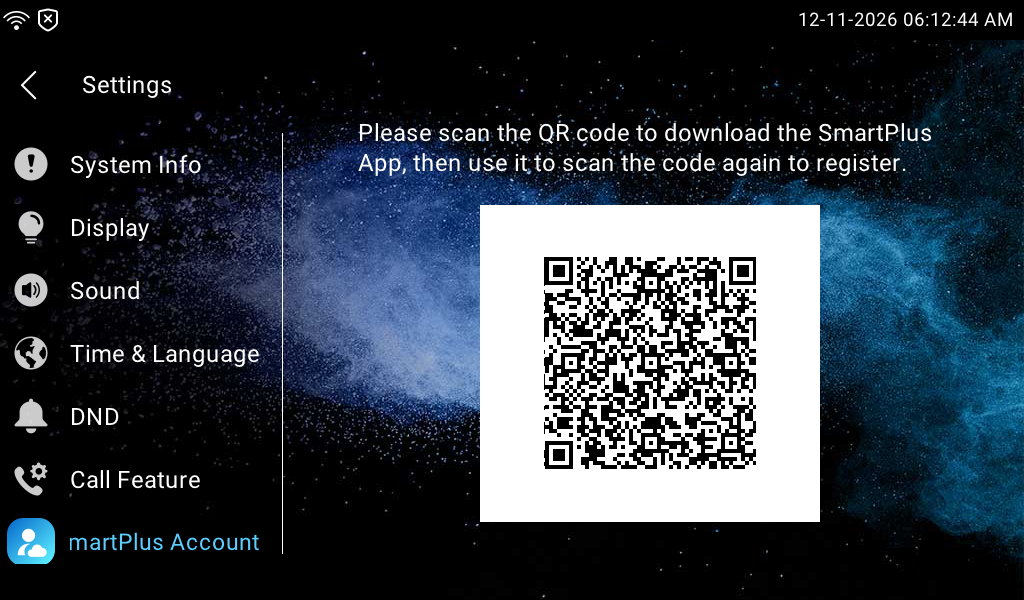
Residents can then scan the QR code using the SmartPlus App and follow the on-screen instructions to complete account registration.
For detailed account registration instructions, refer to Register 2-Wire Kit SmartPlus Account.
Part 5: Verify Cloud Calling and Unlocking
After the devices are online and the resident has successfully registered a SmartPlus account, verify the cloud-based functions.
Open the SmartPlus App and sign in with the registered account.
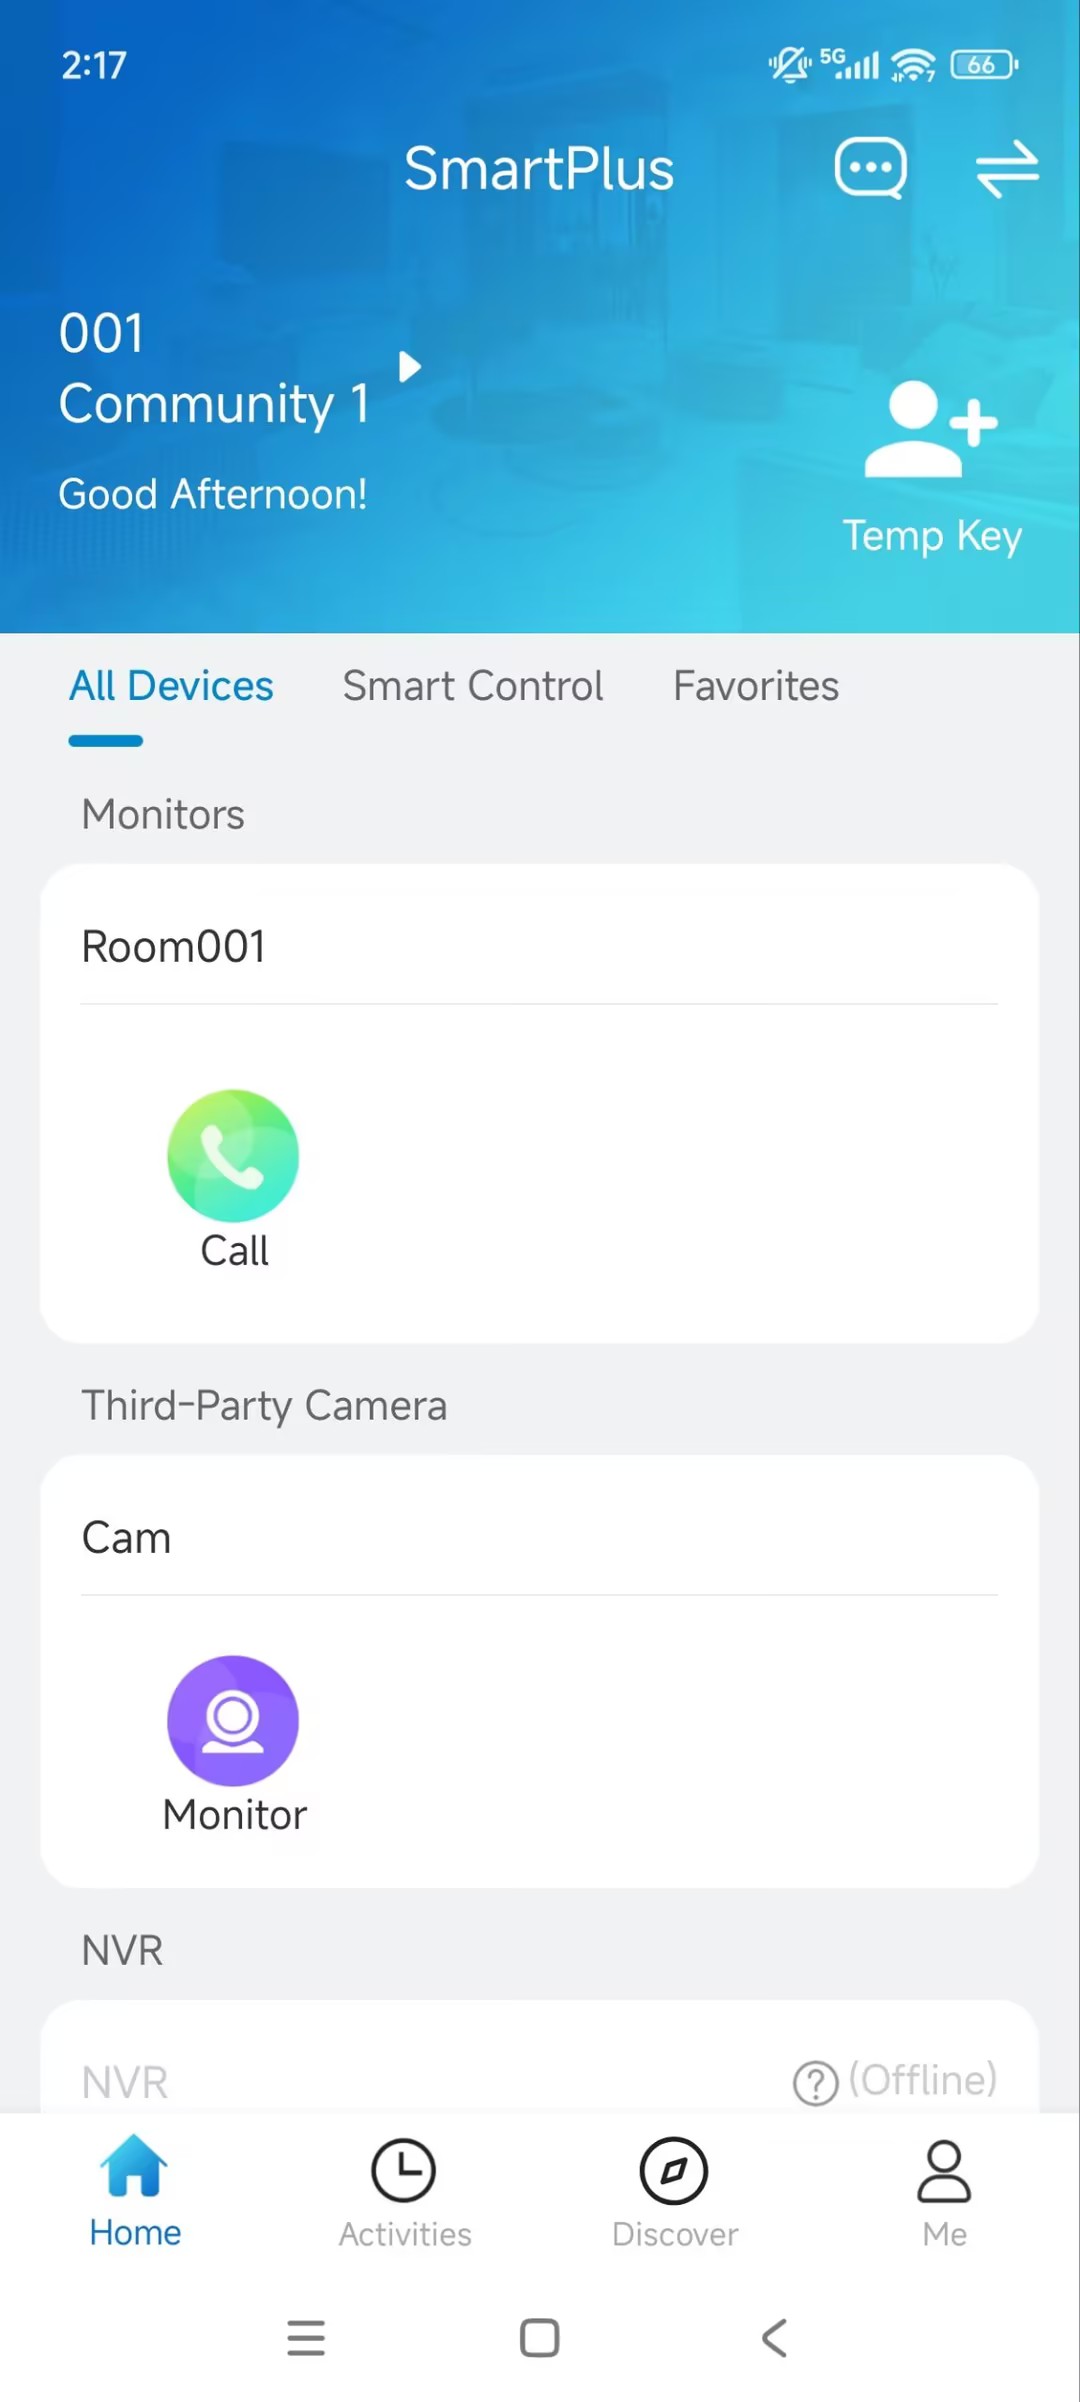
Check that the apartment device is displayed on the App homepage.
Tap Call to initiate a call to the indoor monitor.
During the call or through the available device controls, tap Unlock to unlock the paired door phone.