Akuvox SmartPlus Cloud supports integration with the Dormakaba lock, which allows users to unlock the lock conveniently on their SmartPlus Apps.
To realize the integration, you need to create the Dormakaba App account first, then add locks on the Dormakaba App, and assign locks to the desired projects on the SmartPlus platform.
Create Dormakaba App Account
Log into the SmartPlus platform with an installer account.
Click the account name in the upper right corner and select Dormakaba Integration.

Click User Guide on the right and you can see the steps of adding the locks.

Click Create to create the Dormakaba installer account. Fill in the information. The email address is used to receive emails from Dormakaba.

Click Submit and you will receive the registration invitation email from Dormakaba.
Enter the information to sign up for an account.
Note
The email address should be the same as the one used to apply for Dormakaba account on SmartPlus platform.


After registration succeeds, you will be informed to download the Dormakaba Layzon Utility App for locks management.

Add Locks on Dormakaba App
Log into the Dormakaba Layzon Utility App with the account that is just registered.
Find the site with the same name as your SmartPlus installer account.
Tap Find Lock to add locks.

Enter *#*# on the target lock and it will be searched by the App and displayed in the list. Or, you can tap Show All to display all locks via Bluetooth detection.

Follow the on-screen instructions to finish the adding of locks.

Assign Locks on the SmartPlus Platform
Click the account name in the upper right corner and select Dormakaba Integration.
Click Update Lock List to display the latest added locks.
Click
 to assign the lock to a specific apartment, building, or area. You can also link the lock to an Akuvox door phone. After linking, the lock will be displayed on the door phone’s Relay list instead of the Home page of the SmartPlus App.
Note
X915, X916, R29, E16 V2.0, E18, R20 V5.0, and E12 V2.0 supports linking to third-party locks.

After assigning the lock to a project, you can
click
 to unbind it from the project.
click
 to delete the lock. It will also be deleted on the Dormakaba App. You need to add the lock again for using it.
click
 to view the lock’s information.

Check the Assigned Locks
After adding the Dormakaba lock, you can check its information and unbind it in a specific project.
In a Single-tenant Project
Click
 of the desired user and click Third Party Devices.
Click Dormakaba Lock where the assigned locks will be displayed.
You can click New to assign the added lock to the apartment.


In a Community Project
Click the desired area or building in the Resident and Device module.
Click Third Party Devices and select Dormakaba Lock where the assigned locks will be displayed.
You can click New to assign the added lock to the area/building.

If the lock is assigned to a specific user, find the lock by clicking
and scrolling to Third Party Devices section.


Manage Locks on SmartPlus App
After you assign the locks to projects, users can unlock and manage locks on their SmartPlus Apps.
Unlock the Lock
Users can unlock the lock on the Home page when it is not linked to a door phone.
When it is linked, users can tap Open Door of the linked door phone and see the door lock option in the Relay list.


Set up the Lock
Go to the Me > Discover > Third-Party Devices page.
Tap Dormakaba and select the specific lock to be configured.
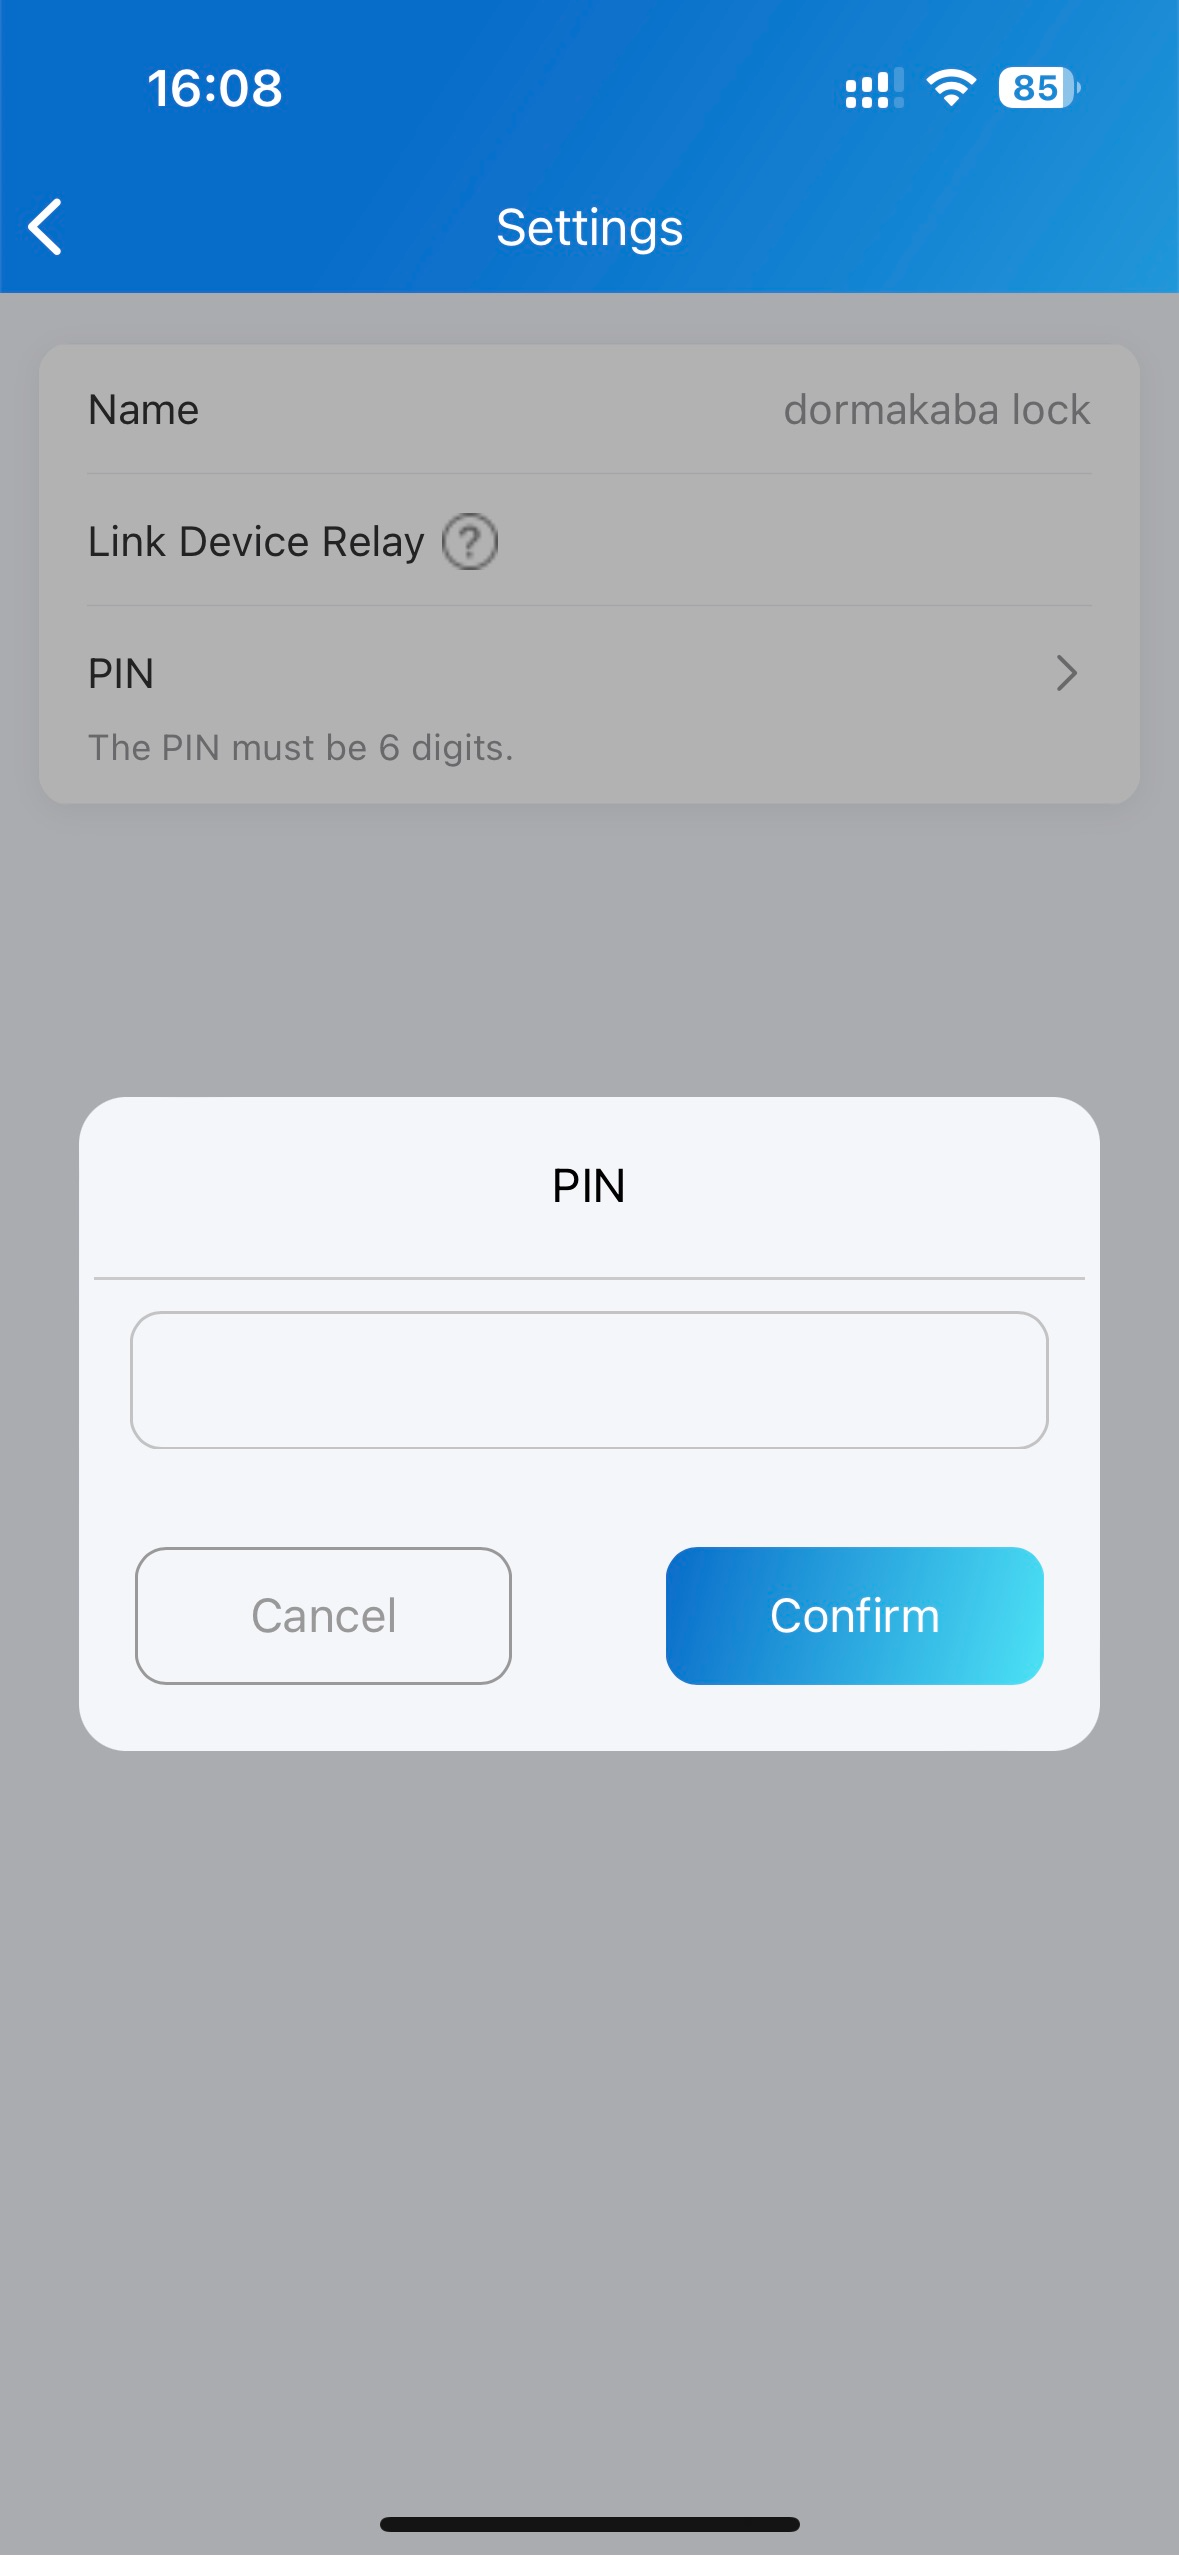
On the Settings page, users can:
Change the lock’s name.
Link the lock to a door phone’s relay. When triggering the relay, the lock will be unlocked simultaneously.
Set up a PIN to unlock the lock. The PIN is entered on the lock. When the lock is linked to a door phone, the PIN setting is unavailable.