The Akuvox door phones integrate with Avycon NVR, enabling users to view its monitoring streams. When motion is detected, the door phone can alert the Avycon NVR system.
Note
The following models with specific firmware versions or higher support the integration:
R29: 29.30.10.327
S539: 539.30.10.111
X916: 916.30.10.316
X915V2: 2915.30.10.426
ONLY R29 supports sending motion detection alert to the NVR.
The compatible model: AVR-NSV04P4.
Before You Start
Make sure:
You have powered on the NVR and inserted an Ethernet cable into its Ethernet port.
Your computer is on the same LAN as the NVR.
Set up Akuvox Door Phone
Take R29 as an example. The NVR can obtain the video stream from the door phone via RTSP or ONVIF.
Use the device IP(scanned by the IP scanner tool) to log in to its web interface. The initial username and password are admin.
Set up RTSP
Go to the Surveillance > RTSP interface.
Ensure RTSP is enabled and customize the username and password.
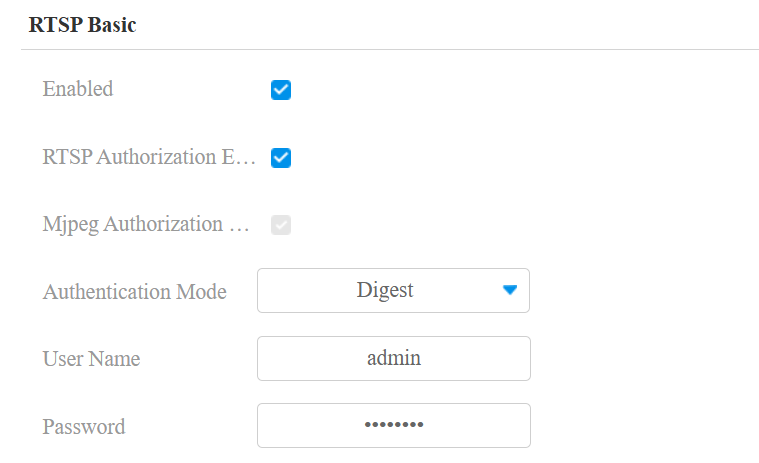
Click Submit.
Set up ONVIF
Go to the Surveillance > ONVIF interface.
Ensure Discoverable is checked, and customize the username and password.
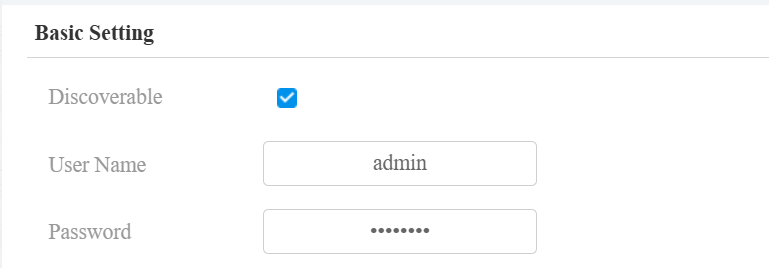
Click Submit.
Set up Motion Detection
Go to the Surveillance > Motion interface.
Select the desired detection type: video detection or IR detection.
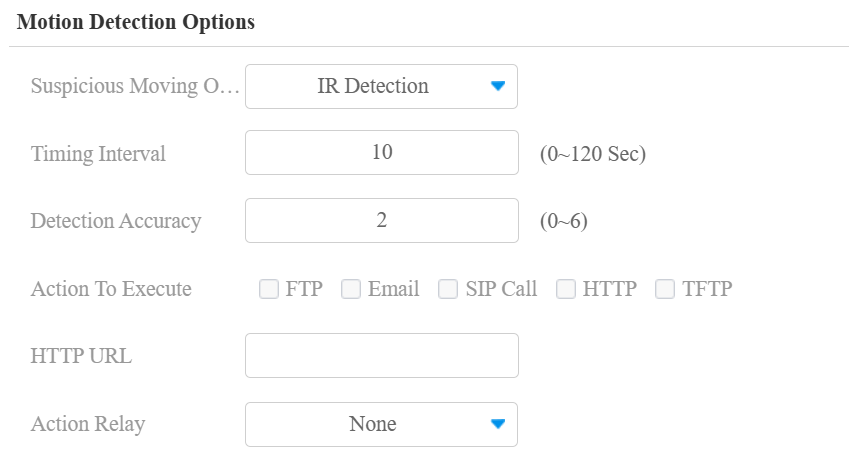
Click Submit.
Tip
Click here to view the configuration details of motion detection.
Set up the NVR
Enter the NVR’s IP in a browser.
Log in with the username and password that are set when running the NVR for the first time.
Once logged in, click Configuration and click Quick Add.
Add the Door Phone via RTSP
Name the door phone, and enter the mainstream URL. R29 supports two channels.
First channel: rtsp://Device’s IP/live/ch00_0
Second channel: rtsp://Device’s IP/live/ch00_1
Set Protocol to RTSP.
Enter the username and password set in the door phone.
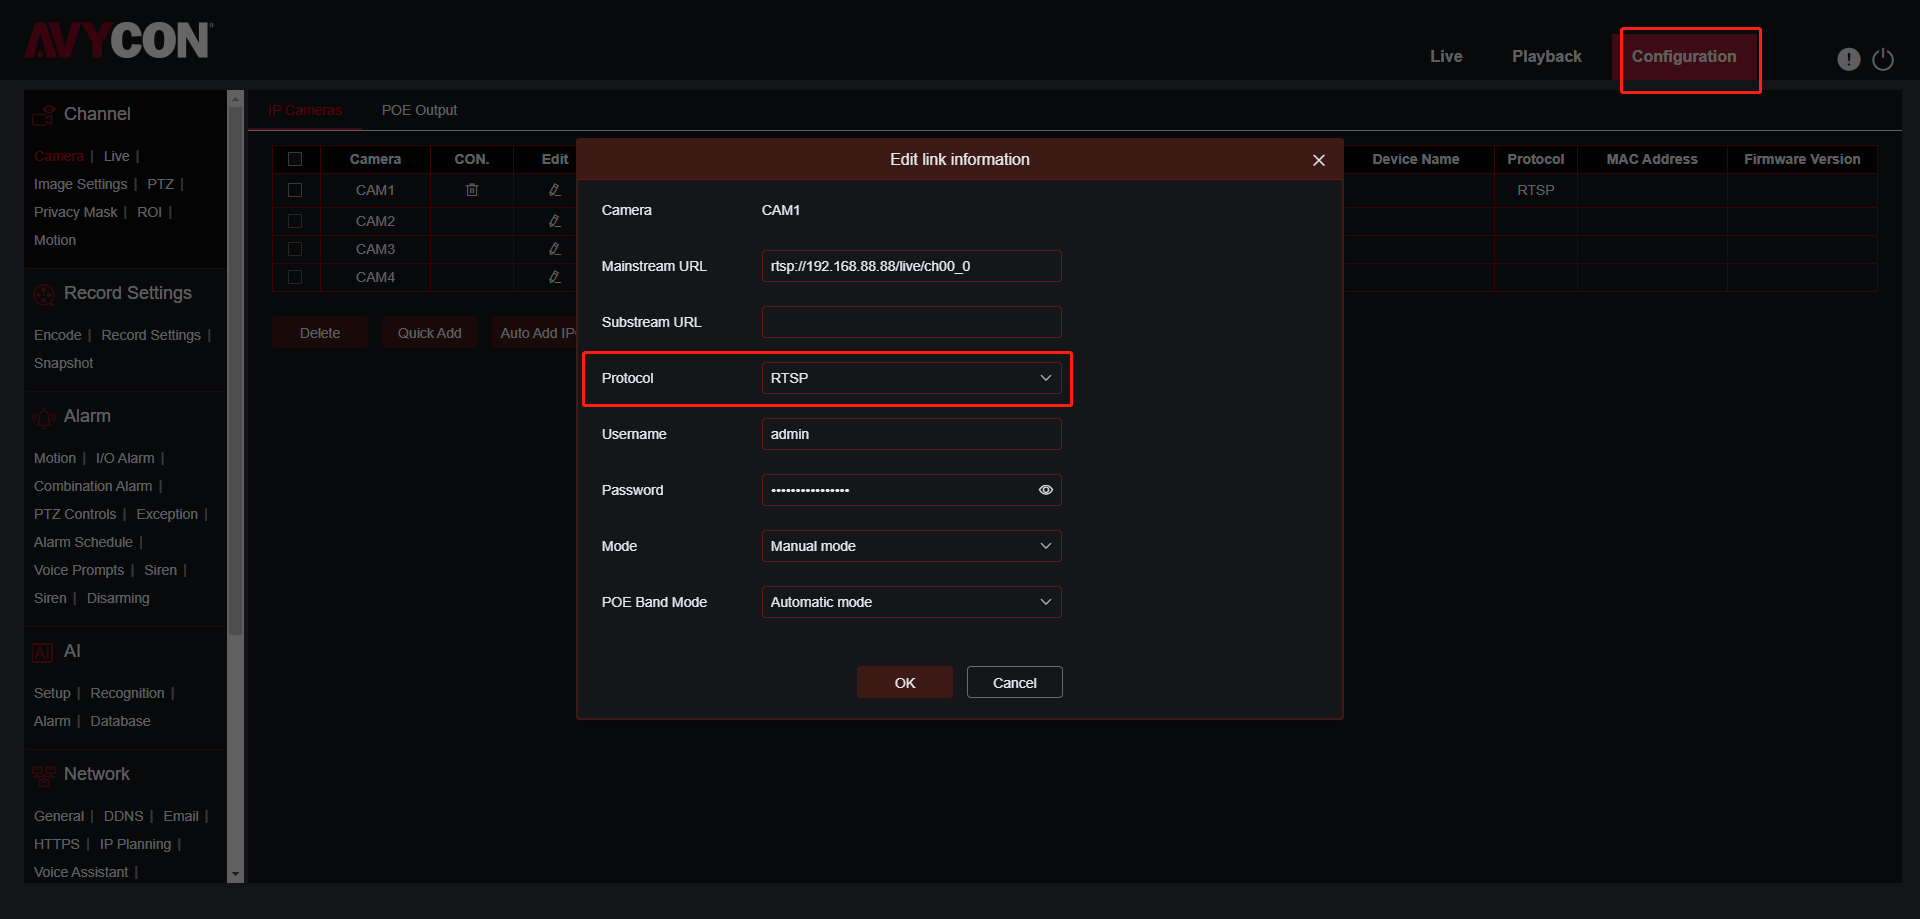
Click OK.
Add the Door Phone via ONVIF
Enter the device IP and subnet mask.
Enter the port value. The default is 80.
Set Protocol to ONVIF.
Enter the username and password set in the door phone.
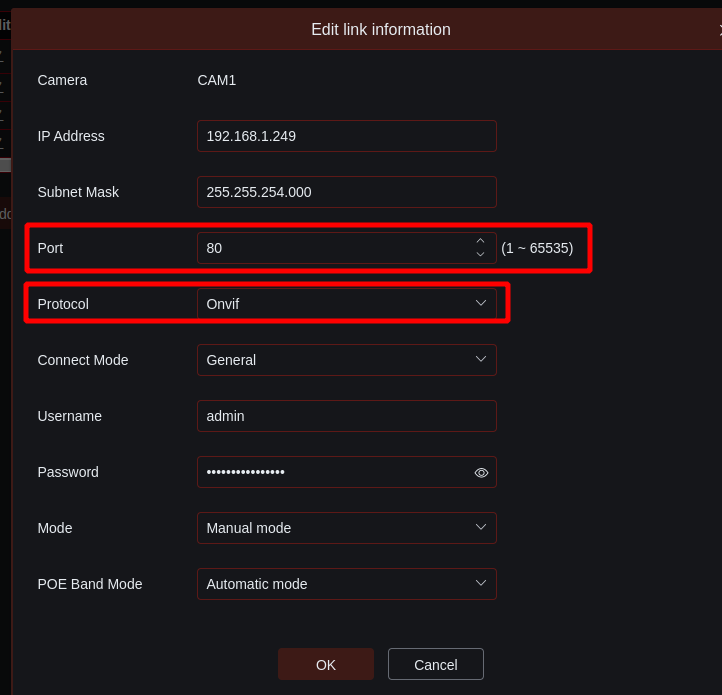
Click OK.
Set up Motion Alert
Click Motion in the left Channel settings.
Choose the door phone’s name in the Camera drop-down.
Enable the motion feature and define the detection area by drawing a box.
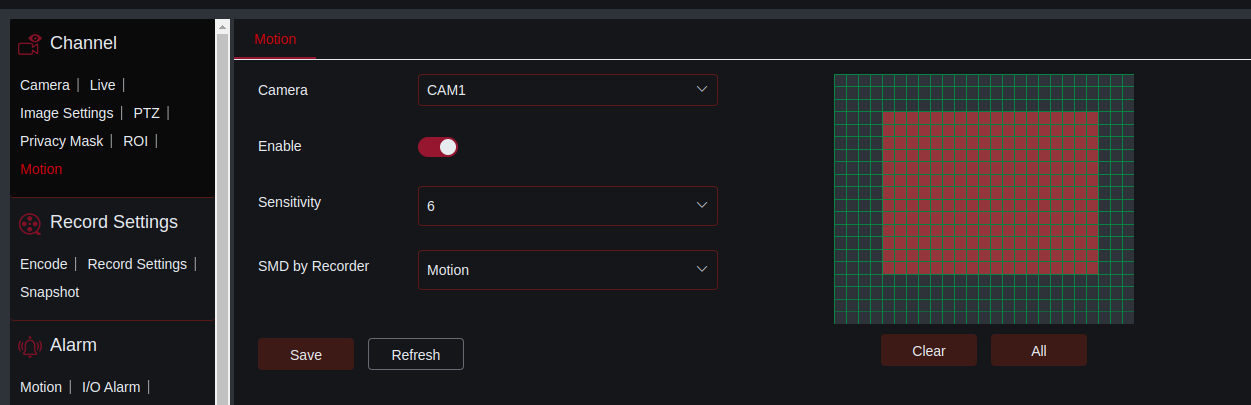
Click Save.
Click Motion in the left Alarm settings.
Choose the door phone’s name in the Camera drop-down.
Enable the desired action(s) to be triggered. The default action delay is 10 seconds.
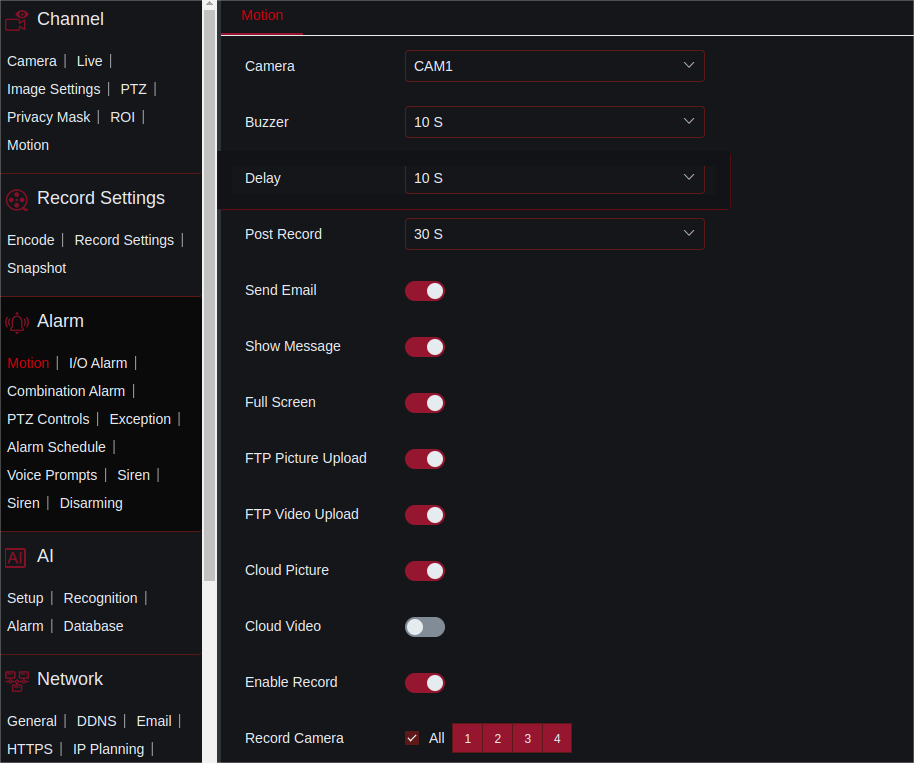
Click Save.
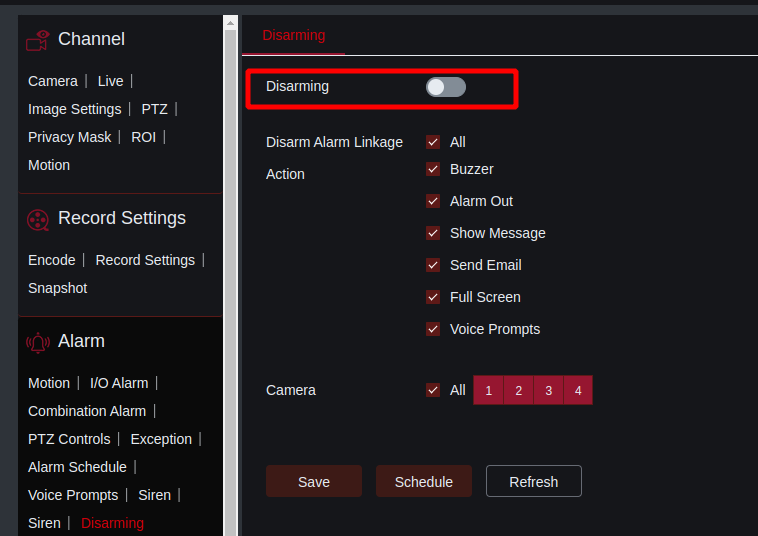
To set up disarming, click Disarming in the Alarm settings and enable it.
Users can view the live stream from the door phone on the NVR’s web portal.
When motion detection occurs, preset actions will be triggered. If the door phone is added via ONVIF, “M” will display on the live stream window.
