When intercom permissions are active, you can remotely unlock doors, monitor video streams, and manage multiple access methods.
NOTE:
If these features are not available, please contact your service provider to activate intercom functionality for your account.
App-Based Entry Control
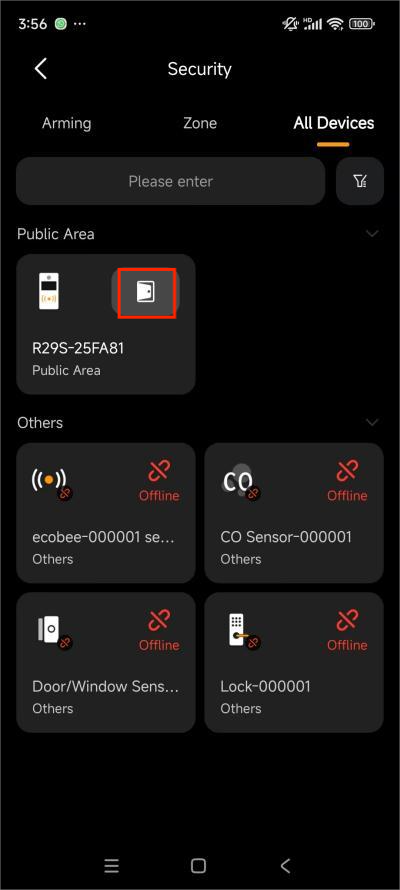
Remote Unlock
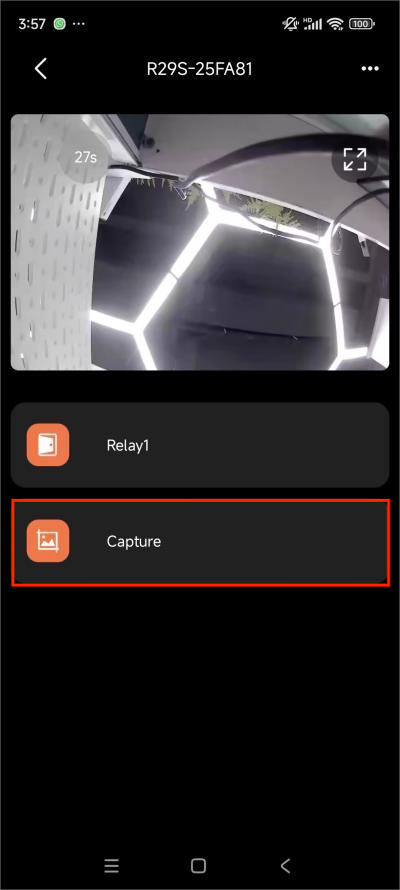
Go to Category > Security > All Devices.
Select a door phone.
Tap
 to open door.
Tap [device card] >
 to take a screenshot.
Unlock Before Answering a Call
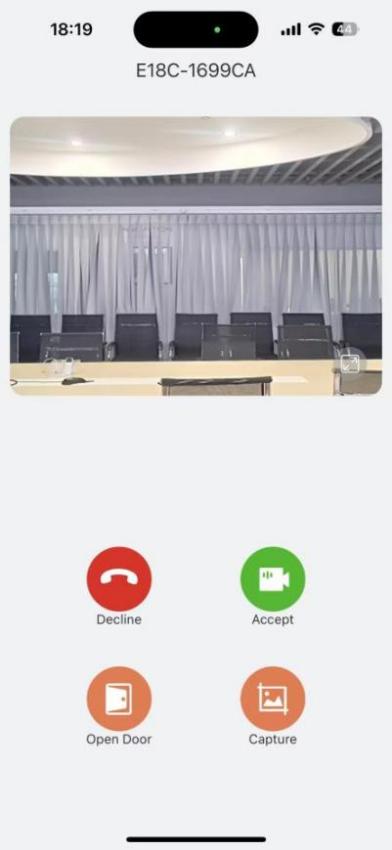
From the incoming call preview screen:
Tap Open Door
 to unlock.
Tap Capture
 to take a screenshot.
Tap Decline
 to reject the call.
Tap Accept
 to answe the call.
Unlock During a Call
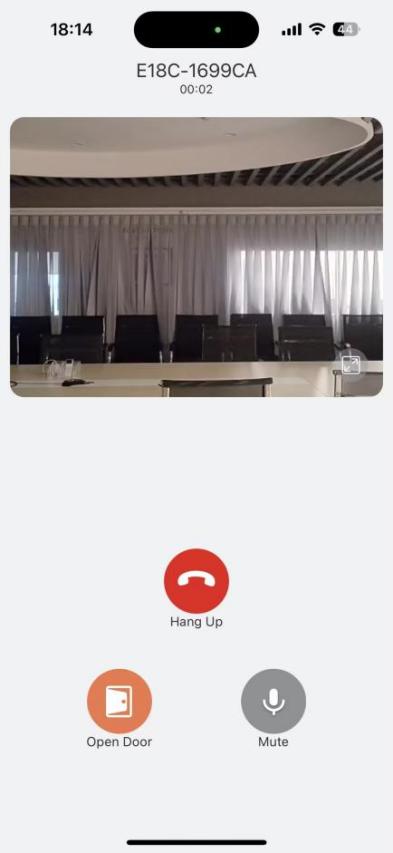
While on a call (incoming or outgoing), simply tap  to unlock.
Temporary Access
Temp Keys allow you to grant temporary access to visitors, service staff, or delivery personnel.
Create Temp Keys
NOTE:
In some managed communities, property management may disable Temp Keys for security compliance.
For Visitors:
Go to Me > Intercom Permission Management > Temp Keys > + Temporary Password.
Enter visitor details and configure access.
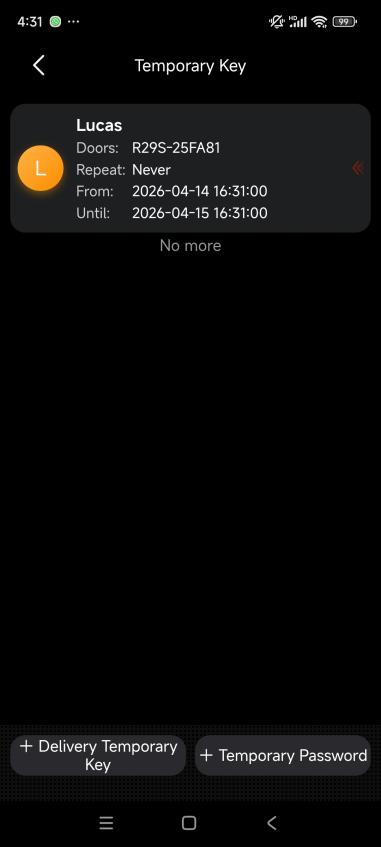
Tap Submit. The Temp Key will appear in the key list and is ready to use.
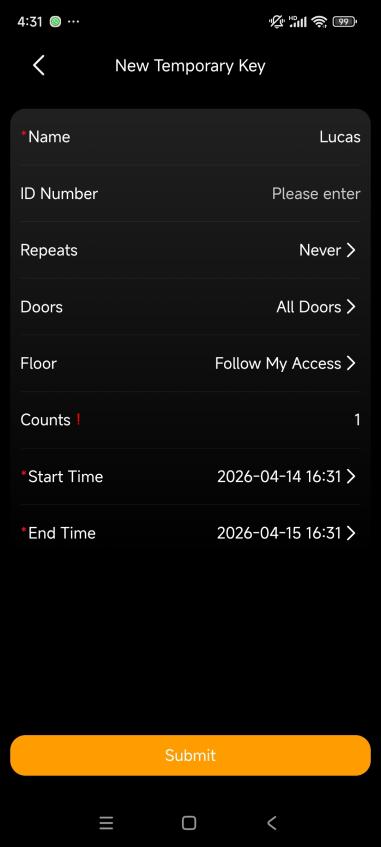
For Delivery:
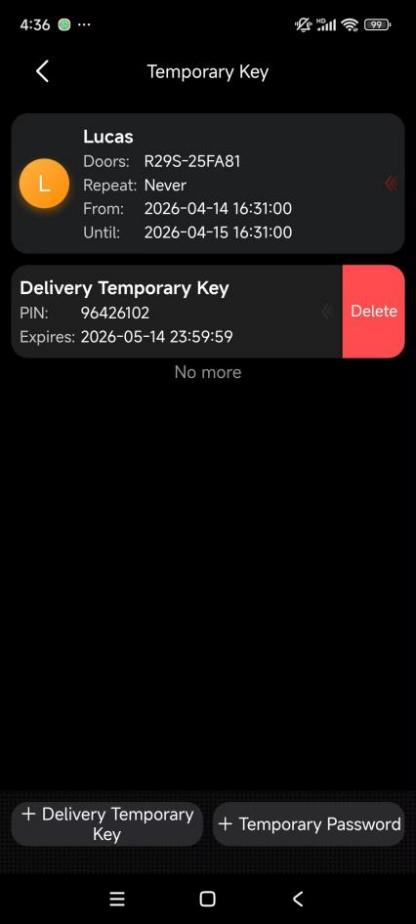
Go to Me > Intercom Permission Management > Temp Keys > +Delivery Temporary Key.
A key valid for one month is generated automatically.
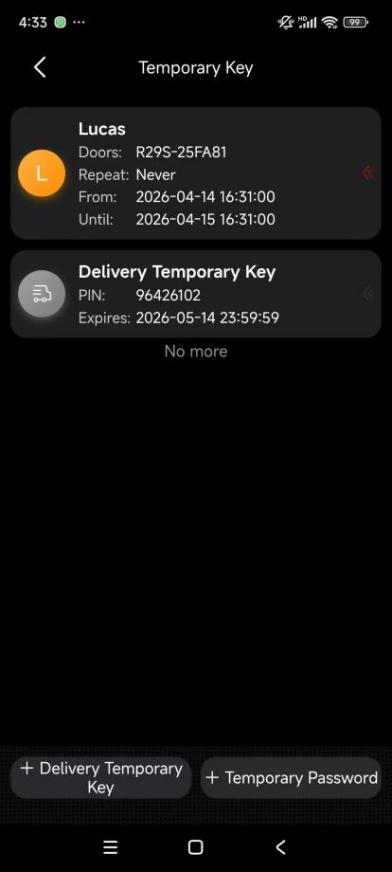
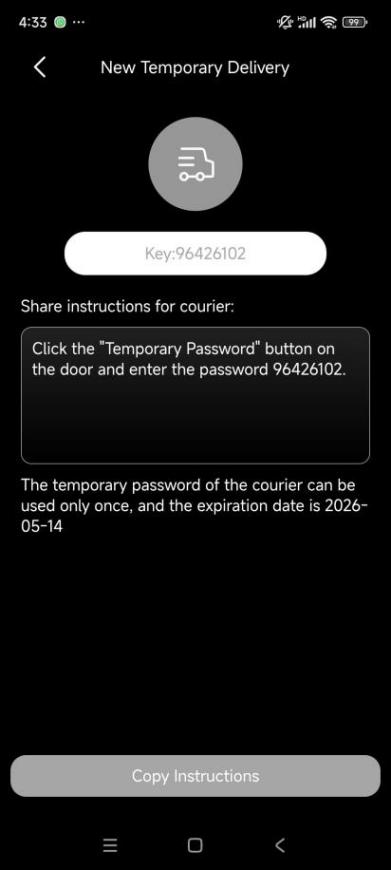
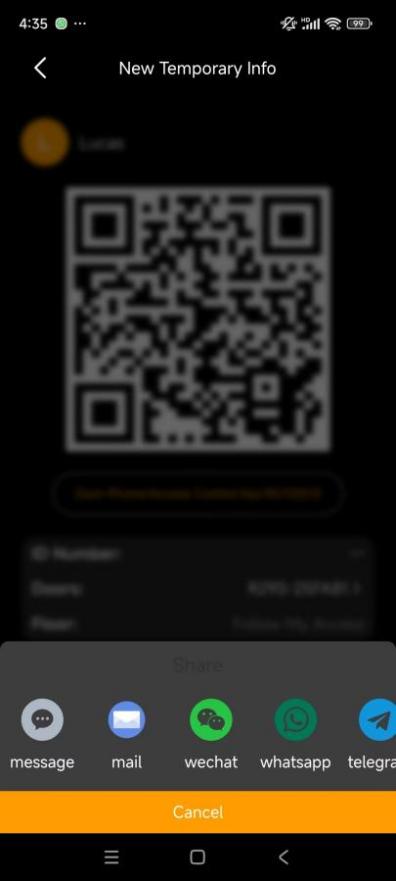
Share Temp Keys
Go to Me > Intercom Permission Management > Temp Keys.
Select a key.
Tap Share Key and choose a sharing method.
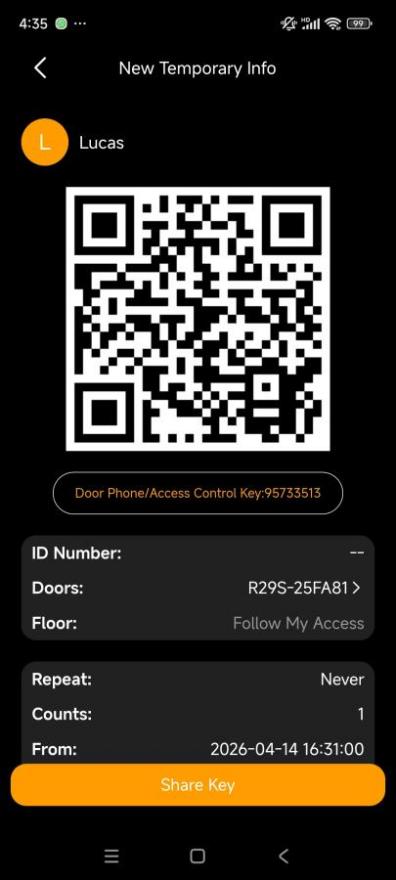
Delete Temp Keys
Personal Access Methods
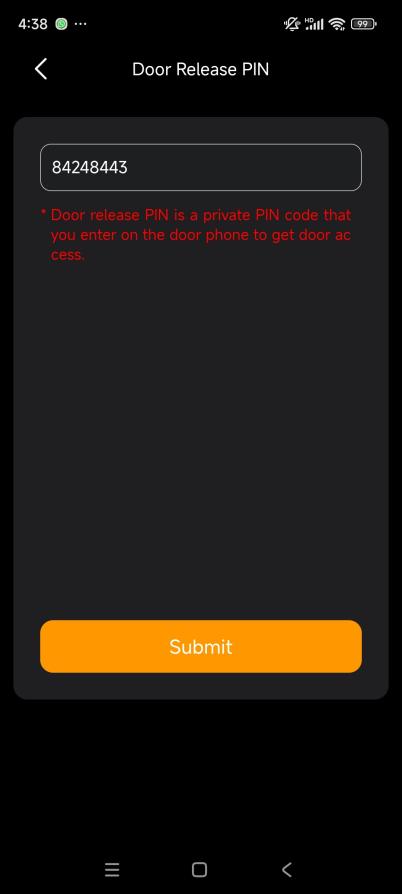
PIN Code
NOTE:
One PIN per account.
Requires door phone support.
To create a PIN:
Go to Me > Intercom Permission Management > Door Release PIN.
Enter a 4-8 digit password.
Tap Submit.
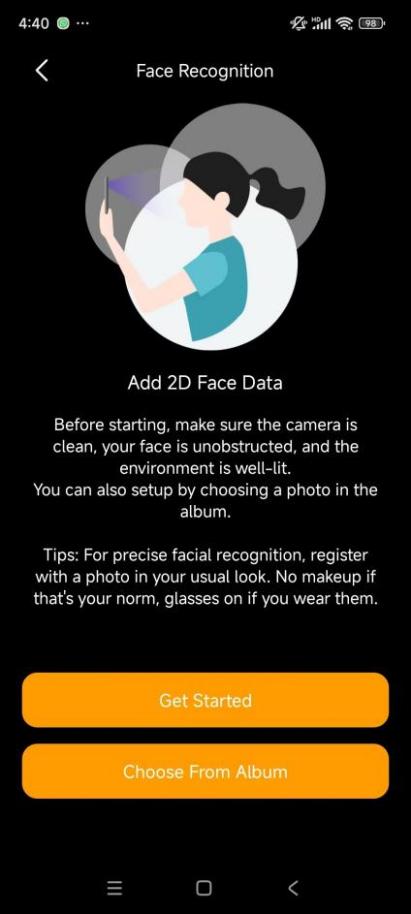
Face Recognition
NOTE:
One face profile per account.
Requires door phone support.
To enroll your face data:
Go to Me > Intercom Permission Management > Face Recognition.
Tap Get Started or Choose from Album.
Follow onscreen instructions.
To delete your face data, go to Me > Intercom Permission Management > Face Recognition > Delete Face Data. After deletion, Face ID will no longer work for unlocking.
RF Card
NOTE:
Only the Administrator can assign and manage RF cards.
To add a card:
Go to Me > Intercom Permission Management > RF Card > + RF Card.
Enter the card number and assign a user.
Tap Confirm.
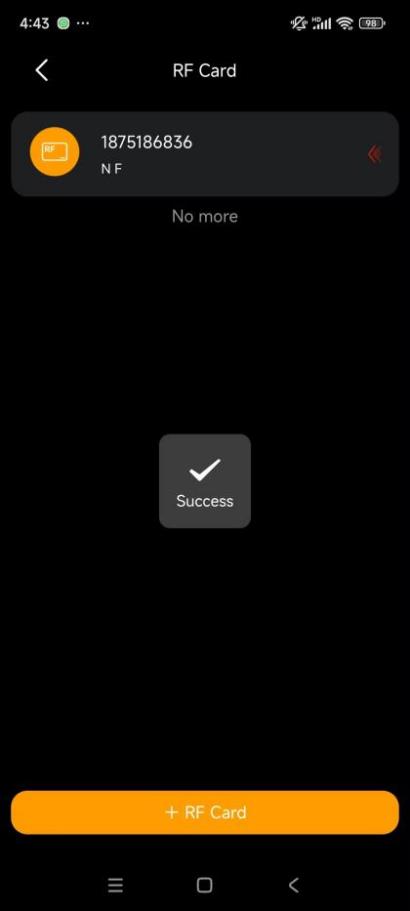
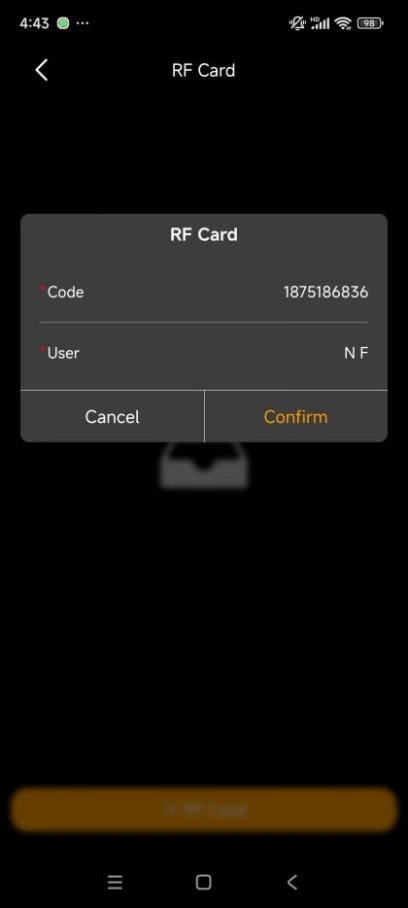
To delete, swipe left on the card and tap Delete.
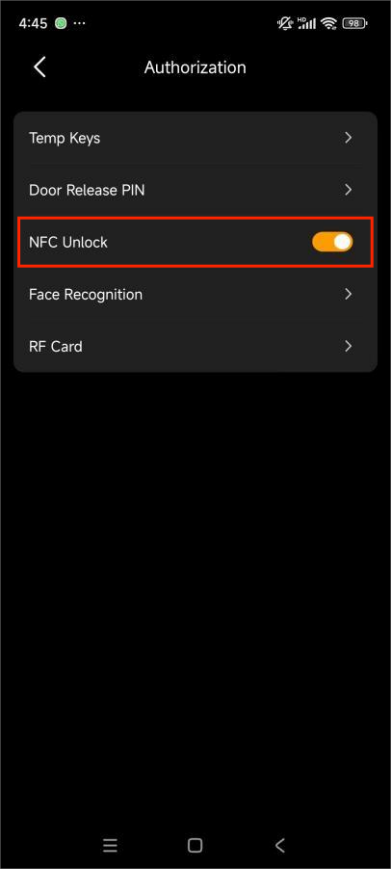
NFC Unlock
Unlock doors by tapping your phone near the door phone reader.
NOTE:
Available only on Android devices with NFC.
May not work if both SmartPlus and BelaHome apps are installed.
To enable NFC feature, go to Me > Intercom Permission Management > NFC Unlock.
View Intercom Logs
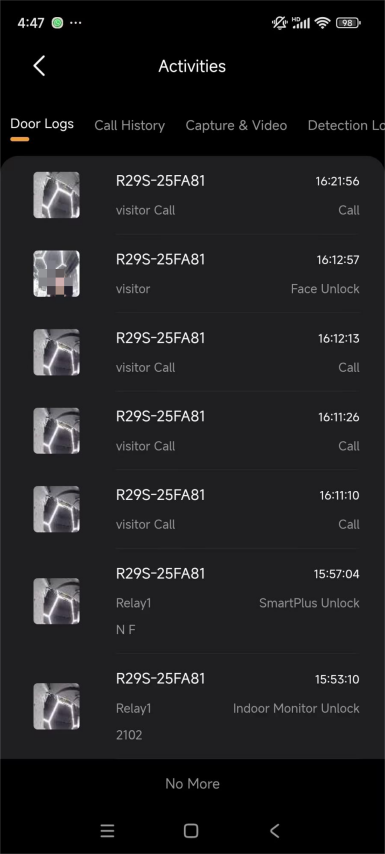
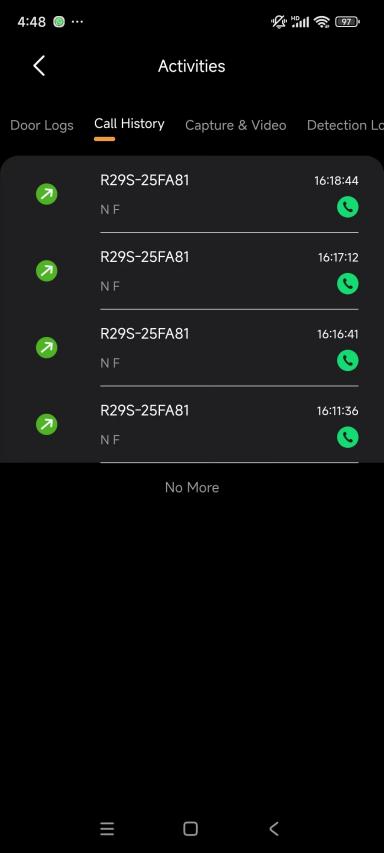
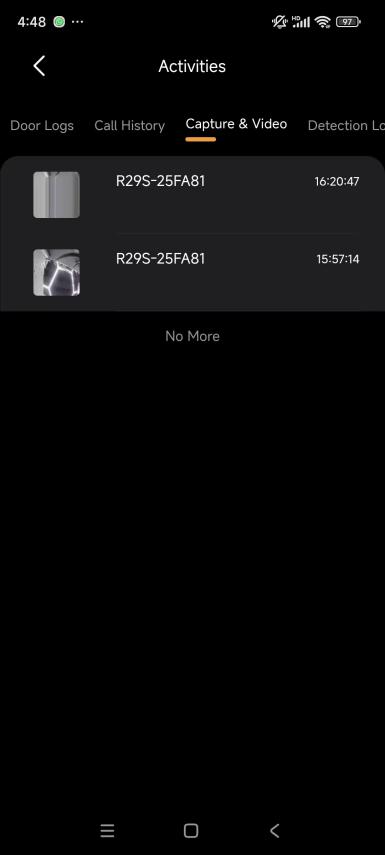
To view all door and intercom activity logs, go to Home >  > Intercom Activities.
Door Logs: Door unlock events and intercom activity
Call History: Incoming, outgoing, and missed calls
Capture & Video: Snapshots from live monitoring
Detection Logs:
Motion detection events
Package detection (placement/removal)