Add ZigBee devices
HyPanel Lite can connect to many ZigBee devices, such as sensors, emergency button, IR controller, thermostat, smart switch, and more. For example, you can add and fit a CO sensor in your kitchen to identify carbon monoxide leaks.
NOTE:
The transmission distances of ZigBee signal may vary by environmental characteristics and more. For optimal performance, add ZigBee devices to the HyPanel Lite within the same room.
Put devices in paring mode
Before pairing the ZigBee devices with the HyPanel, you should know how to activate their pairing mode. Here are a few examples to guide you.
TIP:
For more help pairing additional devices, check our guide on Put ZigBee Devices into Paring Mode, or refer to their manuals.
ZigBee device | How to put it to the pairing mode | |
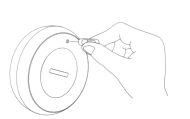
Smart Emergency Button
| Insert a pin into the reset hole at its back cover for 5 - 10s until the green light flashes quickly. |
|
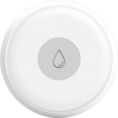
Smart Flood Sensor
| Press and hold the reset button on the front for 5 - 10s until the green light flashes quickly. |
|
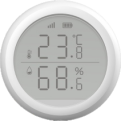
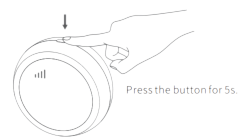
Smart Temperature and Humidity sensor
| Press and hold the reset button on the side for 5 - 10s until the signal icon flashes quickly. |
|
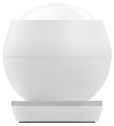
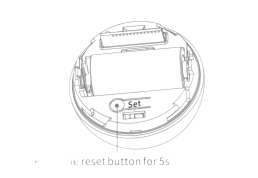
Smart Motion Sensor
| 1. Rotate the battery cover anticlockwise to open. 2. Press and hold the reset button for at least 5s until the green light flashes quickly. |
|
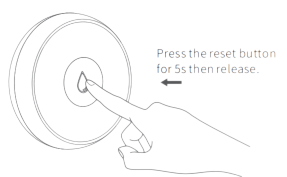
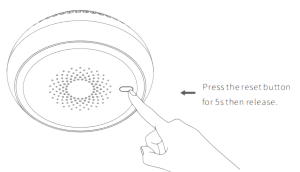
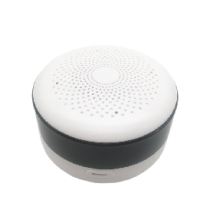
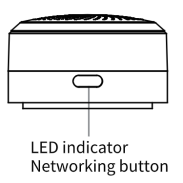
Smart Gas Sensor
| Press and hold the reset button on the front for at least 5s until the green light flashes quickly. |
|
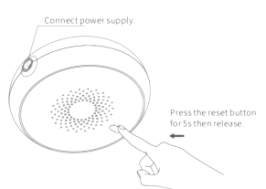
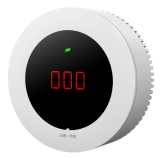
Smart Smoke Sensor
| Press and hold the reset button on the front for at least 5s until the green light flashes quickly. |
|
| 1. Power on the sensor, and wait for its indicator light to change from yellow to green. 2. Press and hold the button on the front for at least 5s until the green light flashes quickly. |
|
IR Controller
| Power the controller by connecting it to a wall charger using the included USB cable. Press and hold the button on the side of the controller until the green light flashes slowly and a beep sound is heard. |
|

Pair devices with HyPanel Lite
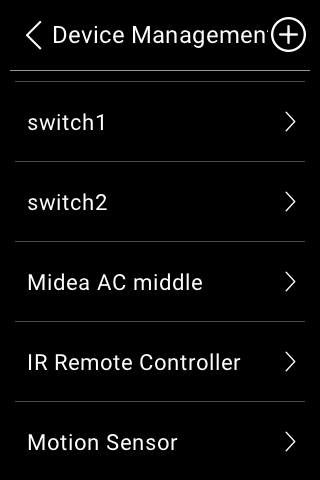
Swipe down from the top edge of any screen to open Control Center, and tap
 > Device Management >
  . HyPanel will then search for the nearby ZigBee devices.
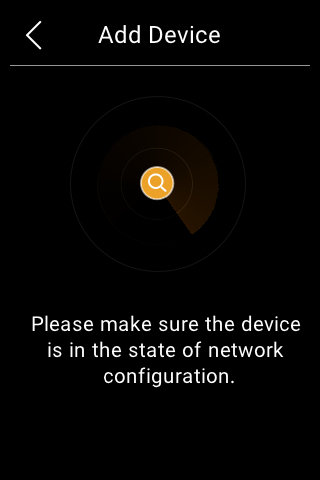
Put the ZigBee device you want to add in paring mode.
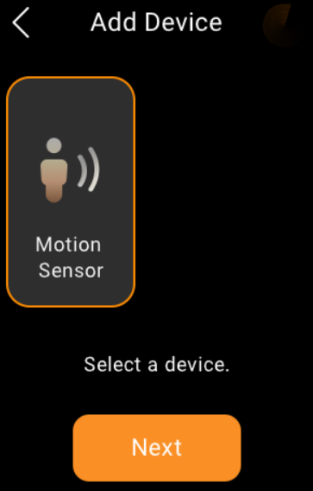
The screen displays the searched device. Select it, and tap Next.
NOTE:
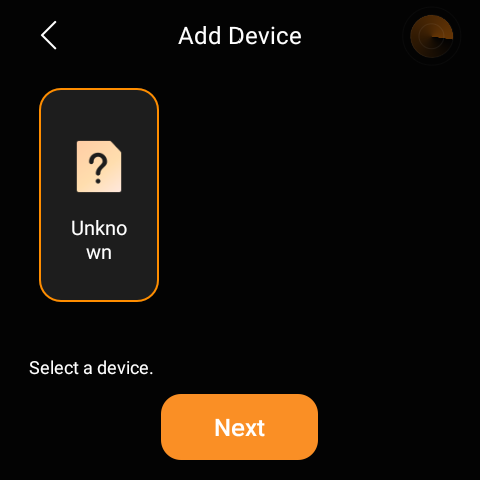
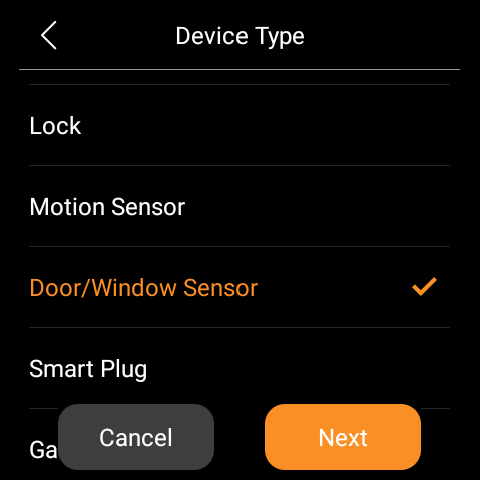
If the device is shown as Unknown in the previous step, you can set its type before naming it and choosing the location. This function is unavailable when a HyPanel Lite is a home center.

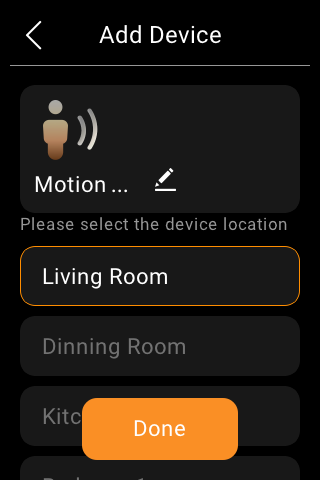
Name the device and choose its location, tap Done.
NOTE:
You can assign the same name to multiple devices.
If a multi-gang switch is added, you can customize the device name and tap Detail to assign individual names to each gang.
The newly added device will be shown on both Device Management screen and the corresponding category screen.
Add third-party smart home devices
Third-party smart home devices, such as Philips Hue, Ring Video Doorbell, Ecobee thermostat, Lutron Caseta, TP-Link kasa, Sonos, and more, can be added or removed on user web portal, or via BelaHome App.
To add a device, refer to any of the instructions:
See device logs
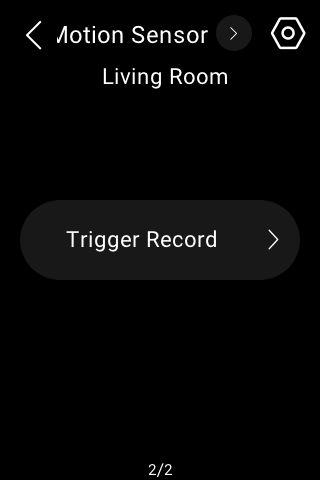
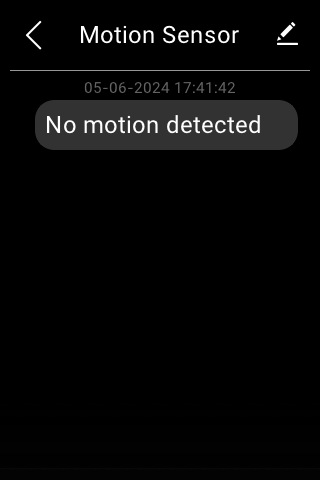
To see trigger histories of sensors, go to Security ![]() , select the desired sensor, and tap the logs.
, select the desired sensor, and tap the logs.

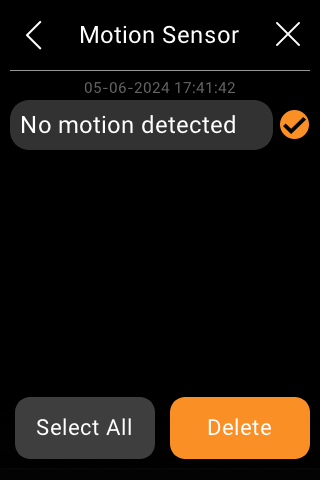
To delete records, simply tap the icon ![]() in the upper right corner, select the logs, and tap Delete.
in the upper right corner, select the logs, and tap Delete.
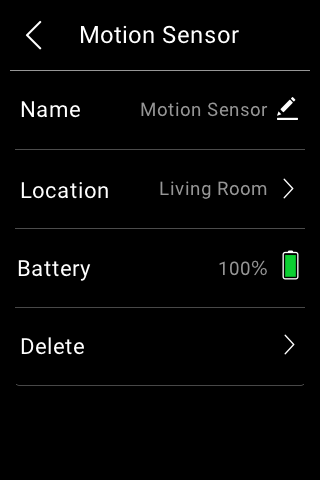
Modify and delete devices
To view the details, relocate, or delete a device, do any of the following:
Go to
> Device Management, and select the desired device.


Using BelaHome app.
Go to the user web portal.
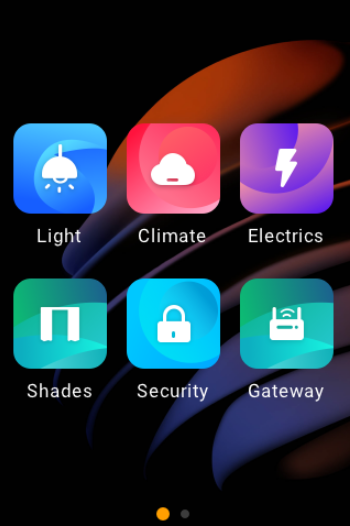
Control devices
Relays
The R2 version of HyPanel Lite supports direct connection to two relays, while the R4 version supports up to four relays. The relay types include switch, light, fan, heating/cooling system, shade, plug, Do Not Disturb (DND), and clean. You need to change the default relay type to the one you need via BelaHome app and the user web portal.
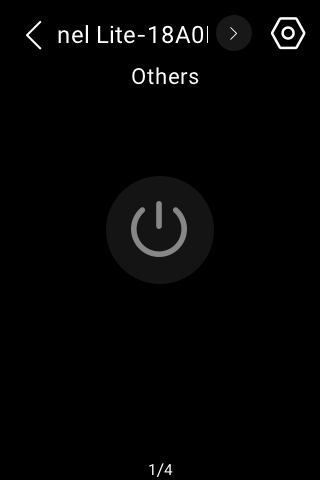
To open a relay, go to the Electrics ![]() screen, and tap the button at the center. It turns to be highlighted, indicating that the relay is opened.
screen, and tap the button at the center. It turns to be highlighted, indicating that the relay is opened.
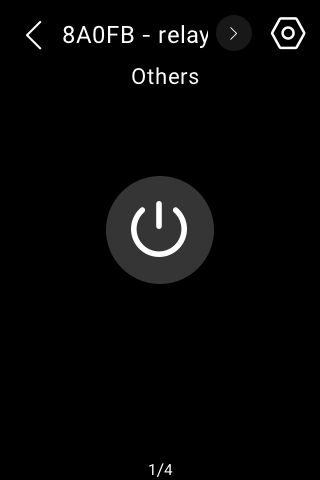
To close the relay, tap it again, and its background dims.
Also, you can control a relay by pressing the physical buttons or the Quick Control screen, provided that you have configured it. To see detailed instructions, click here.
Switch, plug, and socket
To turn on your switch, socket, siren or a light, on their specific function screen, tap the desired device. Its background becomes highlighted, indicating that it is opened.
Lighting
Some lights can only be turned on or off with a single tap, while others like RGB lights, offer more features such as color adjustment, brightness control, and so on.
Control a single RGB light
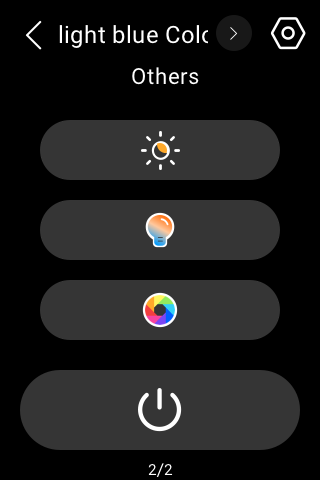 Go to the Light
  screen.
To turn the light on or off, tap
 .
.To adjust its brightness, tap
 , then drag the slider.
To change the color temperature, tap
 , then drag the slider.
To set the light color, tap
 , and then pick the desired color from the palette.
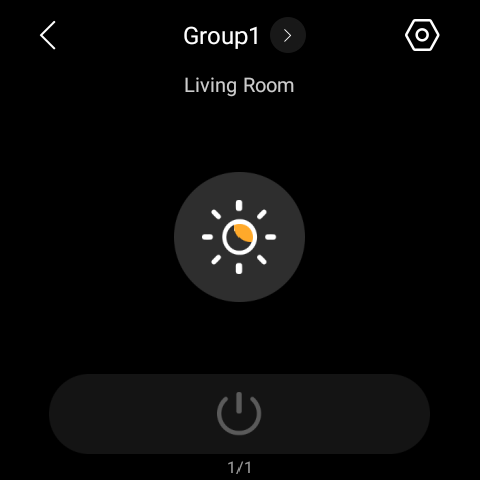
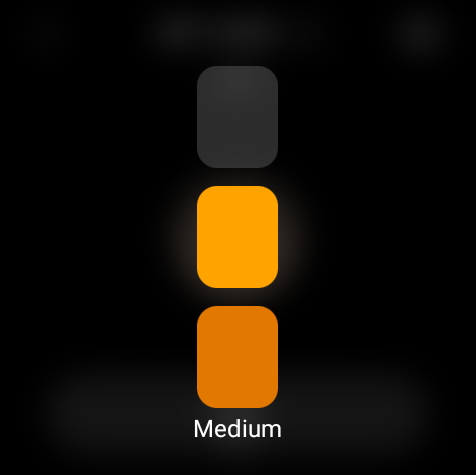
Control a light group
A virtual three-level dimming group allows you to simulate dimming by controlling a different number of lights at each level. To create such a group, go to the BelaHome web > Dimming Group. Note that the lights should only support on/off control (without dimming).
Once created, the group will appear on the Lights screen. Tap ![]() to control the dimming effect.
to control the dimming effect.
Heating, cooling, and thermostat
Heating and cooling
Go to the Climate ![]() screen, and do any of the following:
screen, and do any of the following:
To close/open the device, tap
 .
.To adjust the target temperature, tap on
 or
or  , or simply drag the slider.
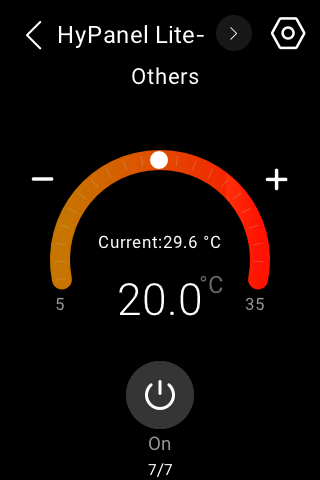
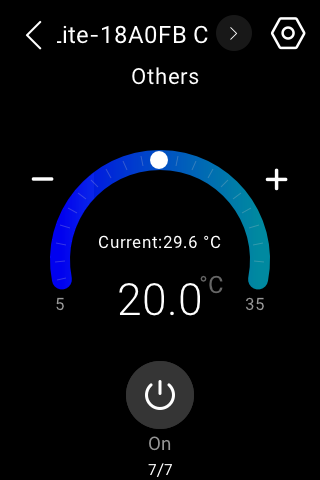
Thermostat
To control the thermostat, go to the Climate ![]() screen, and do any of the following.
screen, and do any of the following.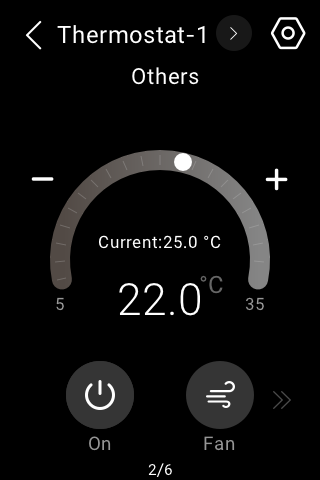
Tap
 to turn the thermostat on or off.
 Tap
 to switch modes.
Tap
 or
or  , or drag the slider, to adjust the desired temperature which ranges from 5-35℃.
Tap the arrow at the bottom right and then tap
 to set fan speed.
Shade
Go to the Shades
 screen, and find the desired shade.
Do any of the following:
Tap
 to open the shade.
Tap
 to close the shade.
 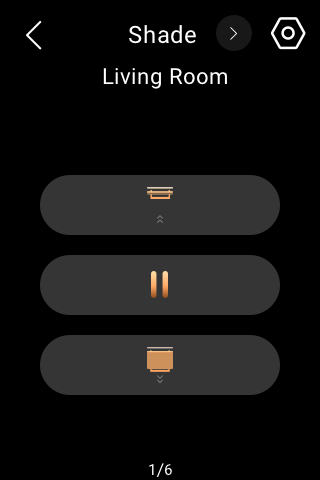 Tap
Tap  to stop the shade when it reaches the desired position.
Tap
 for advanced settings.
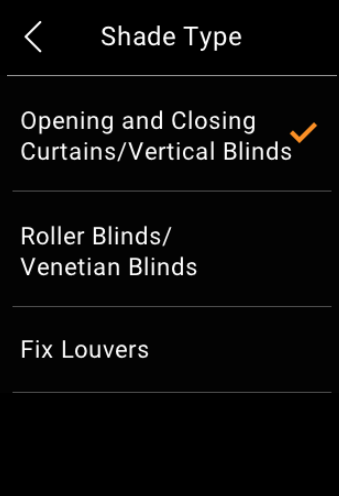
 Shade Calibration refers to adjusting the time it takes for the curtain to fully open and close. To do so, select this option and follow onscreen instructions. Shade Reverse refers to reversing the curtain’s movement direction when the close and open buttons operate contrary to the current direction. Shade Type provides three options for customization.
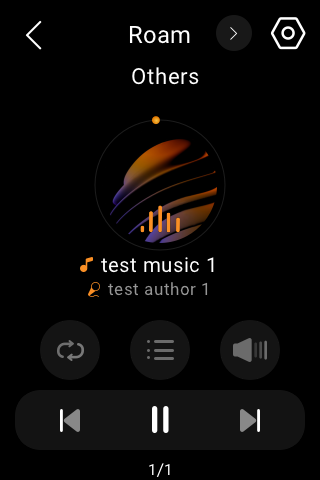
Speaker
When speakers such as SONOS are added, a Media button will be visible on the Functions screen for quick control of the speakers.
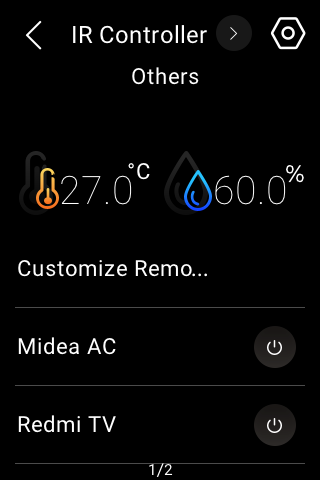
IR-based devices
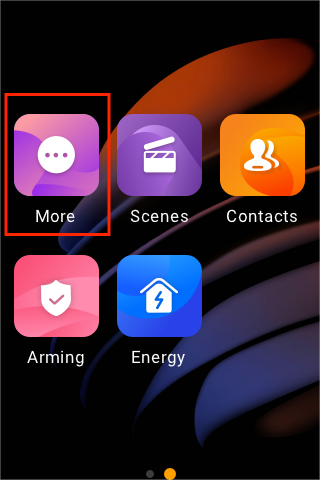
Using the IR controller, the panel can integrate with up to 30 IR-based devices like TV and air conditioner, and function as a remote for them. You can access the controller and its associated devices on the More ![]() screen.
screen.
NOTE:
The IR-based devices should be added via BelaHome app before you can see them on panels. For detailed instructions, see here.
To control the devices and remotes added by the specific IR controller, follow these steps:
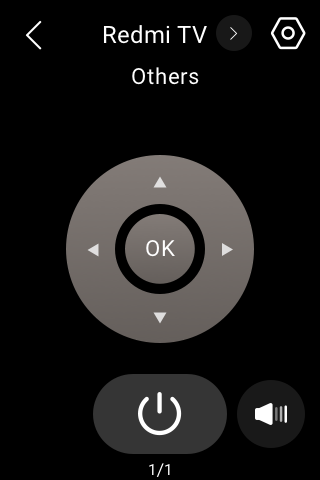
For TVs and ACs:
To simply turn them on/off, tap their respective icons
 on the More screen.
For additional functions, navigate to their corresponding feature screens:
 TV: Found on the Media
  screen.
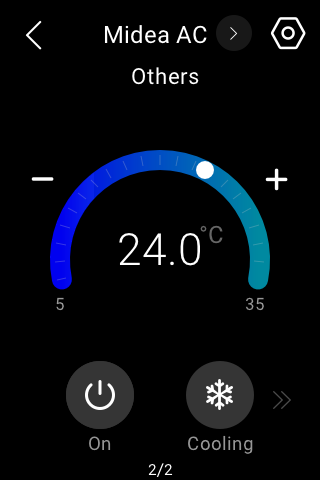
![]() AC: Found on the Climate
AC: Found on the Climate ![]() screen.
screen.
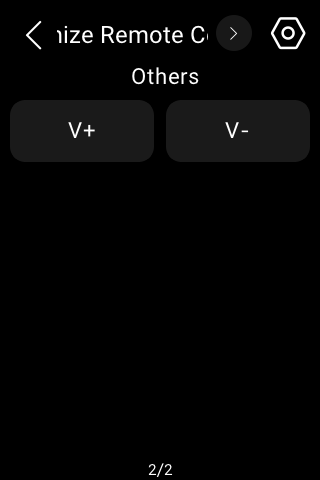
For customized remotes:
Access them on the More ![]() screen by swiping left, where the buttons you added for the remote will appear.
screen by swiping left, where the buttons you added for the remote will appear.
Smart lock
Open door with one tap
To open the smart lock with one tap, find the lock on the Security screen, and tap ![]() .
.

Receive doorbell notification
NOTE:
This function is only available when HyPanel Lite serves as the gateway for other HyPanel model functioning as the home center device.
When someone rings the doorbell on the smart lock, HyPanel Lite will display a push notification and play a sound to notify you.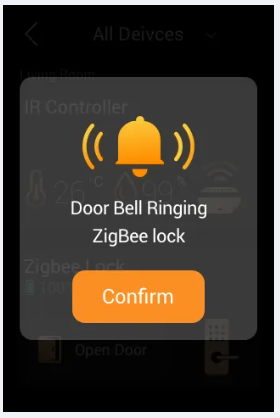
Unlock with temporary key
NOTE:
This function is only available when HyPanel Lite serves as the gateway for other HyPanel model functioning as the home center device.
You can provide visitors with a temporary PIN for self-door unlocking. To issue such keys, refer to the instruction with BelaHome app.
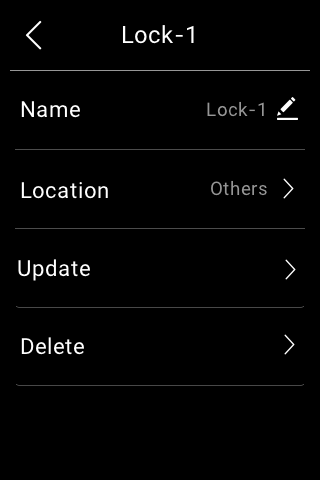
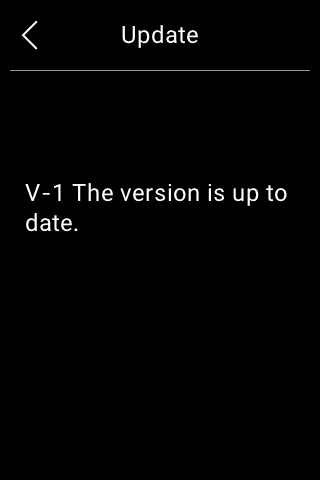
Upgrade lock’s software
To upgrade the lock’s software, select the desired smart lock, and tap ![]() > Update. This update option only shows up when there is a new version.
> Update. This update option only shows up when there is a new version.
Use the intercom
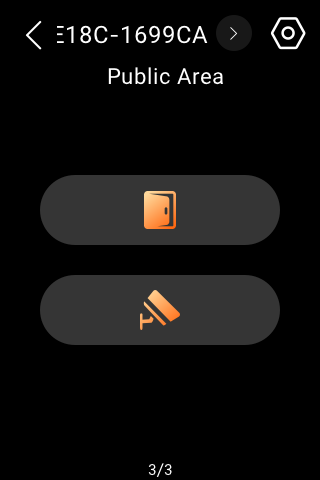
Unlock door remotely
When you know who is at your door, you can open the door directly without communicating with the door phone.
Tap Security
 on the Functions screen.
Find the desired door phone, and tap
 .
.
If there are multiple doors connected to the door phone, select the desired one from the pop-up list.

Tap Confirm.
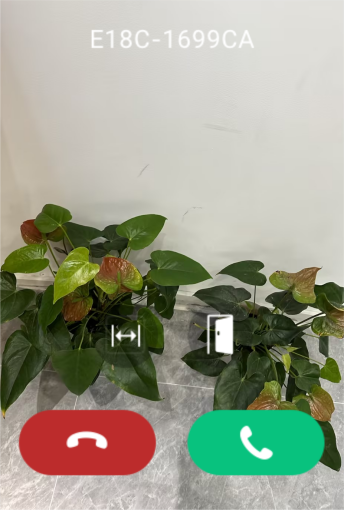
Unlock door before answering a call
When you receive a call from the door phone with a camera, you can preview its monitoring streaming and open the door without answering the call.
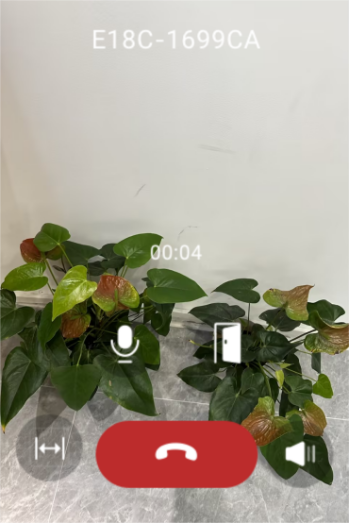
Unlock door during a call
You can answer the door phone call and unlock the door during the call.
On the calling screen, tap ![]() to release the door.
to release the door.
You are also able to call the door phone to see and hear who the visitor is. To do so, see the section Make voice calls in this guide.
See monitoring stream
If the connected door phone has a camera, you can see its monitoring stream on the HyPanel Lite to check what is happening at your door.
To see the monitor stream, find the desired door phone, and tap on the monitor icon ![]() .
.
Integration with Apple HomeKit
NOTE:
This function is only available when HyPanel Lite serves as a gateway for other HyPanel model functioning as the home center device.
Ensure your HyPanel Lite version supports Apple HomeKit integration before following the instructions.
Make sure your Apple device is on the same network with the HyPanel.
Swipe down from the top edge of any screen, then tap
 > Integration > Apple HomeKit. The following screen displays.
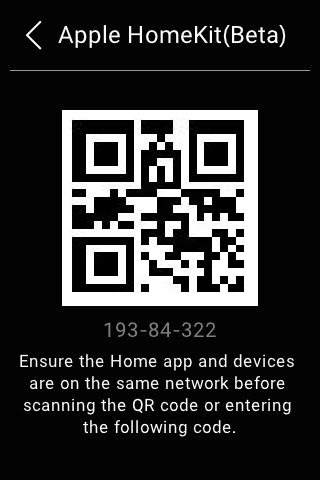
Open the Home app on your Apple device, log in with your iCloud account and continue to tap Add or Scan Accessory.
Scan the QR code using your Apple device. Follow the onscreen instructions to finish the setup.
All devices connected with HyPanel devices are added into your home. You can control them on the Home app or through Siri.

