Device Network Configuration
To ensure normal functioning, make sure that the device has its IP address set correctly or obtained automatically from the DHCP server.
Configure Network Connection on the Device
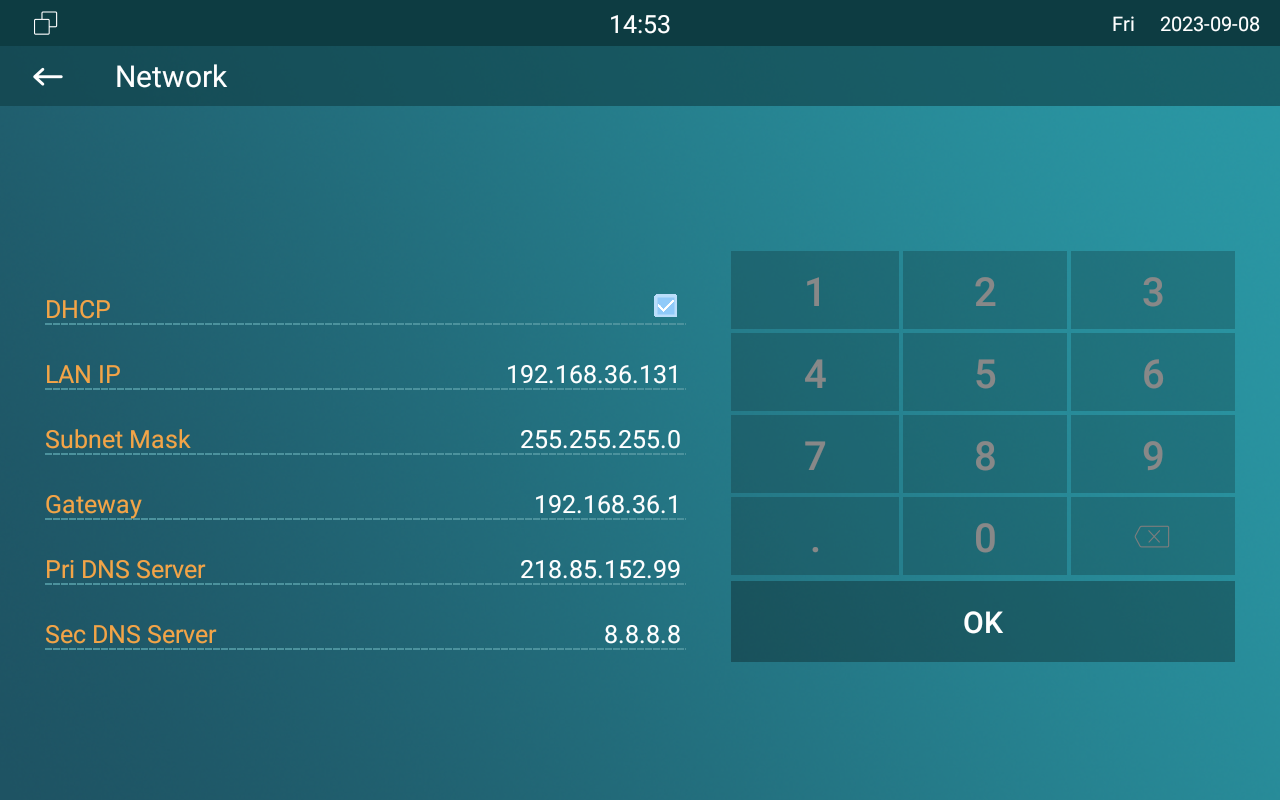
To check and configure the network connection on the device More > Setting > More > Network.
Parameter Set-up:
- DHCP: DHCP mode is the default network connection. If the DHCP mode is turned on, then the device will be assigned by the DHCP server with IP address, subnet mask, default gateway, and DNS server address automatically.
- Static IP: select the static IP mode by un-ticking the DHCP check box. When static IP mode is selected, then the IP address, subnet mask, default gateway, and DNS servers address have to be manually configured according to your actual network environment.
- IP Address: set up the IP Address if the static IP mode is selected.
- Subnet Mask: set up the subnet mask according to your actual network environment.
- Default Gateway: set up the gateway according to the IP address.
- Pri/Sec DNS Server: set up primary or secondary DNS Server (Domain Name Server) according to your actual network environment. The device will connect to the alternate server when the primary DNS server is unavailable.
- You can press the System Info icon and then press the Network tab on the Settings screen to check the device network status.
- The default system code is 123456.
Configure Device Network Connection on the Web Interface
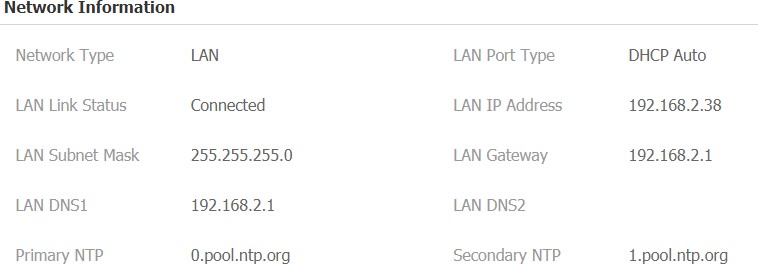
To check the network on the web Status > Network information interface.
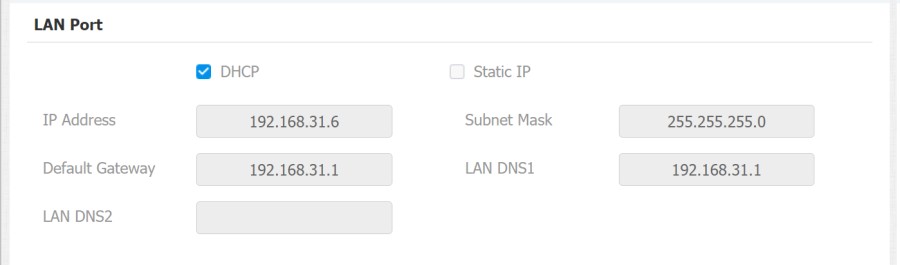
To check and configure the network connection on the device web Network > Basic interface.
Parameter Set-up:
- DHCP: select the DHCP mode by checking the DHCP box. DHCP mode is the default network connection. If the DHCP mode is selected, then the indoor monitor will be assigned by the DHCP server with IP address, subnet mask, default gateway, and DNS server address automatically.
- Static IP: When static IP mode is selected, then the IP address, subnet mask, default gateway, and DNS servers address have to be manually configured according to your actual network environment.
- IP Address: set up the IP address if the static IP mode is selected.
- Subnet Mask: set up the subnet mask according to your actual network environment.
- Default Gateway: set up the gateway according to the IP address.
- LAN DNS1/2 Server: set up DNS (Domain Name Server) according to your actual network environment. LAN DNS1 is the primary DNS server address while the LAN DNS2 is the secondary server address and the device connects to the secondary DNS server when the preferred DNS server is unavailable.
Device Deployment in Network
To facilitate device control and management, configure Akuvox intercom devices with details such as location, operation mode, address, and extension numbers.
Go to Network > Advanced > Connect Setting interface.
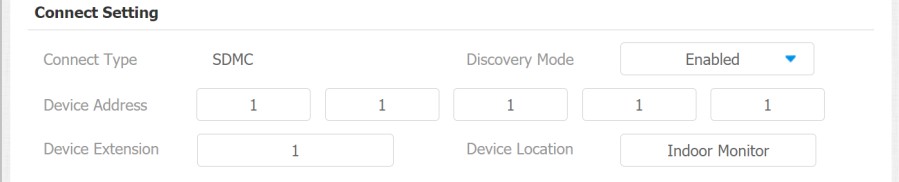
Parameter Set-up:
- Connect Mode: it is automatically set up according to the actual device connection with a specific server in the network such as SDMC, Cloud and None. None is the default factory setting indicating the device is not in any server type, therefore you are allowed to choose Cloud or SDMC in discovery mode.
- Discovery Mode: turn on the discovery mode of the device so that it can be discovered by other devices in the network, and disable it if you want to conceal the device so as not to be discovered by other devices.
- Device Address: specify the device address by entering device location info from the left to the right: Community, Unit, Stair, Floor, and Room in sequence.
- Device Extension: enter the device extension number for the device you installed.
- Device Location: enter the location in which the device is installed and used to distinguish the device from others.
Device NAT Setting
Network Address Translation(NAT) lets devices on a private network use a single public IP address to access the internet or other public networks. NAT saves the limited public IP addresses and hides the internal IP addresses and ports from the outside world.
To register SIP accounts on third-party servers in a Wide Area Network(WAN), you need to enable the RPort feature on the intercom devices to establish a stable connection.
To set up NAT, you can do it on web Account > Advanced > NAT interface.

Parameter Set-up:
RPort: check the RPort when the SIP server is in WAN (Wide Area Network).
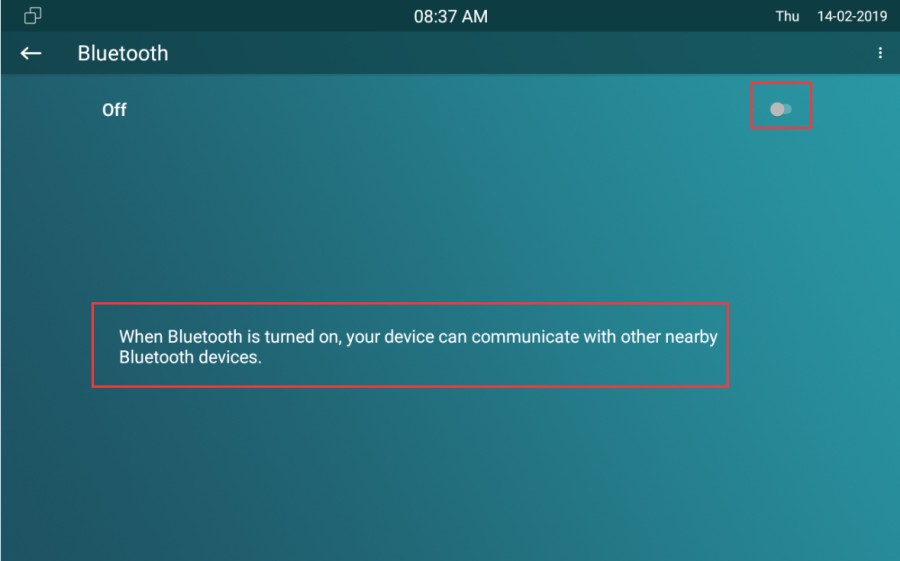
Device Bluetooth Setting
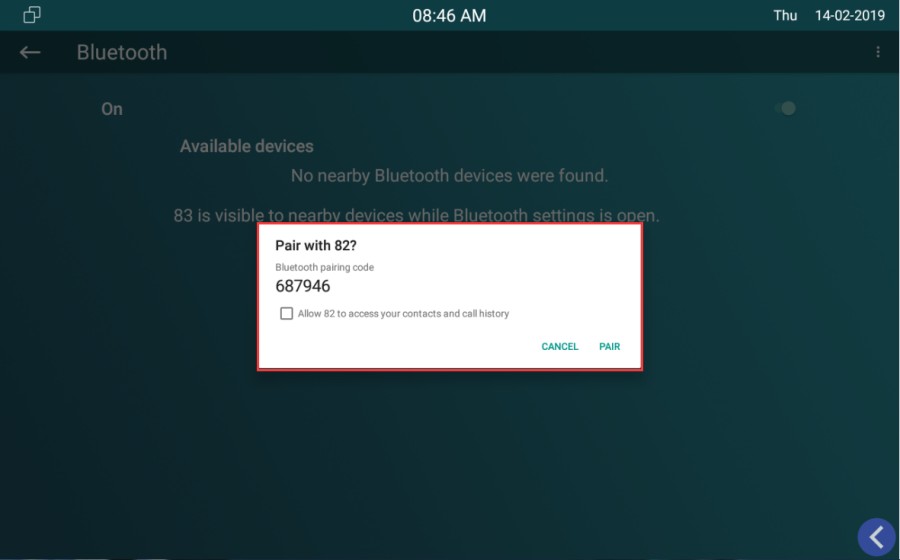
Device Bluetooth Pairing
After indoor monitors turn on the Bluetooth on the device More > Setting > Bluetooth screen, it can be paired with other devices via Bluetooth.
Device Bluetooth Data Transmission
To transfer data via Bluetooth by pressing Pair new device.
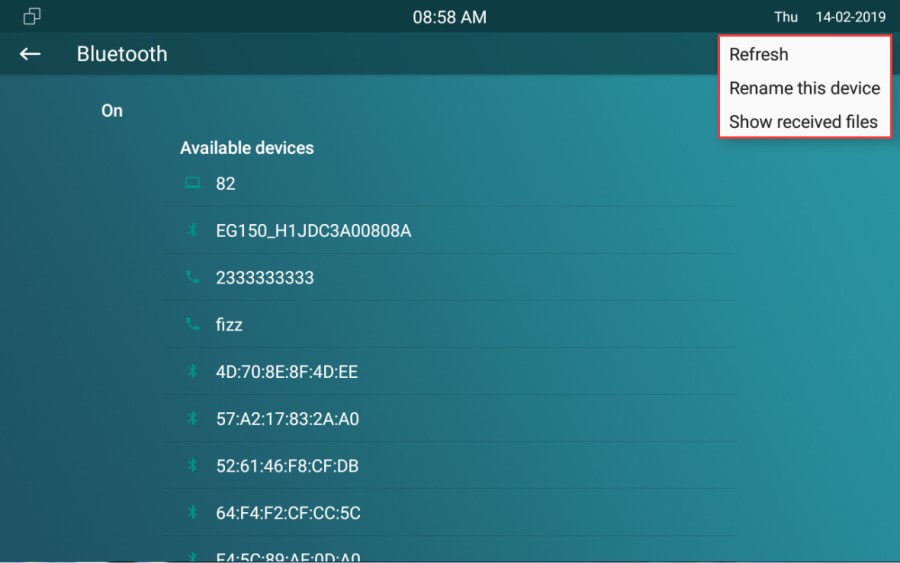
After successful Bluetooth pairing, data transmission can be carried out.
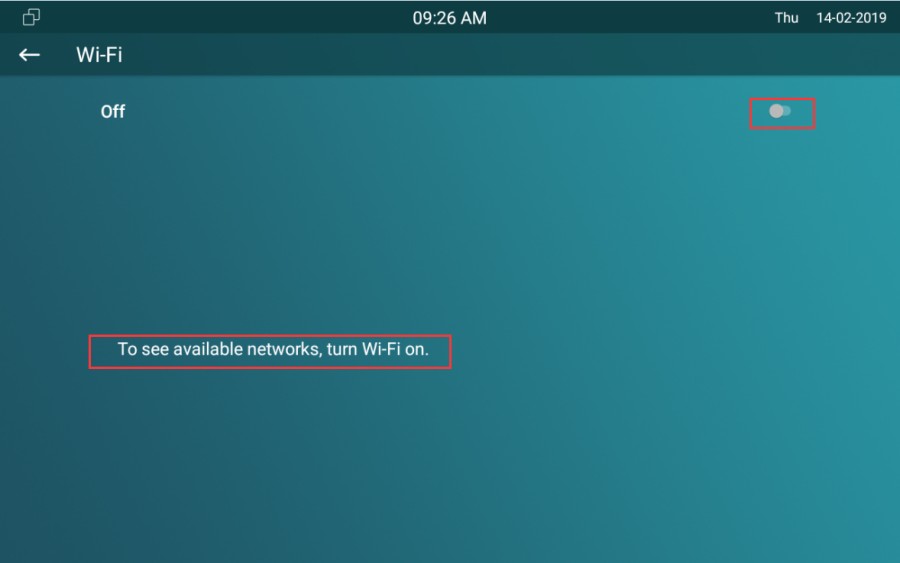
Device Wi-Fi Setting
You can set the Wi-Fi on the device at More > Setting > Advance Settings > WLAN screen.