Connect to the Internet
Typically, the network is configured by your service provider during installation. You can modify the Wi-Fi network or connect the device to a local area network (LAN) anytime, but be aware that it may affect certain functions. To ensure continued proper operation, please check with your service provider before making any network changes.
NOTE:
All panels within the family should be in the same local network to ensure the proper communication. If you need to use SIP call and BelaHome app’s remote control function, panels must be connected to the cloud and Internet.
Change your Wi-Fi network
Swipe down from the top edge of any screen, and tap
 > Wi-Fi.
Toggle the Use Wi-Fi button to on.
Select the desired network.
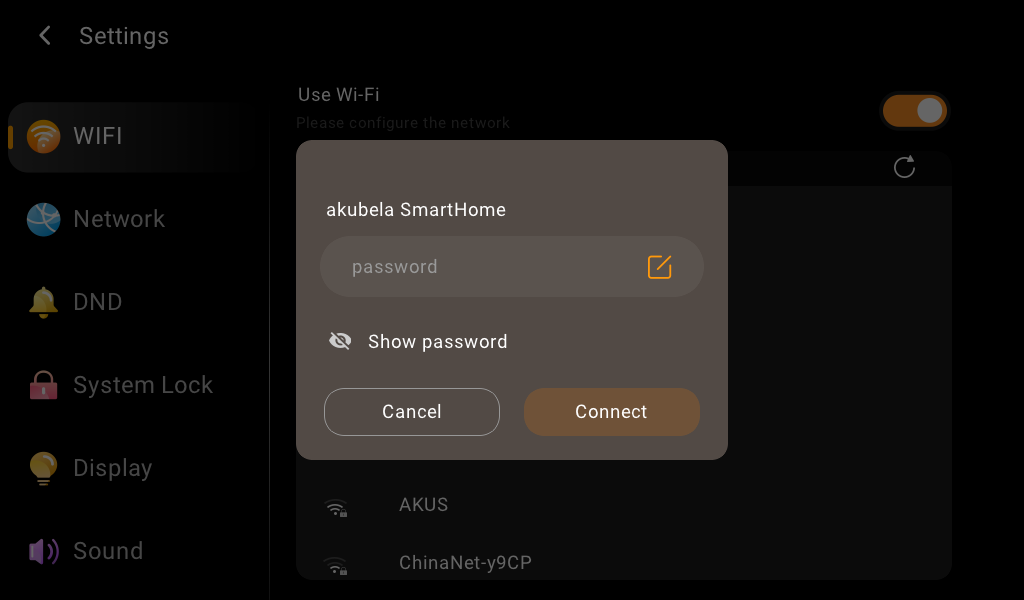
Enter the password, and tap Connect.
TIP:
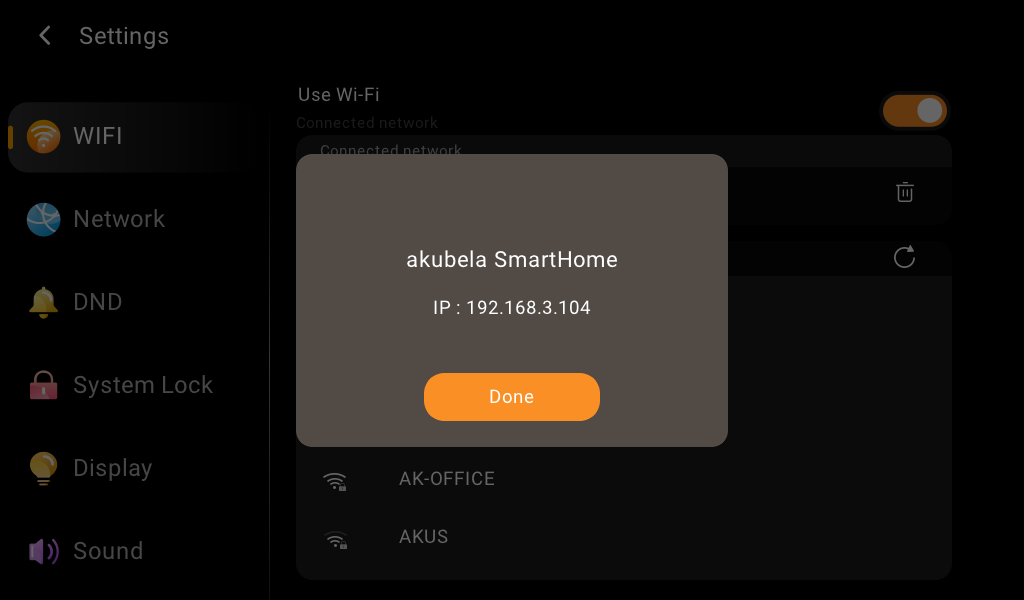
You can tap the connected Wi-Fi name to view the HyPanel Elite 7’s IP address.
Configure LAN network
To configure a LAN network, do the following.
Swipe down from the top edge of any screen, and tap
 > Ethernet.
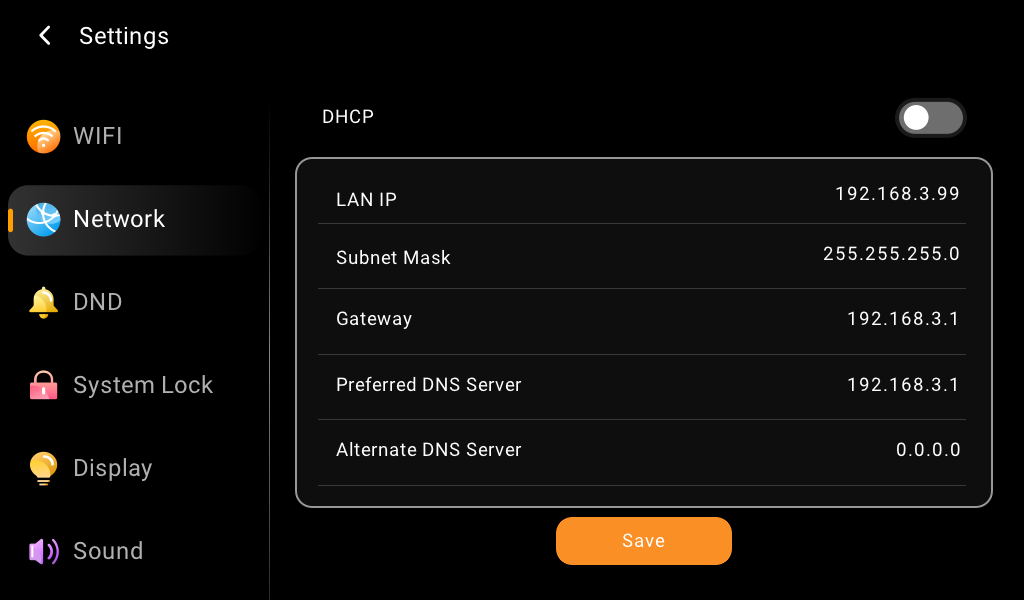
On the Network view, do any of the following:
Toggle on DHCP feature, and the device will be assigned IP address automatically.
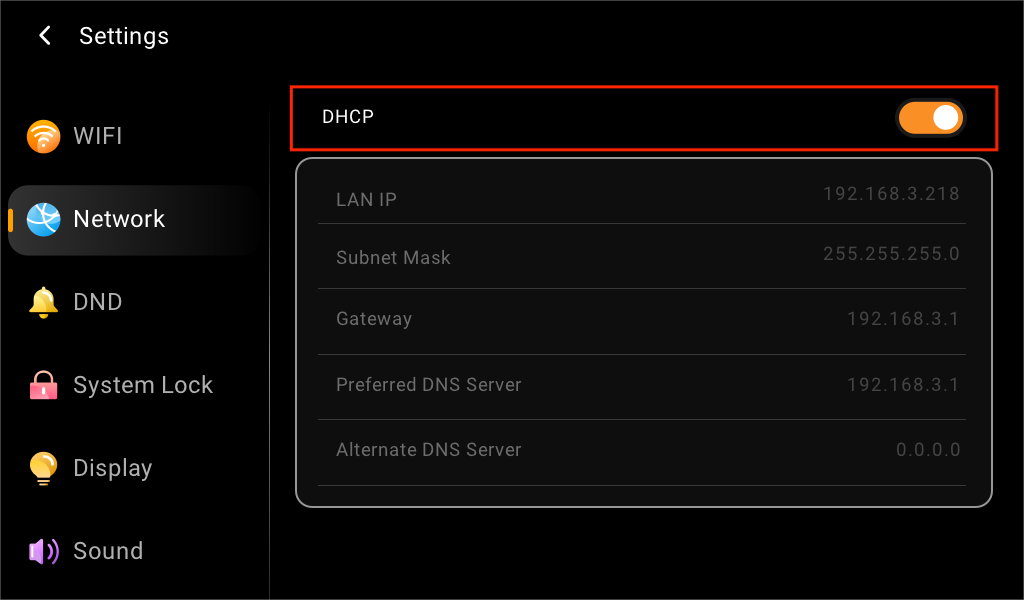
Toggle off DHCP feature, and enter IP Address, Subnet Mask, Gateway, Preferred DNS Server, and Alternate DNS Server manually.
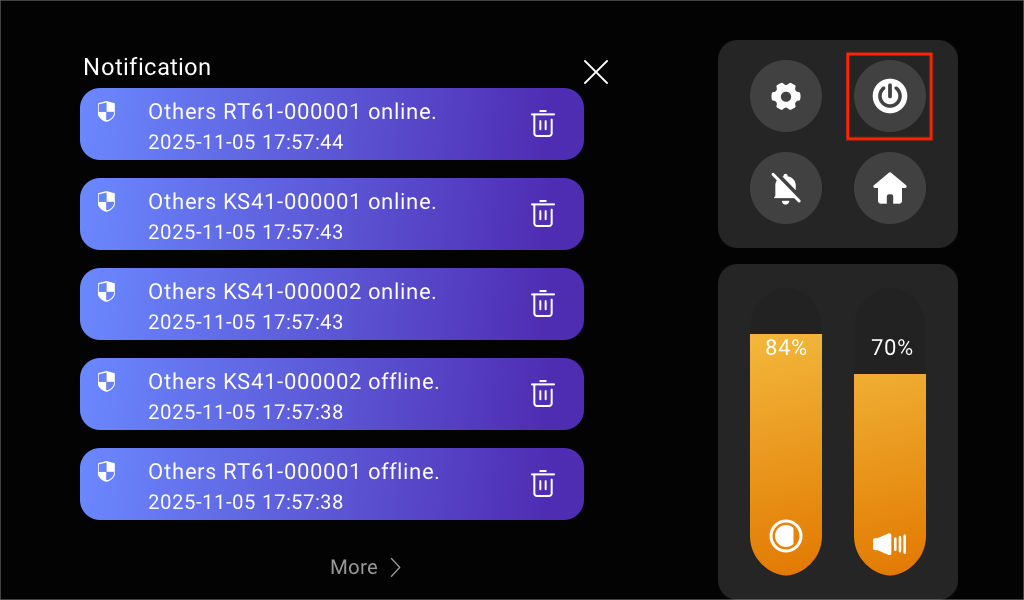
Put HyPanel Elite 7 in standby mode
To put HyPanel Elite 7 in standby mode quickly, swipe down from the top edge of any screen to open Control Center, then tap  .
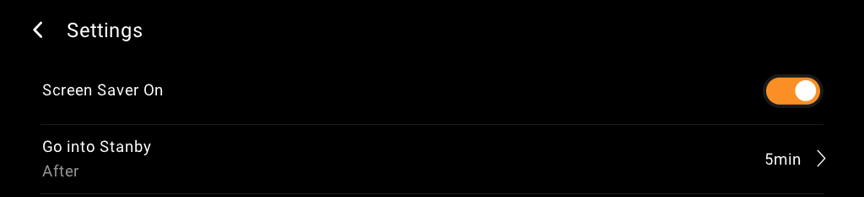
You can customize how long the device takes to enter the standby mode by tapping  > Display > Screen Saver > Go into Standby. For example, if you choose 1 min, the HyPanel Elite 10 will enter standby mode in 1 minute of inactivity.
Change screen saver settings
In Screen Saver Settings, you can turn the screen saver on or off, and choose its style.
Swipe down from the top edge of any screen, and tap
 > Display > Screen Saver.
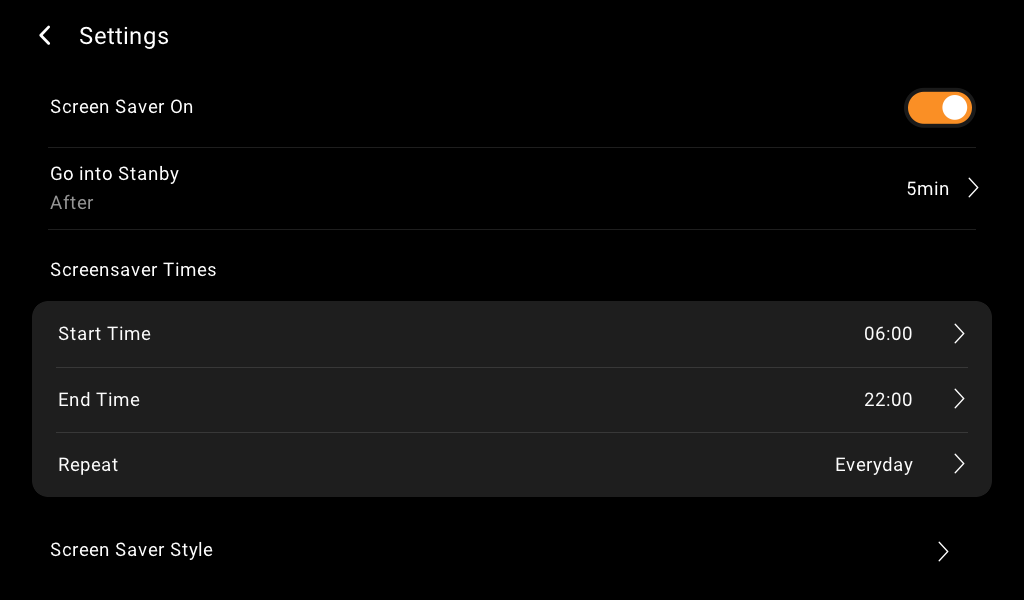
Do any of the following:
Turn on or off the the toggle next to Screen Saver On.
When it is enabled, HyPanel Elite 7 in standby mode will display screen savers; when disabled, the display will just stay off.
Schedule the screen saver to turn on automatically by setting Screen Saver Times.
Choose a screen saver style.
Select Photo Wall if you want to display images.
Set up Do Not Disturb
To avoid interruptions from calls, messages, or notifications, enable Do Not Disturb(DND).
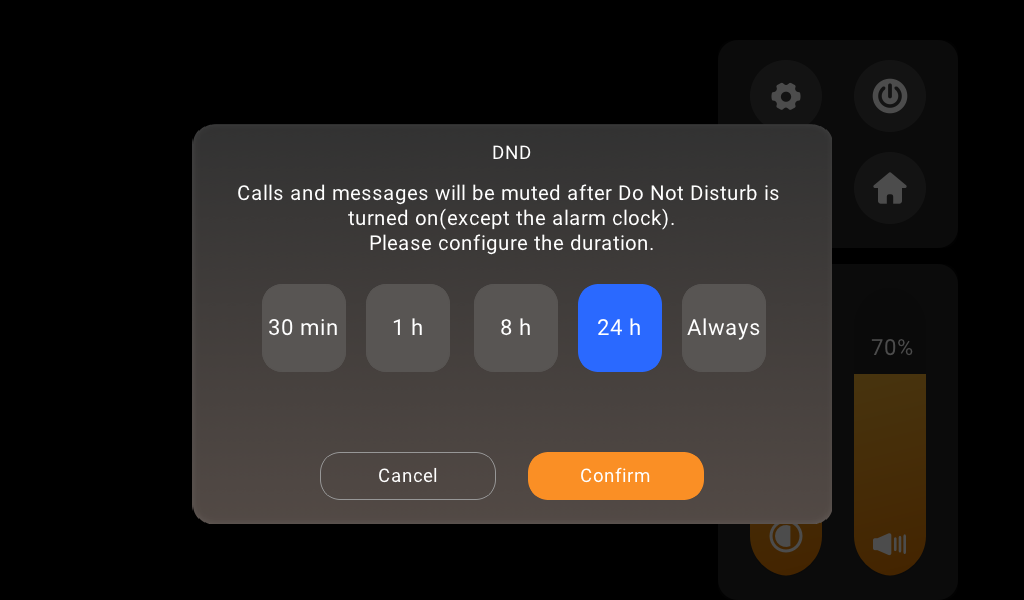
All calls and notifications will be silenced during the set period, while the alarm still rings.
Quickly turn DND on or off
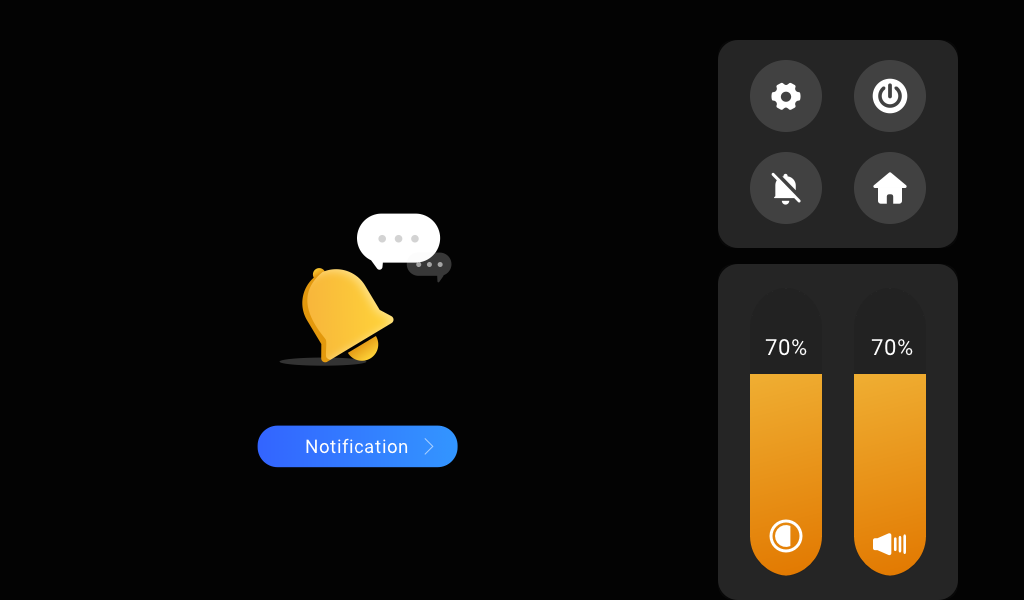
To quickly turn the DND feature on and set its duration, swipe down from the top edge of any screen, tap  , then select the desired duration.
When DND is enabled, the icon will change accordingly. Tap the icon  again to disable DND.
NOTE:
If the DND period set here overlaps with a Specific Time DND, the effective DND period will be the combined duration of both settings.
Schedule the DND to turn on automatically
To schedule DND to turn on automatically at certain times, do the following:
Swipe down from the top edge of any screen, and tap
 > DND.
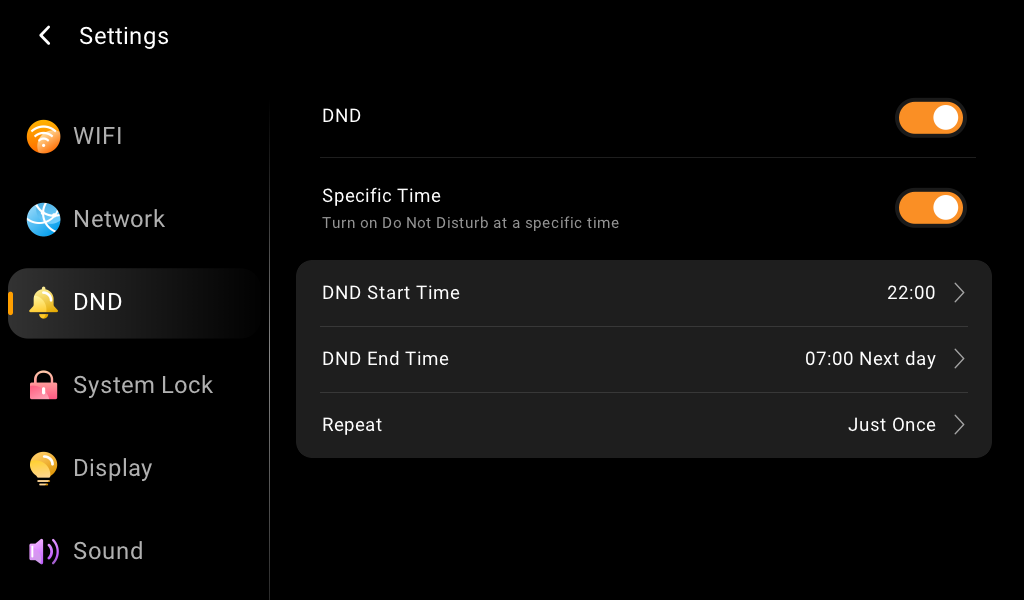
Toggle on DND.
Toggle on Specific Time.
Set the DND start time and end time. DND will be activated automatically during the designated period and deactivated outside these hours.
Specify the number of times the DND schedule will be repeated. The default setting is 1 time.
Protect your HyPanel Elite 7
For better security, use screen lock or settings lock to prevent unintended access to your device or the settings screen.
System lock and Settings screen lock
Enable lock
Swipe down from the top edge of any screen, and tap
 > System Lock.
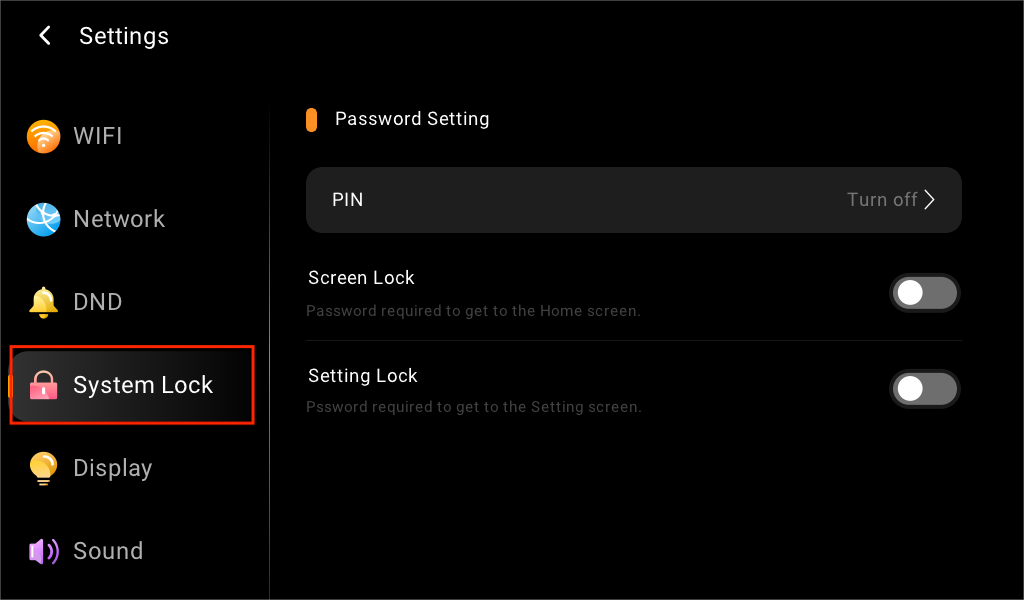
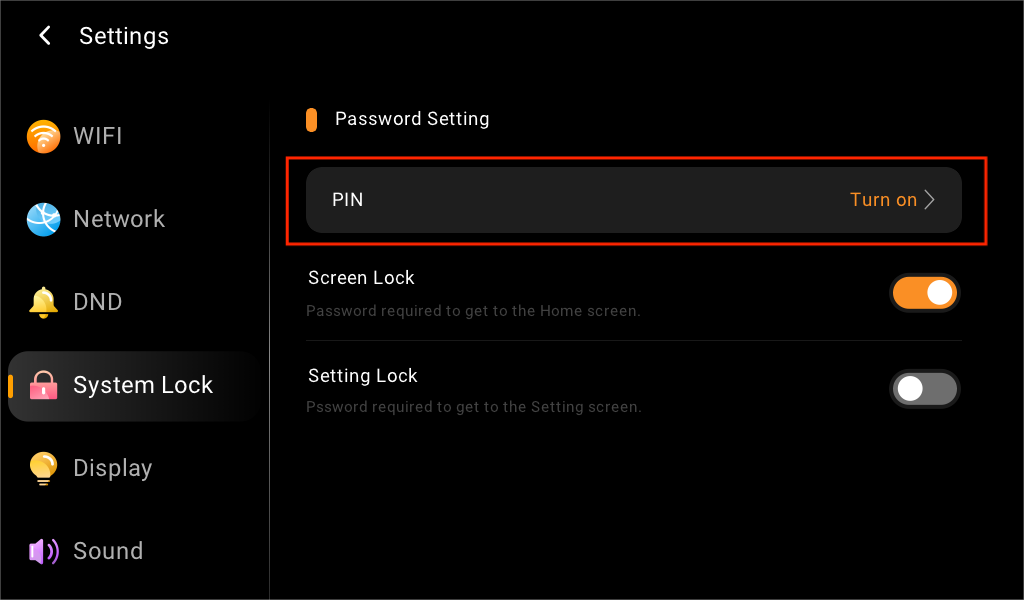
Turn on the PIN option and follow the onscreen instructions to set up a 6-digit password.
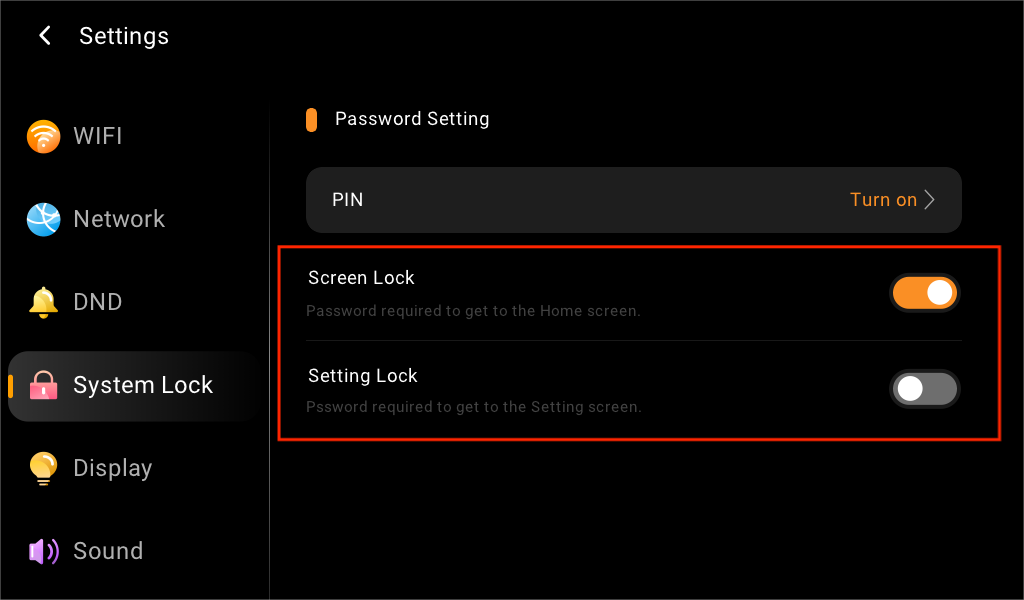
Select where to apply the password.
NOTE:
The Screen Lock and Setting Lock use the same password. When both are active, you only need to input the password once to unlock both the device and the Settings screen.
Delete and modify passwords
On the
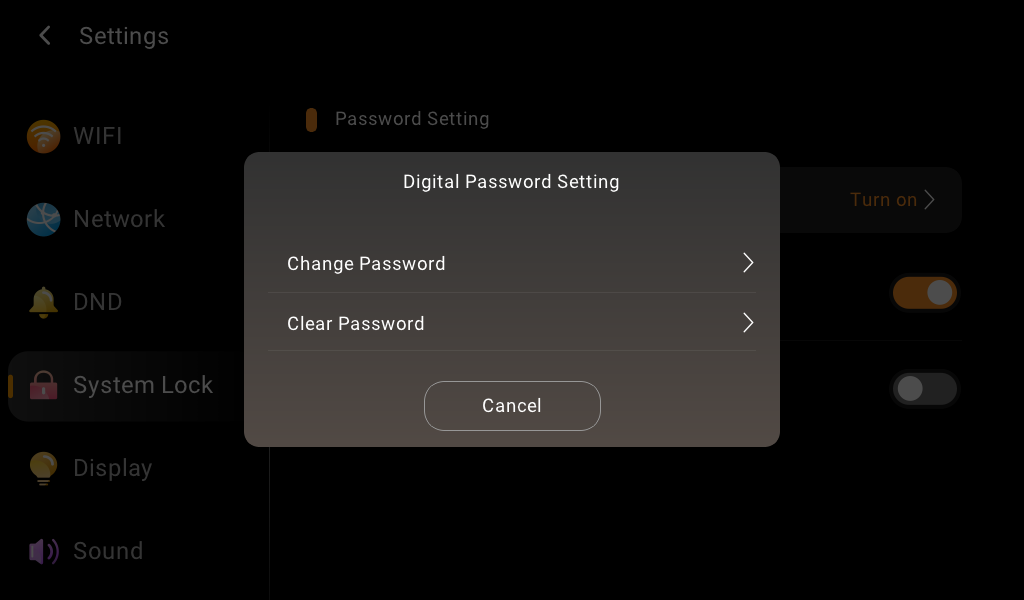
 > System Lock screen, tap PIN.
Select the desired option and follow the onscreen instructions.
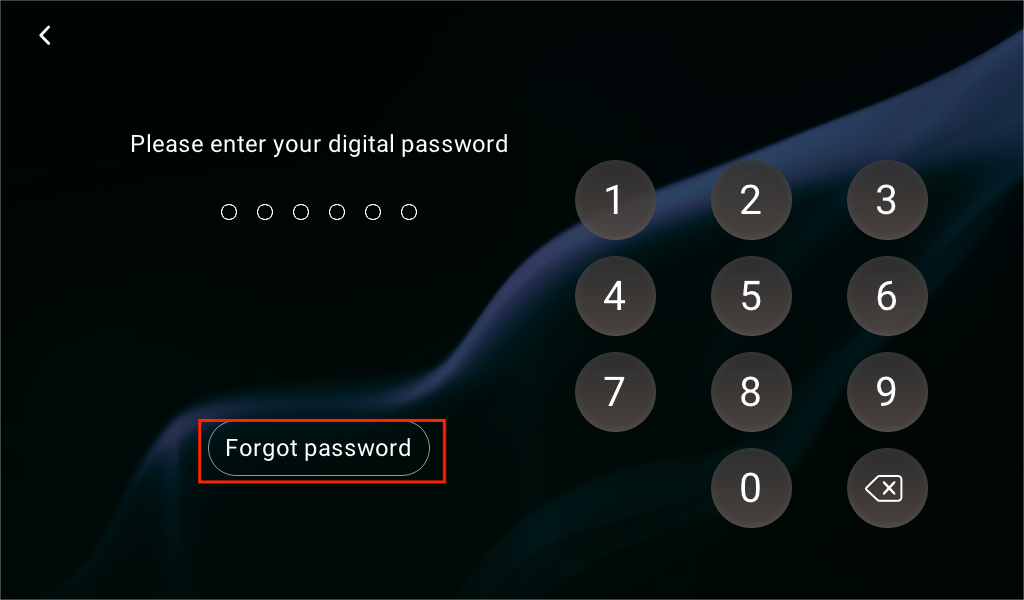
Forgot password
If you have forgotten the current screen lock password, tap Forgot Password on the password entry screen and follow the on-screen instructions. The available password reset options depend on the device's cloud connection status.
Via reset email
If an administrator account has been registered and the device is connected to the Internet, tap Forgot Password on the lock screen. A password reset email will be sent to the family's administrator email address. Follow the instructions in the email to reset the screen lock password.
On the user web portal
If the panel is used as the gateway, log in to the User Web Portal, locate the target panel, then select
 > Reset > Reset Panel screen lock password.
Batch configuration template
Speed up large-scale deployments by saving a home’s full configuration as a reusable template. The system can store up to 100 templates.
Applying a template automatically synchronizes:
Room structures and device names
UI layouts and system settings
Scenes and device associations
NOTE:
When a template is applied, the room structure will match the template exactly. Rooms not in the template are removed, and their devices are moved to the "Others" space.
Any existing scenes not included in the template will be deleted upon import.
The system attempts to match devices automatically. Successfully matched devices show a Correct status.
Upload a template
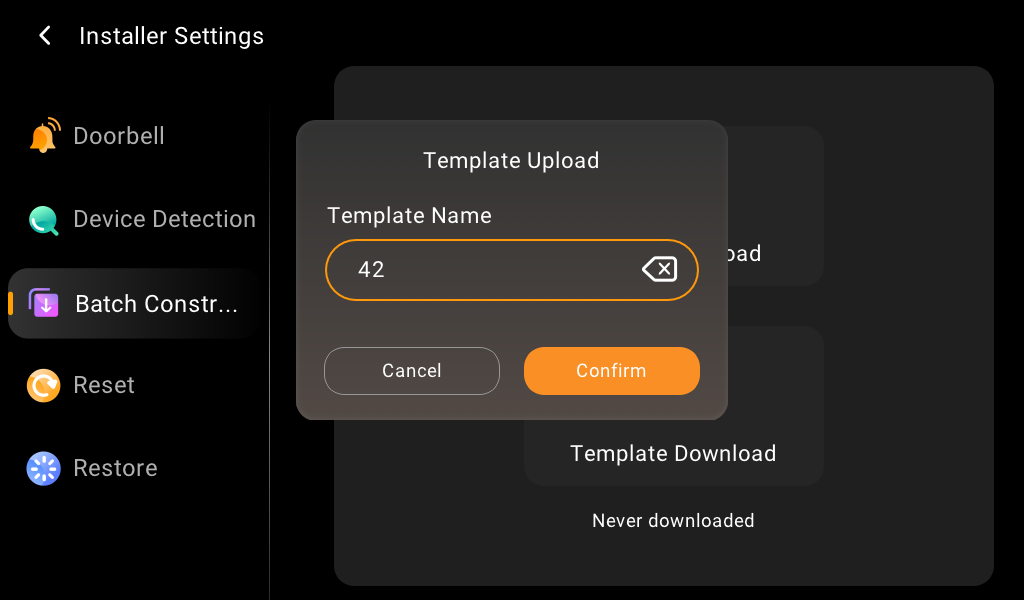
To save your current home settings to the cloud:
Swipe down from the top edge of any screen, and go to
 > Installer Settings > Batch Configuration > Template Upload.
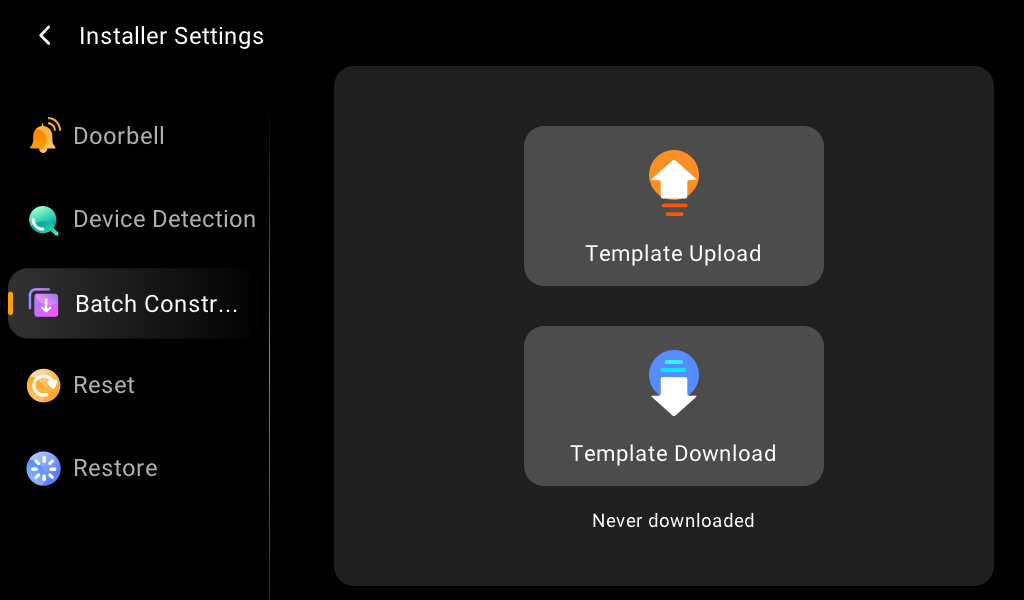
Name the template and tap Confirm.
Apply a template
Swipe down from the top edge of any screen, and go to
 > System Settings > Installer Settings > Batch Configuration.
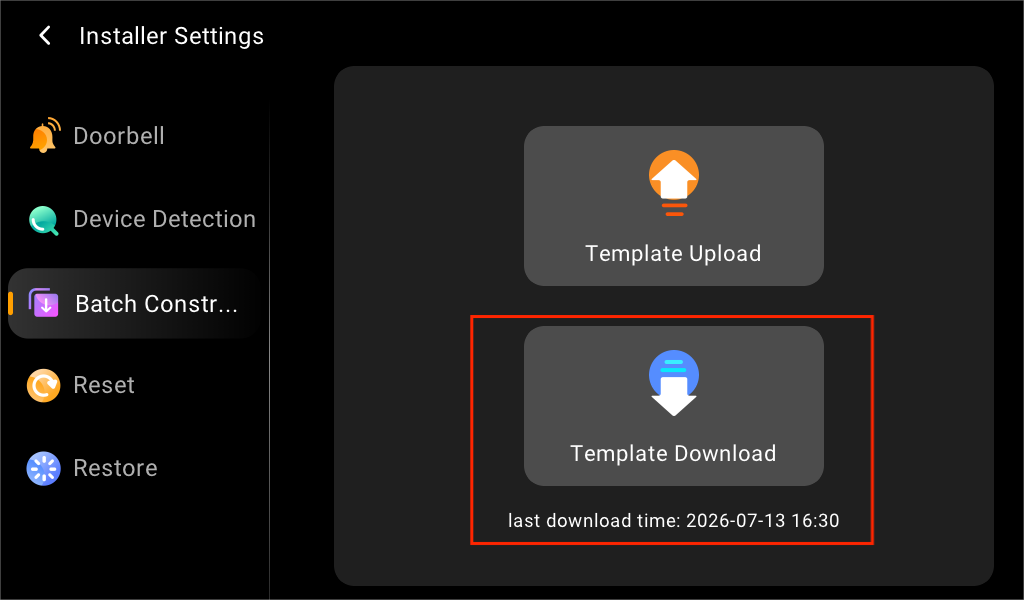
Tap Template Download.
Select the desired template from the list.
Wait for the template to finish downloading.