Infrared LED Setting
Infrared LED is mainly designed to reinforce the light for facial recognition at night or in a dark environment.
To set up the LED, navigate to the web Device > Light > LED Setting interface.

Mode:
Auto: Turn on the infrared LED automatically based on the minimum and maximum photoresistor value.
Always On: Enable the infrared LED.
Always Off: Disable the infrared LED.
Schedule: Turn on the infrared LED based on the schedule. Specify the Start Time and End Time when this option is selected.
Photoresistor Setting: Set the minimum and maximum photoresistor values to automatically control the ON-OFF of the infrared LED light. If the photoresistor value is less than the minimum threshold, turn it off. If the photoresistor value is greater than the maximum threshold, turn it on.
Current Photoresistor: The current light intensity indicated by the photoresistor value. Click Read to display the value. The photoresistor values inversely relate to light intensity: higher values indicate lower light, and lower values indicate higher light.
IR LED Brightness: Adjust the IR LED brightness from level 0 to 10. The higher the level is, the brighter it is.
Card Reader LED Control
You can enable or disable the LED lighting on the card reader area. You can also set a specific time to turn on the light.
To set it up, navigate to the web Device > Light > LED Of Swiping Card Area interface.

Start Time- End Time (H): Enter the time for the LED lighting to be valid, e.g., if the time is set from 8-0 (Start time- End time), it means LED light will stay on during the time from 8:00 am to 12:00 pm during one day (24 hours).
Keypad LED Control
You can enable or disable the LED lighting of the keypad. You can also set a specific time to turn on the light.
To set it up, navigate to the web Device > Light > LED Of Keypad Area interface.

Start Time- End Time (H): Enter the time for the LED lighting to be valid, e.g., if the time is set from 8-0 (Start time- End time), it means LED light will stay on during the time from 8:00 am to 12:00 pm during one day (24 hours).
Home Screen Display
Three types of home screen display themes are available for different applications.
To set it up, go to the Setting > Key/Display interface.
Theme:
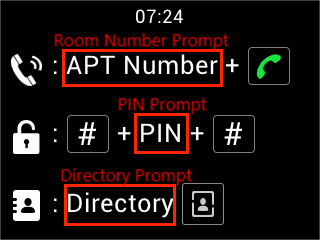
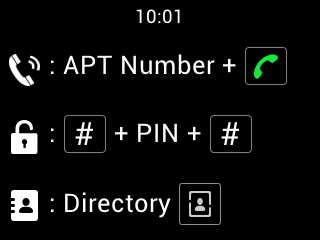
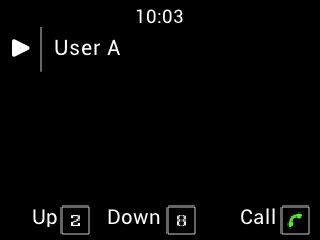
Default: Display the instructions for making calls by room numbers, opening doors by entering PINs, and entering the directory list screen.
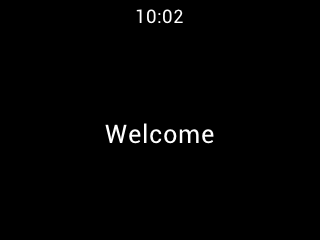
Customized Text: Display customized text on the home screen. When selected, enter the content in the Text box.
Directory: Display the directory list.
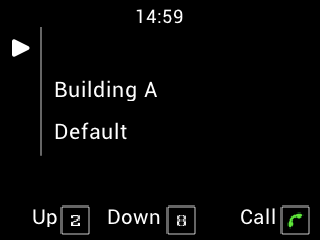
Gate Mode: This mode requires using the SmartPlus Cloud service and adding the device to the public area of community projects. It will display buildings and apartments in the Cloud. Users need to choose a specific building before calling a resident.
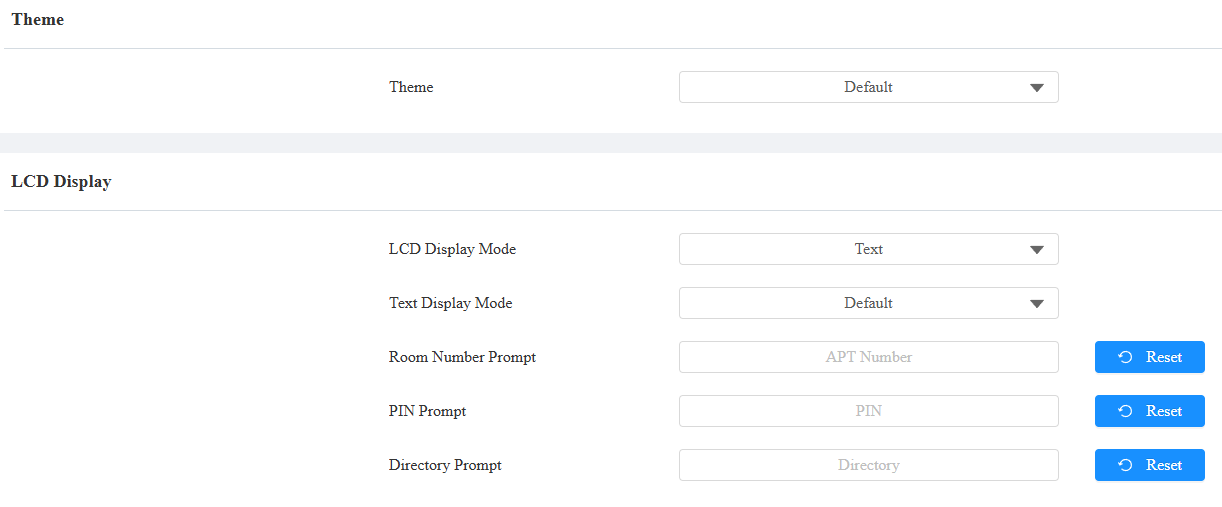
LCD Display: Available for the Default theme.
LCD Display Mode: Choose to display text or an image. When selecting Image, you can upload a picture(Max size: 200KB, Format: .png/.jpg, Recommended Resolution: 320*240).
Text Display Mode:
Hide Directory: Hide the instructions for entering the directory list screen.
Hide Directory & Room Number: Only display the instructions for opening doors by entering PINs.
Room Number Prompt: The prompt for entering the apartment number to call.
PIN Prompt: The prompt for entering the PIN to open the door.
Directory Prompt: The prompt for entering the directory list screen.
Default | Customized Text |
|---|---|
|
|
Directory | Gate Mode |
|
|
Screensaver Settings
You can set the screen saver duration as well as the timing for the screen to be turned off for both screen protection and power reduction.
To set it up, go to the web Device > LCD interface.
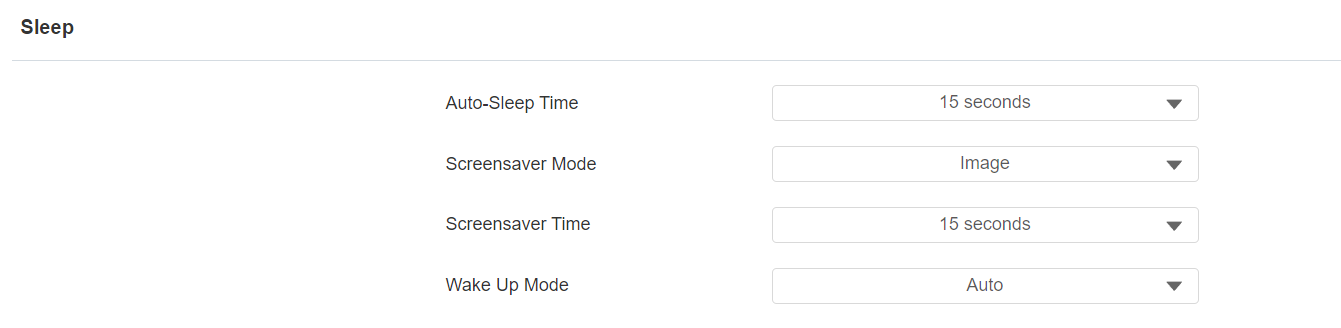
Auto-Sleep Time: Within the Auto-Sleep Time, if the device detects no operation or no one approaching, it will start displaying the screensaver. It ranges from 5 seconds to 30 minutes. The default is 15 seconds.
Screensaver Mode:
Image: Display the default picture or the picture uploaded.
Disabled: The device will not go into Screensaver Mode.
Screensaver Time: The screensaver duration time. The screen will turn dark after a time.
Wake Up Mode:
Auto: The screen can be awakened when someone approaches without it being touched.
Manual: Touch and wake up the screen.
Upload Screensaver
You can upload screen-saver pictures to the device for publicity purposes or a greater visual experience.
Navigate to the web Device > LCD interface.

Transition Time: The time interval switching between two pictures.
Note
The file should be in .jpg format with a 1M max size.
The recommended resolution is 320×240.
Screen Backlight Brightness
You can adjust the backlight brightness for the screen and screensaver.
Navigate to the web Device > LCD interface.
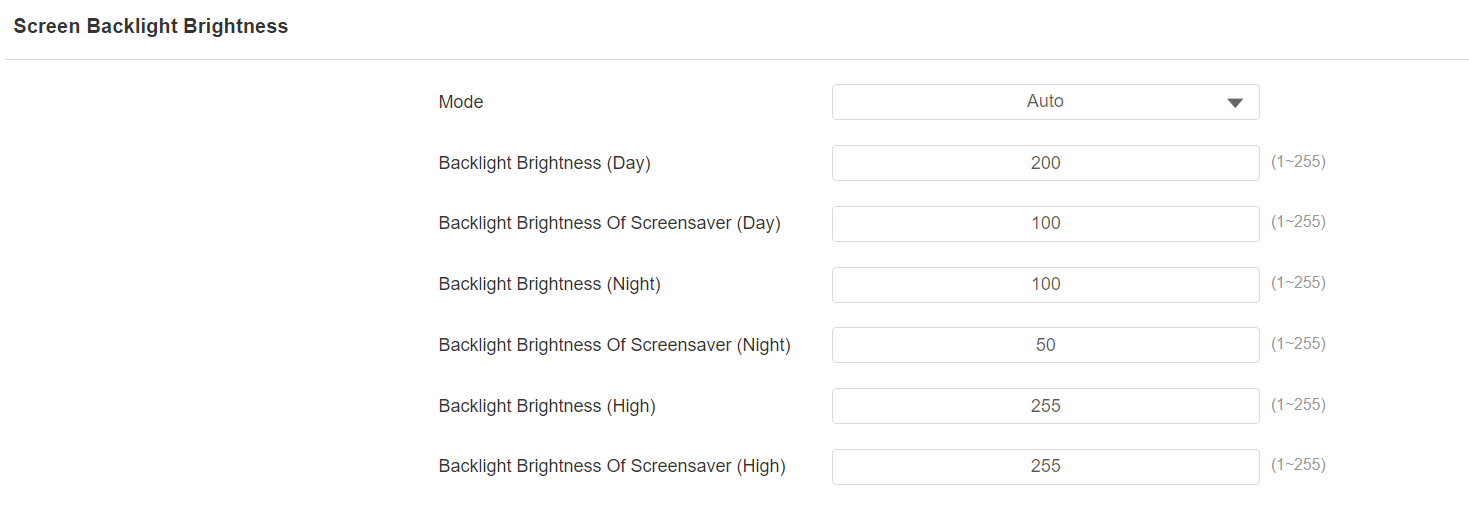
Mode: When Auto is selected, the screen backlight brightness will be adjusted automatically.
Note
The backlight brightness has three modes, Day, Night, and High. They are determined by the photoresistor.
If the current photoresistor is lower than the preset minimum photoresistor, the device is in High mode.
If the current value is between the minimum and maximum photoresistor, the device is in Day mode.
If the current value is higher than the maximum photoresistor, the device is in Night mode.
Backlight Brightness (Day): The brightness value ranges from 1-255. The default is 200. The larger the value, the brighter the screen.
Backlight Brightness Of Screensaver (Day): The backlight for the screensaver in the daytime, with the value ranging from 1-255.
Backlight Brightness (Night): The backlight at night with a value ranging from 1-255.
Backlight Brightness Of Screensaver (Night): The backlight for the screensaver at night, with the value ranging from 1-255.
Backlight Brightness (High): The backlight with a value ranging from 1-255.
Backlight Brightness Of Screensaver (High): The backlight for the screensaver with a value ranging from 1-255.
LCD Heat Control
To ensure the normal operation of the door phone in low-temperature environments, you can heat up the device’s LCD screen according to your heat control setting.
Navigate to Intercom > Basic interface.

Enabled: This function cannot be used in Low Power Mode. Use POE+ or a 12V DC power adapter to ensure sufficient power supply.
Threshold: When the device temperature reaches the threshold, the device will start heating up.
Current Temperature: Click Read to acquire the device's current temperature.
Text Prompt for Door-opening and Calling
You can enable/disable the text prompts for both door-opening success and failure, and calling.
All these prompts are enabled by default.
Set it up on the Access Control > Relay interface.
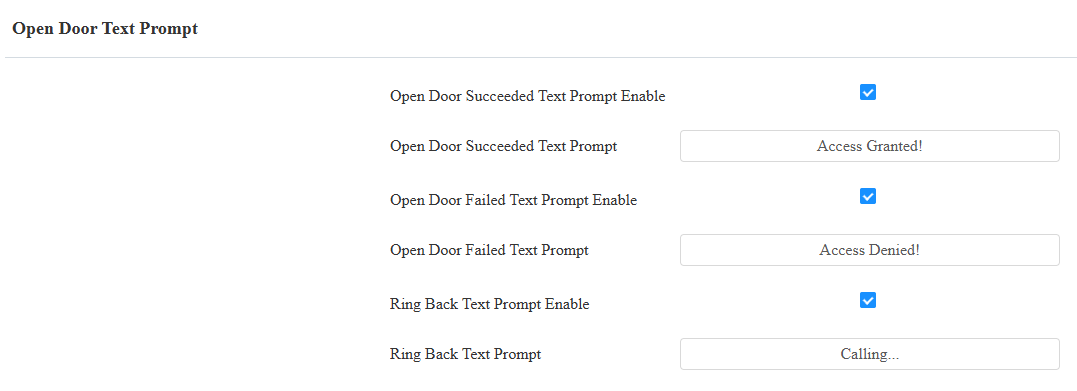
Open Door Succeeded Text Prompt: Display a text prompt after the door is opened. The default prompt is “Access Granted”. You can customize the prompt with a maximum of 63 characters.
Open Door Failed Text Prompt: Display a text prompt after opening the door fails. The default prompt is “Access Denied”. You can customize the prompt with a maximum of 63 characters.
Ring Back Text Prompt: Display a text prompt when calling a number. The default prompt is “Calling”. You can customize the prompt with a maximum of 63 characters.