The Badge Printing feature allows project managers and installers to generate printable ID badges for personnel and administrators in Smart Access commercial projects. Each badge can include a company logo, profile picture, and a job title.
The cloud system generates the badge automatically for printing or downloading as a PDF.
Note
The feature should be activated by Akuvox for your distributors before it is available.
Both installers and project managers have permission to set this feature up.
Upload a Company Logo
Log in to the Smart Access cloud with your account.
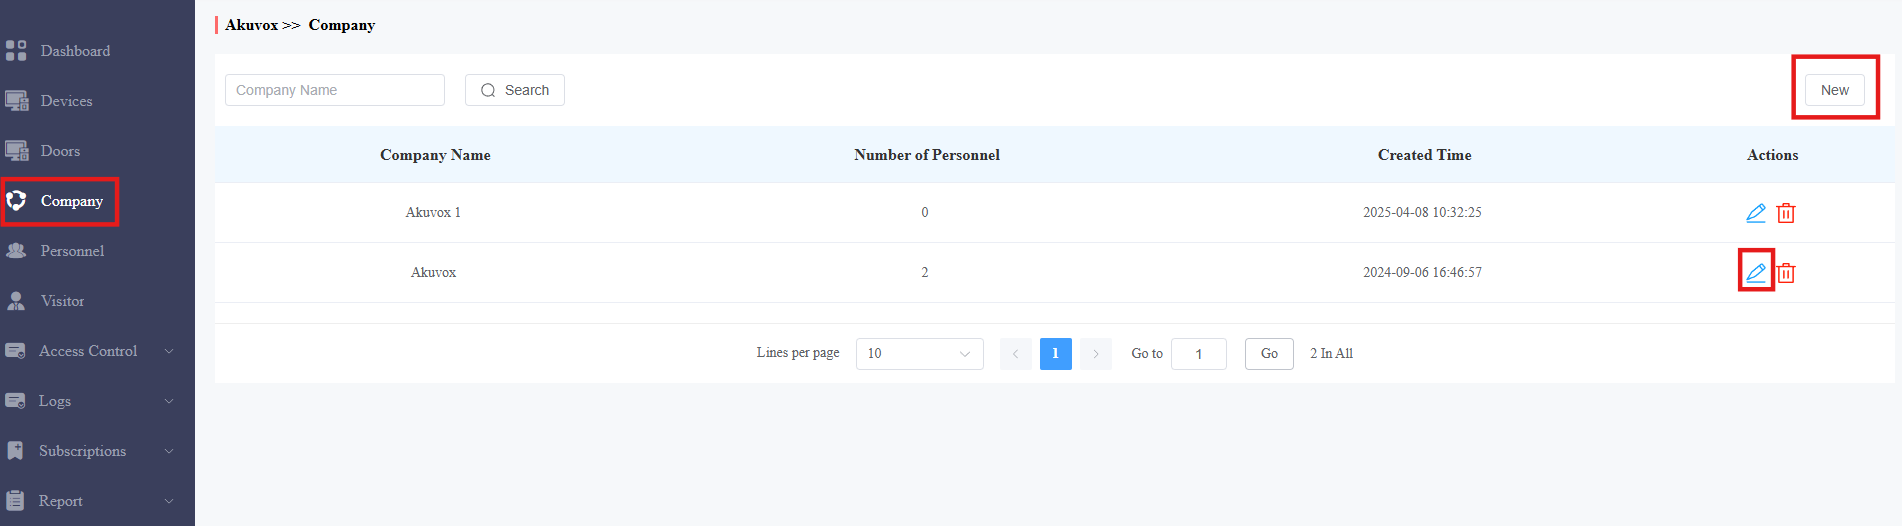
Click Company on the left.
Click New to add a new company, or click
 to modify an existing one.
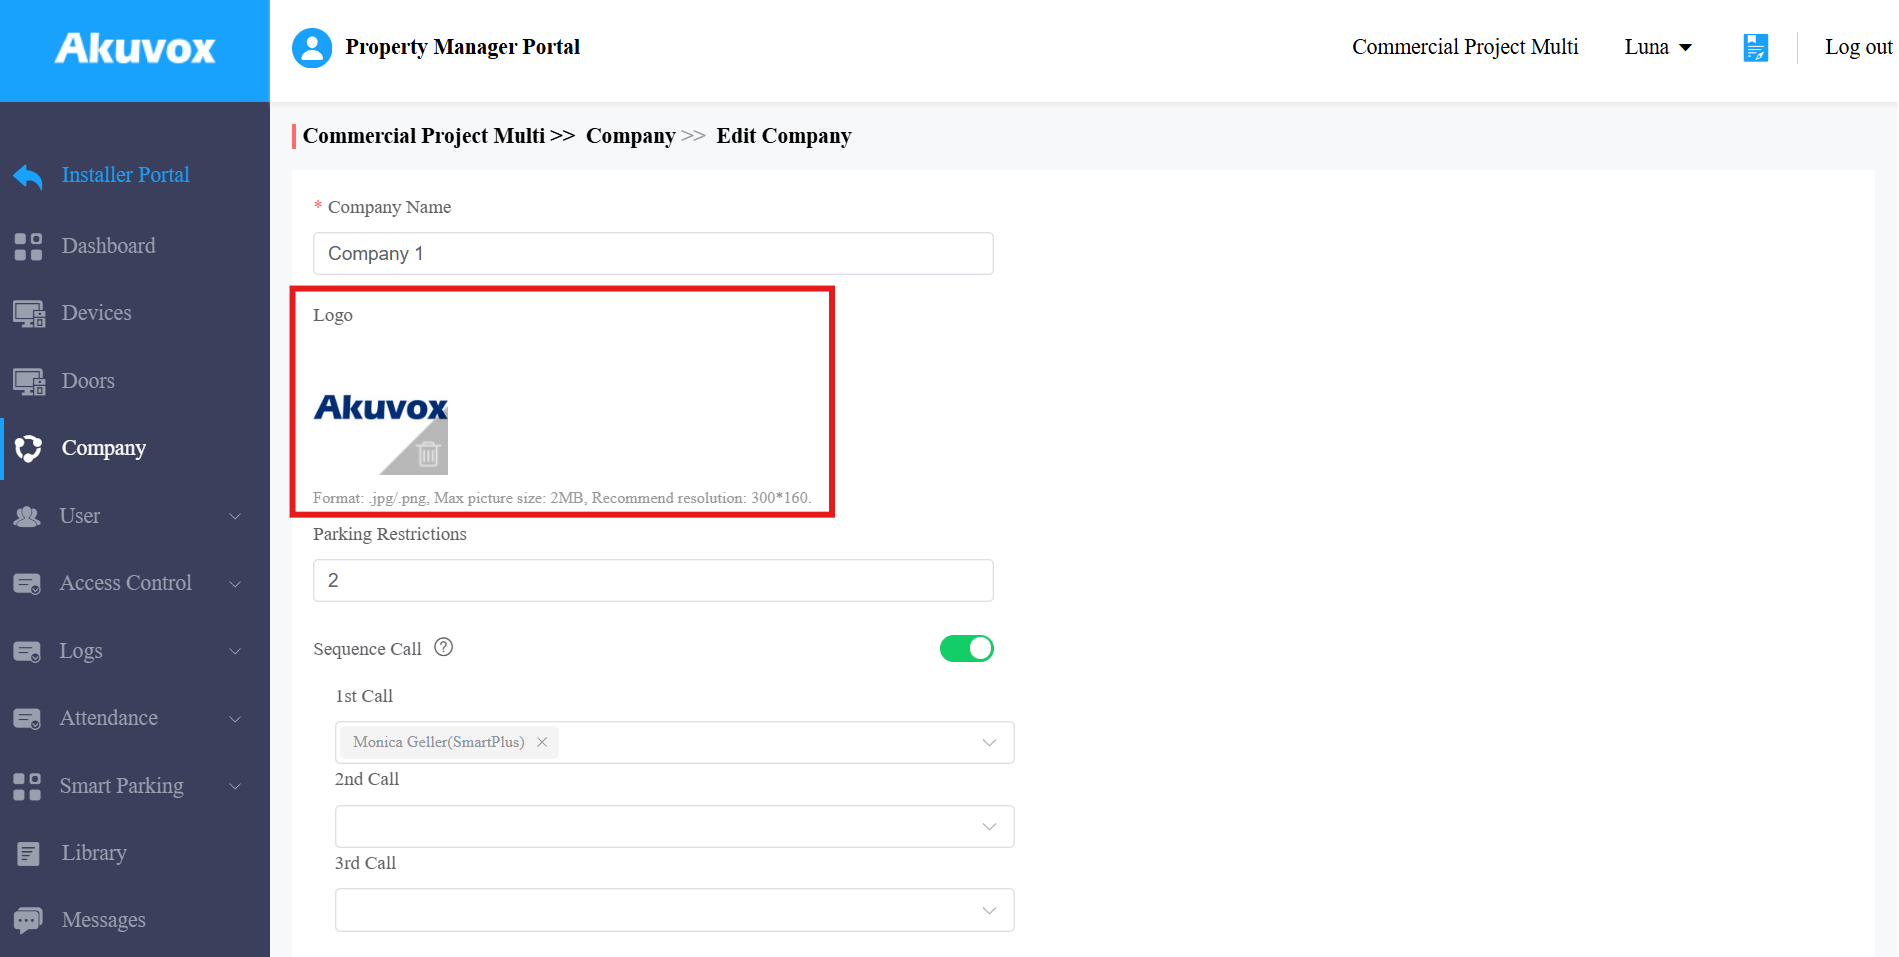
Click + to upload a logo picture.
Note
Note: Supported formats: .jpg, .png. Maximum file size: 2 MB. Recommended resolution: 300×160.
Click Submit.
Upload a Profile Picture
Navigate to the relevant module:
For personnel: User > Personnel
For administrators: User > Admin
Click New to add a user/admin, or click
 to modify an existing one.
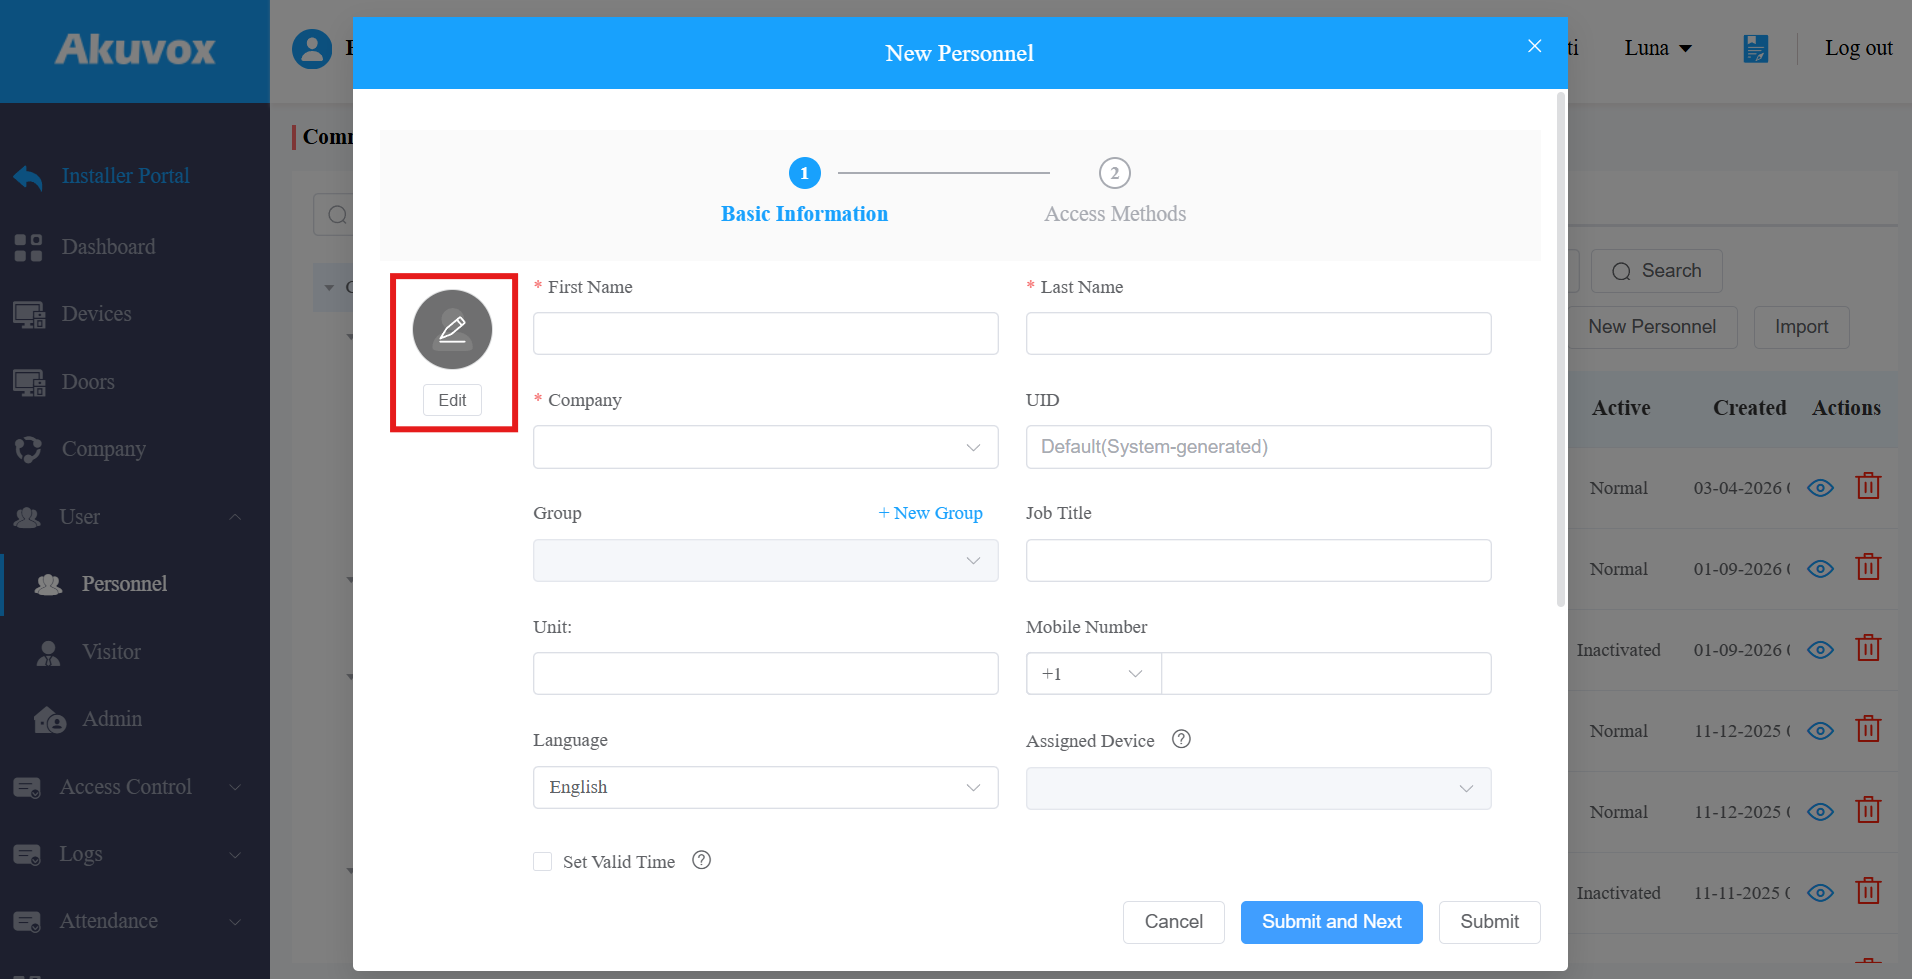
Find Profile Picture and click Edit.
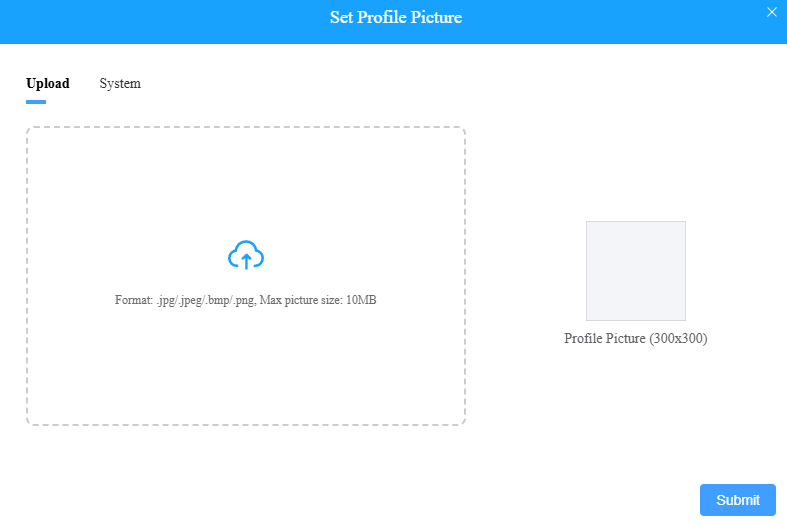
Upload a picture or choose the system default profile.
Note
Supported formats: .jpg, .jpeg, .bmp, .png. Maximum file size: 10 MB. Recommended resolution: 300×300.
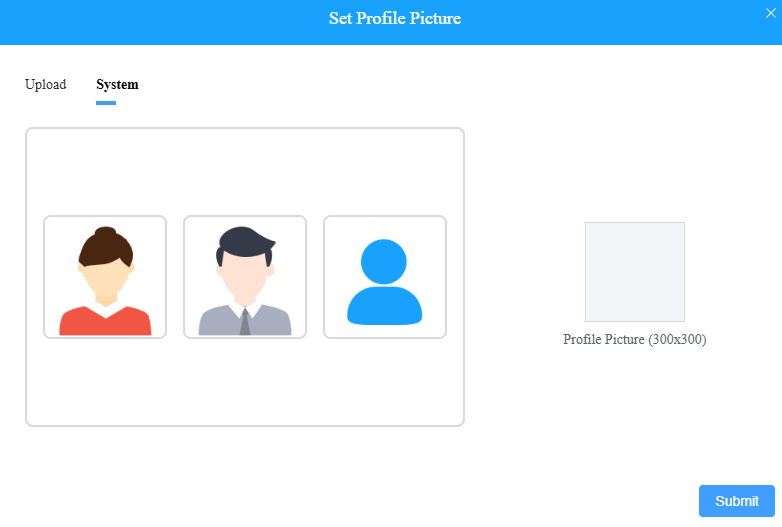
Click Submit.
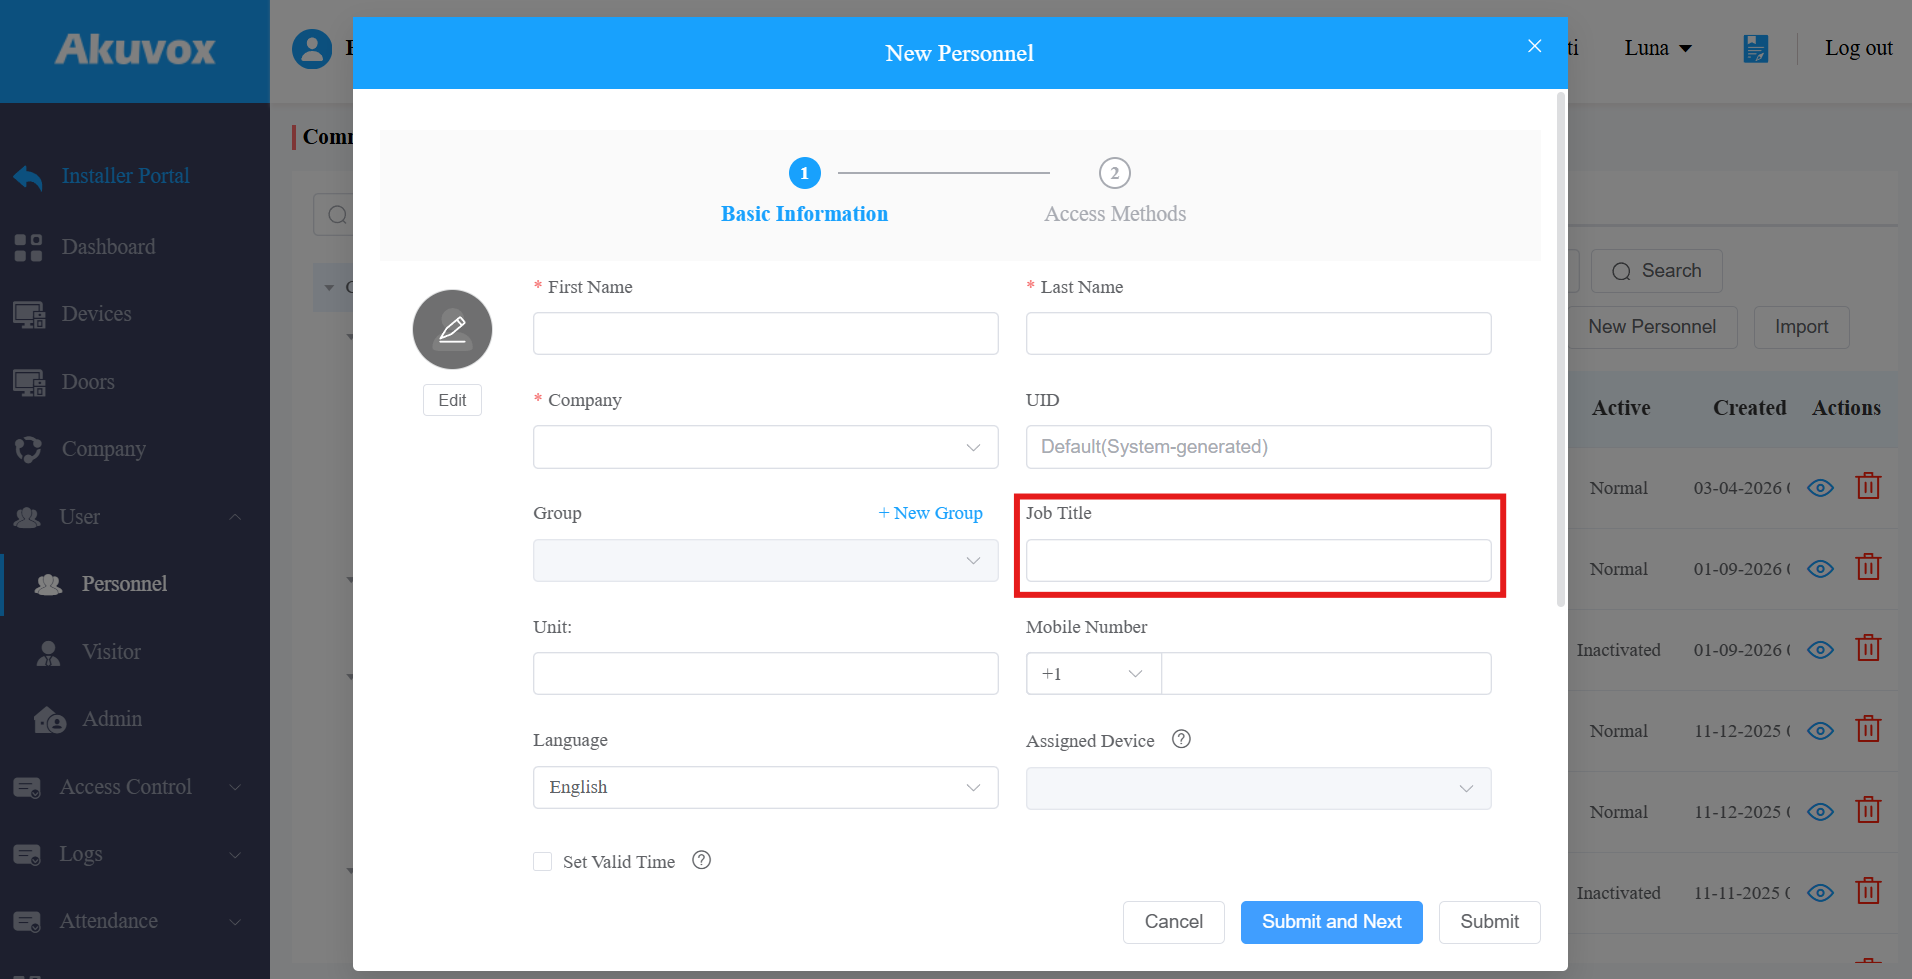
Optionally, enter a Job Title, which will display on the badge.
Print or Download the Badge
Go to User > Personnel or User > Admin.
Click
of the desired user. Click Print Badge on the right.
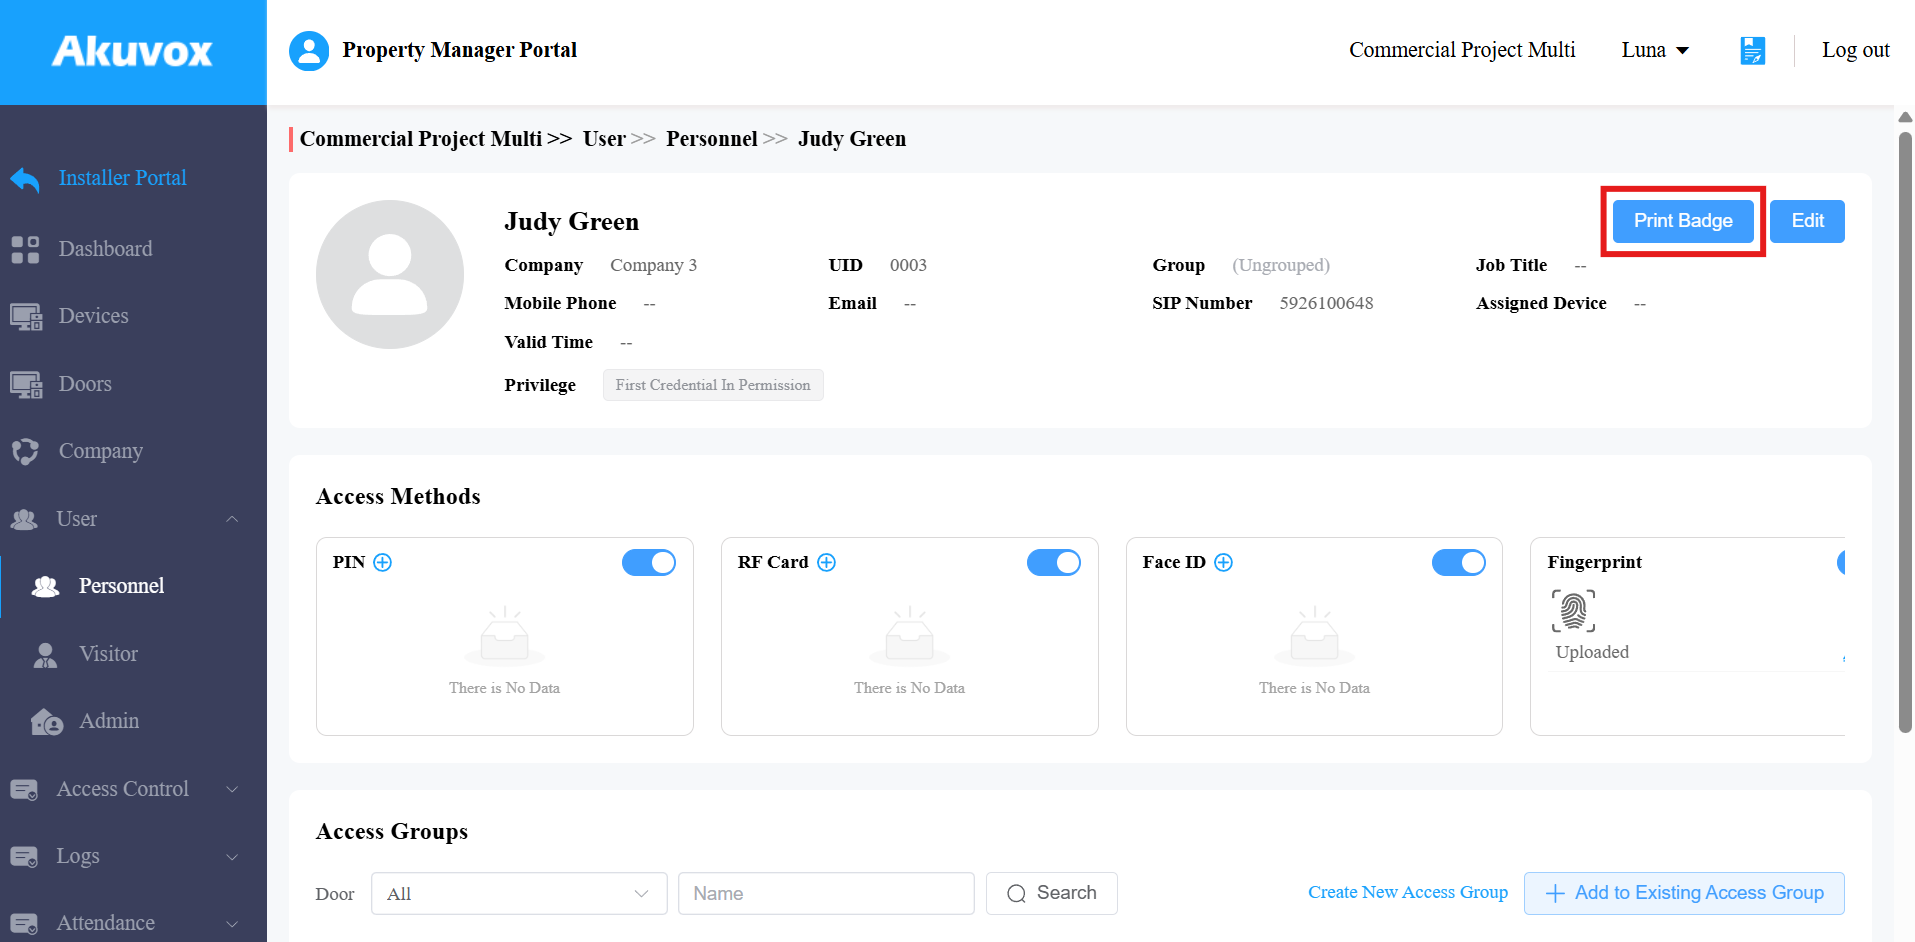
Click
 to download the PDF badge; click
  to print it.