A door access schedule lets you decide who can open the door and when. It applies to both individuals and groups, ensuring that users within the schedule can only open the door using the authorized method during designated time periods.
Create a Door Access Schedule
To configure the schedule, navigate to the web Setting > Schedule interface. Click +Add. You can add up to 100 local schedules.
You can also set up the schedule on the Setting > Basic Setting > Schedule screen.

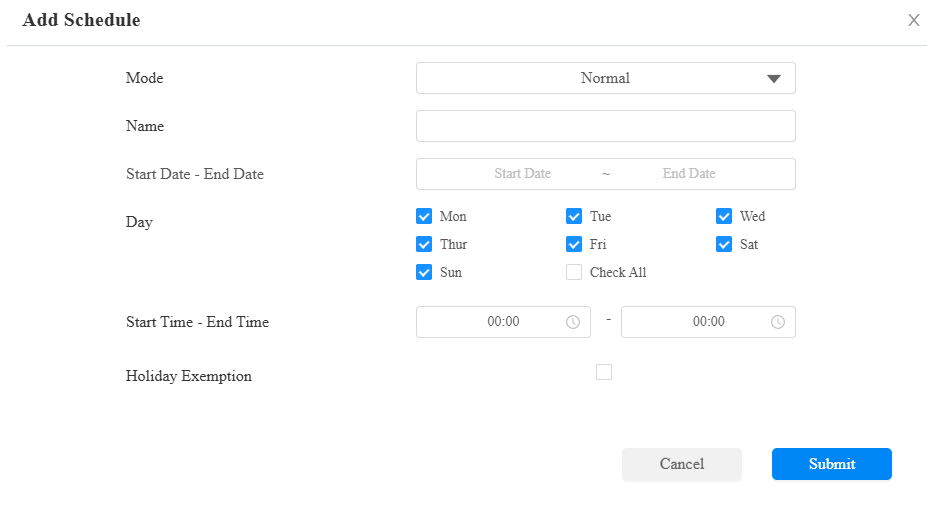
Mode:
Normal: Set the schedule based on the month, week, and day. It is used for a long-term schedule.
Weekly: Set the schedule based on the week.
Daily: Set the schedule based on 24 hours a day.
Name: Name the schedule.
Holiday Exemption: The holiday schedule has higher priority over the access schedule, which limits users from opening doors. If users want to open doors during holidays within the access schedule, you need to check this option.
Note
The access control schedule synchronized from the SmartPlus cannot be edited or deleted.
Import and Export Door Access Schedule
You can create door access schedules one by one or in bulk. You can export the current schedule file, edit it or add more schedules following the format, and import the new file to the desired devices. This helps you manage your door access schedules easily.
Set it up on the Setting > Schedule interface. The import/export file is in .xml format.

Holiday Schedule
You can define the holidays when users cannot open doors to enhance access control security. You can also set the Working Hours to allow authorized users to open doors.
Set it up on the Setting > Holiday interface. Click +Add.


Holiday Name: Enter the holiday name.
Repeat By Year: Repeat the schedule every year.
Year: Set the year and date of the holiday.
Working Hours: When enabled, specify the time when authorized users can open doors.
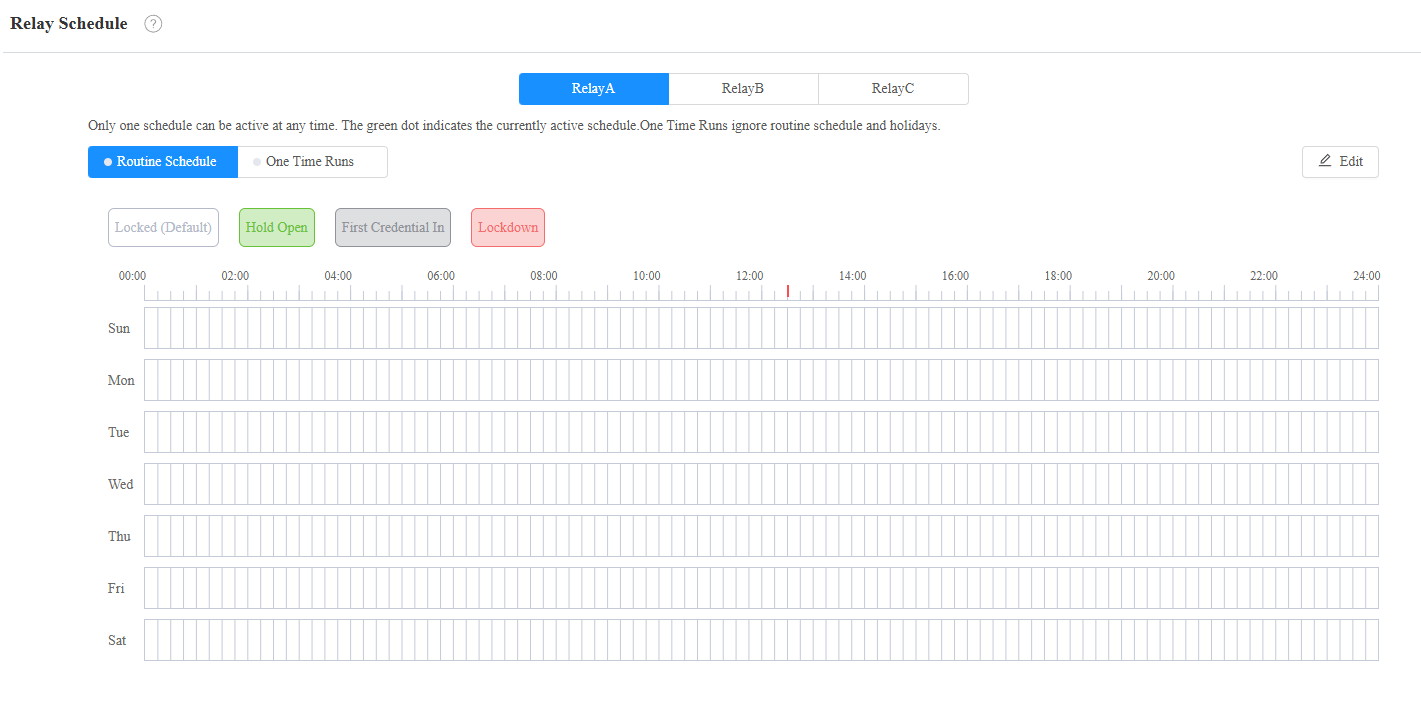
Relay Schedule
The relay schedule allows you to set a specific relay to always open at a certain time. This is helpful for situations like keeping the gate open after school or keeping the door open during work hours.
Navigate to the web Access Control > Relay > Relay Schedule interface.
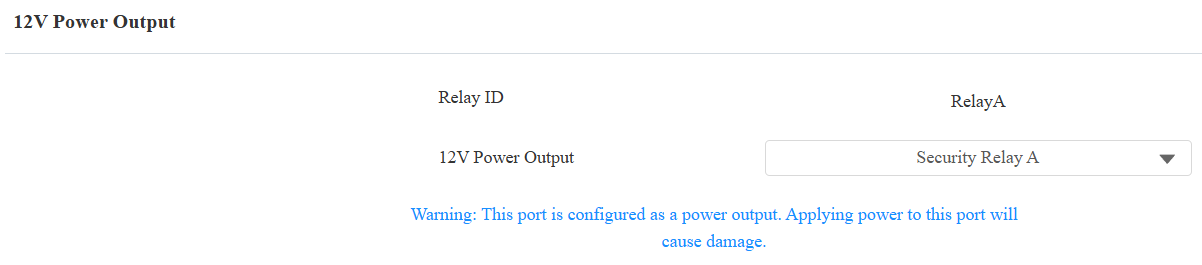
Relay ID: Specify the relay that applies the schedule.
Security Relay A: Only available when the security relay is enabled, and 12V Power Output is set to Security Relay A.
Security Relay B: Only available when the security relay is enabled.
Repeat Type:
Routine Schedule: The schedule repeats every week. Click Edit on the right to configure.
One-Time Runs: Set the daily or weekly schedule that repeats during a defined period.
Schedule Mode:
Hold Open: The door remains open during the scheduled time.
First Credential In: The door remains open during the scheduled time after users use their credentials for the first time.
Lockdown: The door remains closed during the scheduled time.
Note
Click here to view the detailed configuration of each schedule mode.