SIP-based Akuvox devices can integrate with many third-party SIP server brands, achieving SIP calls among multiple devices in different networks.
Note
Click here to check the integrated SIP server brands.
Akuvox indoor monitors C317, C319, IT88, and S567 with built-in PBXes can serve as SIP servers.
In this article, we take registering SIP accounts for R29 on the indoor monitor IT88 as an example.
Check SIP Server Information
To register a SIP account, the following information should be obtained first. If you are using a third-party server, please confirm the information with the service provider.
Server IP
Server Port
Register Name
Username
Password
Tap Settings > Advance > PBX on the indoor monitor. The default password to access the advanced settings is 123456.
.png "image-6SW0W5JU(1).png")
Tap
 in the upper right corner to enable the PBX.
(2).png "screenshots - 2024-05-09T113648.702(1)(2).png")
After turning on the PBX server, you can check the server IP and port in the upper left corner.
In the example, the server IP is 192.168.36.102 and the port is 5070.
(1).png")
To check the server password, tap
 in the upper right corner and select the desired row for registration by tapping the Edit icon next to it.
(2).png")
You can customize the username, password, and display name, and turn on or off the function.
(1).png "screenshots - 2024-05-09T113845.910(1)(1).png")
Register SIP Accounts
Then, enter the SIP server information on the door phone for registration.
Use the device IP to log into its web interface with the username and password. The default is admin.
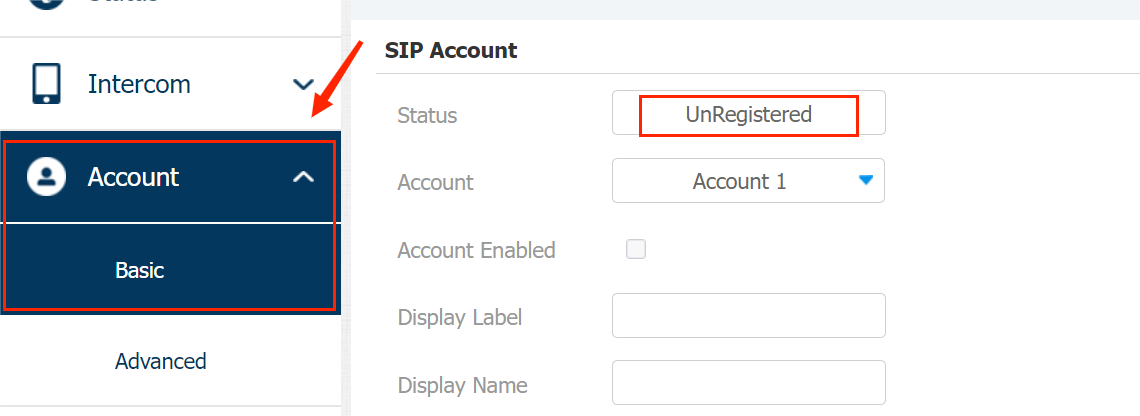
Go to Account > Basic interface. It appears UnRegistered in the Status box when the SIP account is not registered.
Select the account to be registered. Account 1 is utilized when the Akuvox SmartPlus Cloud service is activated by default.
It is recommended to use account 2 for registration.
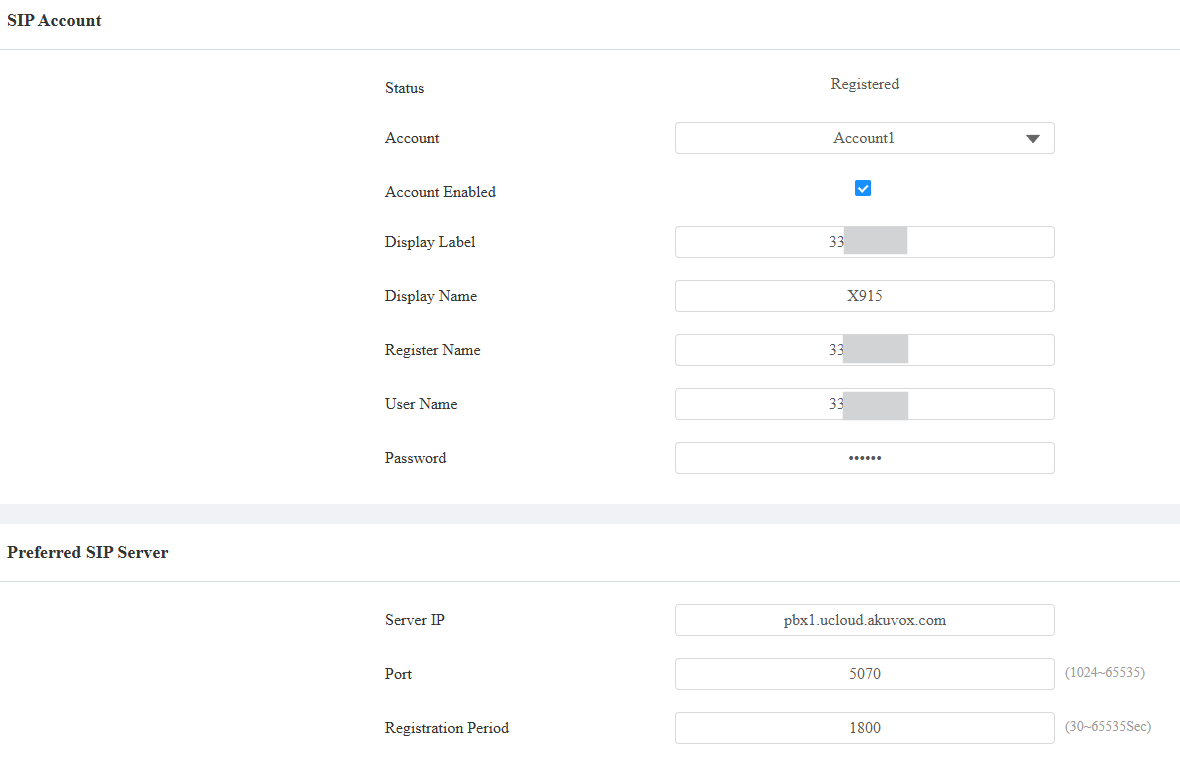
Customize the Display Label and Display Name. The display name is the account name shown on the device’s calling screen.
Enter the Register Name, User Name, and Password that are checked on the indoor monitor’s PBX.
The Register Name is the same as the User Name.
Enter the server IP and port in the Preferred SIP Server section. The Alternate SIP Server is for backup.
Check the Account Enabled box to activate the account.

Click Submit to save the settings.
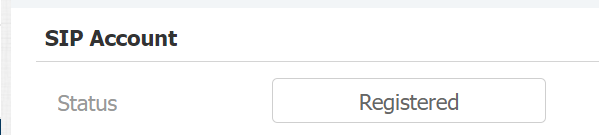
The Status appears as Registered after registering successfully. The default data transmission type is UDP.
Tip
To register a SIP account on third-party servers in Wide Area Network(WAN), you need to enable the RPort feature on the intercom devices for establishing stable connection.
Enable RPort on the Account > Advanced > NAT interface.

Register SIP Accounts of Third-party Servers
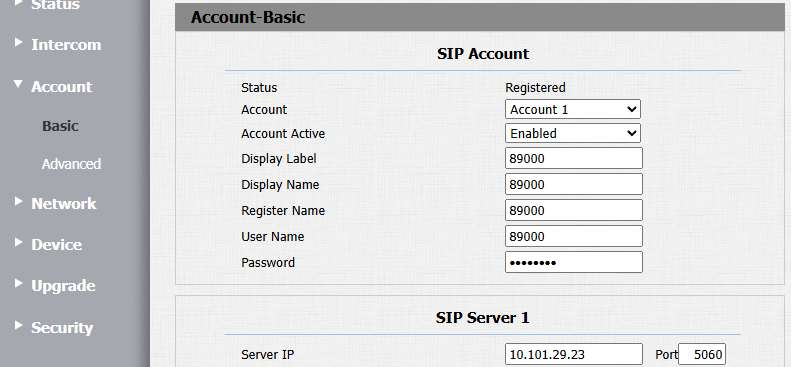
To register the SIP accounts of third-party servers, make sure you obtain the right information from the third-party service provider.
Each intercom will be on a unique internal extension number, e.g, 89000.
Required Information:
Extension Number
Extension Password
SIP Server, Port & Transport Type
Set up Calling to Extension Number
Navigate to Intercom > Basic interface.
Enter the Extension Number to be called.

Register SIP Accounts on SmartPlus Cloud
When the device is deployed on the Akuvox SmartPlus Cloud, its account 1 will be used for SIP account registration.
The account information and SIP server are automatically issued from the cloud.
Click here to view how to add devices to the cloud for a community project.
Click here to view how to add devices to the cloud for a single-family site.
On the device’s Account > Basic interface, the display label, register name, and username will show the SIP number.