Contact Group
You can create and edit a contact group for the contacts. The contact group will be used when you are adding a user.
To create and edit a contact group, navigate to the web PhoneBook > Local Book > Group interface.

Add a Contact
Add a contact on the PhoneBook > Local Book > Contact Setting interface.
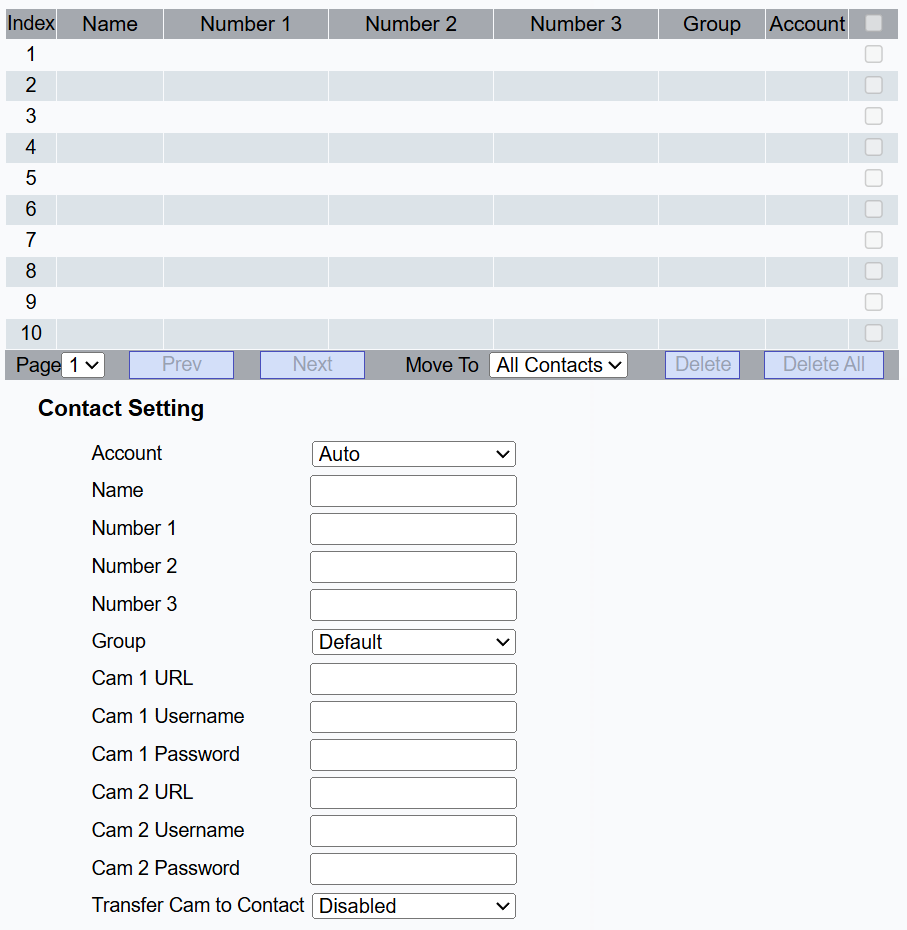
Account: Select the dial account from which to call the contact.
Name: Customize the contact name.
Number 1/2/3: Type in the IP or SIP number.
Group: Assign the contact to a default or self-created group.
Cam URL: Enter the RTSP URL for video preview. The format is rtsp://Device IP address/live/ch00_0.
Cam Username: Enter the username for authentication.
Cam Password: Enter the password for authentication.
Transfer Cam To Contact: When enabled, the guard phone can display the live stream from the door phone during a call with an indoor monitor or SmartPlus App.
This feature requires R49’s connection to the SmartPlus Cloud.
Fill in the indoor monitor or SmartPlus App’s SIP number in the number field.
Fill in the door phone’s RTSP URL, Username, and Password in the Cam fields.
The video codec of R49 and the door phone should be H.264.
Blocklist Contact
The calls from contacts in the blocklist will be rejected. You can blocklist a contact when editing it.
Set it up on the PhoneBook > Local Book interface.

Note
If you want to remove the contact from the blocklist on the web interface, you can change the group to the Default when editing the contact.
Contact Display
You can configure the contact display order and control whether to display the discovery device on the device.
Set it up on the web PhoneBook > Local Book interface.

Contact: Display all contacts, contacts from the blocklist, or contacts from the self-created group.
Contacts Sort By:
Default: The local contacts will be displayed before those from SmartPlus, SDMC, etc.
ASCII Code: The contacts will be displayed in order based on the first letter of the contact names.
Created Time: The contacts will be displayed by their created time.
Room Number: The contacts will be displayed based on the room numbers configured on the SmartPlus Cloud.
Besides, you can further set up contact display on the Phone > Preference interface.

Hide Room Door Phone: Set whether to display the door phone in the same room issued from SDMC or SmartPlus Cloud. When enabled, users will not see the door phone’s name in the contact list or monitoring list.
Search Contacts via Dialpad: Set whether to display the search box for searching for the desired contact. When enabled, pressing any number will redirect to the contact searching screen.
Hide Cloud Indoor Monitor: Set whether to display the indoor monitor in the same room issued from the SmartPlus Cloud.
Contacts Import and Export
When the contacts become so many that you can not afford to manage each contact one by one manually, you can import and export the contacts in batches on the device's web PhoneBook > Local Book interface.

Contacts Configuration on the Device
You can create contacts and contact groups directly on the device.
Tap More in the upper left corner of the home screen and tap +New to create new contacts or new groups.

Tap Blocklist and +Add to blocklist a contact.
