Relay Switch Setting
You can configure the relay switch(es) and DTMF for the door access on the web Intercom > Relay interface.
Parameter Set-up:
-
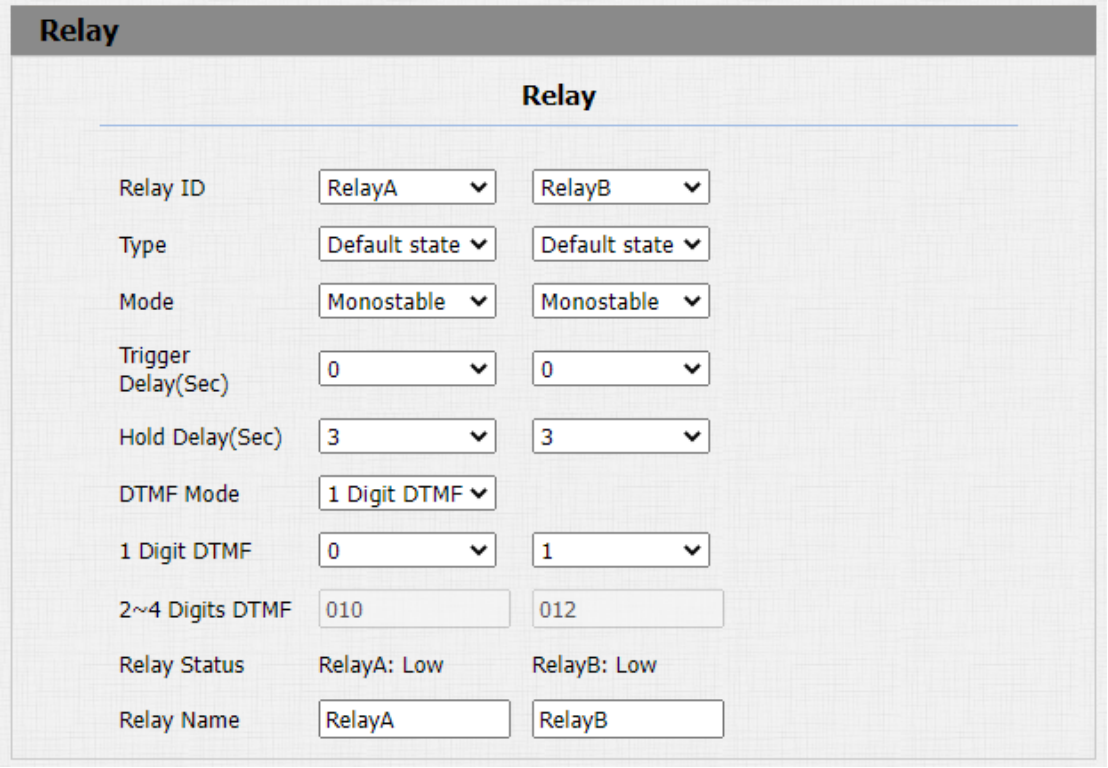
Relay ID: you are allowed to set up three relay switches in total for the door access control ( R29Z/R29ZL has only 1 relay).
-
Type: if Default state is selected, the Relay Status shows Low which means the door is closed, the Relay Status shows which means the door is opened. If Invert State is selected, the Relay Status hows High which means the door is closed, and Low means the door is opened.
-
Mode: there are two modes Monostable and Bistable. If Monostable is selected, the relay status will be automatically reset within the relay delay time after the relay is triggered. If Bistable is selected, relay status will be reset after the relay is triggered again.
-
Trigger Delay (Sec): set the relay trigger delay timing (Ranging from 1-10 Sec.) For example, if you set the delay time as "5" sec. then the relay will not be triggered until 5 seconds after you press "unlock" tab.
-
Hold Delay (Sec): set the relay hold delay timing (Ranging from 1-10 Sec.) For example, if you set the hold delay time as "5" Sec. Then the relay will resume the initial state after maintaining the triggered state for 5s.
-
DTMF Mode: select the number of DTMF digits for the door access control (Ranging from 1-4 digits ) For example, you can select 1 digit DTMF code or 2-digit DTMF code, etc., according to your need.
-
1 Digit DTMF: set the 1-digit DTMF code within range from (0-9 and *,#) if the DTMF Option is set as "1-digit".
-
2~4 Digits DTMF: set the DTMF code according to the DMTP Option setting. For example, you are required to set the 3-digits DTMF code if DTMP Option is set as 3-digits.
-
Relay Status: relay status is low by default which means normally closed(NC) If the relay status is high, then it is in Normally Open status(NO).
-
Relay Name: name the relay switch according to your need. For example, you can name the relay switch according to where the relay switch is located for convenience.
- Only the external devices connected to the relay switch need to be powered by power adapters as relay switch does not supply power.
- If DTMF mode is set as "1 Digit DTMF", you cannot edit DTMF code in "2~4 Digits DTMF" field. And if you set DTMF mode from 2-4 in "2~4 Digits DTMF" field, you can not edit DTMF code in "1 Digit DTMF" field.
Web Relay Setting
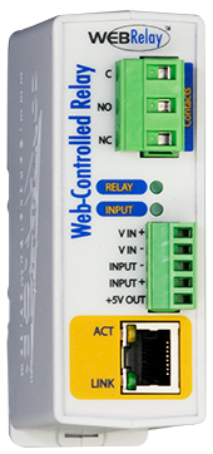
A web relay has a built-in web server and can be controlled via the Internet or a local network. The device can use a web relay to either control a local relay, or a remote relay somewhere else on the network.
Click here to view how to set up web relay.
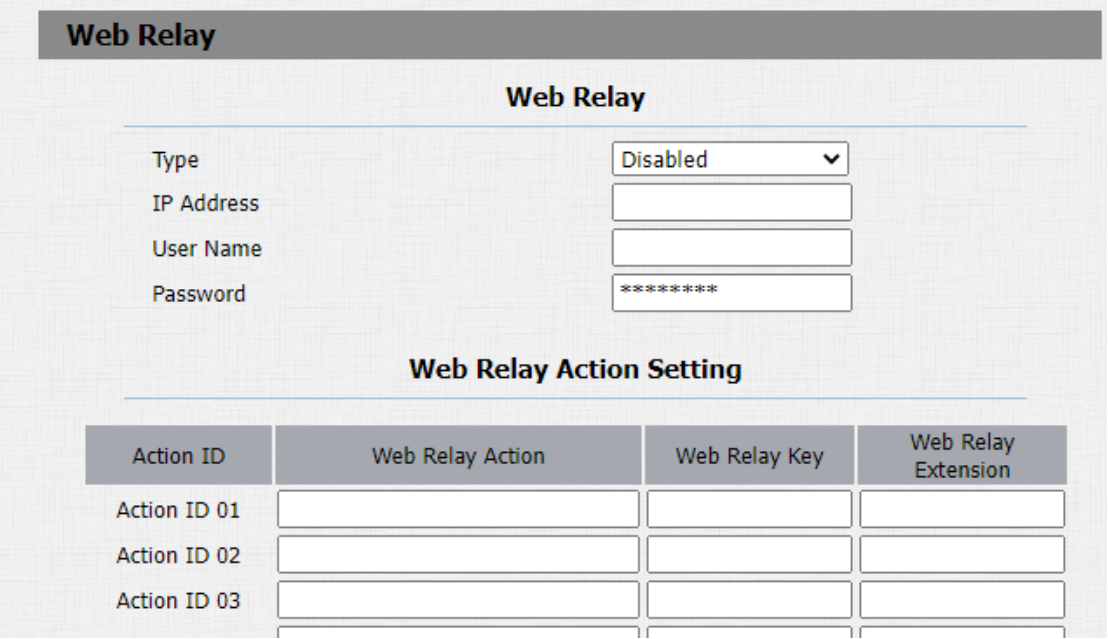
Web relay needs to be set up on the web Phone > WebRelay interface where you are required to fill in such information as relay IP address, password, web relay action, etc before you can achieve the door access via web relay.
Parameter Set-up:
-
Type: select among three options "Disabled" "Web Relay" and "Both". Select "Web relay" to enable the web relay. Select "Disable" to disable the web relay. Select "Both" to enable both local relay and web relay.
-
IP Address: enter the web relay IP address provided by the web relay manufacturer.
-
User Name: enter the User name provided by the web relay manufacturer.
-
Password: enter the password provided by the web relay manufacturer. The password is authenticated via HTTP and you can define the passwords using "http get" in Action.
-
Web Relay Action: enter the specific web relay action command provided by the web manufacturer for different actions by the web relay. Without adding IP, username, pwd, you can fill in the HTTP command in the web relay action, so you can configure multiple web relays. See the HTTP command example below:
a.If you do not fill in IP address in the IP Address Field above, fill in a complete HTTP command.
For example, Http://admin:admin@192.168.1.2/state.xml?relayState=2. ( HTTP://:@IP address>/state.xml?relayState=2)
b. If you have already filled in the IP address above, fill in the omitted HTTP command, eg. state.xml?relayState=2. -
Web Relay Key: it can be null or enter the configured DTMF code, when the door is unlock via DTMF code, the action command will be sent to the web relay automatically.
-
Web Relay Extension: it can be null or enter the relay extension information, which can be a SIP Account user name of an intercom device such as an indoor monitor, so that the specific action command will be sent when unlock is performed on the intercom device, while this setting is optional.