Installers and property managers can set up a relay schedule that keeps a specific door open at a certain time.
Compatible models and versions(or higher):
Model
Version
Model
Version
S539
539.30.10.213
S535
535.30.10.233
S532
532.30.10.228
X916
916.30.10.210
X915 V2
2915.30.10.202
X912
912.30.11.49
X910
2910.30.10.240
R29
29.30.10.139
R28 V2
228.30.10.135
R25A
25.30.10.22
R25K
25.30.10.117
R20 V5.0
320.30.10.246
E12
312.30.11.18
E16 V2
216.30.10.106
E18
18.30.10.236
A01/A02
101.30.10.33
A03
103.30.10.111
A05 V2
205.30.10.104
A08
108.30.1.16
A094
92.30.10.112
A095
95.30.10.110
S538
538.30.10.705
Set up Devices in Old Offices/Communities
PMs can set up the relay schedule for old offices(created before Oct.15, 2024) and communities.
On the SmartPlus Platform
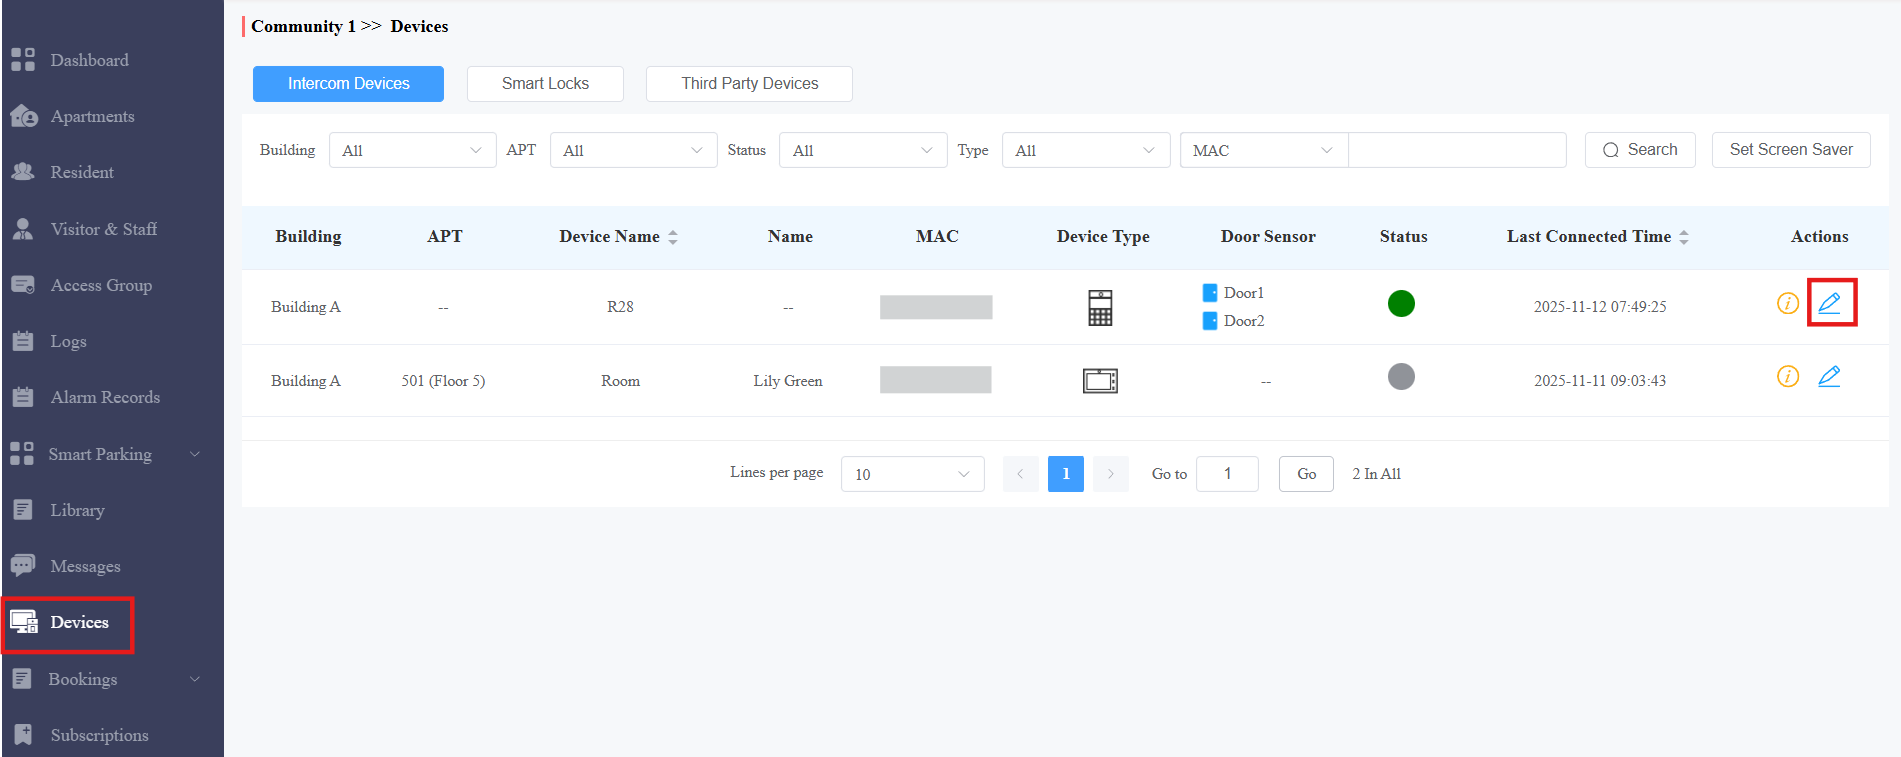
Log in to the SmartPlus Cloud platform with your account.
Go to the Devices module and click
 to enter the device editing page.
Enable Hold Open During Scheduled Time.
Select the schedule and move it from the left to the right box by clicking Add.
Tip
You can create a schedule on the Access Group module. Click here to view the details.
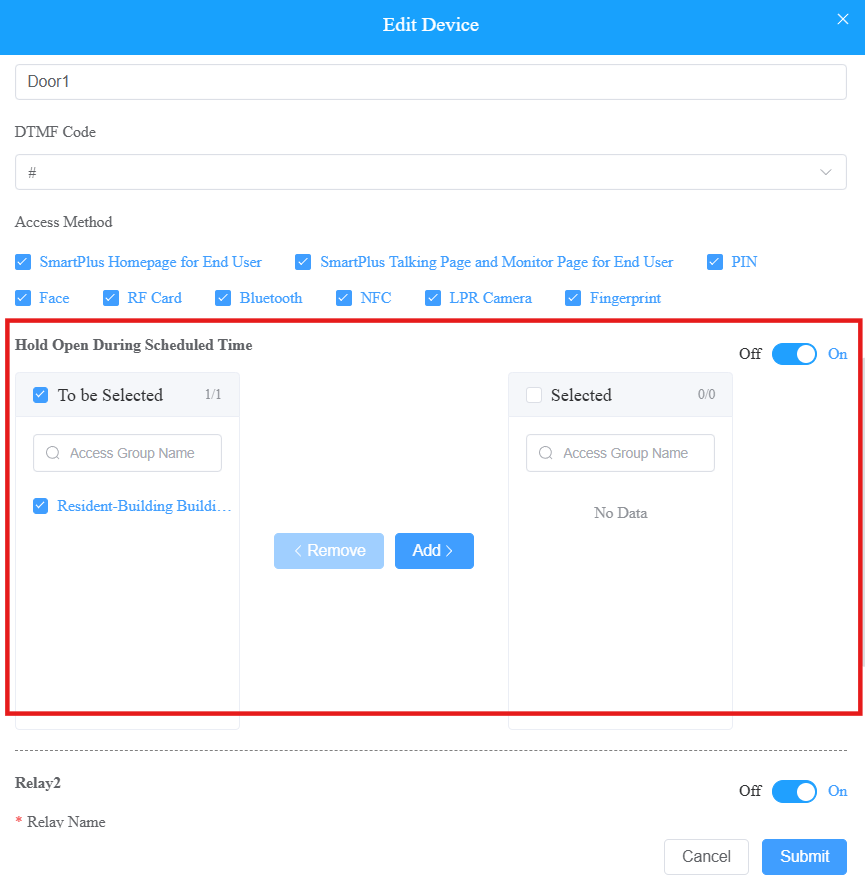
Click Submit to save the settings.
On the SmartPlus App
Note
The SmartPlus App with the version 7.10.0003(Android)/7.10.3(iOS) or higher supports setting doors to be open during scheduled time.
Log in to the SmartPlus App with the property manager account.
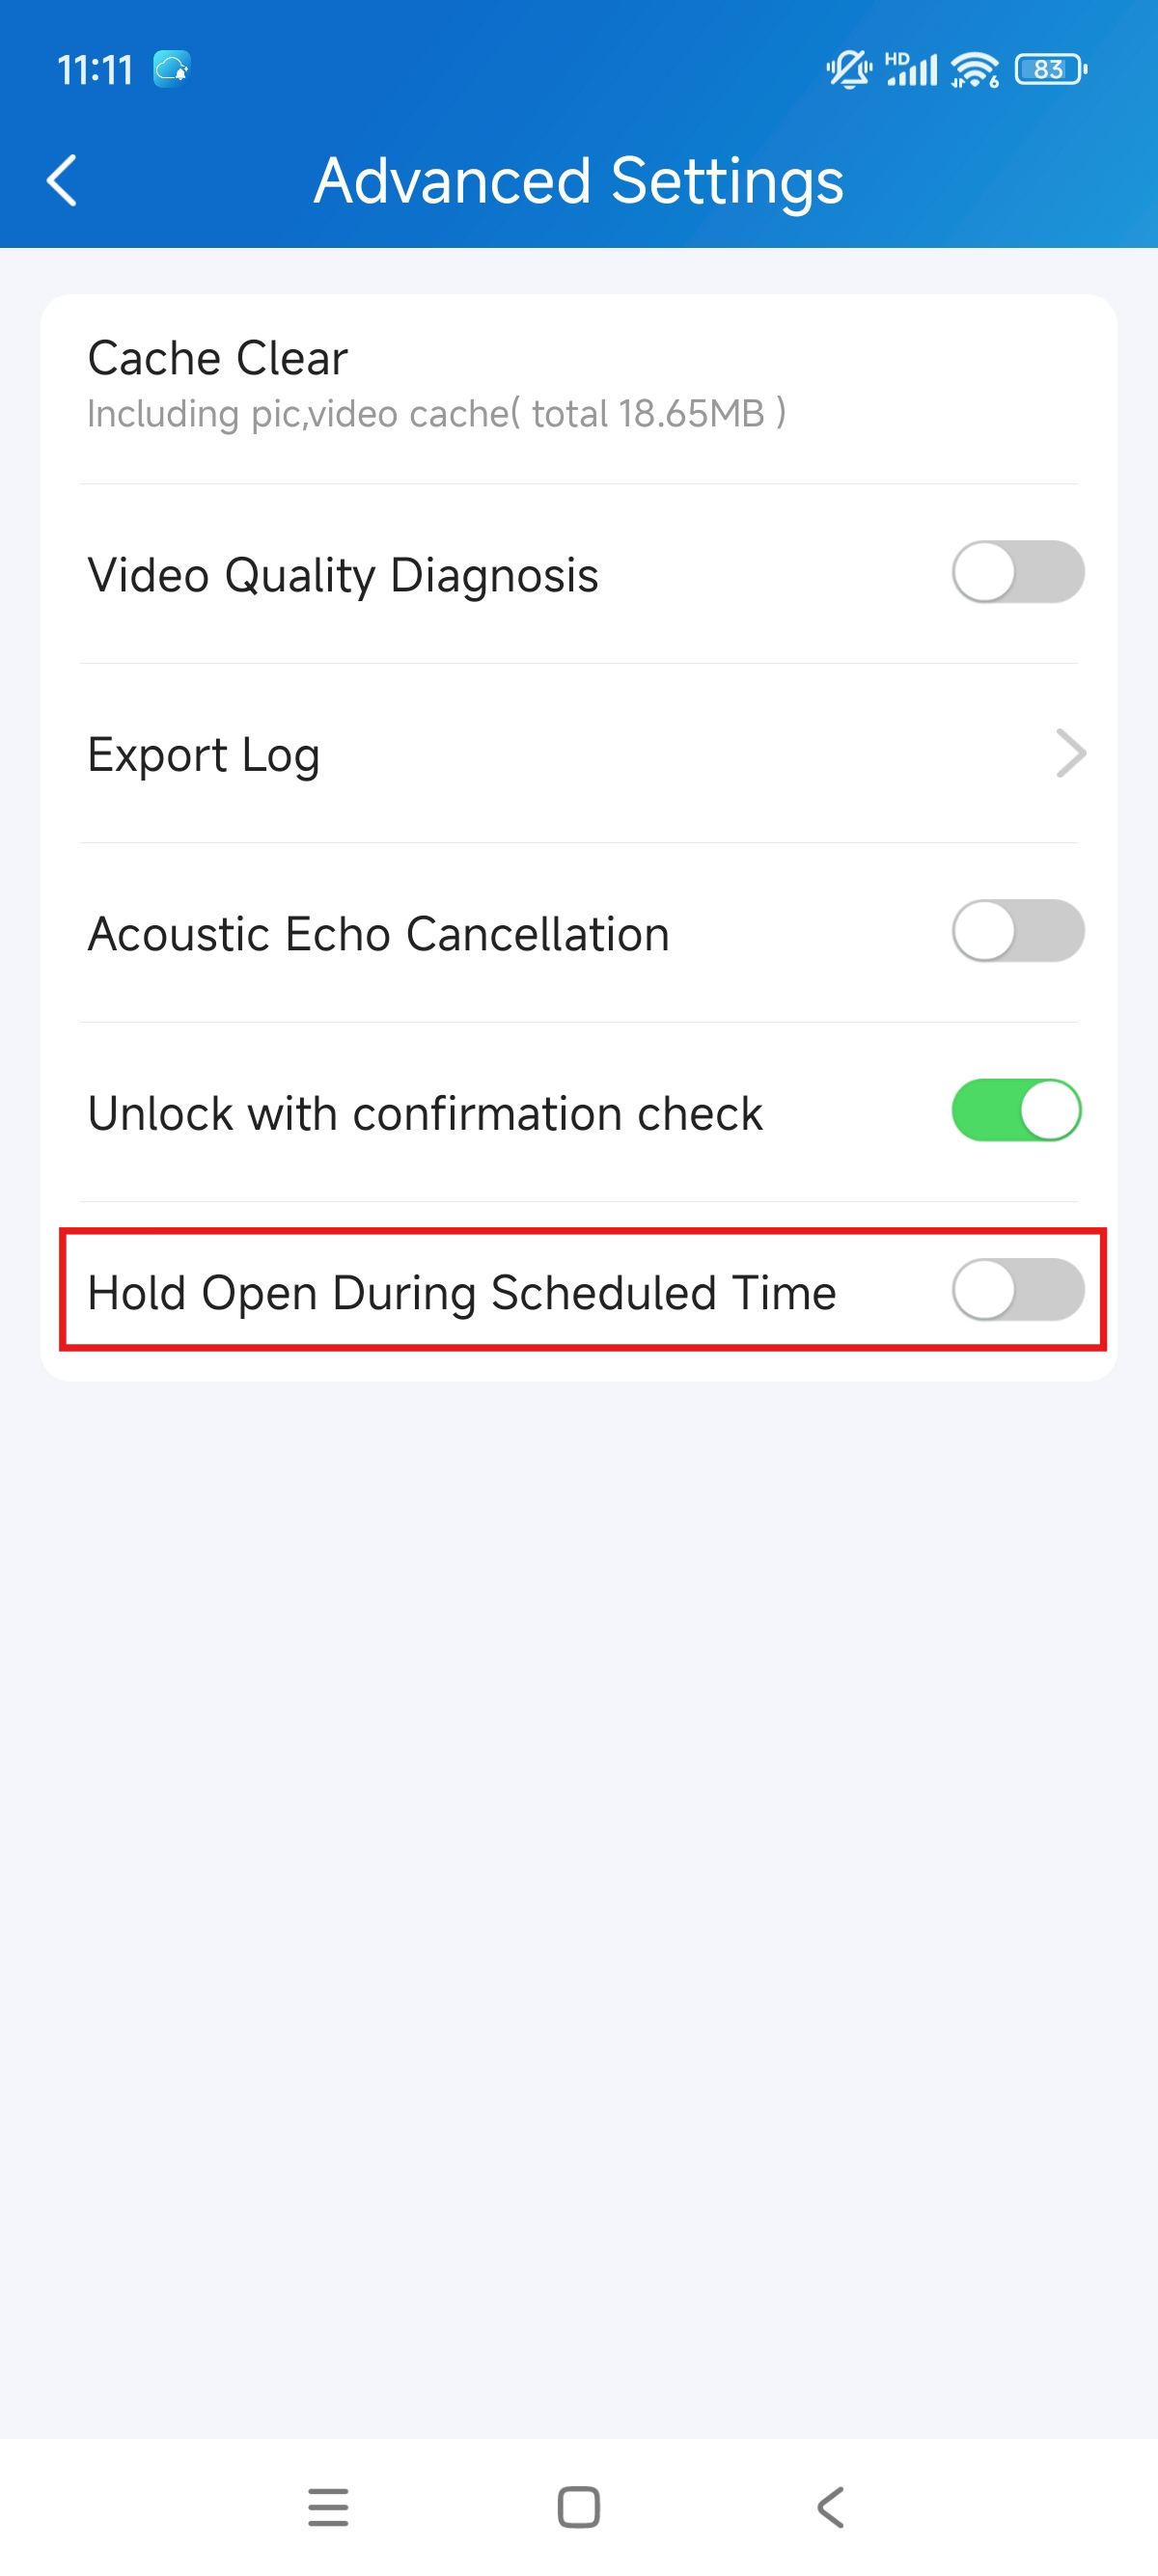
Tap Me > Settings > Advanced Settings.
Enable Hold Open During Scheduled Time.
Tap Unlock of the target door and tap Hold Open.

Tap
 in the upper right corner.
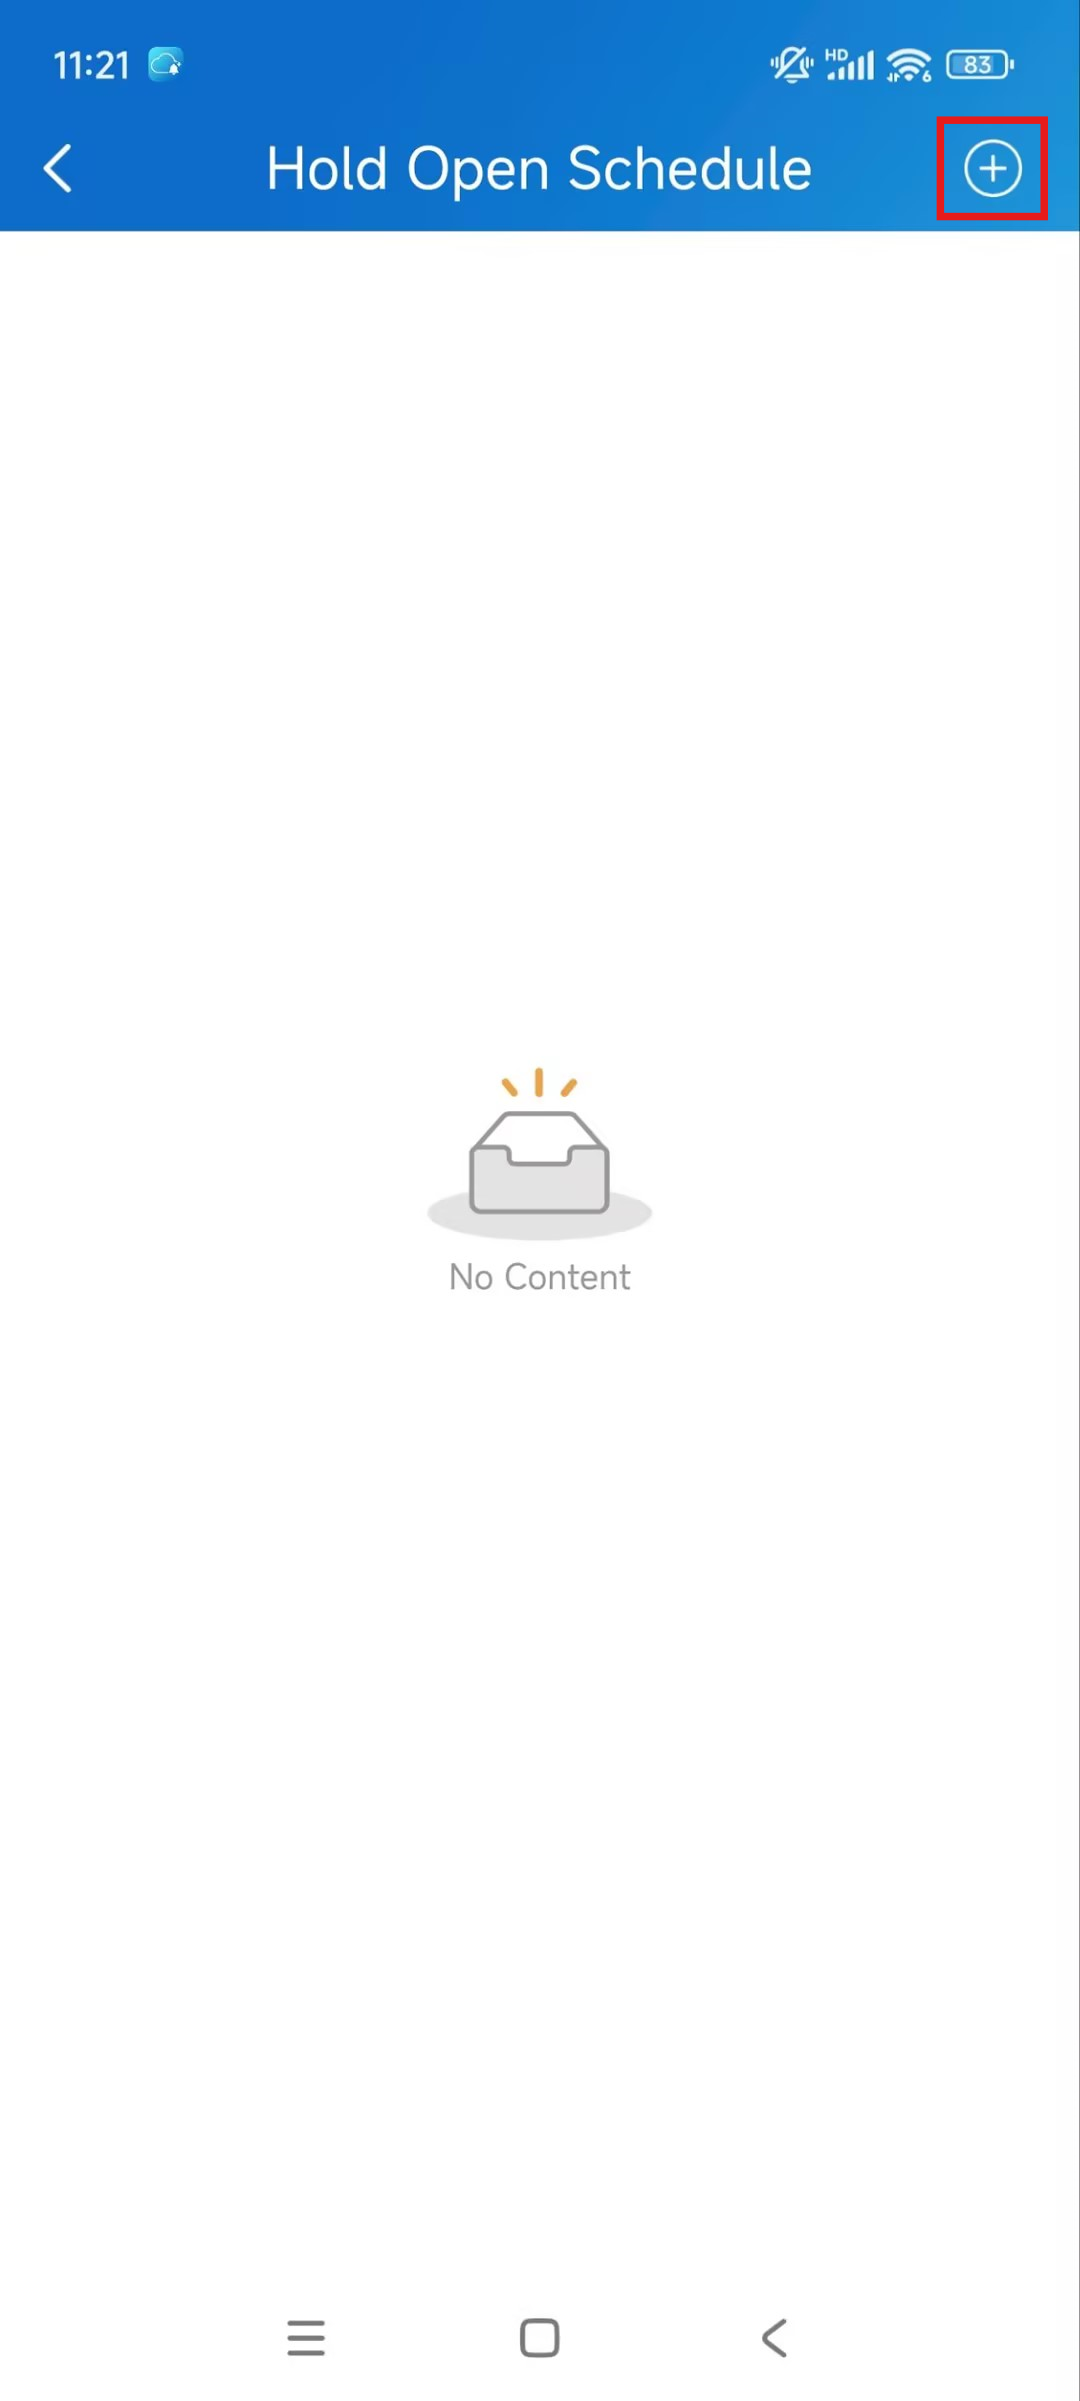
Select the relay to be kept activated and select a schedule. You can click +New Schedule to create a new one.
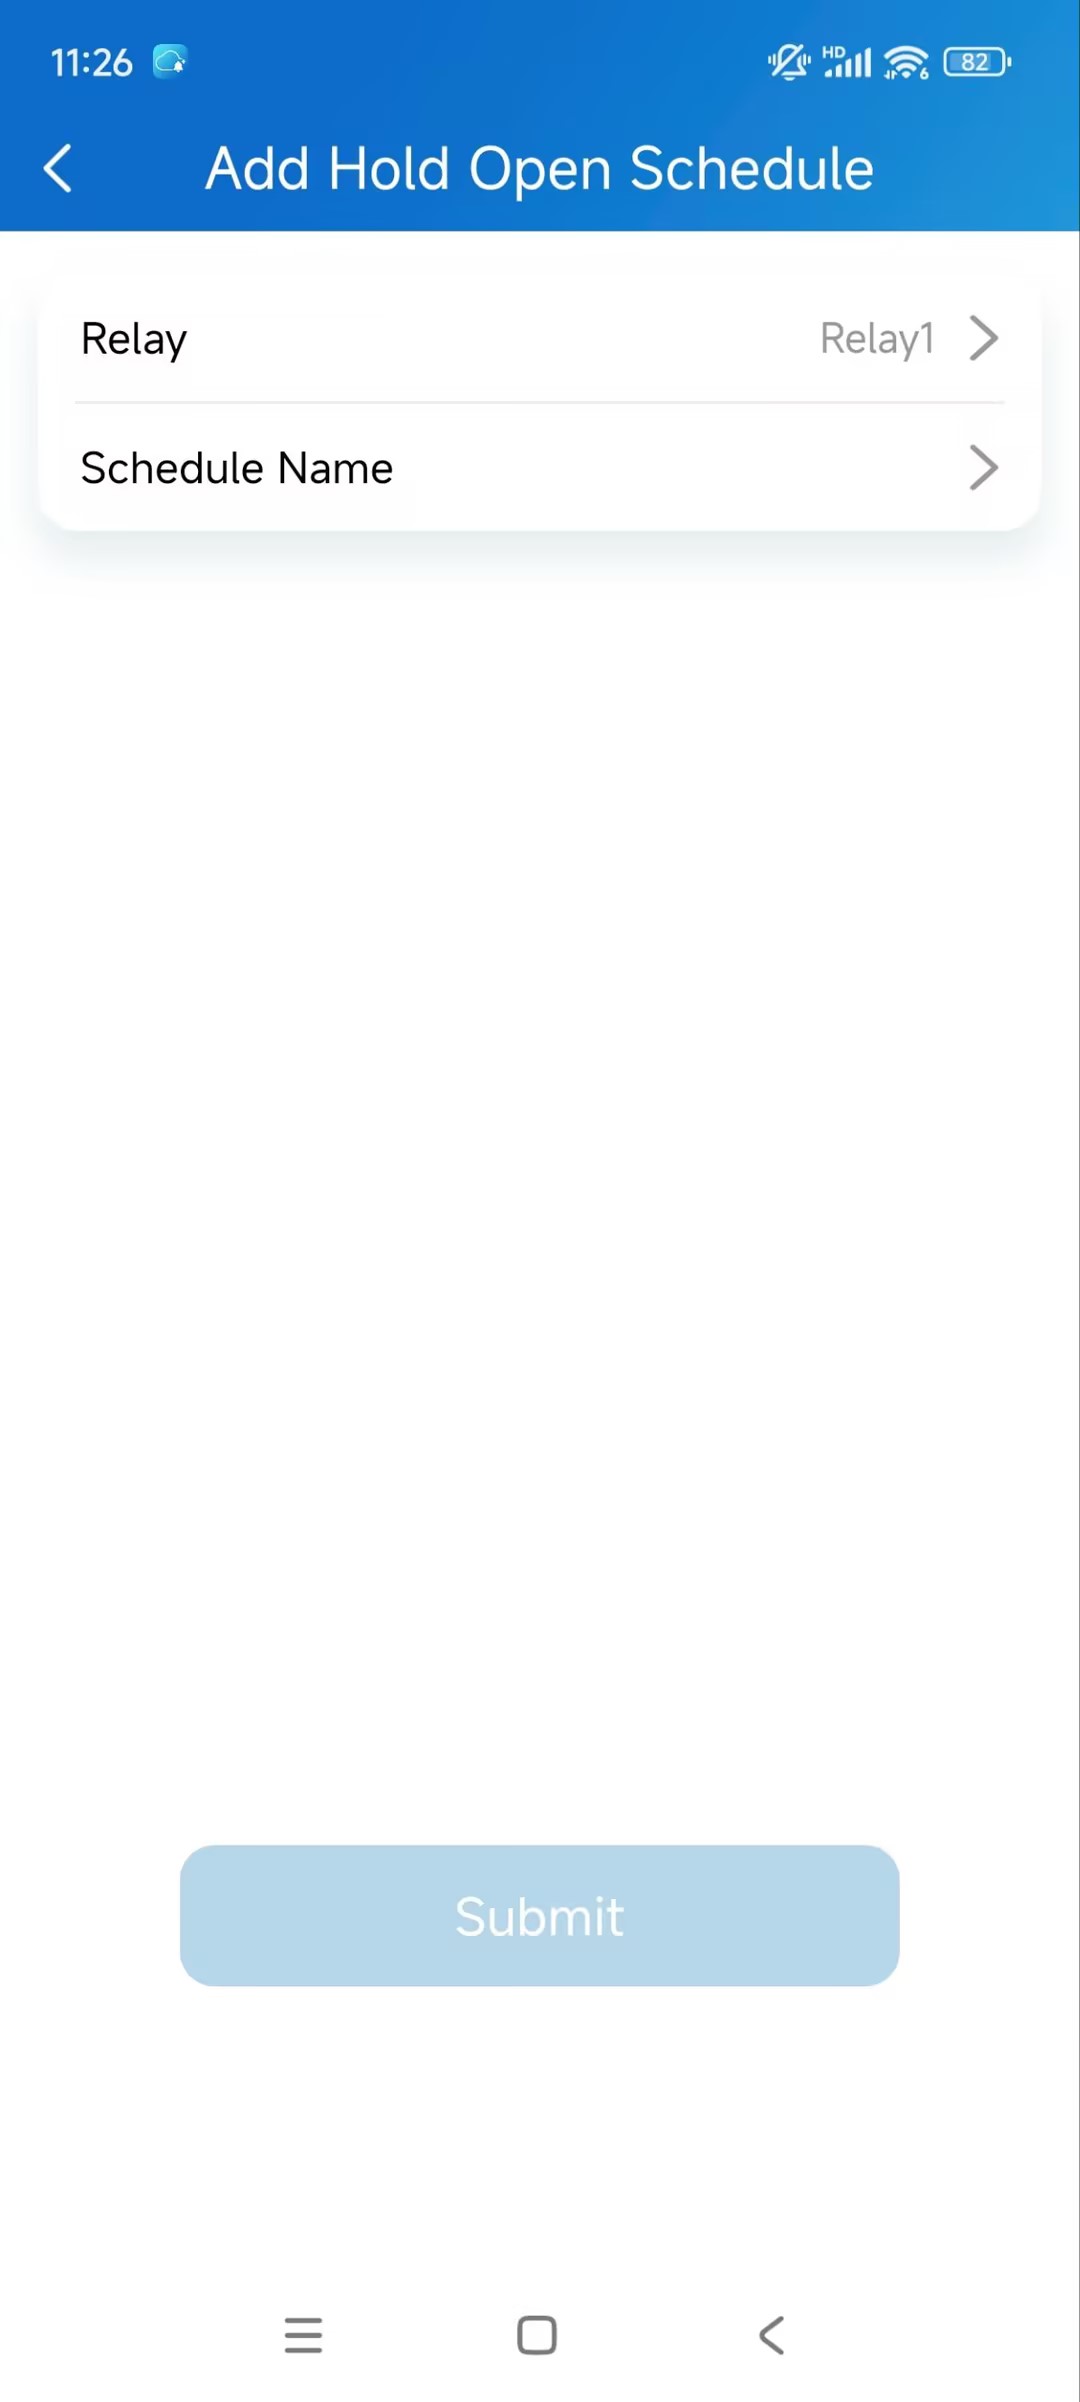

Click Submit
After configuration, the device will keep the relay open within the schedule.
You can tap Unlock > Hold Open > The Specific Relay > End Hold Open to close the relay.
.jpg)
Check Relay Status
You can check whether the setting is effective by the relay status on the device’s web interface. Take R29 as an example.
Use the device IP to log into its web interface. The default username and password are both admin.
Go to Access Control > Relay interface.
You can see that Relay A's status is High while the other relays' status is low, indicating that Relay A is open and Relay B and C are closed.
