The Akuvox SmartPlus Cloud supports displaying, filtering, and resolving four types of alarm records.
This guide explains each alarm type and the steps to view and resolve them.
Emergency Alarm | Displays the emergency unlock events triggered by emergencies such as fire. |
Arming Alarm | Displays the alarm records uploaded by indoor monitors triggered by security arming/disarming events. |
Tamper Alarm | Displays the tamper alarms triggered by someone forcibly removing access devices. |
Care Alarm | Display the fall and bed-exit alarms detected by the Akuvox MR01. |
Before You Begin
All alarm records are accessed from the same location in the Akuvox Cloud portal. Complete these two steps once before viewing any alarm type:
Log in to the cloud platform with your property manager account.
In the left sidebar, click Alarm Records. The page opens on the Emergency Alarm tab by default — click the relevant tab to switch alarm types.
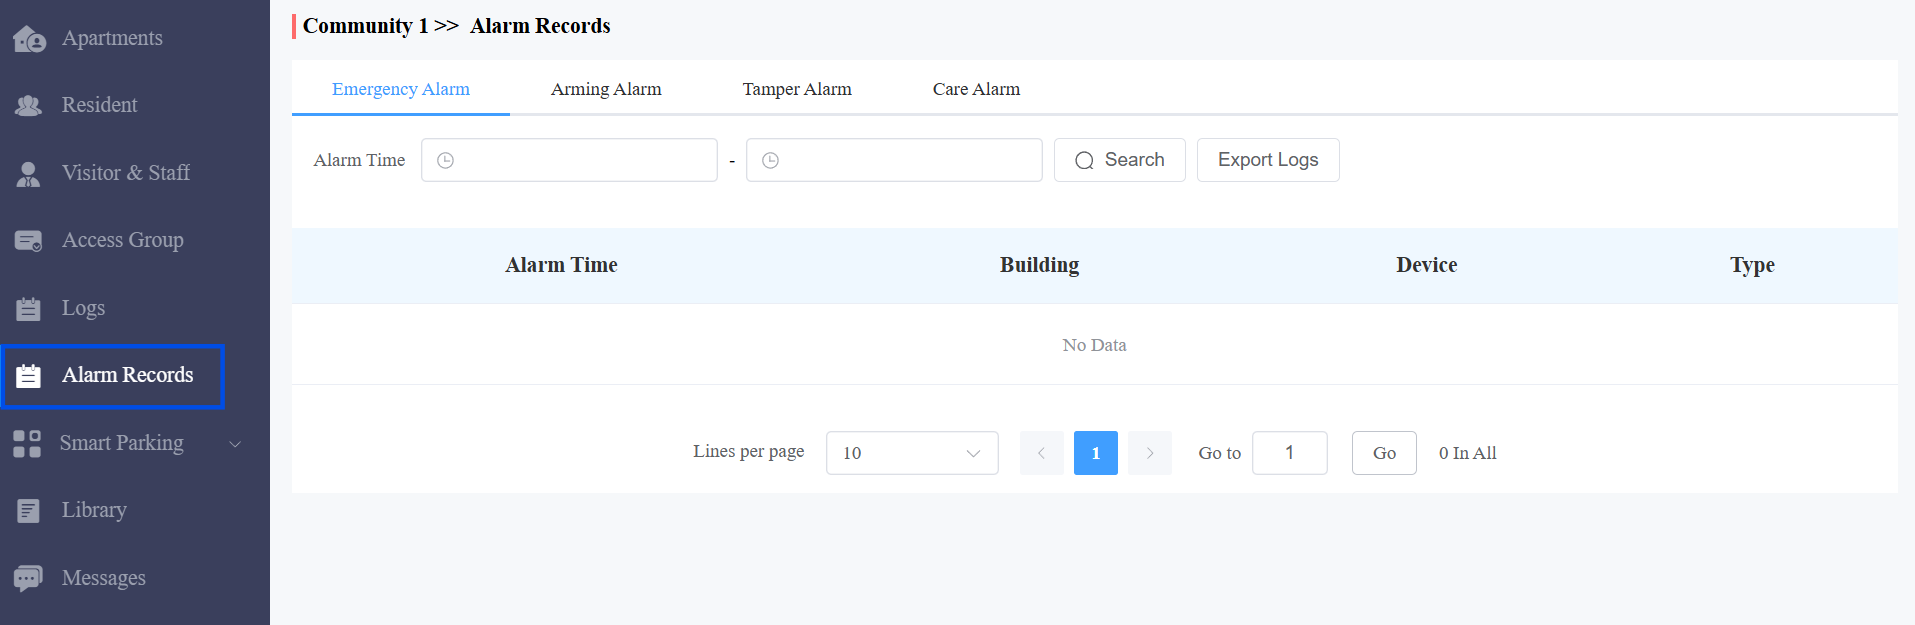
Emergency Alarm
Emergency alarms are triggered when an emergency unlock event occurs on an access device, such as a fire emergency that requires immediate door release.
Click the Emergency Alarm tab.
Use the Alarm Time filter and Search button to narrow records by date range.
The results table displays: Alarm Time, Building, Device, and Type.
Click Export Logs to download records for offline review.

Note
Emergency alarms are informational records only. No manual resolution is required — events are automatically logged when triggered.
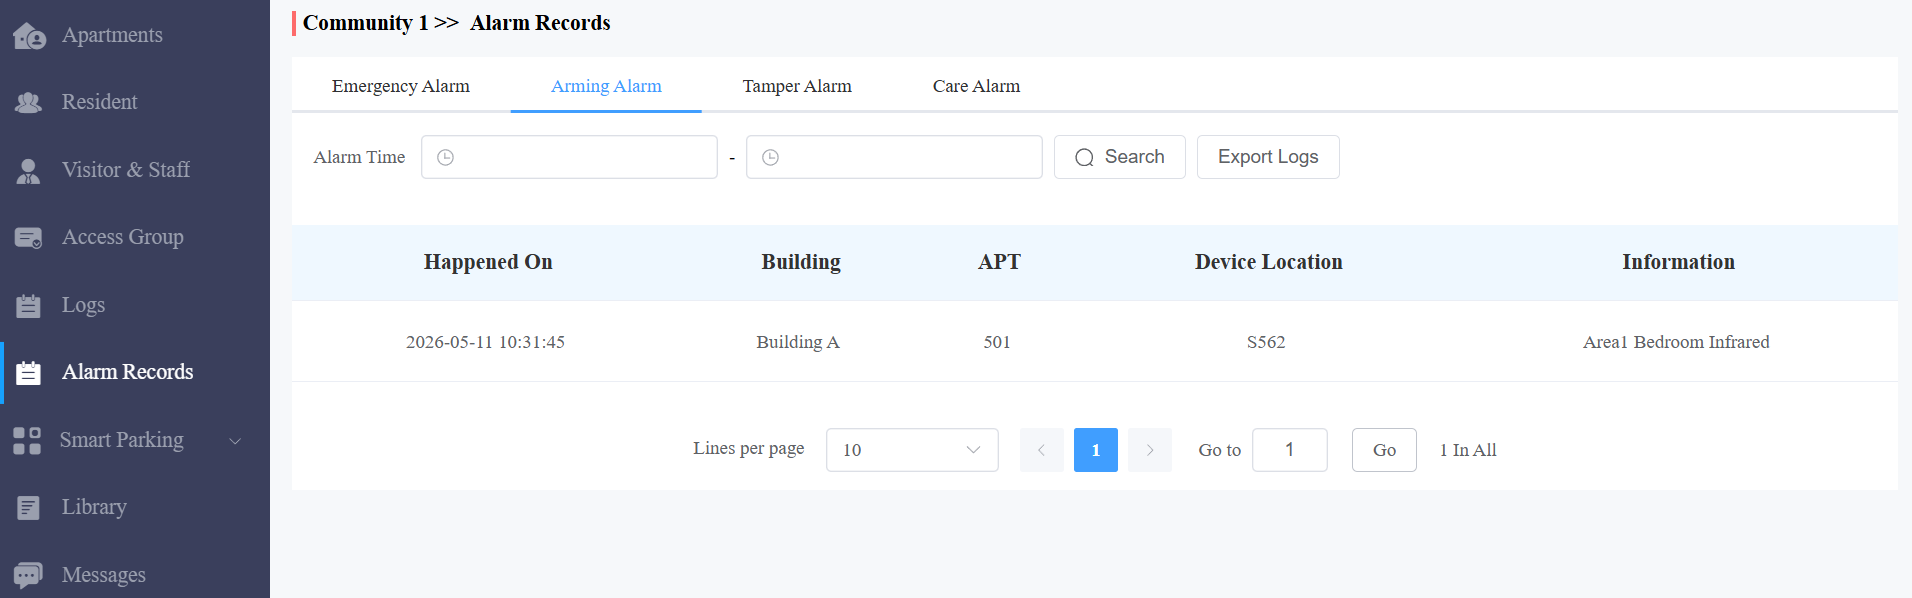
Arming Alarm
Arming Alarm records security events uploaded by indoor monitors when a resident arms or disarms a security zone. Useful for property managers auditing security activity.
Click the Arming Alarm tab.
Use the Alarm Time filter and Search button to refine records by date and time range.
The results table displays: Alarm Time, Building, Apartment, Device, and Alarm Details.
Click Export Logs to download records for auditing purposes.
Note
Arming alarms do not require manual resolution. If unexpected arming/disarming events are detected, contact the relevant resident for follow-up.
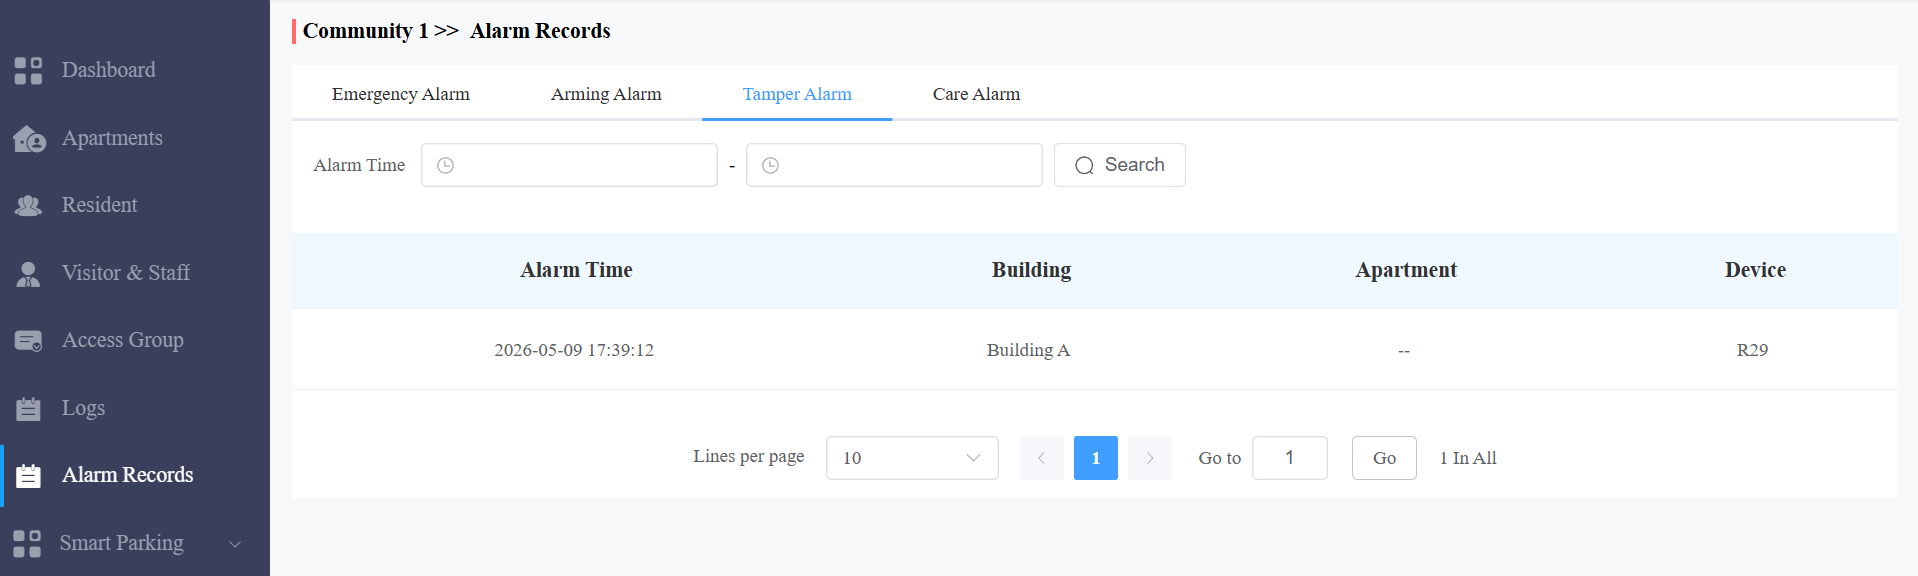
Tamper Alarm
Triggered when someone physically forces or removes an Akuvox access device from its mounting. These alarms require prompt attention as they may indicate a security breach.
Compatible models and versions(or higher):
Tamper alarm upload requires firmware support. Ensure your device is running the minimum version listed below:
Model
Firmware
Model
Firmware
A01/A02
101.30.10.222
A03
103.30.10.208
A05 V2
205.30.10.150
A08
108.30.11.27
A094
92.30.10.219
X915V2
2915.30.10.524
S539
539.30.10.409
E12
312.30.11.9
E16V2
216.30.11.16
X912
912.30.11.209
R29
29.30.10.437
R25
25.30.10.117
R20V5
320.30.11.103
X916
916.30.10.508
535.30.11.8
535.30.11.8
Click the Tamper Alarm tab.
Use the Alarm Time filter and Search button to refine records by date range.
The results table displays: Alarm Time, Building, Apartment, and Device affected.
Note
Tamper alarms indicate a potential physical security incident. Promptly inspect the affected device on-site to assess damage and determine whether it needs to be re-secured or replaced.
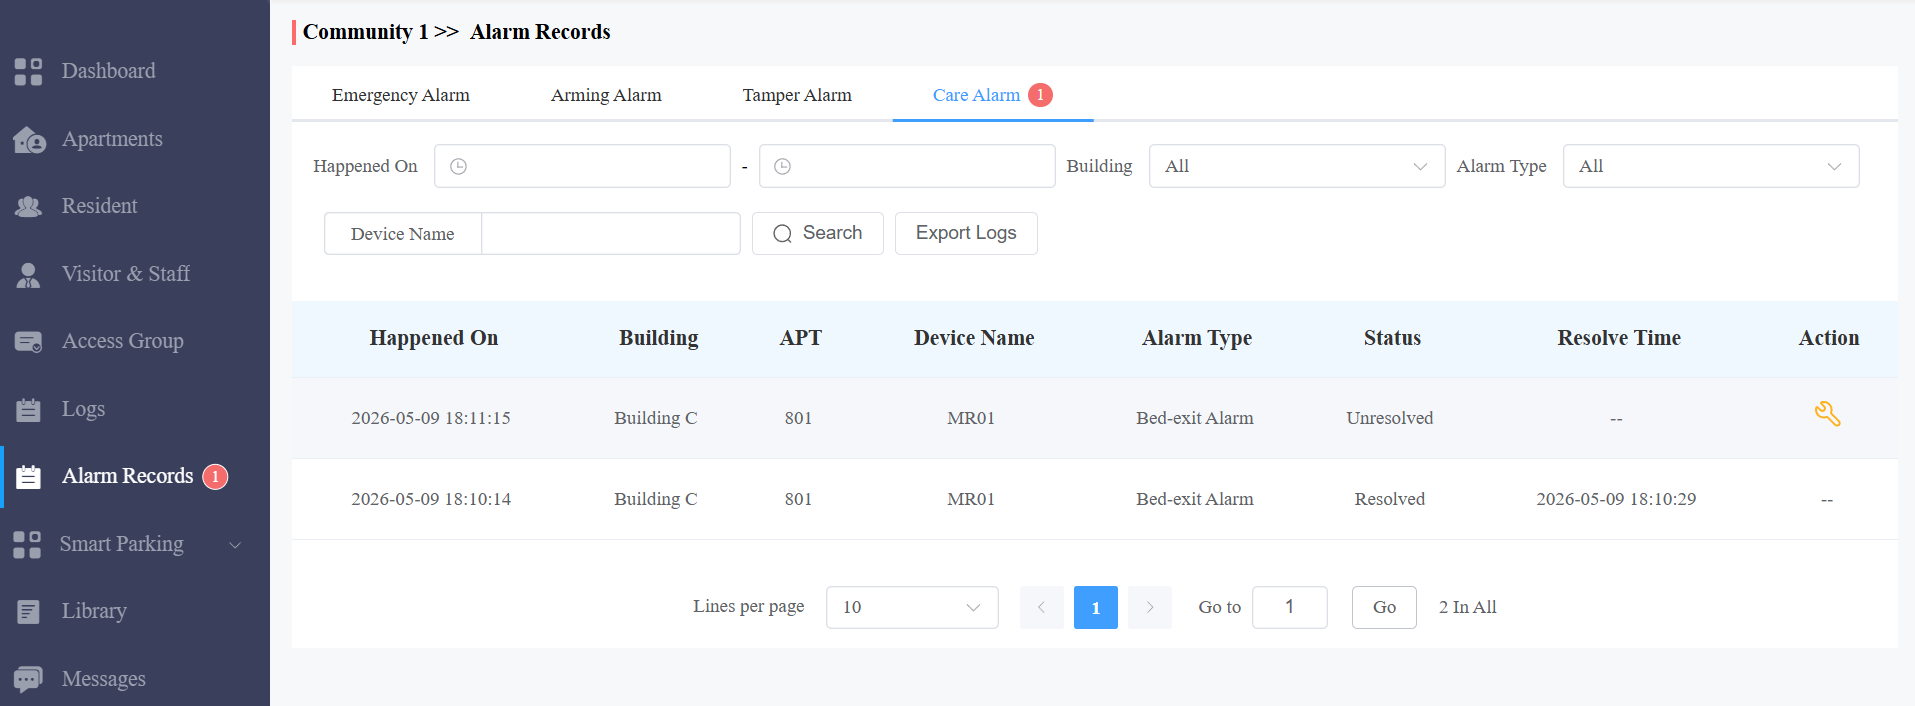
Care Alarm
Generated by the Akuvox MR01 sensor when a fall or bed-exit event is detected. Unlike other alarm types, Care Alarms have an Unresolved/Resolved status and must be manually resolved by staff after attending to the resident.
Click the Care Alarm tab.
Use the Happened On filter to set a date range, and filter by Building and/or Alarm Type (Fall Alarm or Bed-exit Alarm) to narrow results.
Enter a Device Name and click Search to locate a specific device.
The results table shows: Happened On, Building, APT, Device Name, Alarm Type, Status, Resolve Time, and Action.
After physically attending to the resident, mark the alarm as resolved in the portal by clicking
 .
.Status updates immediately to Resolved, and the Resolve Time is recorded automatically.
Note
Resolved alarms cannot be reverted to Unresolved. Ensure the situation is fully addressed before resolving. All resolved records remain visible for audit purposes.