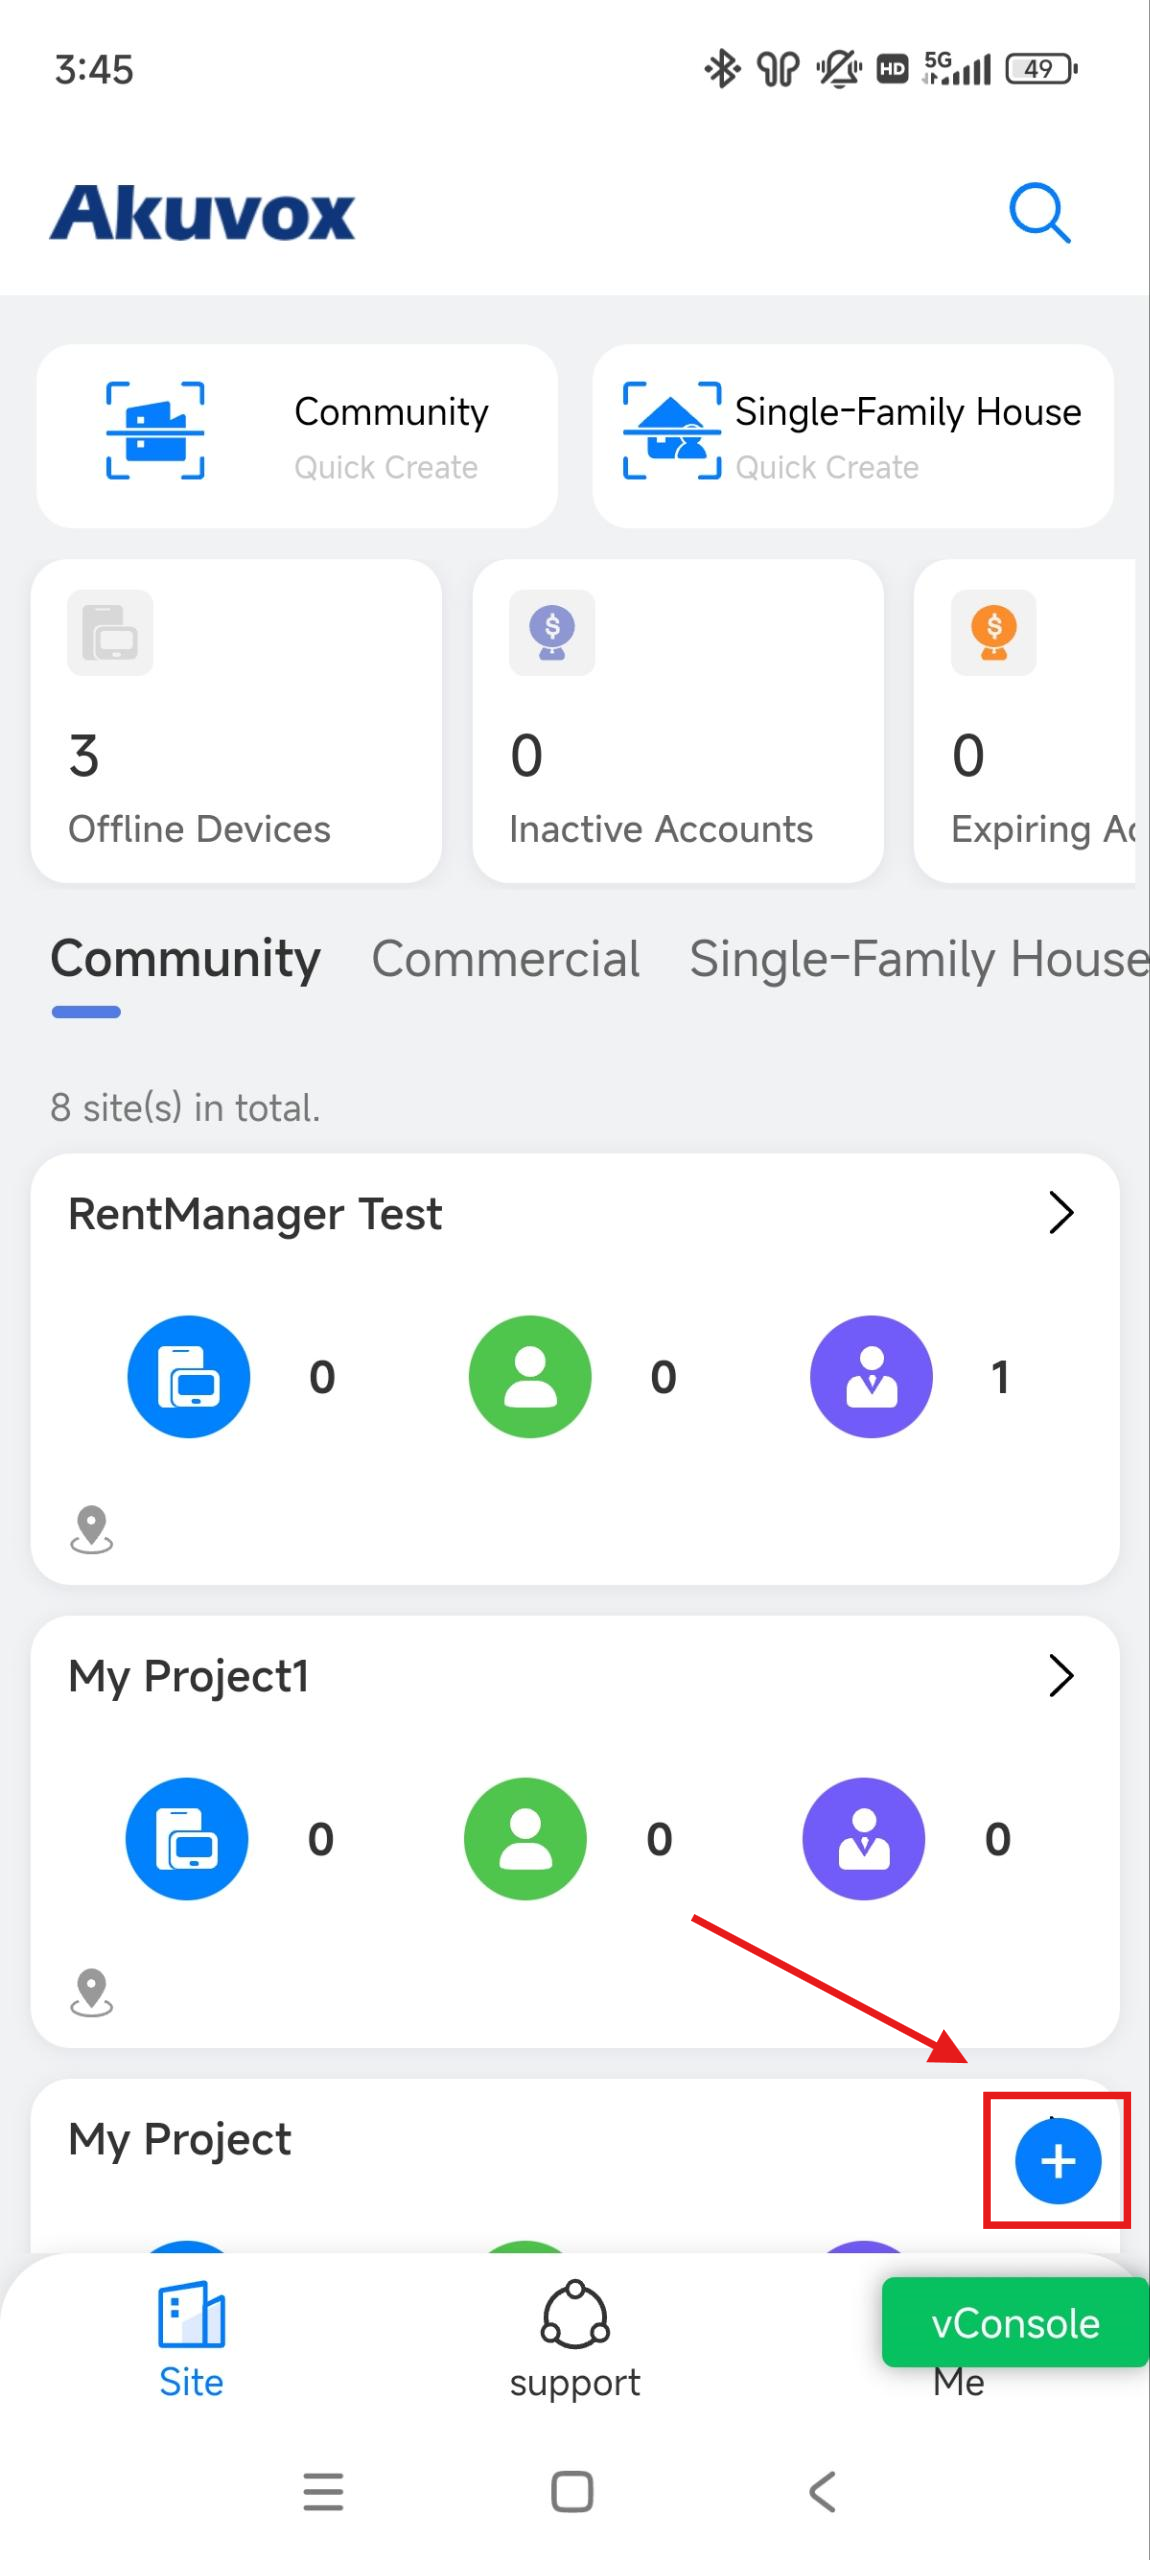
Add a Single-Family House Project
Tap
 and select Single-Family House.
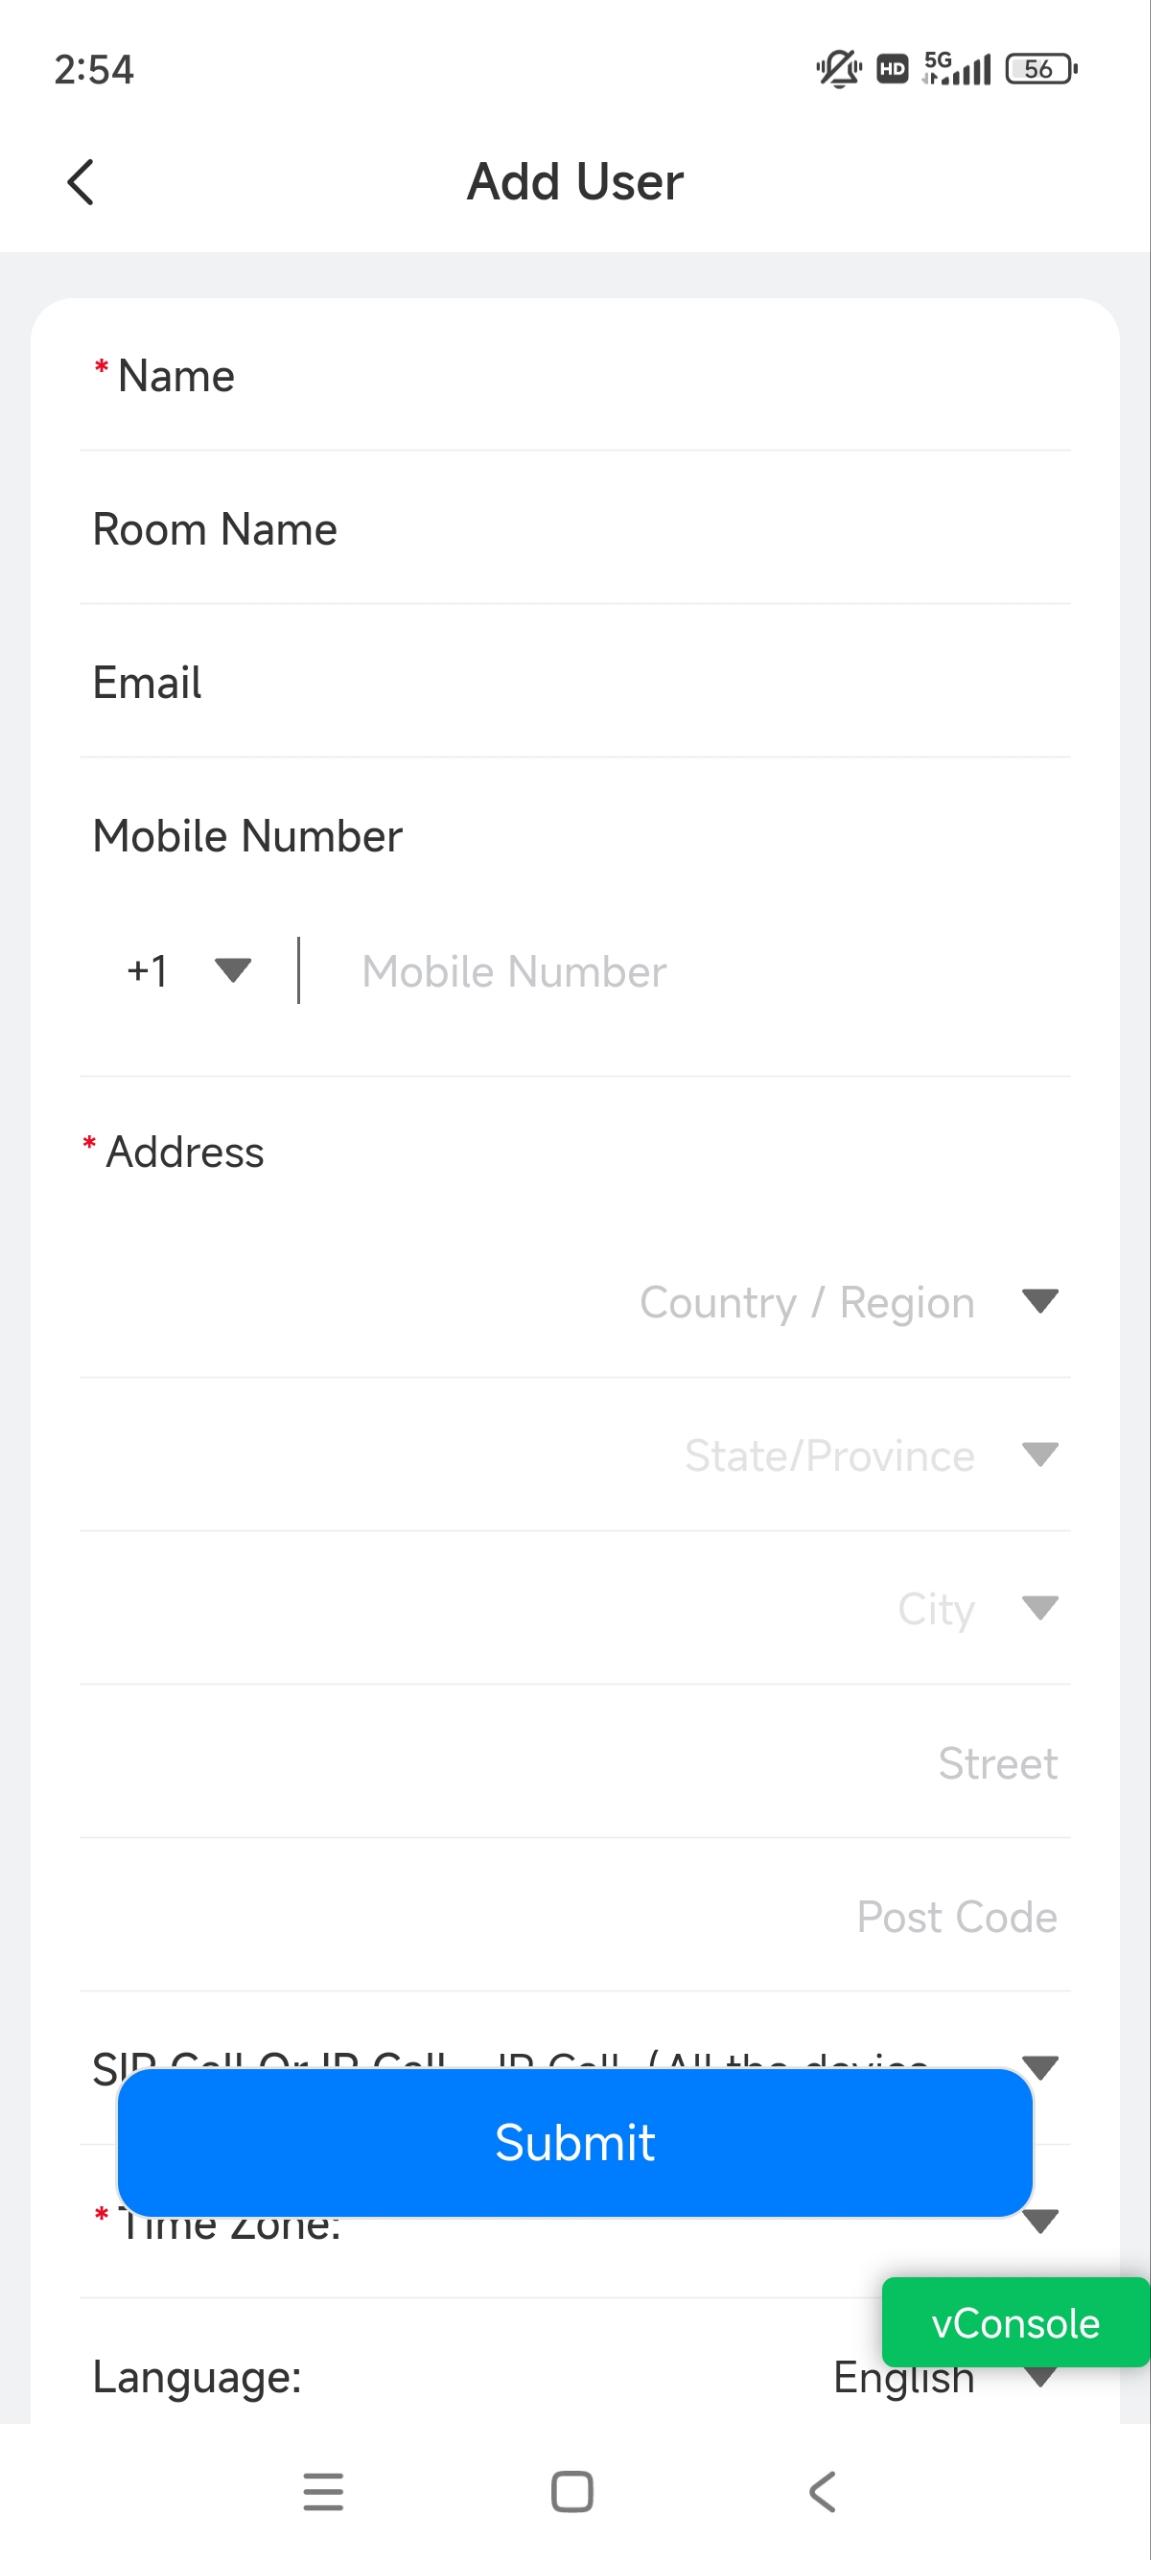
Set up the user account. See the description of each item in the chart below.
Item Name | Description |
|---|---|
Name | Fill in the username. |
Room Name | Fill in the user’s house name provided by the user, or you can customize it. |
The email address can be used to receive account-relevant emails from Akuvox. | |
Mobile Number | The mobile phone number can be used to receive an SMS verification code for logging in to the SmartPlus App. |
Address | Fill in the user’s address, based on which the indoor monitor can access local weather conditions. The temperature and weather conditions will be displayed on the device's home screen. Click here to see the models that support displaying weather conditions and detailed configuration. |
SIP Call Or IP Call | This option decides how devices communicate.
|
Time Zone | Select the time zone. |
Language | Select the language of the emails notifying the user of the account information. The following languages are supported:
|
Time Format | 24-hour time or 12-hour time. |
1st/2nd/3rd Landline Numbers |
|
Premium Plan |
|
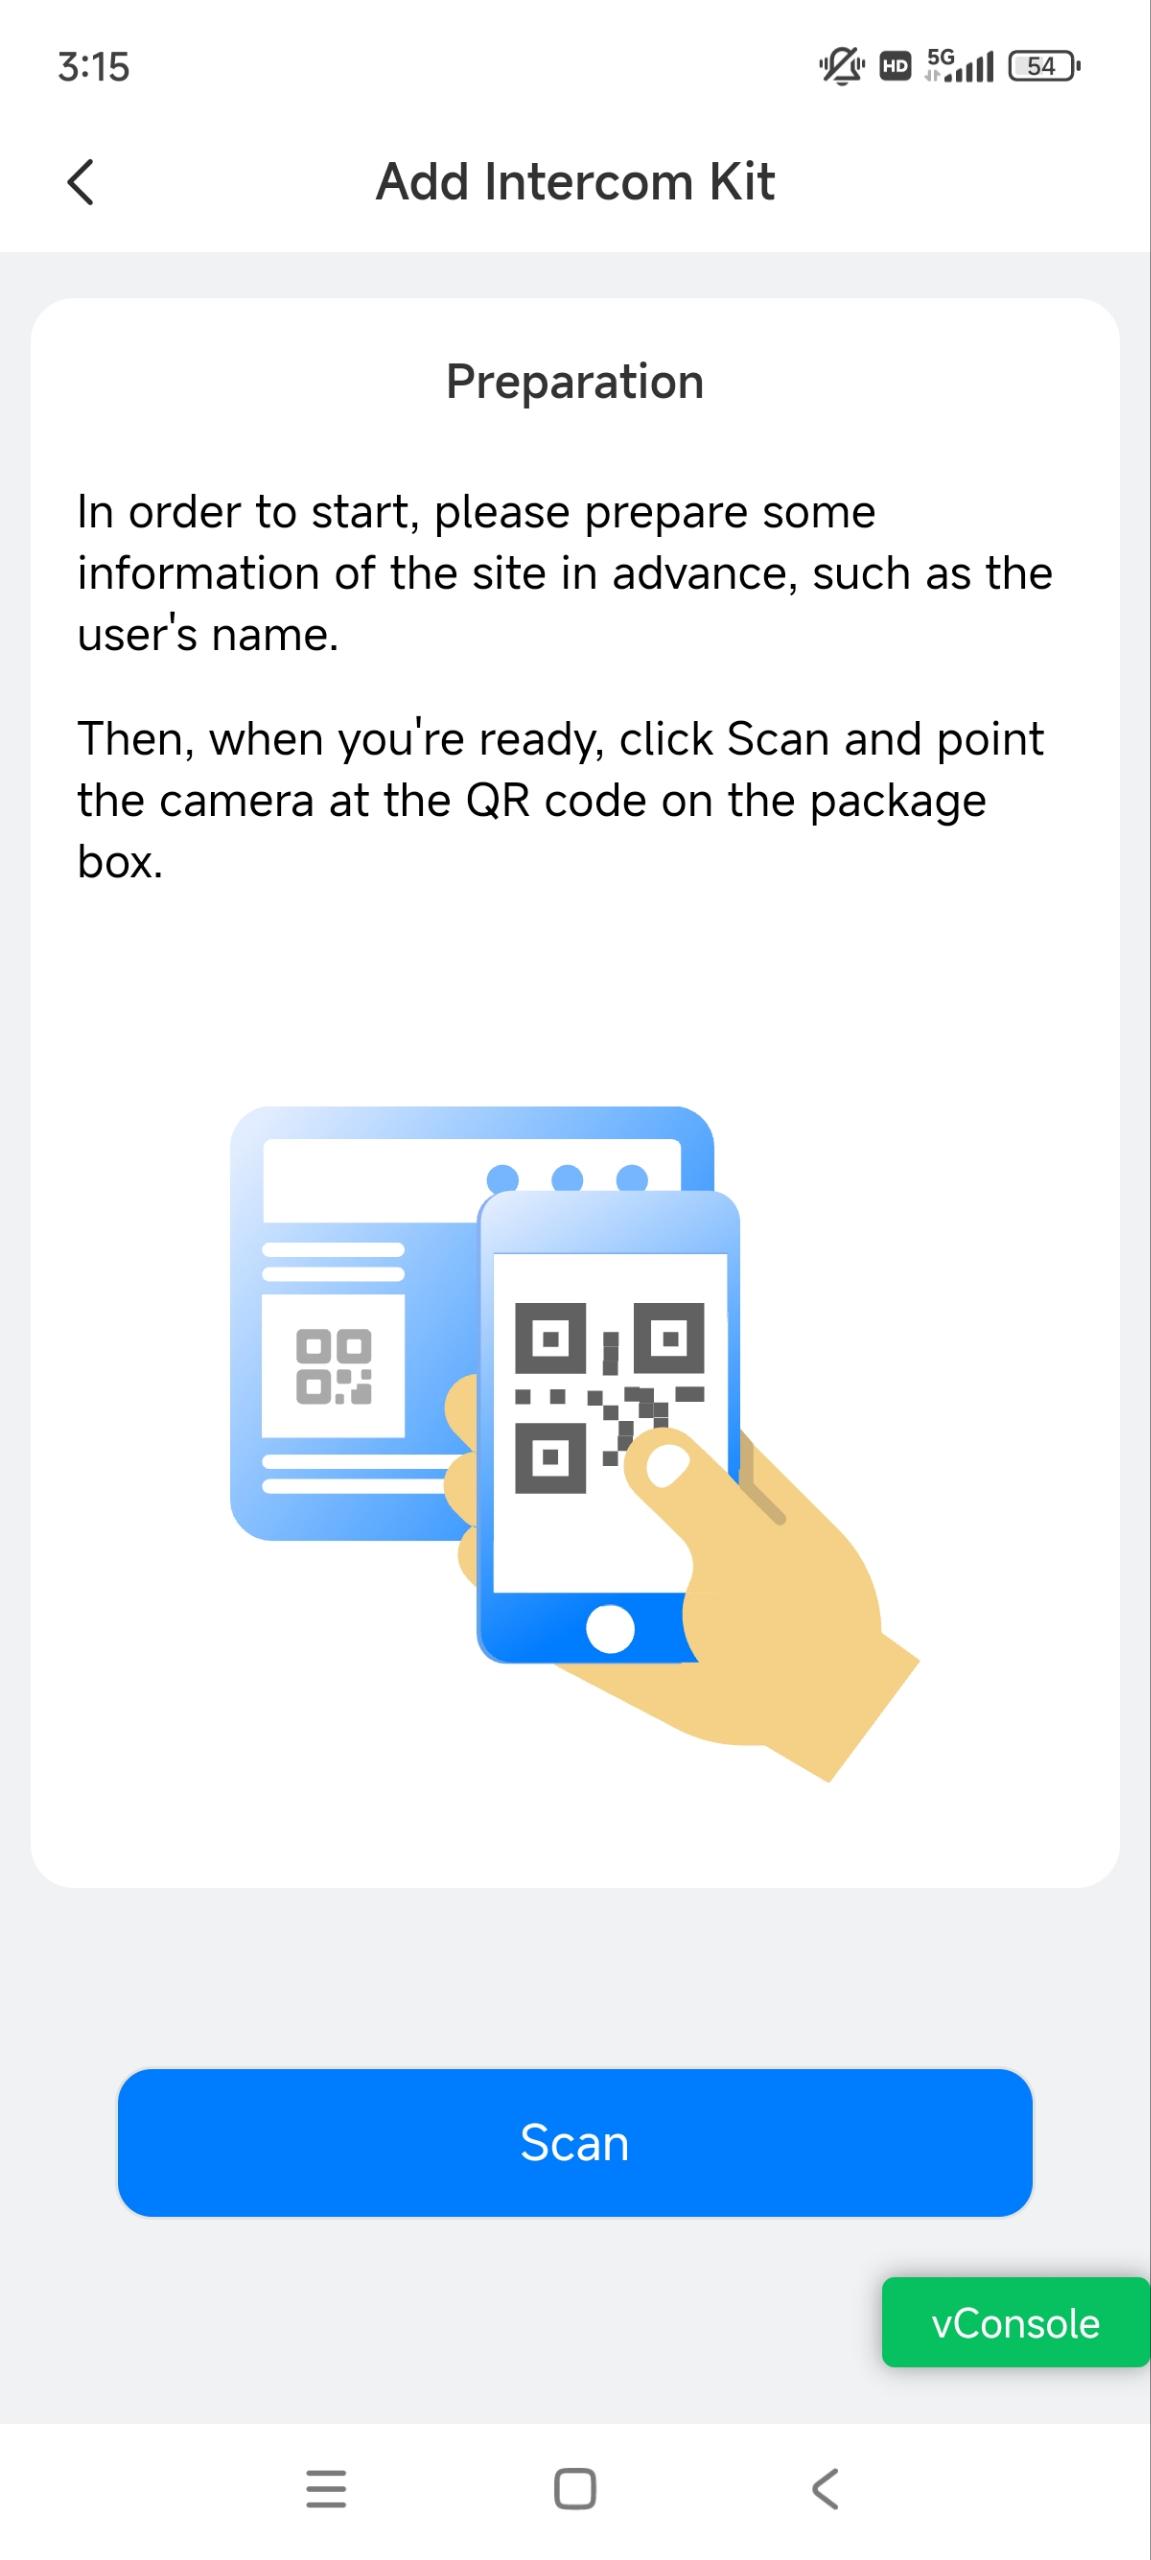
Video Intercom Kit
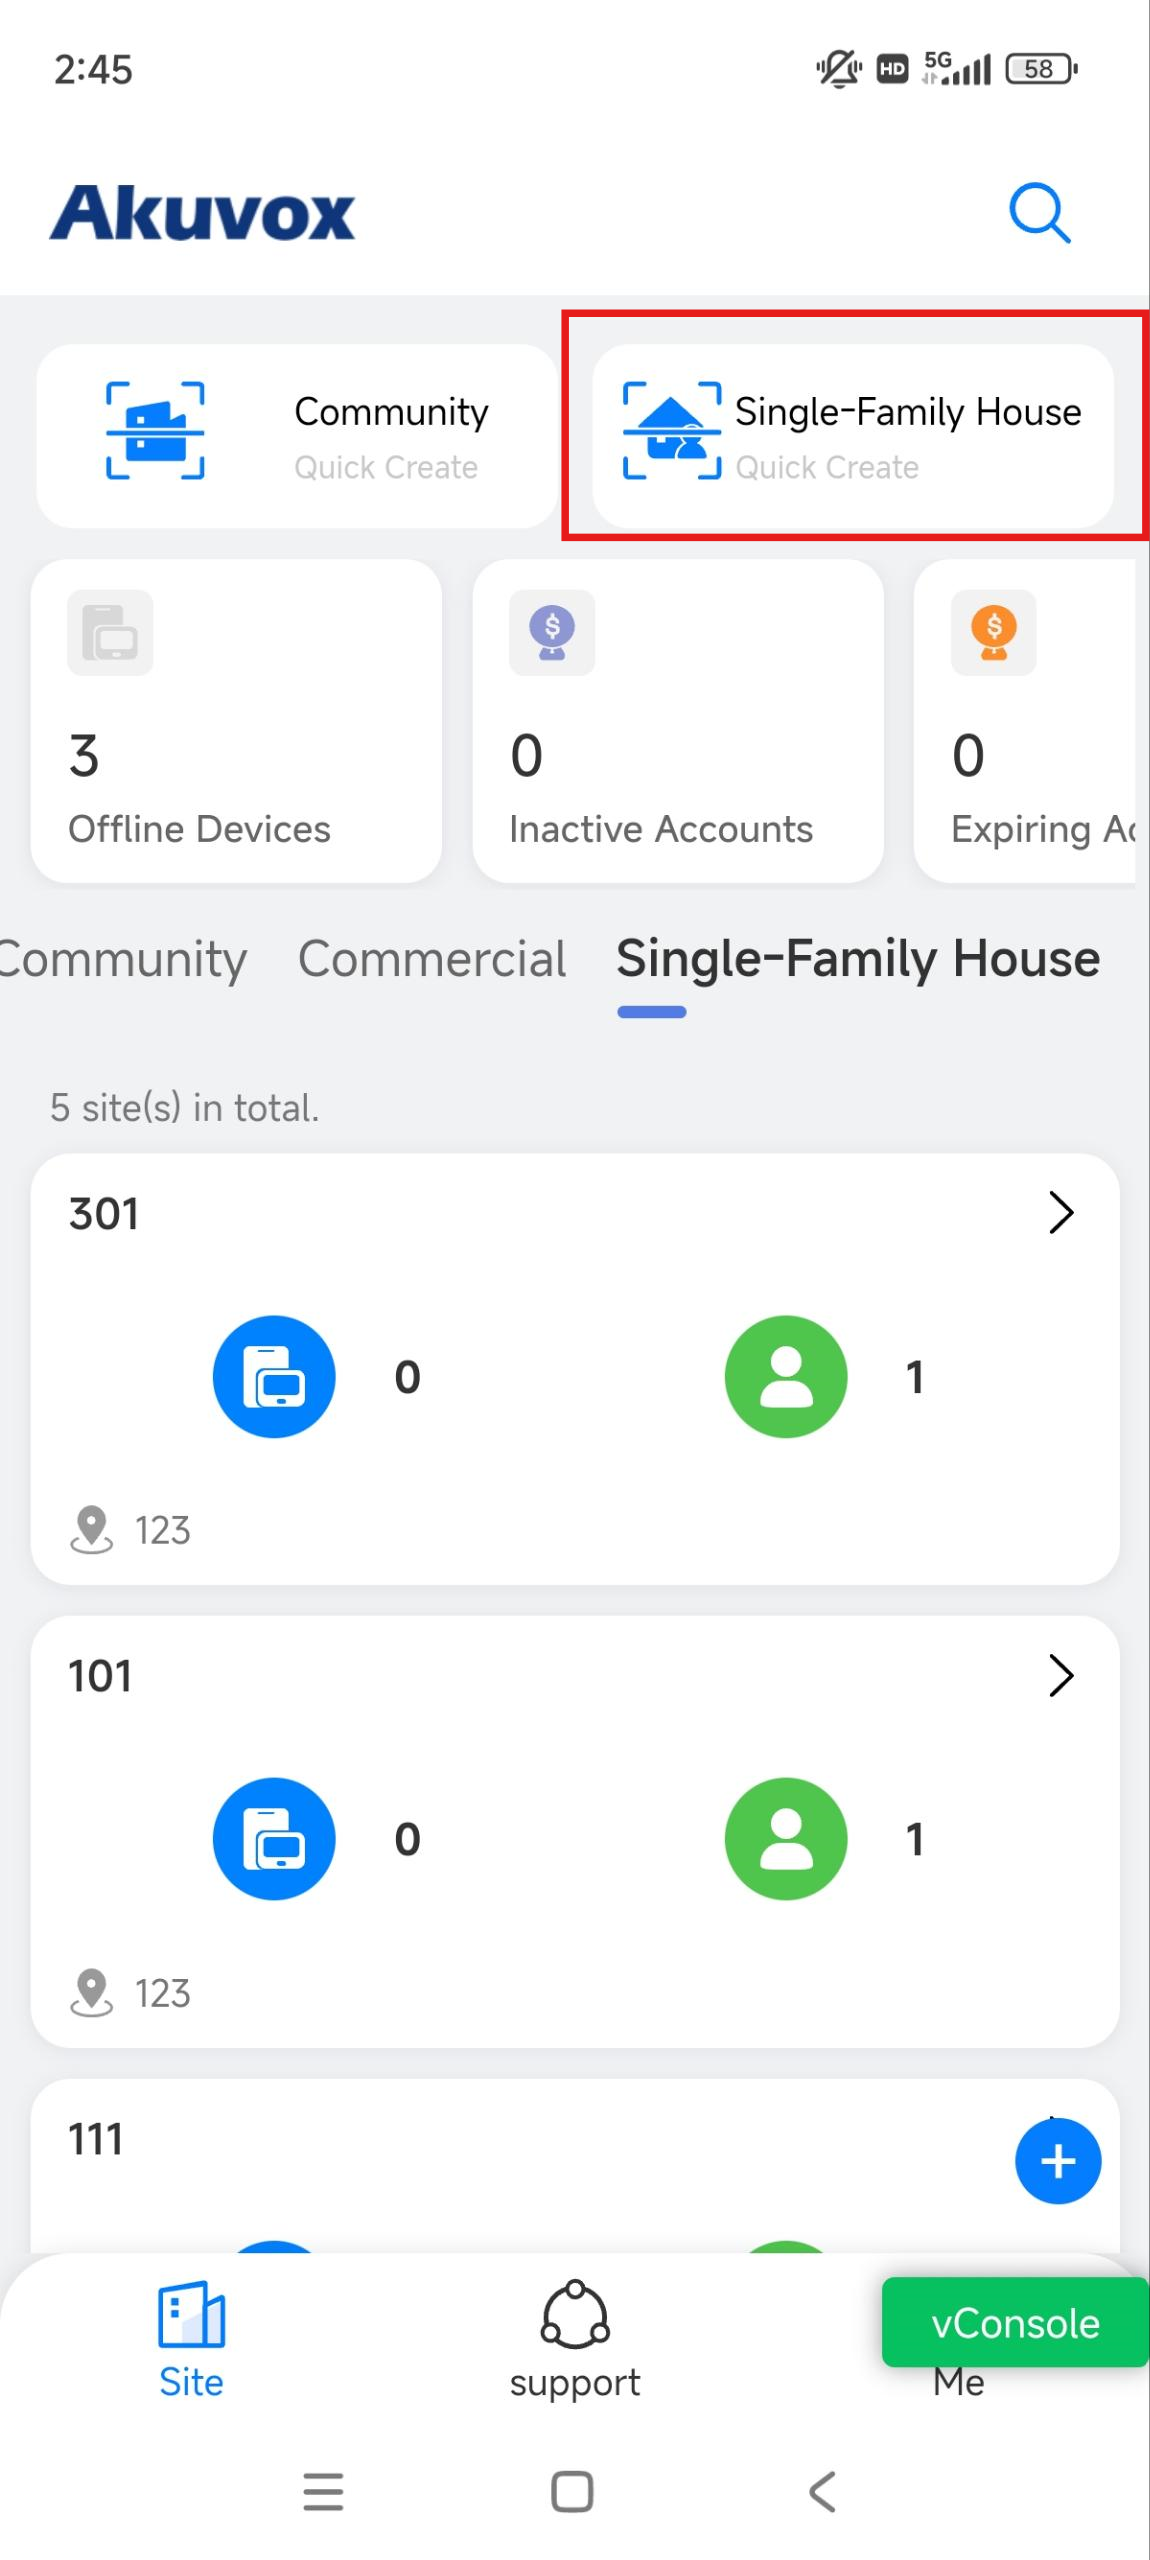
Tap Single-Family House Quick Create.
Select Video Intercom Kit.
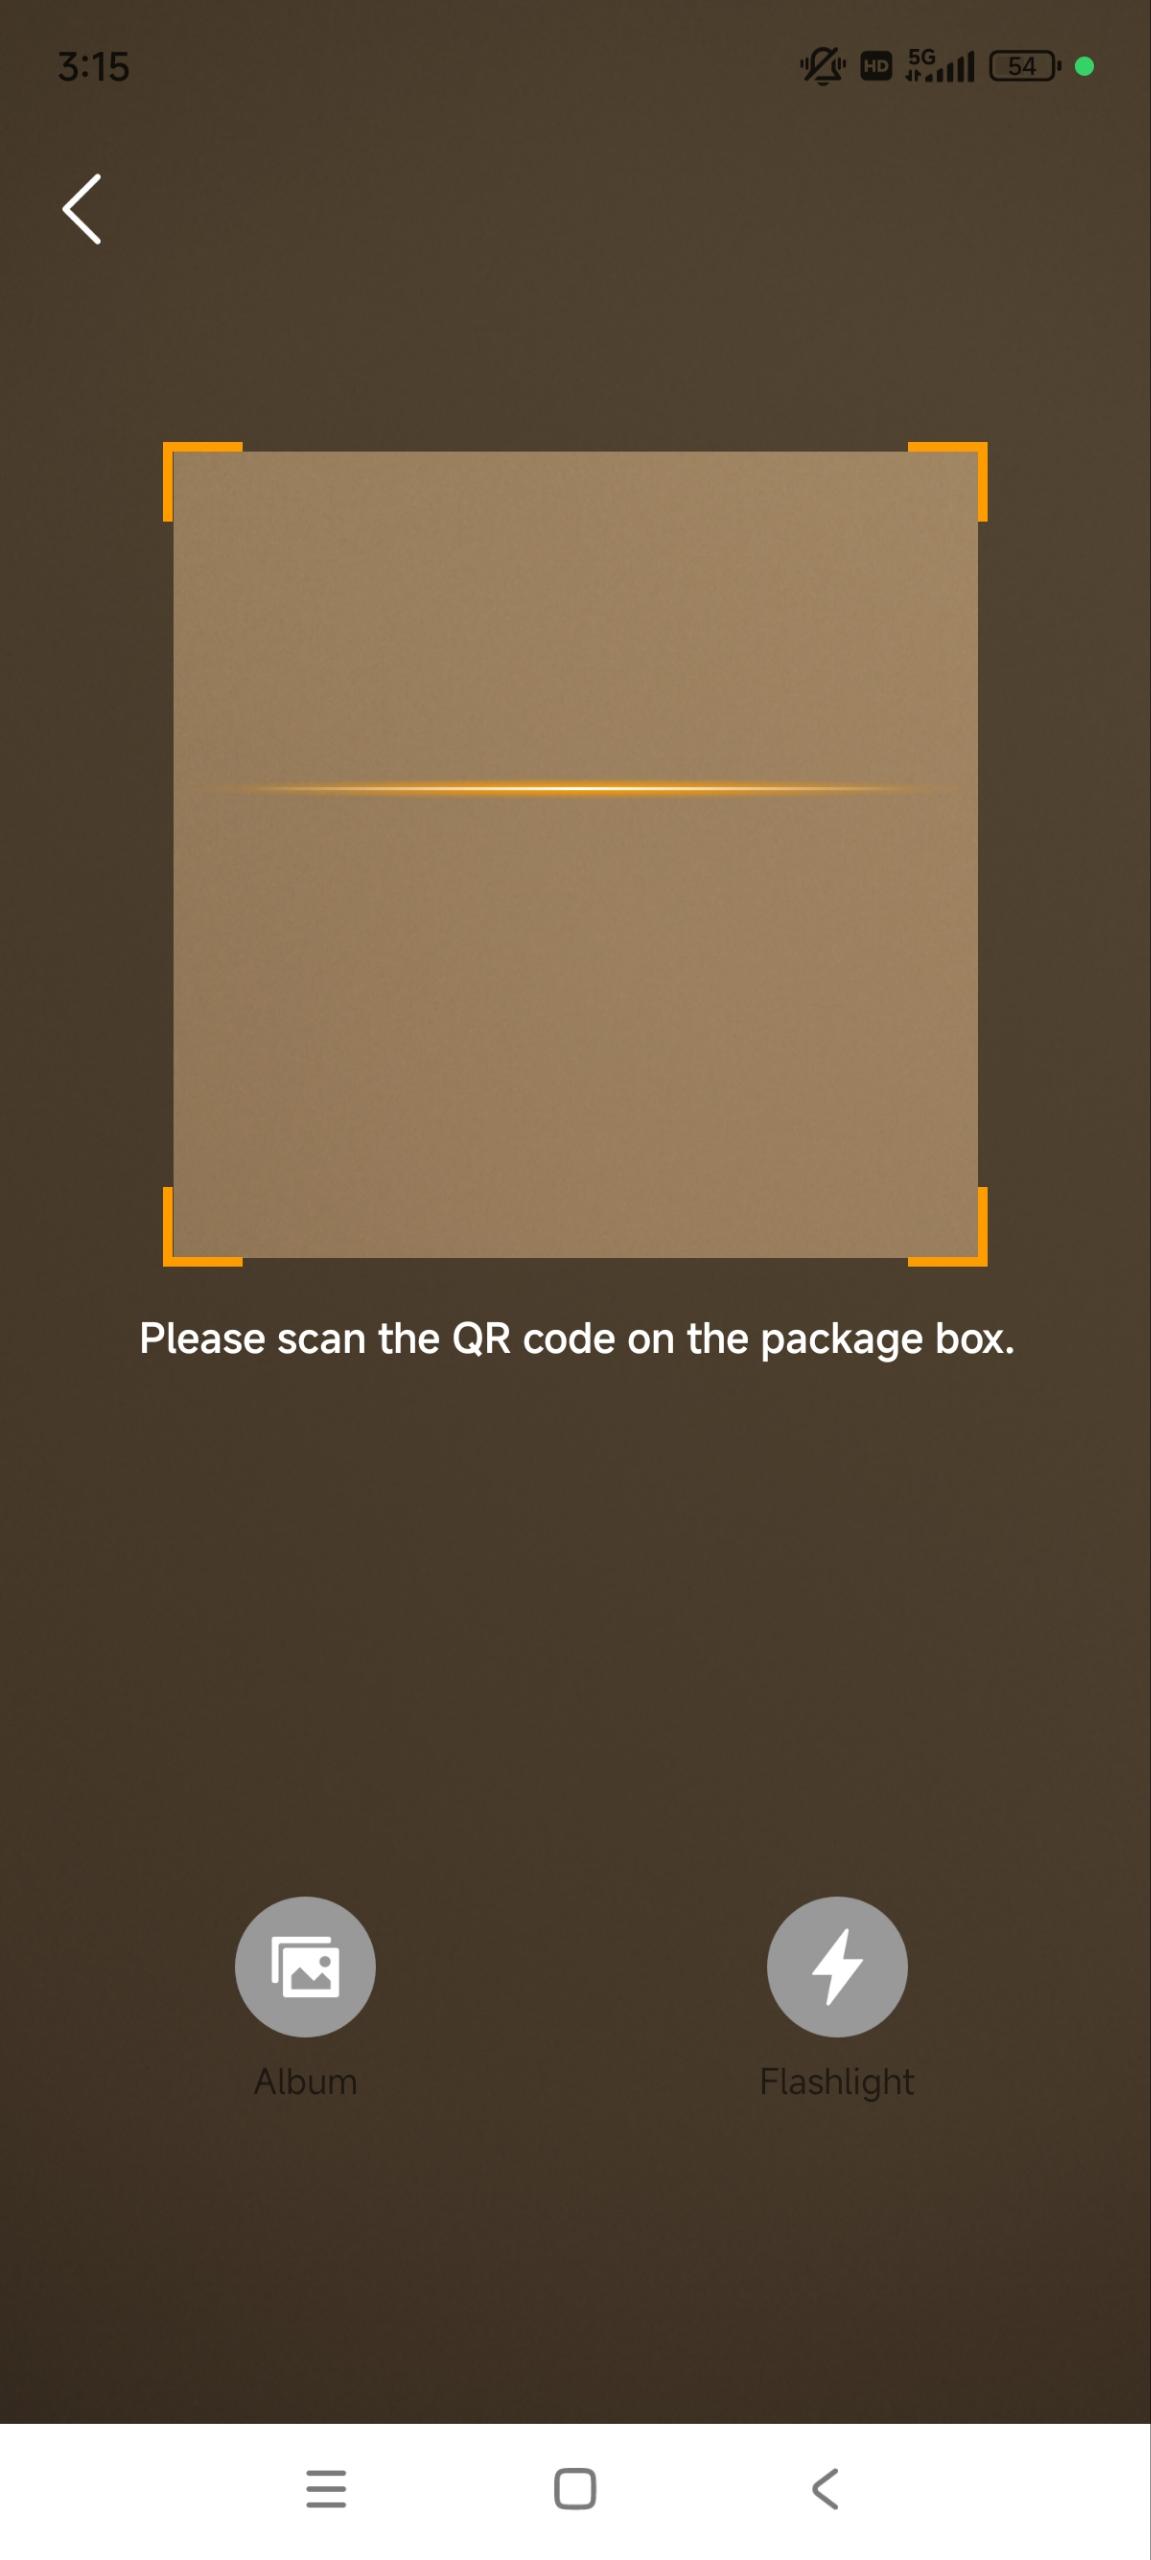
Scan the QR code on the device’s package box.
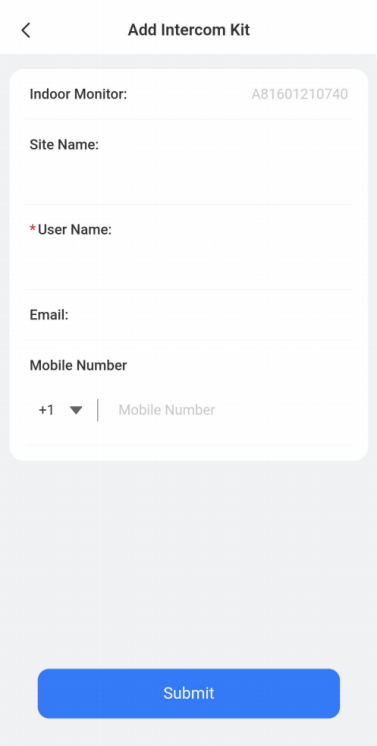
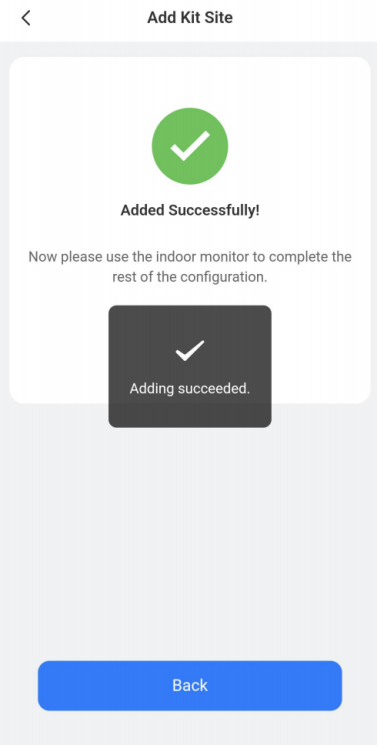
Enter the device’s and user’s information and tap Submit.
Smart Home Kit
Note
Make sure Home Automation is enabled on the SmartPlus Cloud platform. If you have no Home Automation permission, please contact your distributor.
Tap Single-Family House Quick Create.
Select Smart Home Kit.
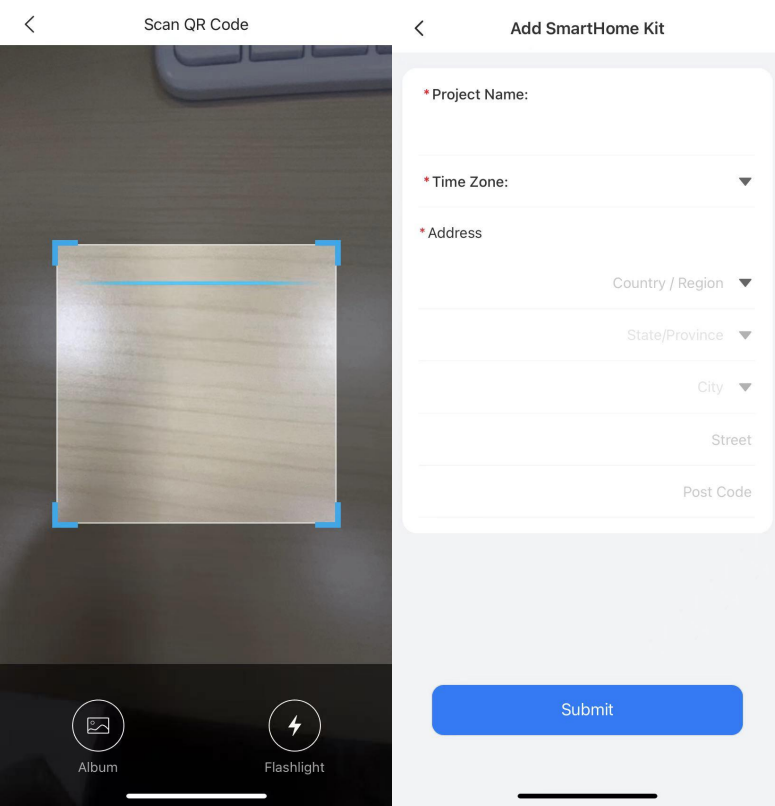
Scan the QR code on the back of the device or upload the QR code photo from the local album.
Configure the project name, time zone, and address.
Tap Submit to save the configuration.
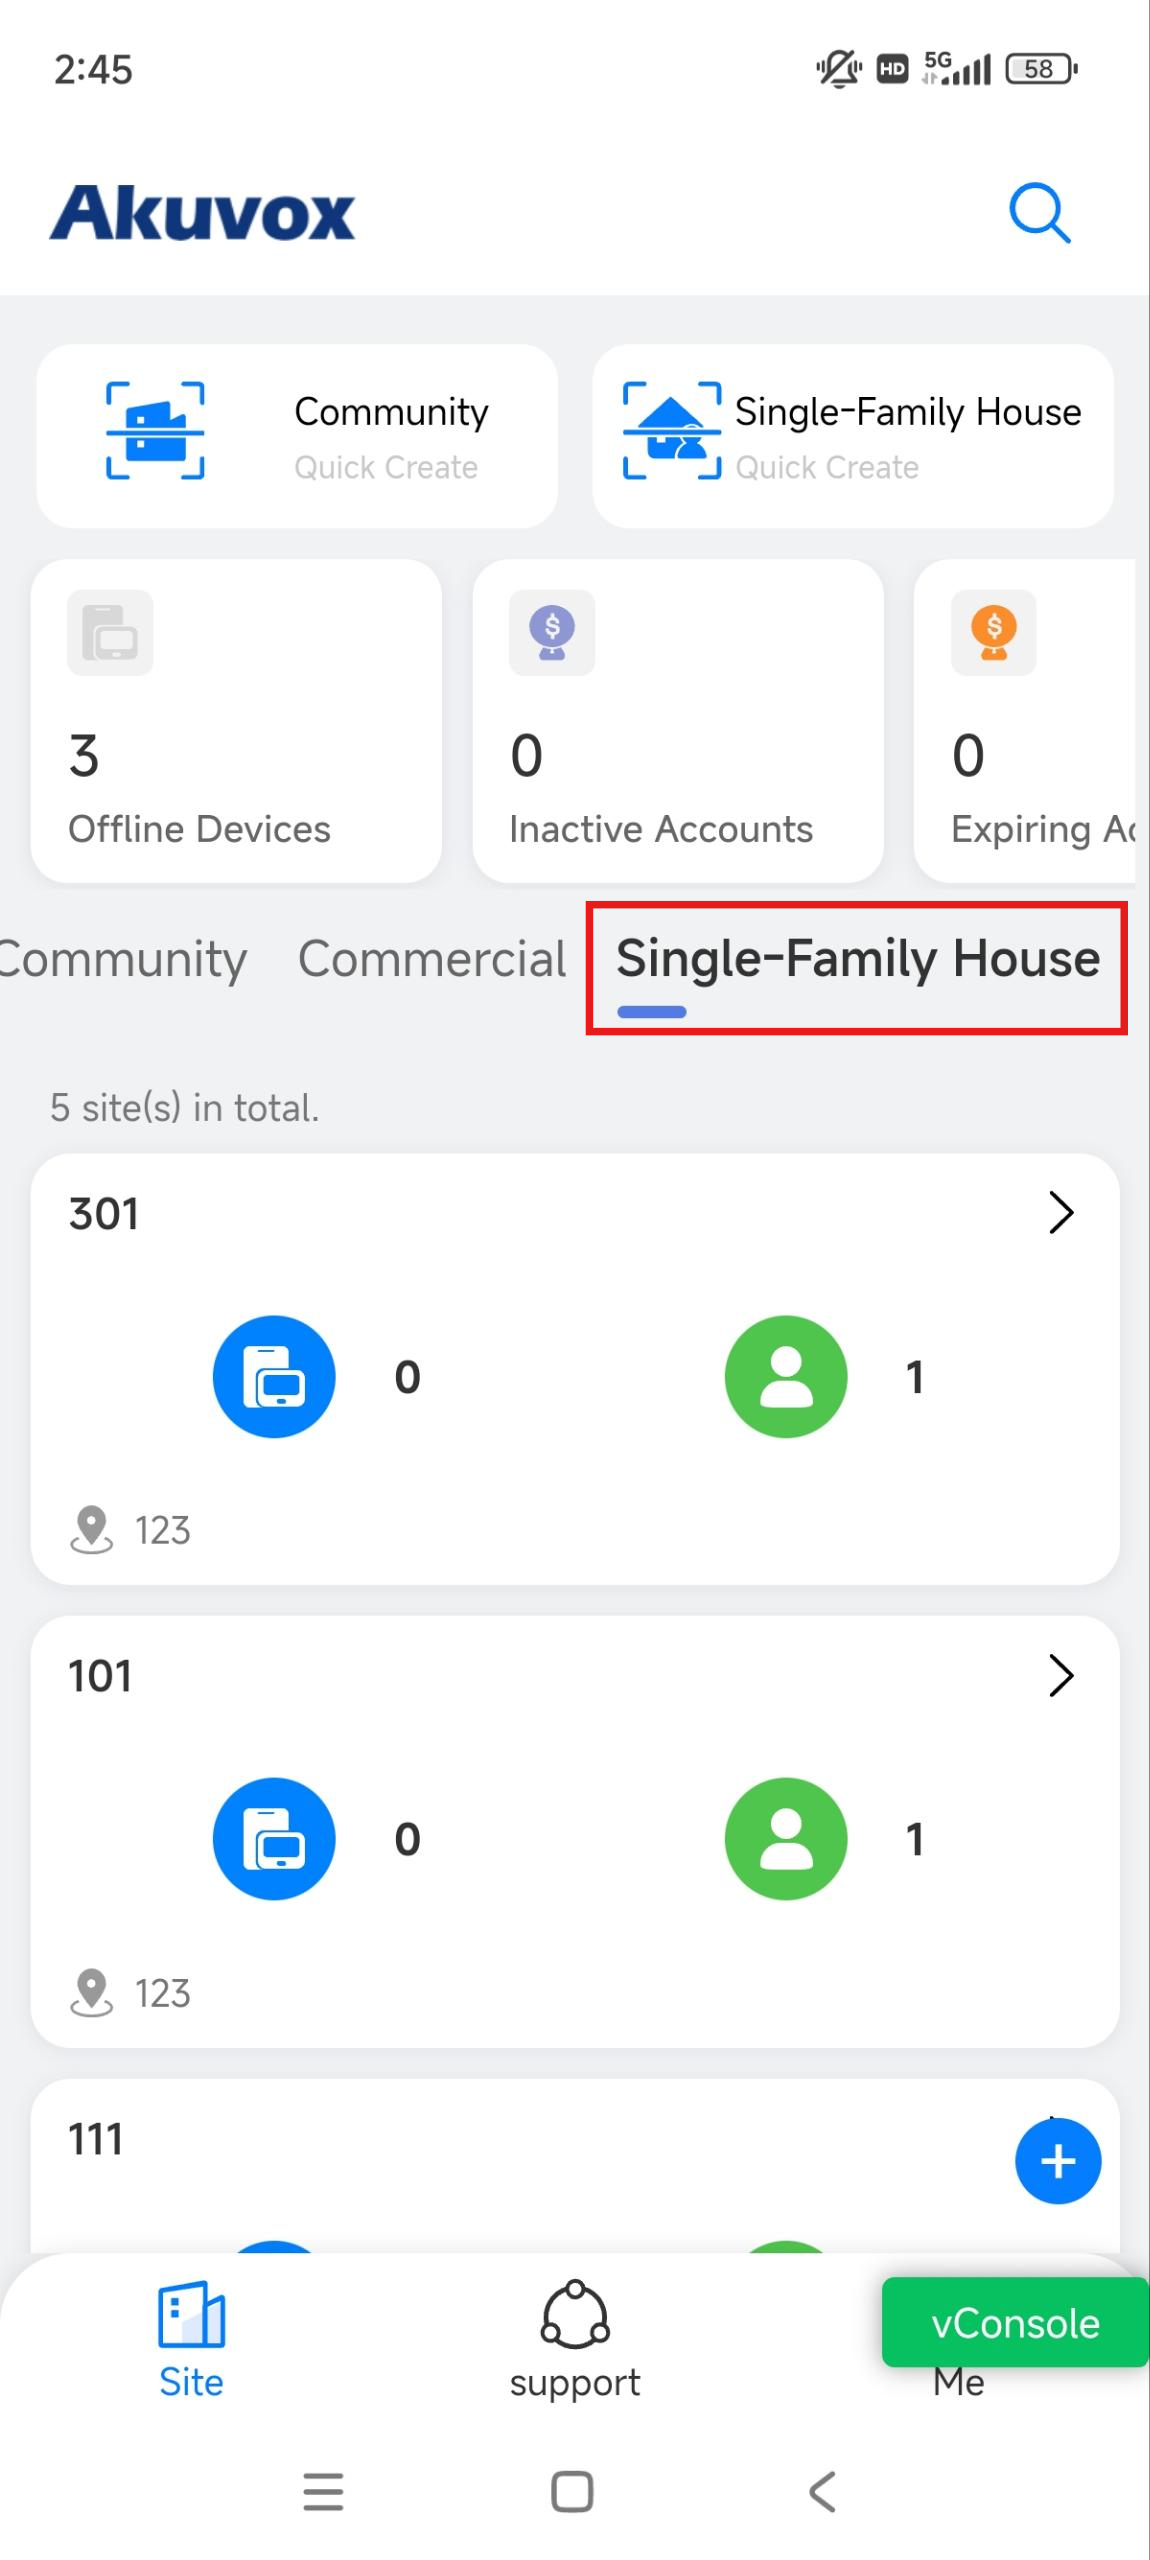
Delete Single-Family House Projects
Select Single-Family House.
Tap a specific project.
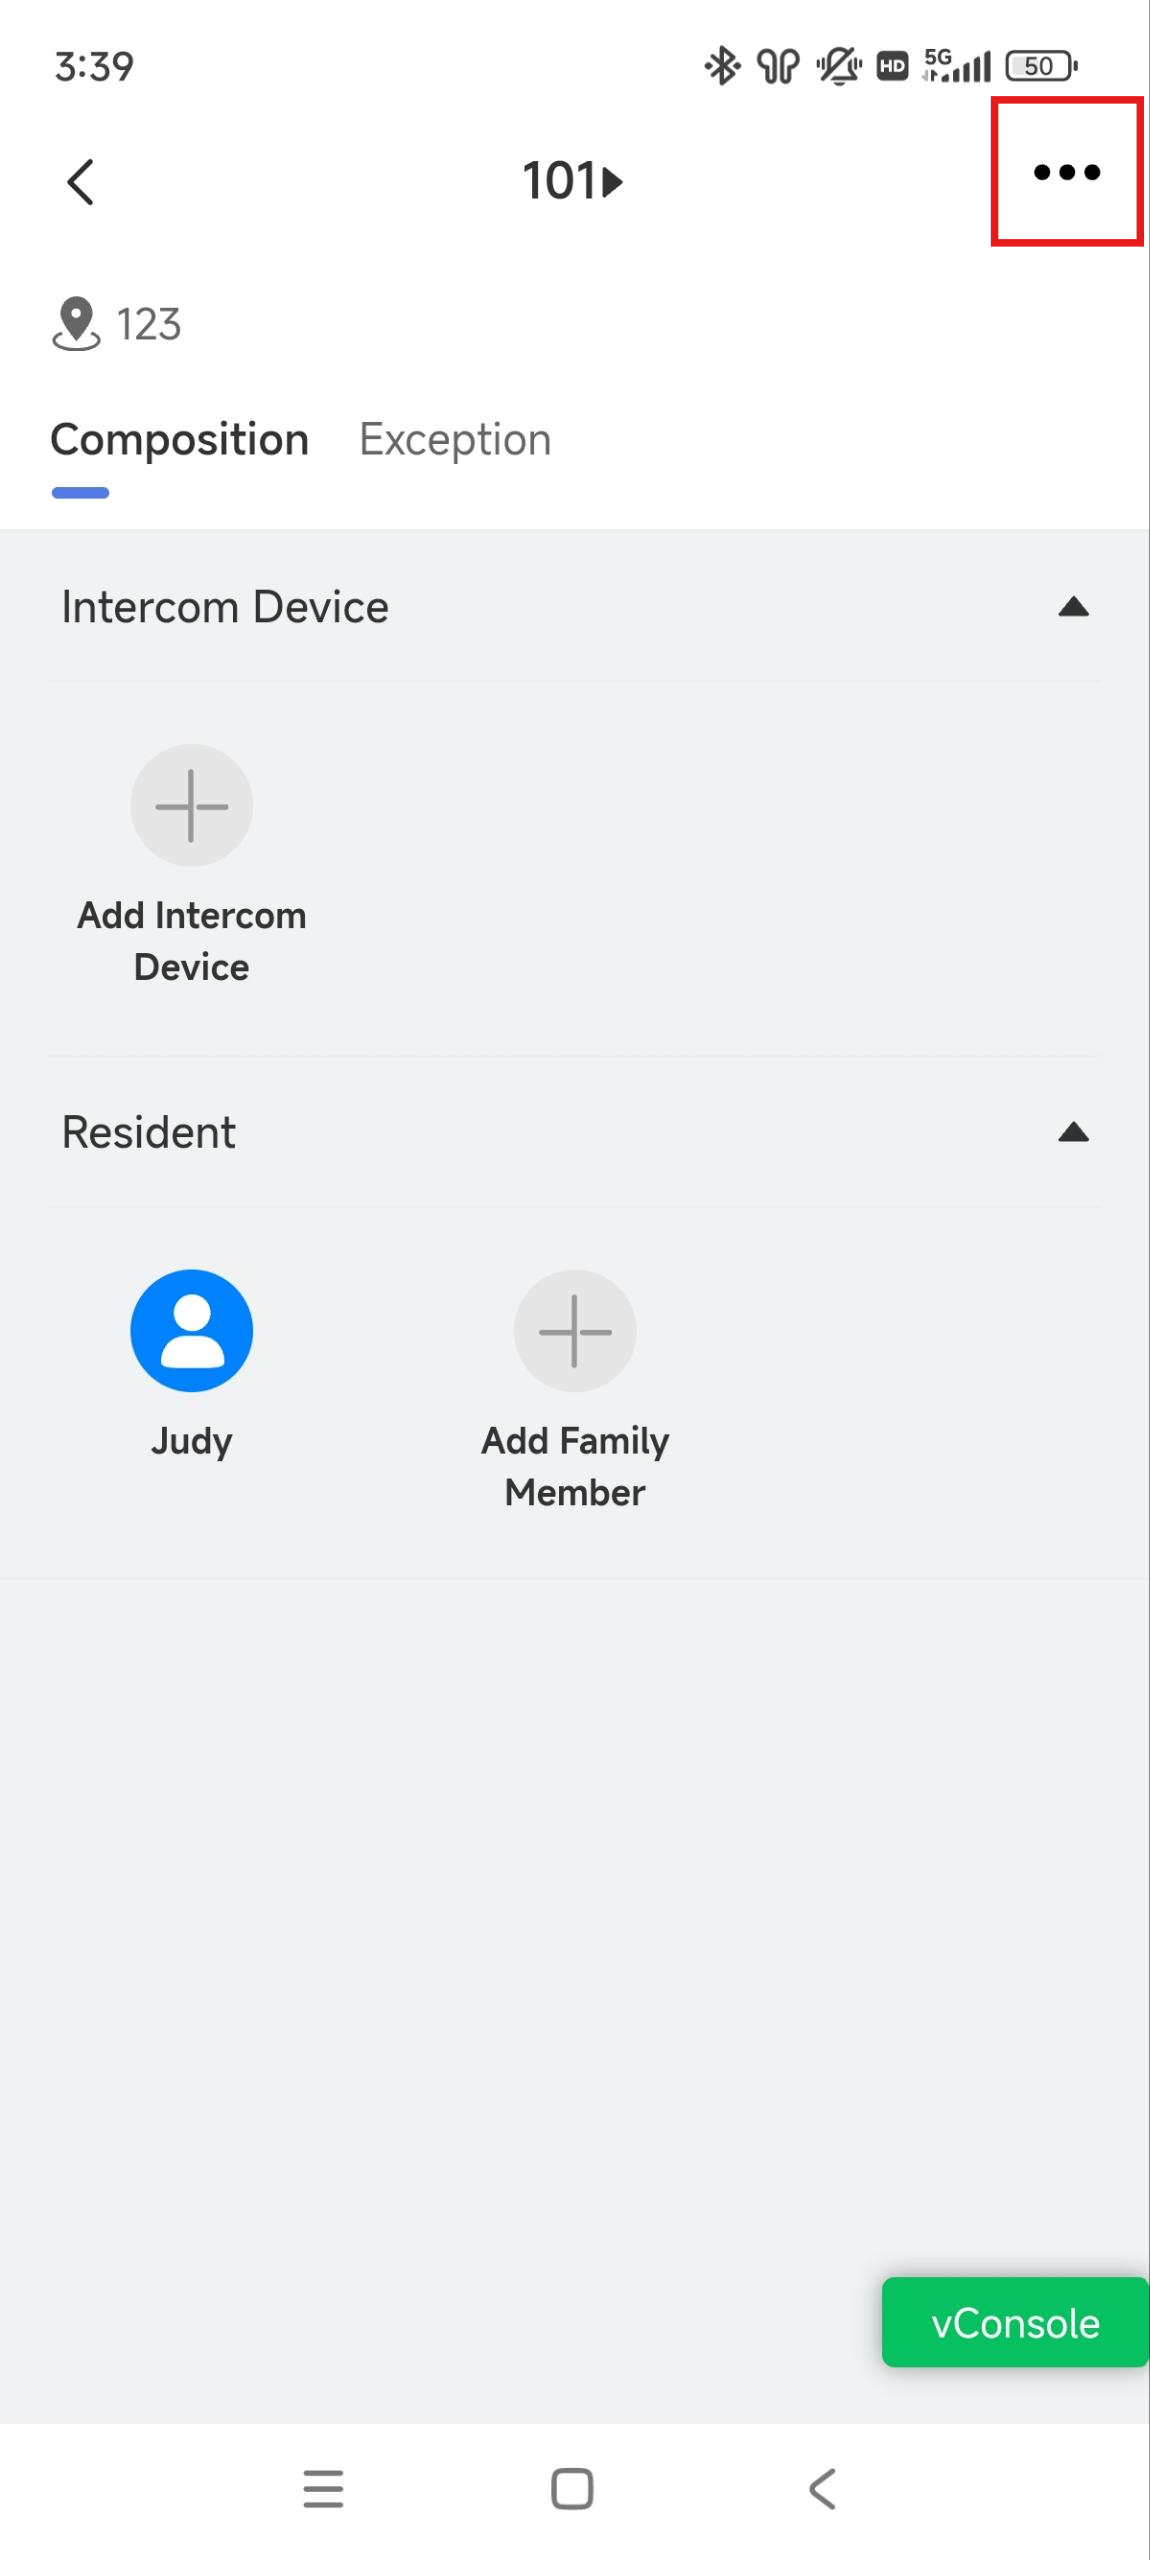
Tap
 in the upper right corner.
Tap Delete.
User Management
You can add, edit, and delete single-family house user accounts and reset the account password.
Add a User
To add single-family house users, please refer to the Add a Single-Family House Project chapter.
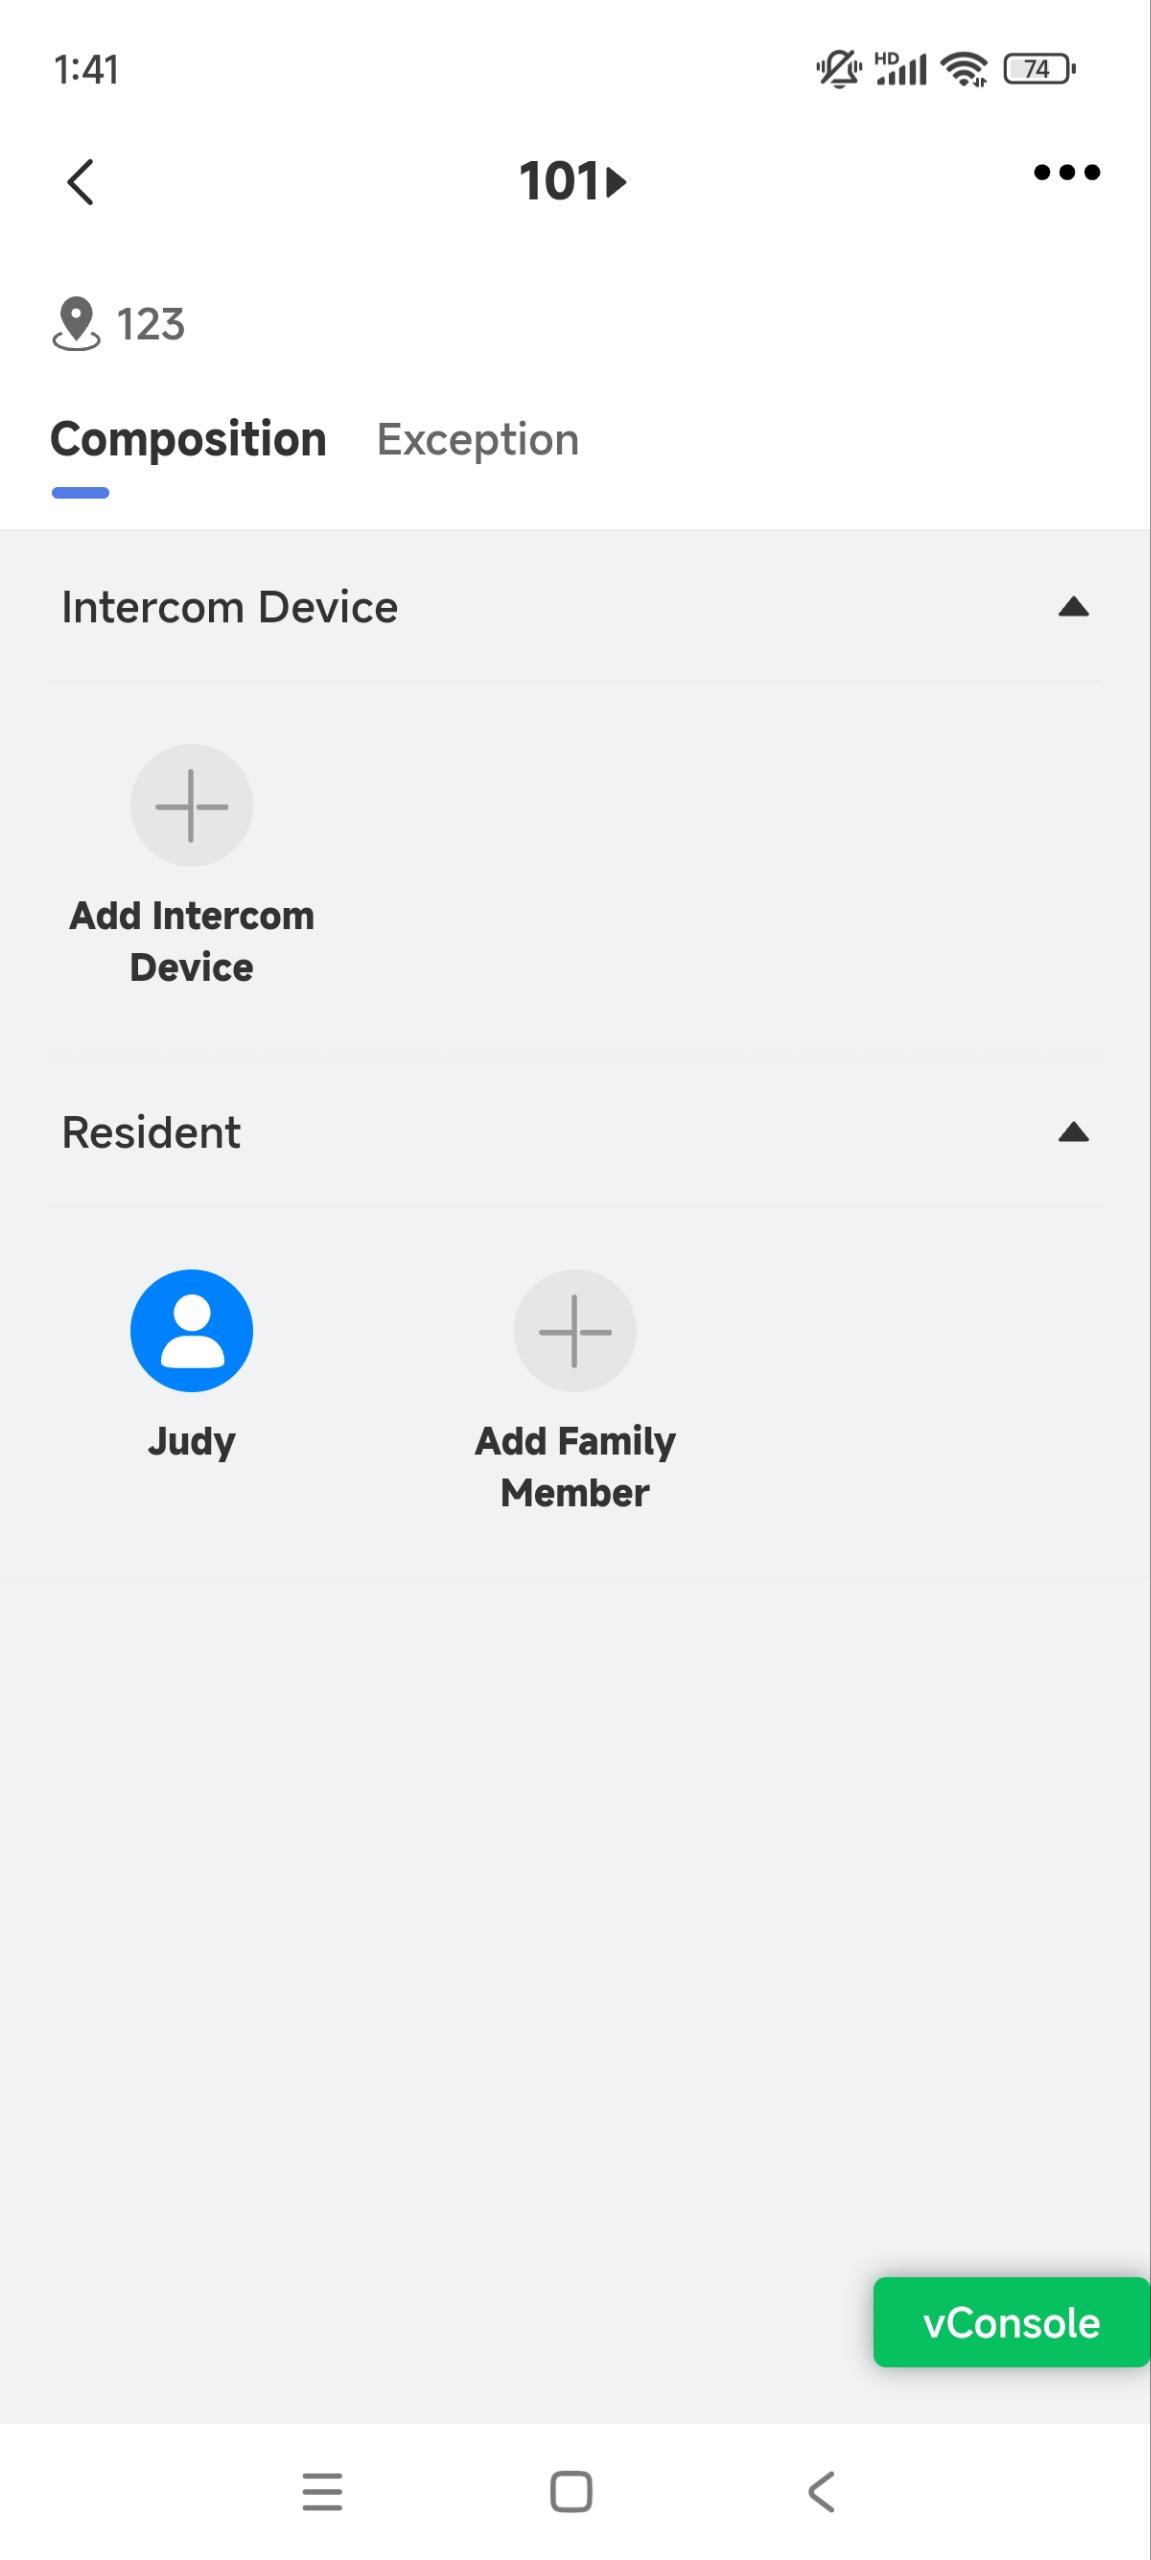
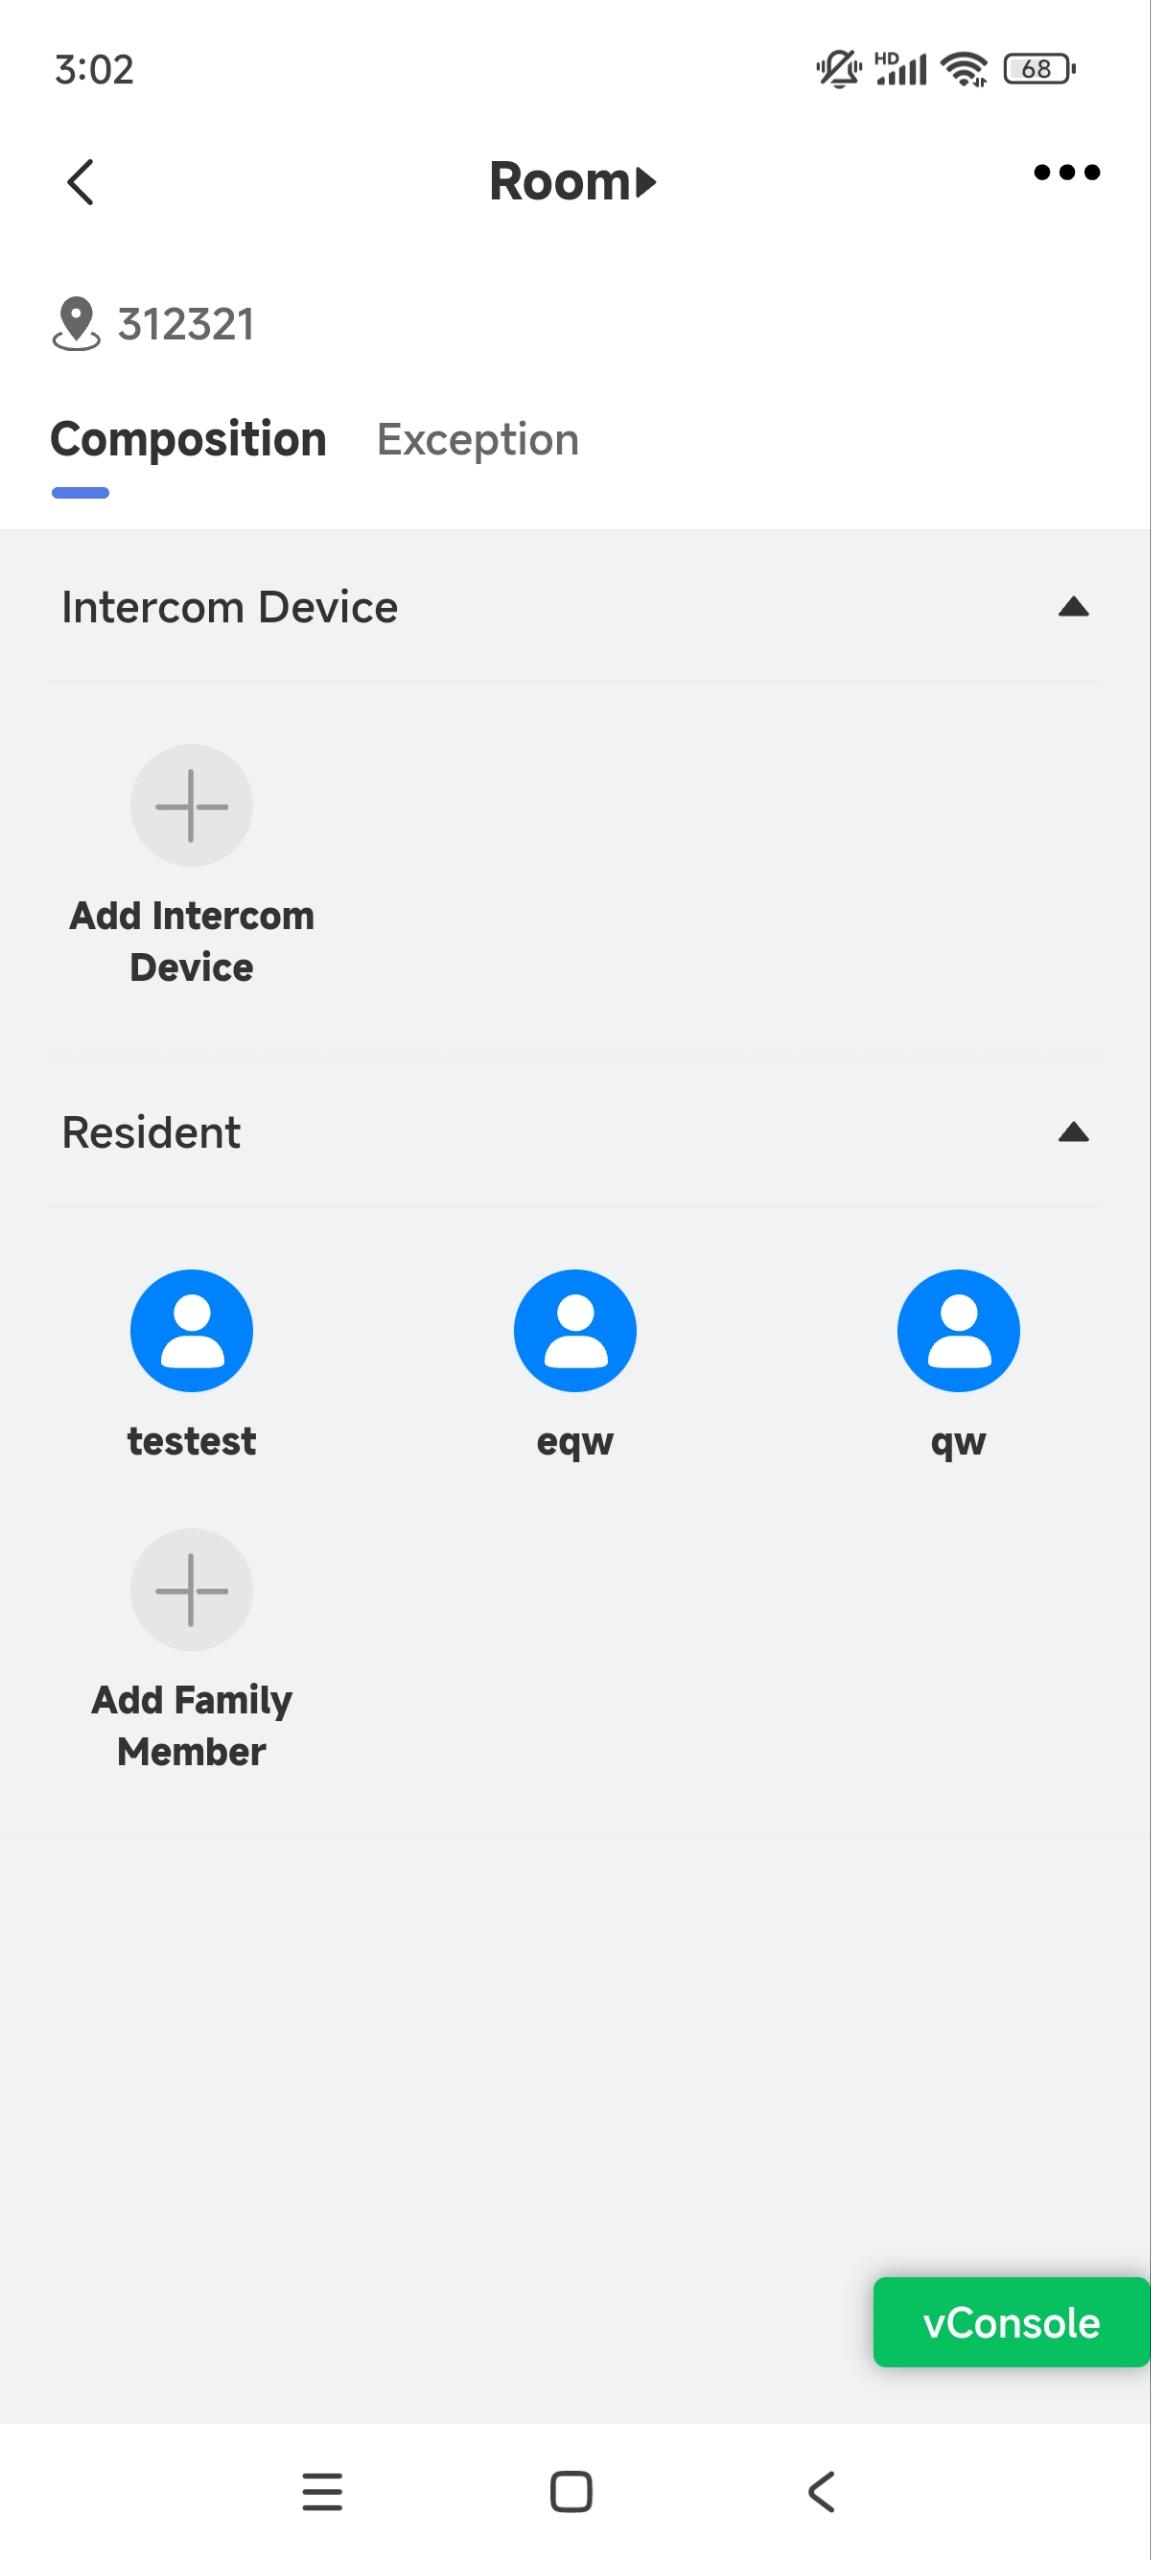
Add Family Members
Select Single-Family House on the homepage.
Tap the desired project and tap Add Family Member.
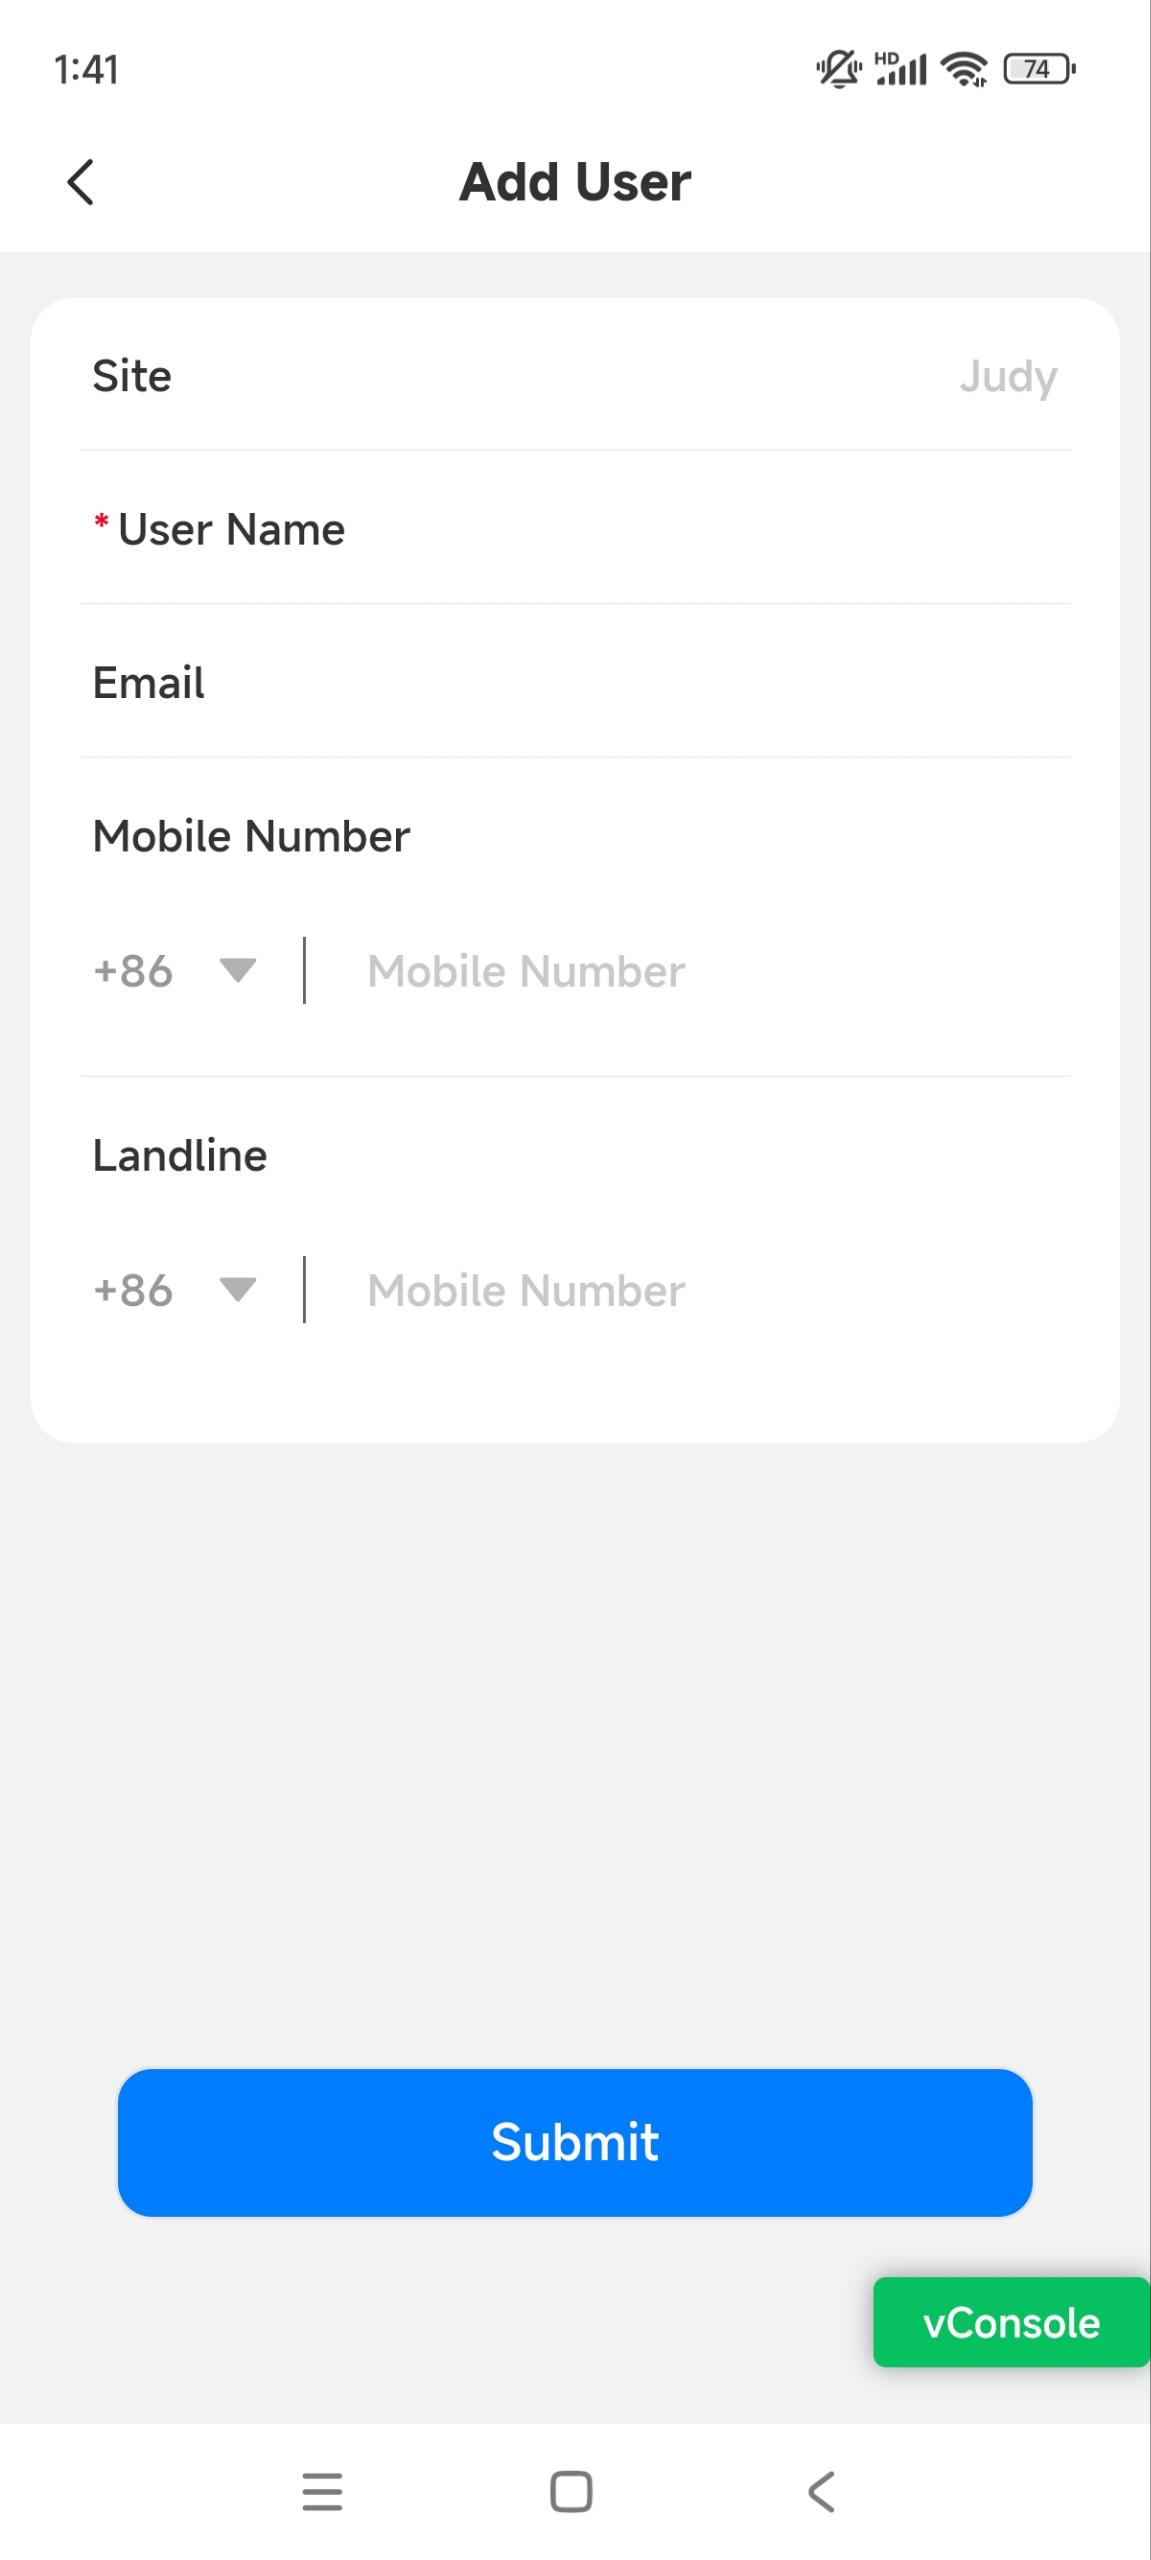
Fill in the user information and tap Submit.
The email address or mobile number is used to receive SmartPlus App login information. Please make sure the area code is right before entering the mobile phone number and landline number.
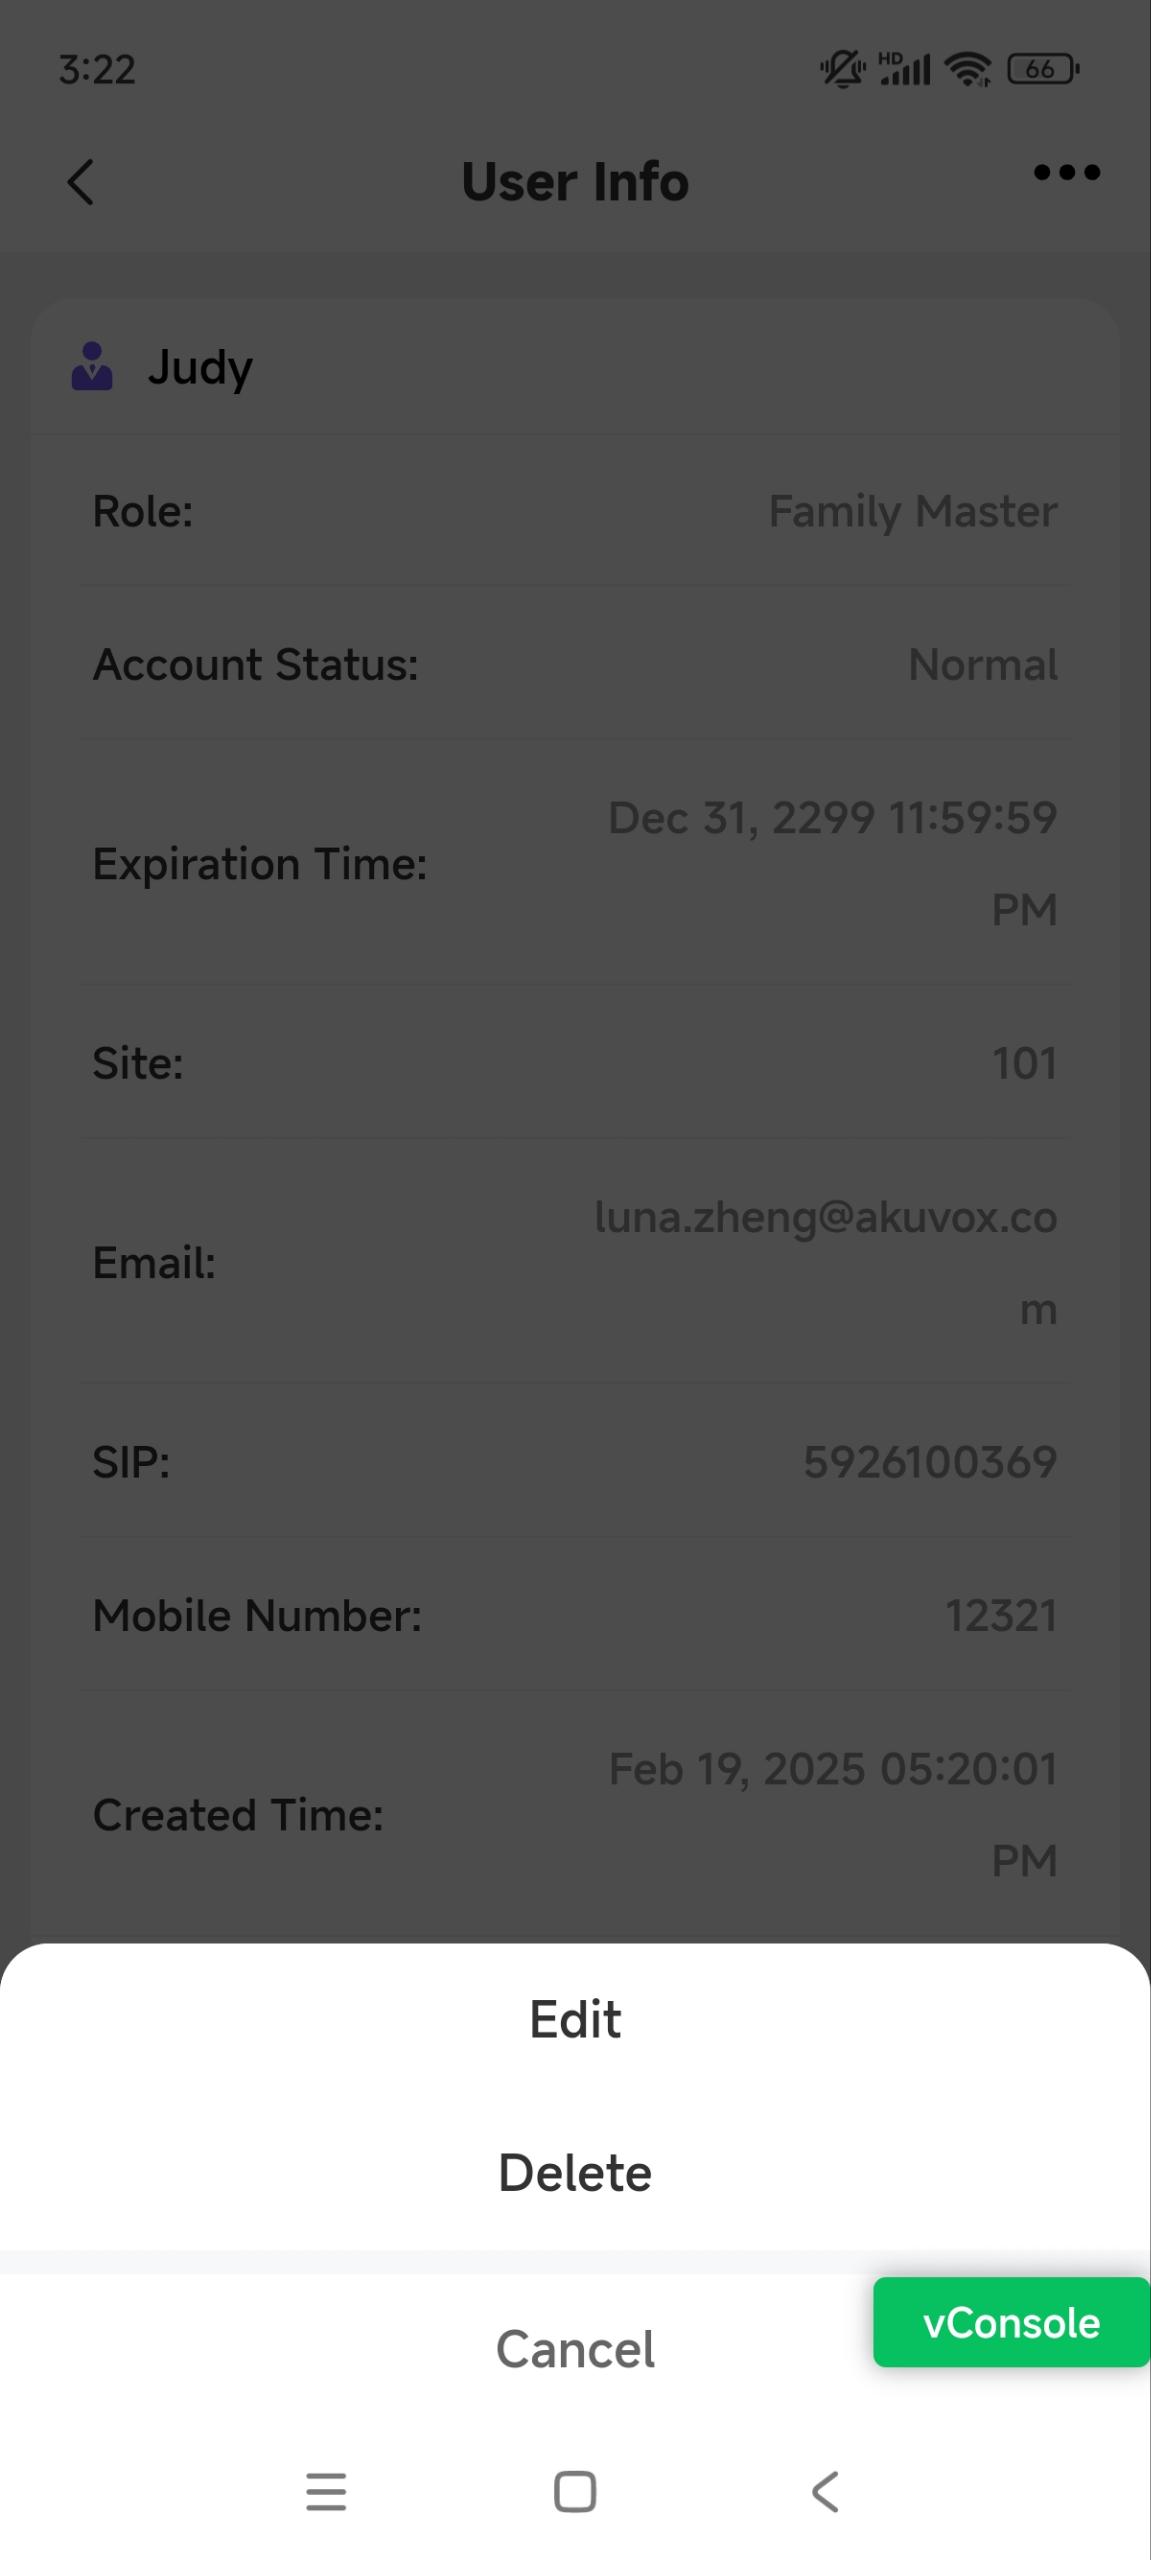
Edit and Delete Users
Select Single-Family House on the homepage, or search for the user by entering the username in the upper search box.
Tap the desired project and tap the resident's name.
Tap
 in the upper right corner.
 Tap Edit to modify the account information; tap Delete to remove it.

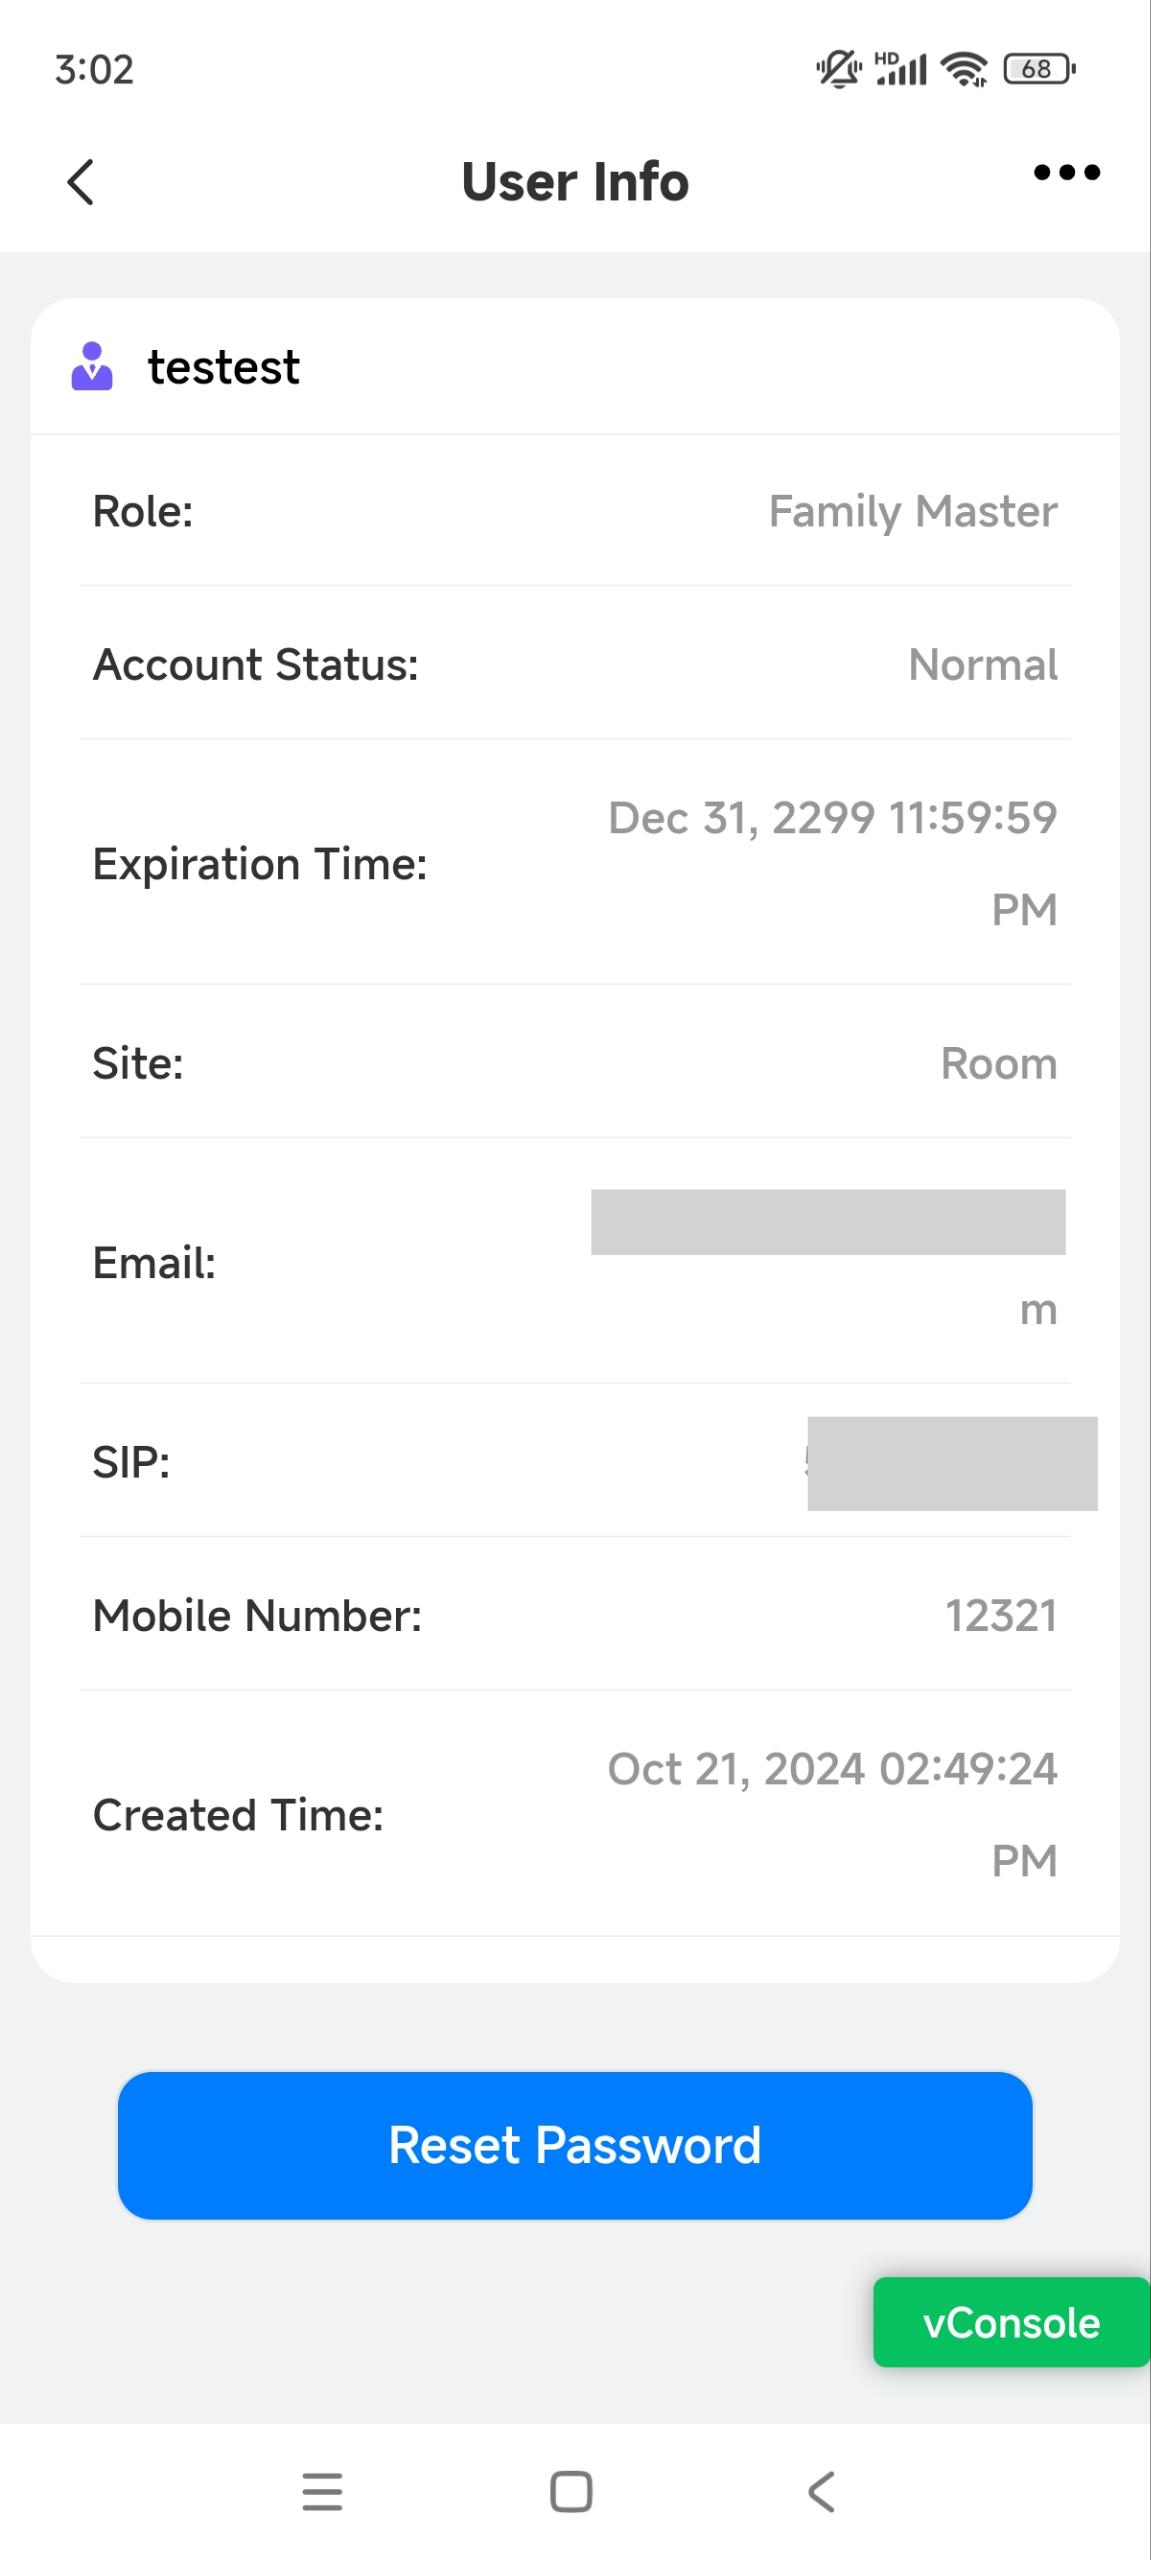
Reset Password for Users
You can reset users’ master account passwords at their request. With their email address filled out, residents will receive the password reset email.
Select Single-Family House on the homepage, or search for the user by entering the username in the upper search box.
Tap the desired project and tap the resident's name.
Tap Reset Password and confirm.
Device Management
After the user account is created, you can start adding intercom devices for the specific user. Before that, make sure that all the intercom devices have been added to your distributor’s MAC library.
Add an Intercom Device
Select Single-Family House project type on the homepage.
Tap the desired project.
Tap Add Intercom Device.
Fill in the device’s information. You can enter the device’s MAC automatically by tapping Scan to scan the barcode on the package or on the device’s back.
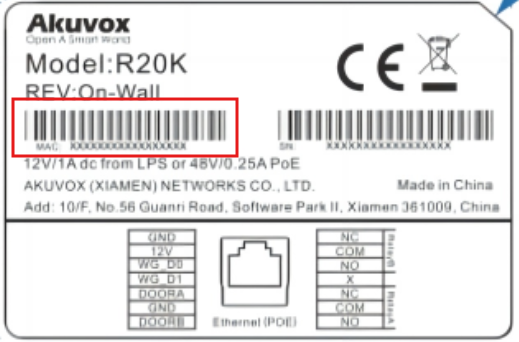
See the description of each item in the chart below.


Tap Submit. Added successfully will display.
Regardless of what type of device, device type, MAC address, and device name need to be set up. | ||
No. | Field Name | Description |
1 | MAC | Type in the device's MAC address, or scan the device’s barcode to fill in automatically. |
2 | Device Type | Select the device type. |
3 | Device Name | Name the device to distinguish it from others. |
To add a door phone or an access control terminal, the following options should be additionally configured. | ||
1 | Allow users to monitor this device | It is enabled by default.
|
2 | Does this device have internet access? | It is enabled by default.
Note: Click here to view the detailed configuration of the call transfer feature. |
3 | IP Address | When Does this device have internet access option is disabled, you need to enter the static IP address of the door phone so that its calls can be transferred. |
4 | Relay Name | Fill in the relay name, which can be the device location. |
5 | DTMF Code | Enter the DTMF code for the door access. |
6 | Access Method | Select specific unlock methods to trigger the desired relay. For example, if you select PIN for Relay1 and select RF Card for Relay2, when users enter PIN codes on the door phone, only Relay1 will be triggered, and vice versa. The following models with specific firmware versions or higher support this feature:
Note: If SmartPlus Homepage or SmartPlus Talking Page is not checked, the corresponding icons will not appear on their apps’ homepage. |
7 | Add Relay | You can add more relays if needed. |
8 | Add Security Relay | Add the security relay if the door phone is connected to the Akuvox SR01 for access control. |
To add an indoor monitor, the following options should be additionally configured. | ||
1 | Works Offline | It is disabled by default. When enabled, the device will transfer calls from offline door phones to the SmartPlus App.
|
2 | Arming Function | When enabled, the arming icon will be available on users' SmartPlus Apps for arming and disarming. |
3 | Relay | Turn on or off the device's built-in relay and name the relay. |
Edit and Delete an Intercom Device
After adding an intercom device, you can change its settings or delete it.
Tap the desired single-family house project on the homepage. Or, search for the device by entering the device name or MAC in the upper search box.
Tap the desired device. If the device icon is grey, it is offline. In that case, changing its settings will not take effect.
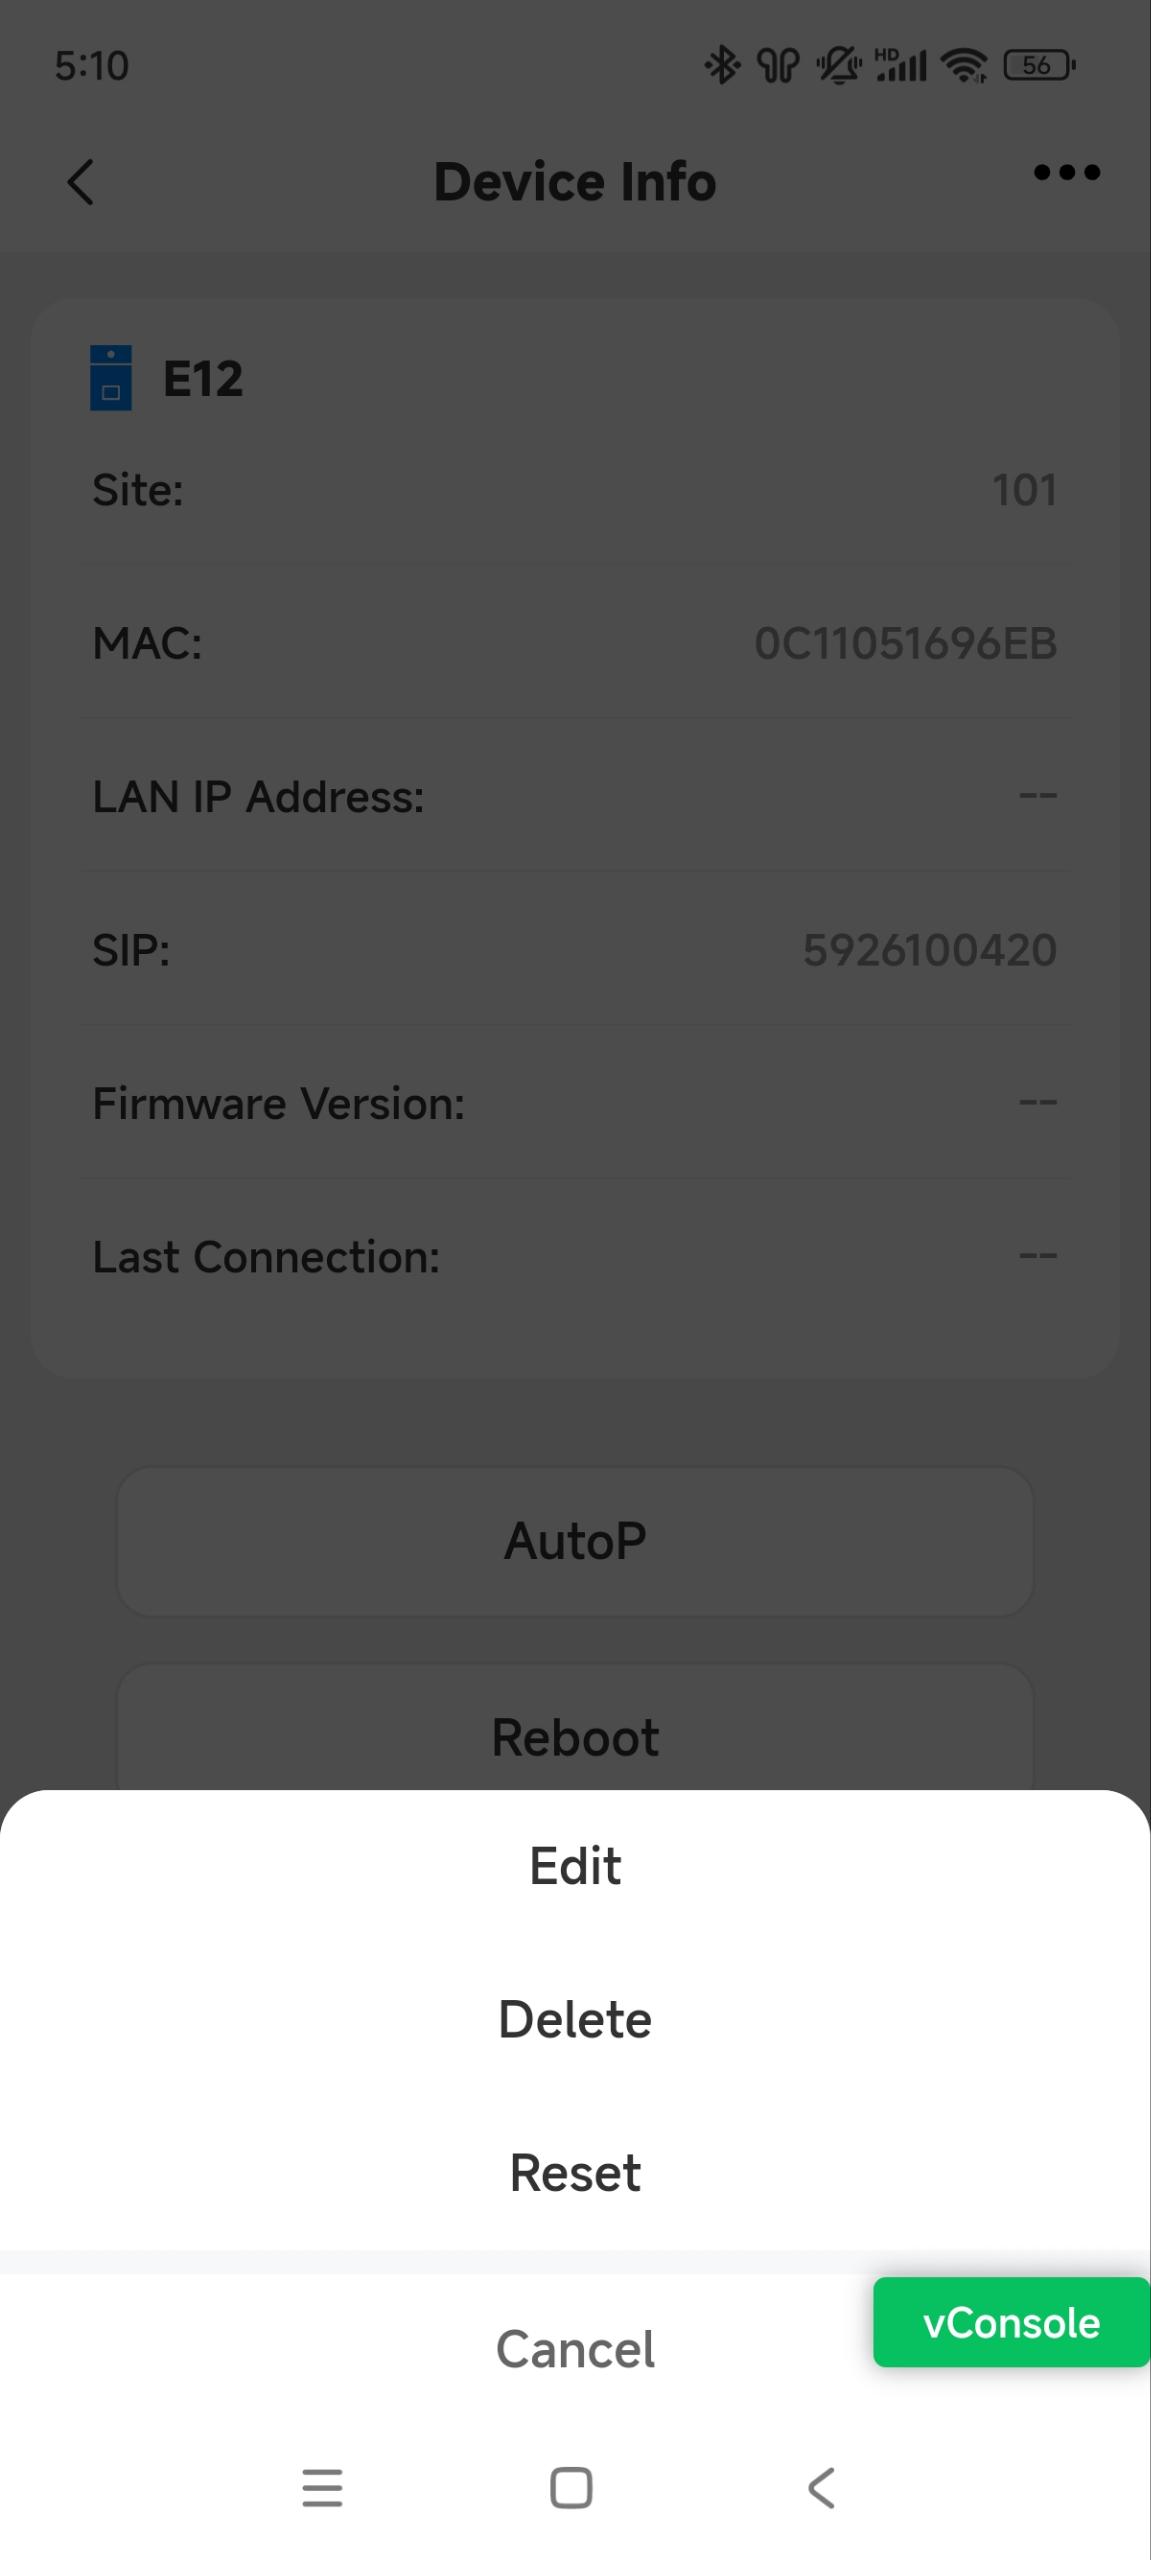
Tap
in the upper right corner. Tap Edit to modify the device’s settings; tap Delete to remove it.
Remotely Configure an Intercom Device
You can remotely reboot, reset, upgrade, and perform auto-provisioning(AutoP) for the device on the app.
Tap the desired single-family house project on the homepage. Or, search for the device by entering the device name or MAC in the upper search box.
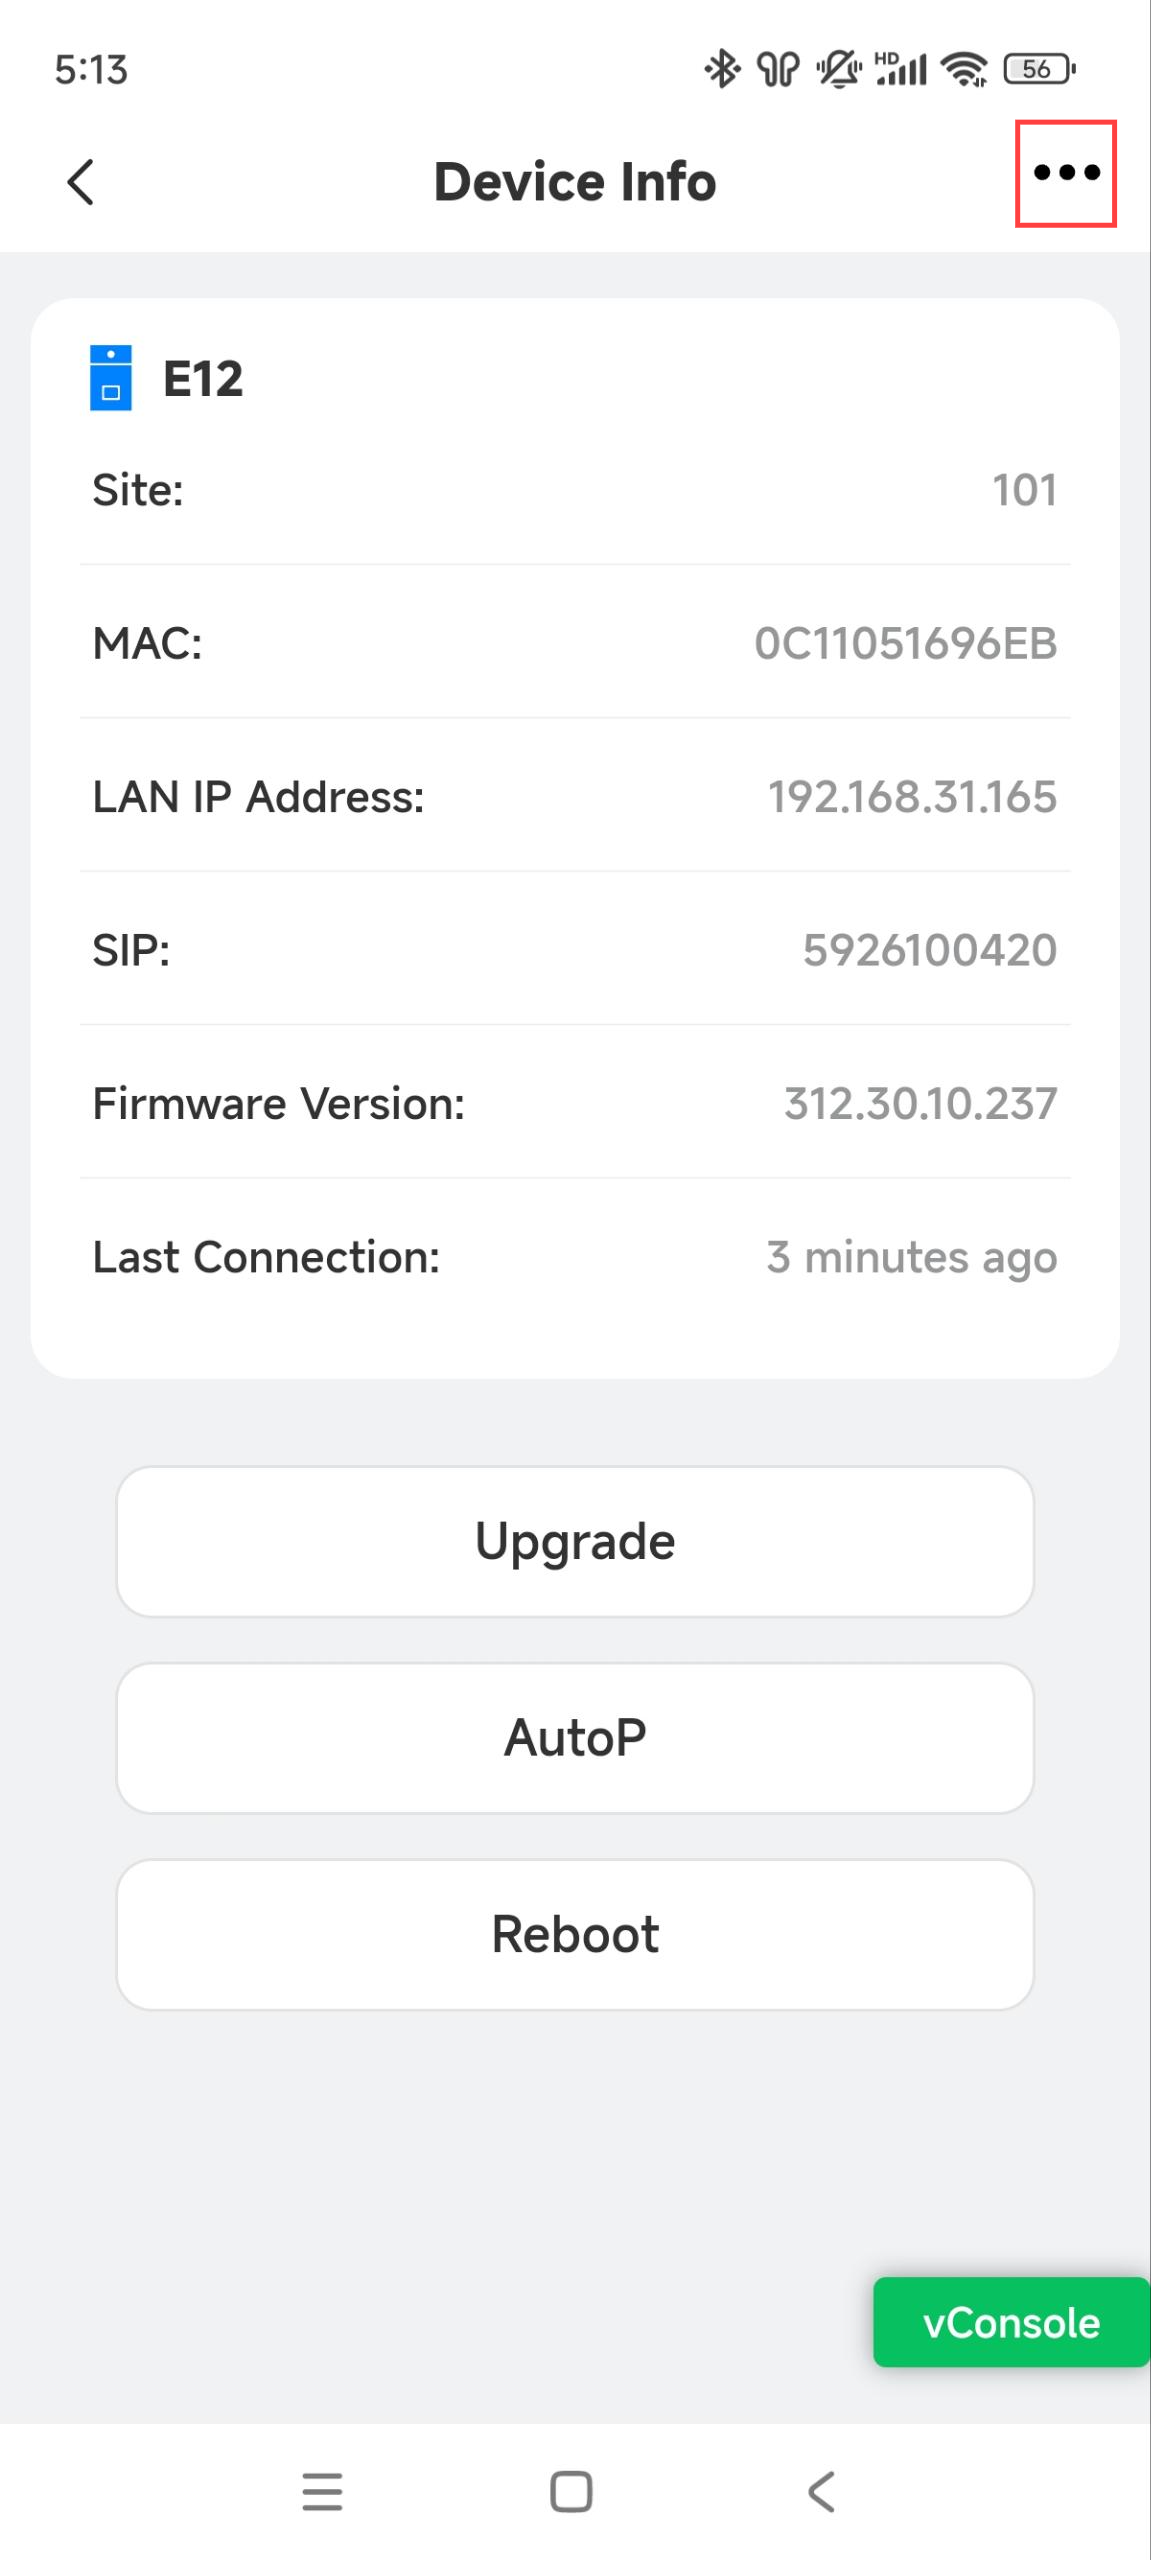
Tap the desired device. If the device icon is grey, it is offline. In that case, remote configuration will not take effect.
On the device info page, choose the desired action.
.jpg)
Upgrade the Device
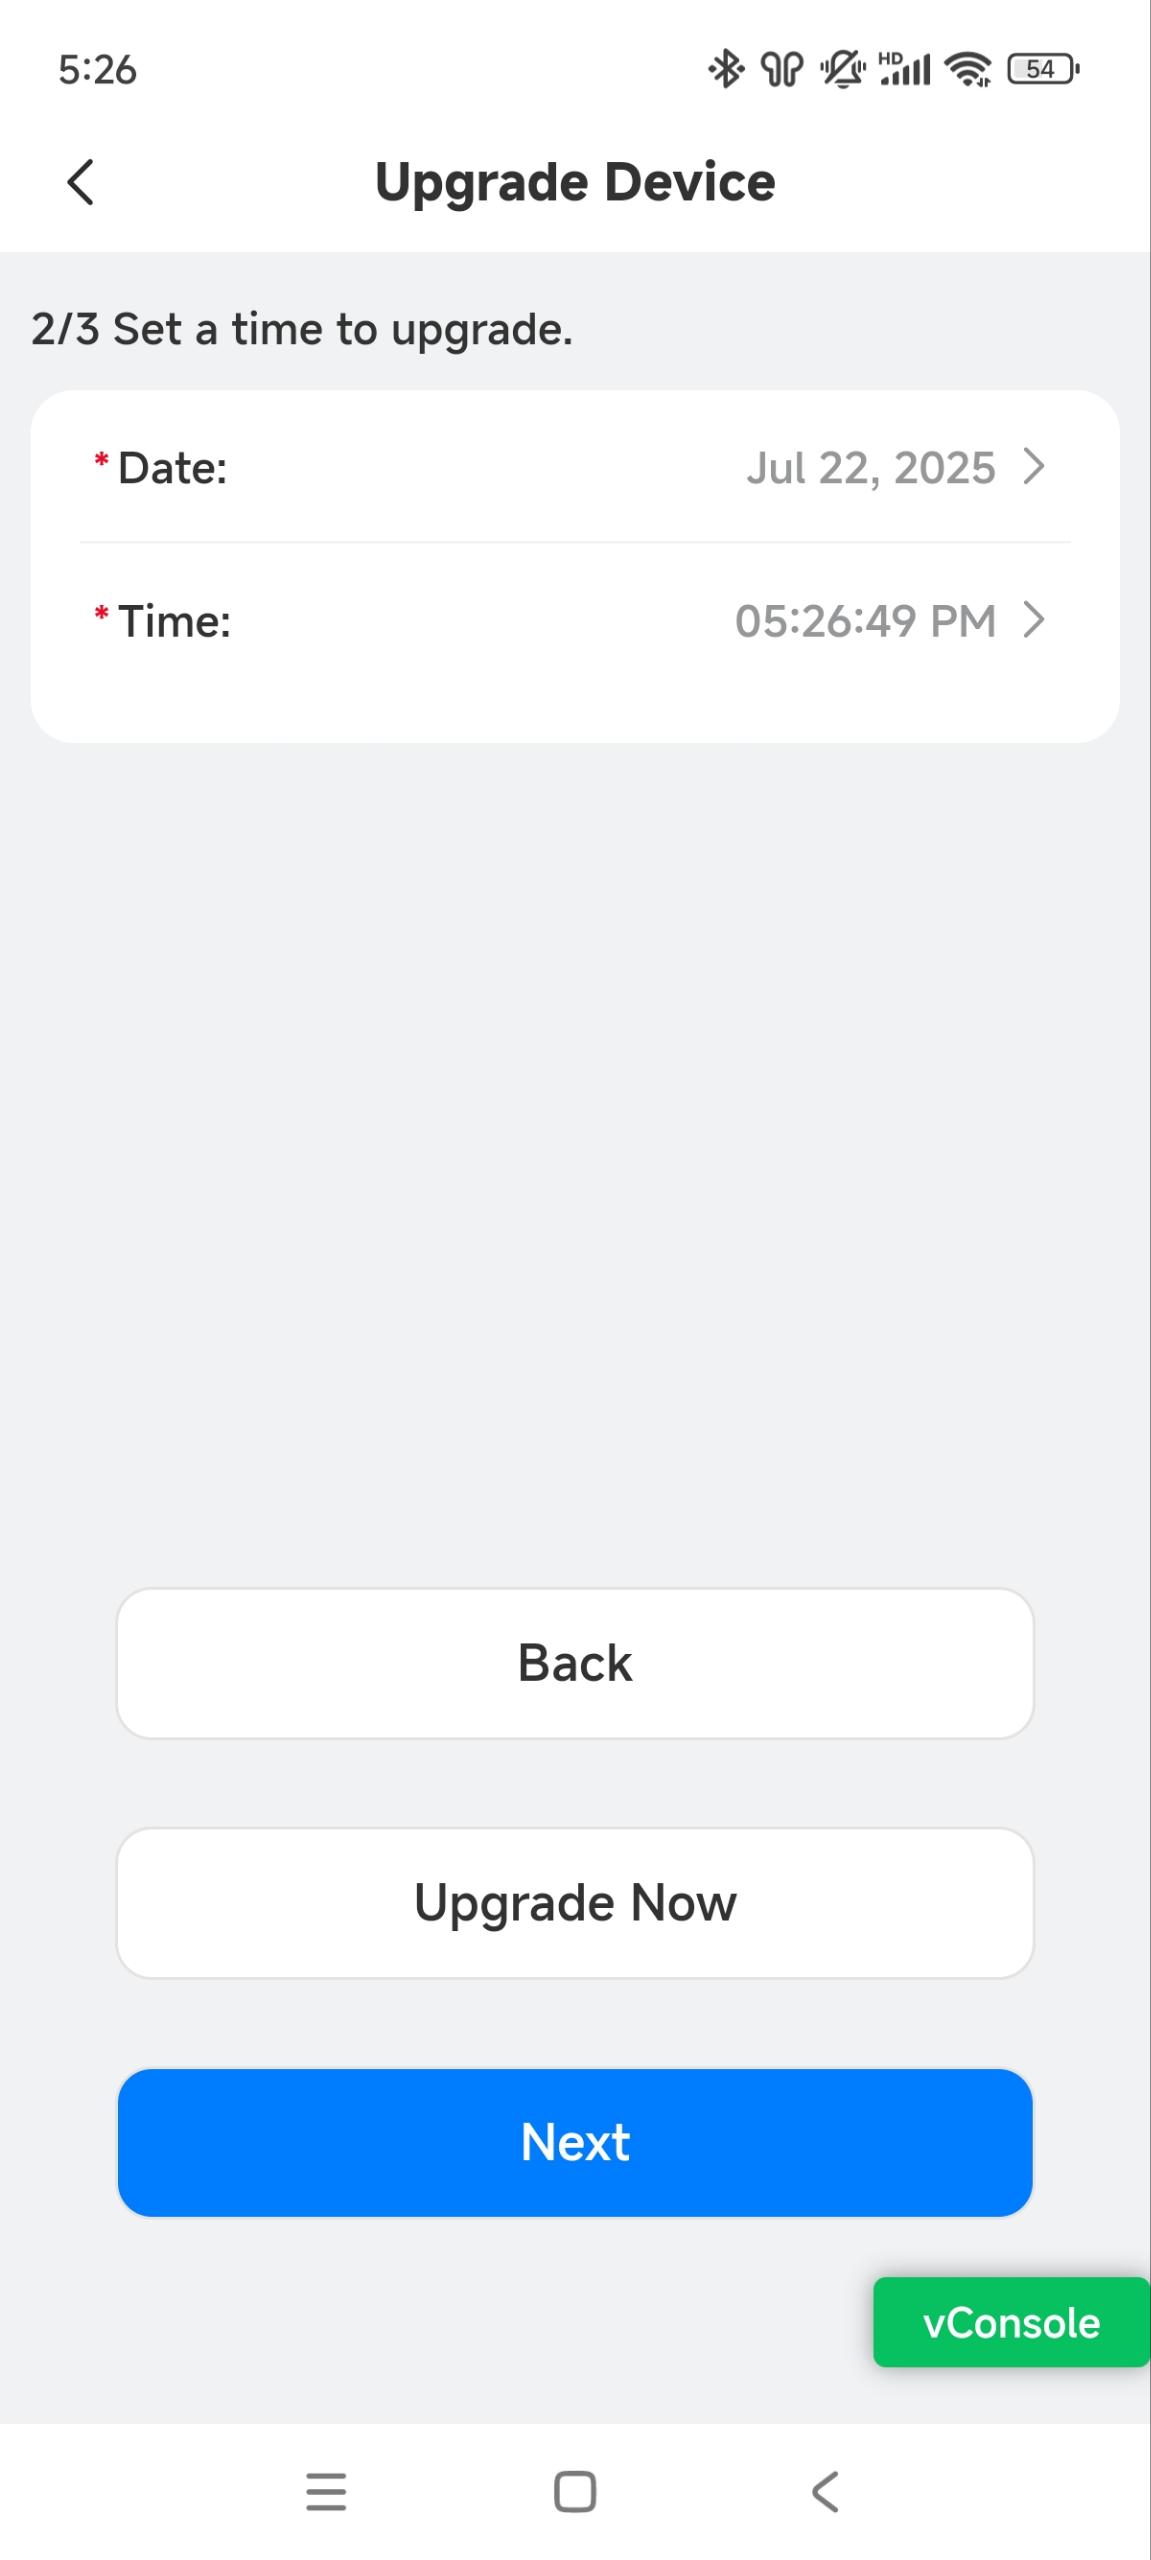
Tap Upgrade and choose a desired firmware version.

Tap Next.
Set the Upgrade Time or tap Upgrade Now.
Check the upgrade information before tapping Submit.

After the upgrade finishes, check the firmware version on the device info page.
Perform AutoP for the Device
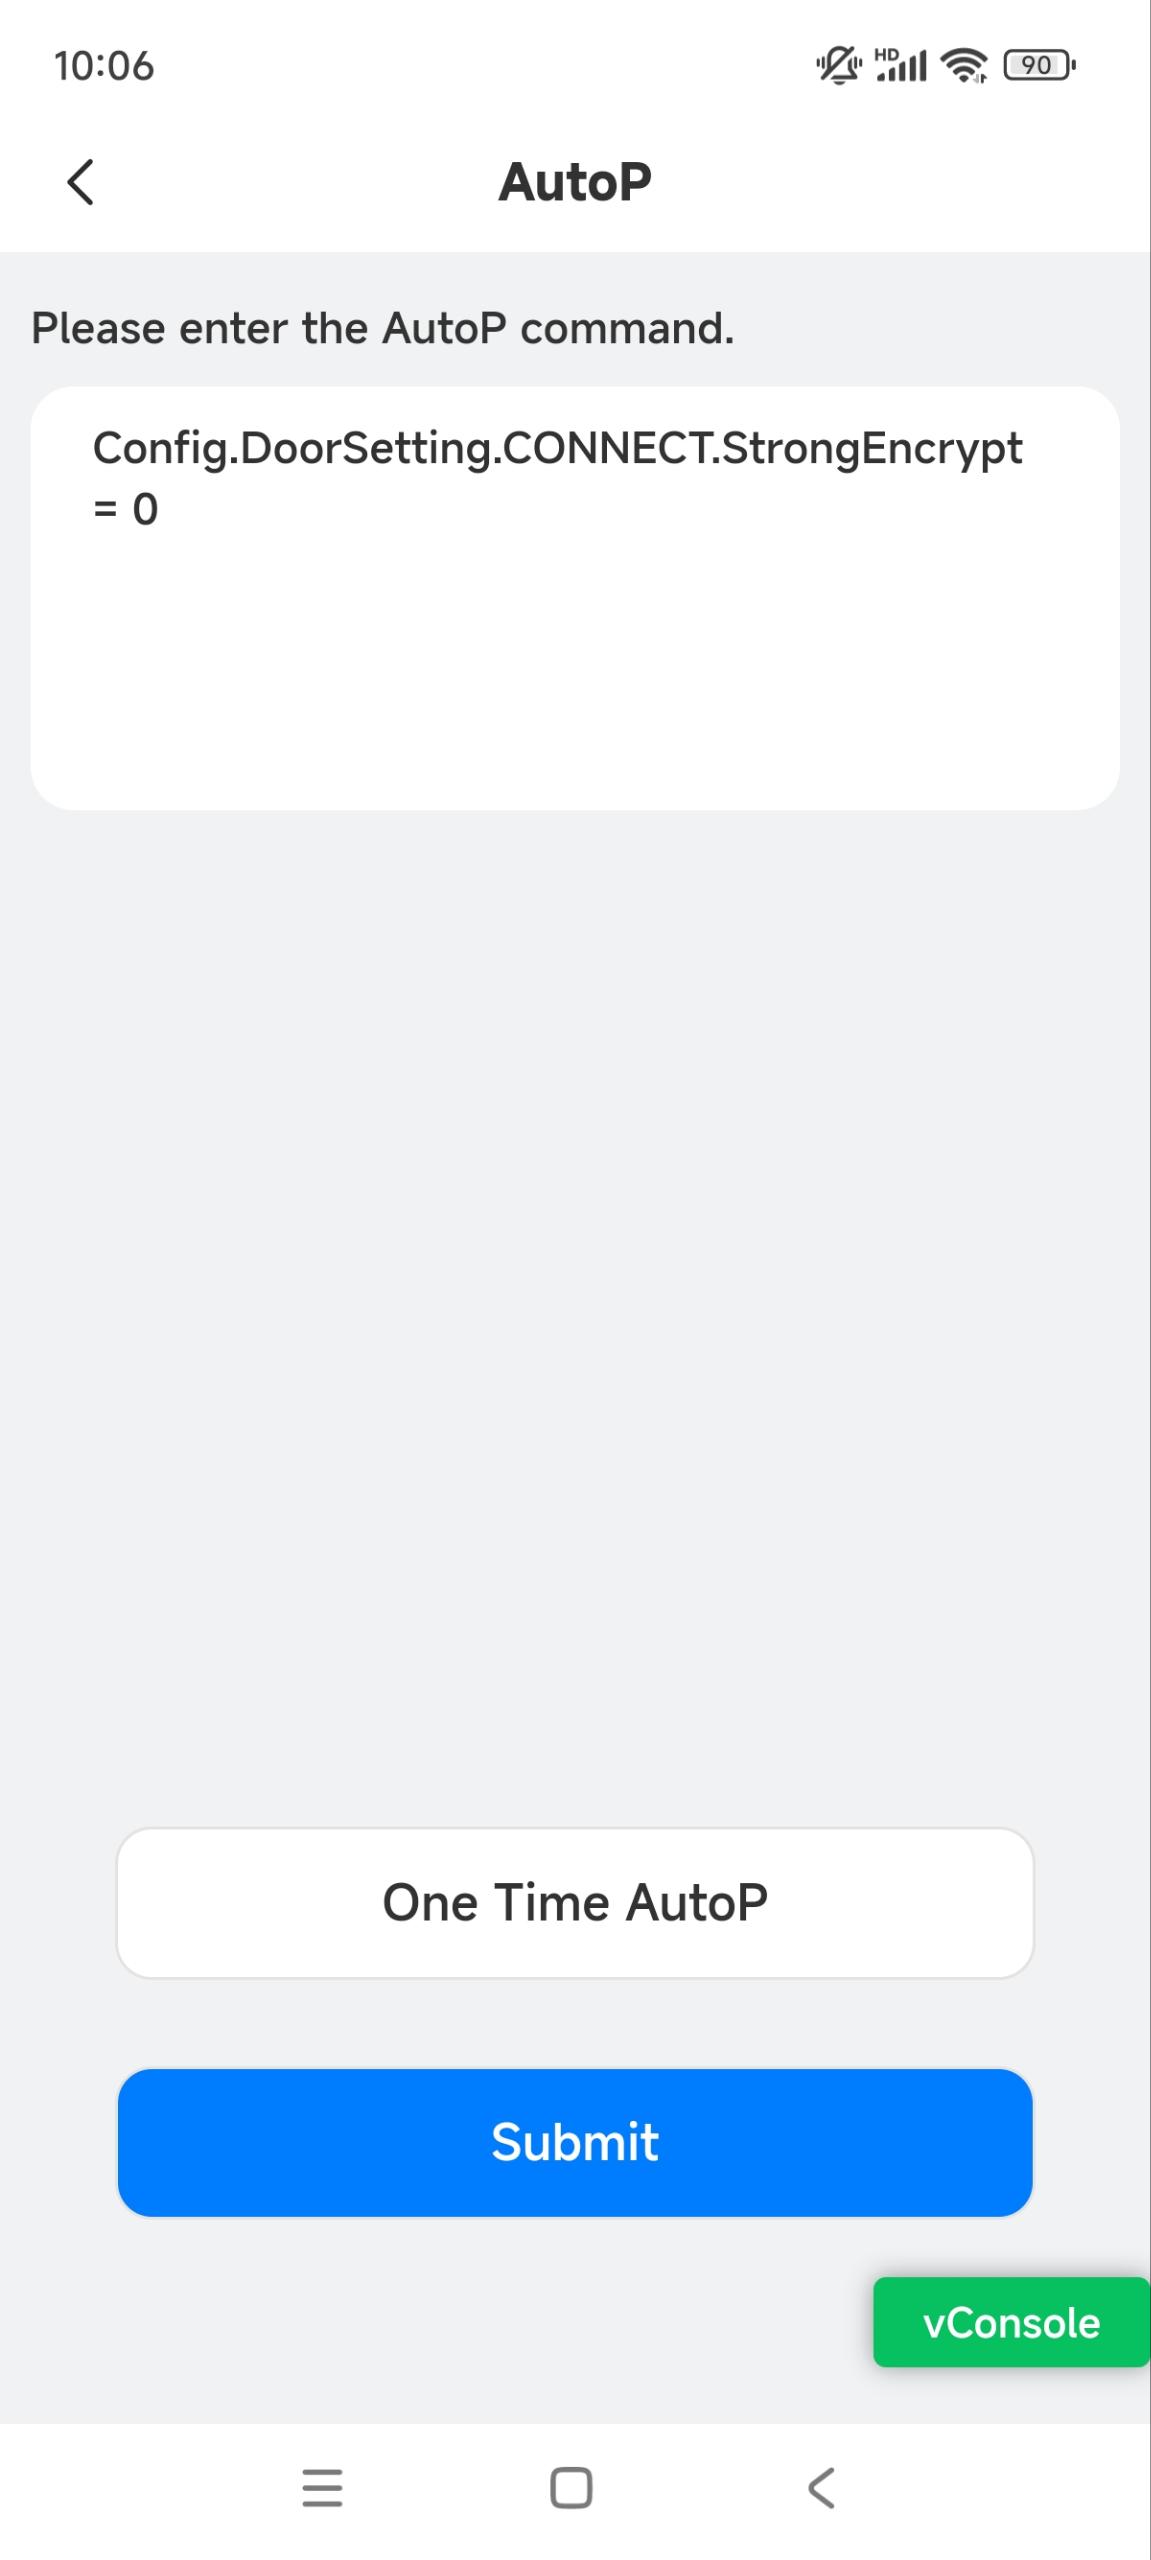
You can issue AutoP command(s) to the device.
Tap AutoP and enter the command(s). If you want to carry the command once, tap One-Time AutoP.
Tap Submit. Modify Success will display.
Check whether the command is issued successfully on the device’s web interface.
Reboot and Reset the Device
Tap Reboot to restart the device.
Tap
in the upper right corner and tap Reset to reset the device to factory settings.