.jpg)
Version: 7.4.0 | Date: Apr. 2026
About This Manual
This guide applies to version Android: 7.40.0003/iOS: 7.40.3.
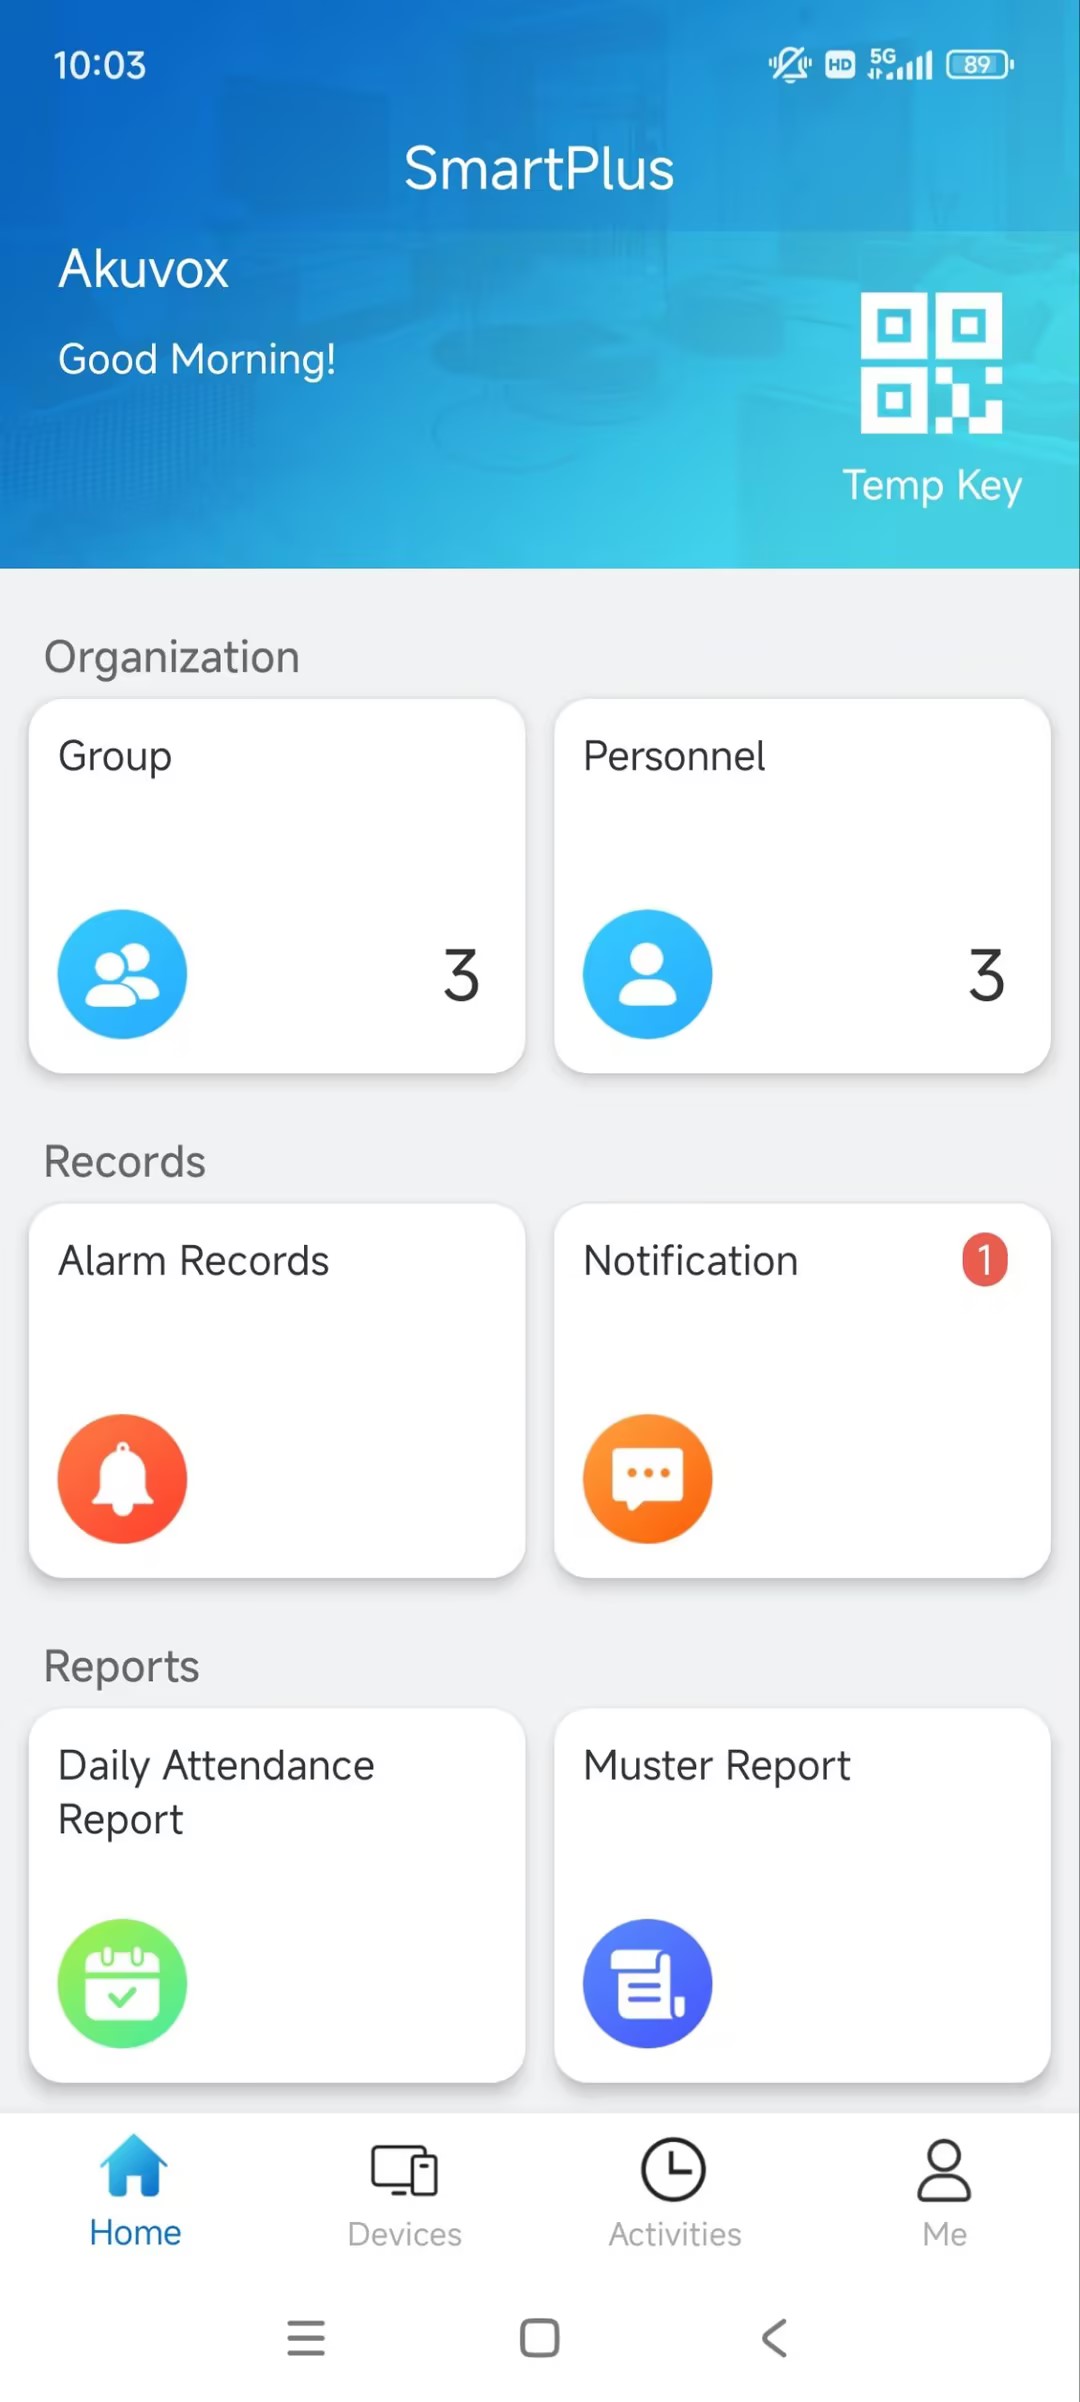
Akuvox SmartPlus is a mobile app that works with the SmartPlus Cloud service and smart intercom products. With the app, you can manage devices, groups, and personnel in the company, check alarm reports and notifications, as well as attendance and muster reports. This makes the management of the company easier and more convenient.
Highlights:
Support groups and personnel management.
Support checking attendance and muster reports.
Support the lockdown feature.
What’s New:
Added the What’s New module for checking the SmartPlus App’s new features.
Support sharing temp keys via Line, Microsoft Teams, and WhatsApp Business(Only for Android phones).
Before You Start
To make login and setup as smooth as possible, have the following items available:
An internet connection through a Wi-Fi network or cellular data service through a carrier.
The latest SmartPlus App. Download and install the SmartPlus App on the Google Play Store or App Store.
Your SmartPlus App account. To obtain it, provide your email address and/or a mobile phone number(if you’d like to log in or reset your password via SMS) to your service provider. You will then receive an Email from Akuvox with your username, password, and a QR code for login. Or you can enter your phone number and log in with a verification code sent via SMS.
Login
Agree to the Terms & Policies before logging in.
Enter your username and password.
Choose your area in the lower-right corner. In general, the area is selected automatically. If it is not right, select it manually.
Tap Login.
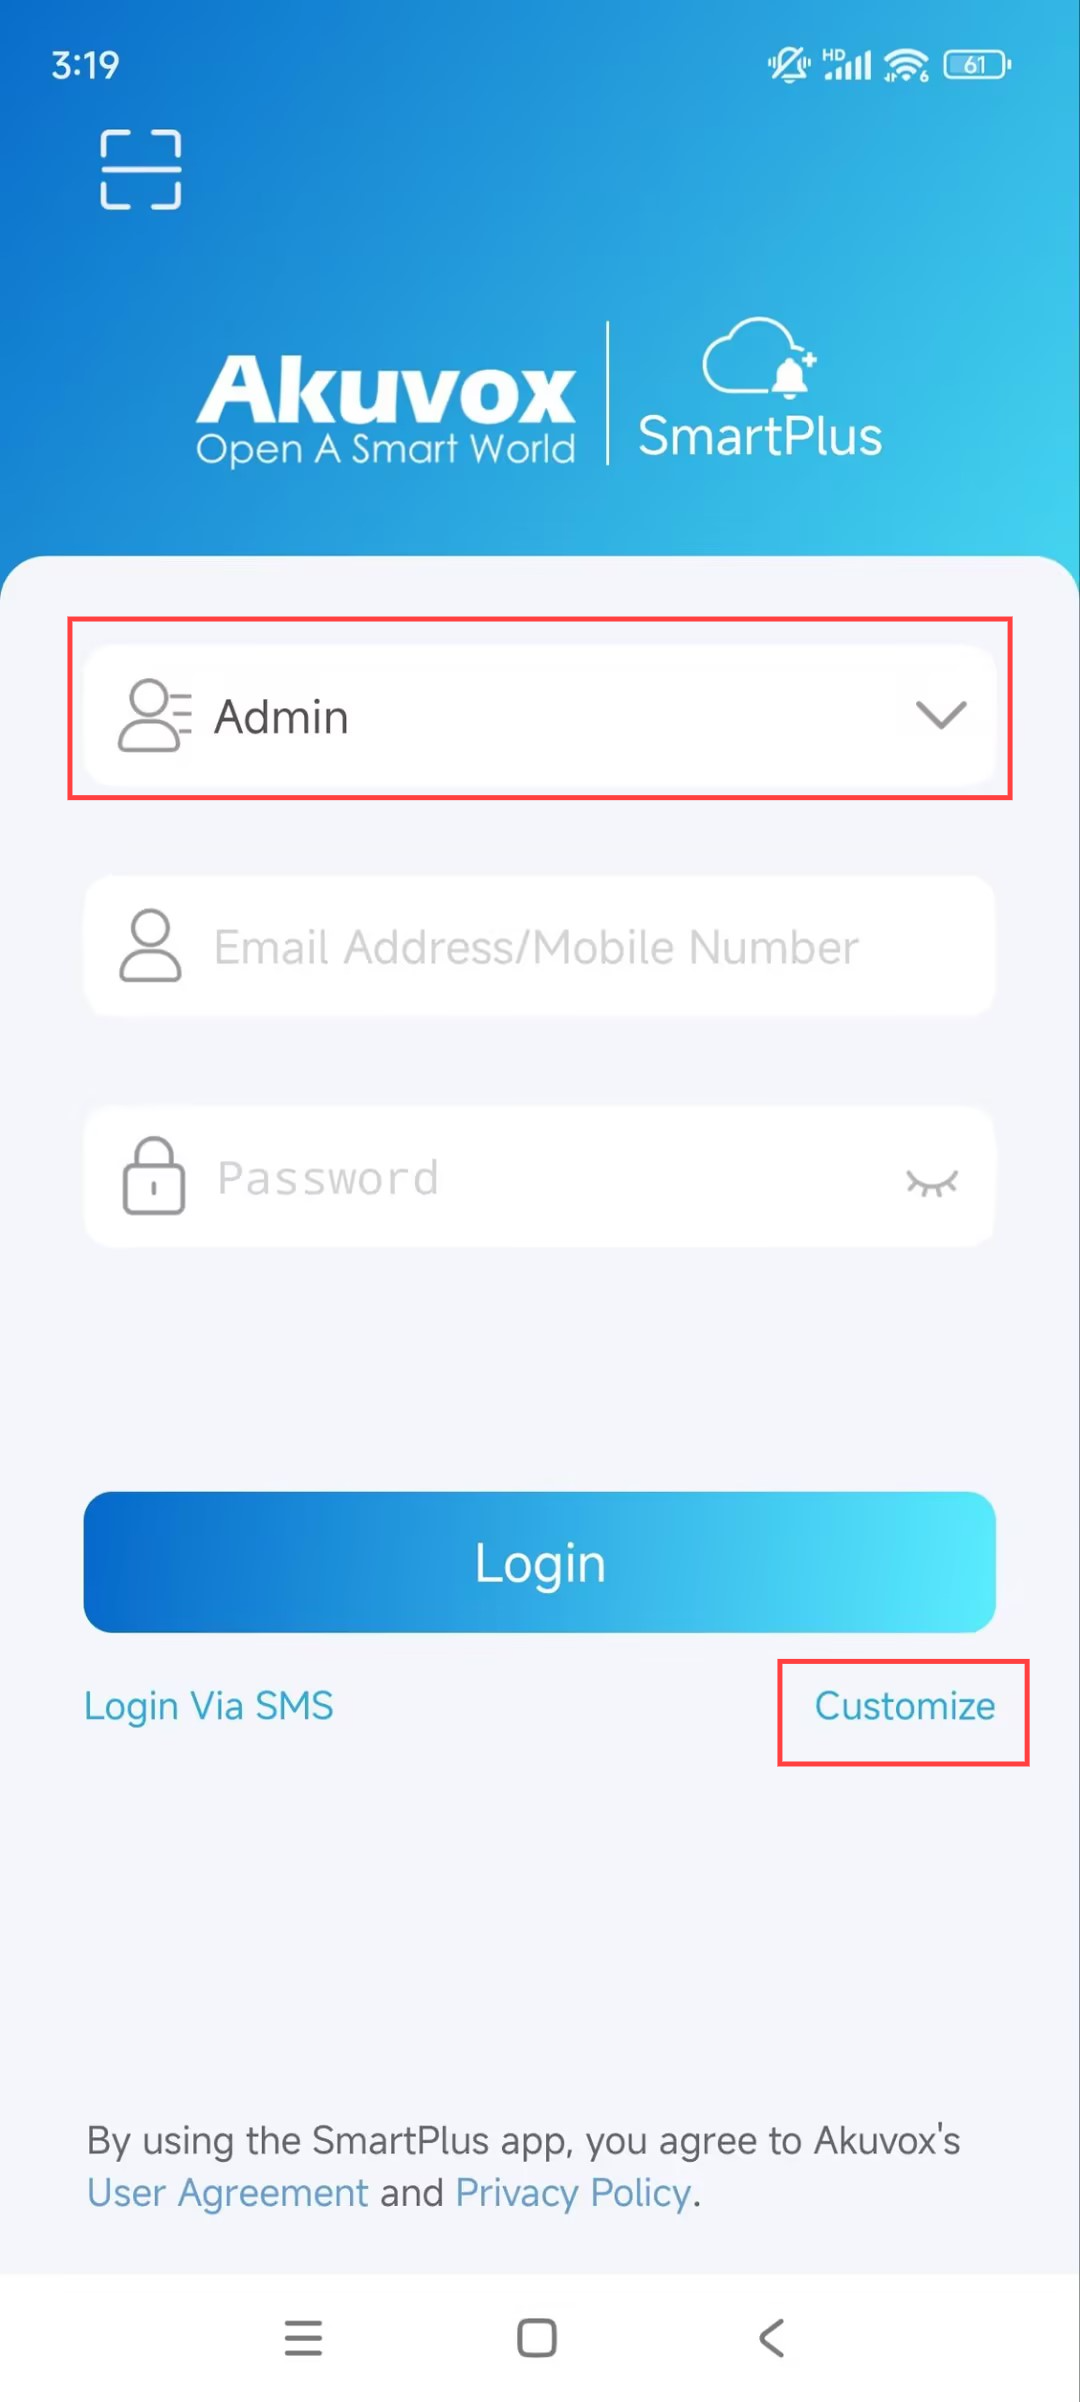
Note
Click here to view the detailed steps and other login methods.
Groups Management
You can add, edit, and delete groups in the company.
Add Groups
Tap Group on the homepage.
Tap
 to add a group.


Name the group and tap Submit.

Edit Groups
Tap Group on the homepage.
Tap the desired group name.
Tap
 in the upper right corner.
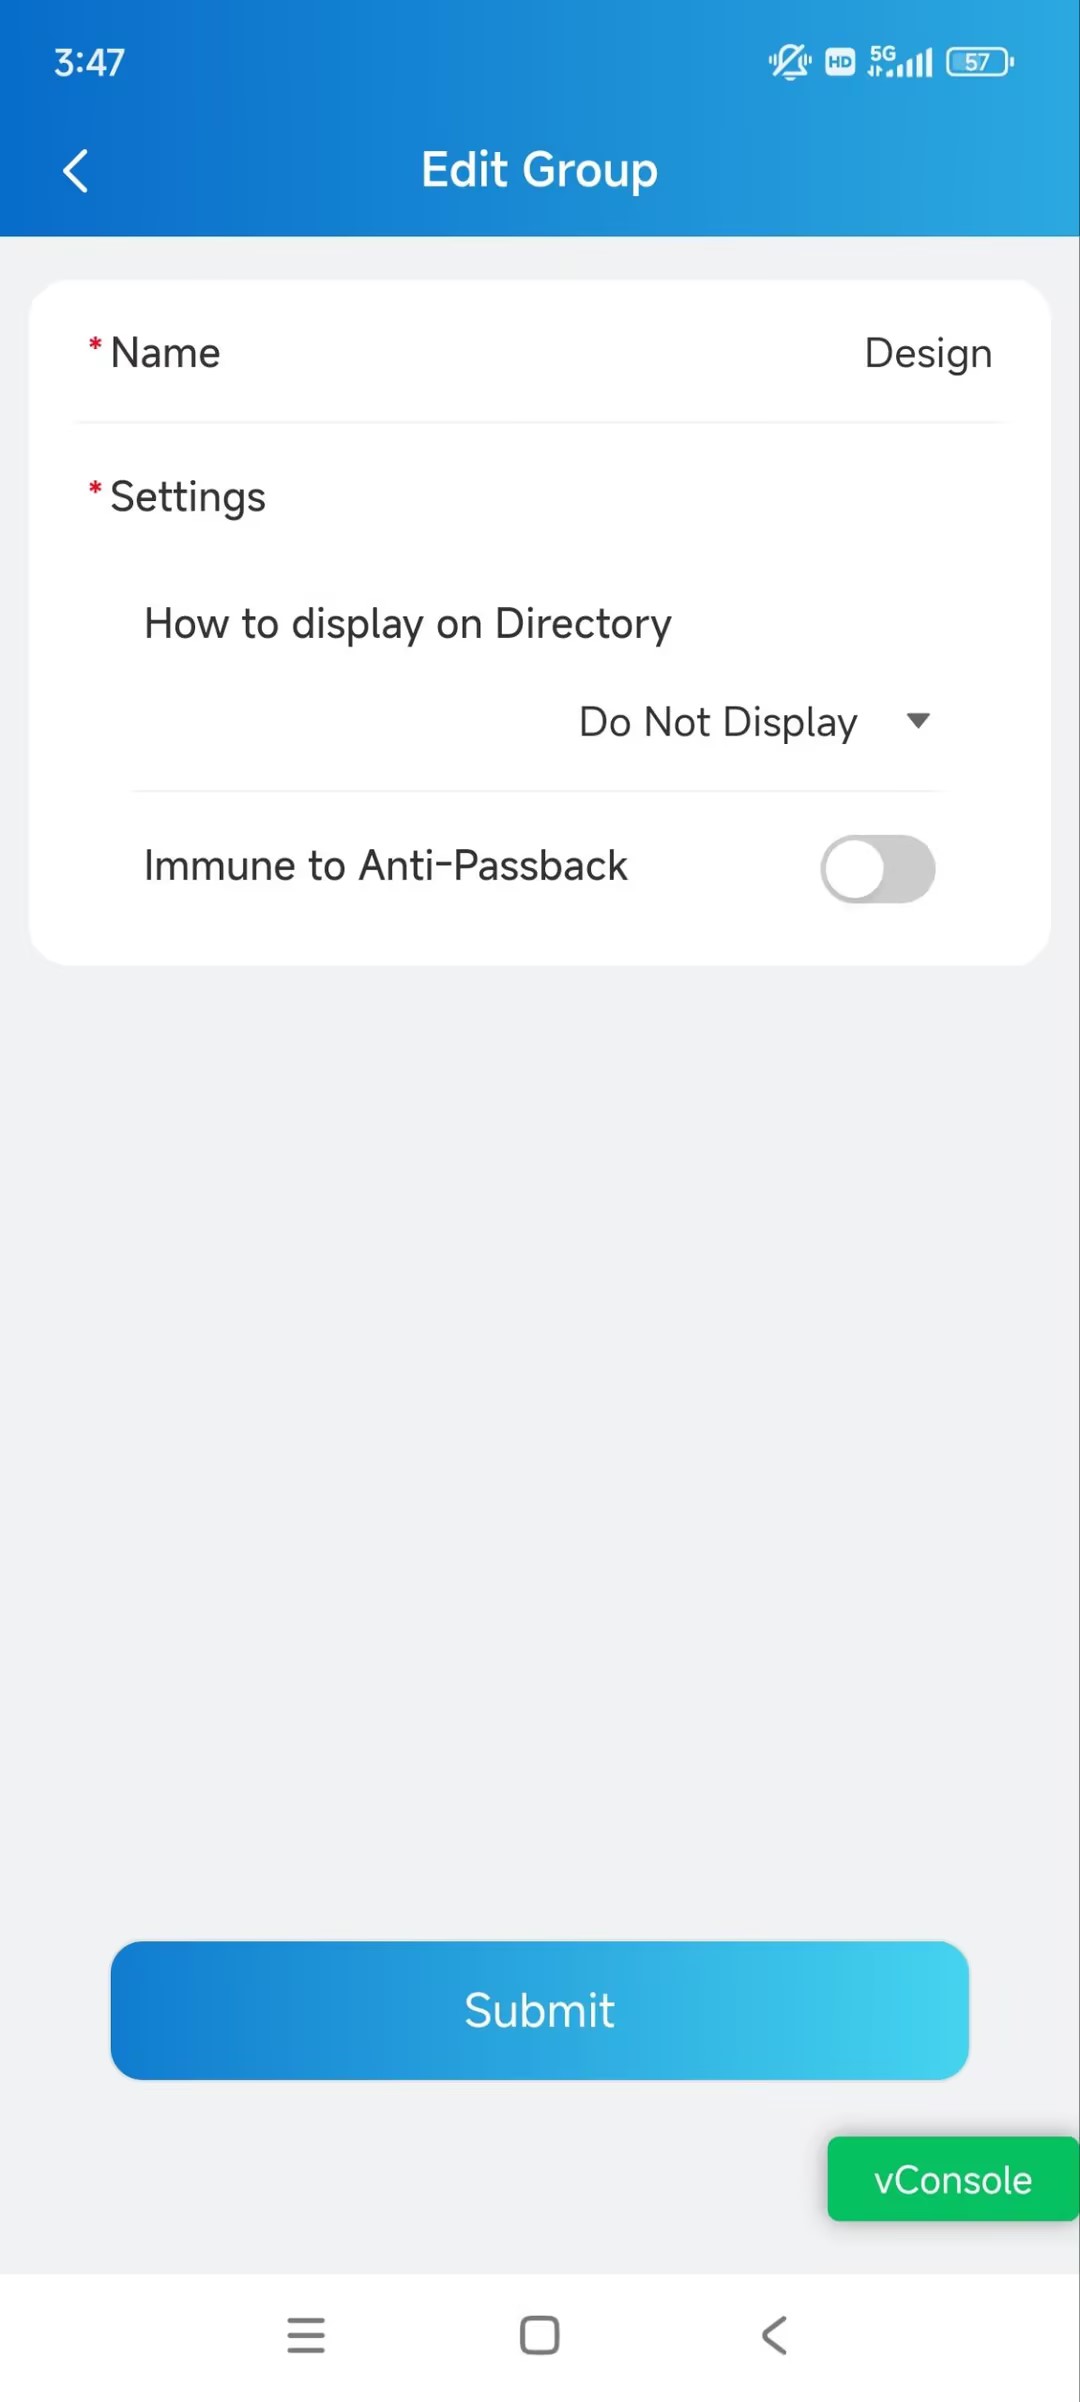
Change the settings as needed.
Name: Name the group.
How to display on Directory:
Do Not Display: Neither display the group nor the personnel in it.
Display as Group Only: Only display the group name.
Sequence Call: You can set three sequence call numbers. When tapping the Group to call, the numbers will receive calls in order.
Display Personnel Only: Personnel will all be displayed but not the group name.
Immune to Anti-Passback: When enabled, the personnel in this group will not be limited to the anti-passback rules.
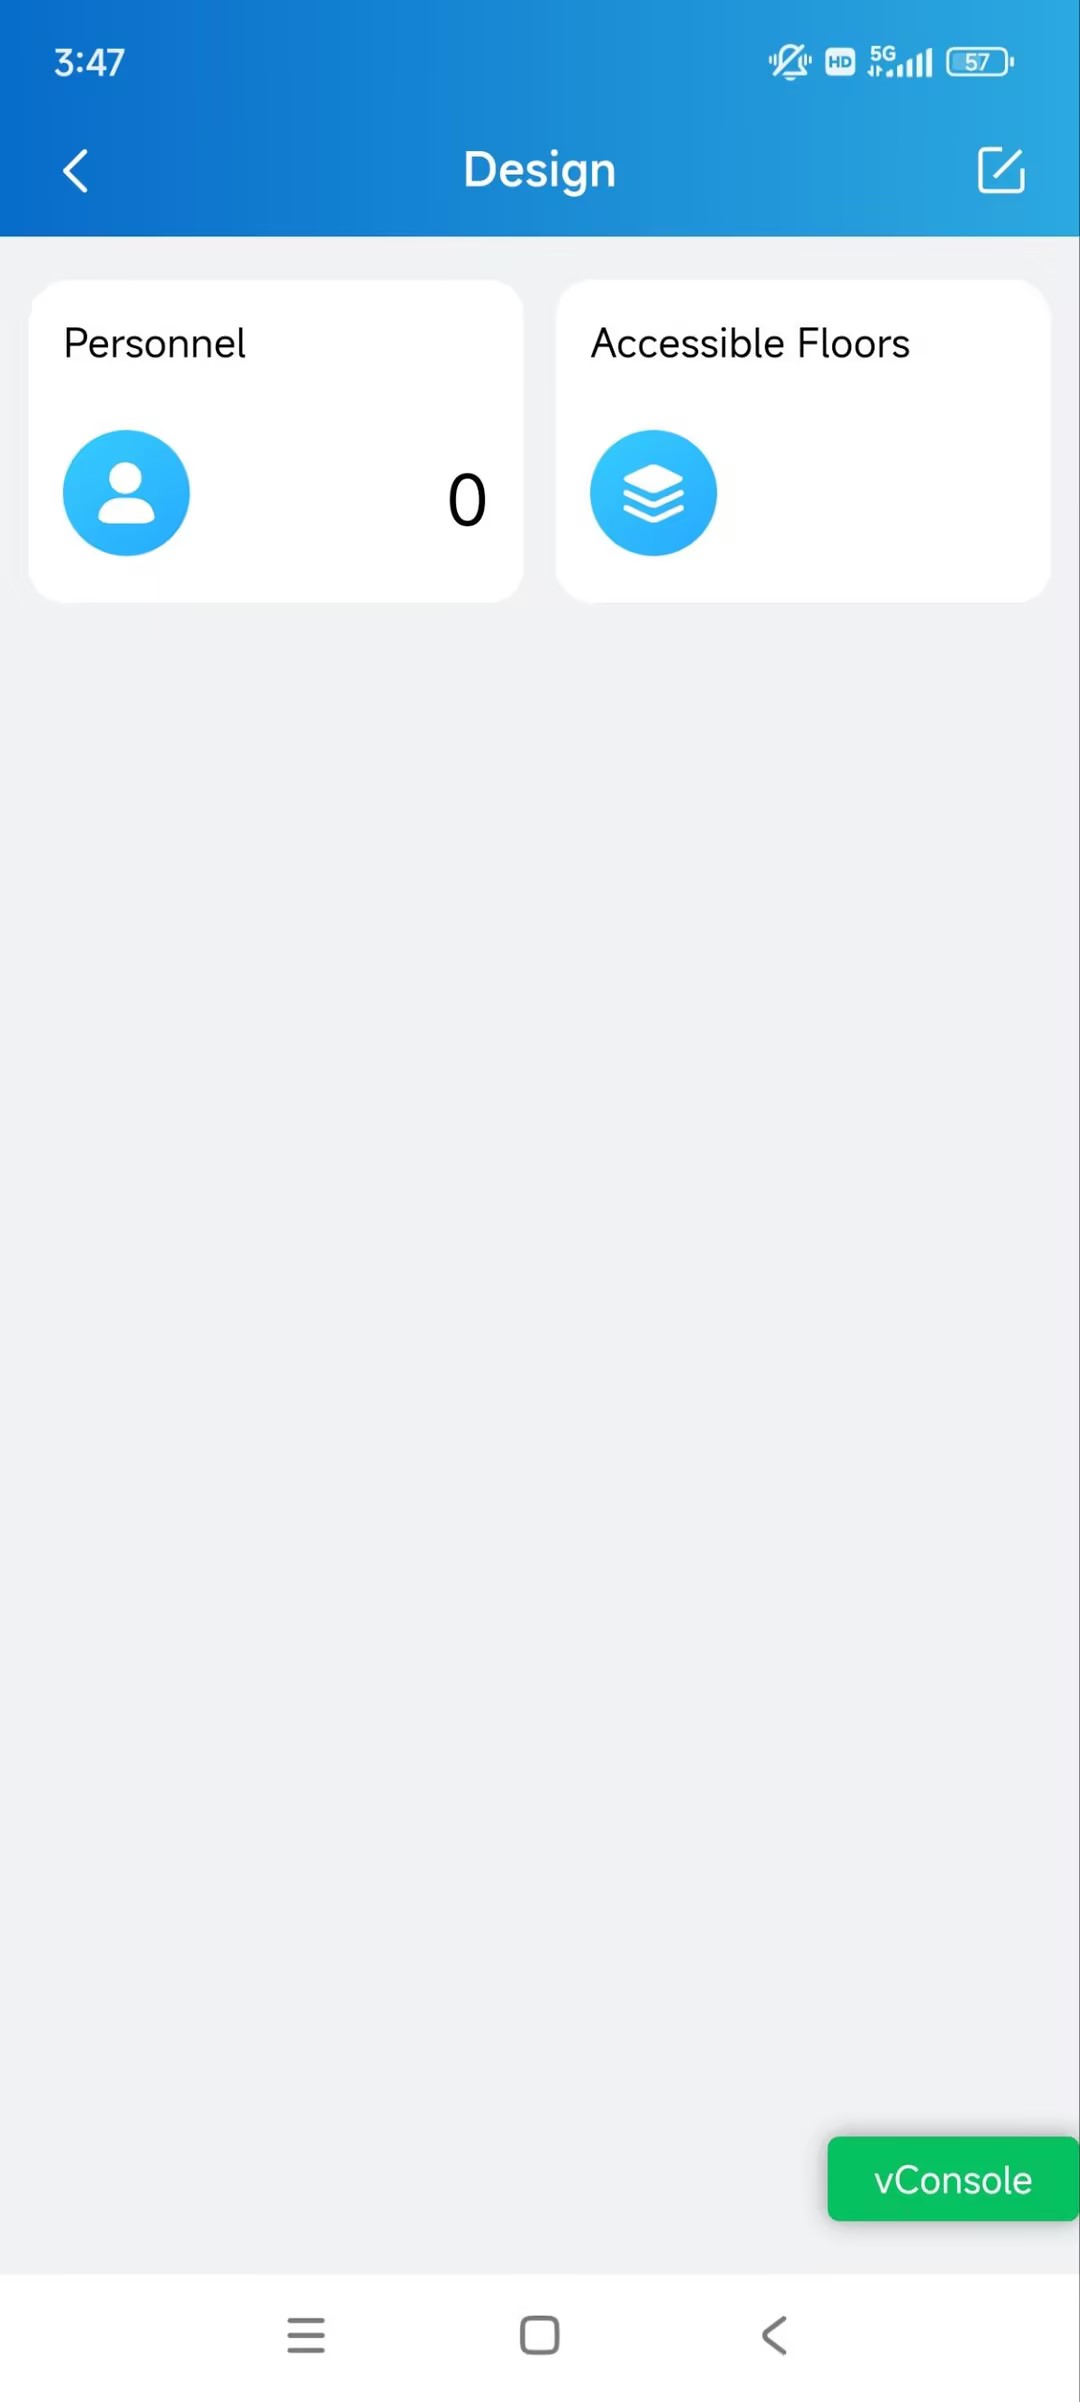
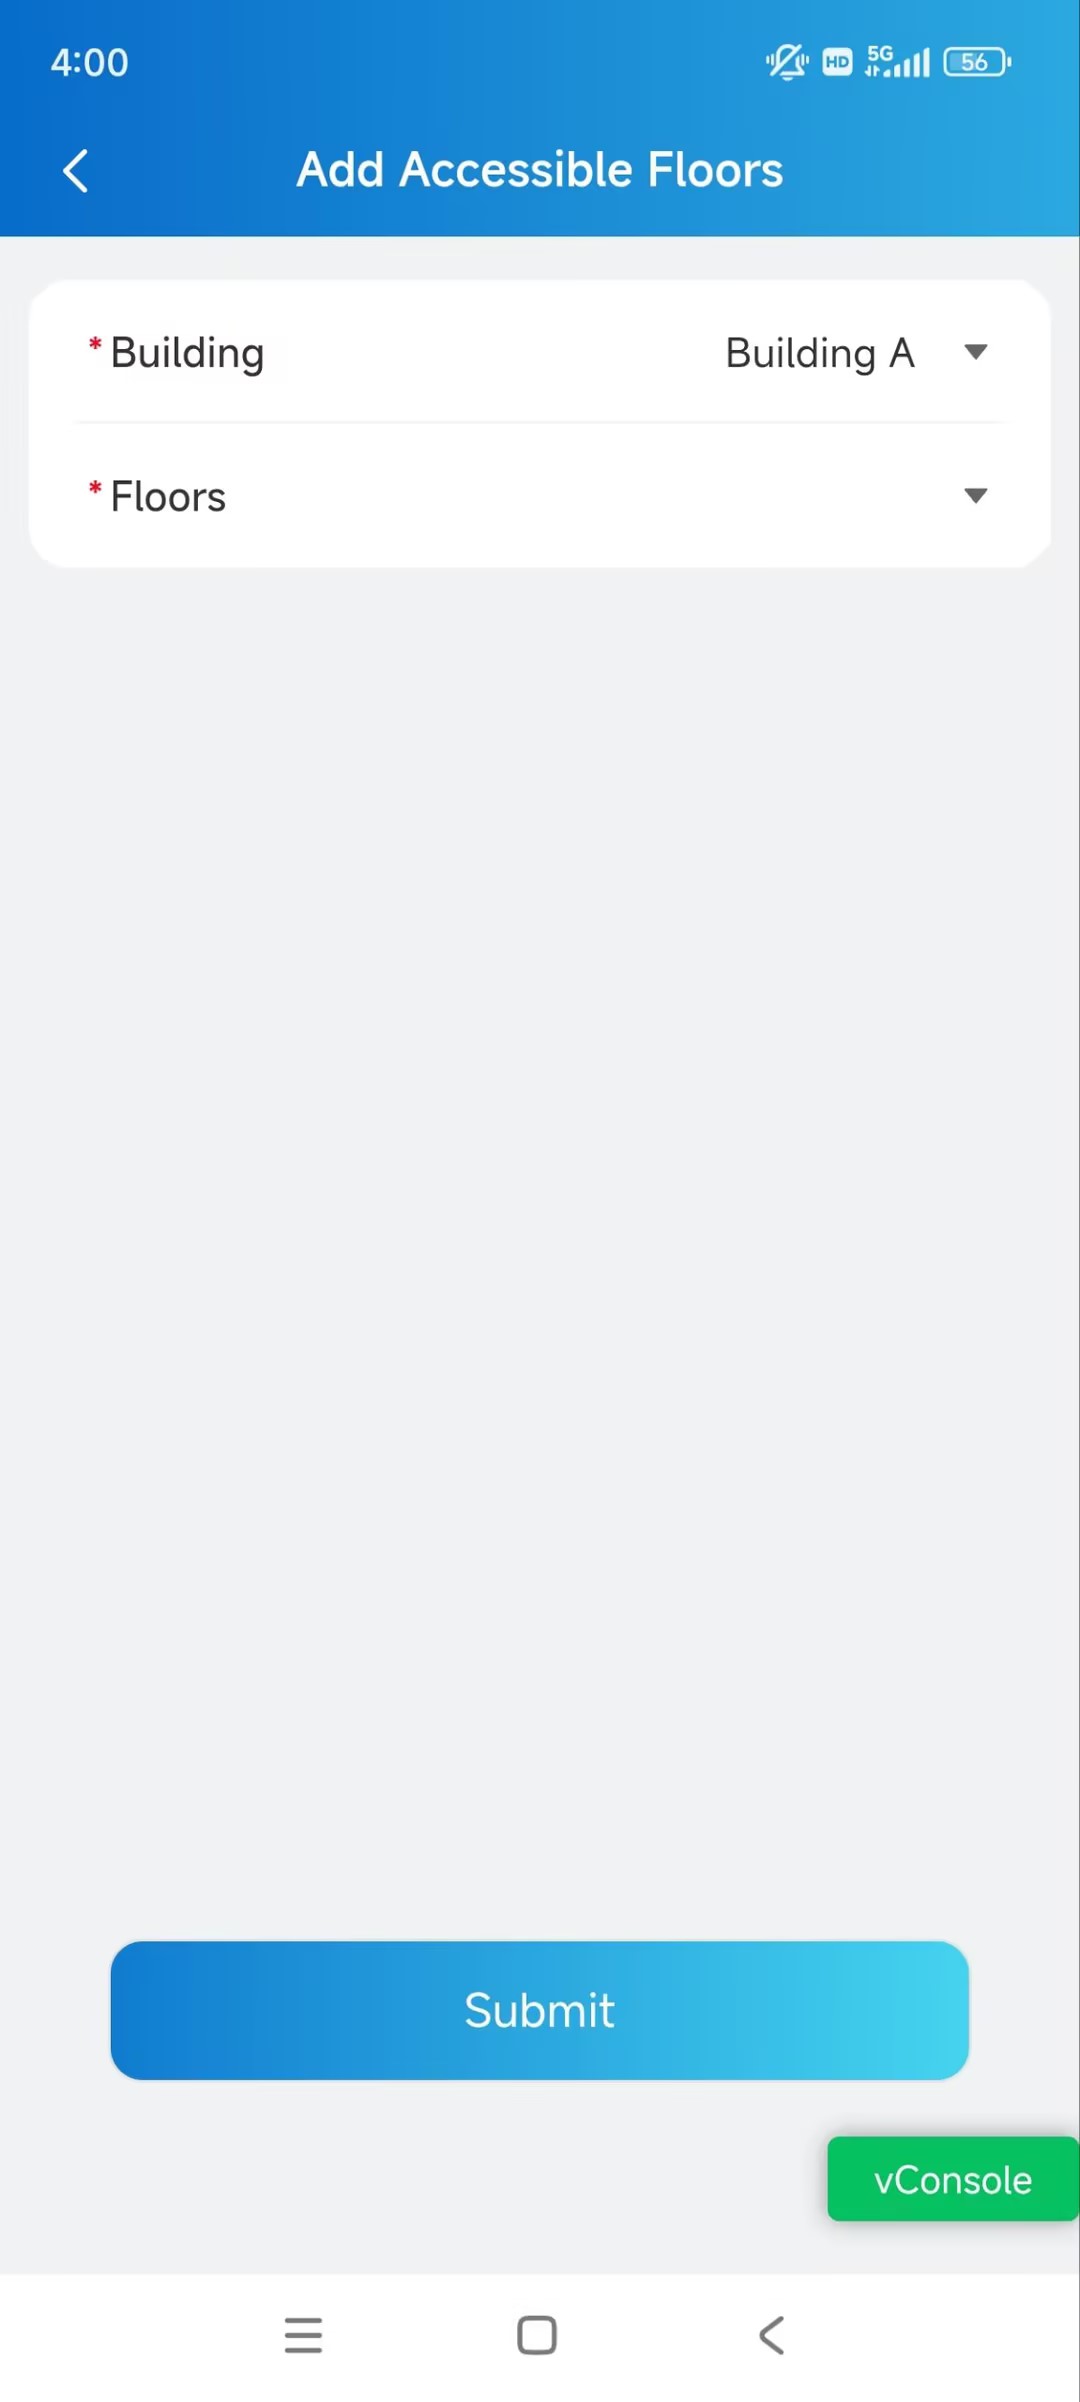
Select Accessible Floors for Groups
The personnel can take lifts to the specified floors using access control credentials. You can select 10 floors in a building at maximum.
Tap Group on the homepage.
Tap the desired group name.
Tap Accessible Floors and tap
 in the upper right corner.
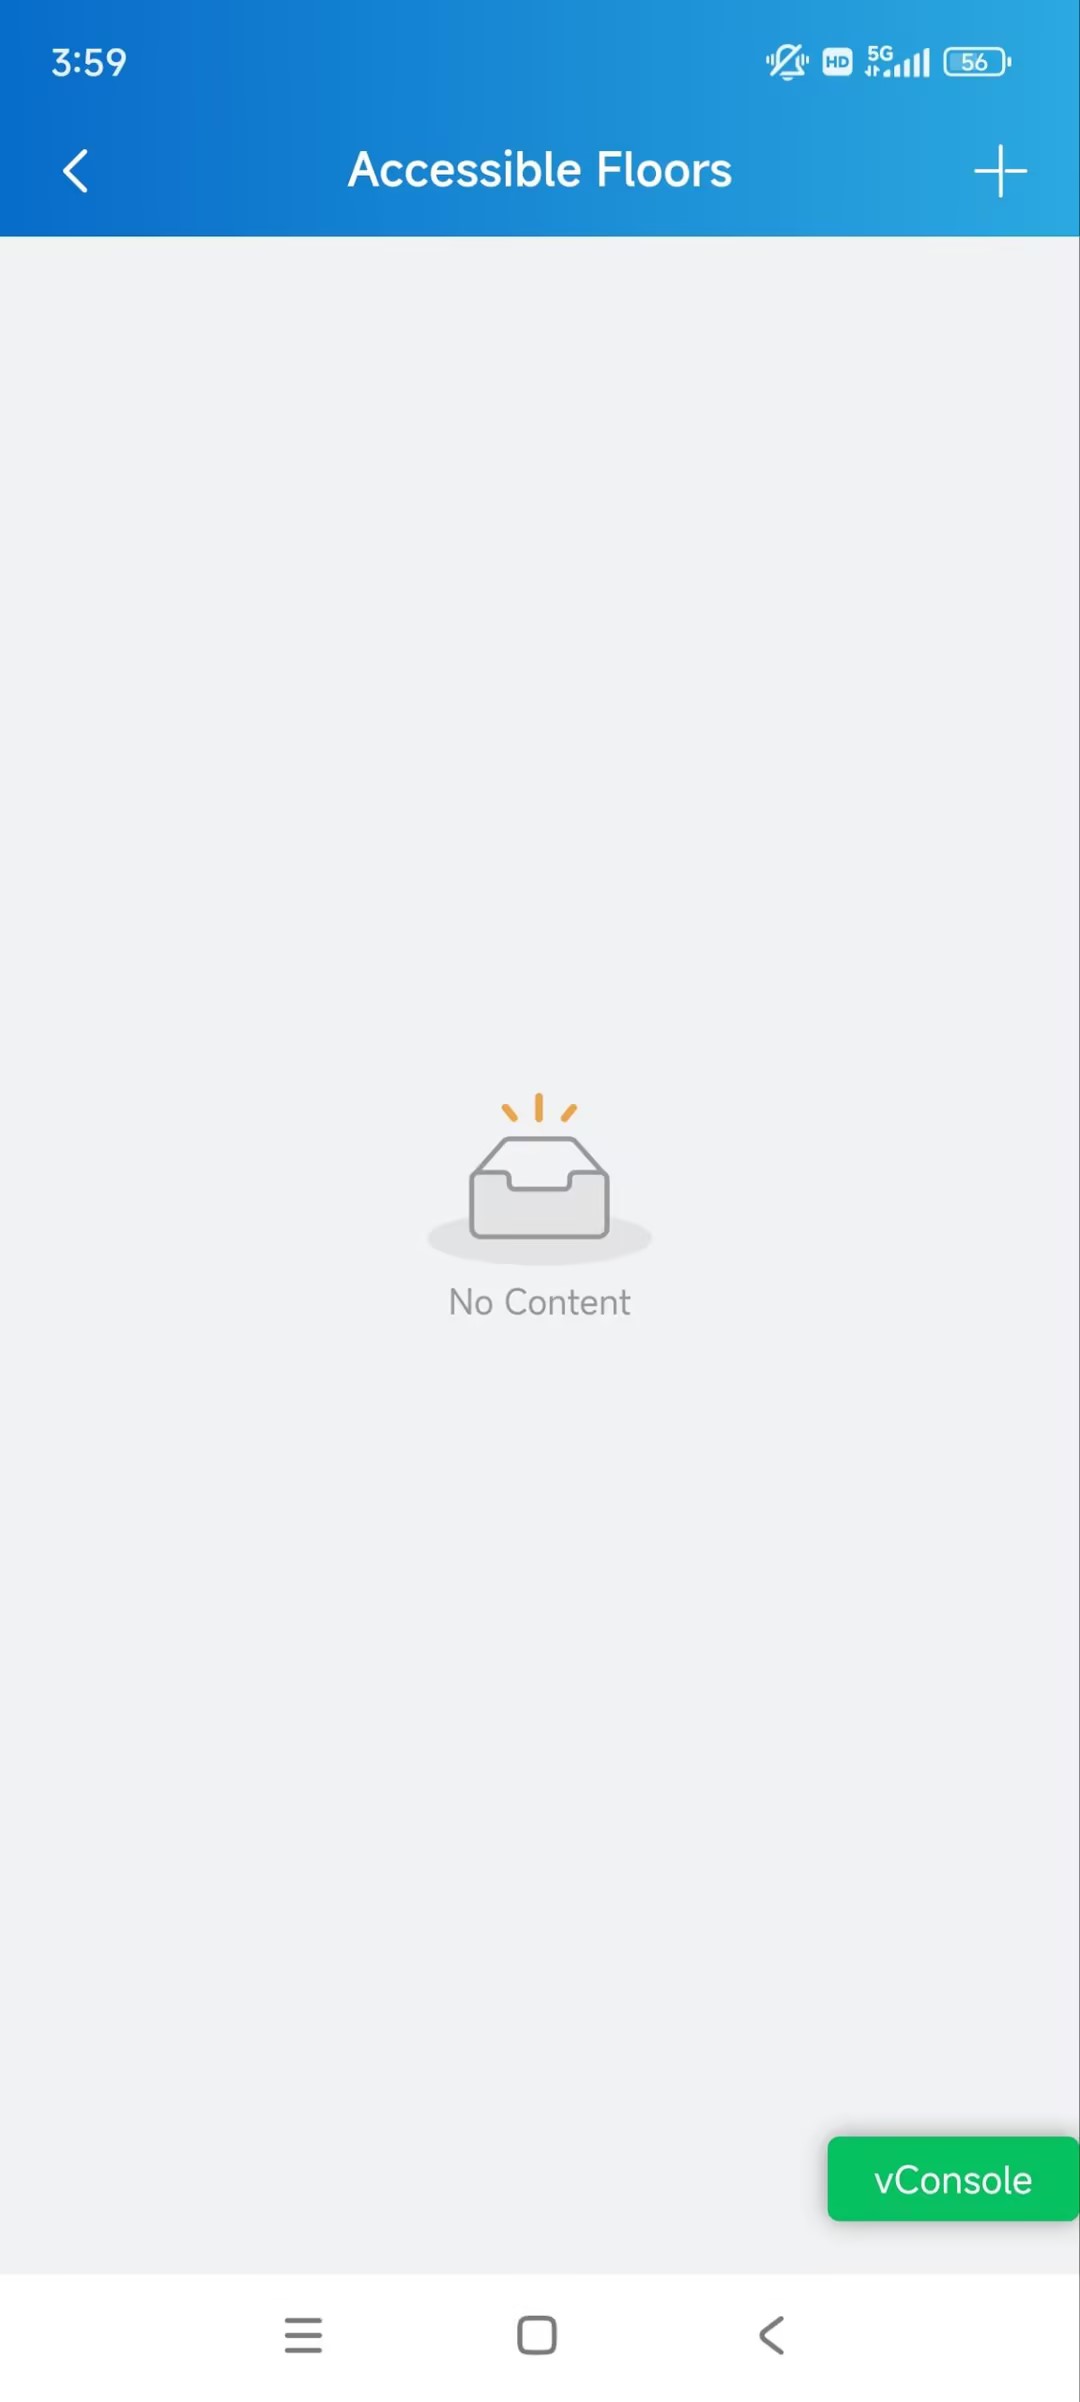
Select the building and floors.
Personnel Management
You can add, edit, and delete personnel in the company.
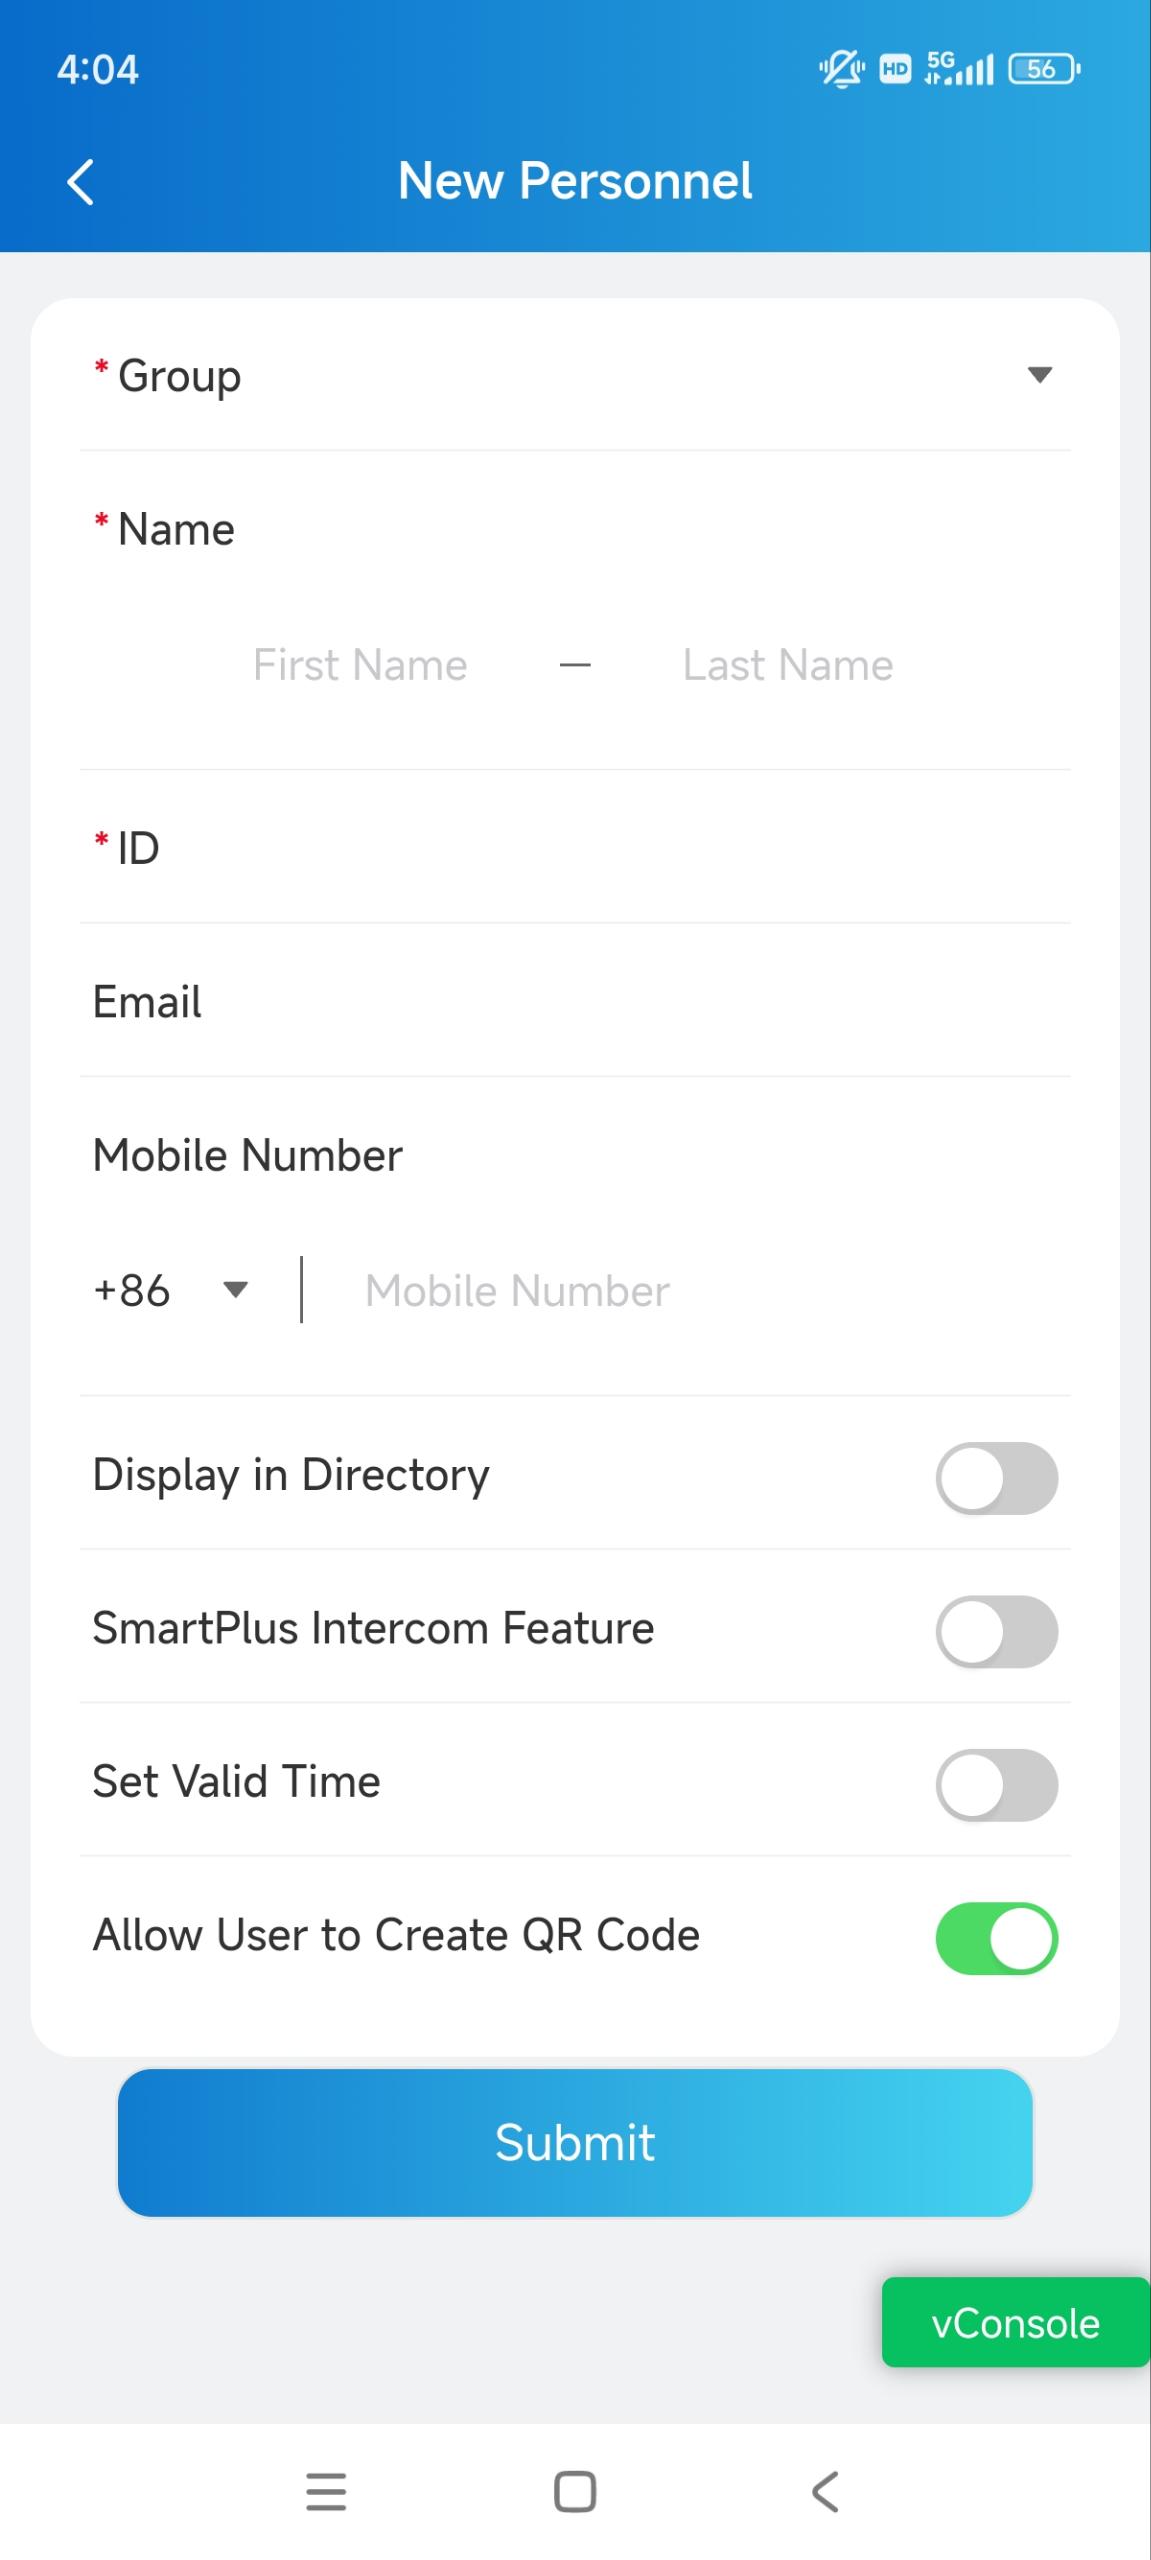
Add Personnel
Tap Personnel on the homepage.
Tap
in the upper right corner.Enter the personnel’s information and set up relevant settings.
Display in Directory: Set whether to display the personnel’s name on the door phone’s contacts list.
Note
If Do Not Display is selected on the group editing page, the personnel will not be displayed.
When the SmartPlus Intercom Feature is disabled, this setting is not valid.
SmartPlus Intercom Feature: If enabled, the user is allowed to use the SmartPlus App.
Call Type: Select the desired call type. Available when the SmartPlus Intercom Feature is enabled.
For example, Indoor monitors/guard phones with SmartPlus as backup means that when making calls to the personnel on a door phone, the personnel’s indoor monitors/guard phones will receive the call first. If the call is not answered, it will be made to the SmartPlus App.
Set Valid Time: Limit the personnel from opening doors and logging into the SmartPlus App in a certain period. This setting has the highest priority over other access permission settings.
Allow Users to Create QR Code: Set whether personnel can issue temporary QR codes for visitors or couriers on their SmartPlus App.
.jpg)
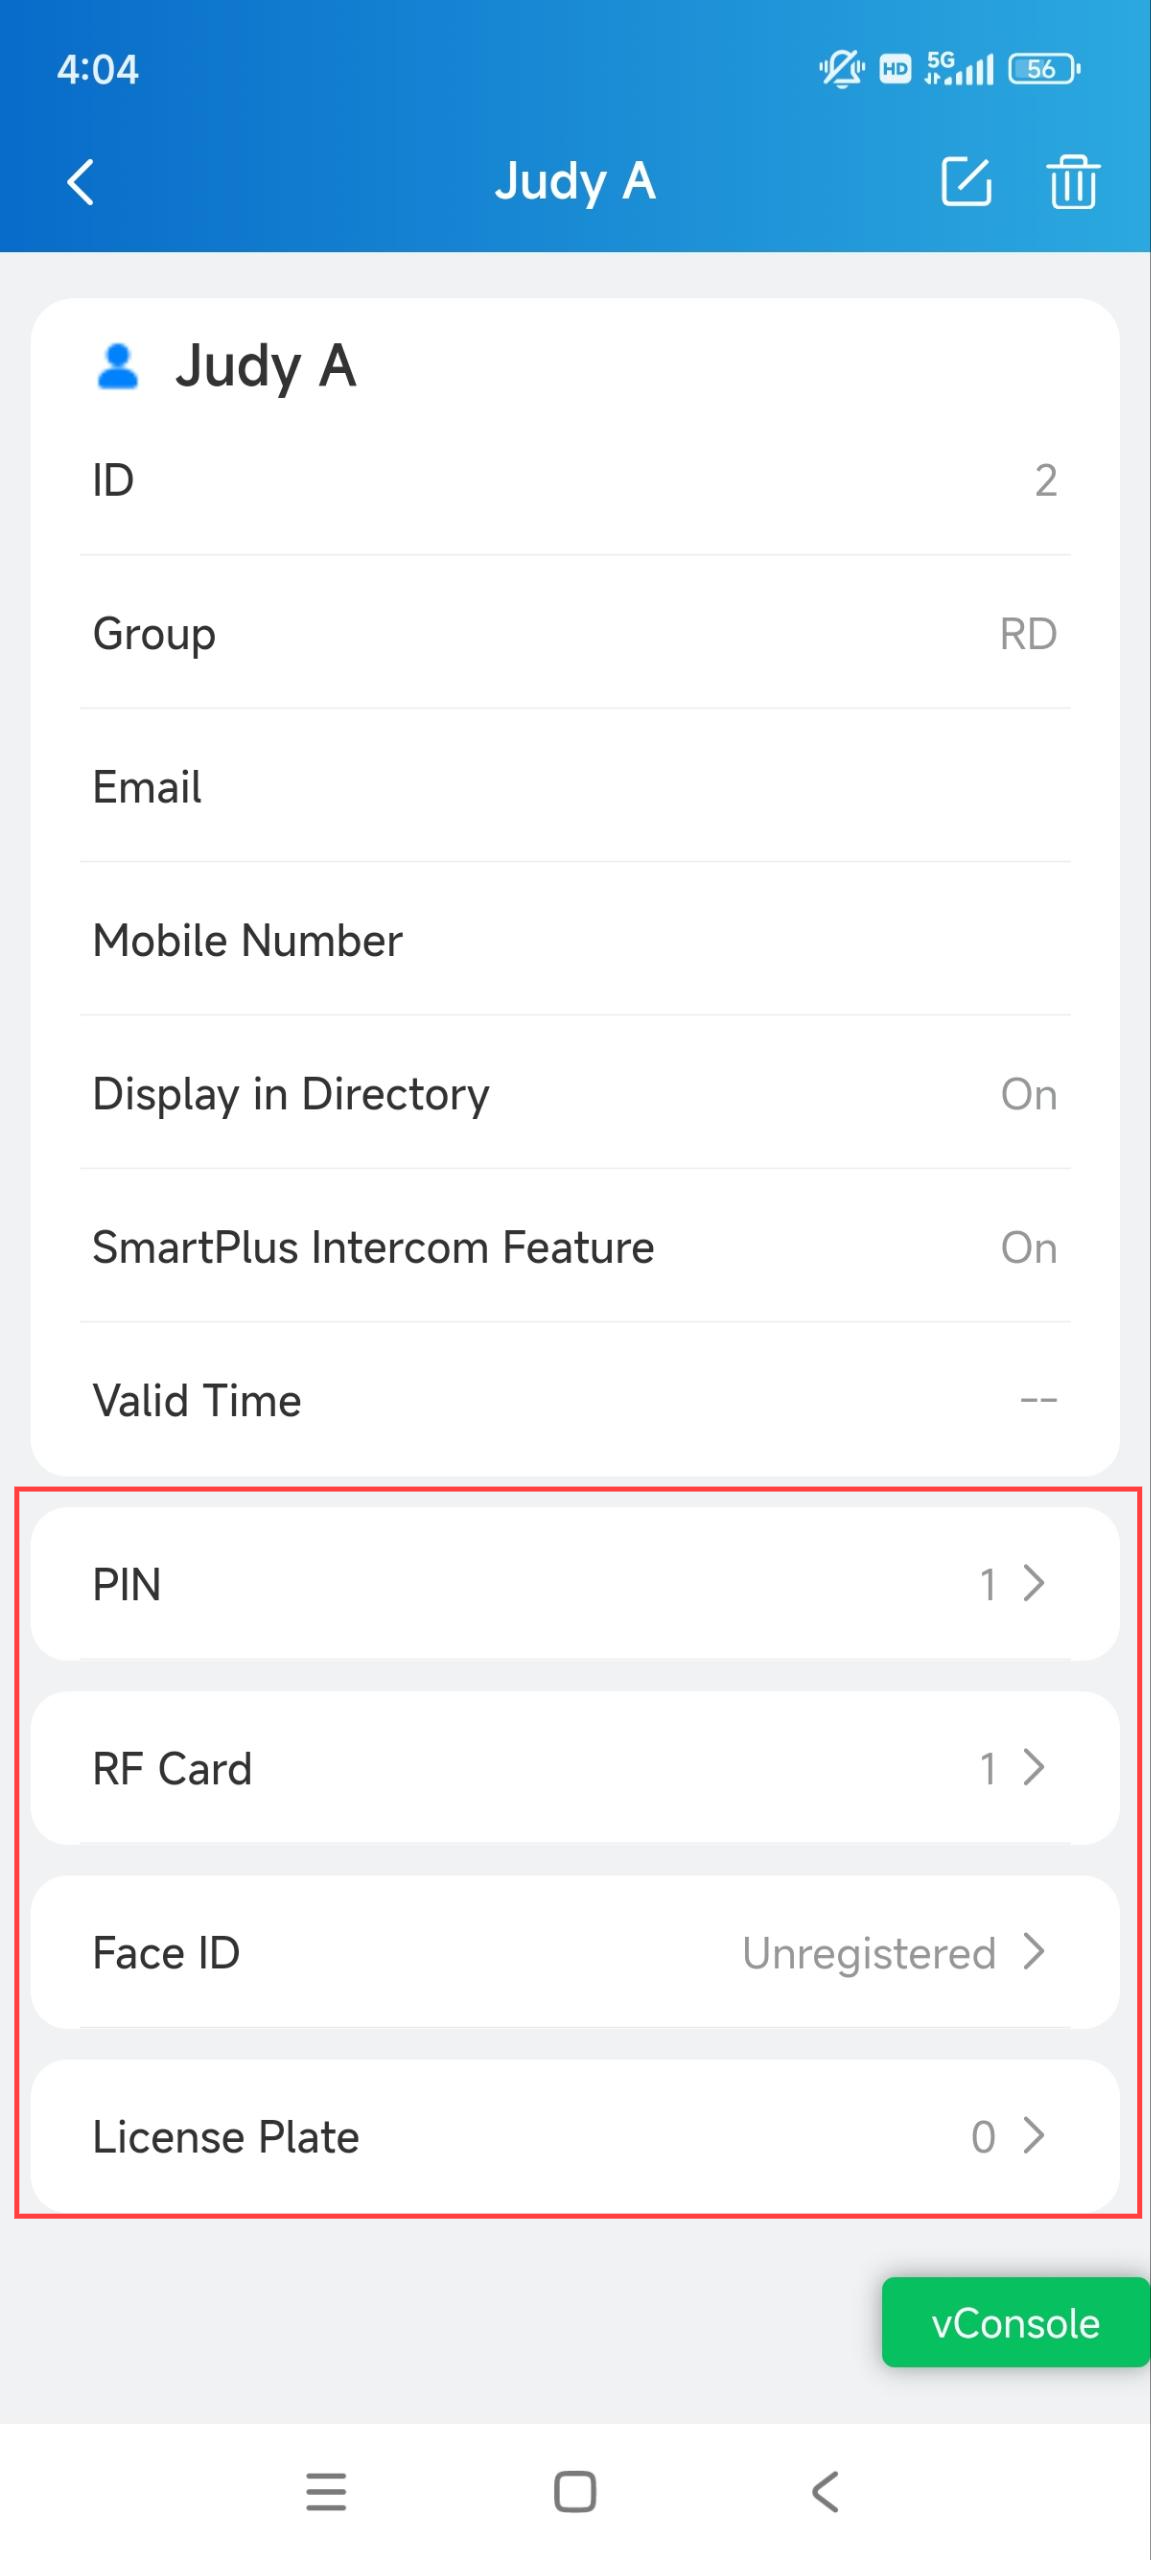
Set up Access Methods for Personnel
Tap Personnel on the homepage.
Tap the desired user.
Tap the access method(s) for configuration.
PIN: Tap the Add icon in the upper right corner and enter the PIN code within 2 to 8 digits.
RF Card: Tap the Add icon in the upper right corner and enter the RF card code. The code must be 1 to 16 characters and contains only 1-9 and A-F.
Face ID: Choose the user’s front face photo from your local album.
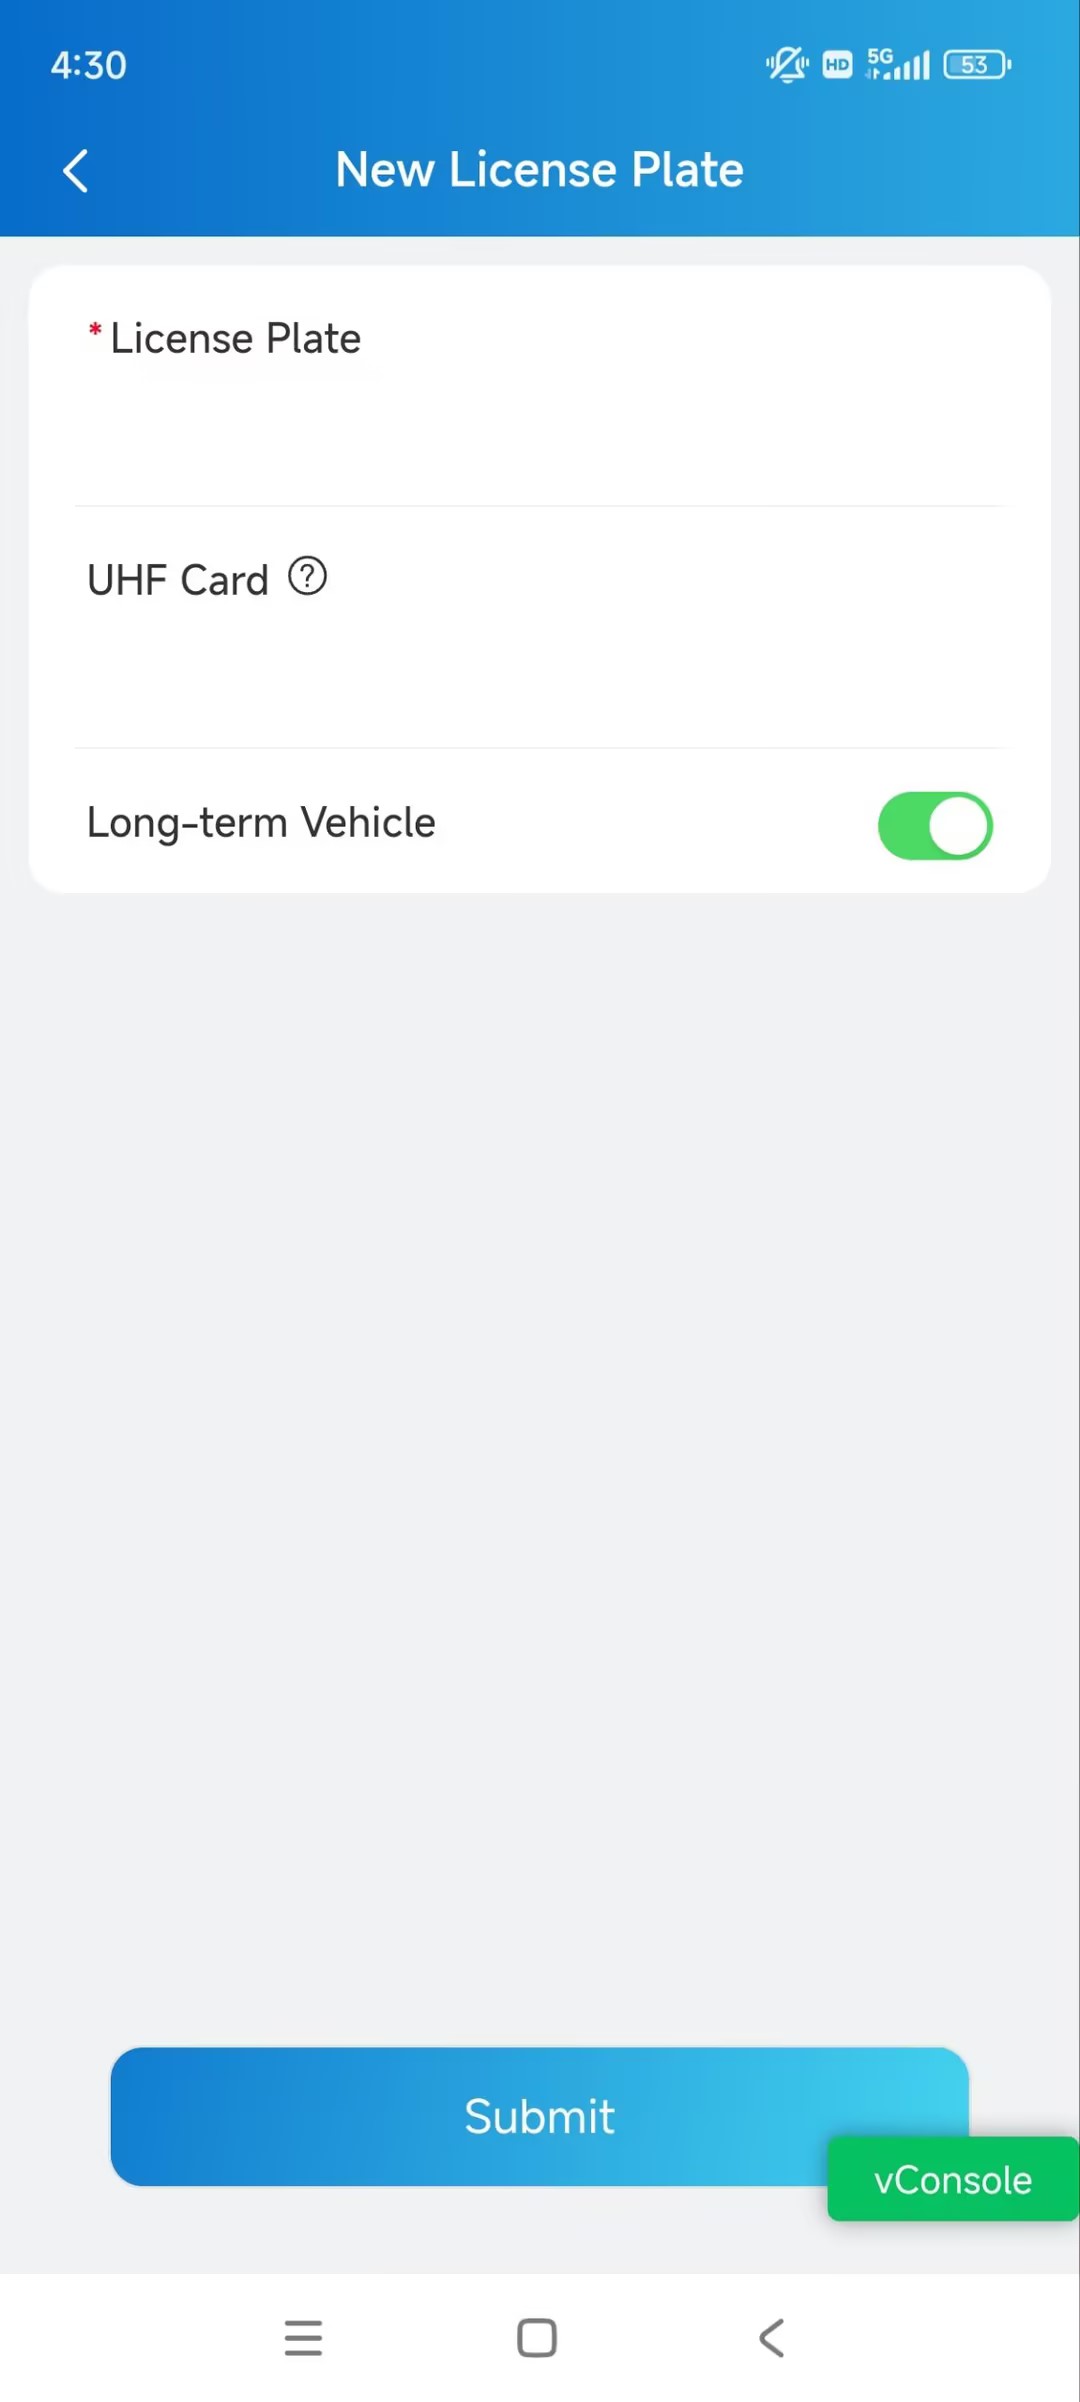
License Plate: Tap the Add icon in the upper right corner to add license plate information and UHF card code for the user.
License Plate: It can be identified by a third-party LPR camera to open the door of the parking lot.
UHF Card: It can be identified by the Akuvox access control reader ACR-CRP12 to open the door of the parking lot.
Long-term Vehicle: It is enabled by default. If disabled, set when the vehicle can enter and exit the parking lot.
Edit and Delete Personnel
Tap Personnel on the homepage.
Tap the desired user.
Tap
 to change the settings.
Tap
 to delete the user.

Door Access
You can configure various access methods such as temp keys and Bluetooth unlock for door opening.
Note
The access methods supported vary by device models.
Open Doors with Temp Keys
A Temp Key can be a QR code or an 8-bit PIN. You can customize its validity period and the times for use, and the key will be valid immediately after you create it. You can issue temp keys for visitors, deliverymen, etc.
Tap Temp Key on the homepage. Or, tap Me > Authorization > Temp Keys.
Tap
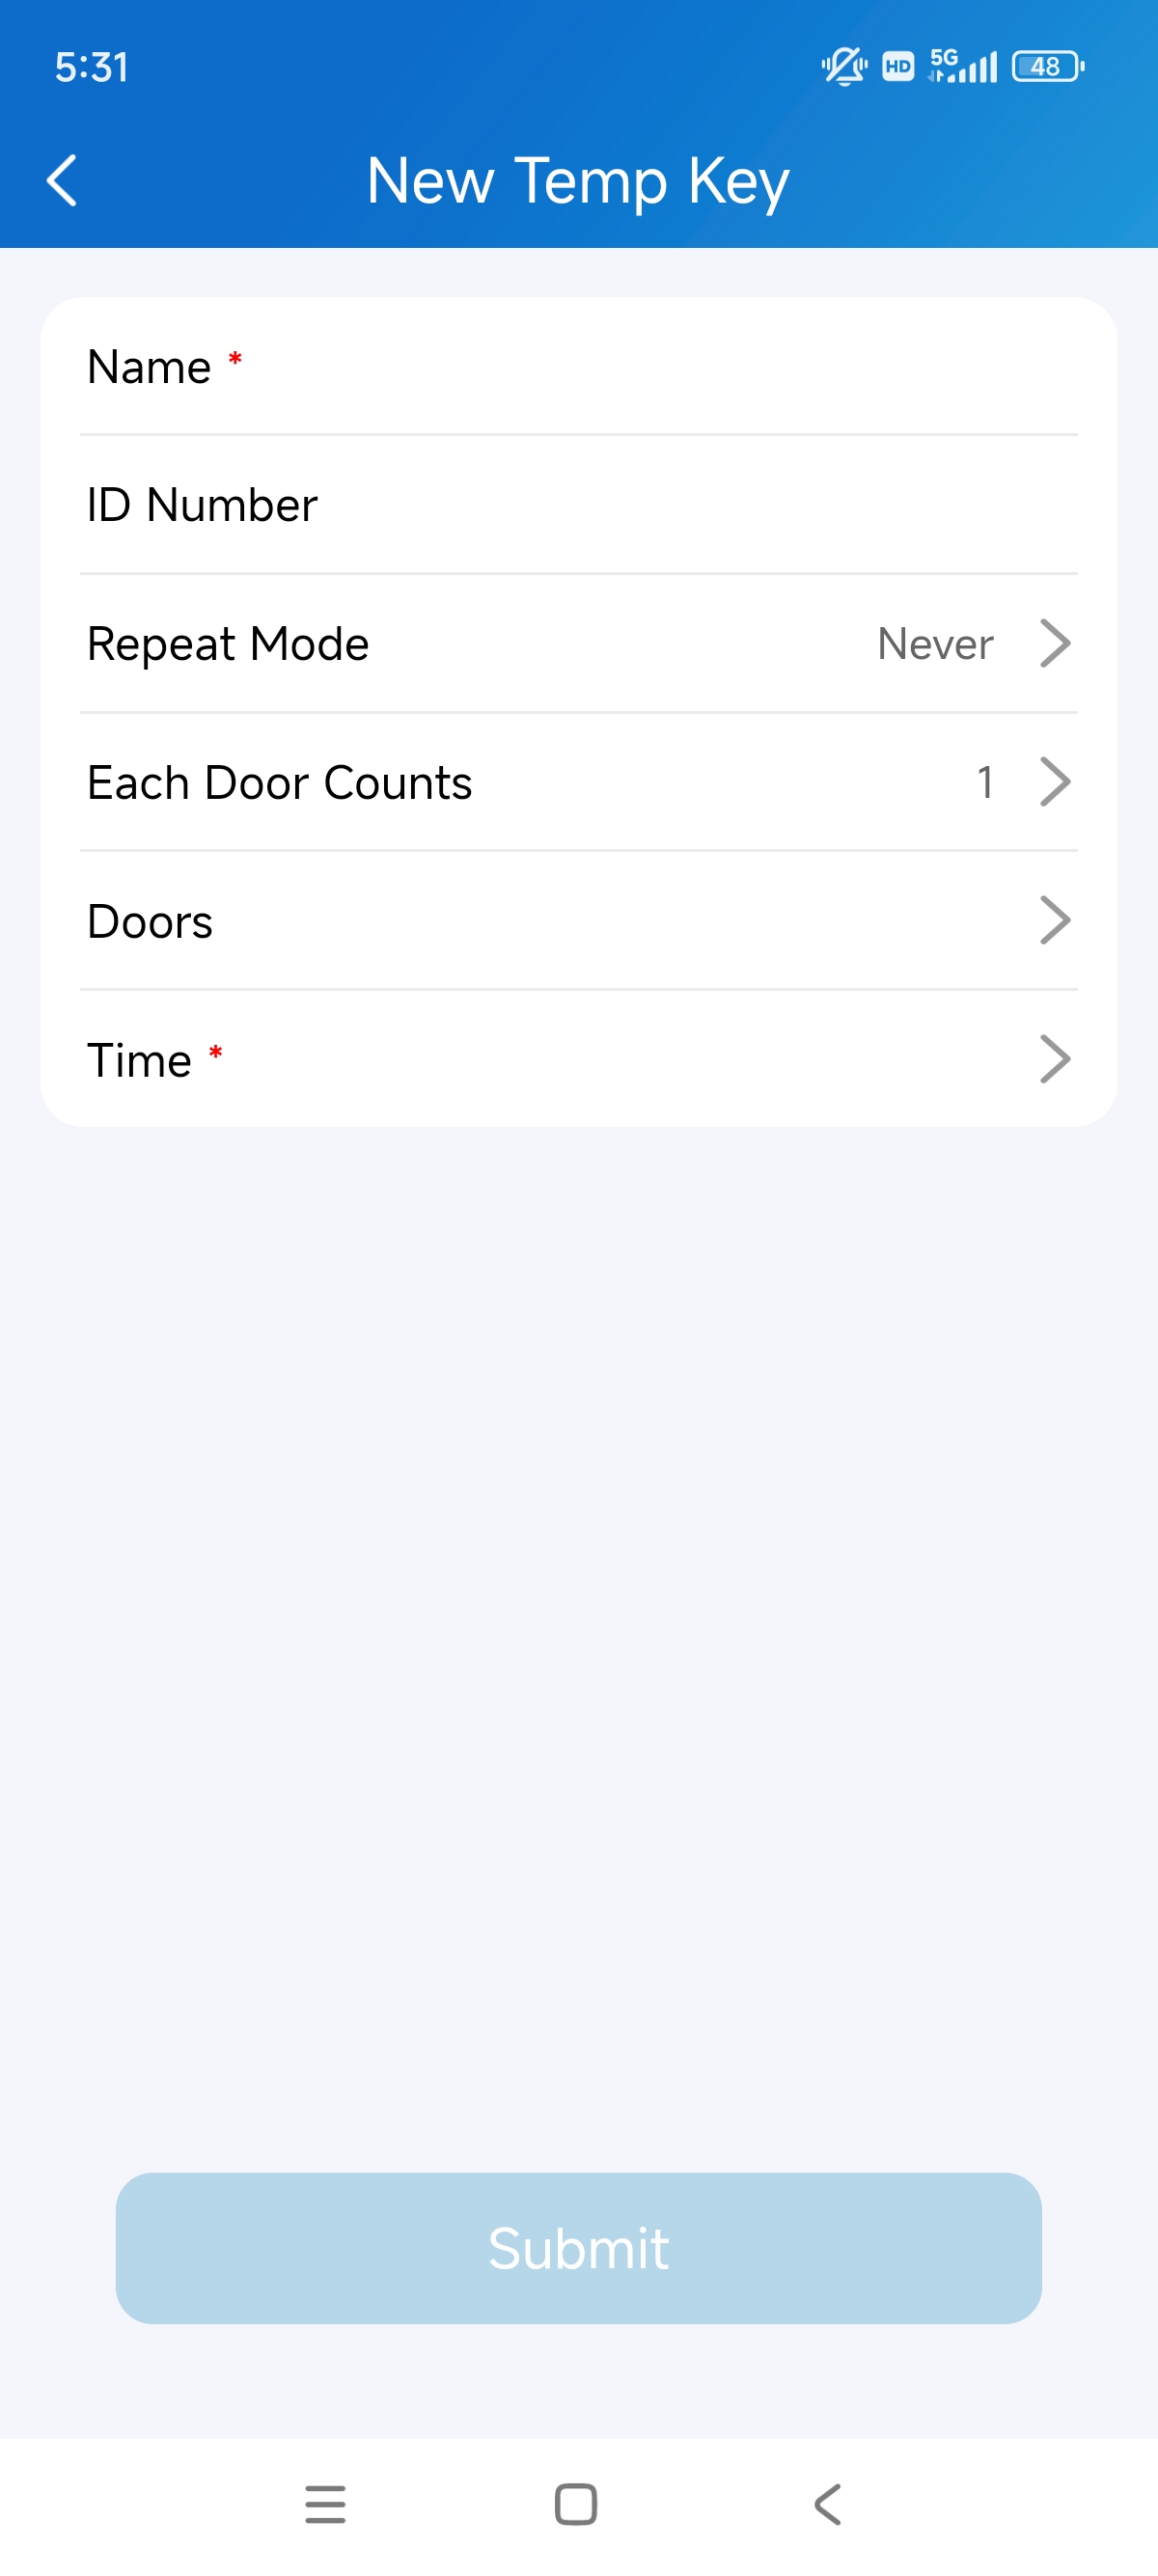
in the upper right corner.Enter the user name and the unique ID number.
Select the Repeat Mode from Never, Daily, or Weekly.
When Never is selected, there is a limit to the total times for use. The total times are equal to Each Door Counts * the number of selected doors.
Select the door to be opened.
Specify the time of using the key.
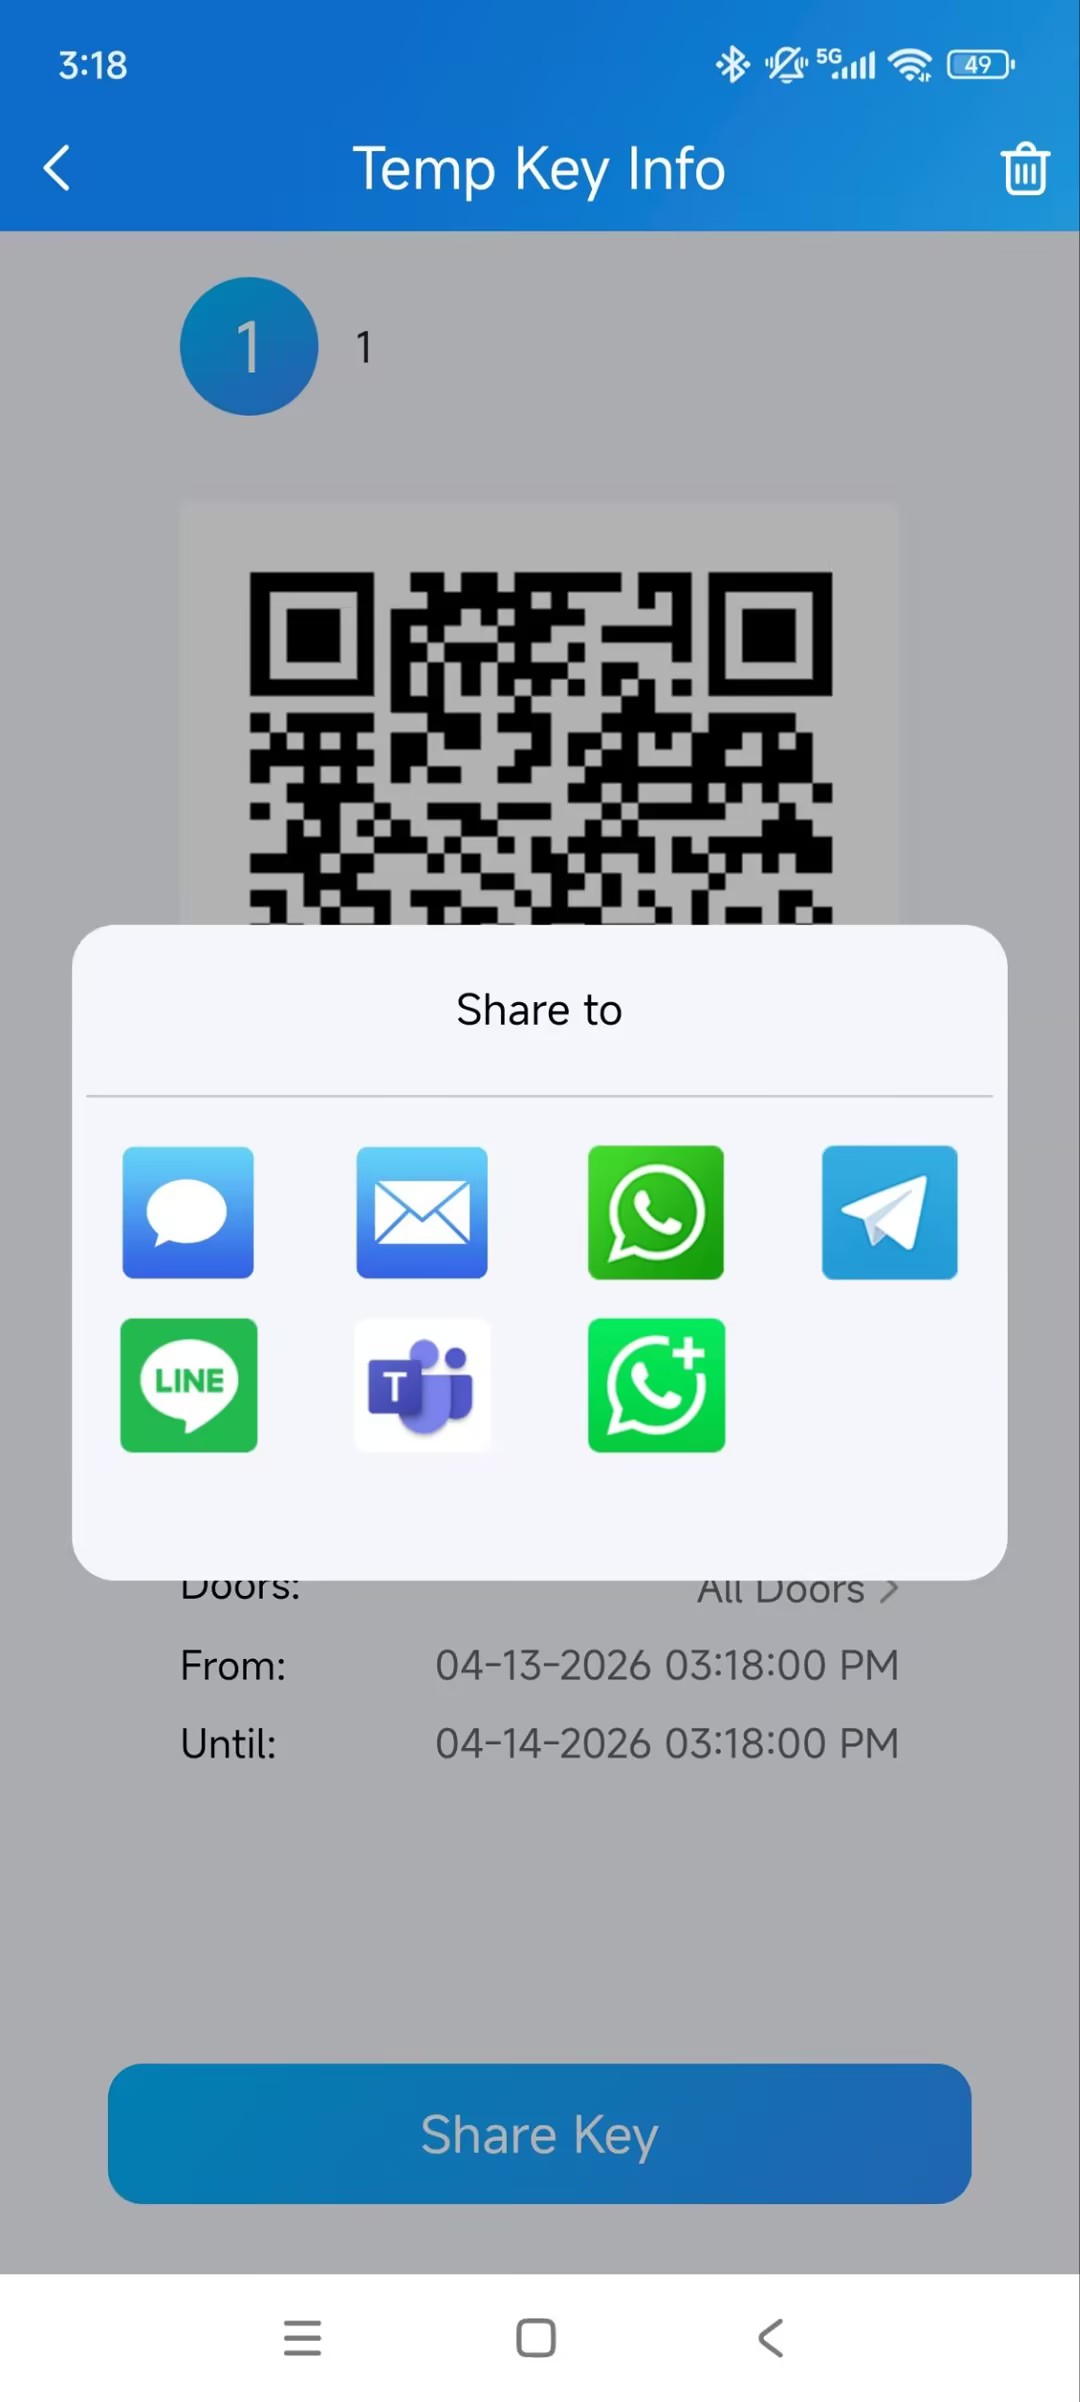
After the key is created, you can share it with the designated user through the desired methods. Please note that the WhatsApp Business option is currently ONLY supported on Android phones.
Open Doors with a PIN Code
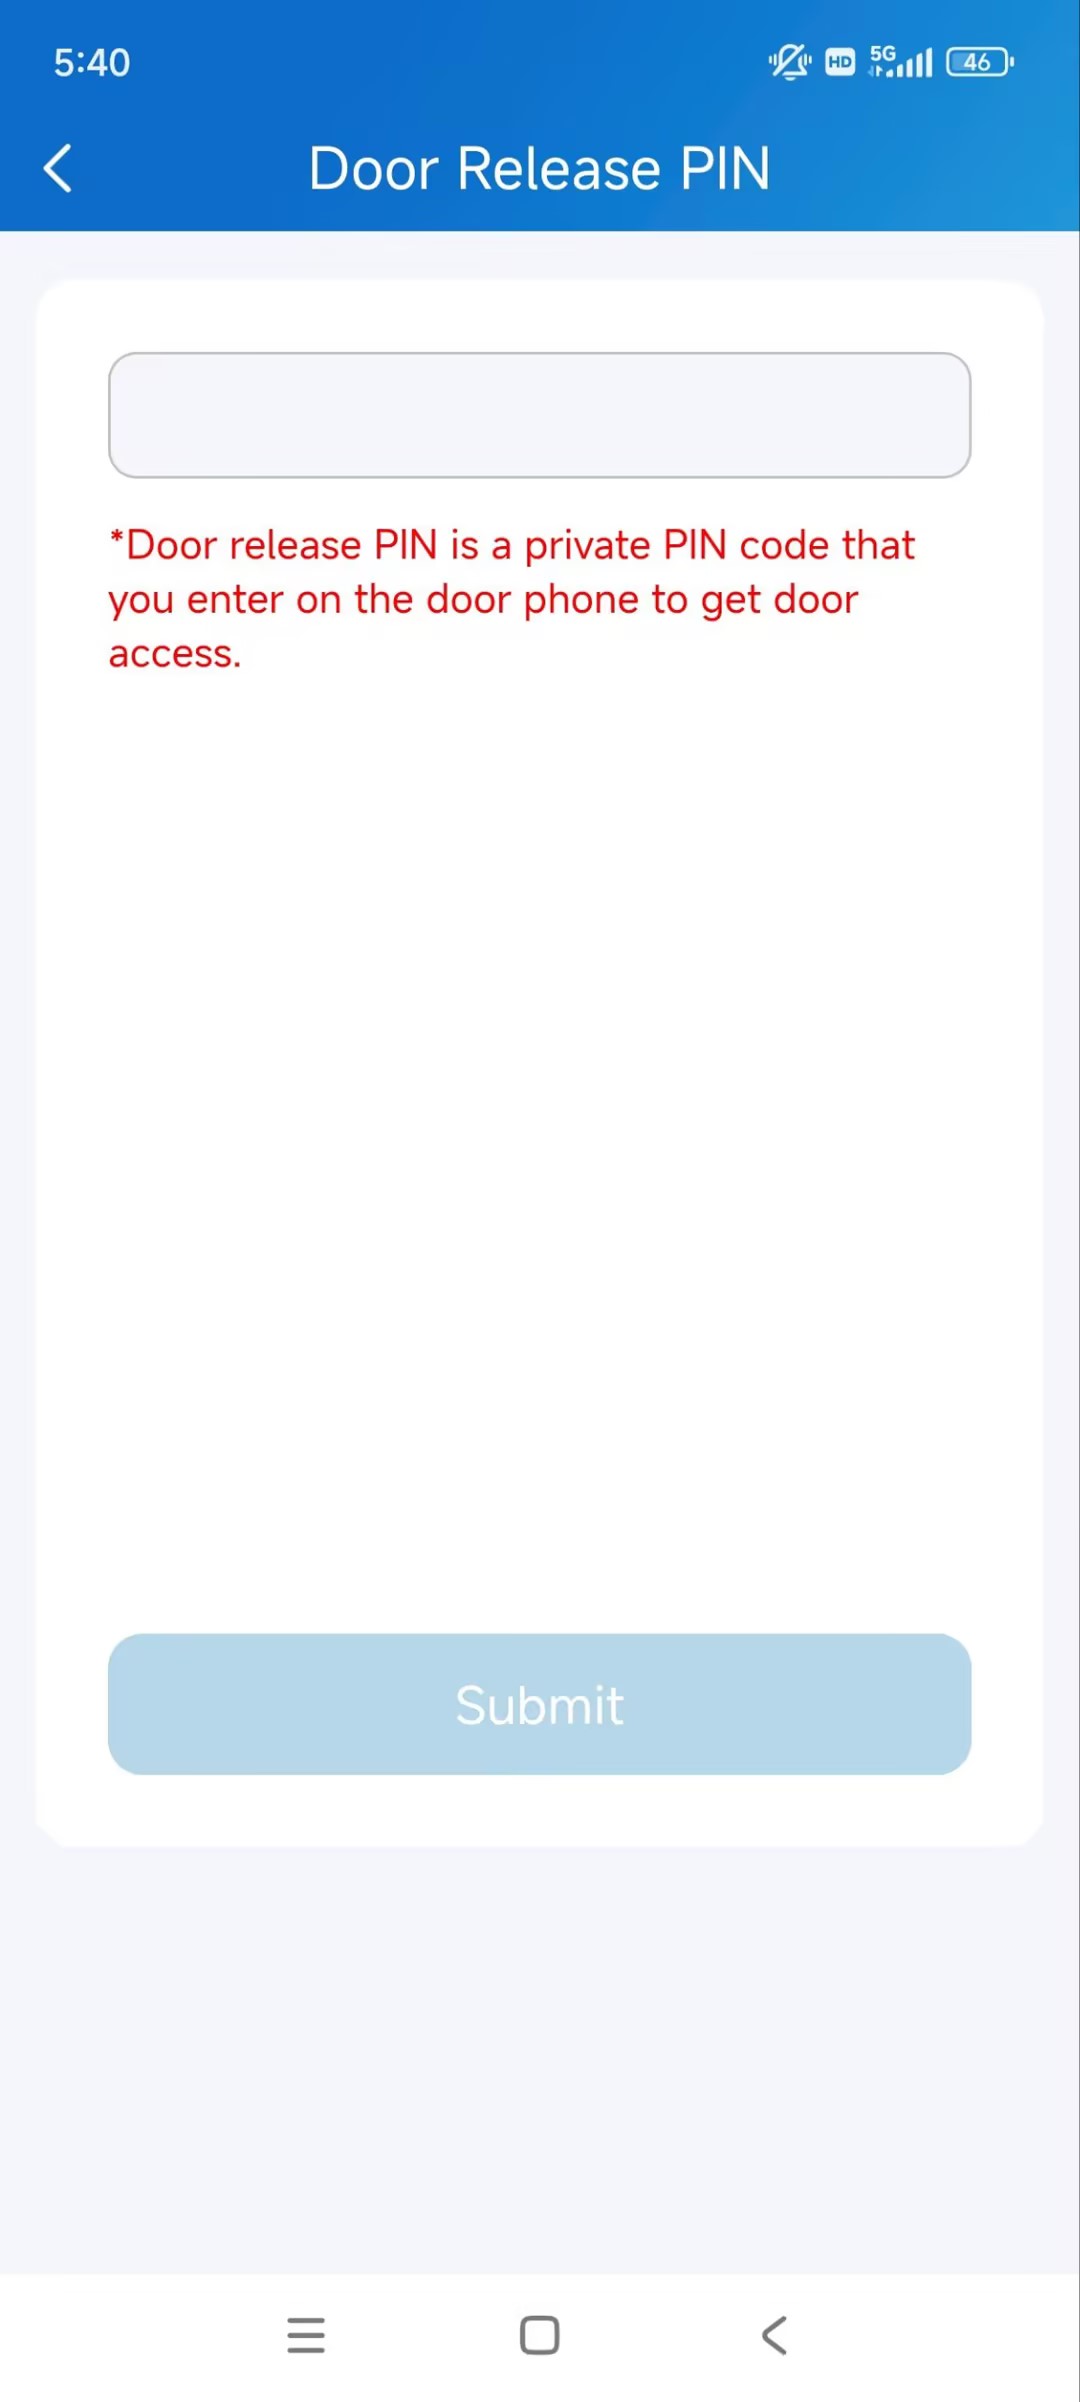
You can set a private PIN code for door entry.
Tap Me > Authorization > Door Release PIN.
Set the PIN code.
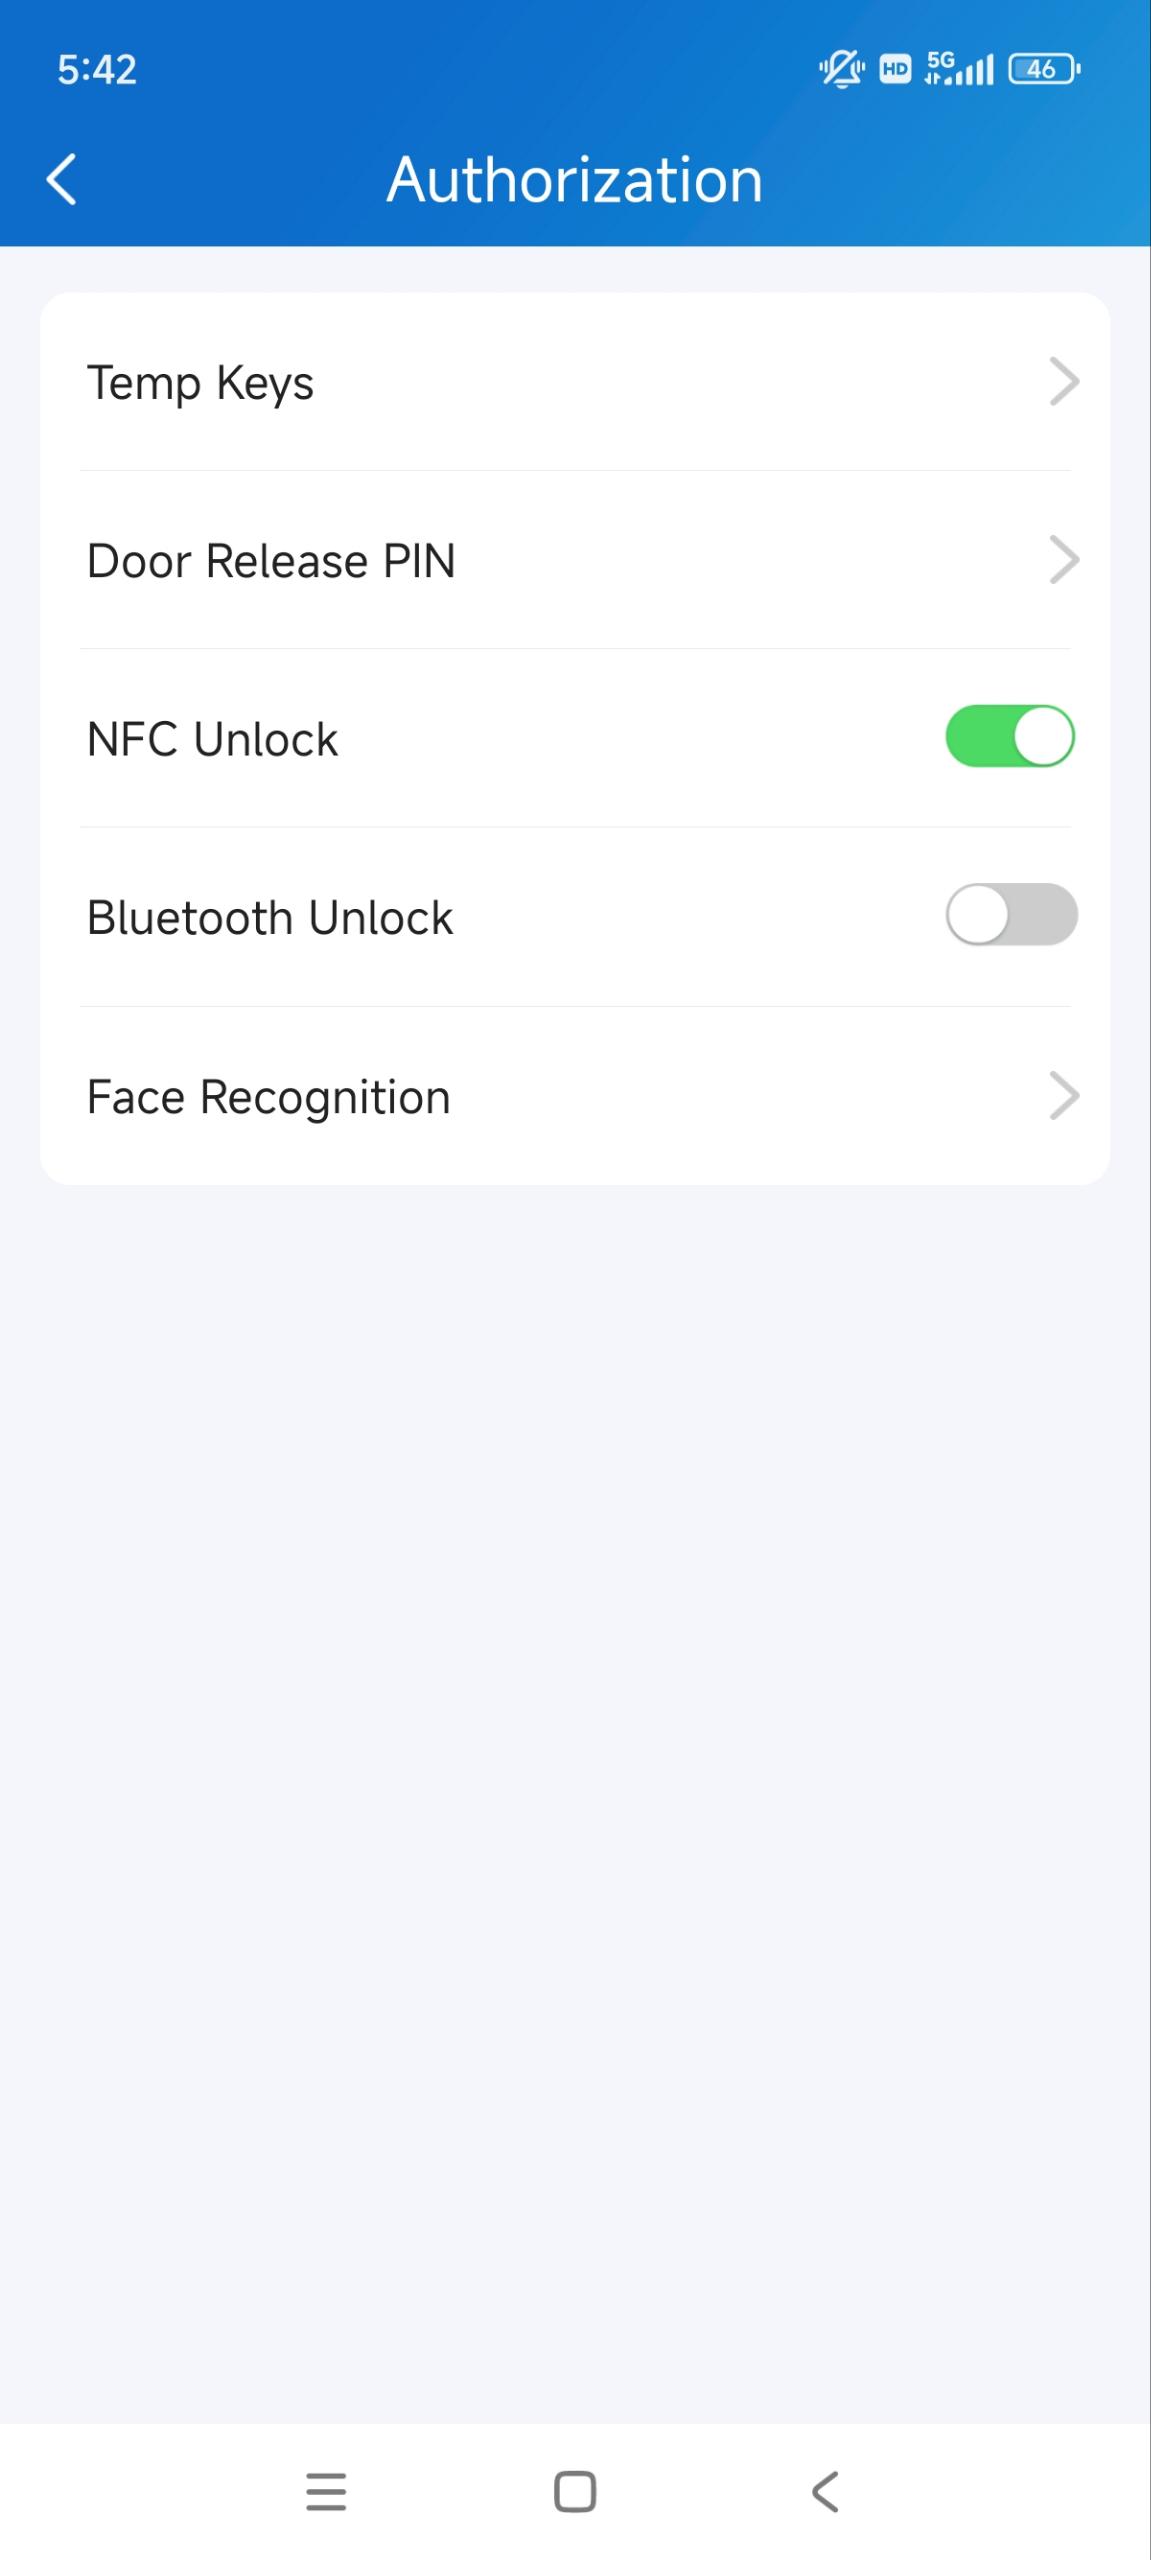
Open Doors with NFC
You can use the NFC feature of your mobile phone to open doors conveniently.
Note
ONLY Android mobile phones support the NFC door-opening feature.
Click here to view the detailed configuration.
Tap Me > Authorization.
Enable NFC Unlock.
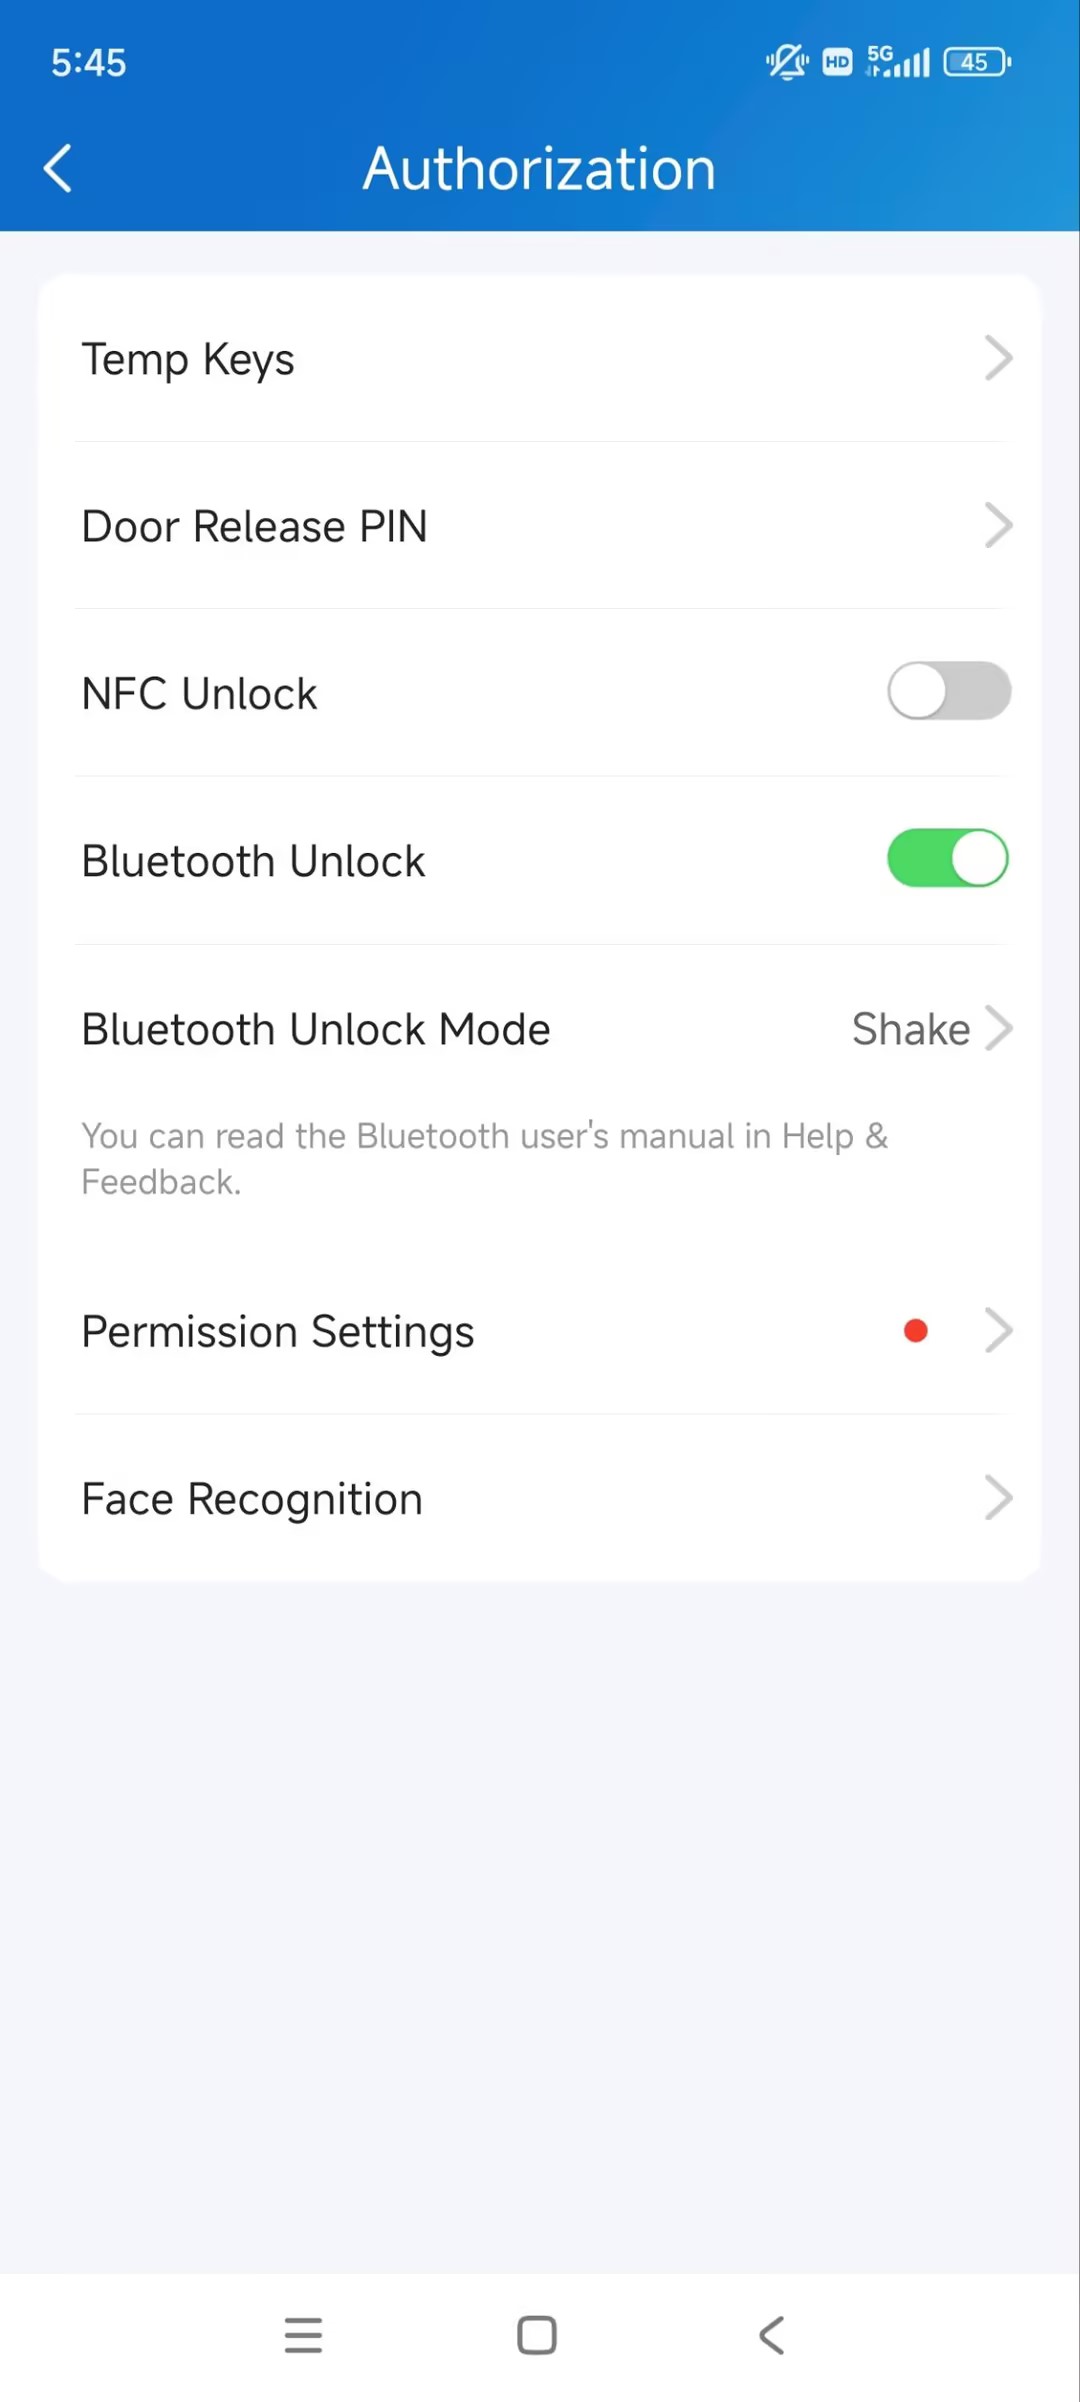
Open Doors via Bluetooth
You can use Bluetooth connection to open doors conveniently.
Note
To learn about the supported door phones and detailed steps, please refer to Open the Door via Bluetooth.
Tap Me > Authorization.
Enable Bluetooth Unlock.
Select a Bluetooth Unlock Mode.
Shake: Place your phone near the door phone, shake your phone a few times, and the door will open automatically.
Hands-free: Your phone must be within about 3.3 feet (1 meter) of the door phone, and the door will open automatically.
Tap as Card: Open the door by placing the mobile phone on the door phone’s card reader area.
If you are an Android user and select Hands-free mode, follow onscreen instructions to complete Permission Settings.
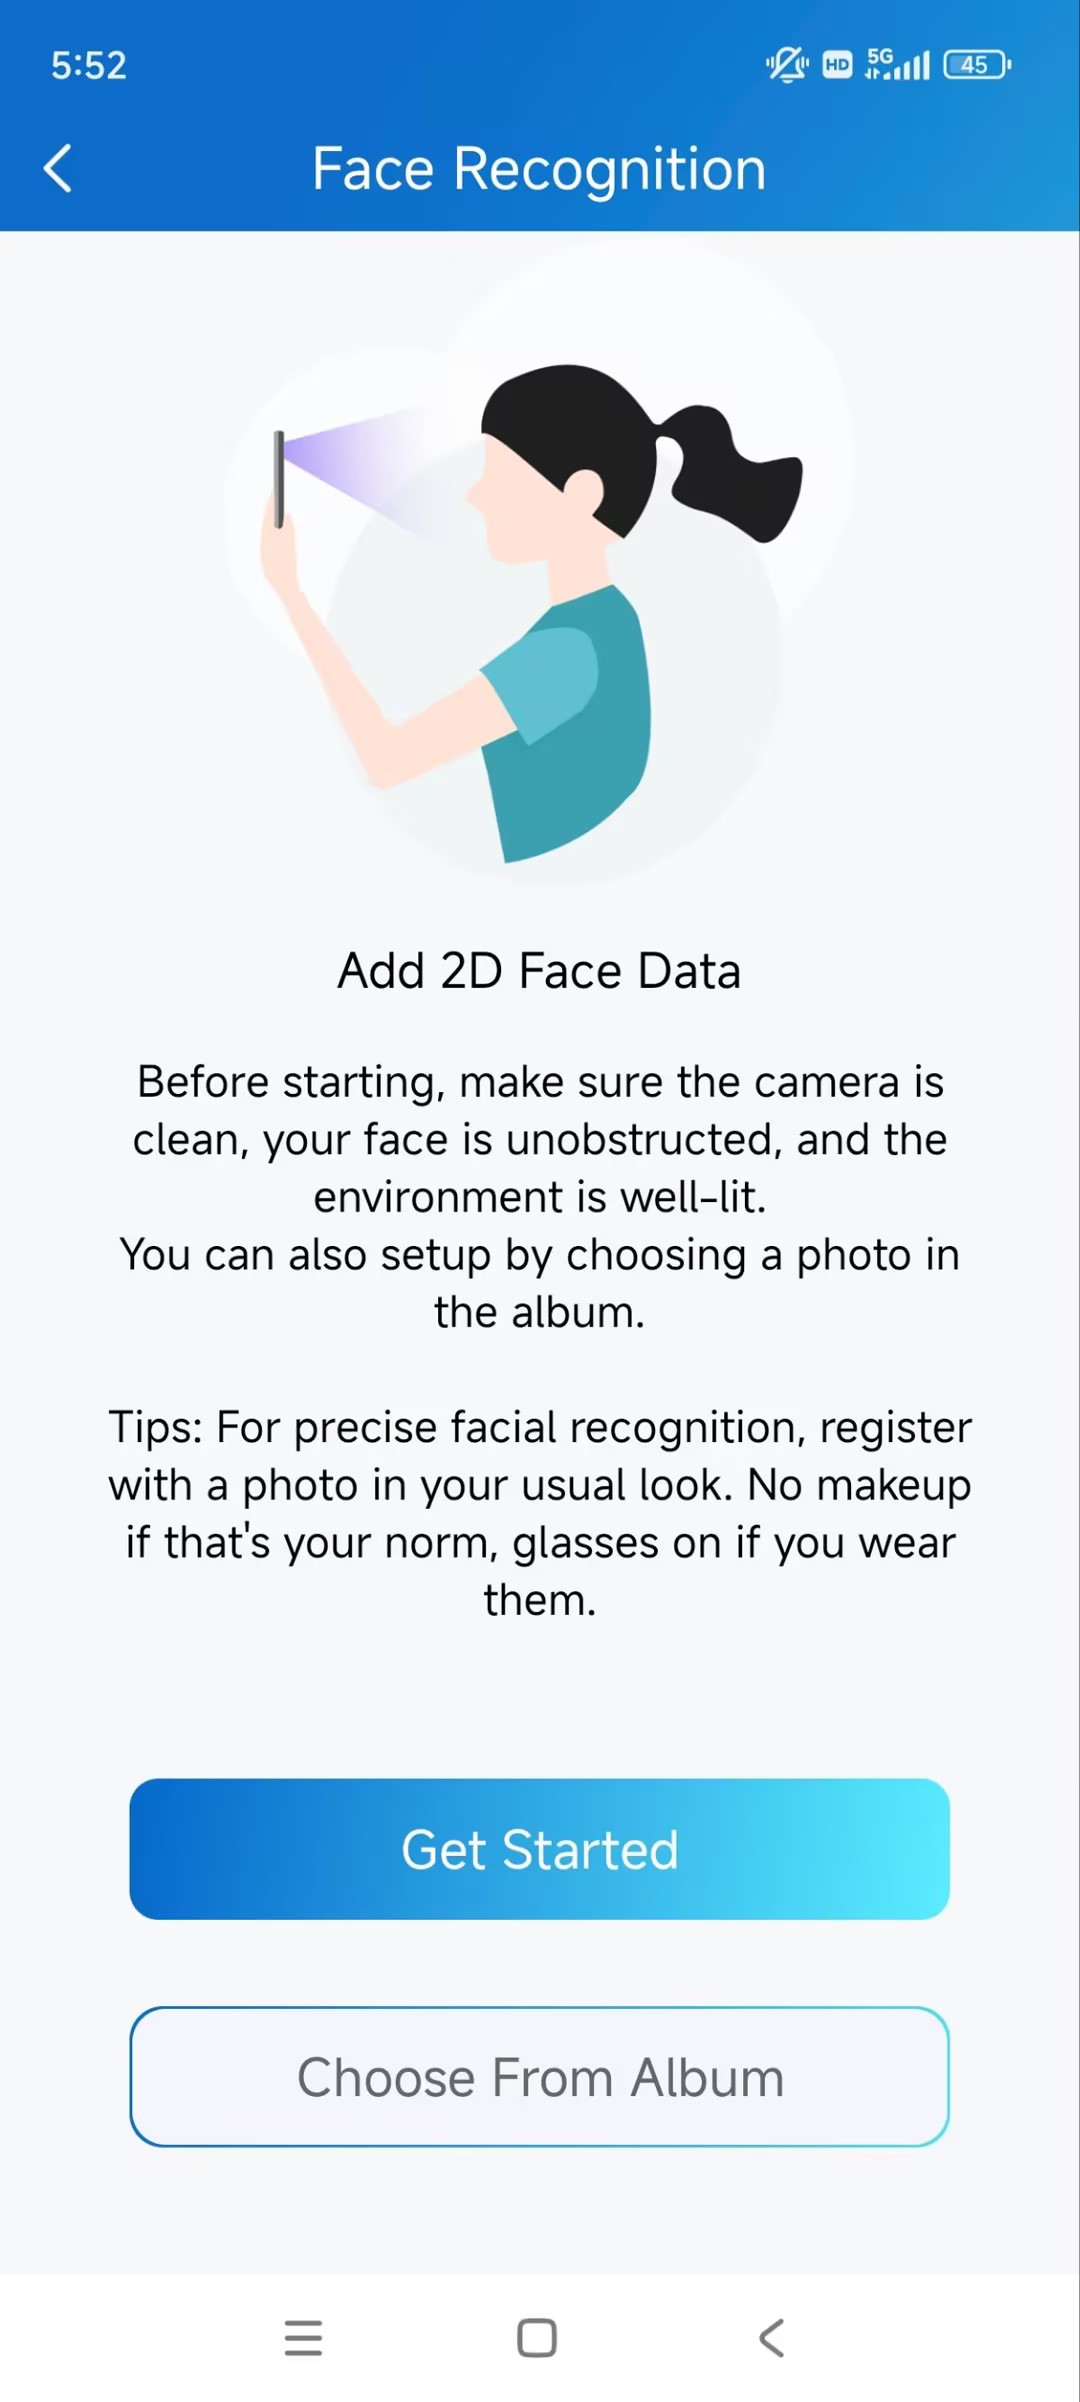
Open Doors through Facial Recognition
You can scan your face to open doors conveniently.
Tap Me > Authorization > Face Recognition.
Tap Get Started or upload a front face photo from the local album.
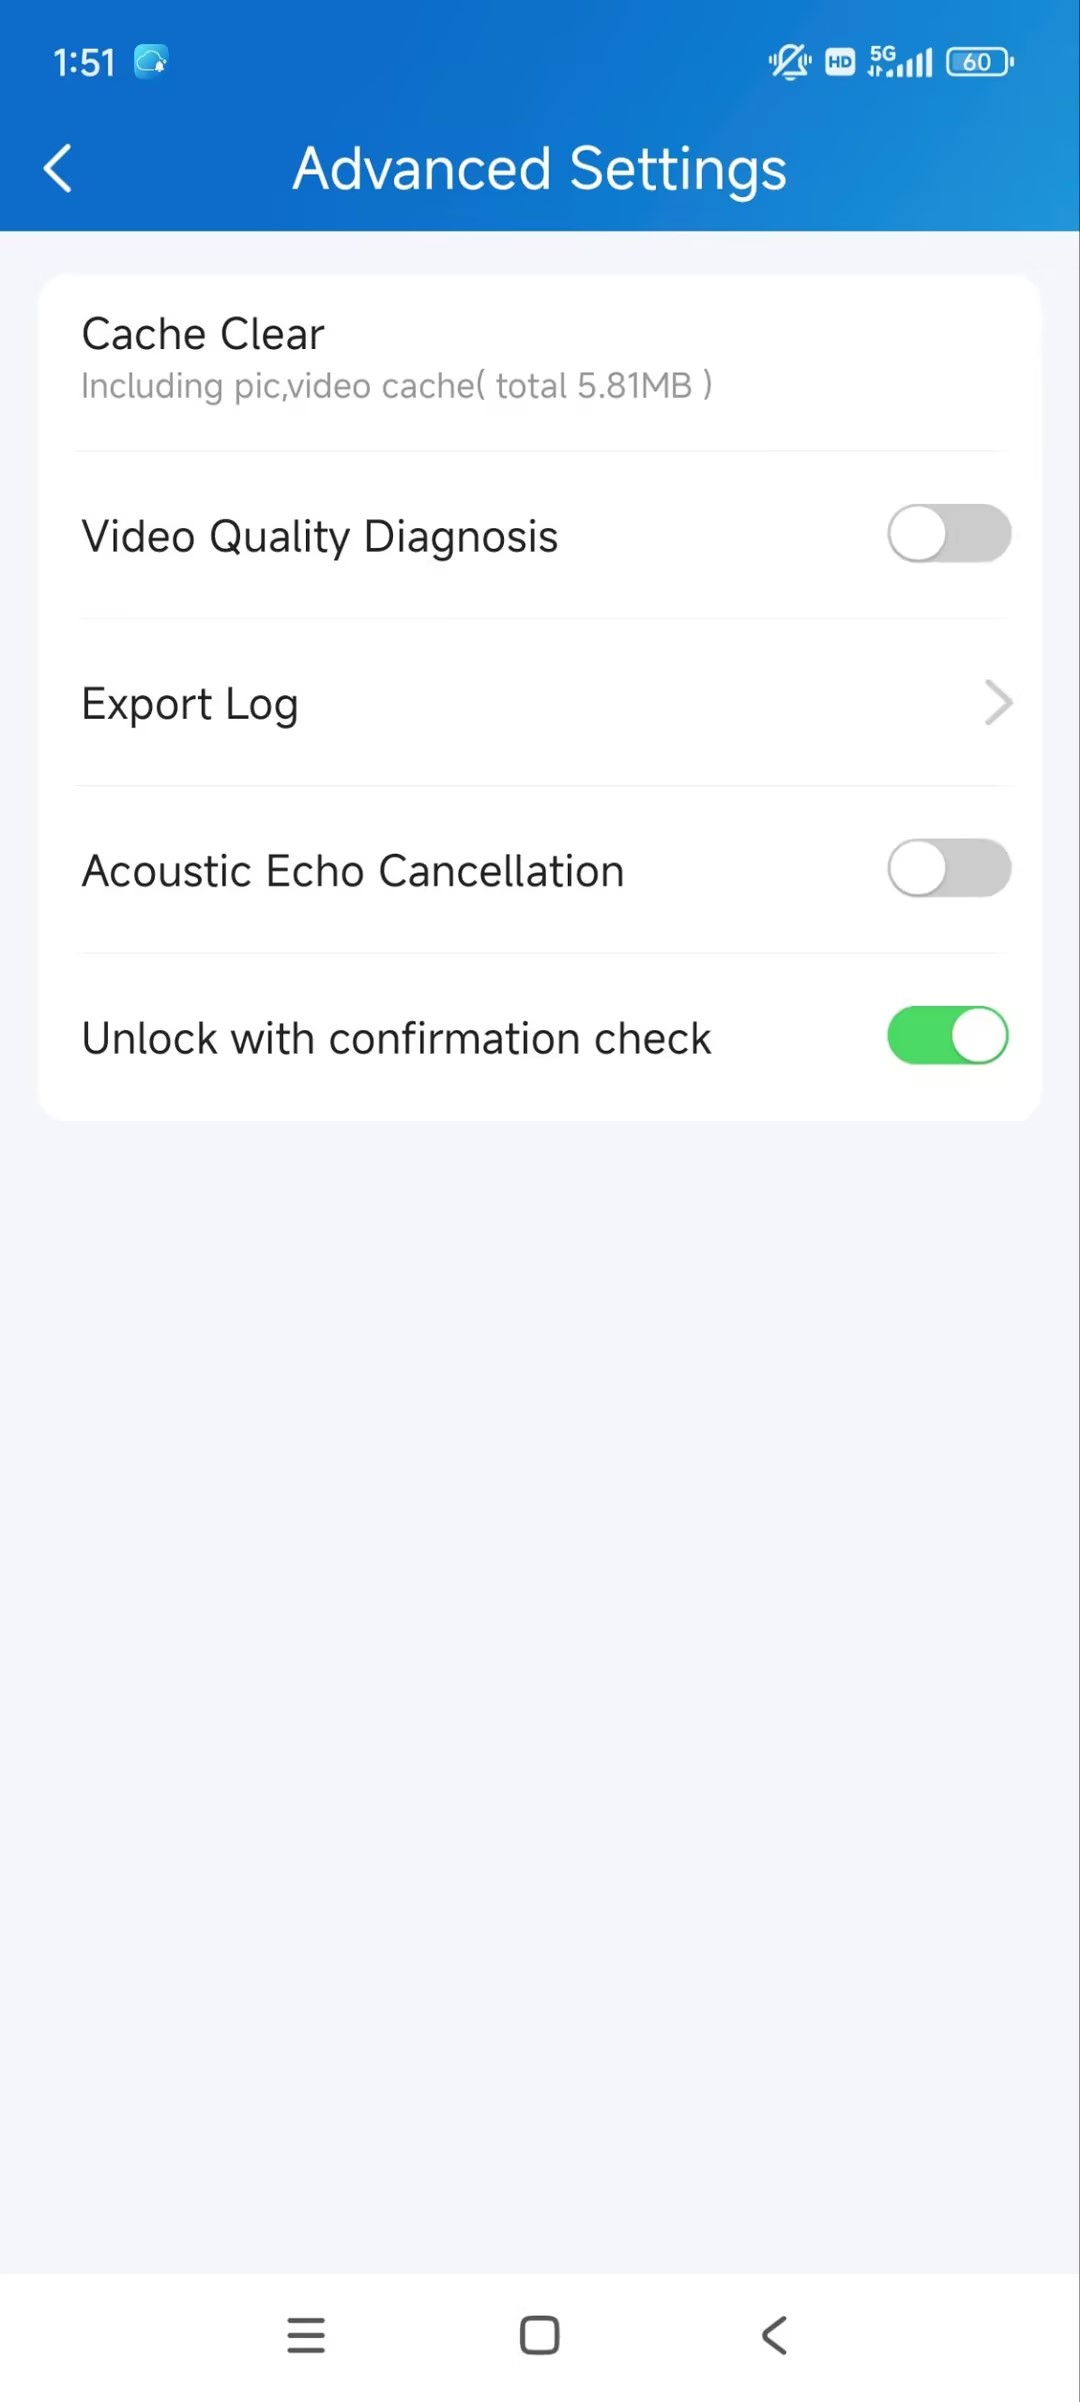
Unlock Confirmation
With this feature enabled, a prompt will pop up for confirmation when you want to open doors.
Tap Me > Settings > Advanced Settings.
Enable/disable Unlock with Confirmation check. It is disabled by default.
Devices Management
You can open doors, call and monitor devices, and turn on/off the lockdown on the Devices page.
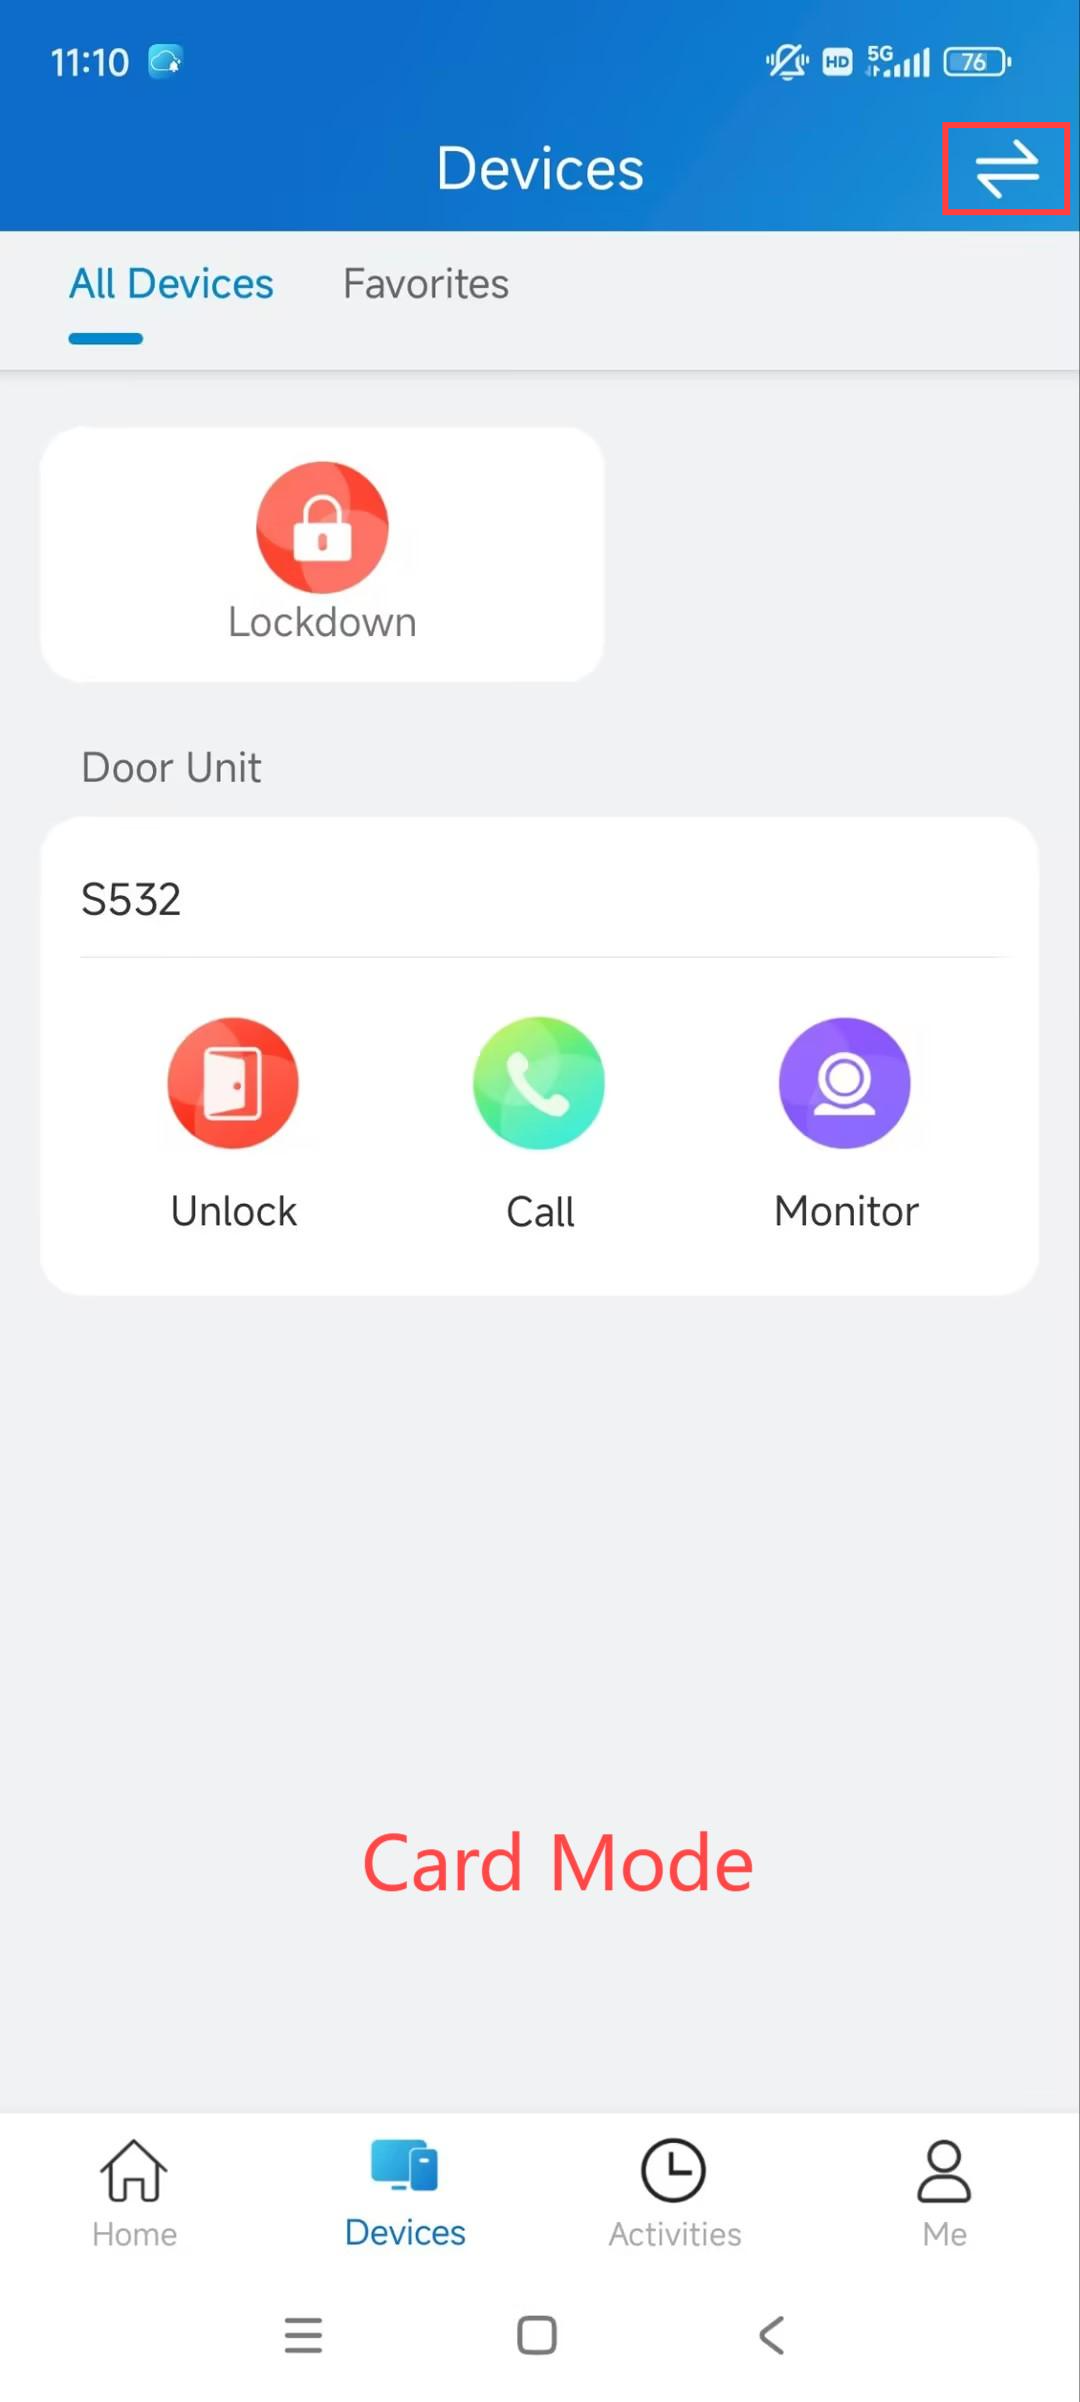
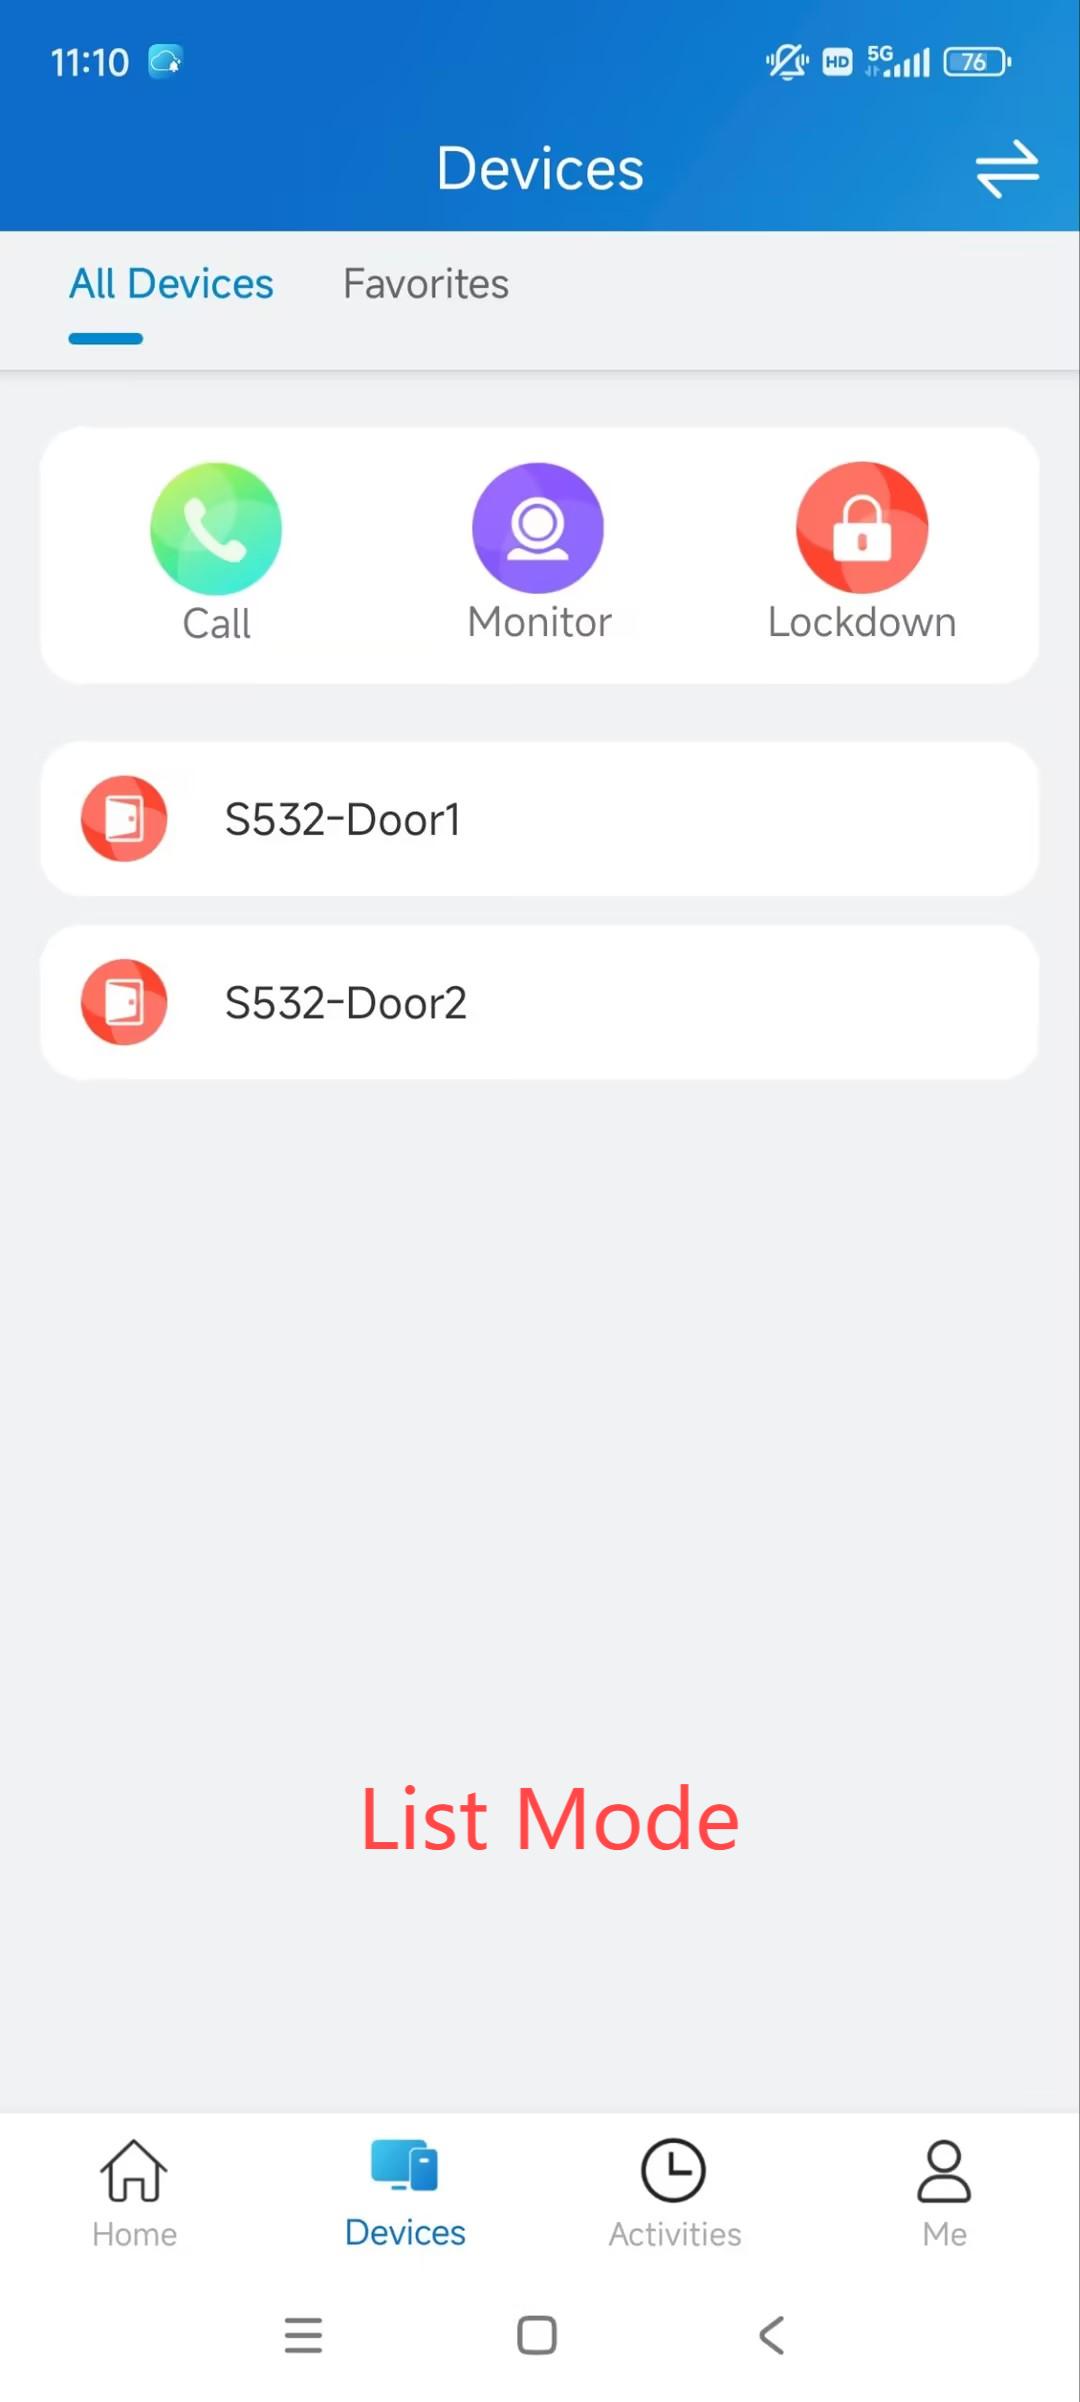
Switch Display Mode
The Devices page supports two display modes: Card Mode and List Mode.
The main difference between Card Mode and List Mode:
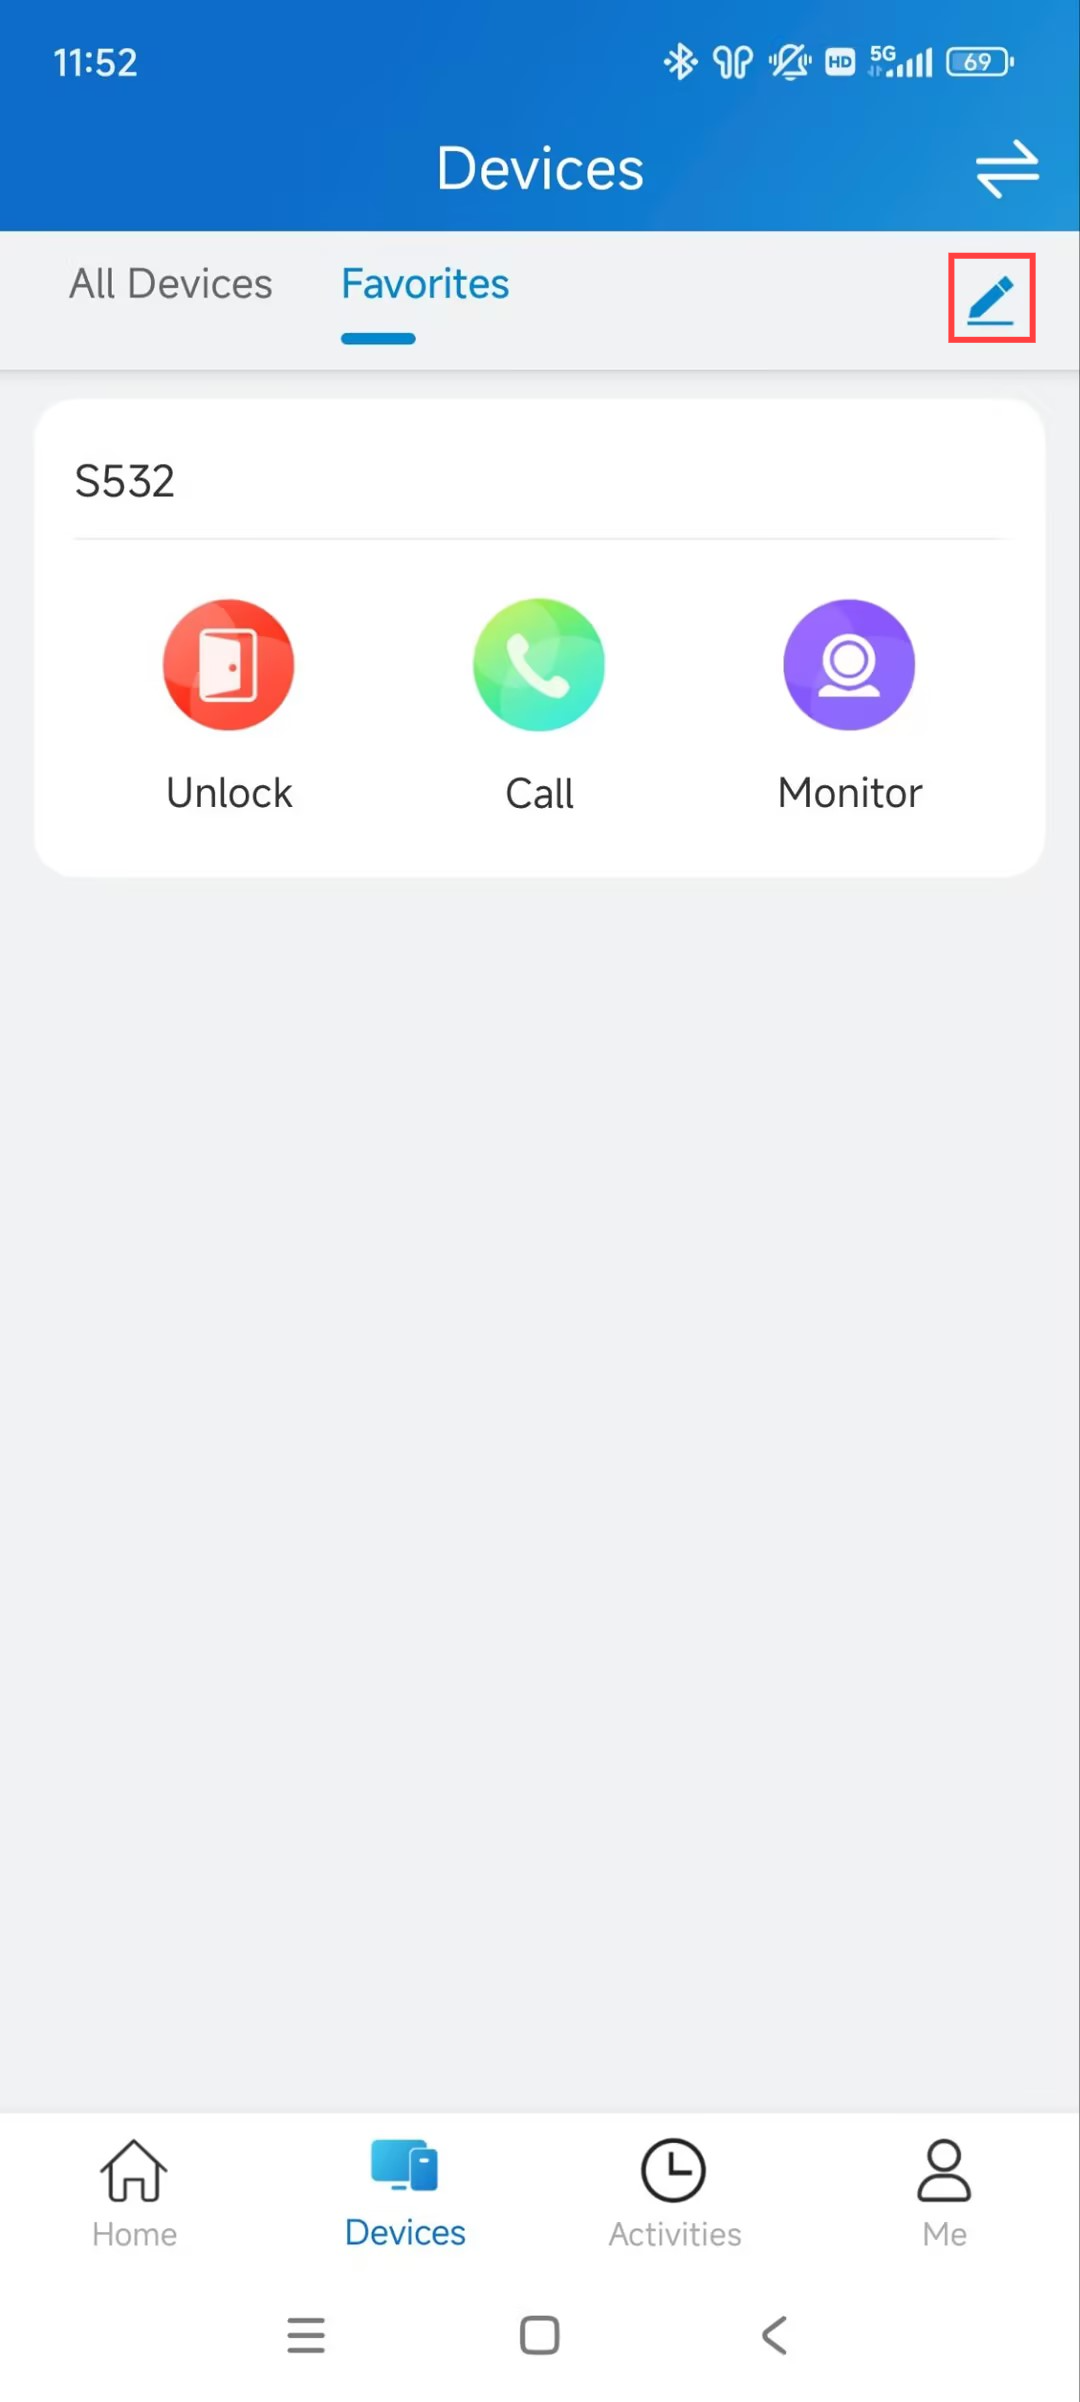
Card Mode is device-oriented. You can tap the functional icons on desired devices to open doors, make calls, or monitor.
List Mode is door-oriented. You can tap the desired door name to open doors. To make calls or monitor, tap the functional icons first and then select the desired device.
You can tap![]() in the upper right corner to switch between the Card Mode and List Mode.
in the upper right corner to switch between the Card Mode and List Mode.
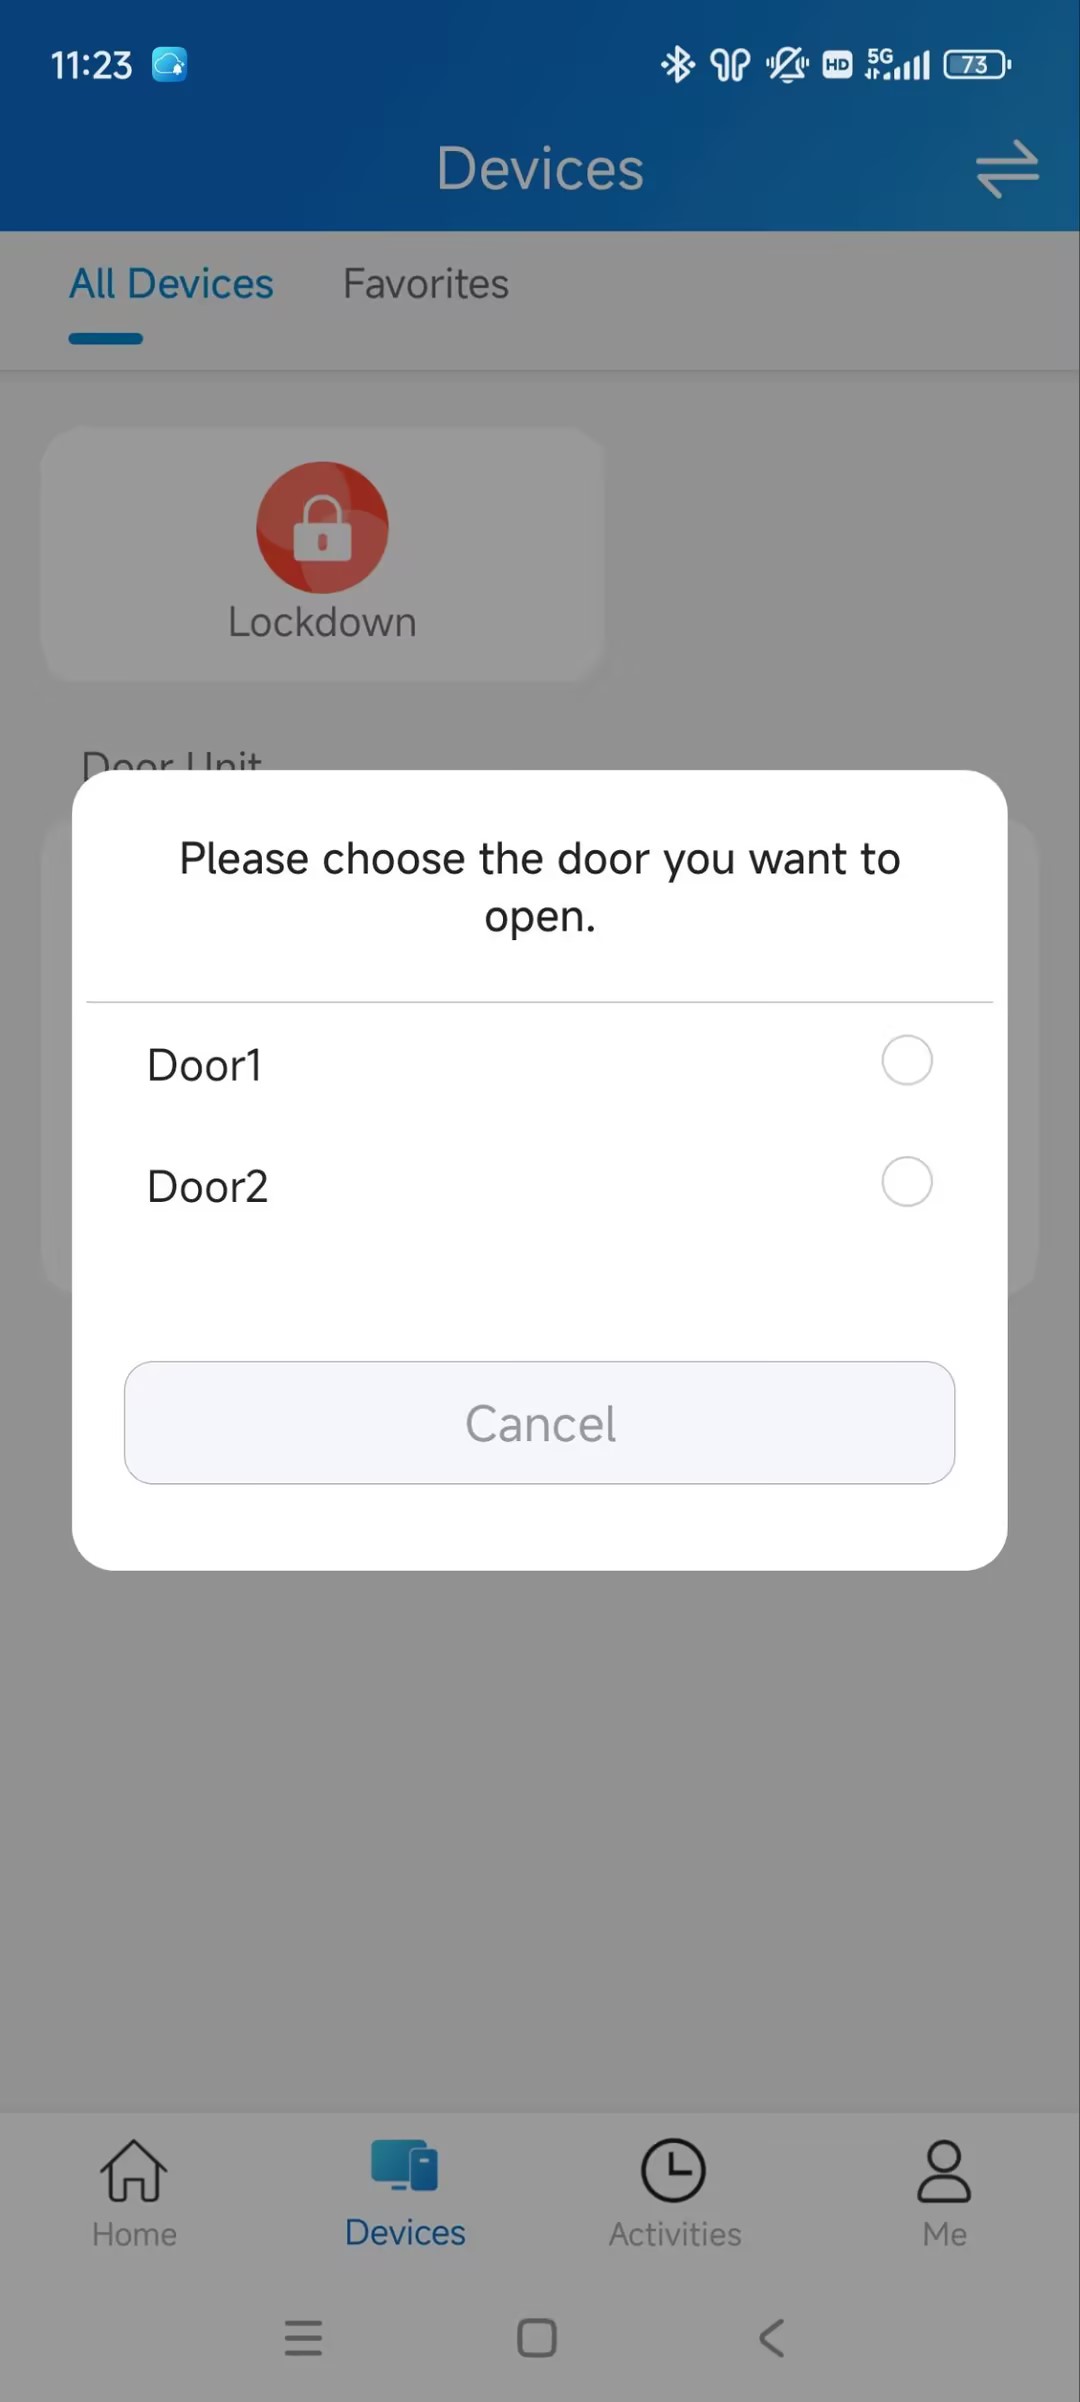
Unlock
Tap Unlock to open doors. If the device is connected to more than one door, you can choose the desired one after tapping Unlock.
The Unlock button is hidden when your service provider disables it.
(1).jpg)
Calling
Tap Call to call the target device.
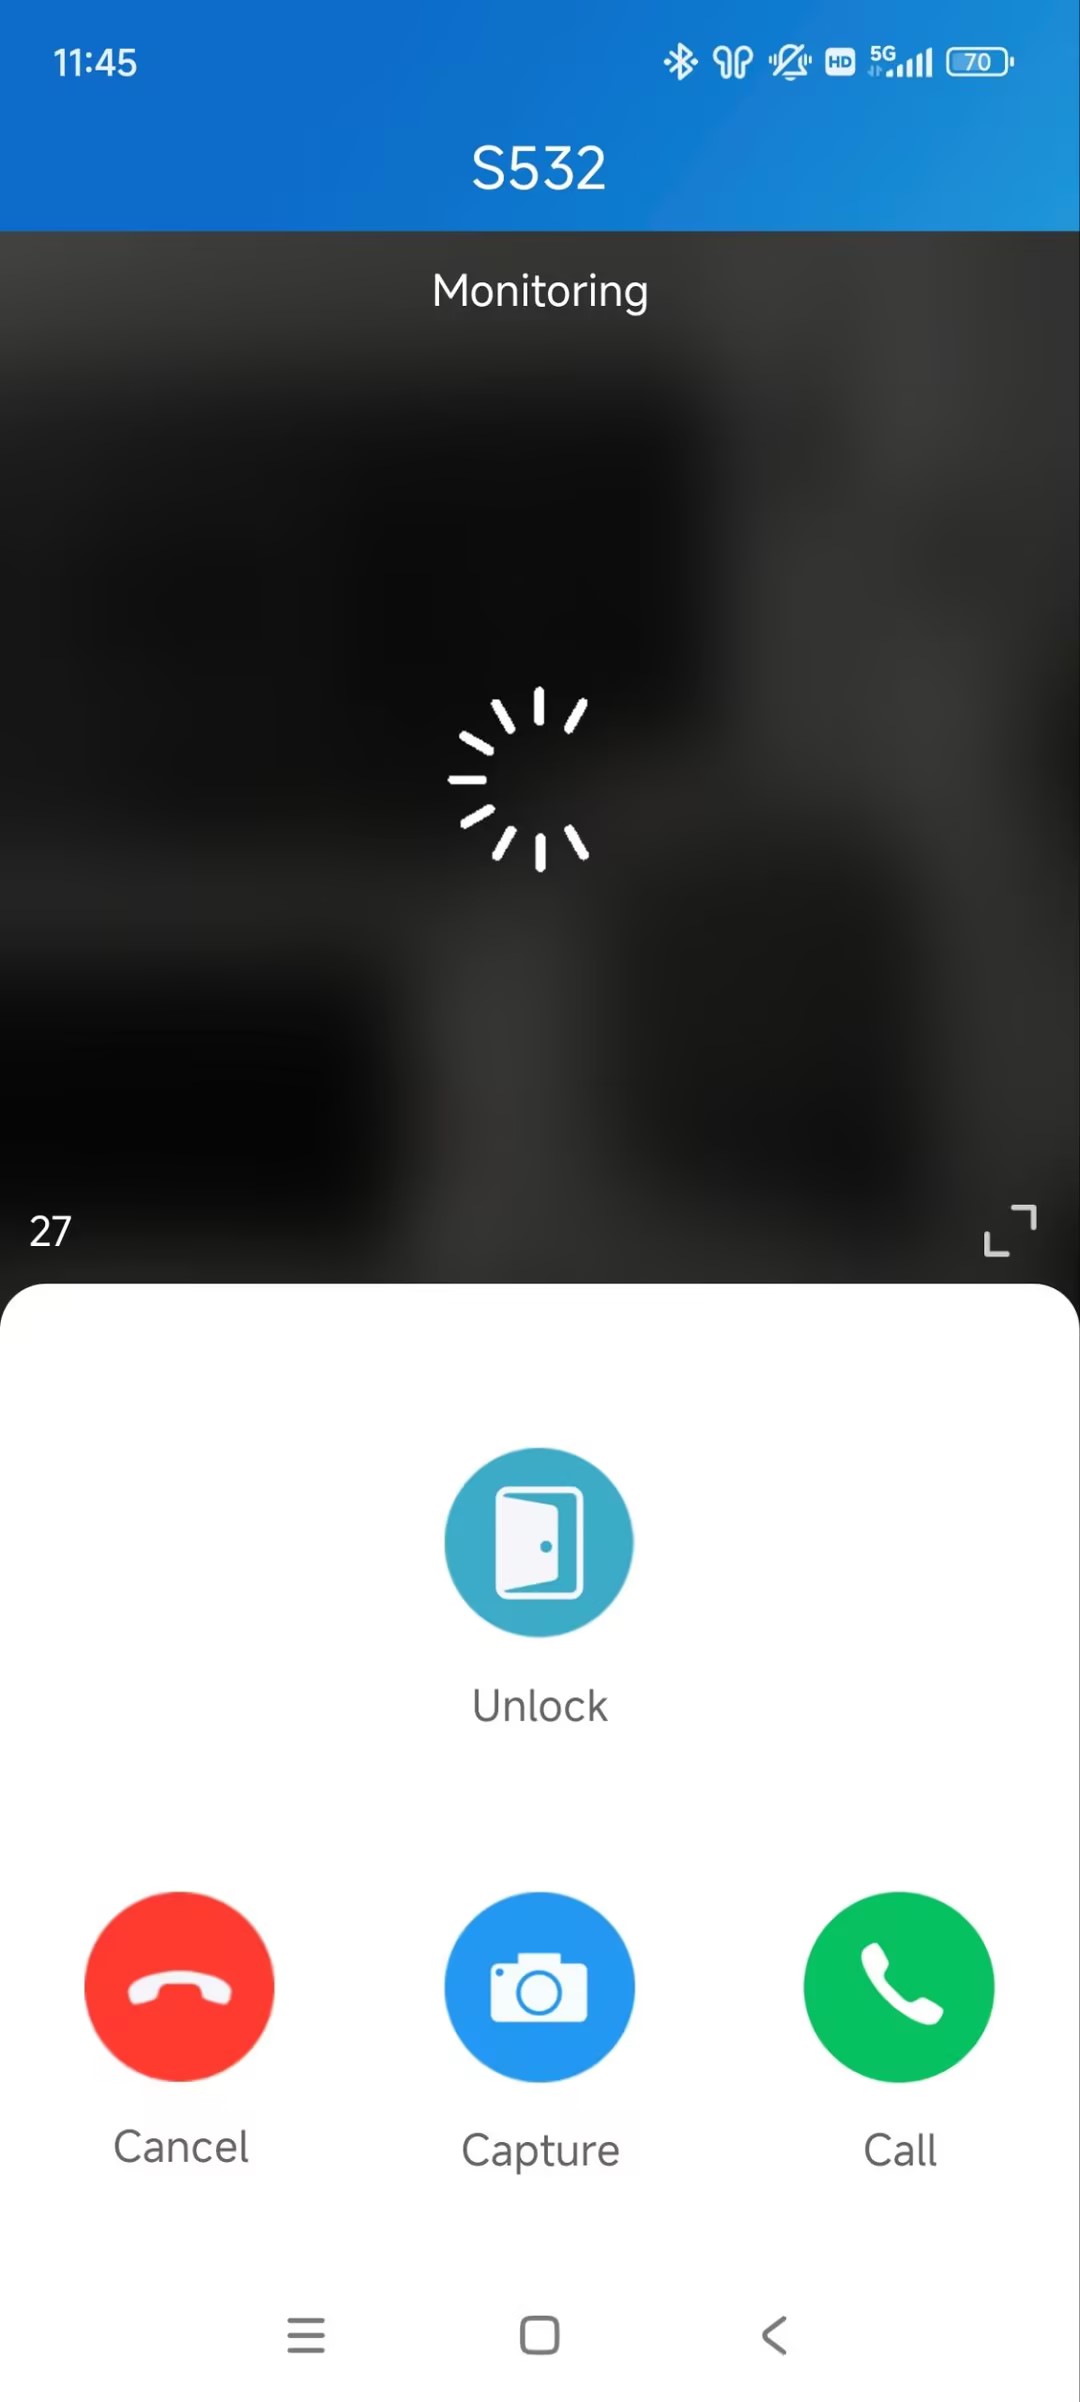
Monitor
You can view the monitoring streams from Akuvox intercom devices.
Tap Monitor of the target device. On the monitoring page, you can:
tap Cancel to exit the current video-watching page.
tap Capture to make a screenshot.
tap Call to make a call.
tap Open to open the door.
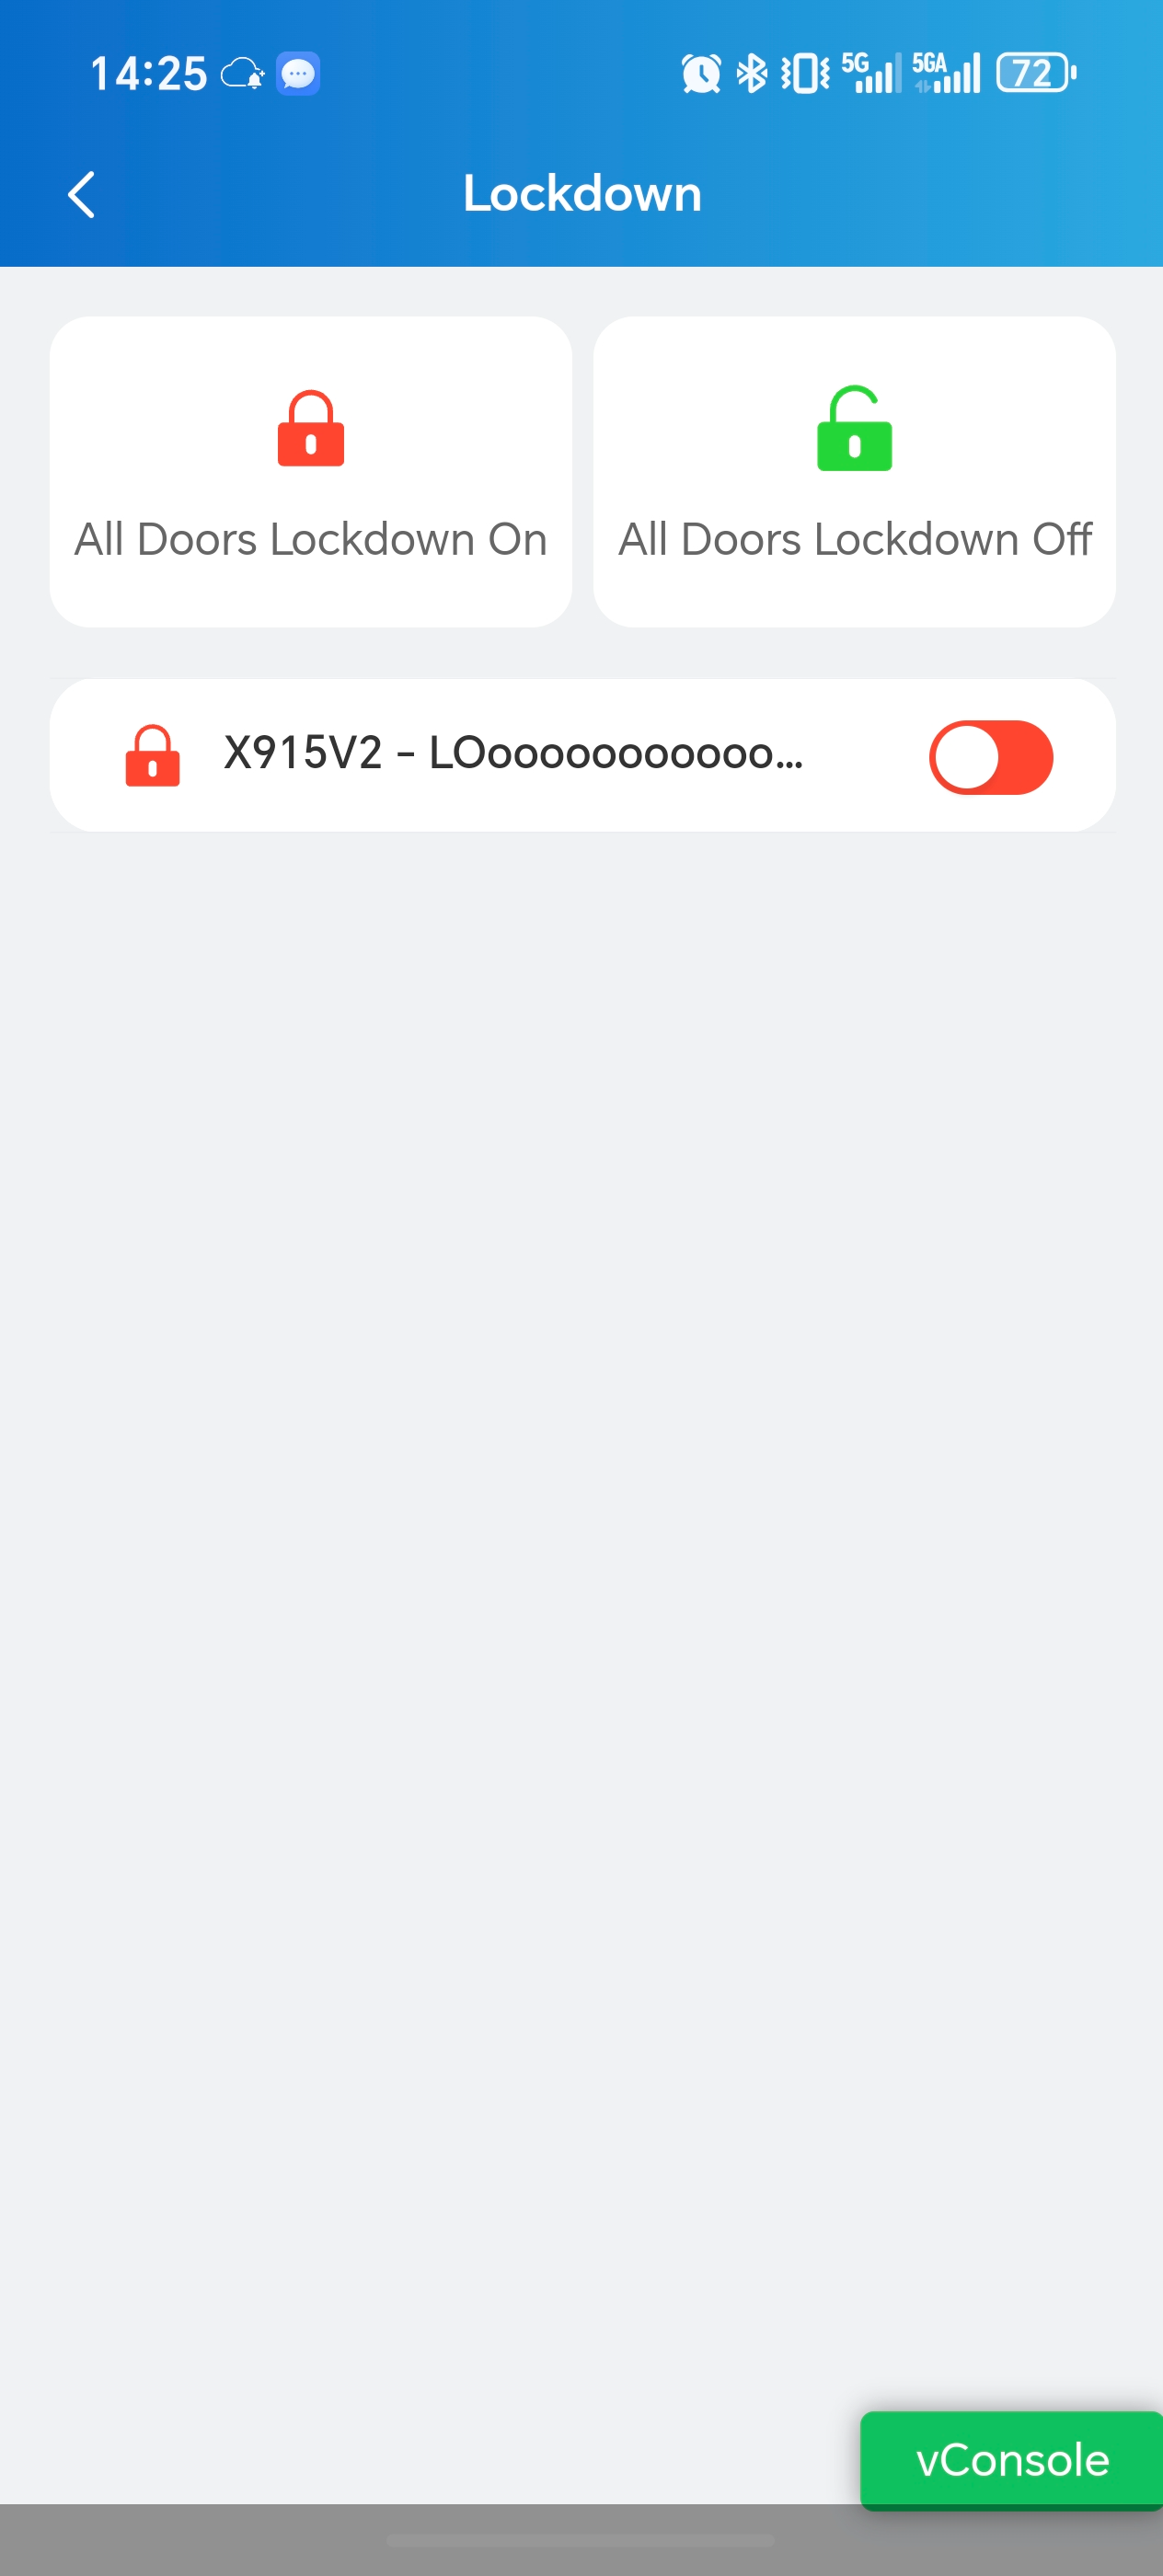
Lockdown
The lockdown feature keeps a door locked. It can be used to keep threats out in dangerous situations.
Doors under lockdown cannot be opened by common access methods such as users’ credentials and exit button.
Tap Lockdown on the Devices page.
Tap All Doors Lockdown On to lock all doors; tap All Doors Lockdown Off to release all doors.
You can also lock a specific door.
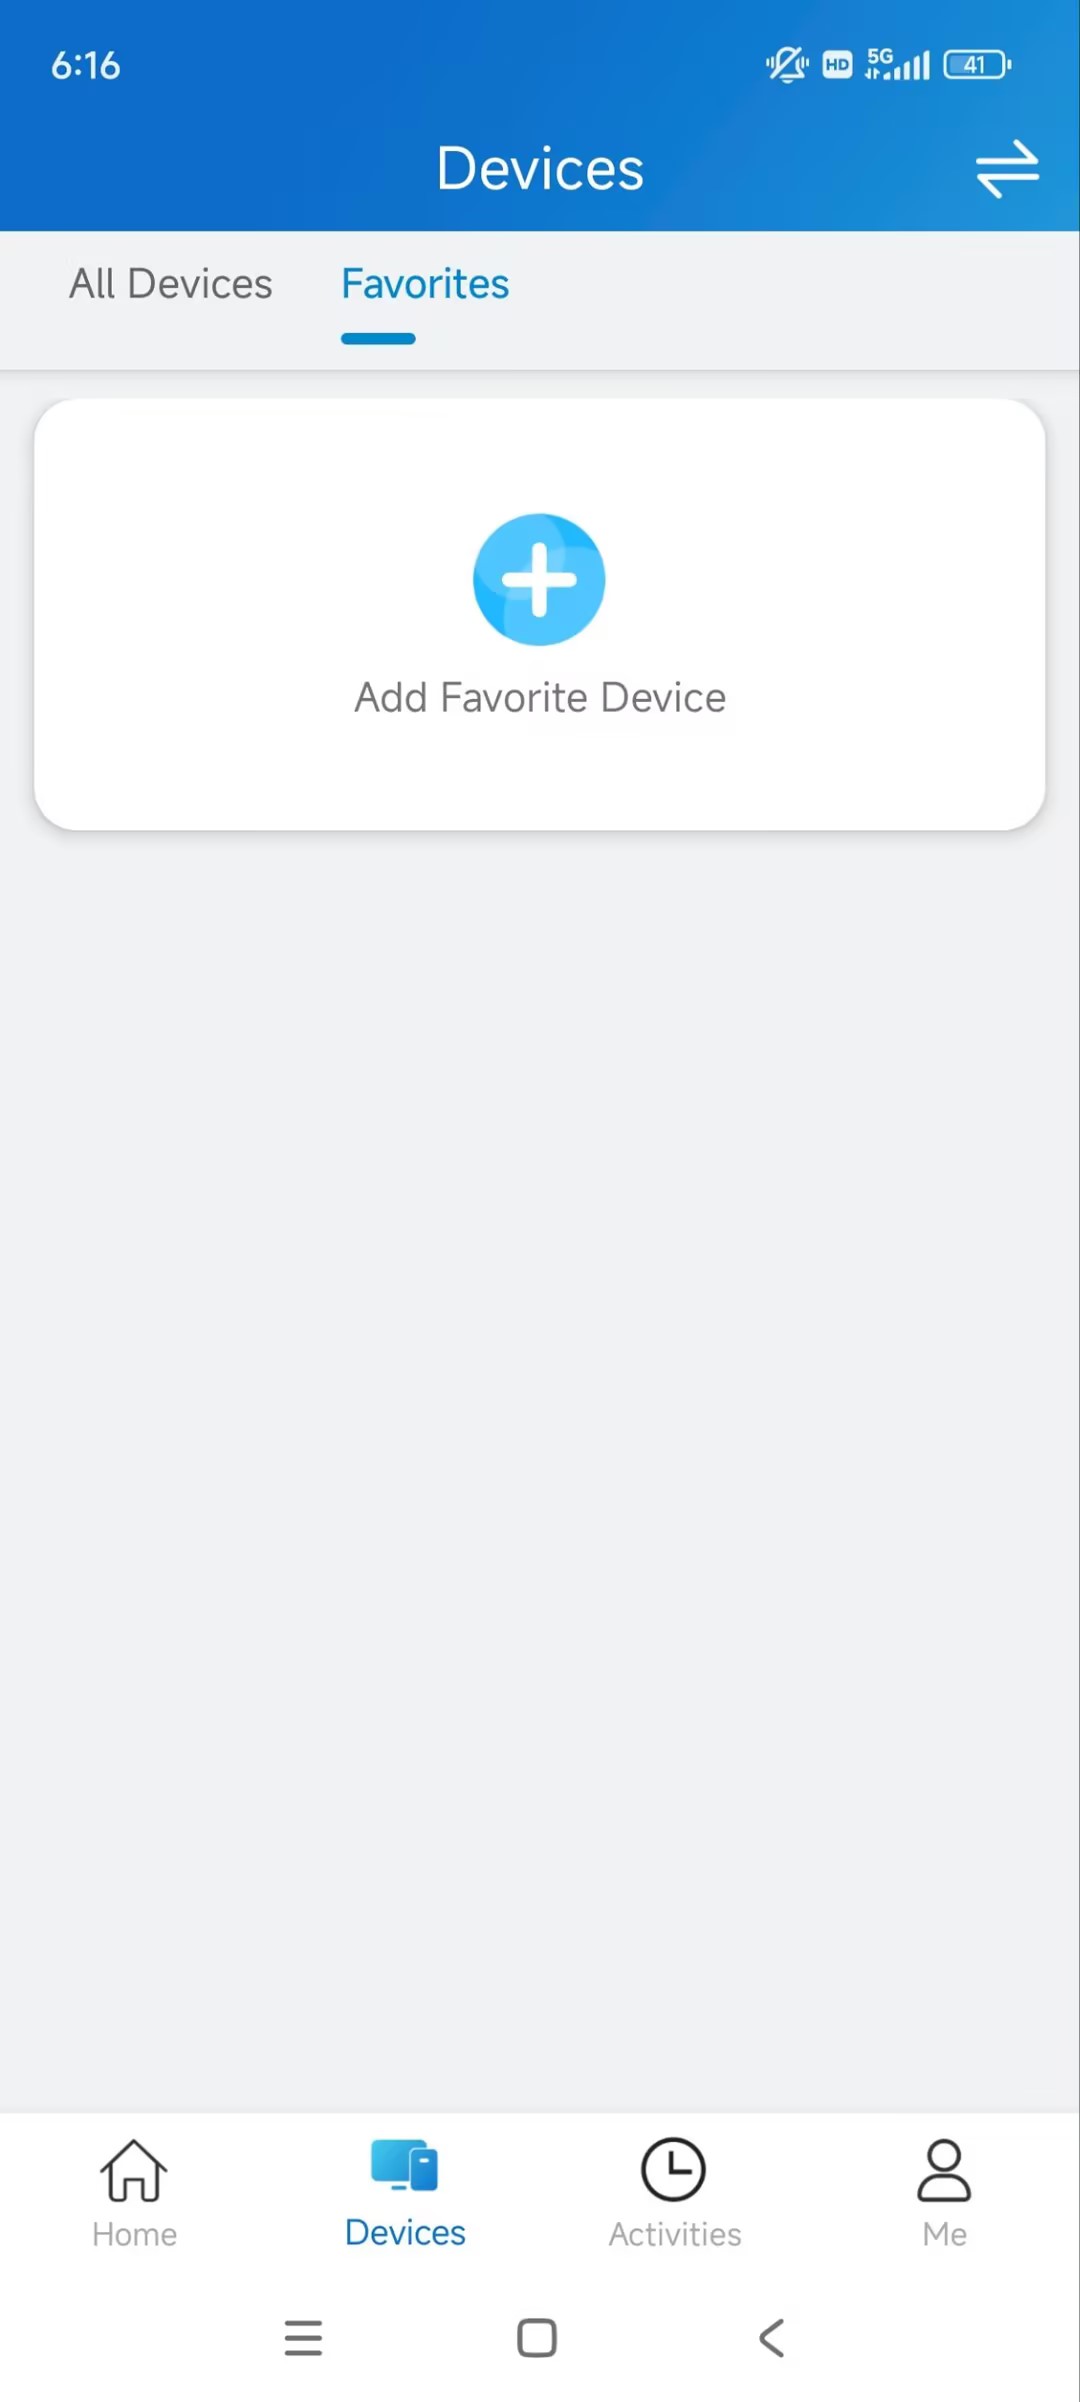
Favorite Devices
This feature enables you to easily add or remove the devices you use most.
Tap Devices > Favorites > Add Favorite Device.
Check the desired device and return to the Devices page. The device will be on the Favorites list.

To modify your favorites, tap the Edit icon.
Call Settings
The call settings allow you to set up landline numbers, contact preferences, how you receive notifications for incoming calls, and the call kit feature.
Landline
The landline feature is ONLY available when your service provider enables it.
Tap Me > Settings > Call Settings > Landline.
Select the area code and enter the landline number.
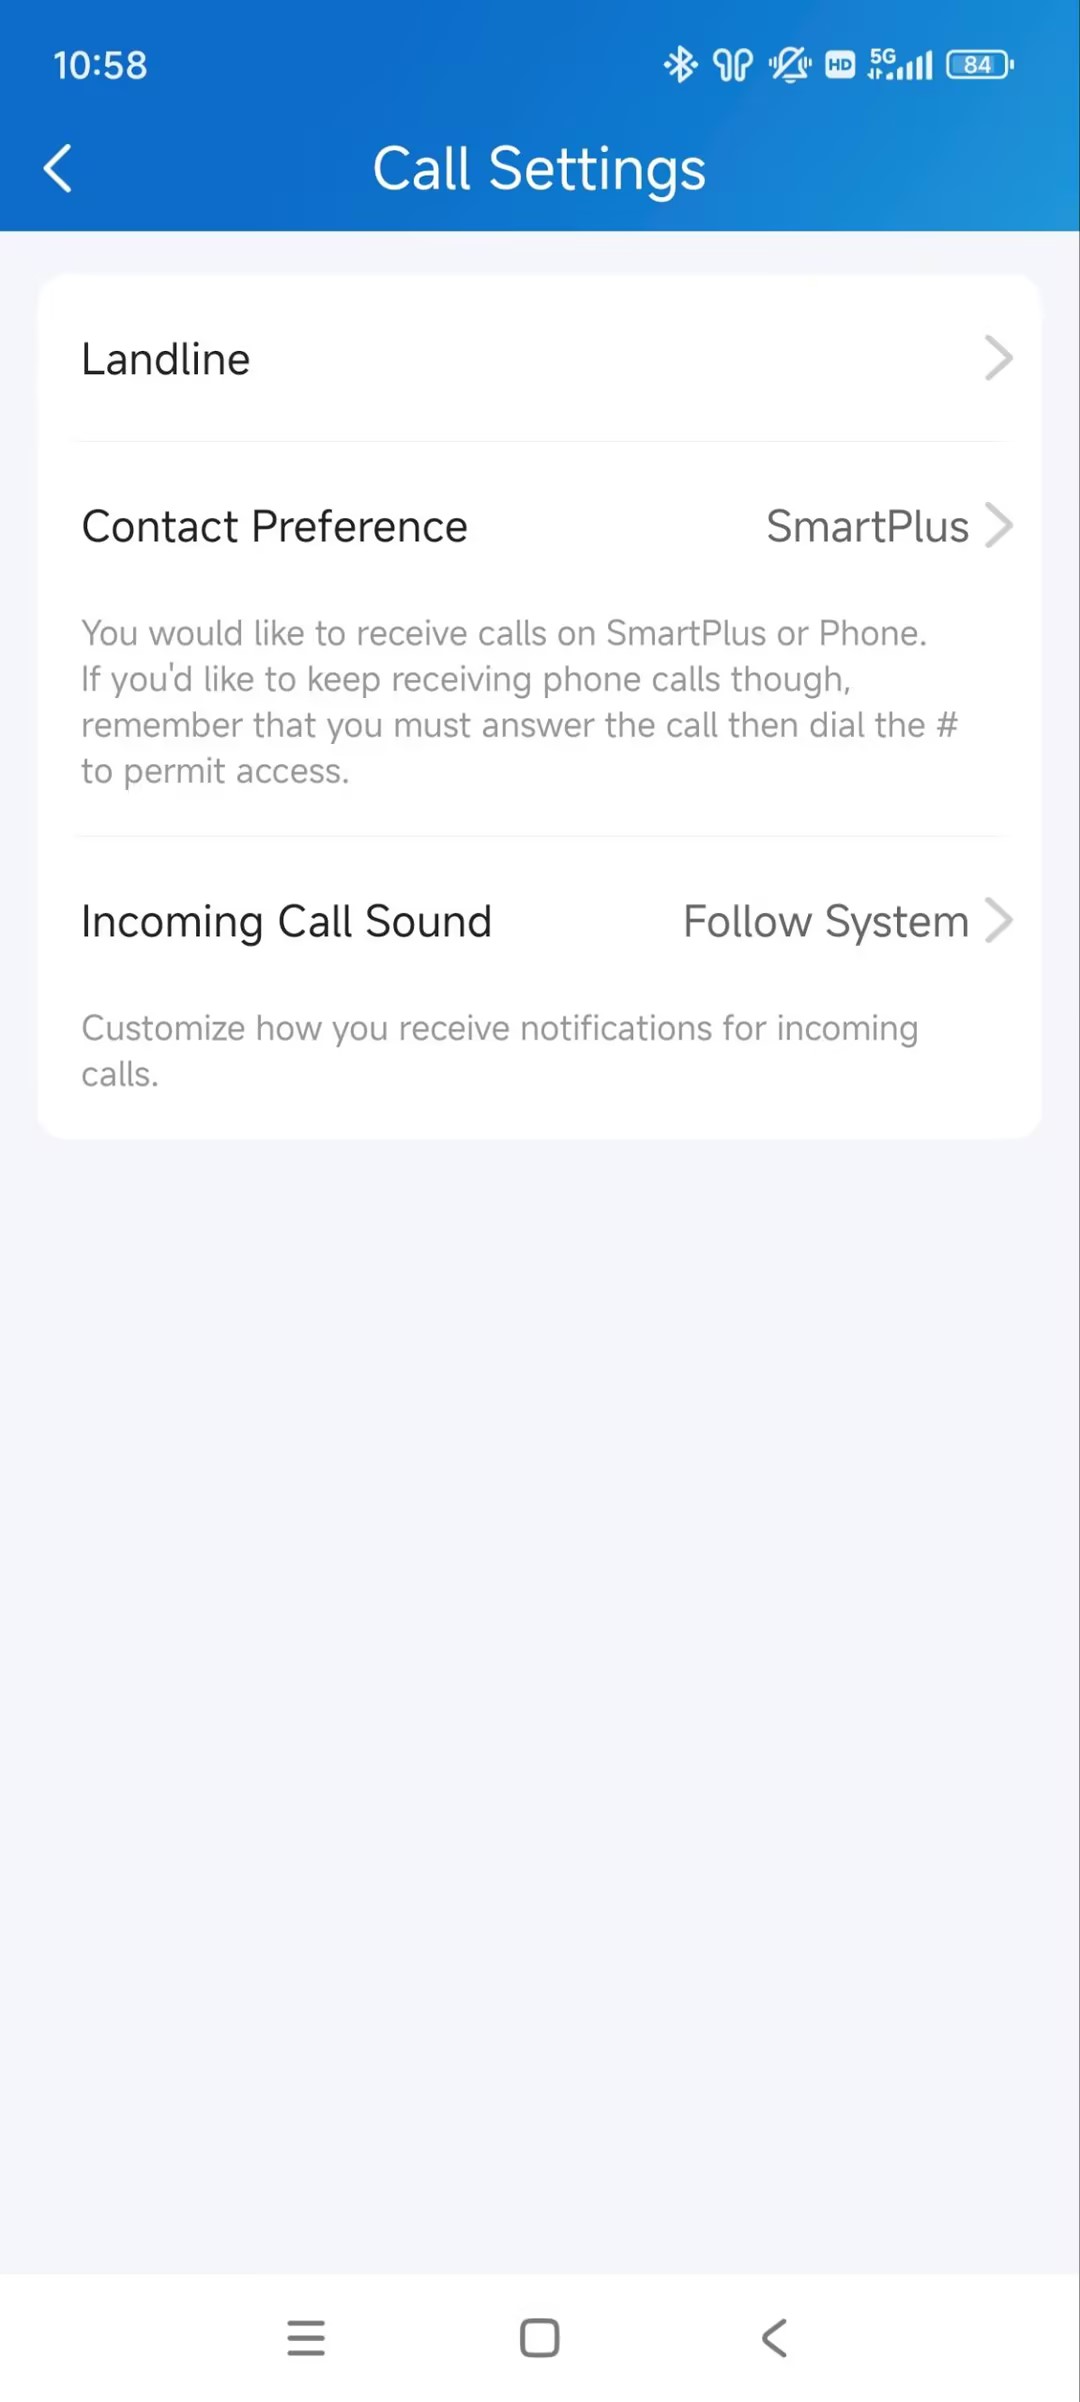

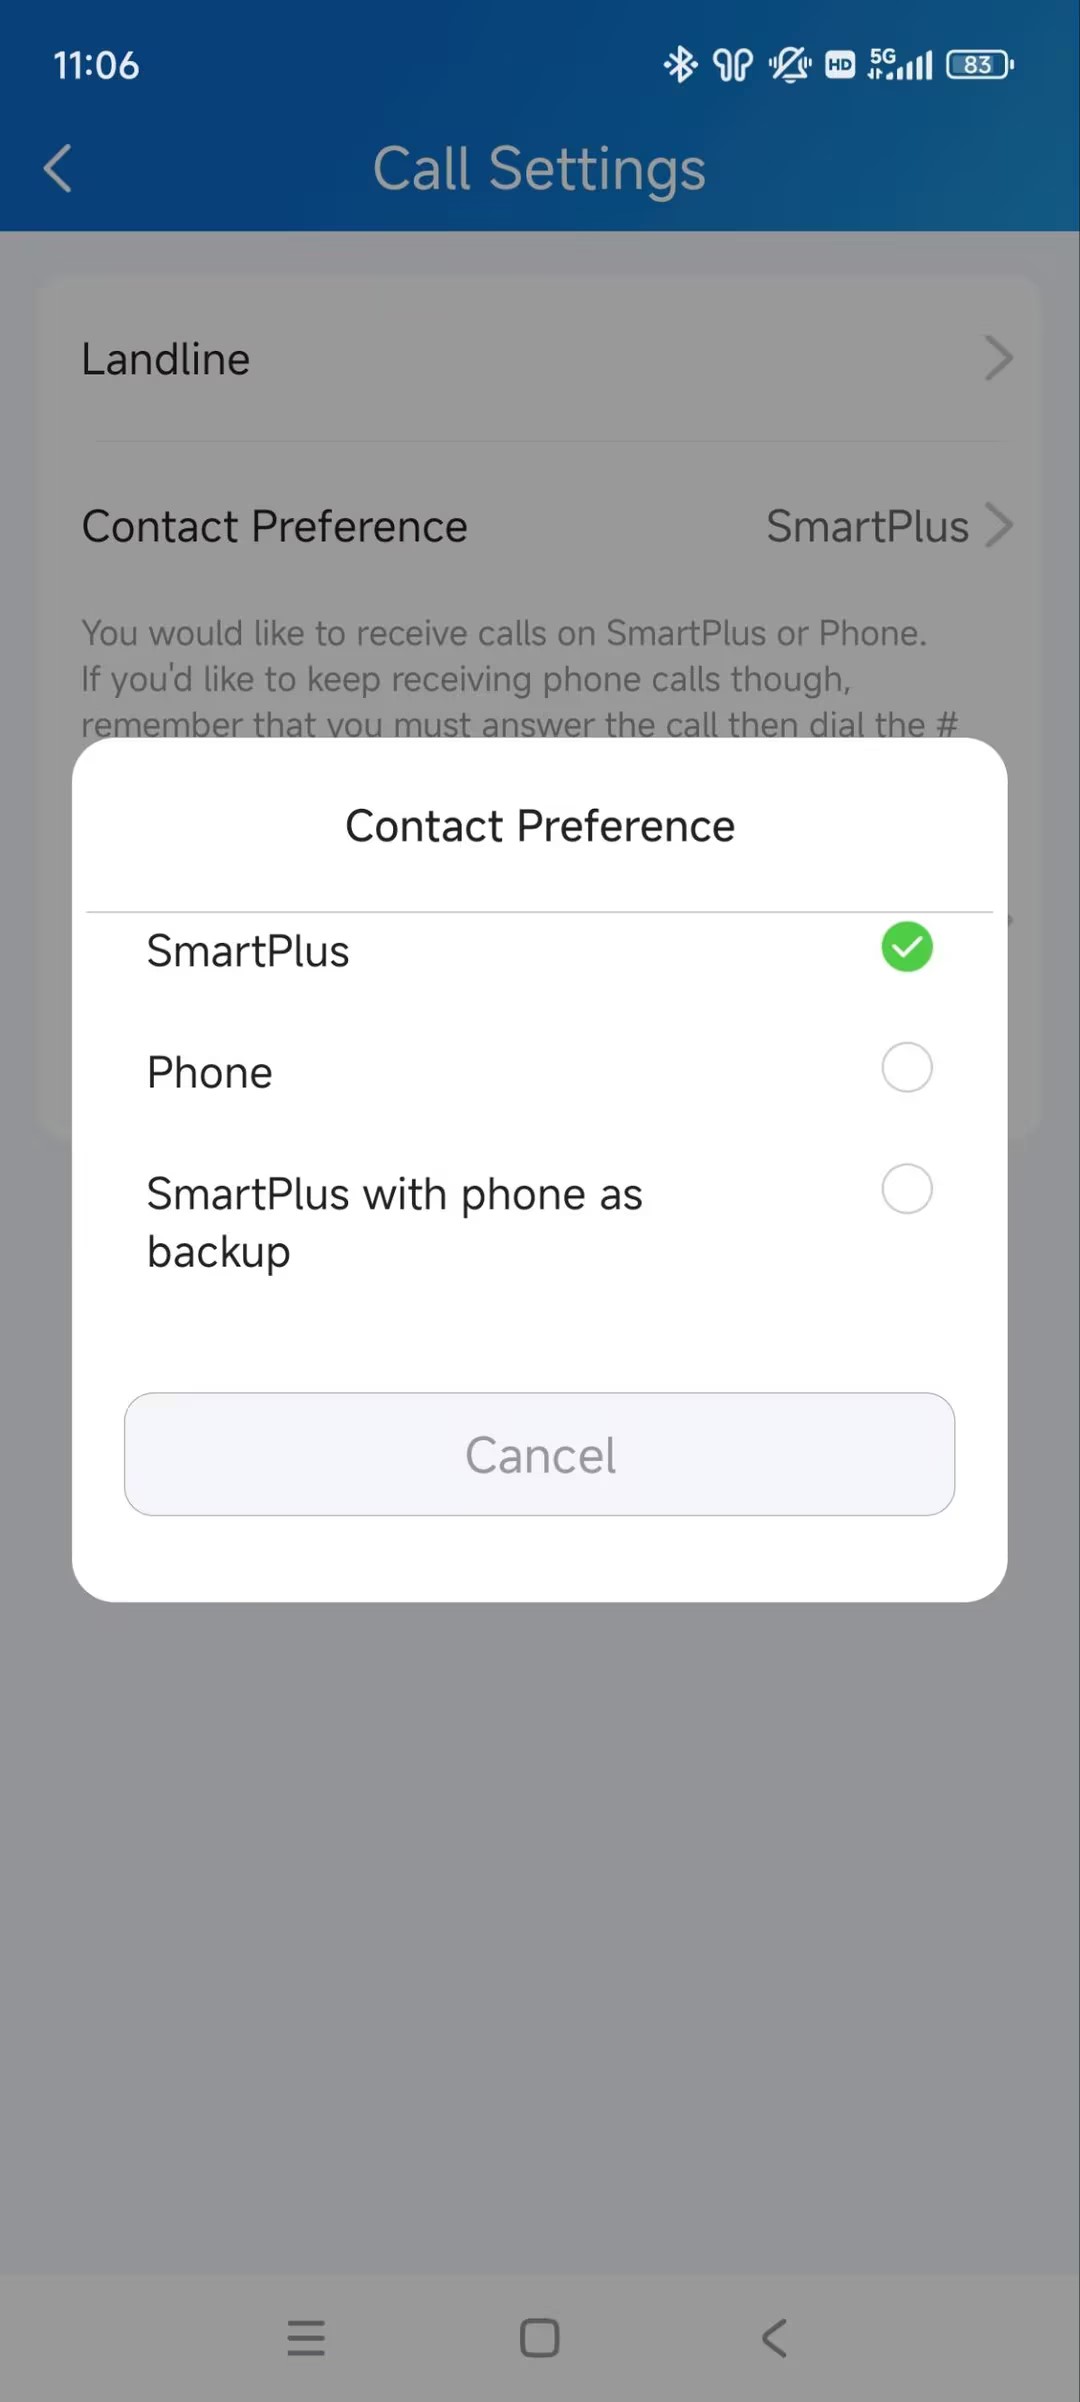
Contact Preference
This feature decides to receive calls on the SmartPlus App or your phone.
Tap Me > Settings > Call Settings > Contact Preference.
Select the desired option.
SmartPlus: The SmartPlus App and indoor monitor will receive incoming calls.
Phone: Your phone and indoor monitor will receive incoming calls.
SmartPlus with phone as backup: SmartPlus and indoor monitor(s) will be called first, then the forwarded phone number if the call is not answered.
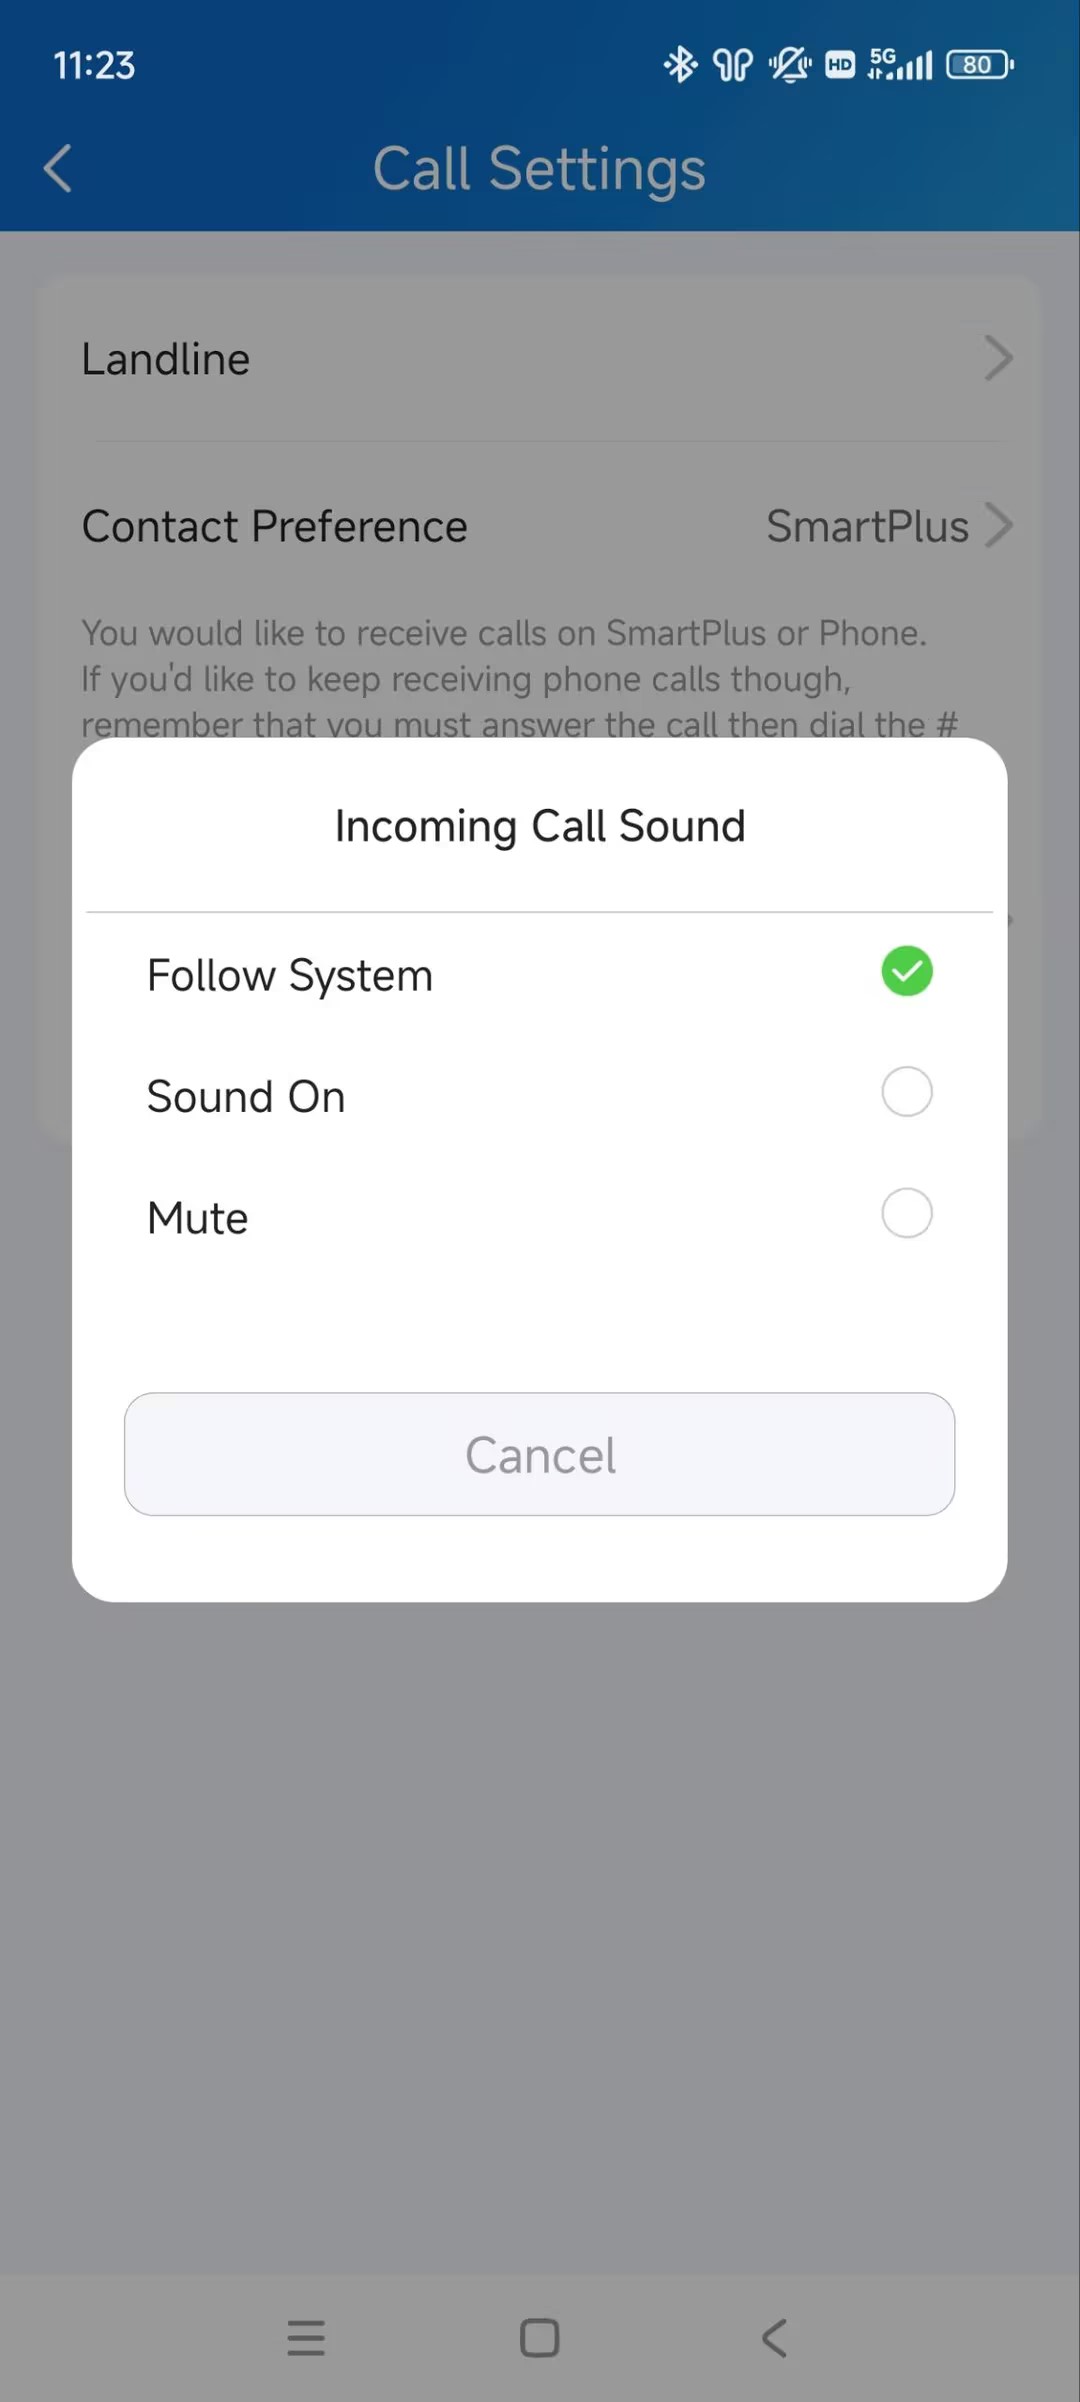
Incoming Call Sound
You can select the notification sound when receiving an incoming call.
Tap Me > Settings > Call Settings > Incoming Call Sound.
Select the desired option.
Follow System: Use the default system sound.
Sound On: Use the SmartPlus default sound.
Mute: Mute the incoming call sound.
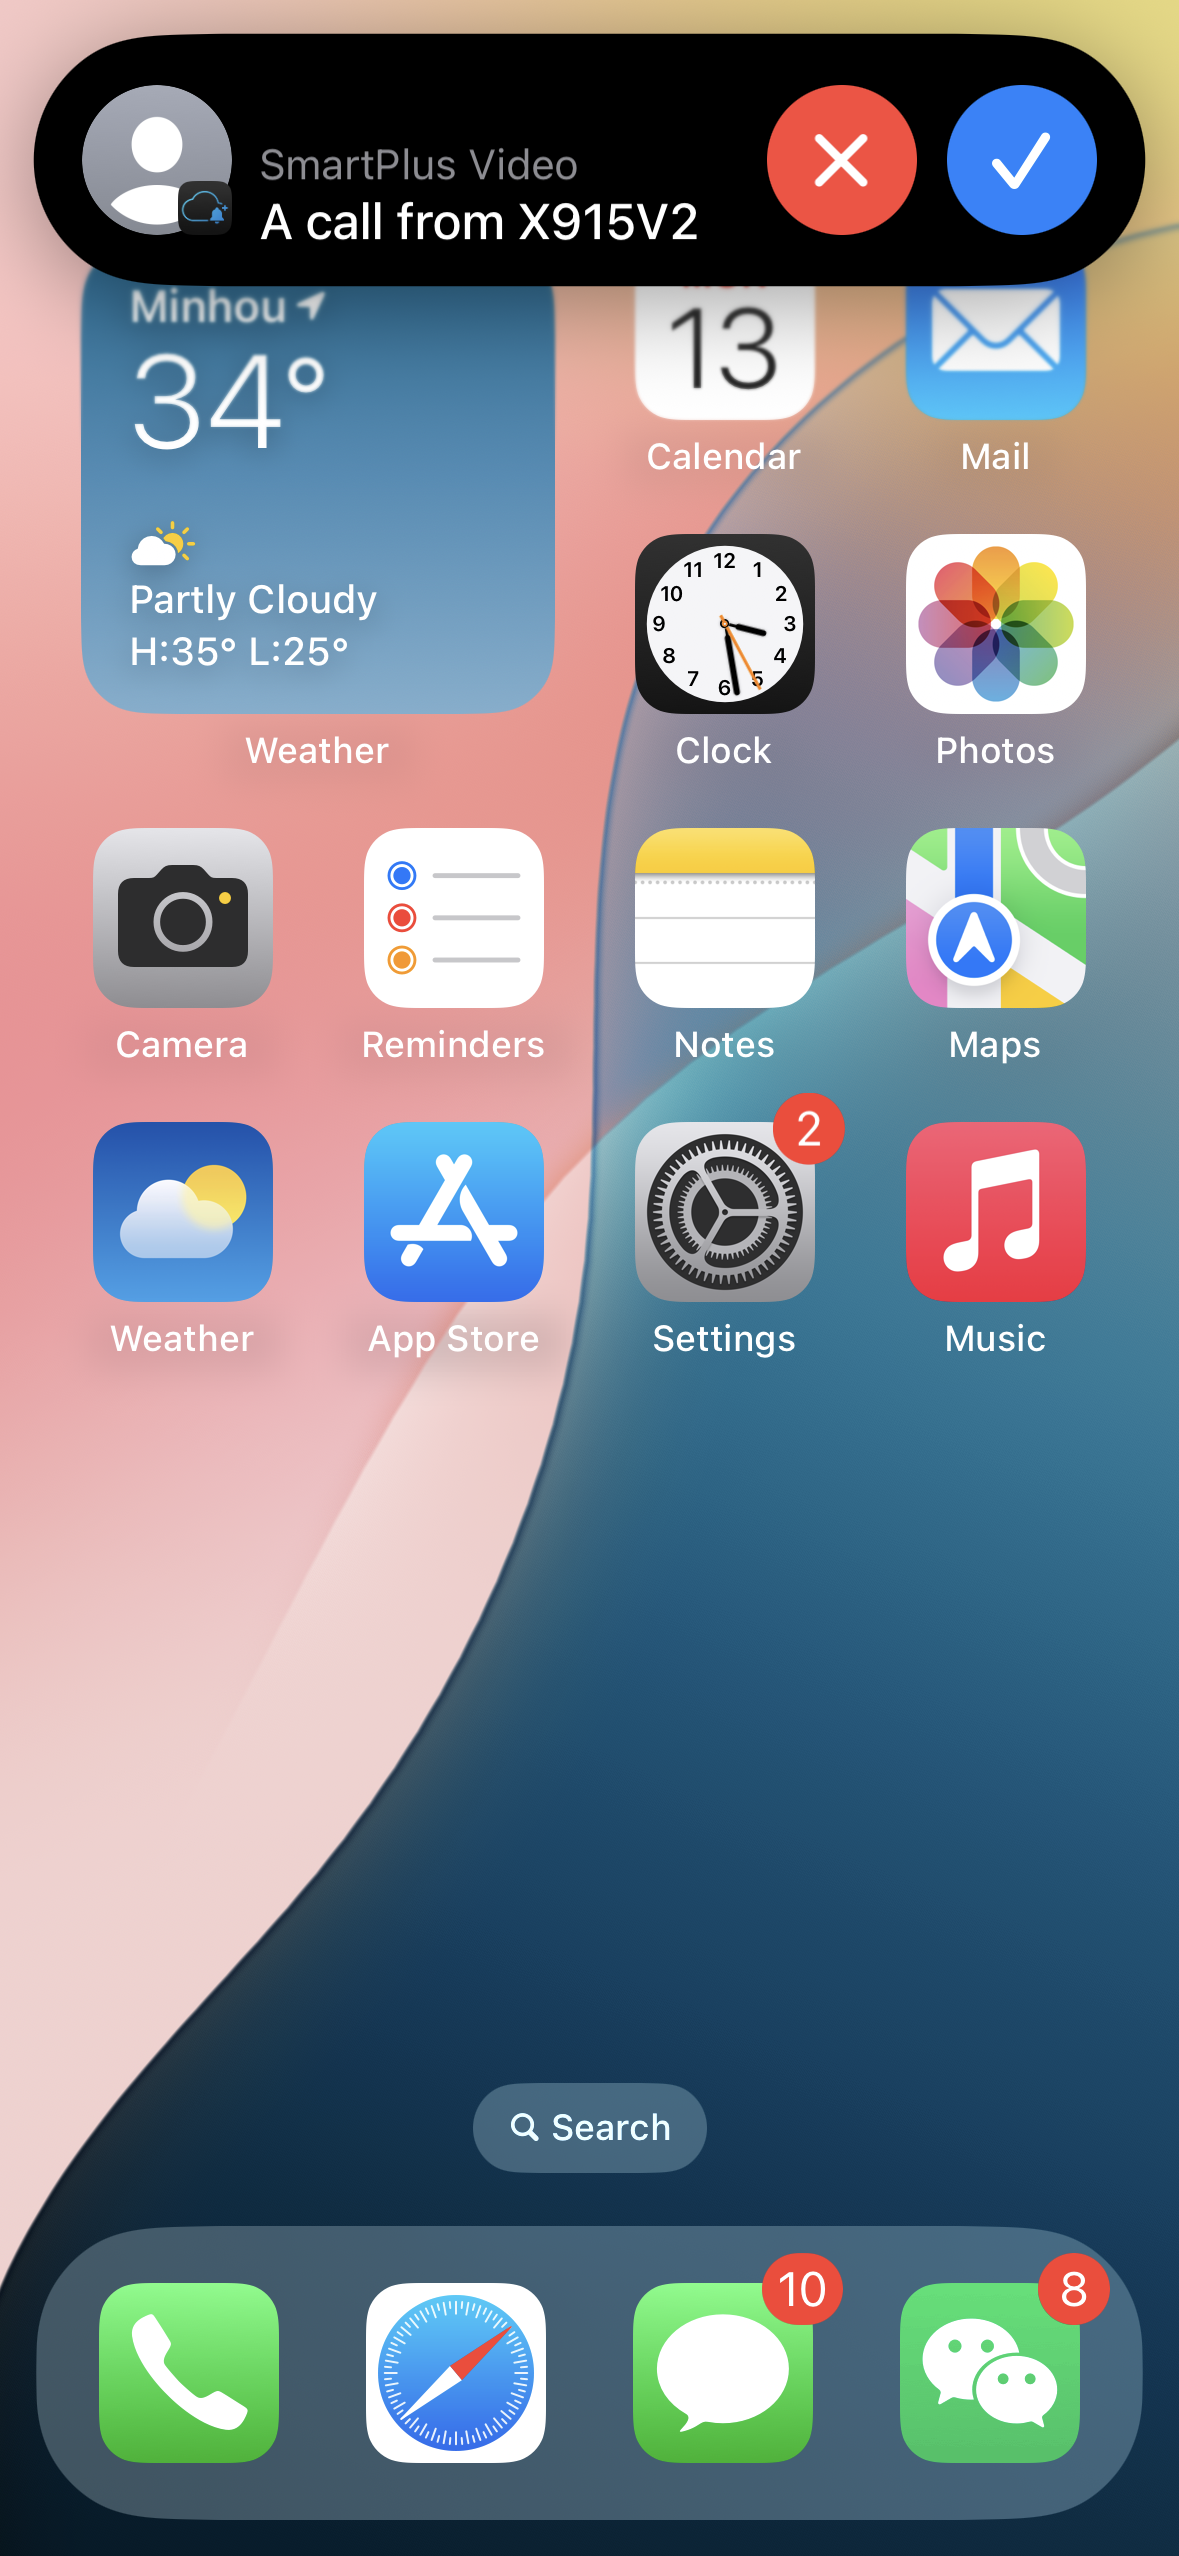
Set up Call Kit
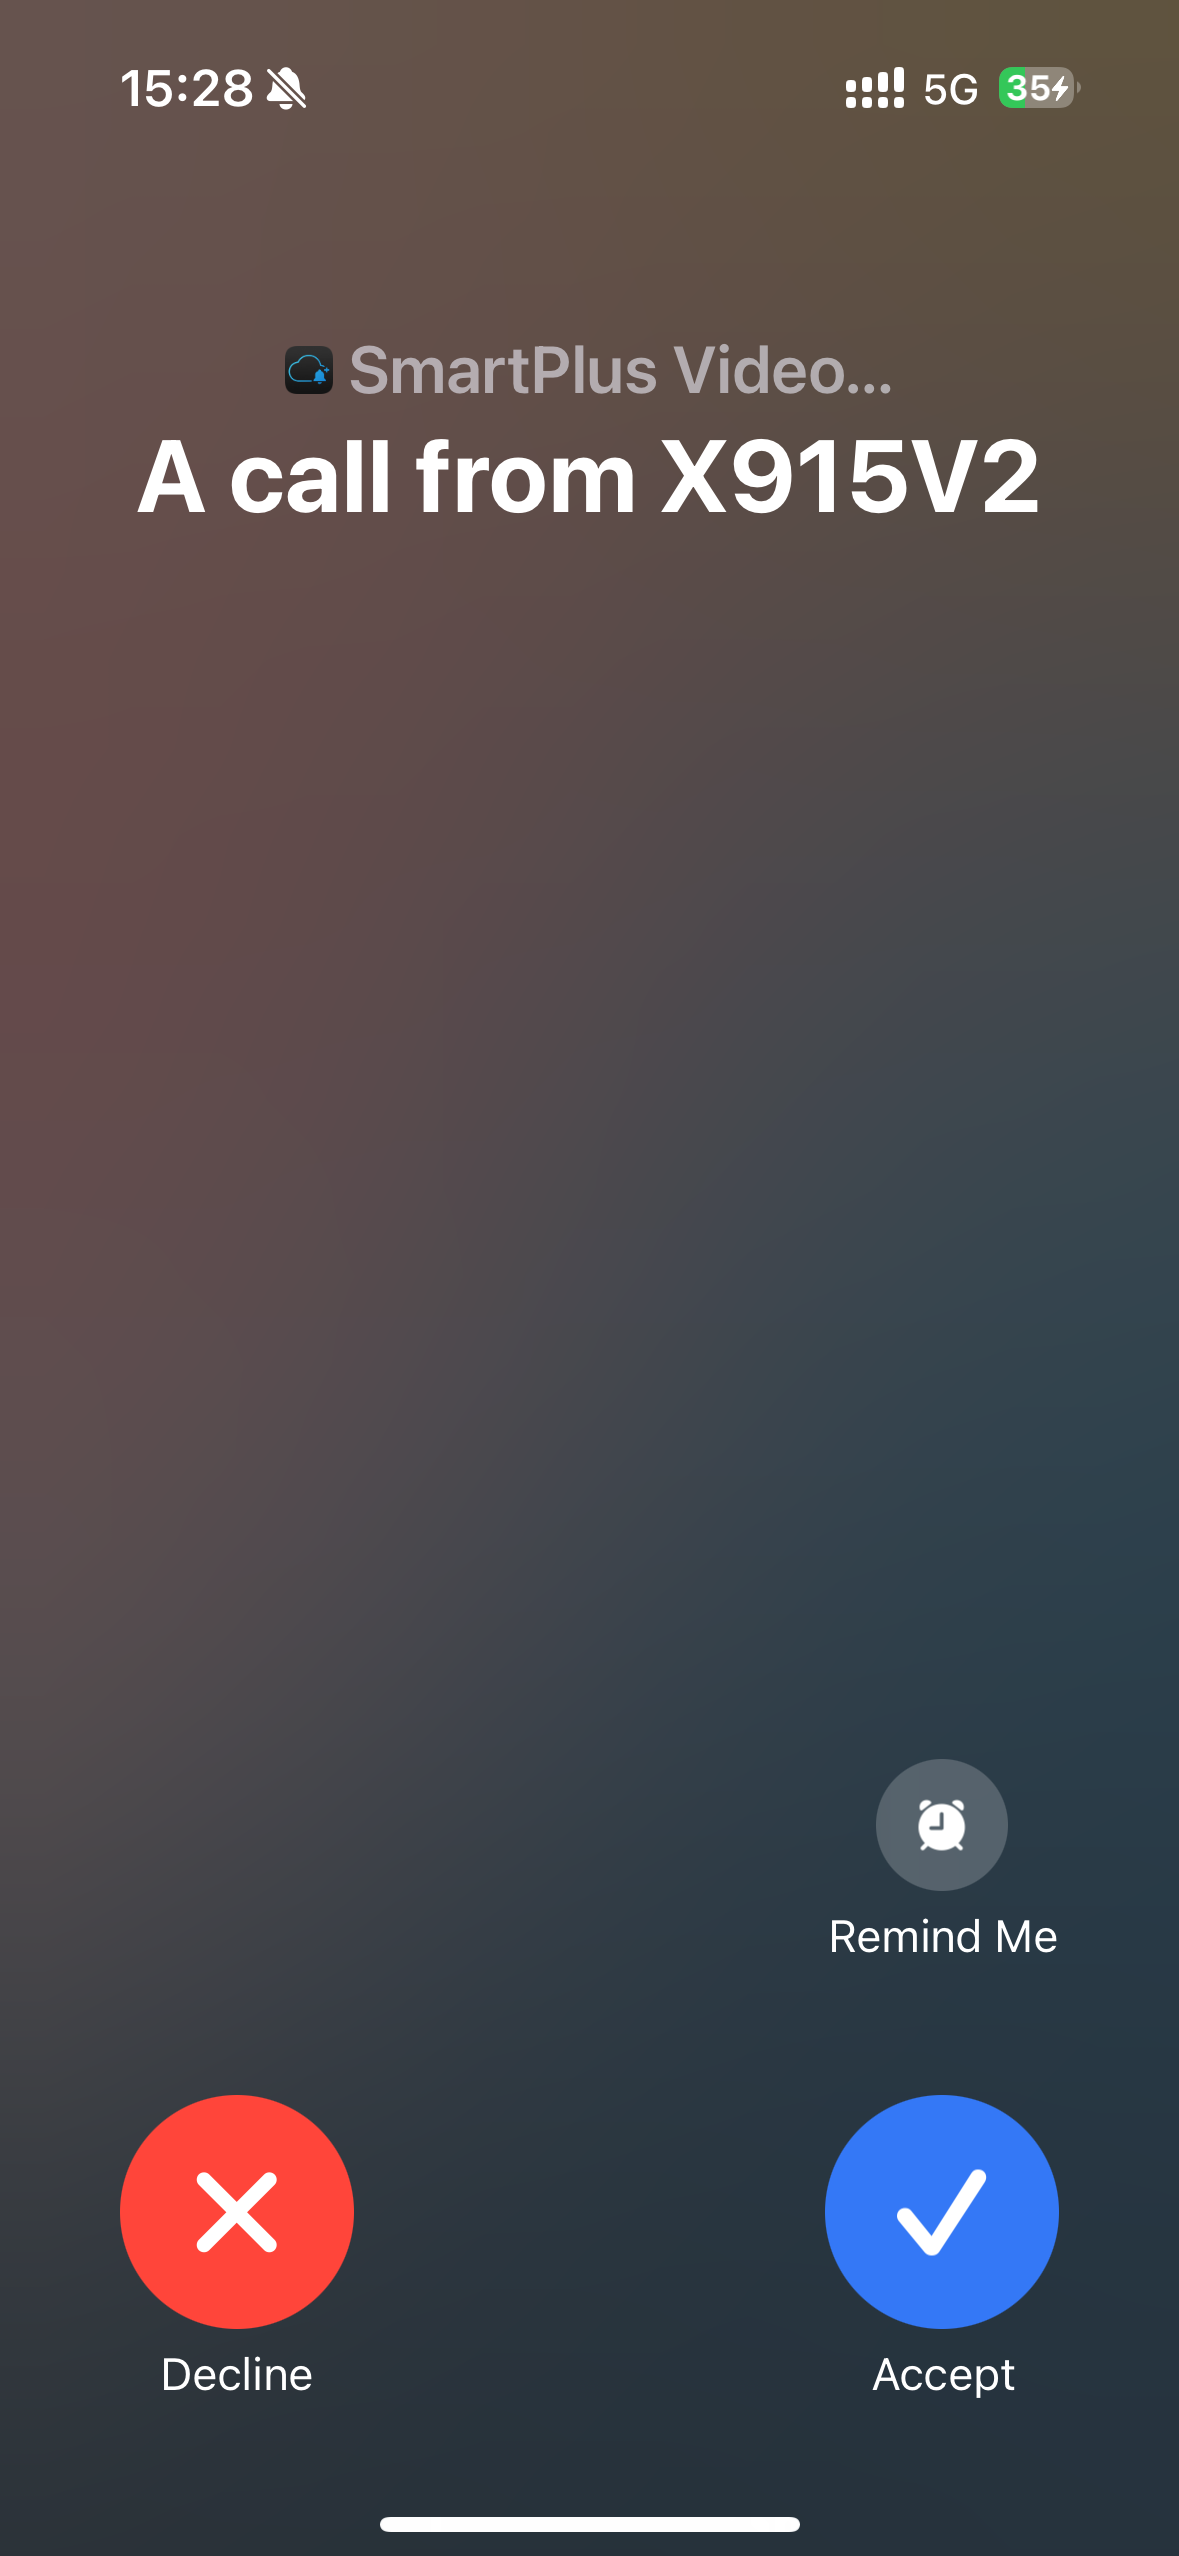
The call kit feature prevents you from missing incoming calls. The incoming call notification will be displayed on the full screen just as you receive a phone call.
Note
ONLY the iOS system supports this feature.
Tap Me > Settings > Call Settings > Display Incoming Calls.
Select the incoming call display mode.
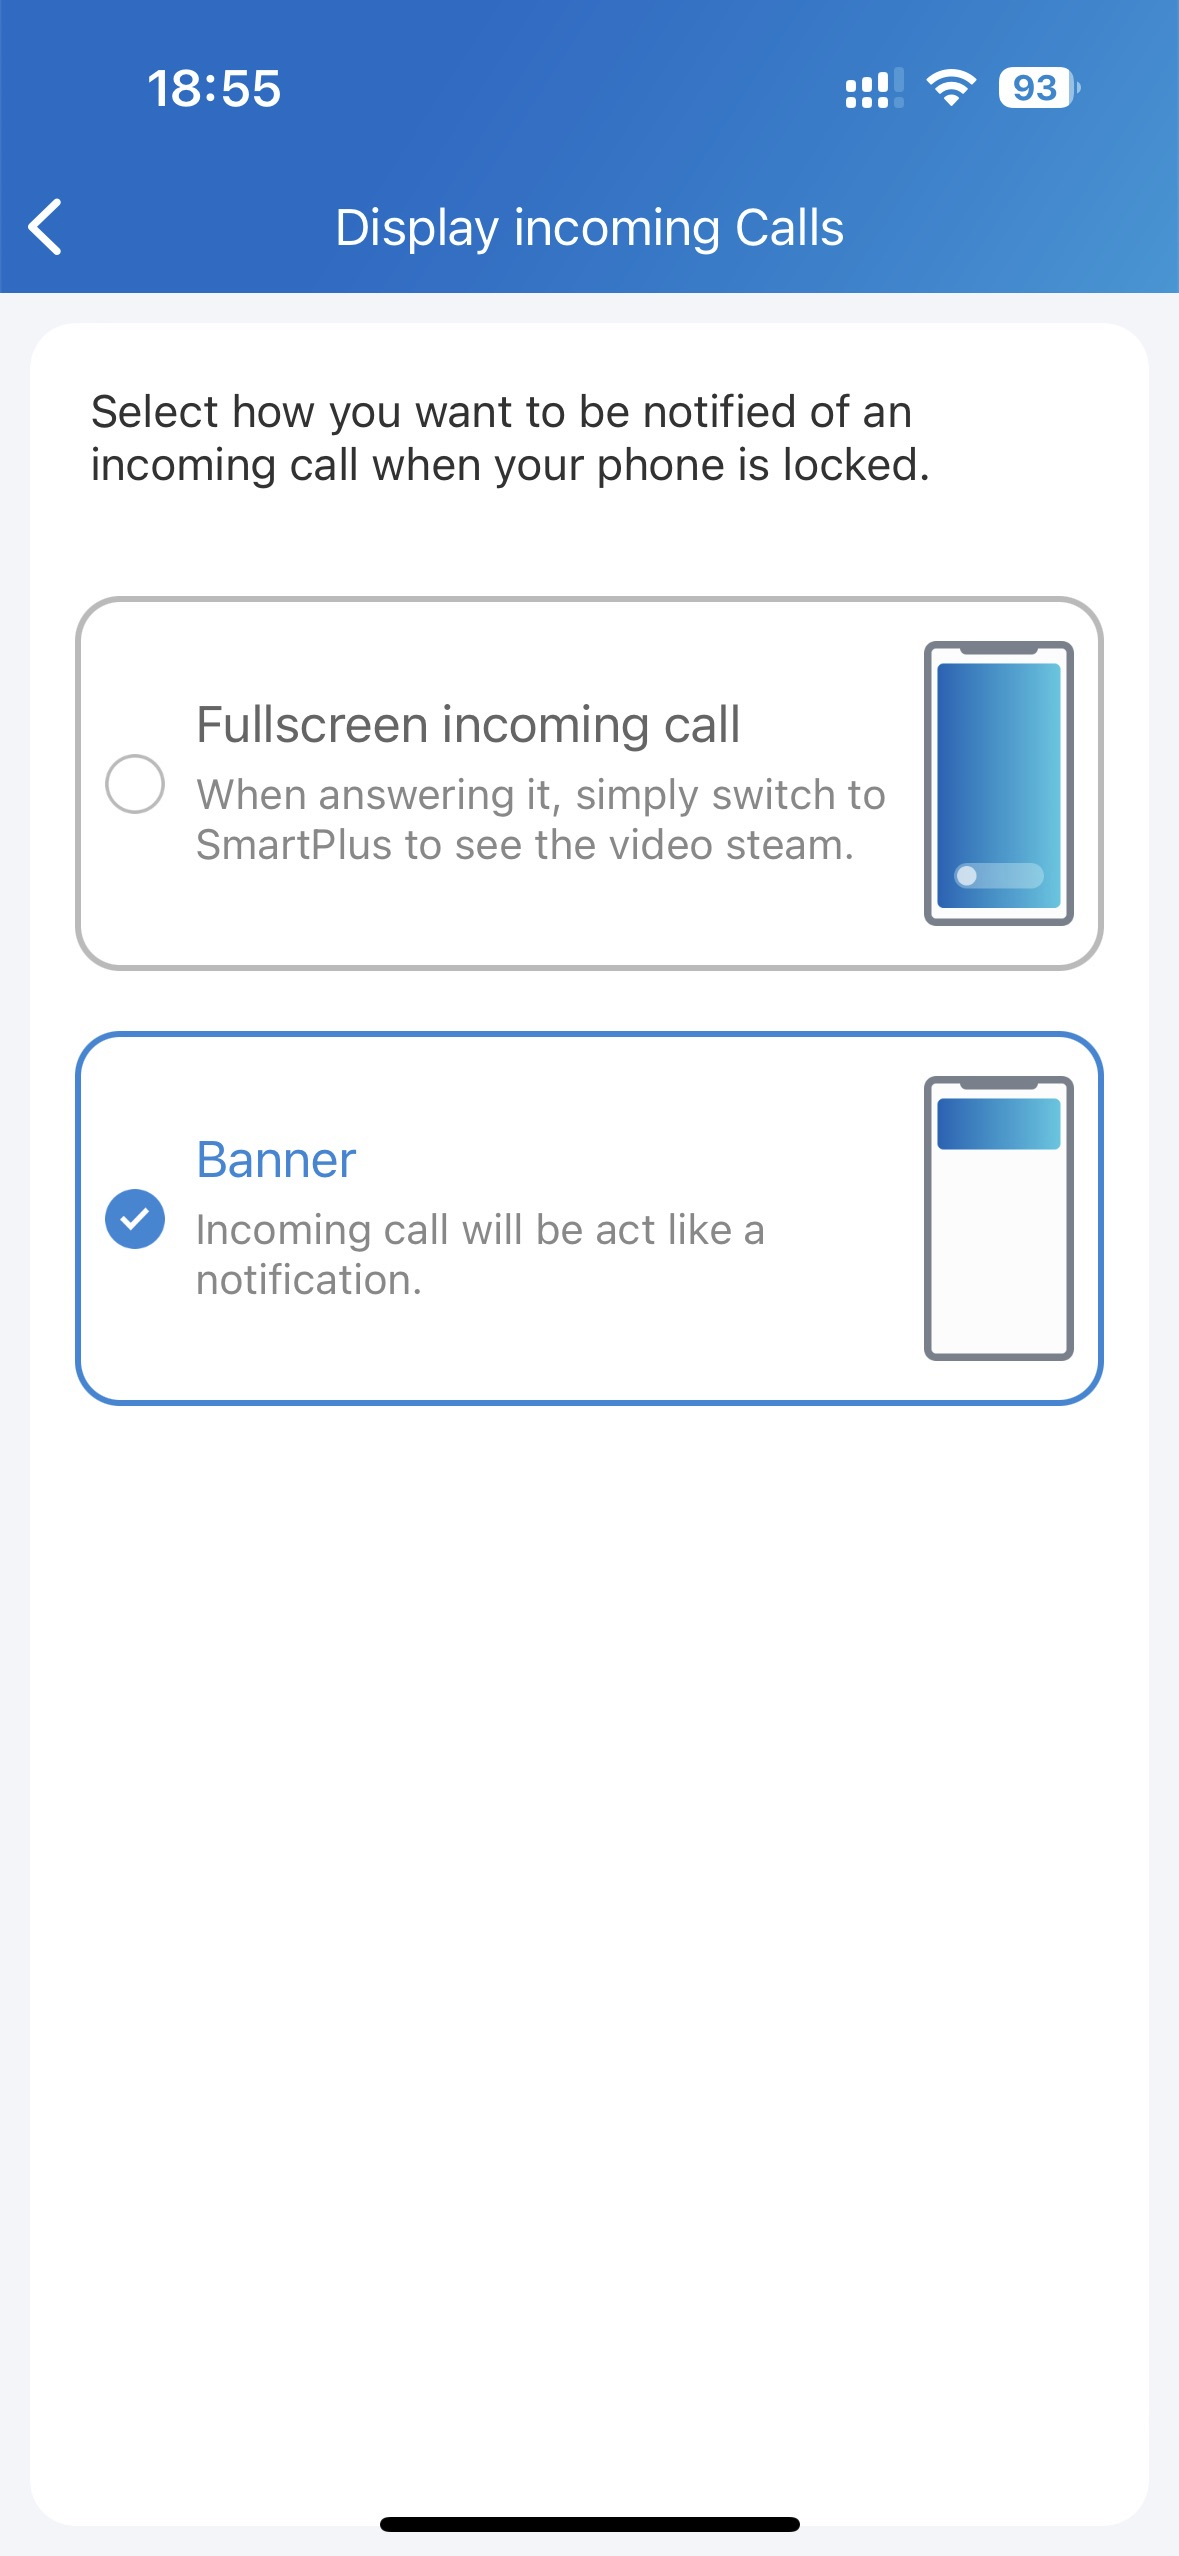
Banner Mode | Full Screen Display |
|---|---|
|
|
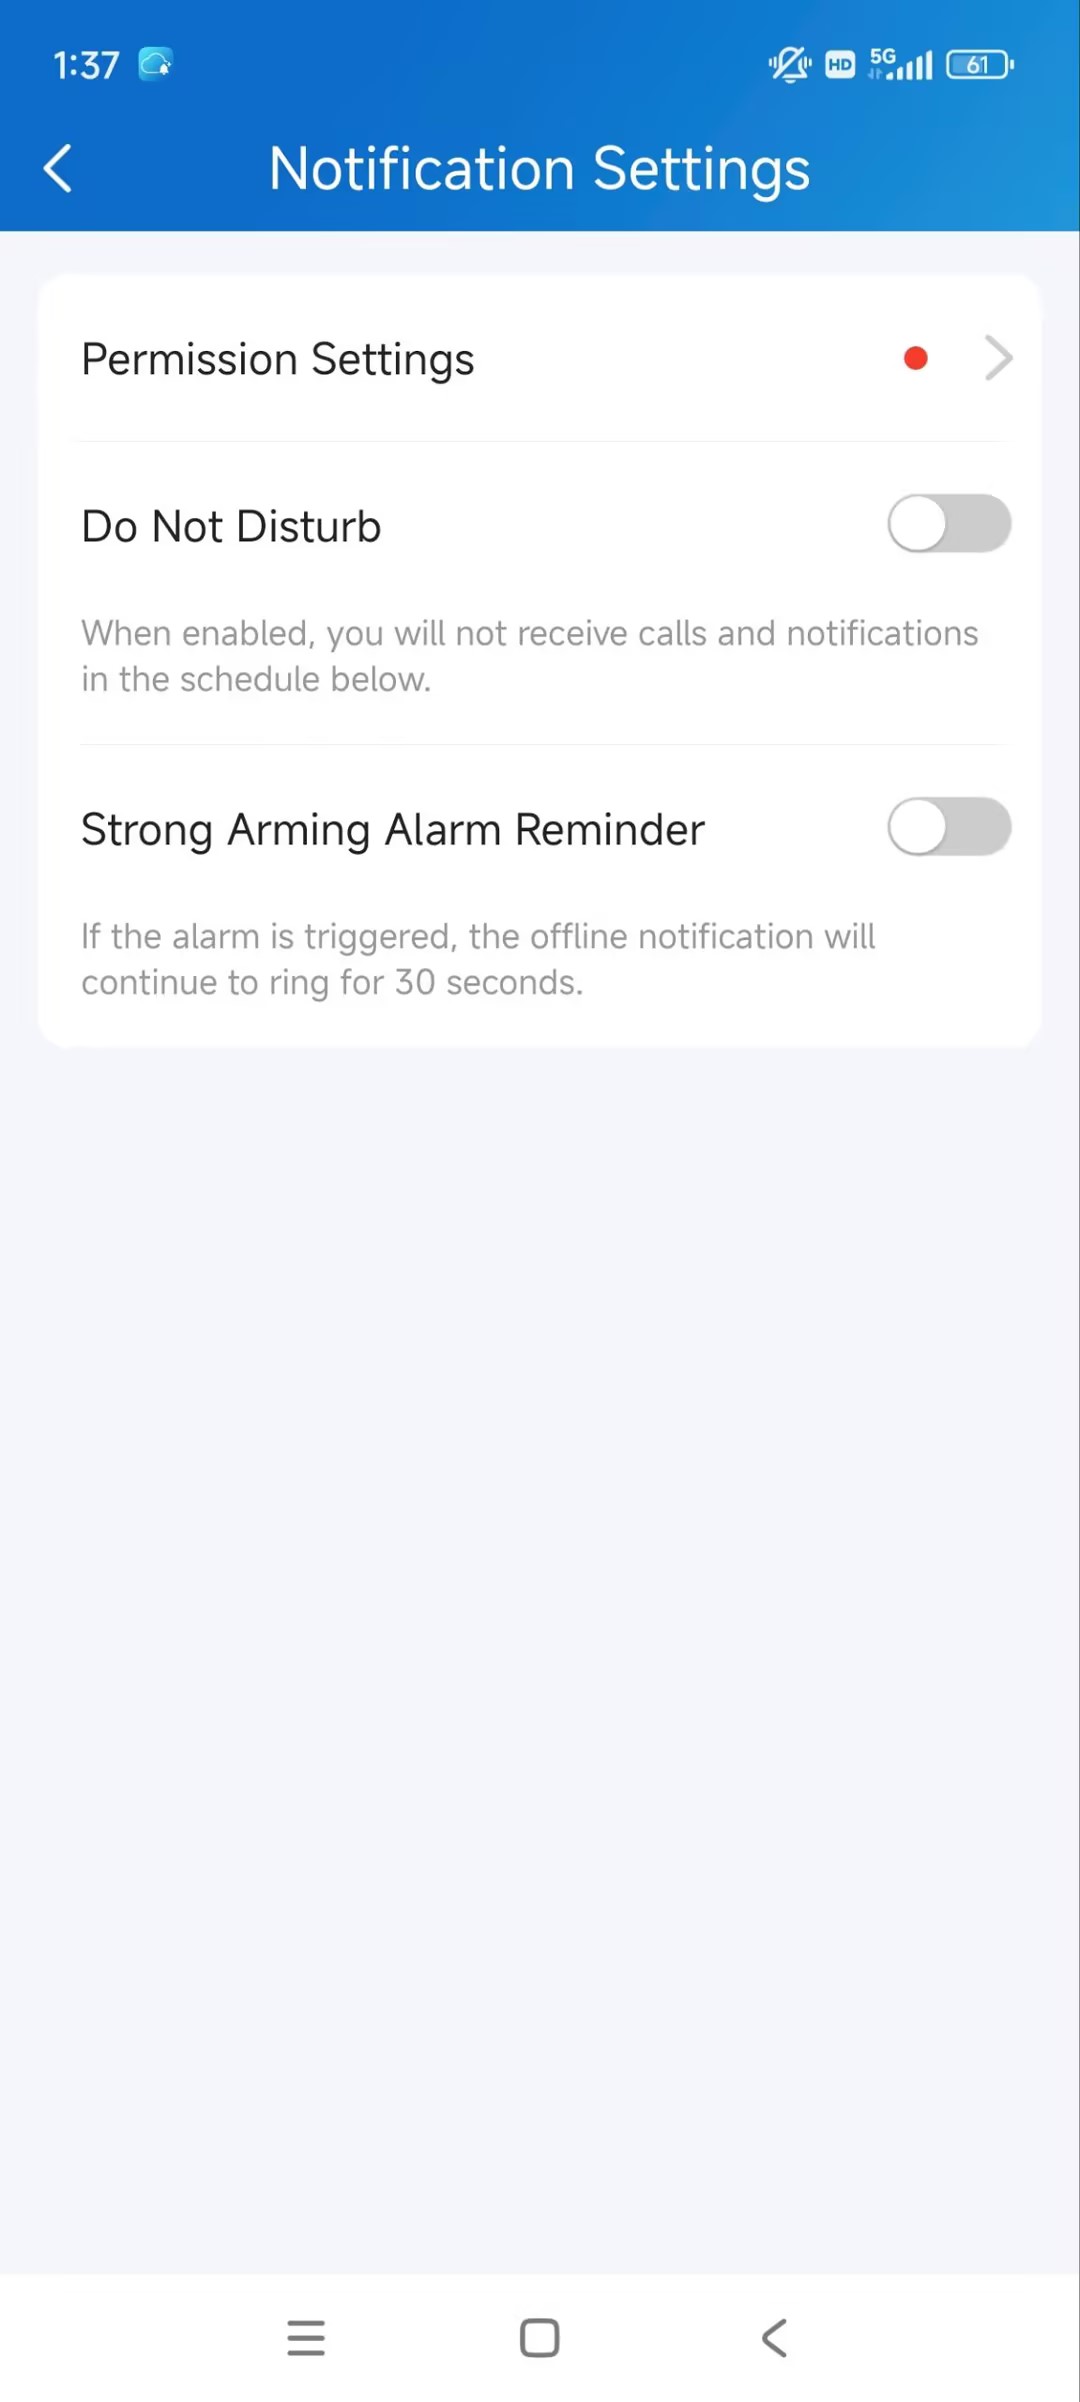
Not to Receive Calls
You can reject incoming calls made to the SmartPlus App when you do not want to be disturbed.
Tap Me > Settings > Notification Settings.
Enable/disable Do Not Disturb.
Attendance
You can check attendance reports after you set up attendance on the SmartPlus web portal. New attendance records are generated during off-peak hours each day and updated each time attendance changes.
Tap Daily Attendance Report on the homepage. You can filter records by entering dates and selecting groups.
.jpg)
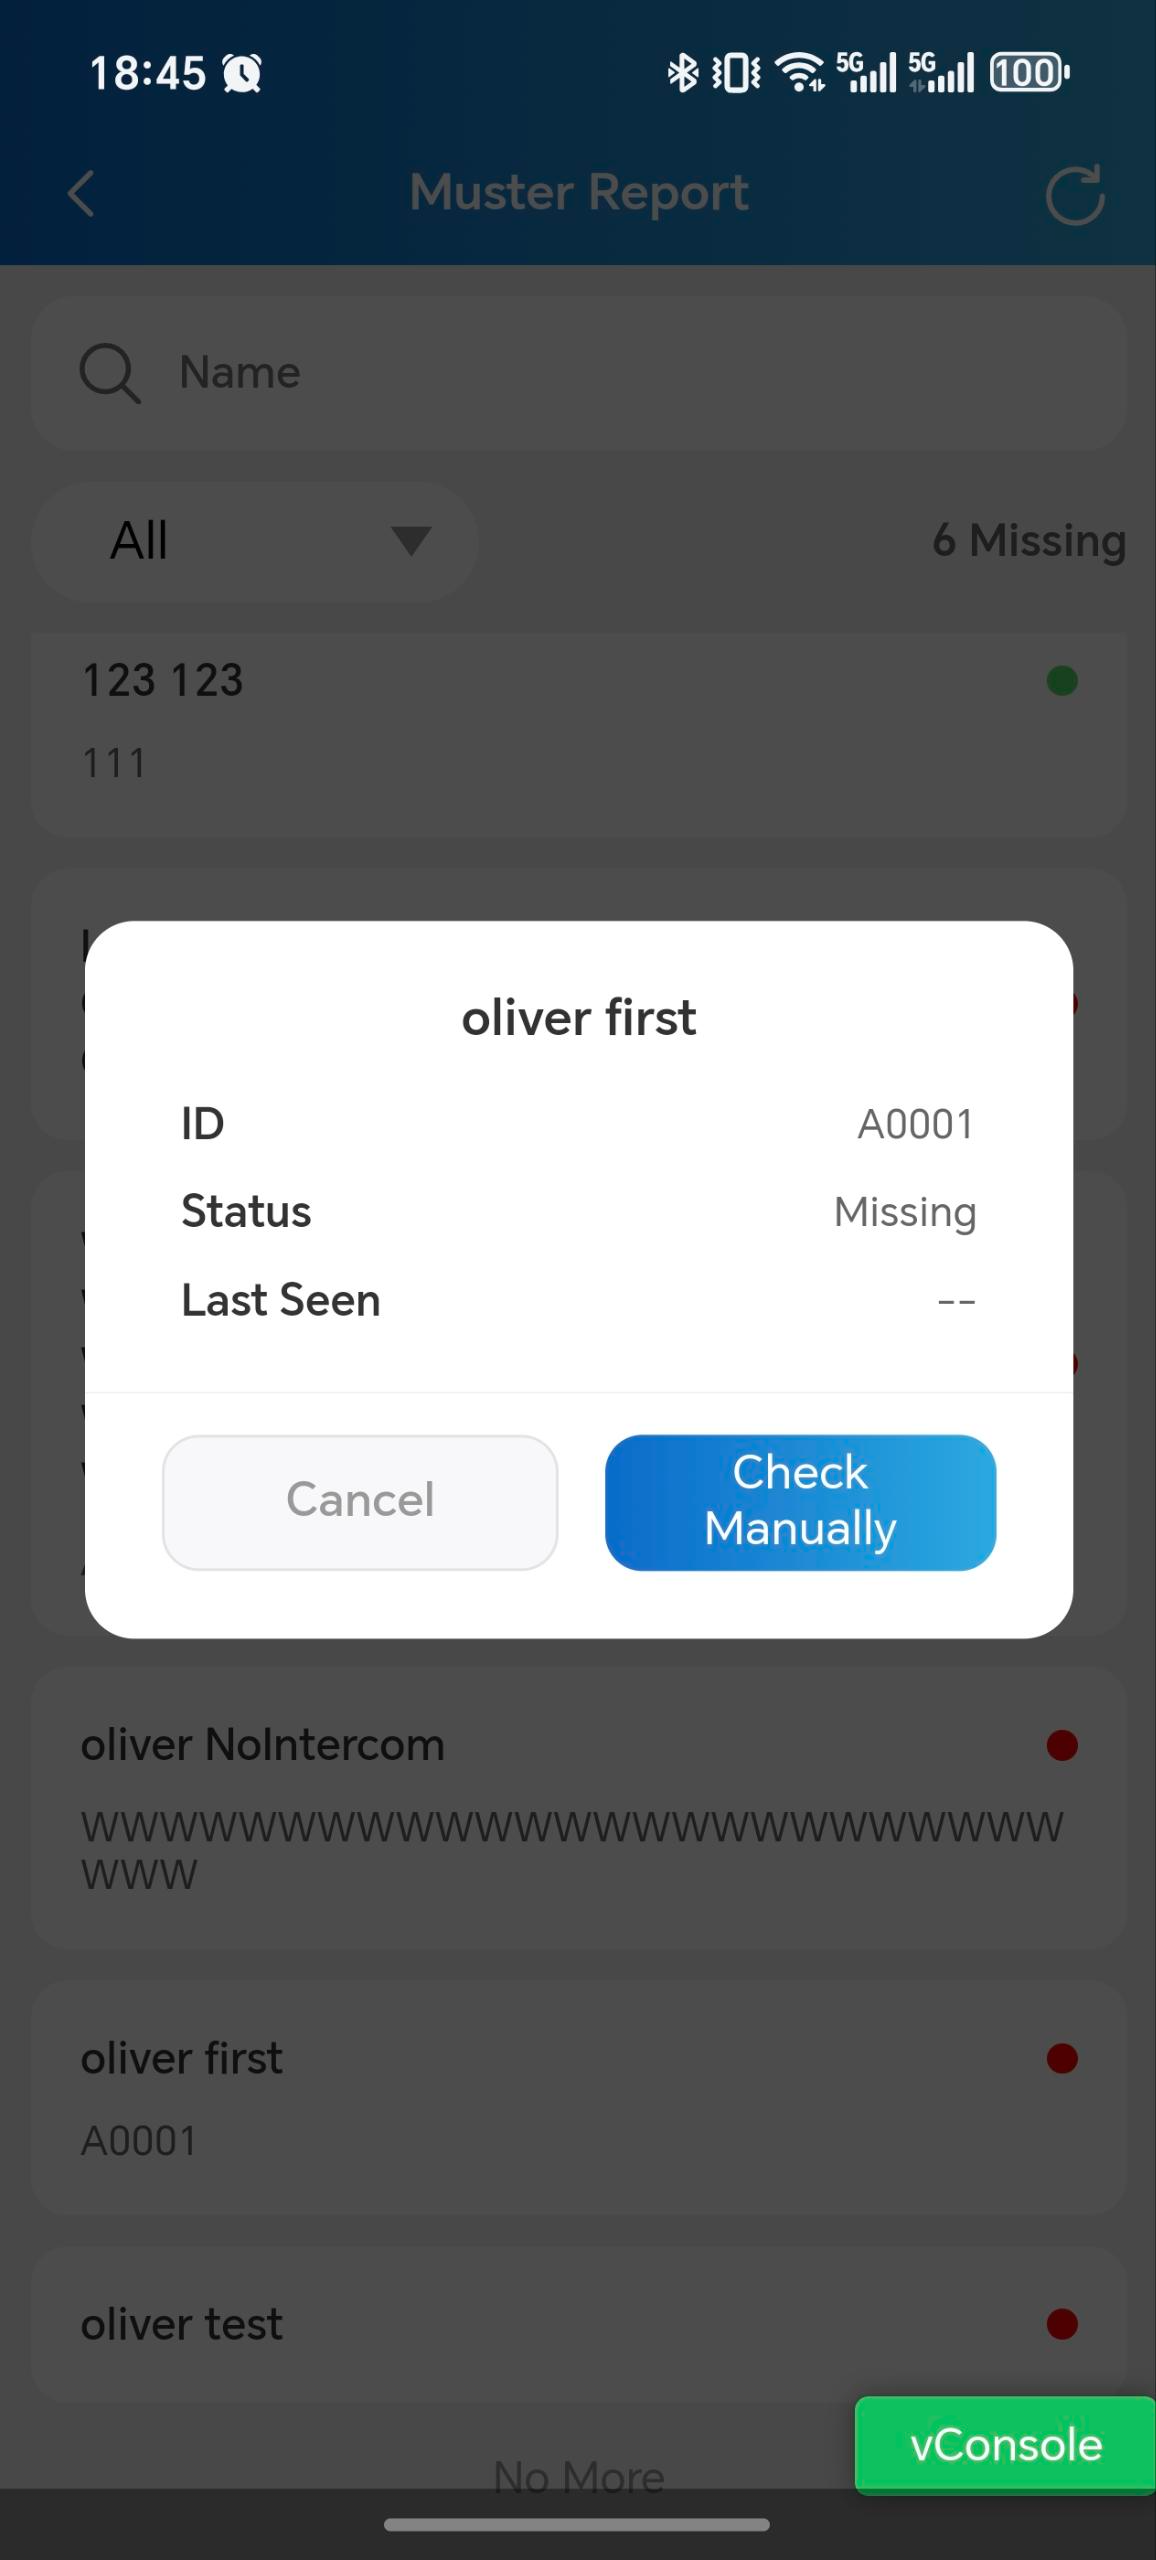
Muster Report
You can view muster reports and check in for personnel after property managers set up the feature on the SmartPlus web portal.
Tap Muster Reports on the homepage.
Tap a specific report to view the details.
Tap the specific person to view his/her status and Last Seen(The last door that the person entered through), and to check in manually for the person.
(1).jpg)
Logs and Records
You can check door logs, call history, images captured, and alarm records.
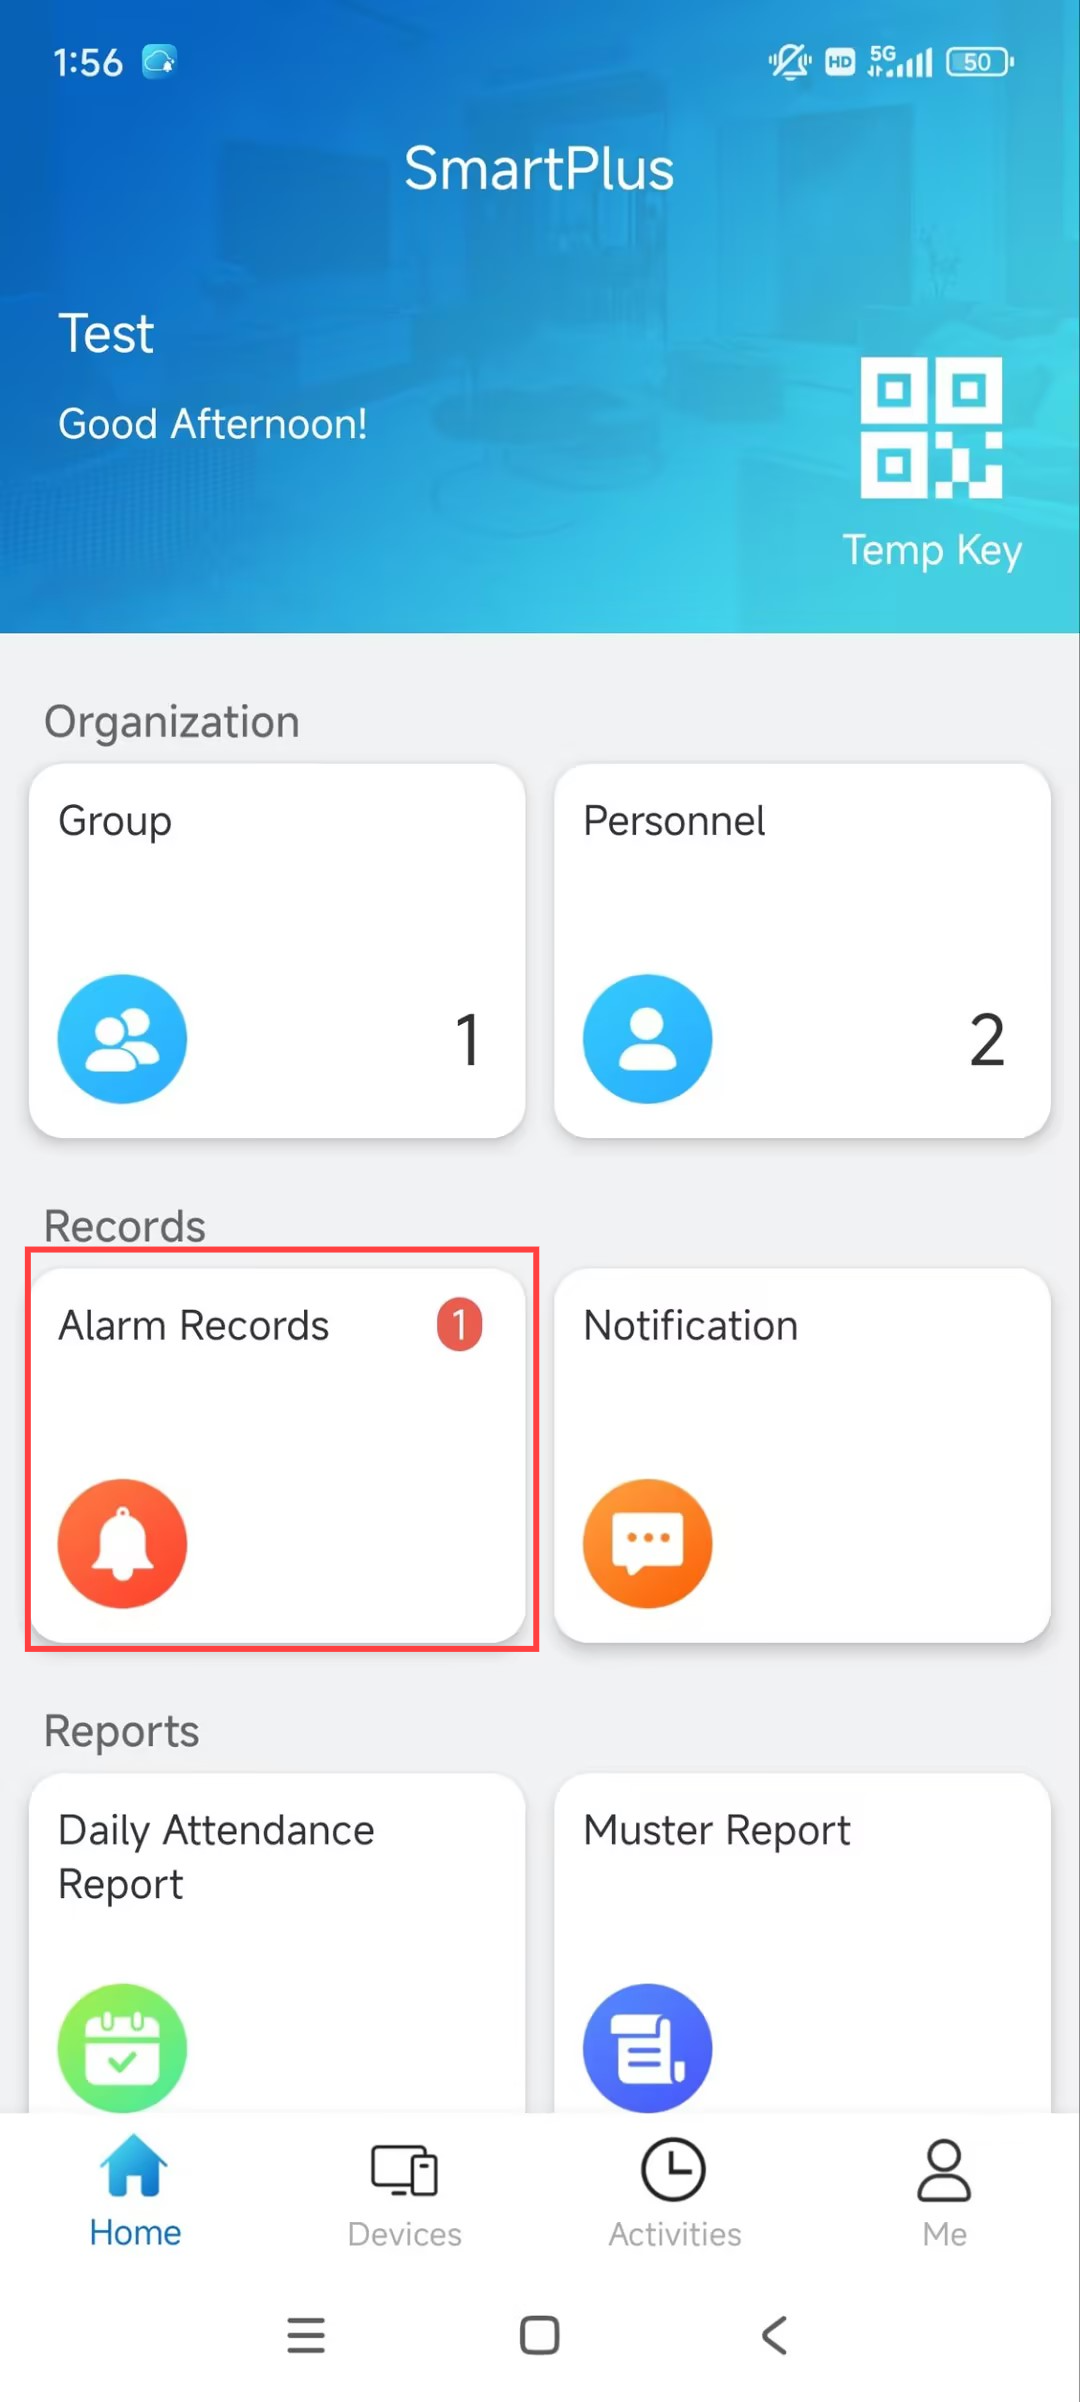
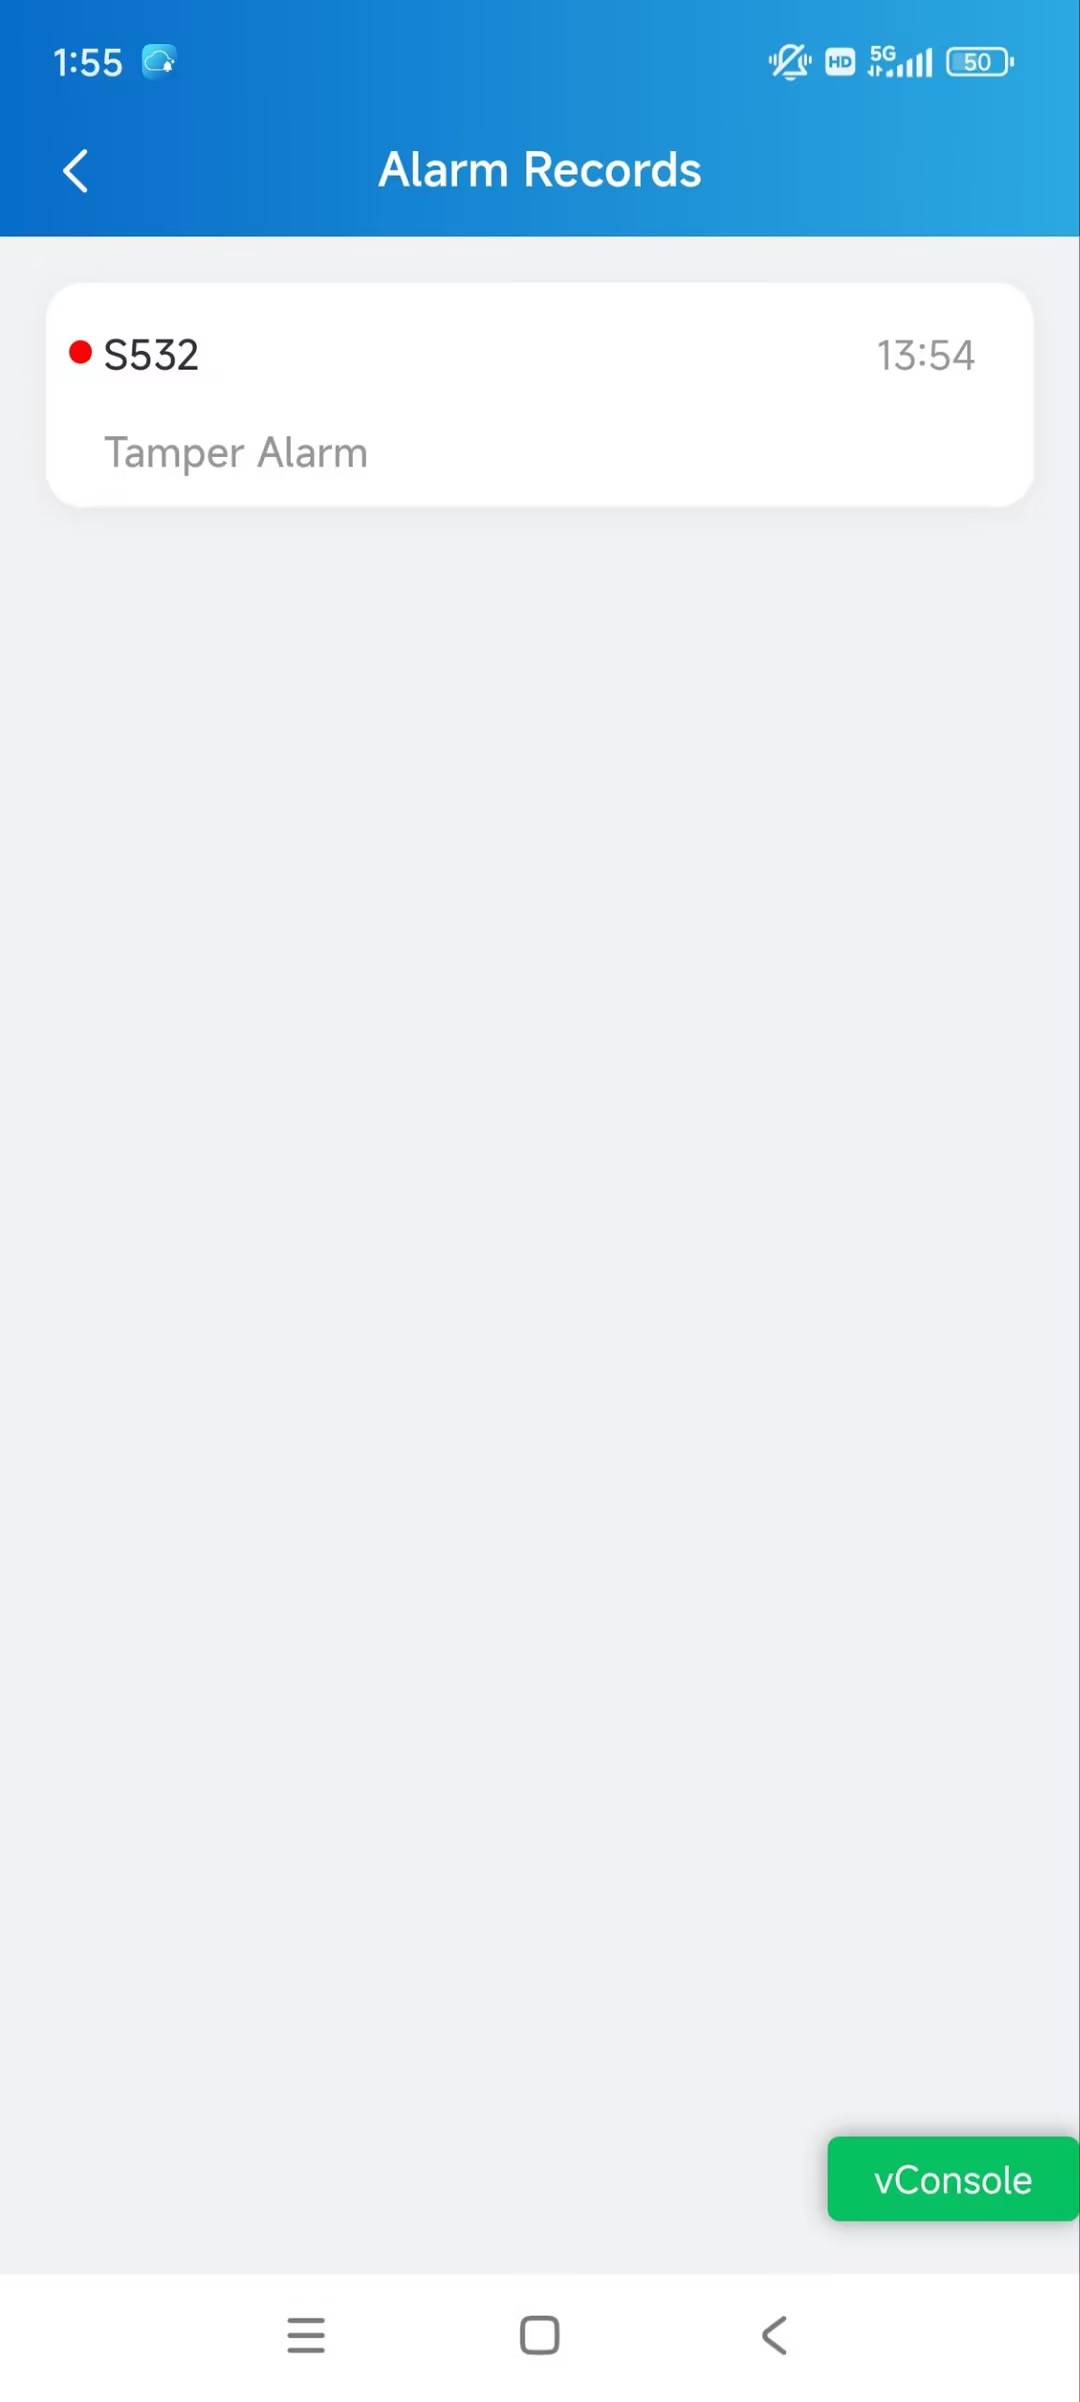
Alarm Records
The alarm records display the following alarm types:
Emergency Alarm: Property managers open/close doors during an emergency.
Arming Alarm: Personnel’s indoor monitors trigger the alarm.
Door Held Open Alarm: The door-opening time exceeds a time limit.
Break-in Alarm: Someone forcibly opens the door.
Tamper Alarm: Someone moves the Akuvox door phones or access control terminals.
The red dot before a record means that it is undealt. You can tap it to redirect to the device’s monitoring page.
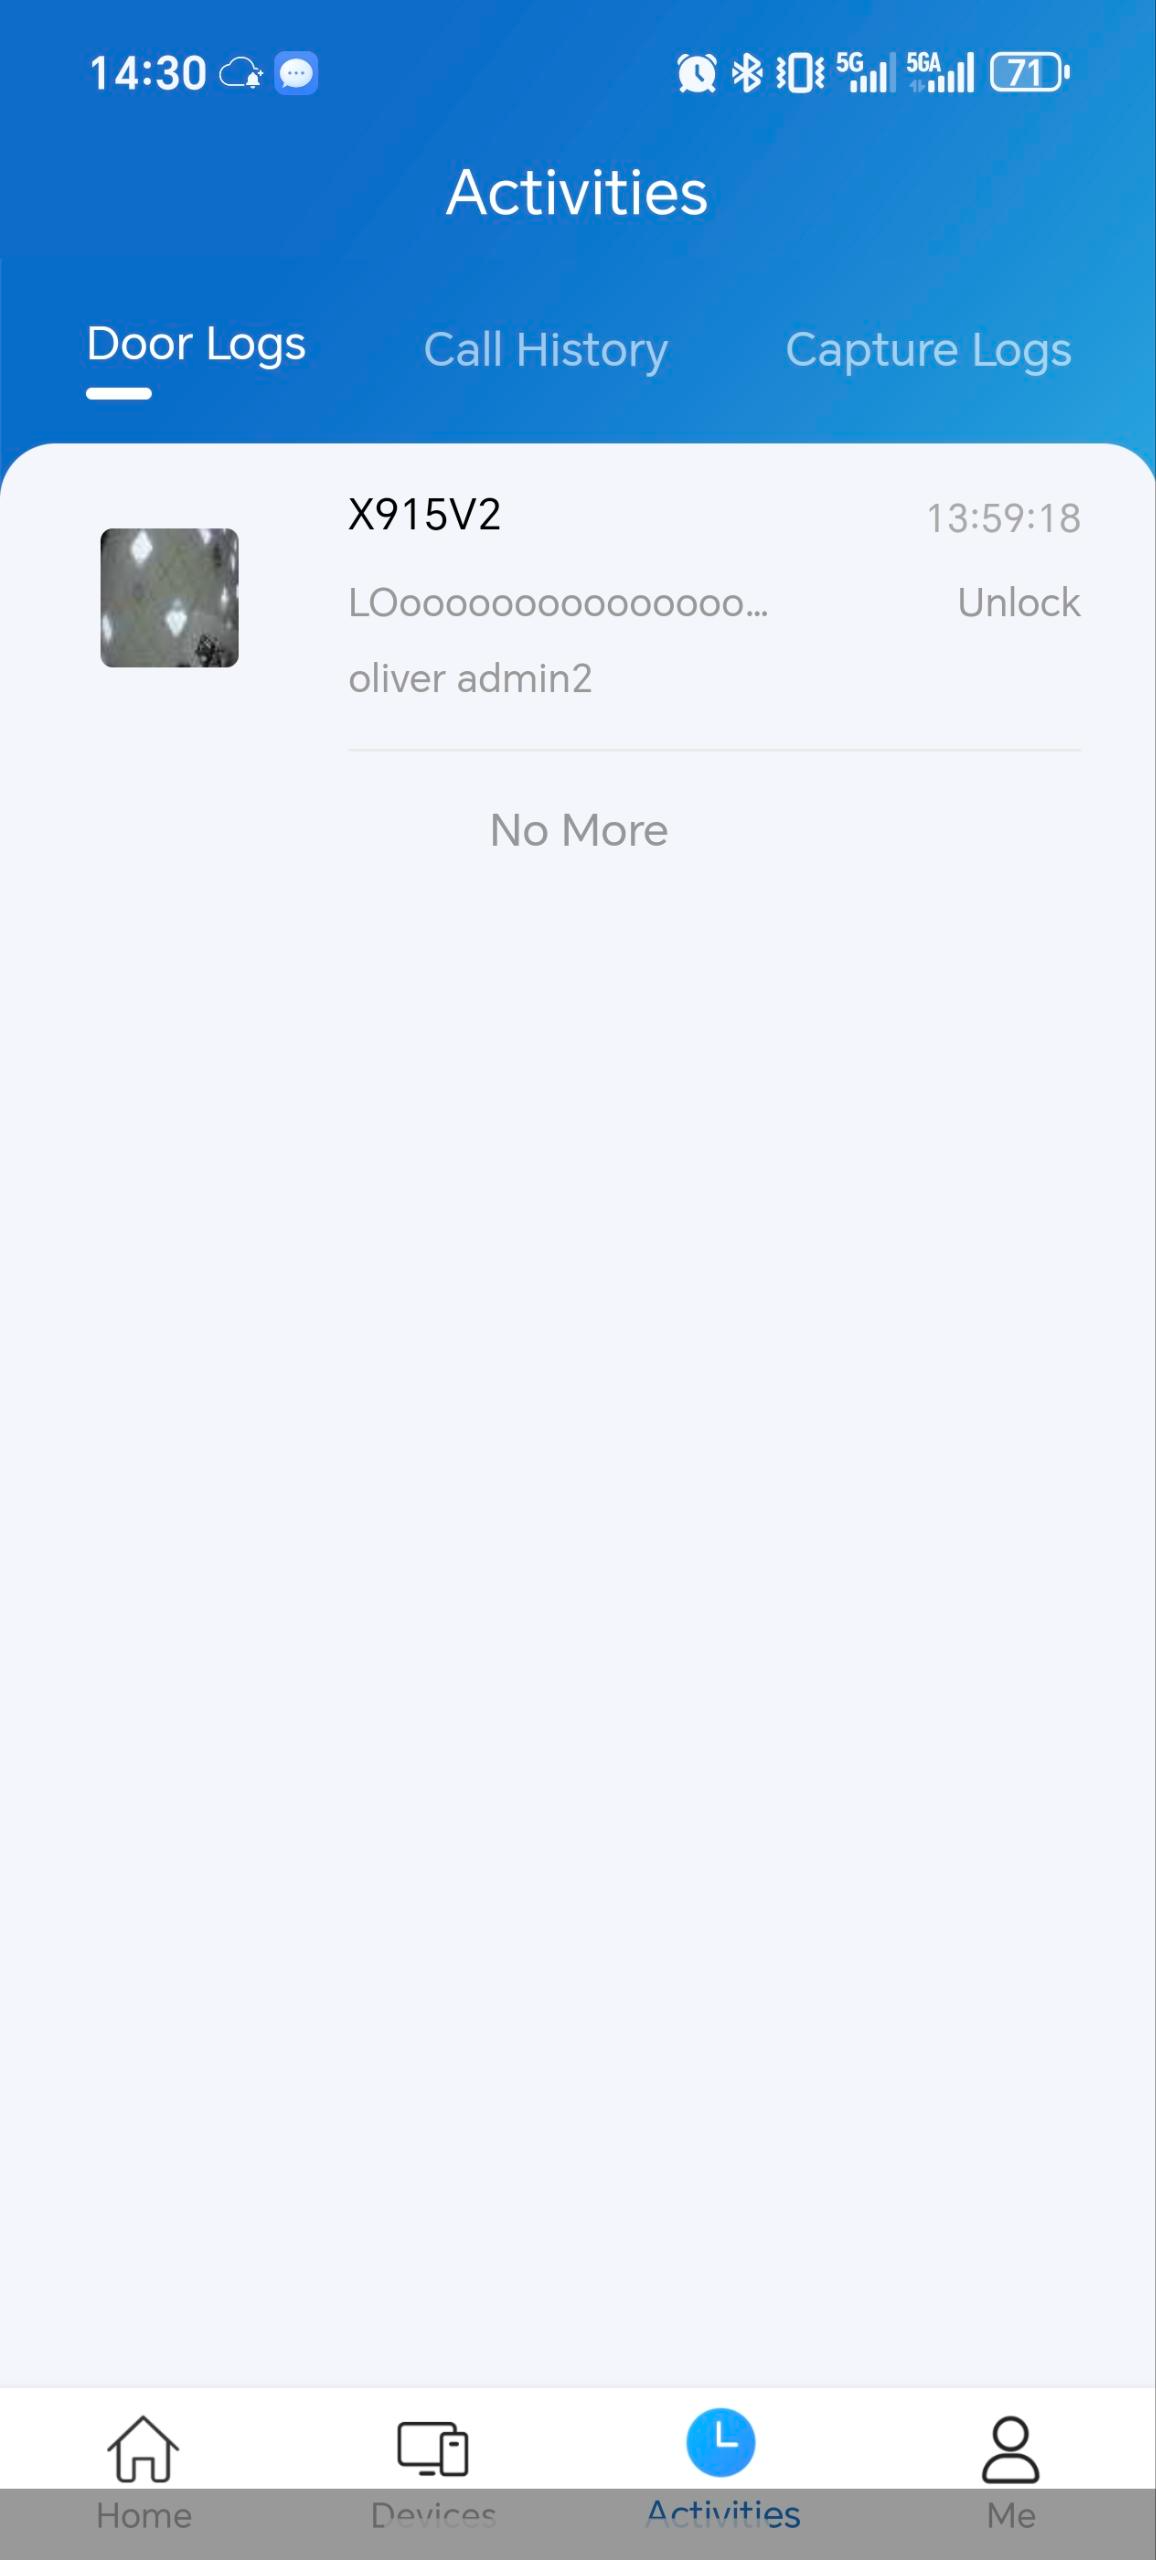
Logs
The calling, door-opening, and monitoring-related logs are displayed on the Activities page. You can track what happened to the devices via these logs.
Tap Activities at the bottom.
Door Logs: All door-opening events.
Call History: All the outgoing/incoming/missed calls.
Capture Logs: All snapshots you made of live videos.
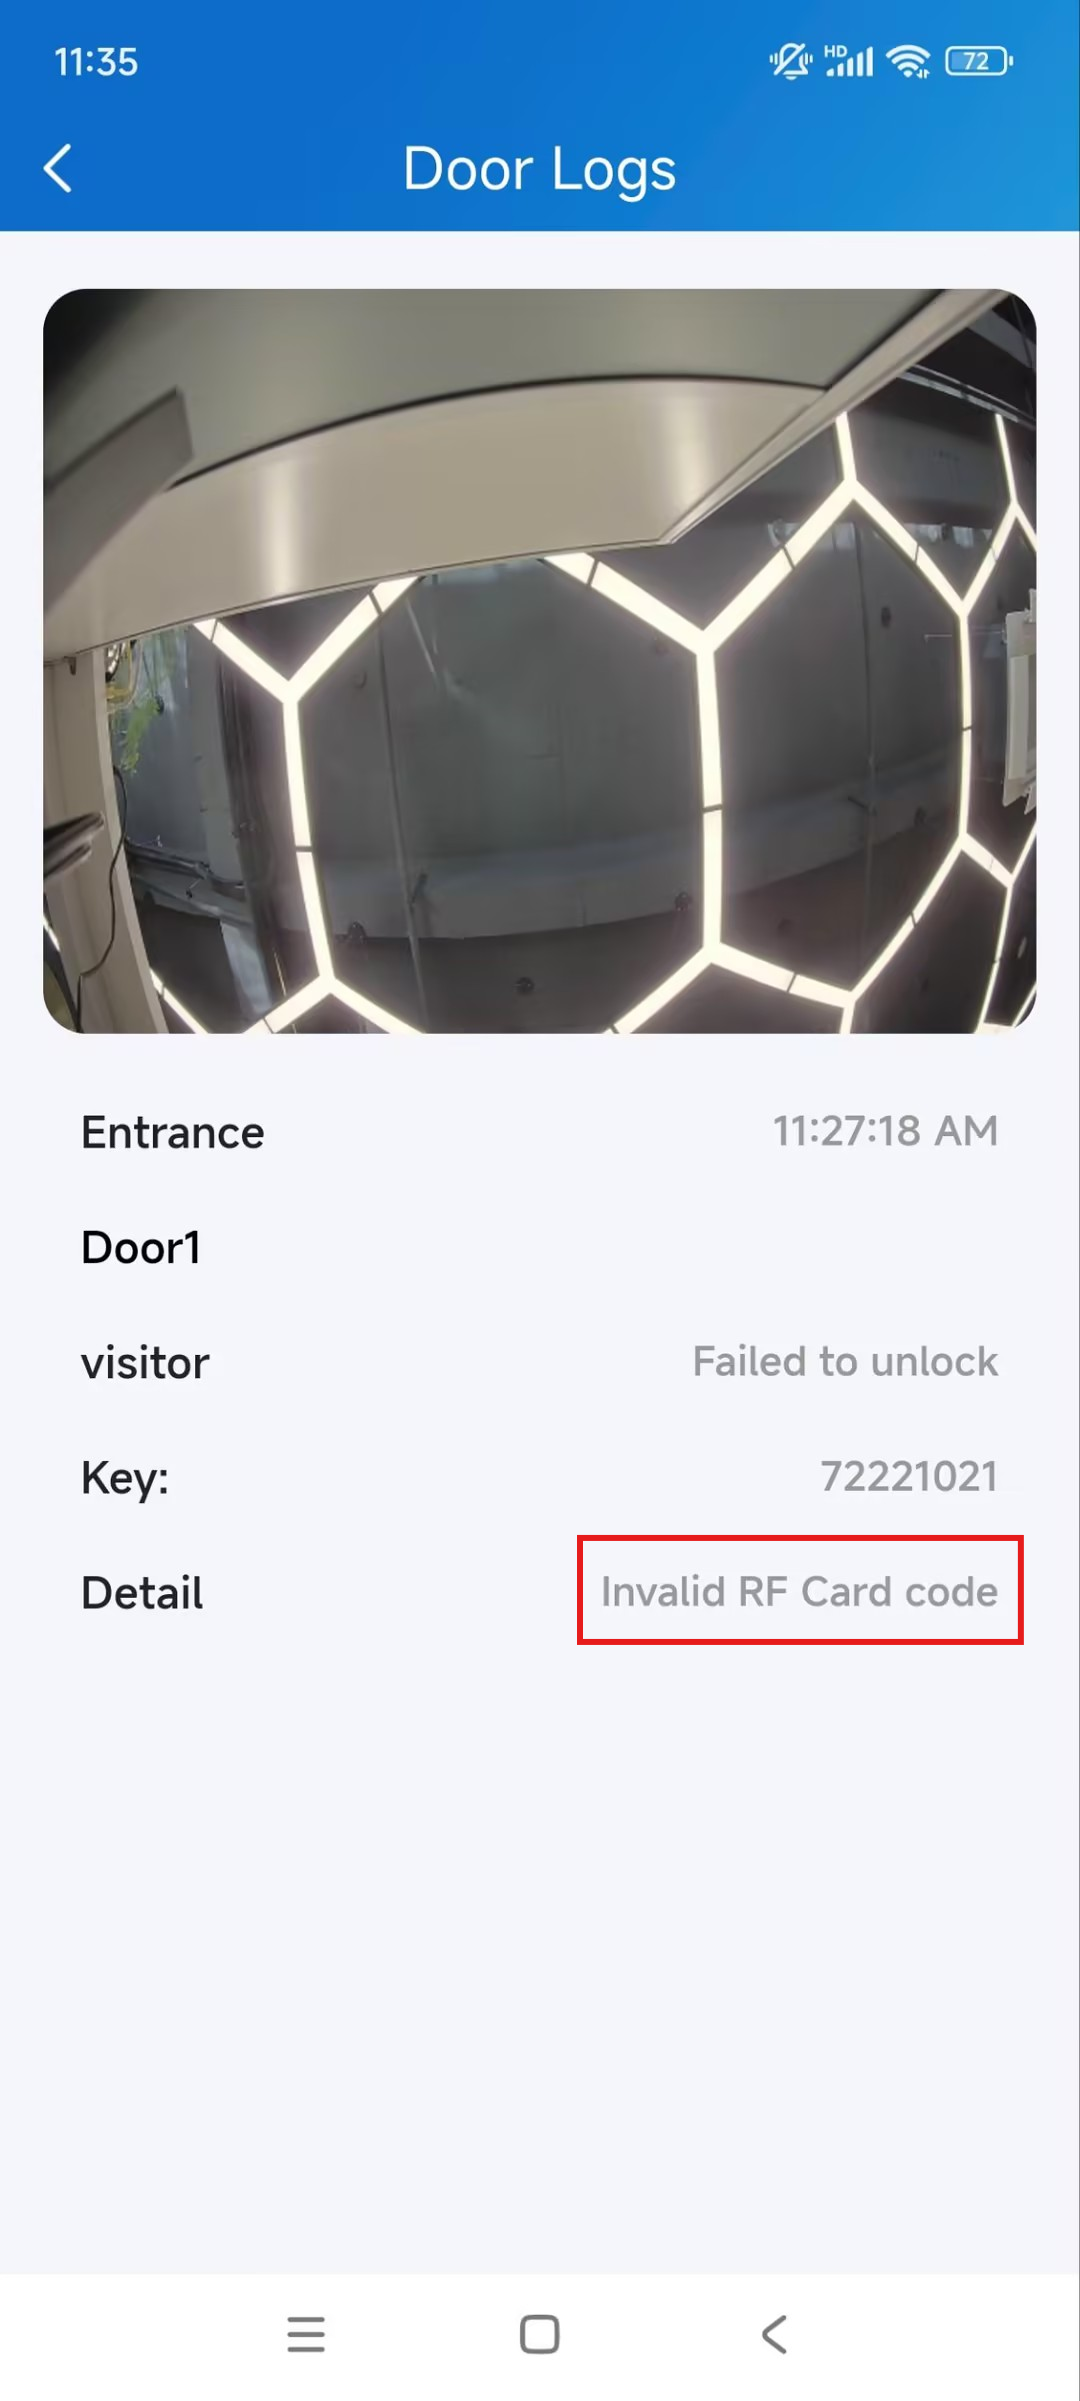
Specific devices support reporting the door-opening failure reason to the cloud.
Compatible models and versions(or higher):
X912: 912.30.12.22
X915V2: 2915.30.10.619
X916: 916.30.10.508
R29: 29.30.10.507
R28V2: 228.30.11.6
R25: 25.30.10.206
R20: 320.30.11.206
E16V2: 216.30.11.107
S539: 539.30.10.507
S538: 538.30.10.705
S535: 535.30.11.8
A08: 108.30.11.110
A01/A02: 101.30.11.12
A03: 103.30.11.6
A095: 95.30.10.203
A094: 92.30.11.8
You can tap a specific log to check the details.
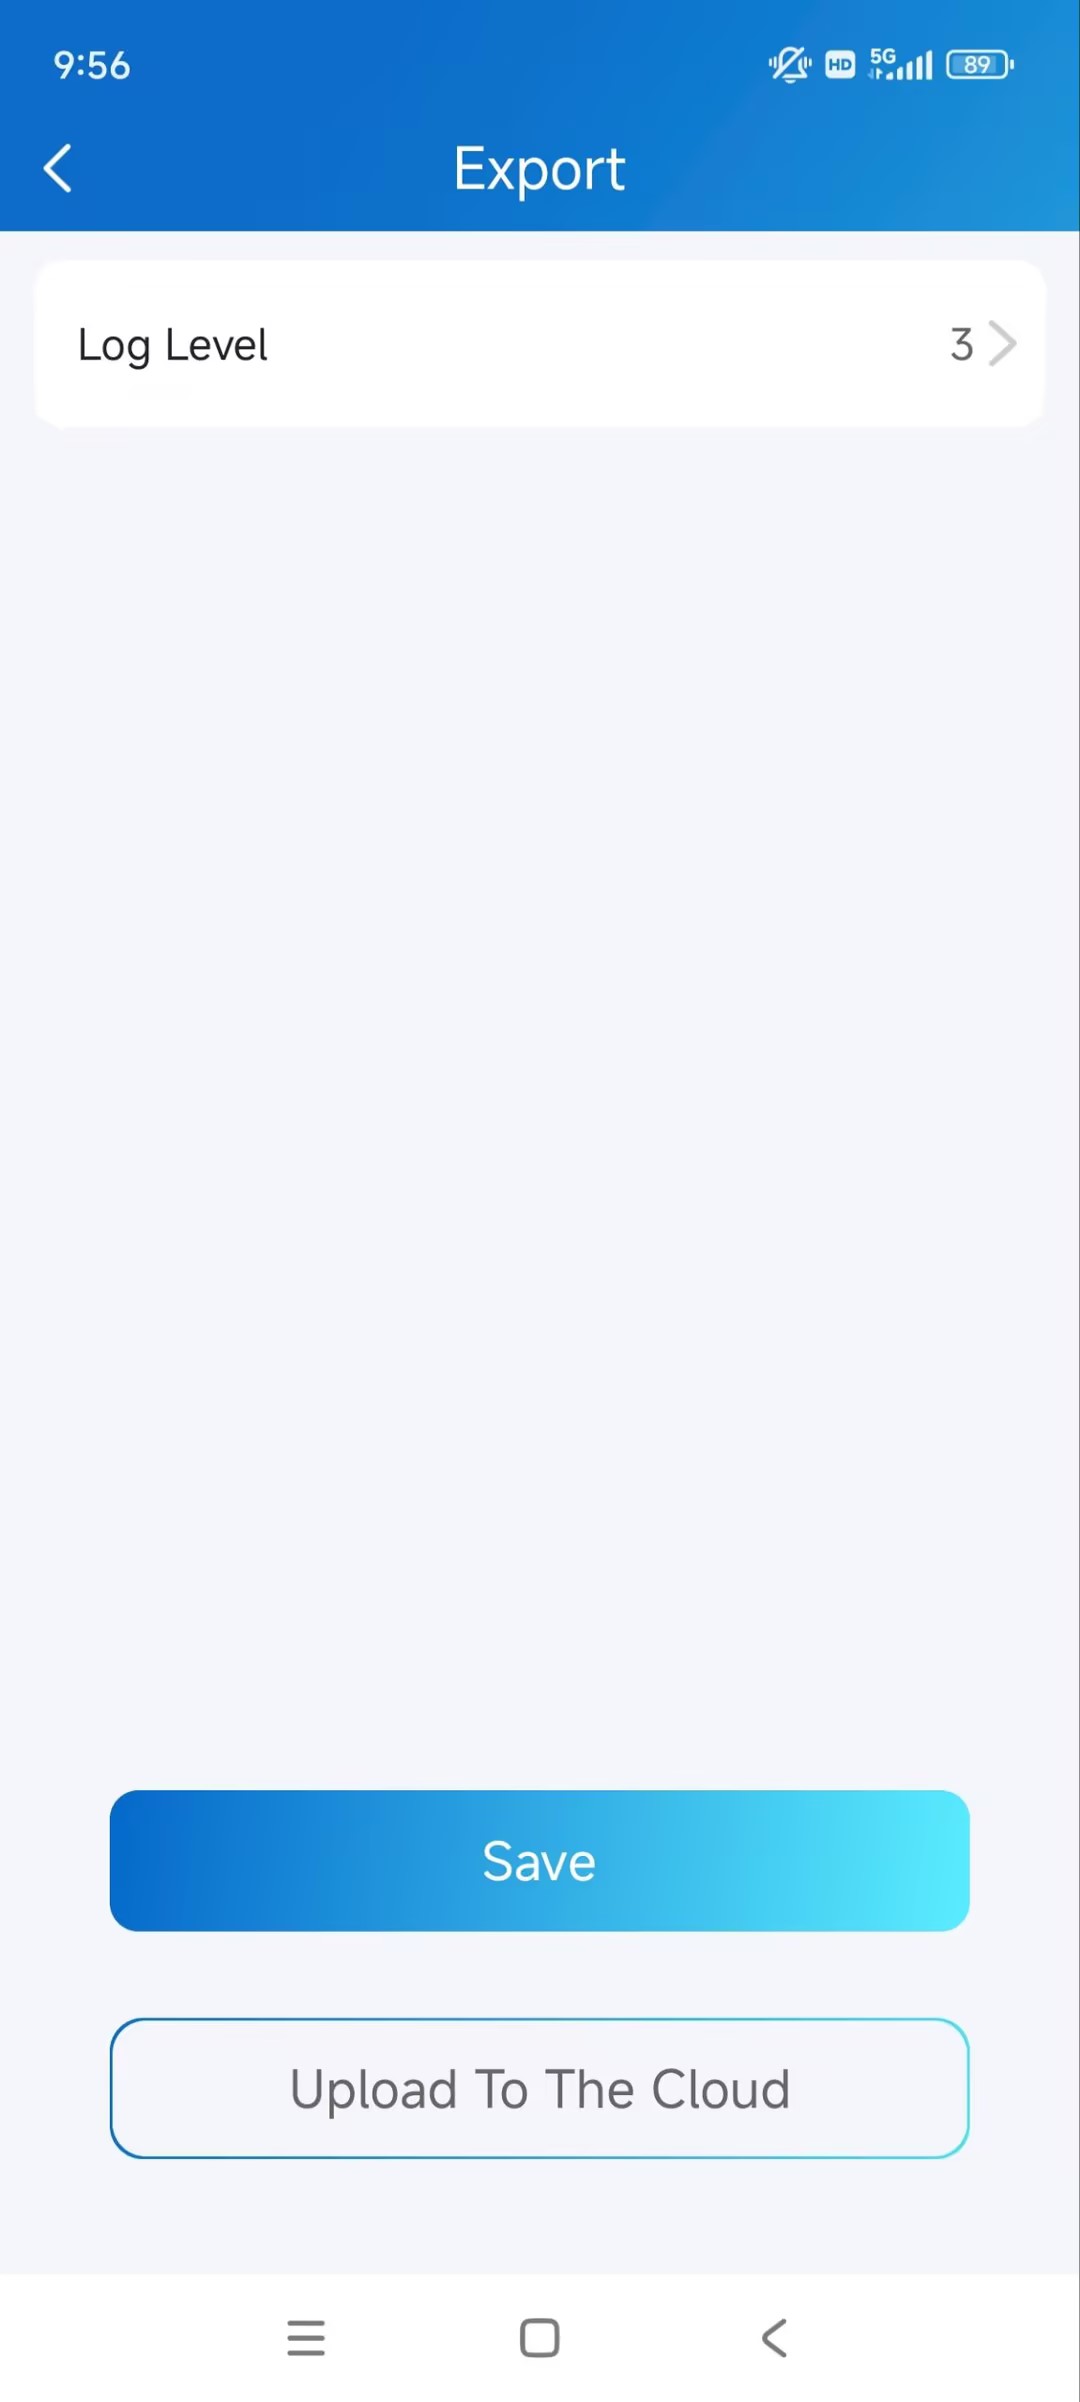
Set up and Export Logs
The log has 7 levels. The level is 3 by default. The higher the level is, the more detailed the log content is. You can export and send detailed logs to Akuvox technical engineers to analyze problems if the device malfunctions.
Tap Me > Settings > Advanced Settings > Export Log.
Select a level and tap Save. To upload the log to the SmartPlus Cloud, tap Upload to the Cloud.
Messages and Notifications
You can receive the following notifications:
Messages from property managers.
Temp key used notification.
Status change of lockdown.
Tap Notification on the homepage. The number of unchecked notifications will display.
Tap the desired notification to view the details.
Strong Arming Alarm Reminder
If this feature is enabled, the arming alarm ringtone will ring continuously for 30 seconds when the alarm is triggered.
Tap Me > Settings > Notification Settings.
Enable/disable Strong Arming Alarm Reminder.
Note
For Android mobile phones, ringing will stop when the device is disarmed.
For iOS mobile phones, ringing will continue for 30 seconds.
System Settings
Video Quality Diagnosis
You can use Video Quality Diagnosis to check real-time video quality. It can be applied to video calls, live monitoring videos, and preview pages.
Go to Me > Settings > Advanced Settings, and turn on Video Quality Diagnosis, then you can see below information shown in the upper left corner during a call or monitor session with the device.
fps: frames per second. If the value is low, it'll give a slow-motion or motion-blur effect to your video.
bps: bits per second. The higher the bps rate is, the faster the download or upload time will be.
packet loss rate: The lower the rate is, the better the network will be.
rtt: round-trip time. It’s the total time taken by a data packet as it travels from its source to the destination and back.
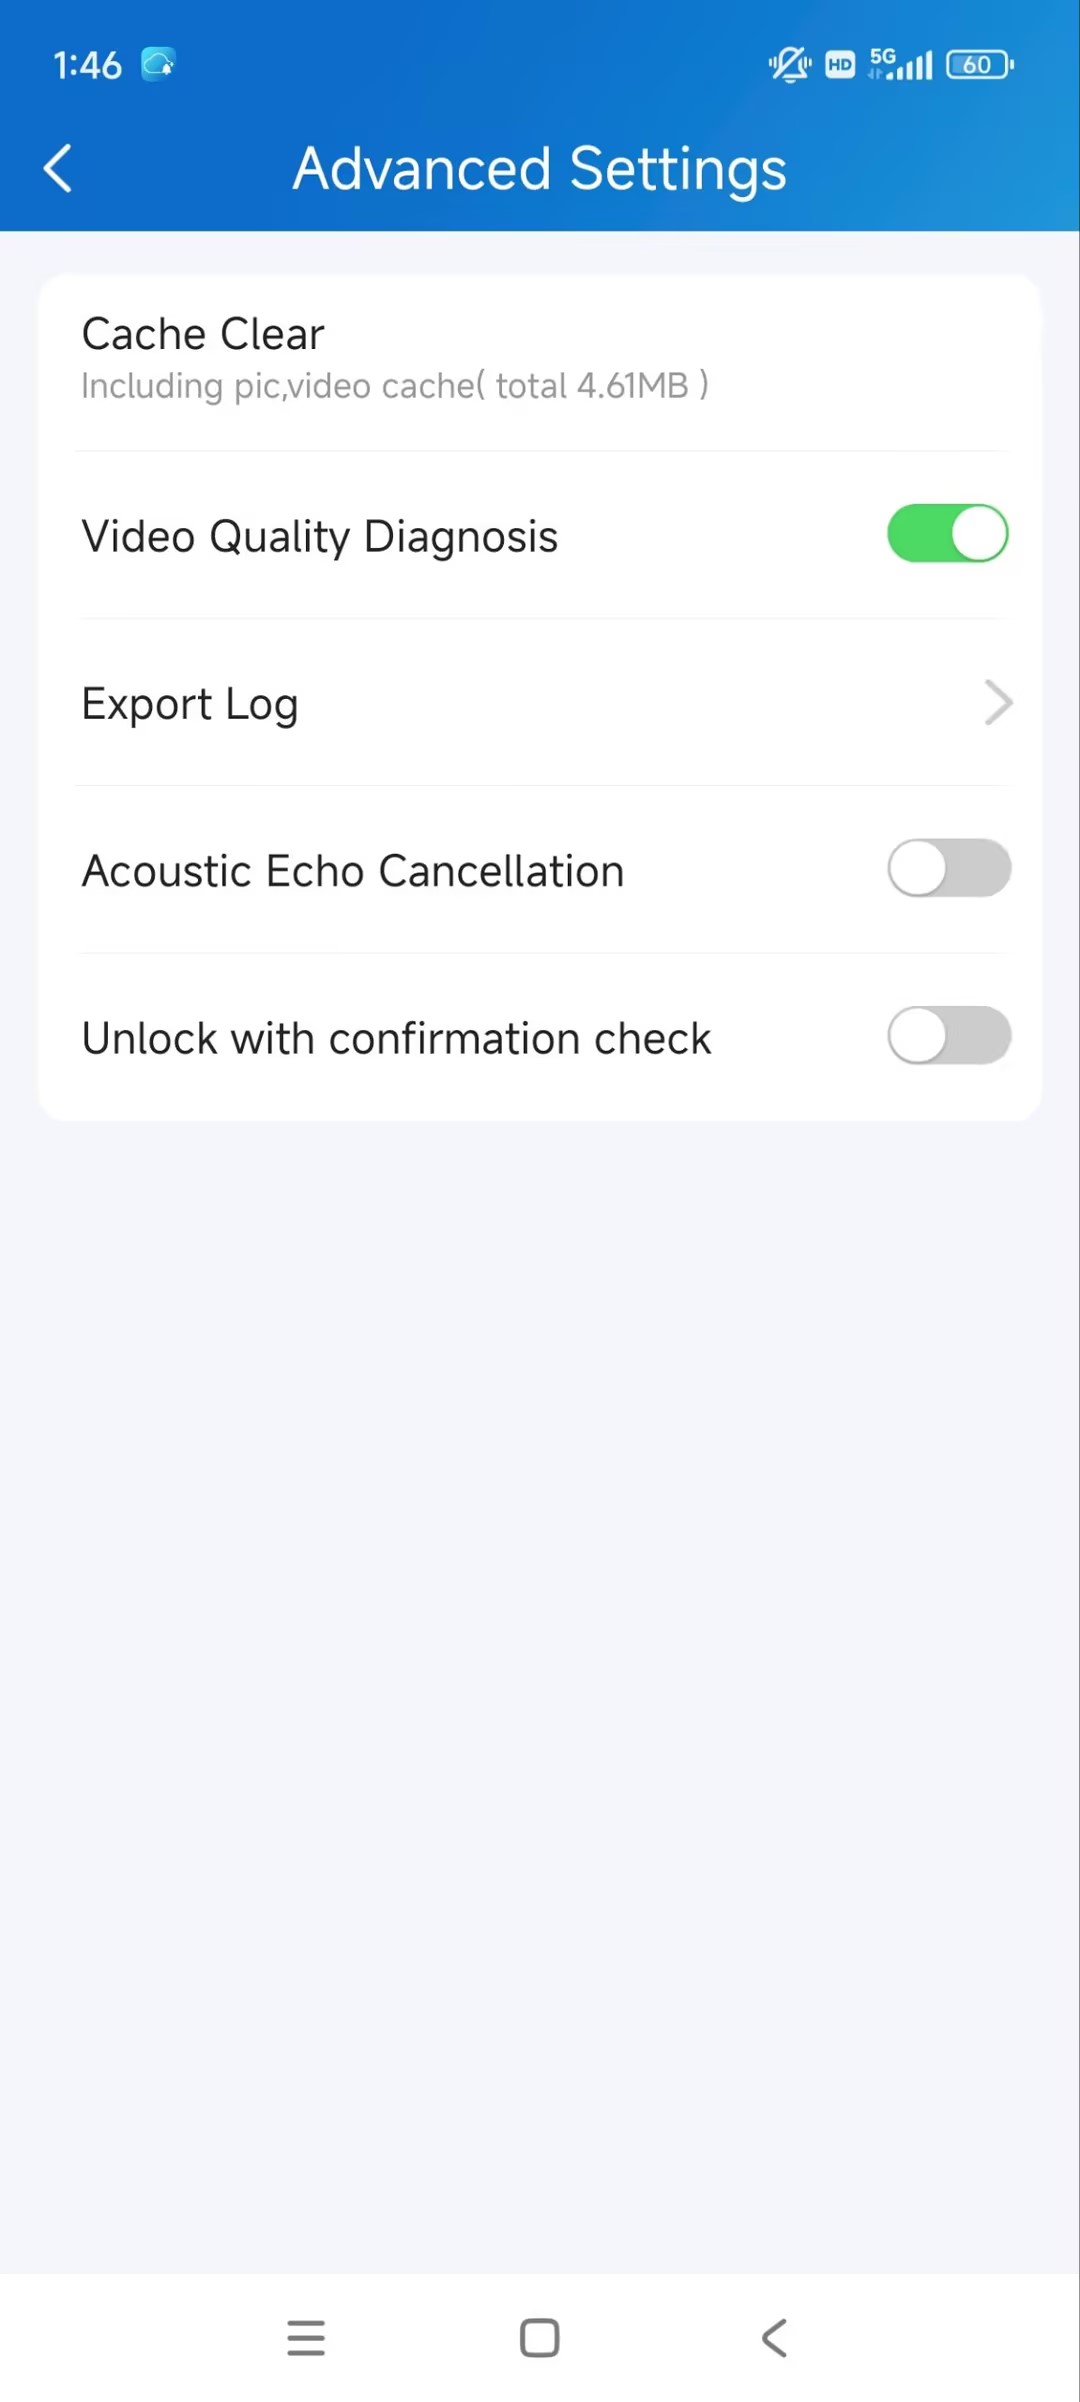
Cache Clear
You can clear the cache to run the app better and free up storage space.
Tap Me > Settings > Advanced Settings > Cache Clear.
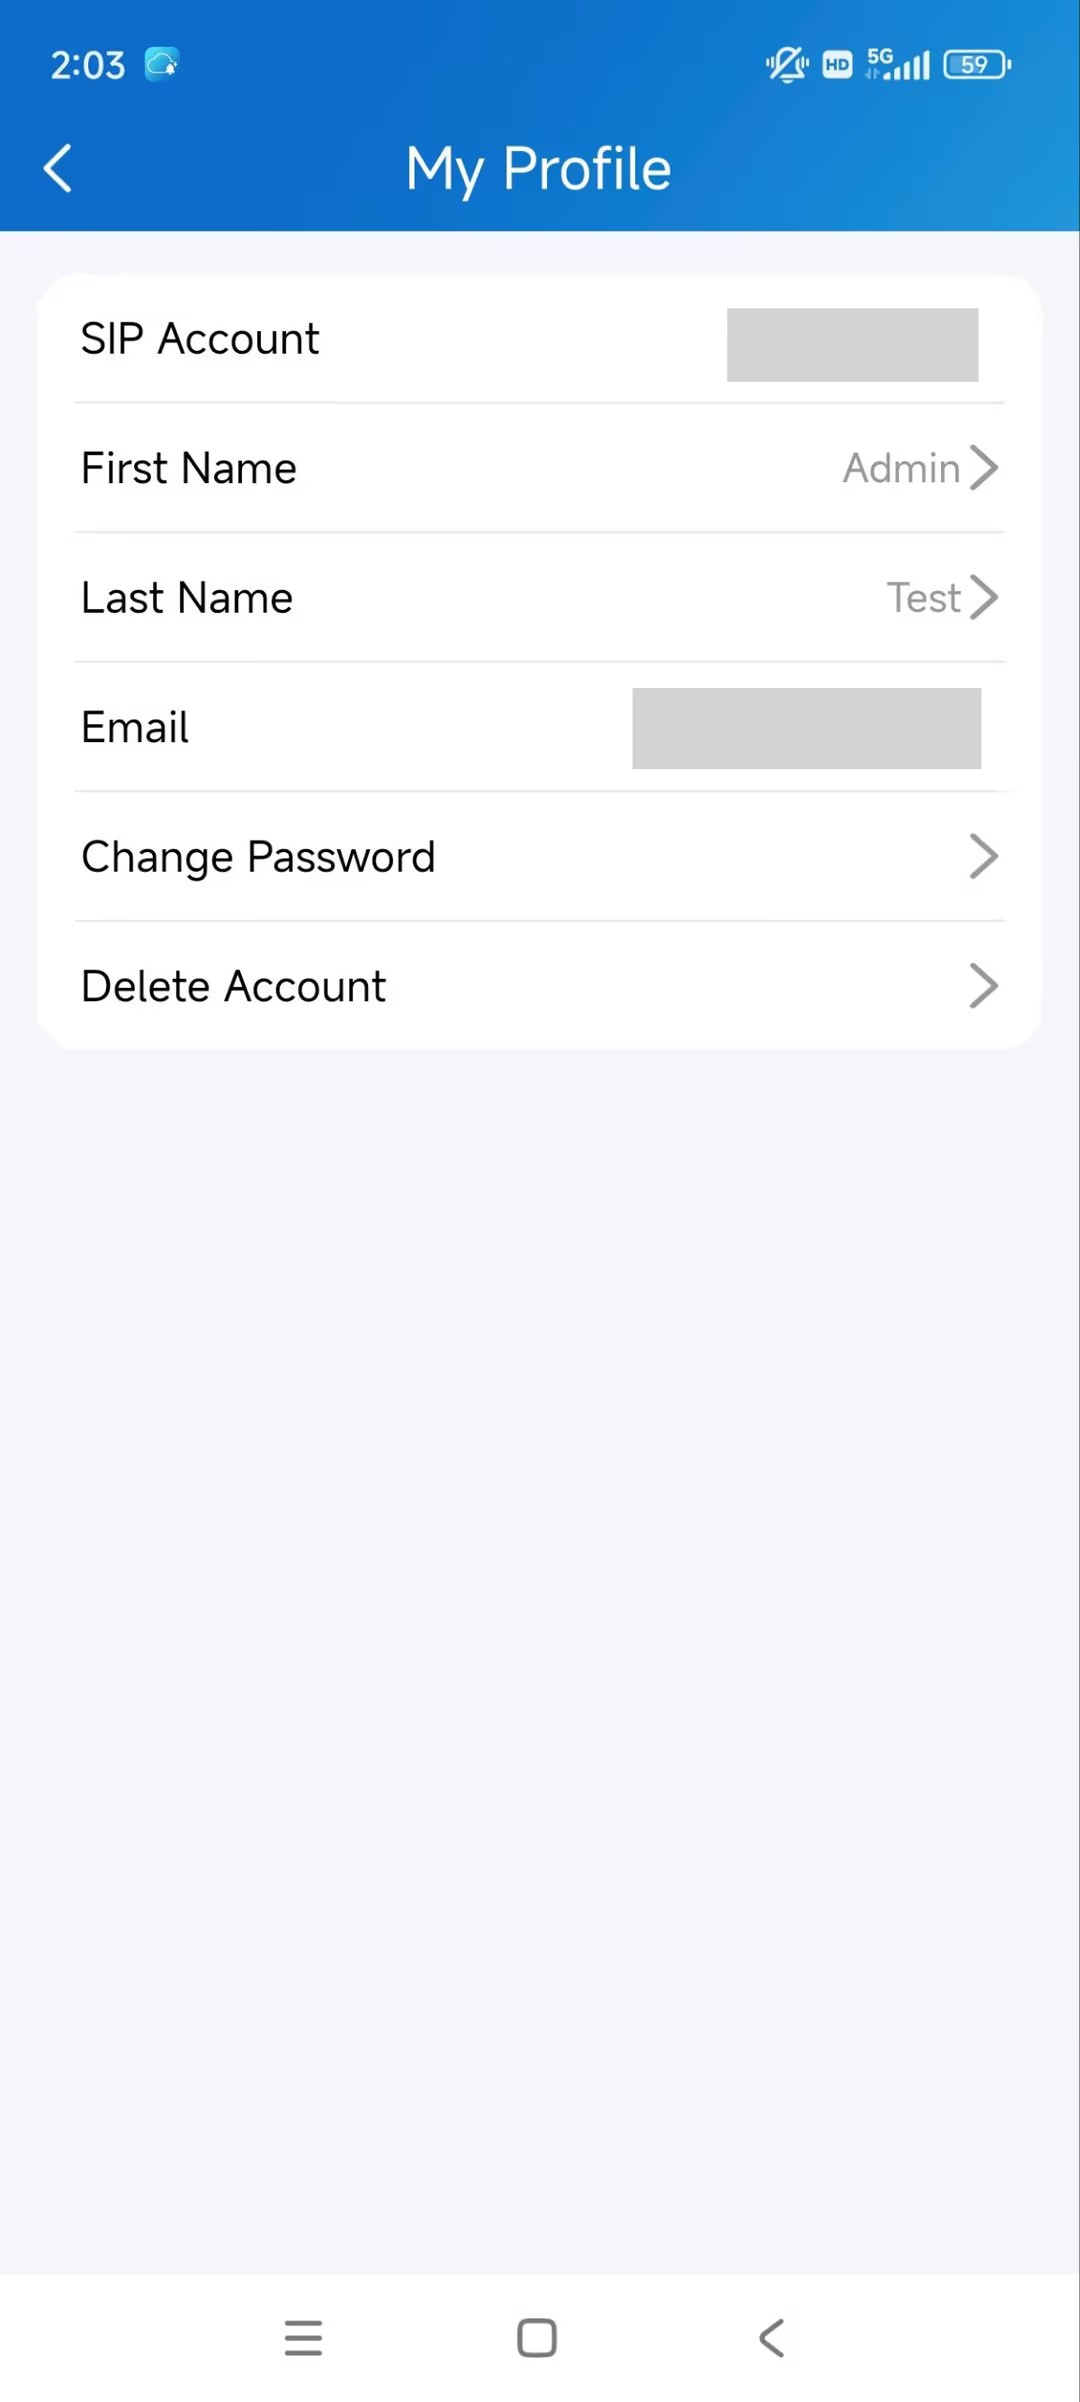
Account Settings
You can check your account information, including your SIP account, username, Email, and mobile phone number. For better security, you can make a change to the username and login password.
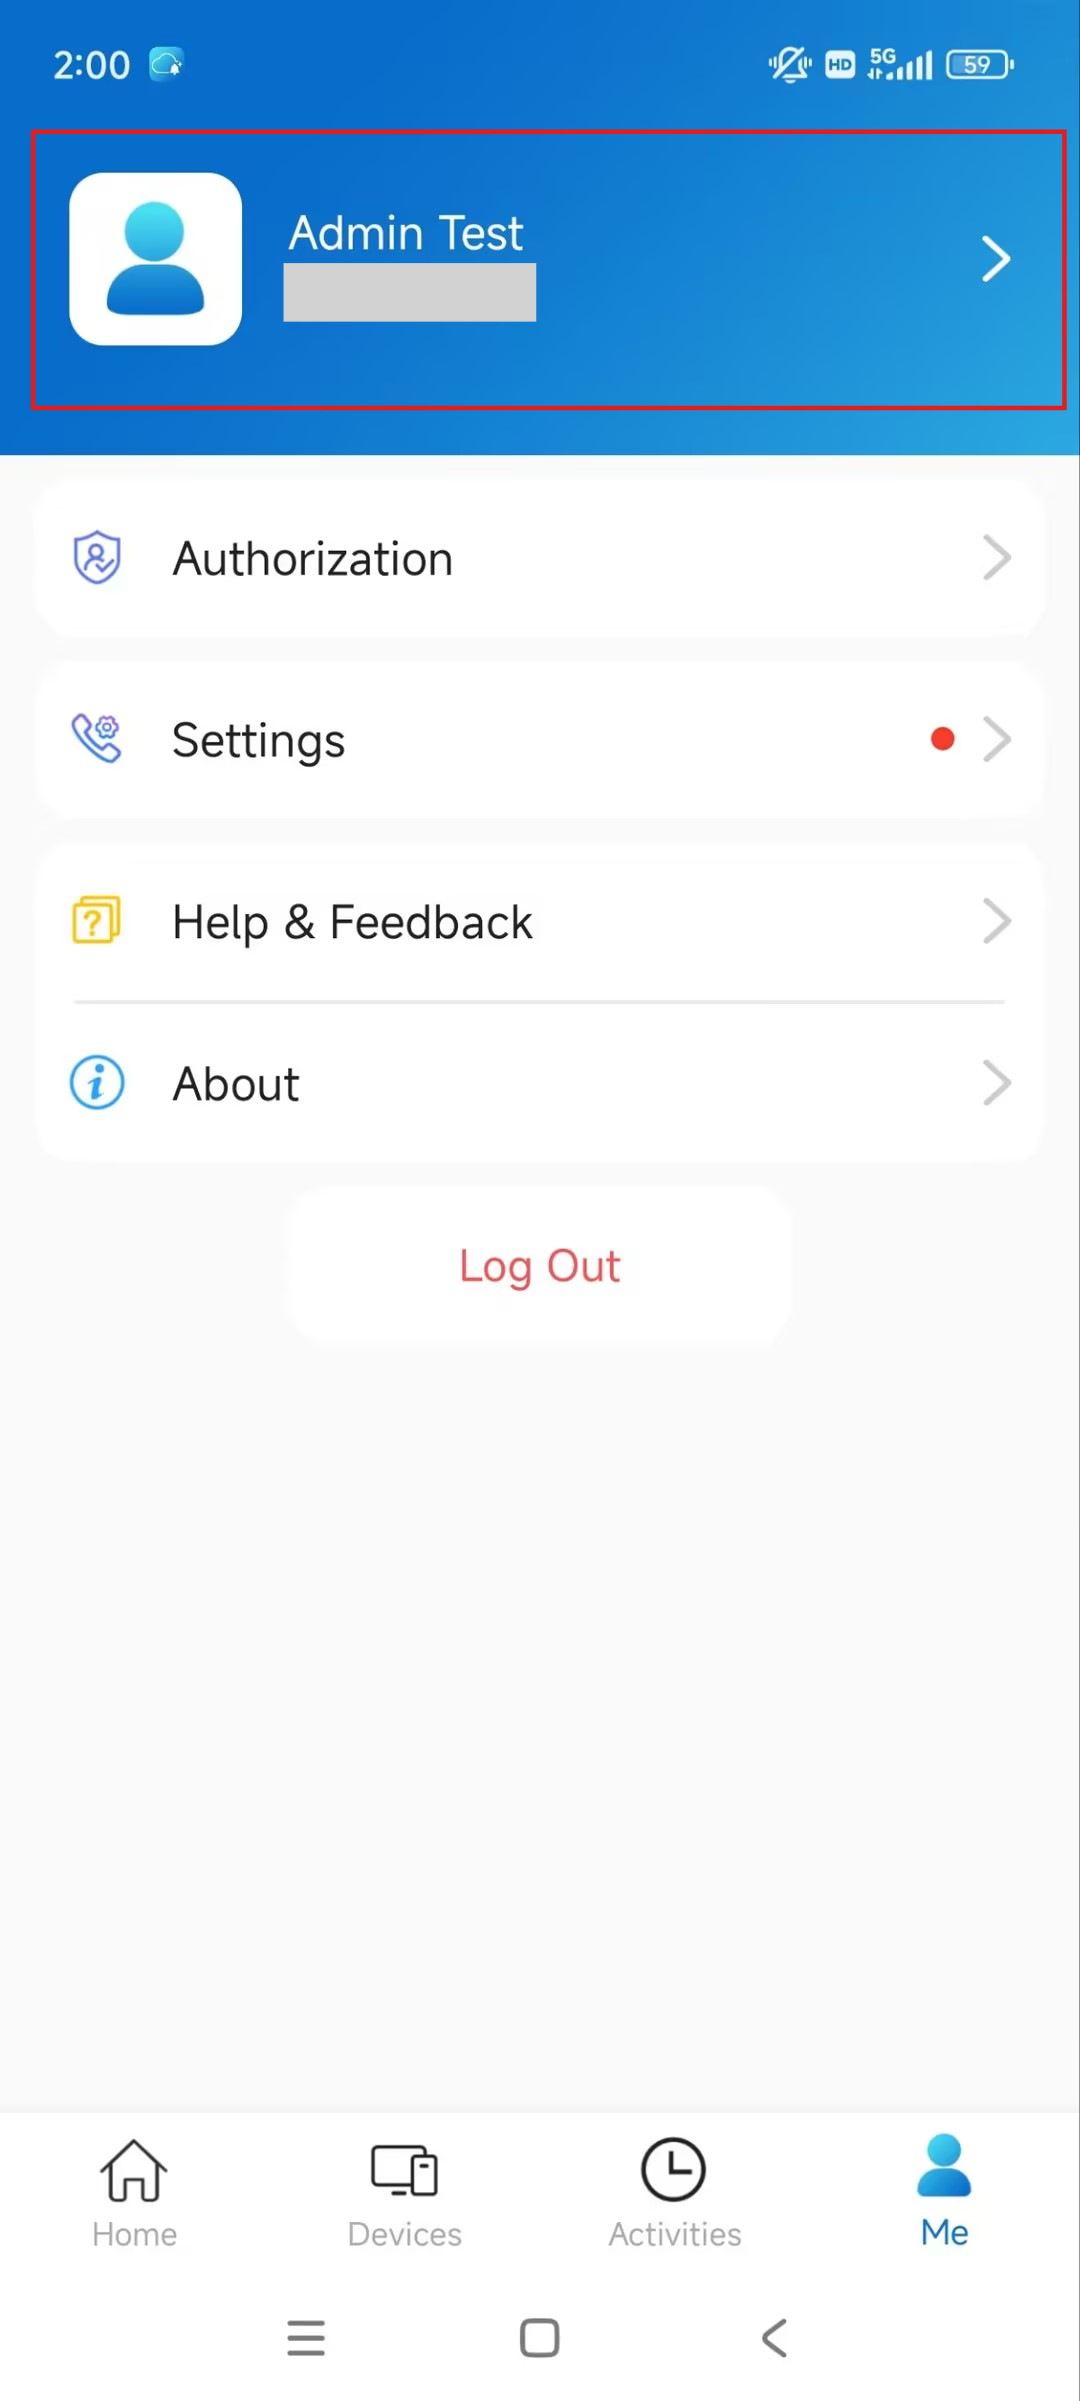
Tap Me > [Your Account Name].
You can modify your name, change your account password, and delete the account.
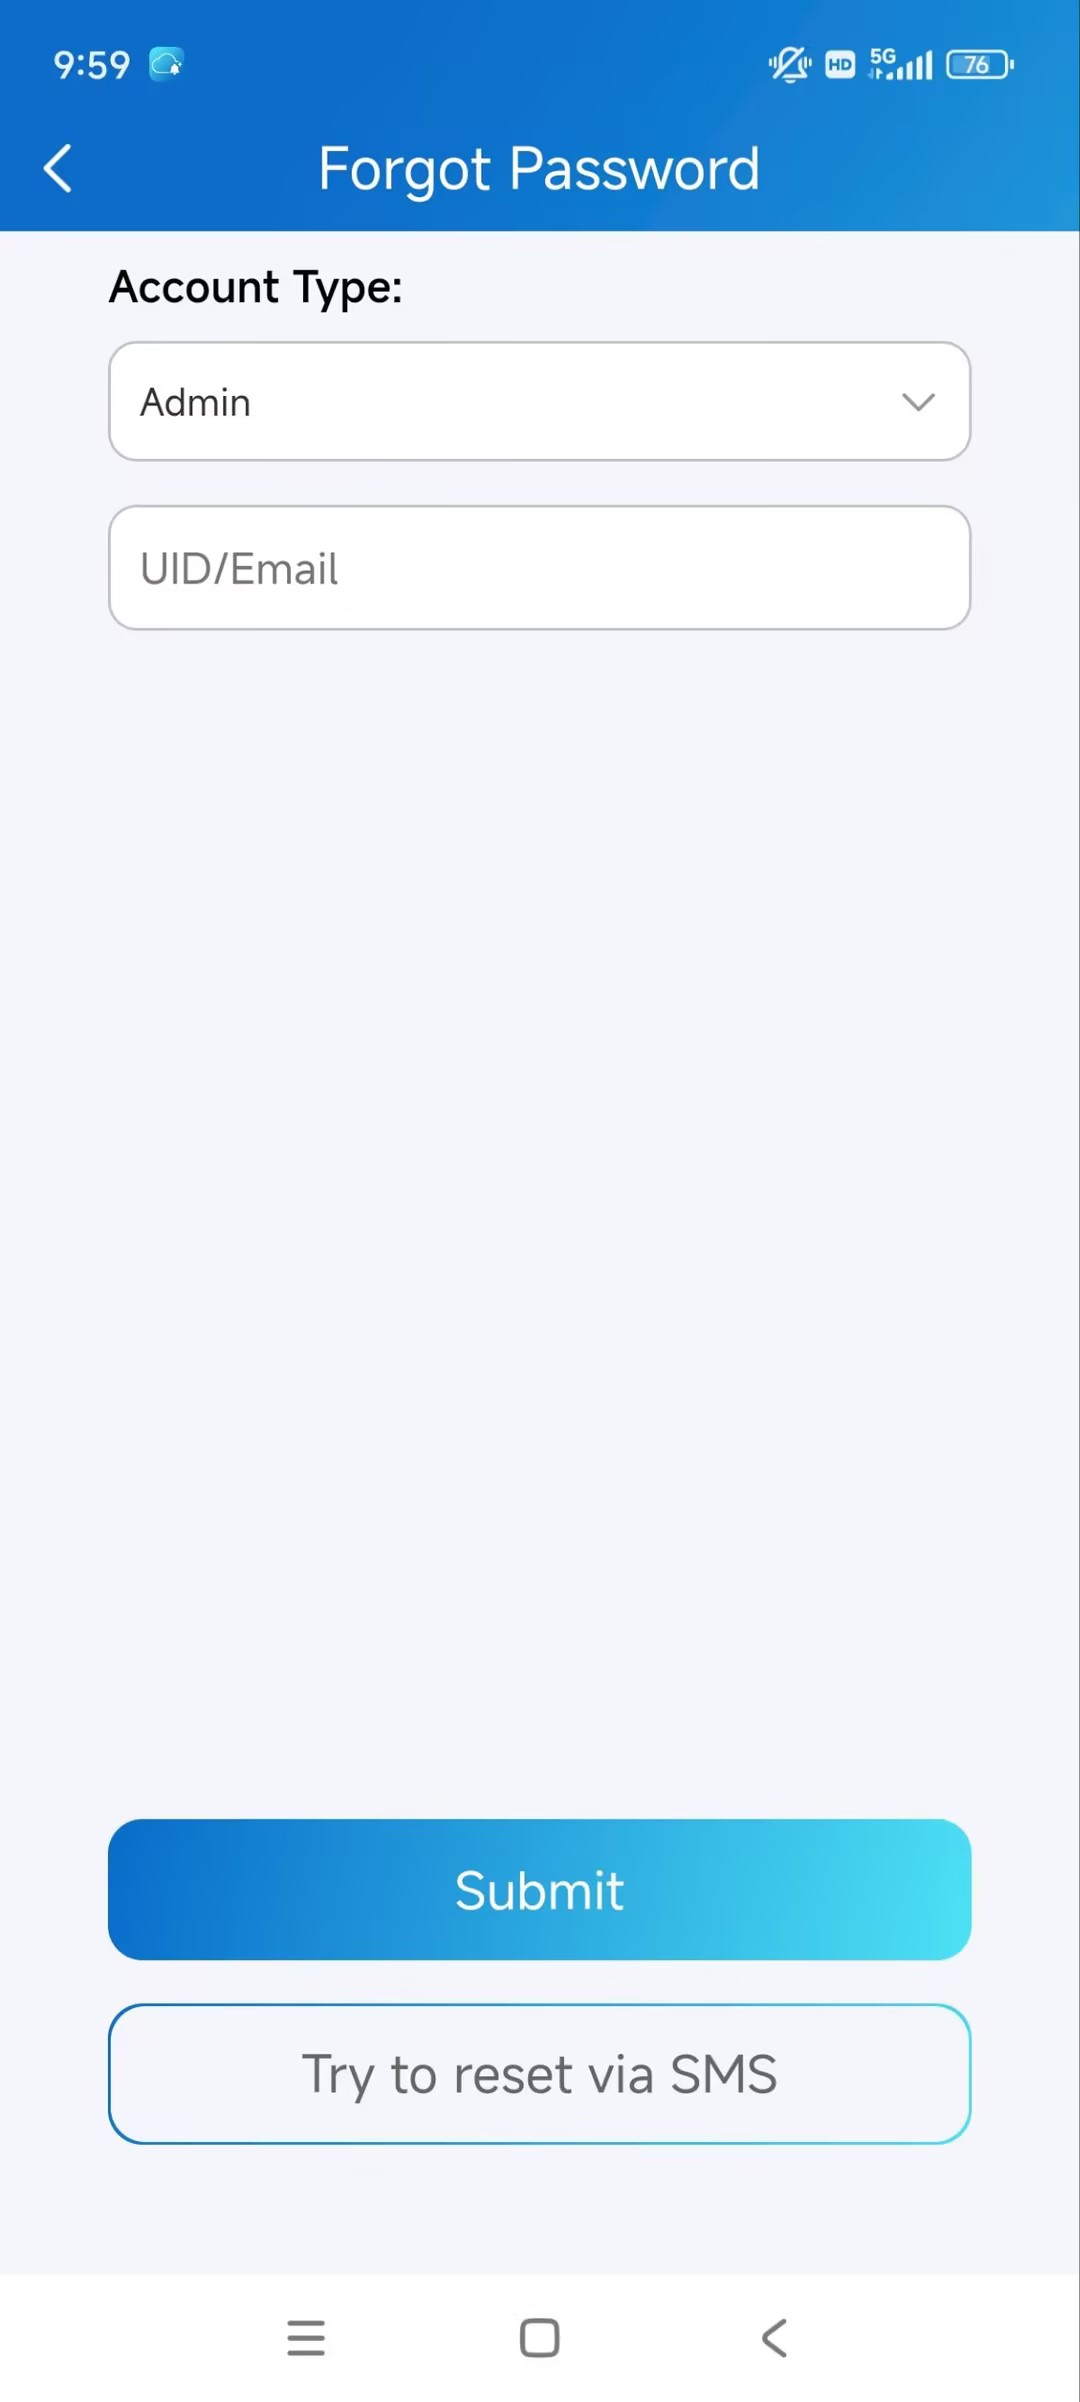
Forget Password
If you forget the account login password, tap Forgot Password on the login page. Select your account type as Admin.
You can reset the password using Email or message:
Email. Select your account type and enter your email address. Then, you will receive an email containing a link that will redirect you to the reset page.
SMS.
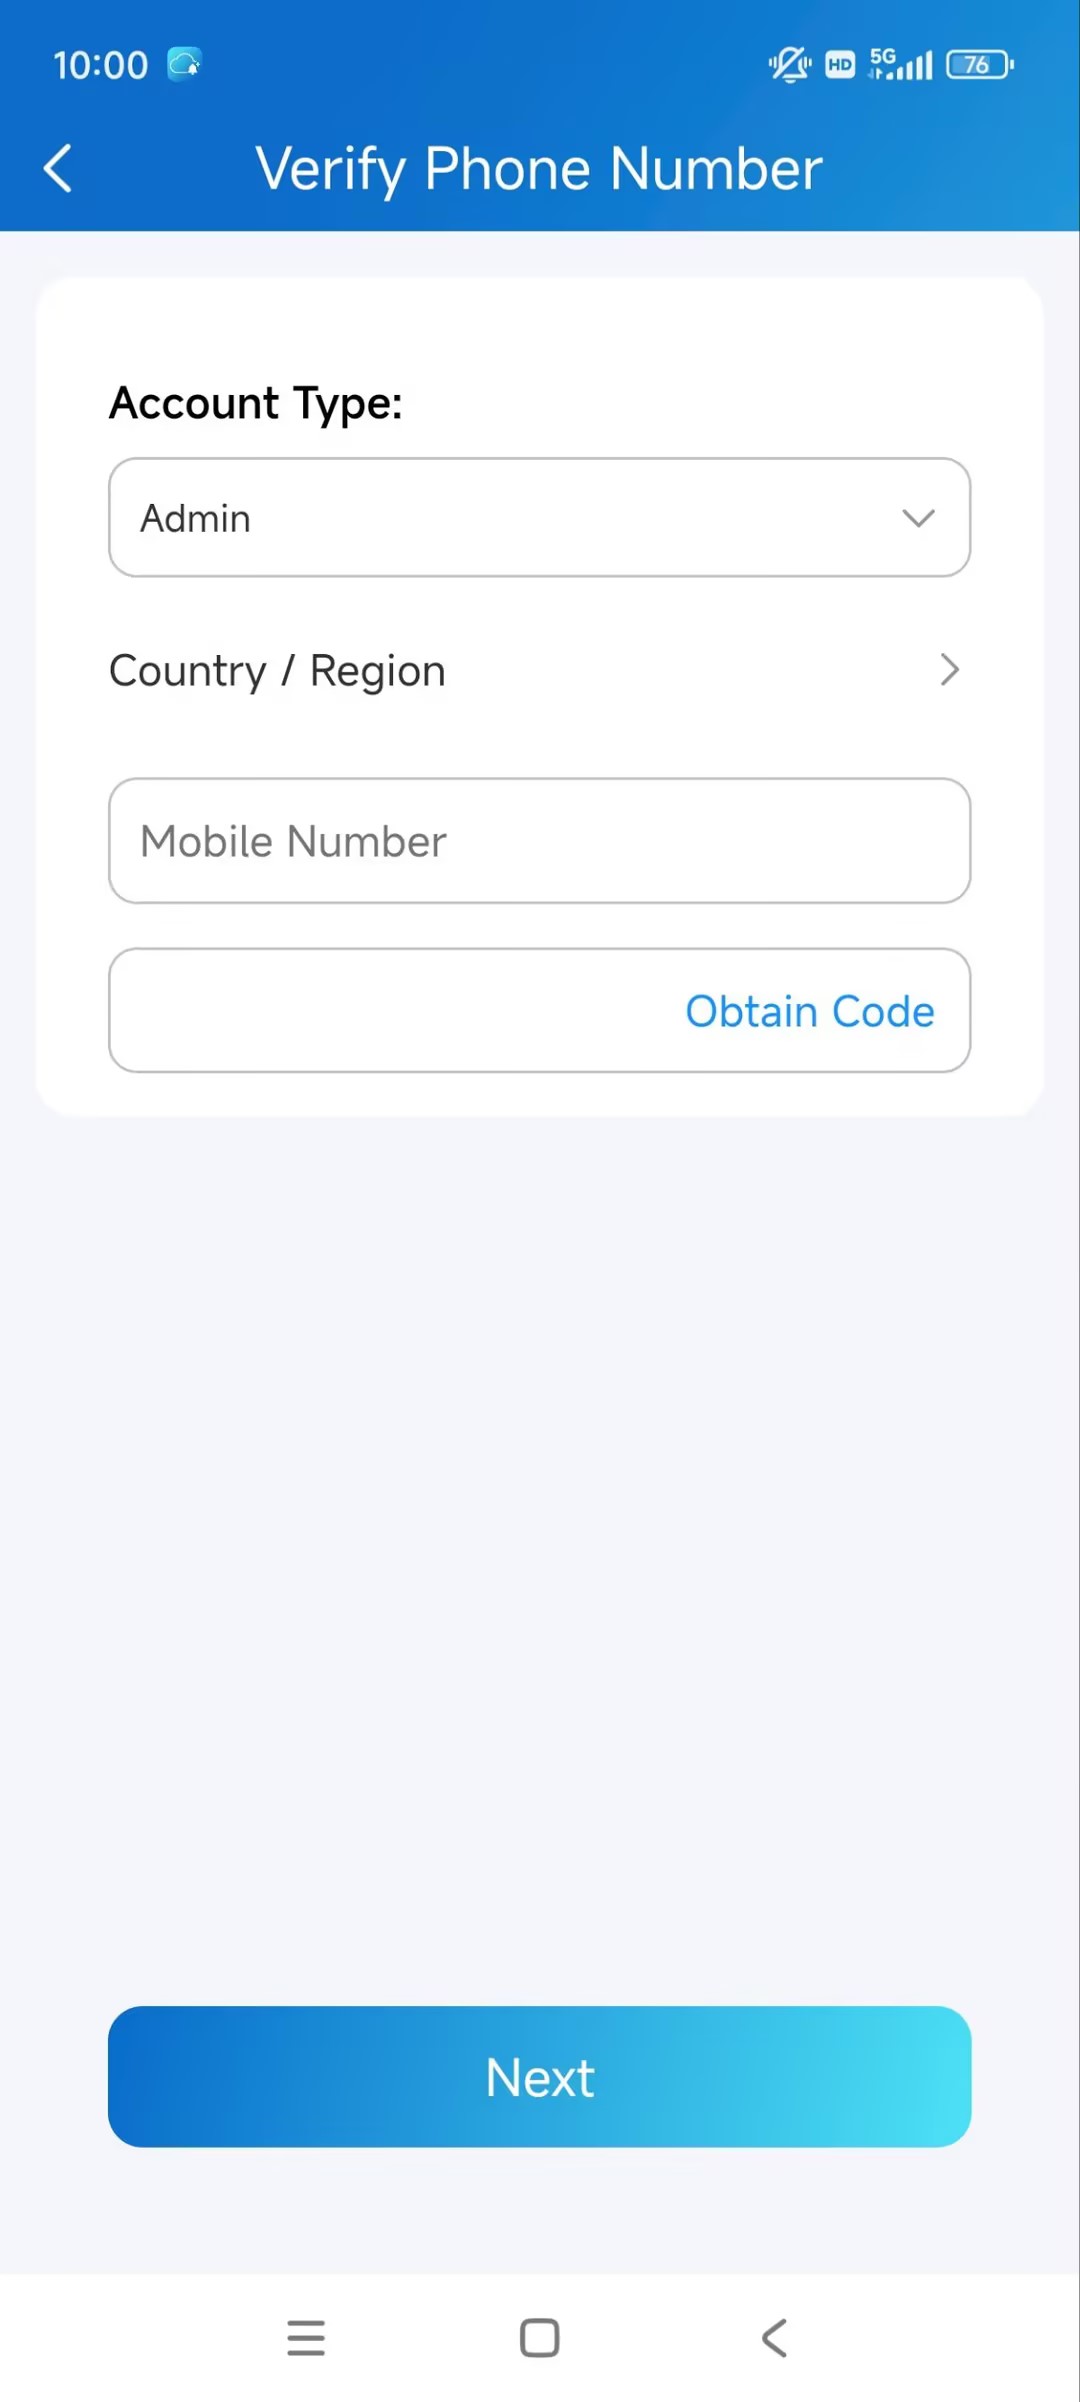
Tap Try to reset via SMS.
Select Country/Region code.
Enter your mobile number and tap Obtain Code.
Enter the verification code you received. Tap Next and follow the onscreen instructions.
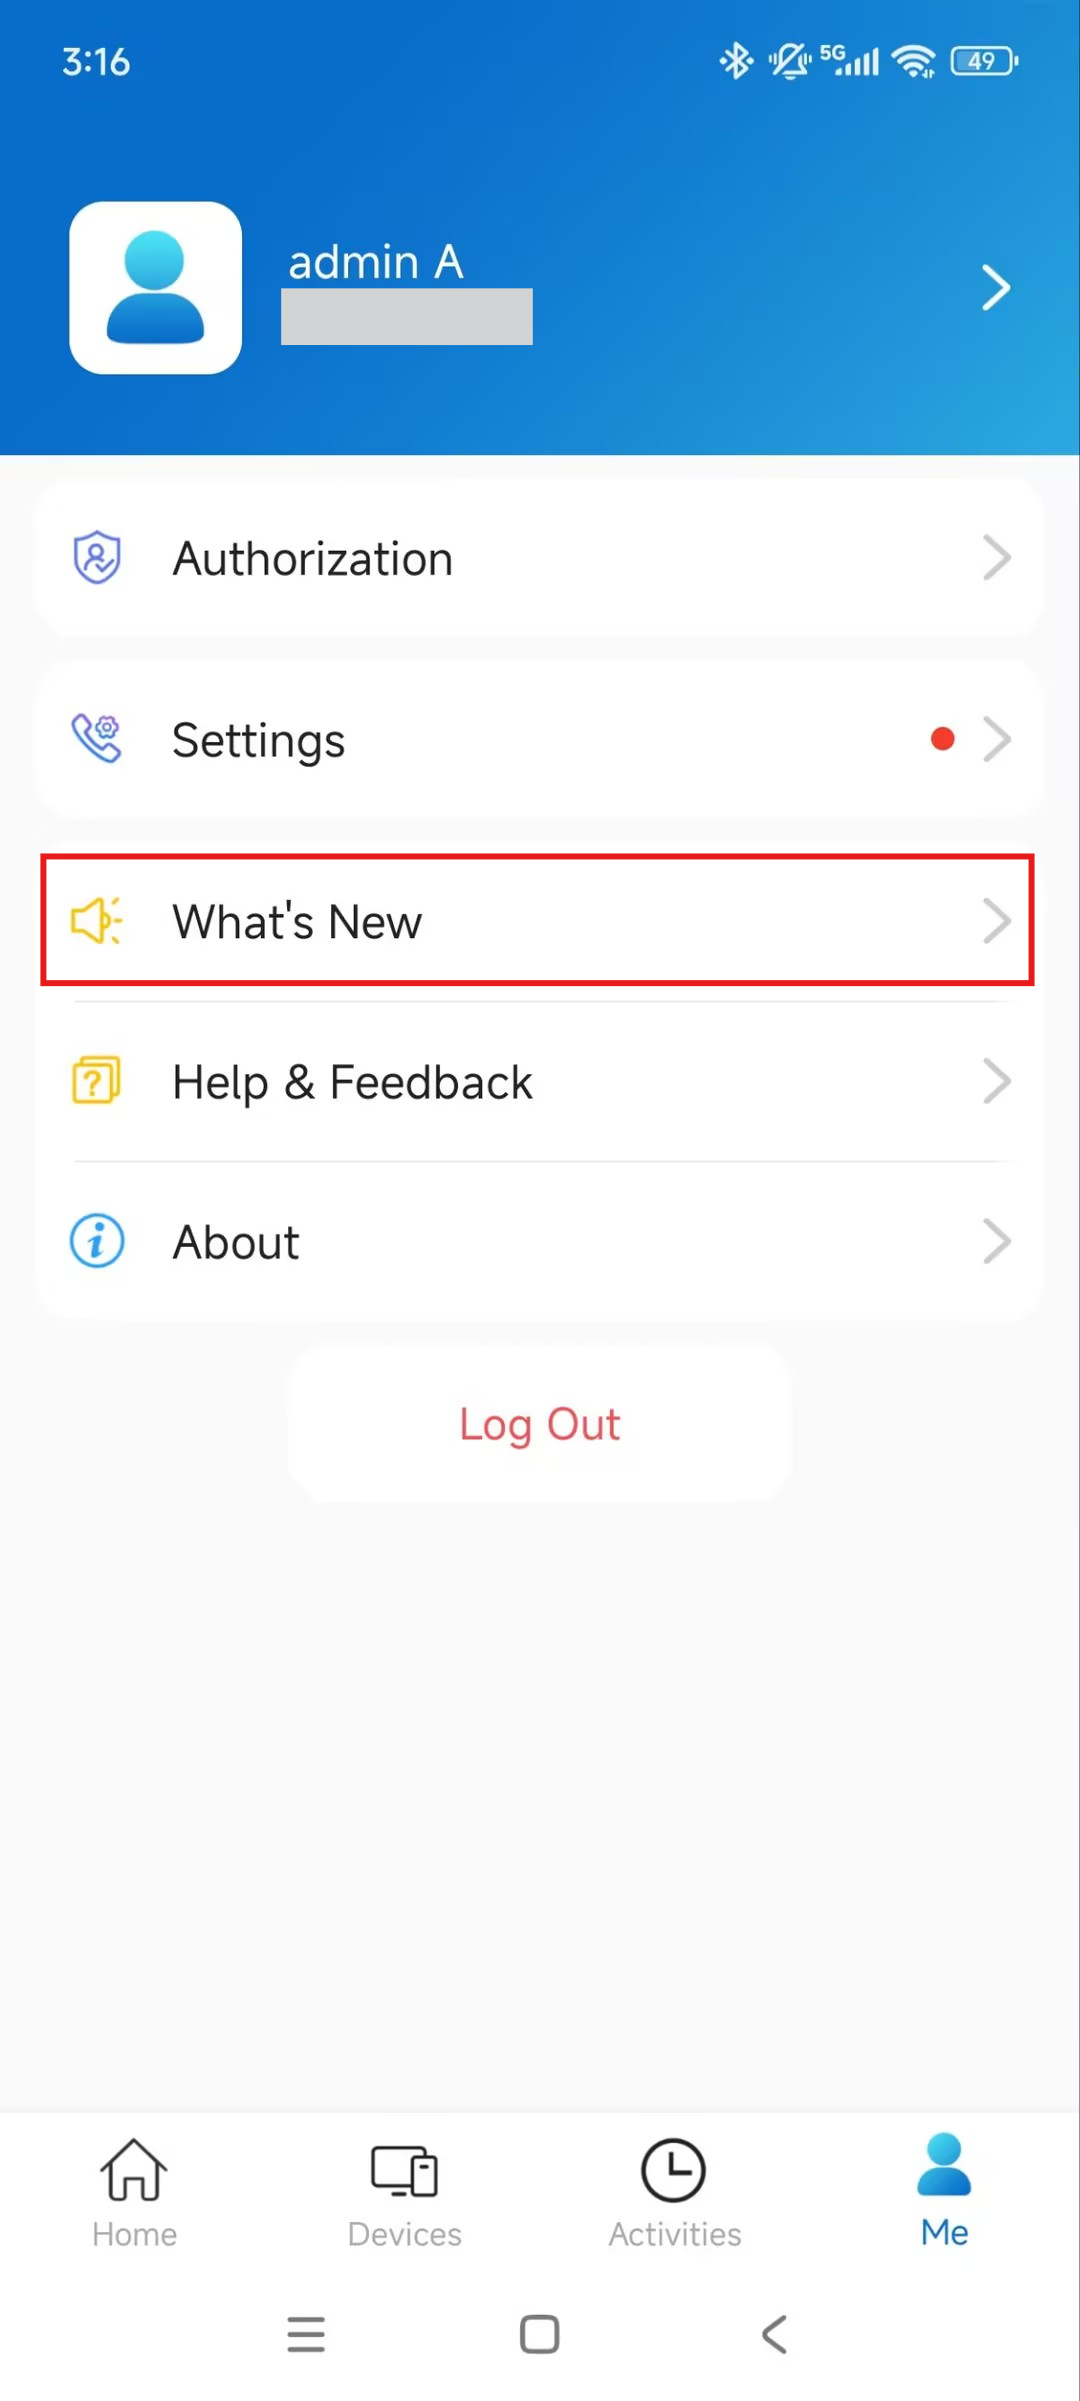
App New Features
Check the SmartPlus App’s new features on the Me > What’s New page.
Support
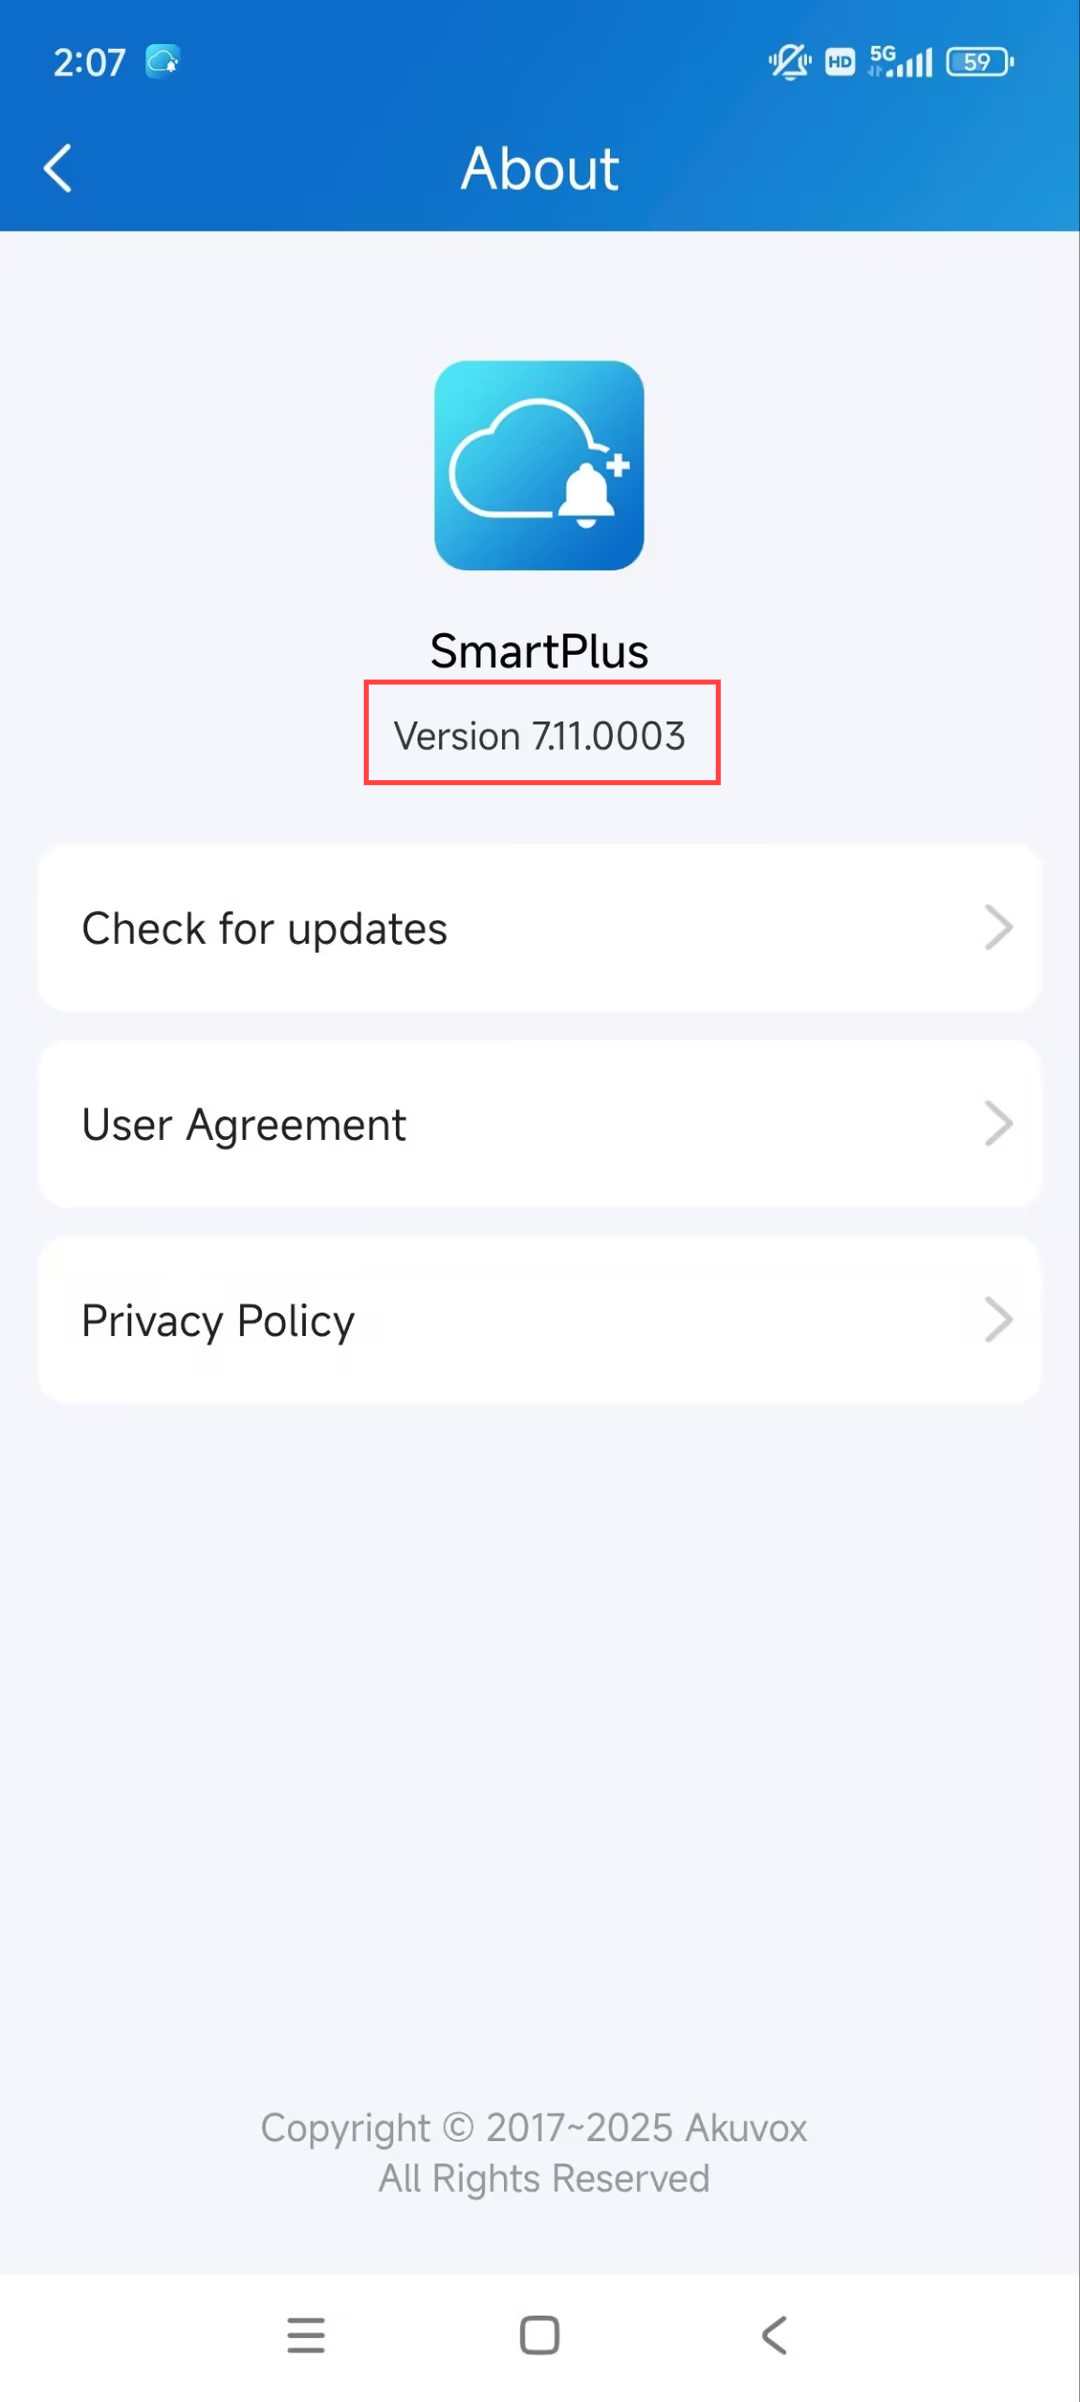
Update
You can check the app’s version by tapping Me > About. Then, tap Check for updates. It will turn to App Store or Google Play automatically where you can check whether it is the latest version.
Your settings and data will remain unchanged when you update the app to the latest version.
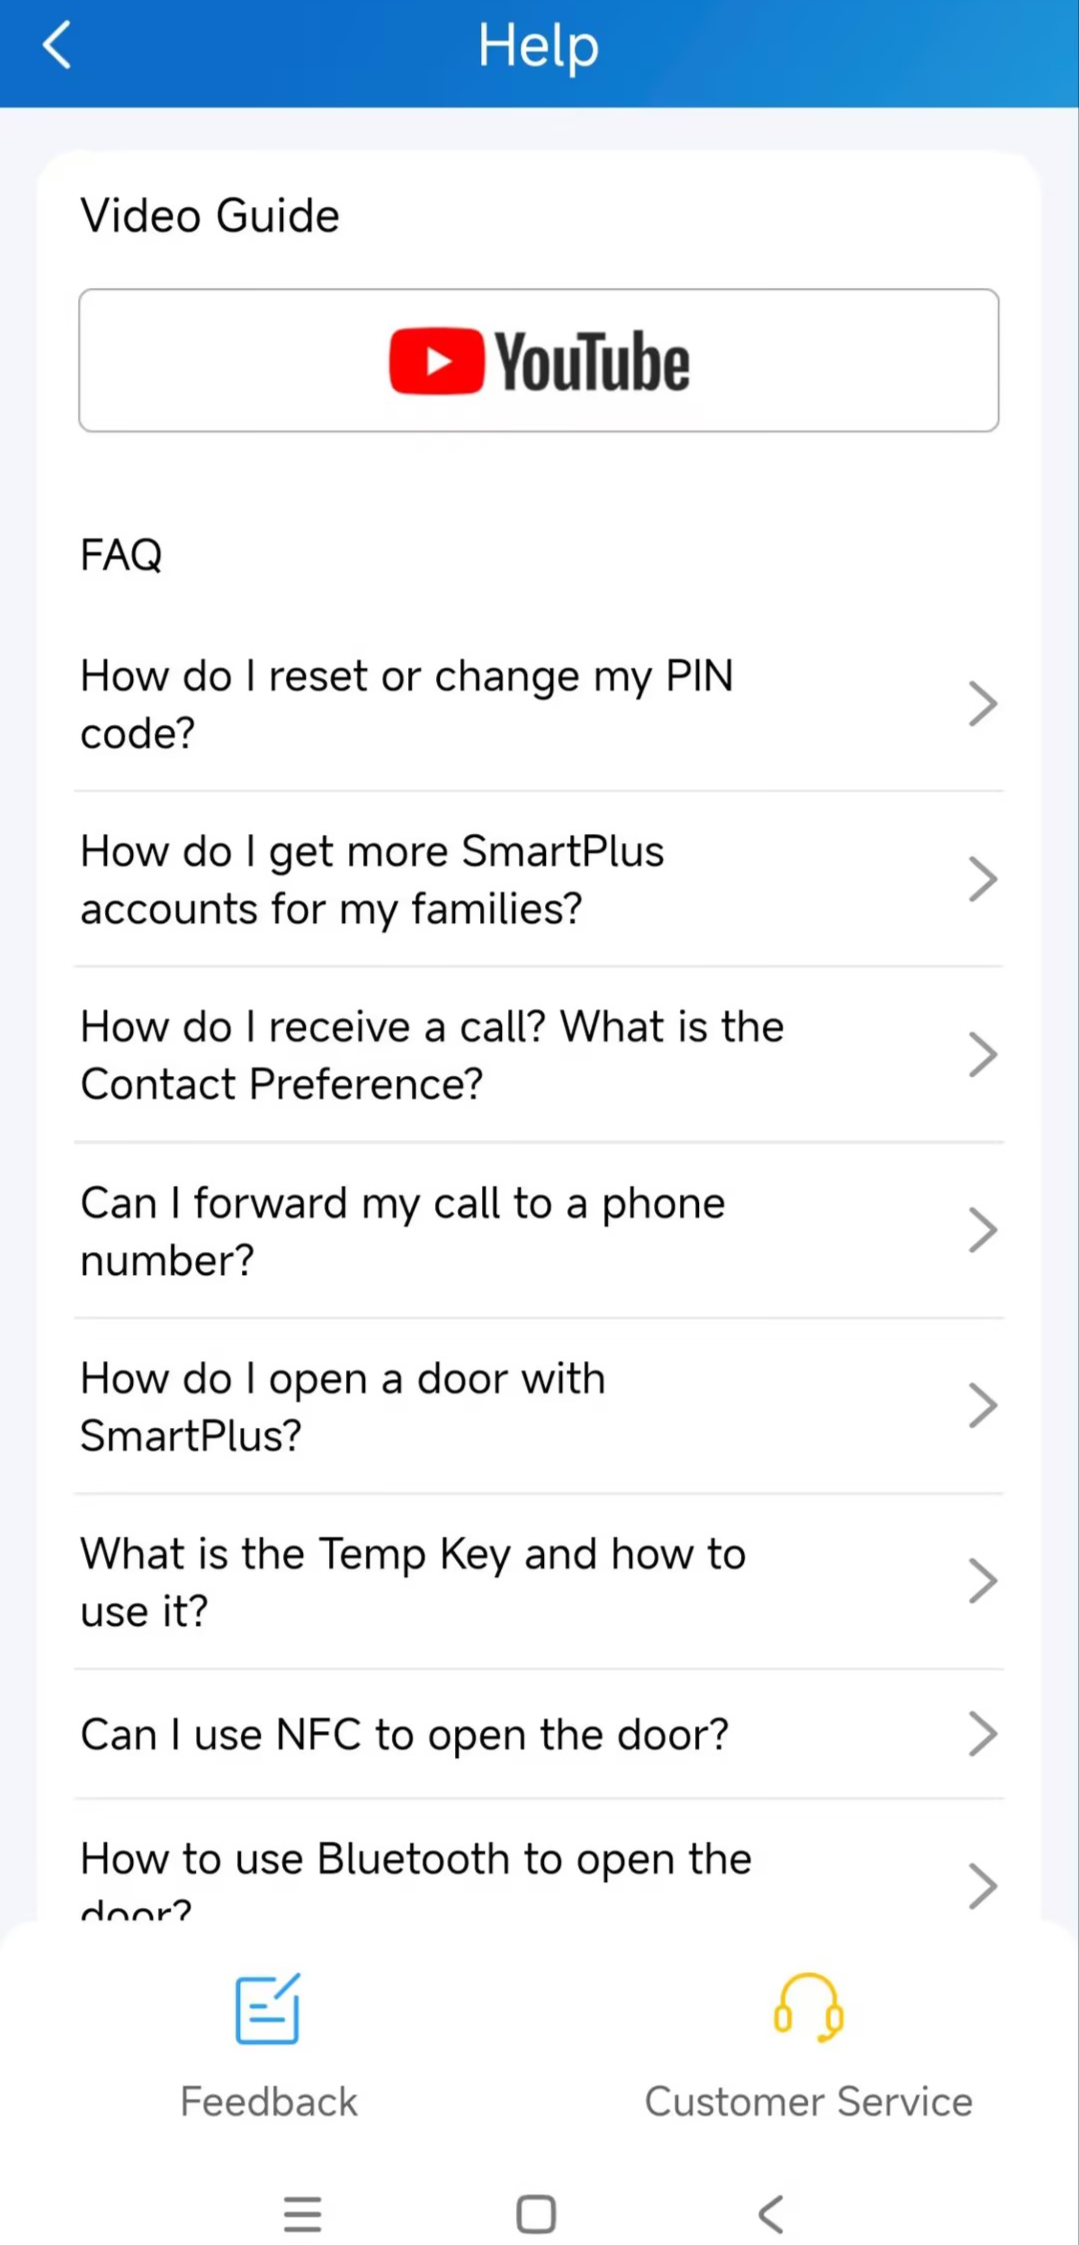
Get Help
Tap Me > Help & Feedback. You can do any of the following:
Watch video tutorials.
Get answers to some frequently asked questions.
Tap Customer Service to contact us for technical support.
Tap Feedback to describe and submit your problems.
Contact Us
For more information about the product, please visit us at www.akuvox.com or feel free to contact us by
Sales email: sales@akuvox.com
Technical support email: support@akuvox.com
Telephone: +86-592-2133061 ext.7694/8162
We highly appreciate your feedback about our products.