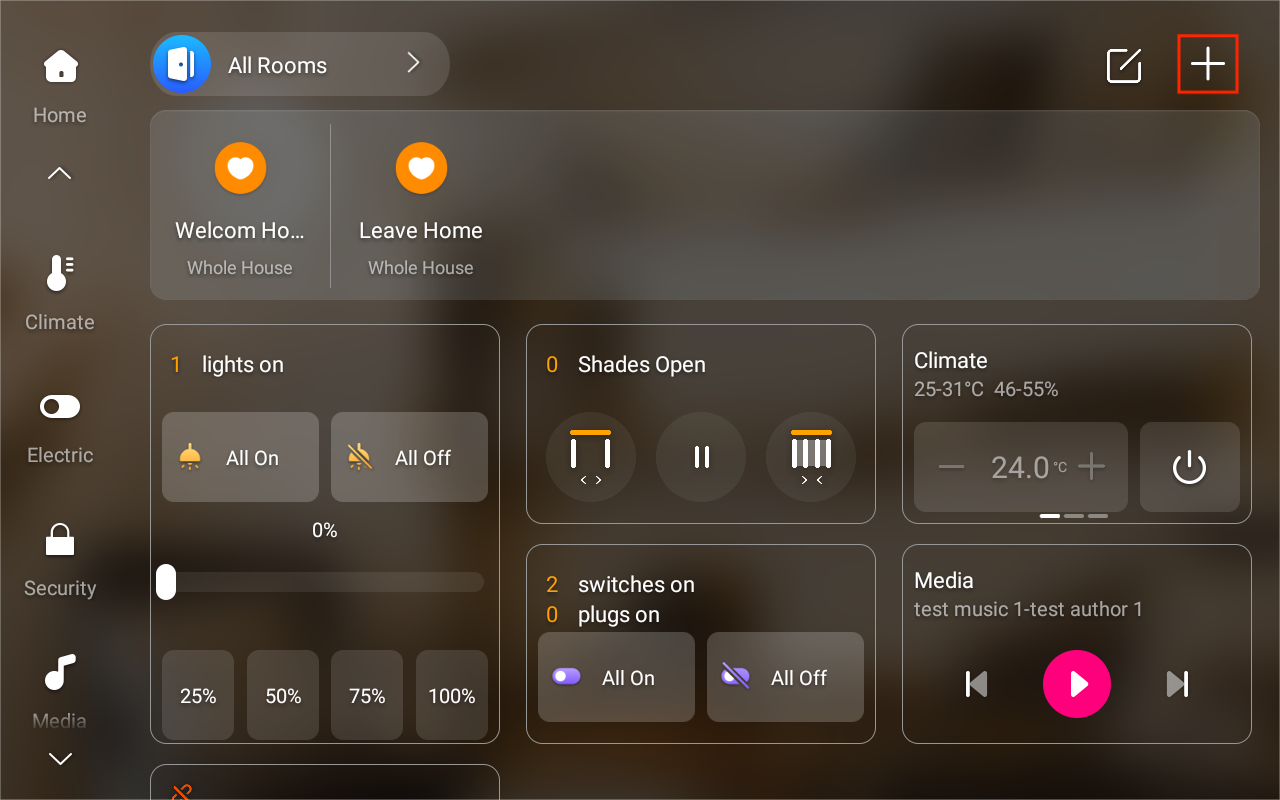
Add devices
HyPanel Pro allows you to connect Zigbee devices, third-party smart home devices, IP cameras, and IR-based home appliances.
Zigbee devices
HyPanel Pro can connect to many Zigbee devices, such as sensors, emergency button, IR controller, thermostat, smart switch, and more. For example, you can add and fit a CO sensor in your kitchen to identify carbon monoxide leaks.
NOTE:
The transmission distances of Zigbee signal may vary by environmental characteristics and more. For optimal performance, add ZigBee devices to the HyPanel Pro within the same room.
Put devices in pairing mode
Before pairing Zigbee devices with the HyPanel Pro, you should know how to activate their pairing mode. Here are a few examples to guide you.
TIP:
For more help pairing additional devices, check our guide on Put Zigbee Devices into Paring Mode, or refer to their manuals.
Zigbee device | How to put it to the pairing mode | |
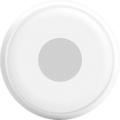
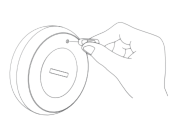
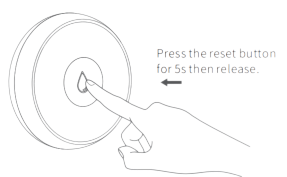
Smart Emergency Button
| Insert a pin into the reset hole at its back cover for 5 - 10s until the green light flashes quickly. |
|
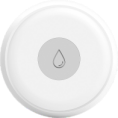
Smart Flood Sensor
| Press and hold the reset button on the front for 5 - 10s until the green light flashes quickly. |
|
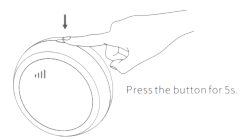
Smart Temperature and Humidity sensor
| Press and hold the reset button on the side for 5 - 10s until the signal icon flashes quickly. |
|
Smart Motion Sensor
| 1. Rotate the battery cover anticlockwise to open. 2. Press and hold the reset button for at least 5s until the green light flashes quickly. |
|
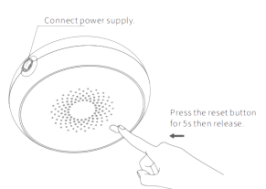
Smart Gas Sensor
| Press and hold the reset button on the front for at least 5s until the green light flashes quickly. |
|
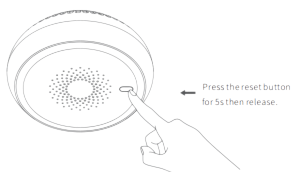
Smart Smoke Sensor
| Press and hold the reset button on the front for at least 5s until the green light flashes quickly. |
|
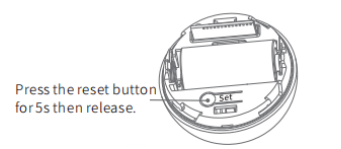
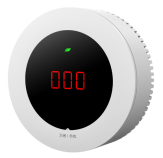
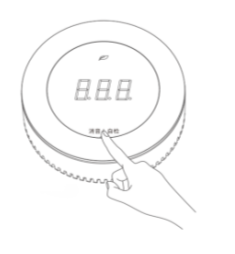
Smart CO Sensor
| 1. Power on the sensor, and wait for its indicator light to change from yellow to green. 2. Press and hold the button on the front for at least 5s until the green light flashes quickly. |
|
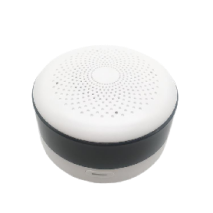
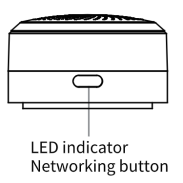
IR Controller
| 1. Power the controller by connecting it to a wall charger using the included USB cable. 2. Press and hold the button on the side of the controller until the green light flashes slowly and a beep sound is heard. |
|

Pair devices with HyPanel Pro
If a Zigbee device goes offline and is later re-added, it will automatically reconnect to its original scenes and restore saved settings.
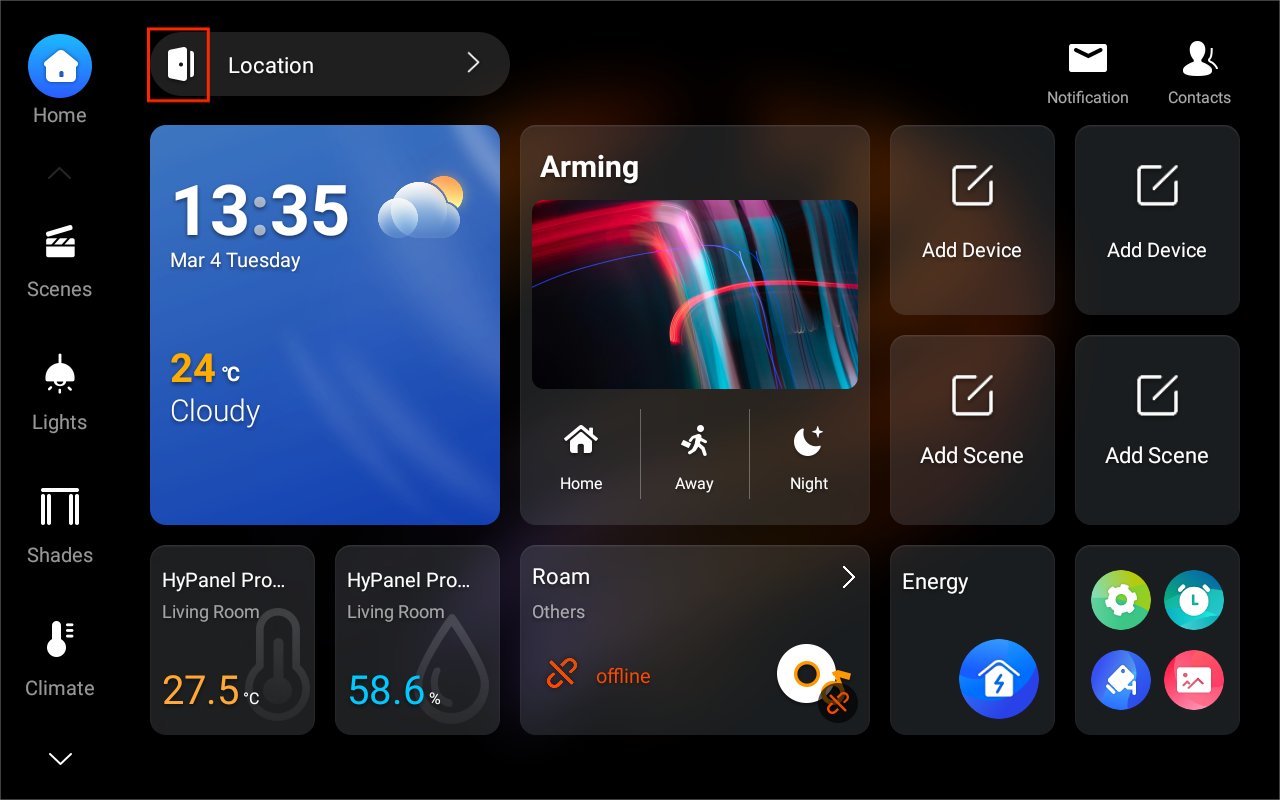
Tap
 at the top of the Home screen.
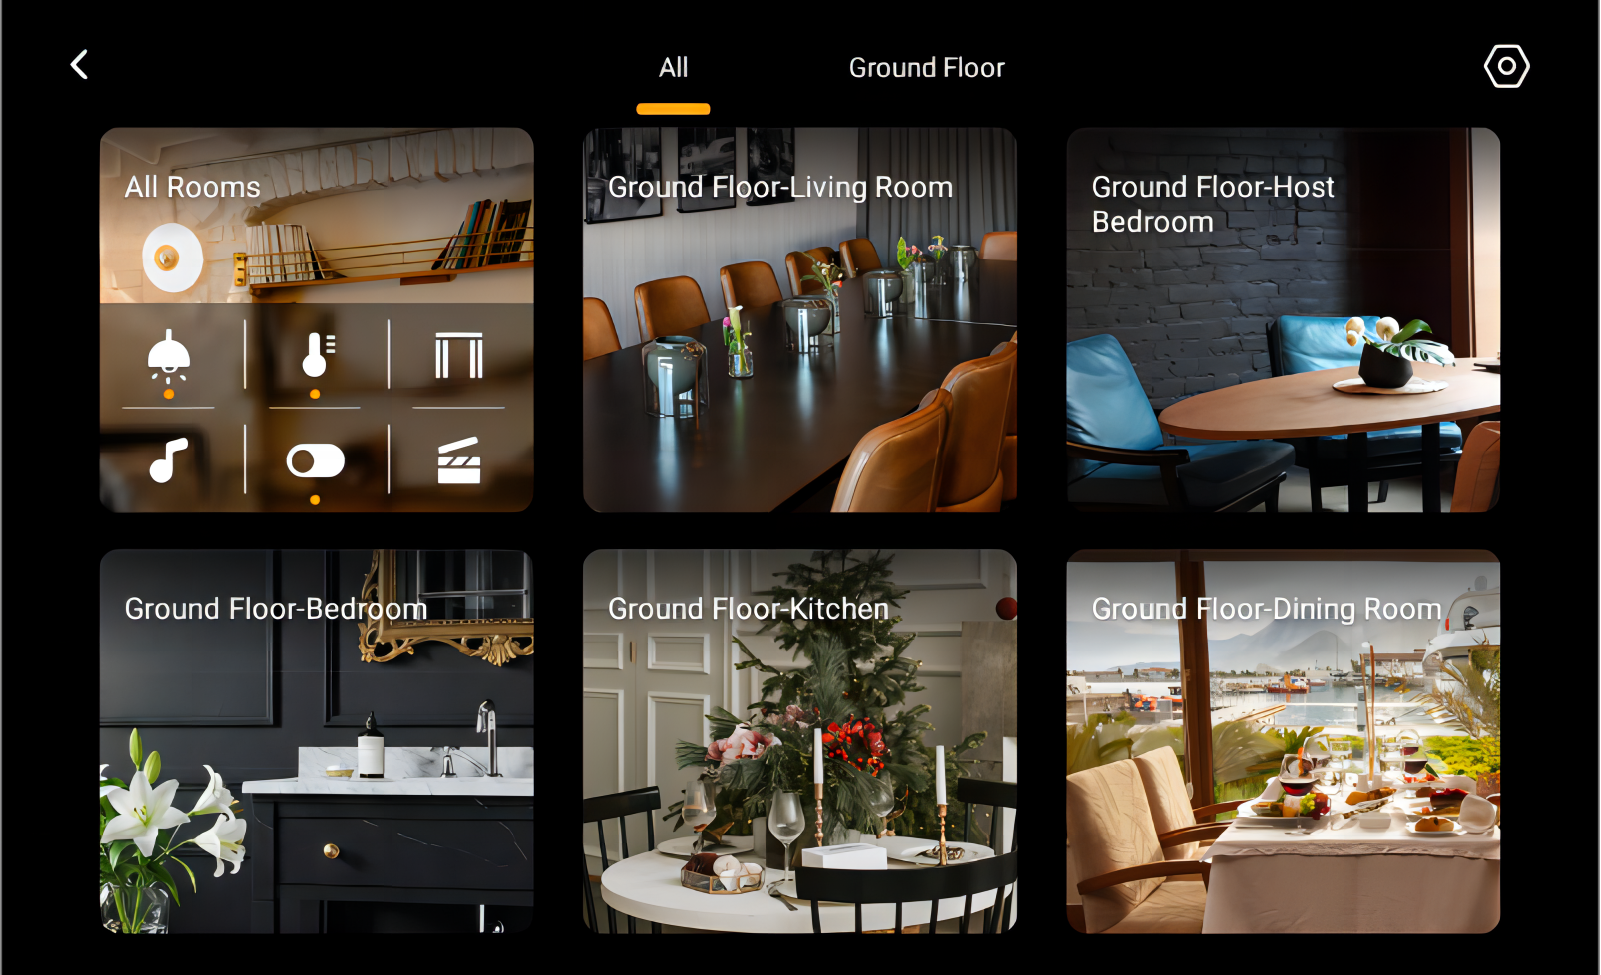
Select the room where you want to add the device.
Tap the add icon
 in the upper right corner. HyPanel Pro will then search for the nearby devices.
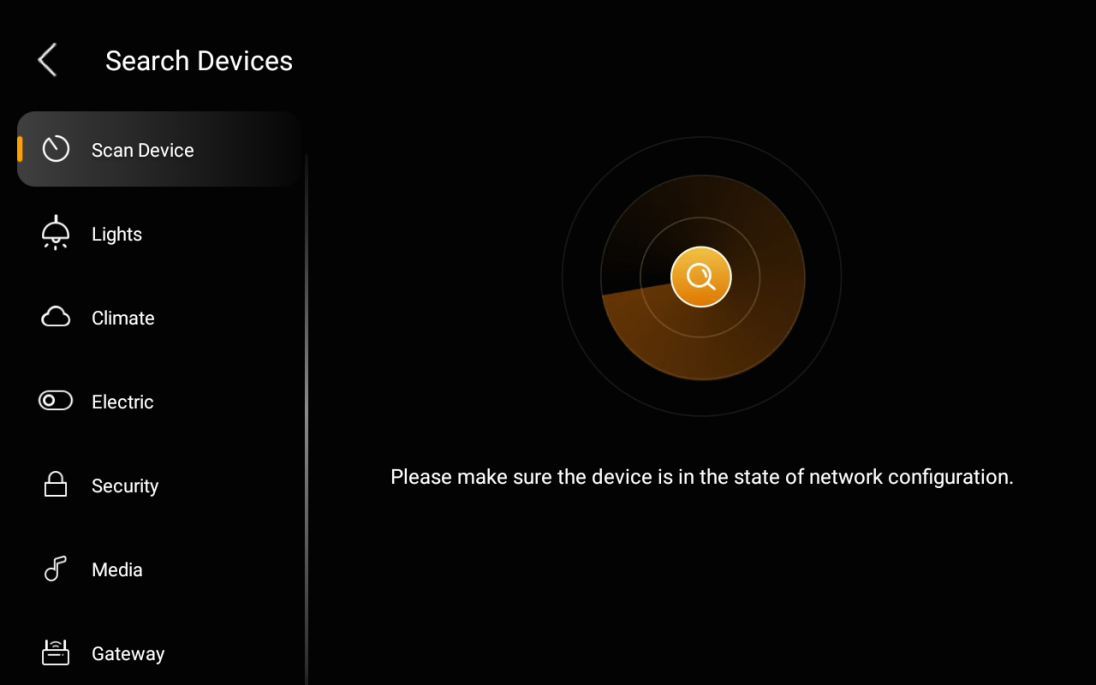
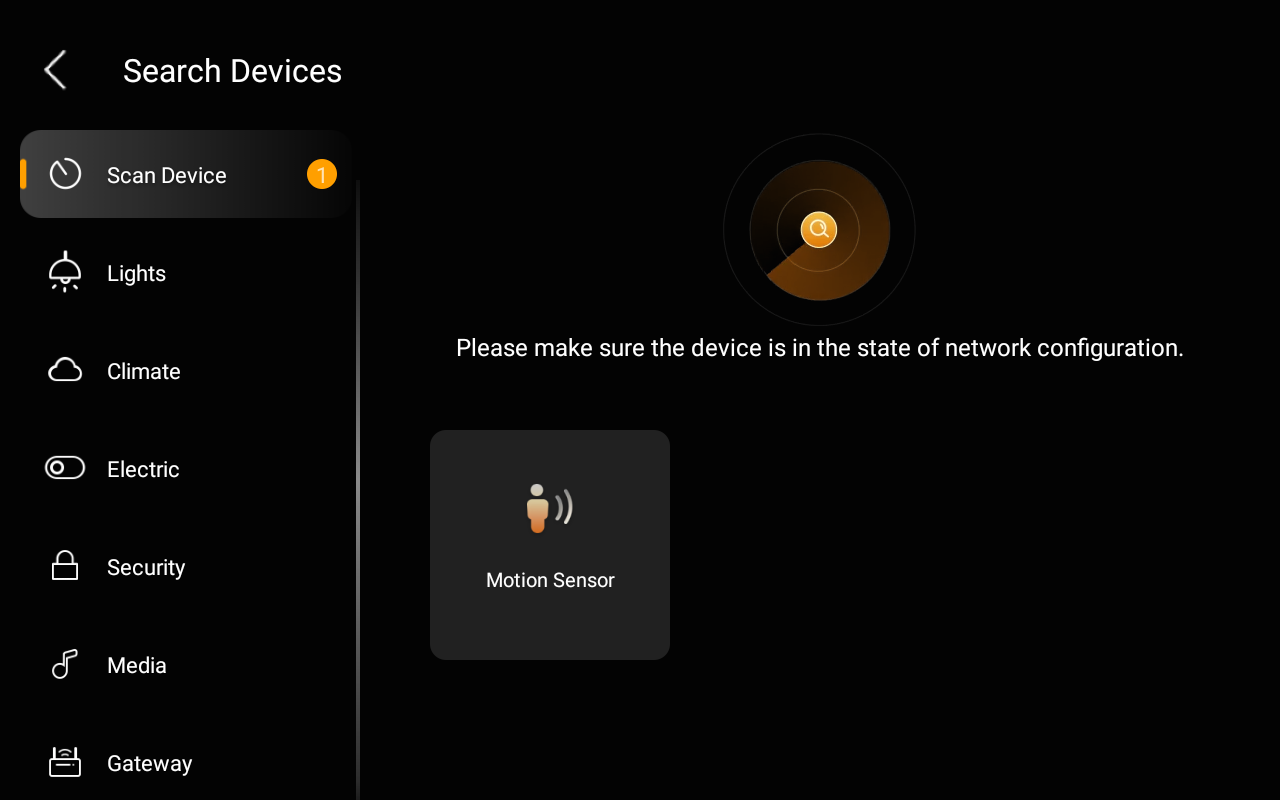
Put the Zigbee device you want to add in pairing mode.
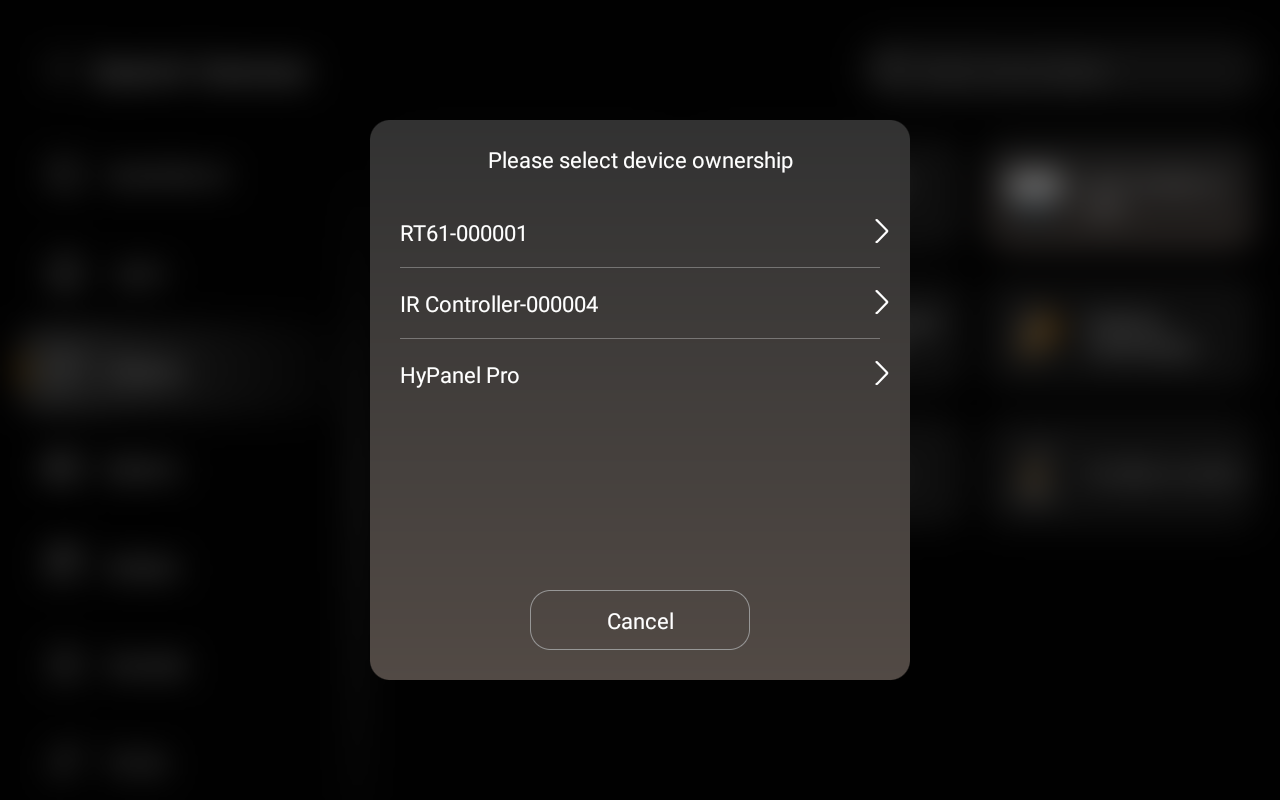
The screen displays the searched device. Select it.
NOTE:
If the device appears as Unknown, you can set its type before proceeding to the next step.
Name the device and choose its location, tap Done.
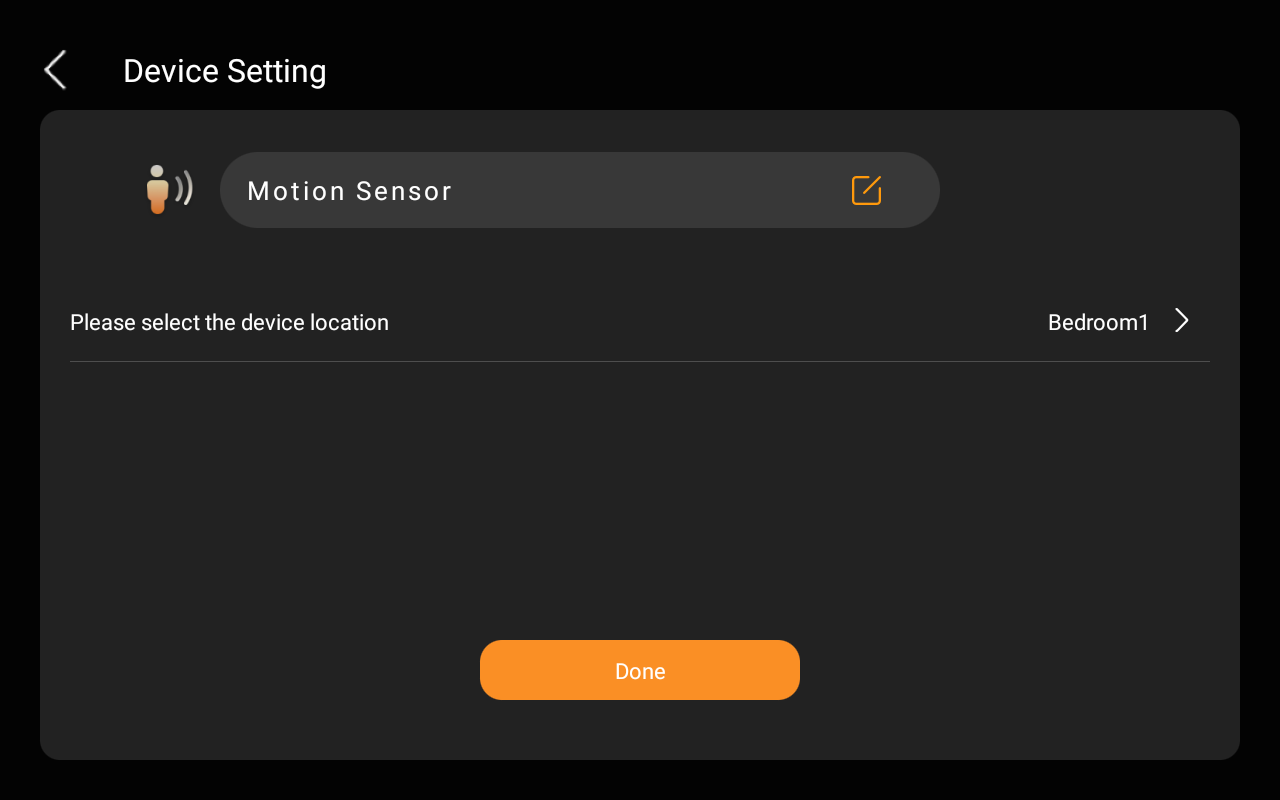
The newly added device displays on the corresponding category screen.
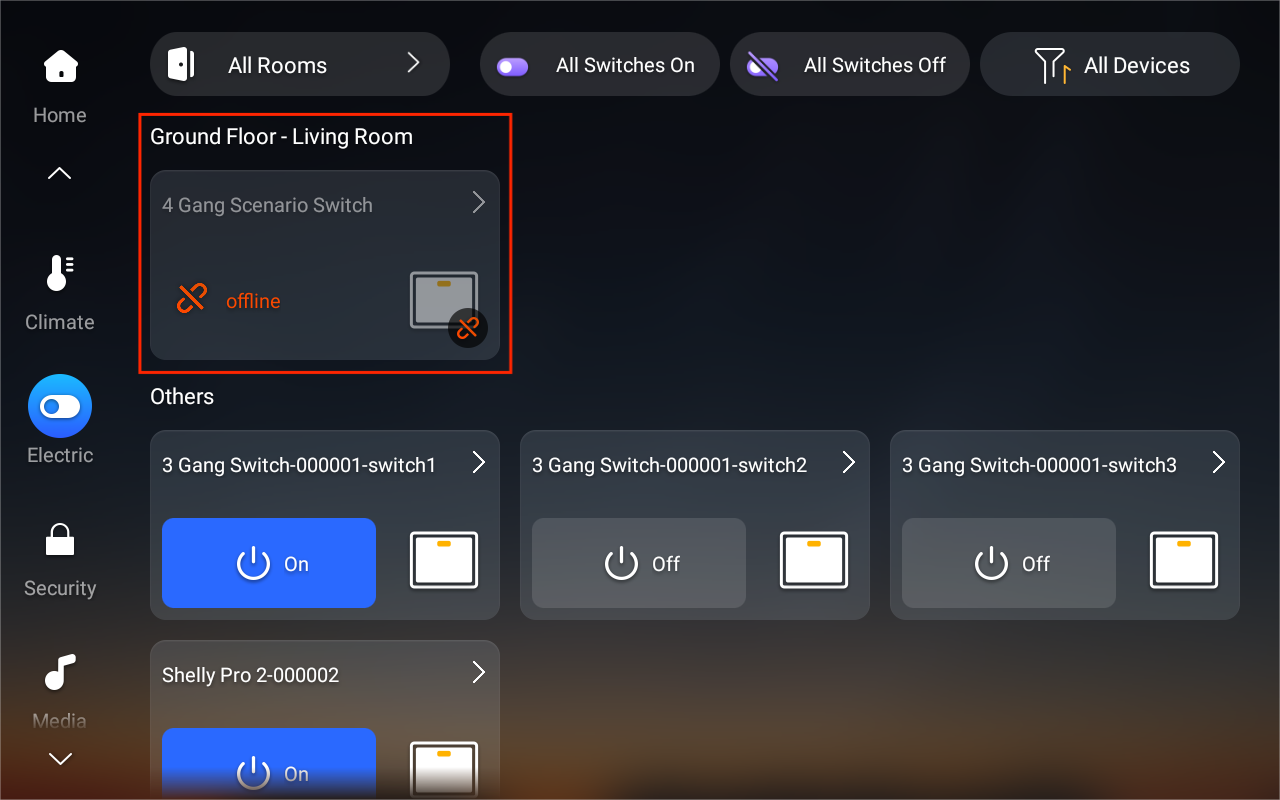
Replace offline Zigbee devices
NOTE:
Back up system data to the cloud before replacing any offline or faulty Zigbee device.
Find the device to be replaced. Tap it.
Tap
 in the upper right corner.
Tap Replace and follow the onscreen instructions to add the new device.
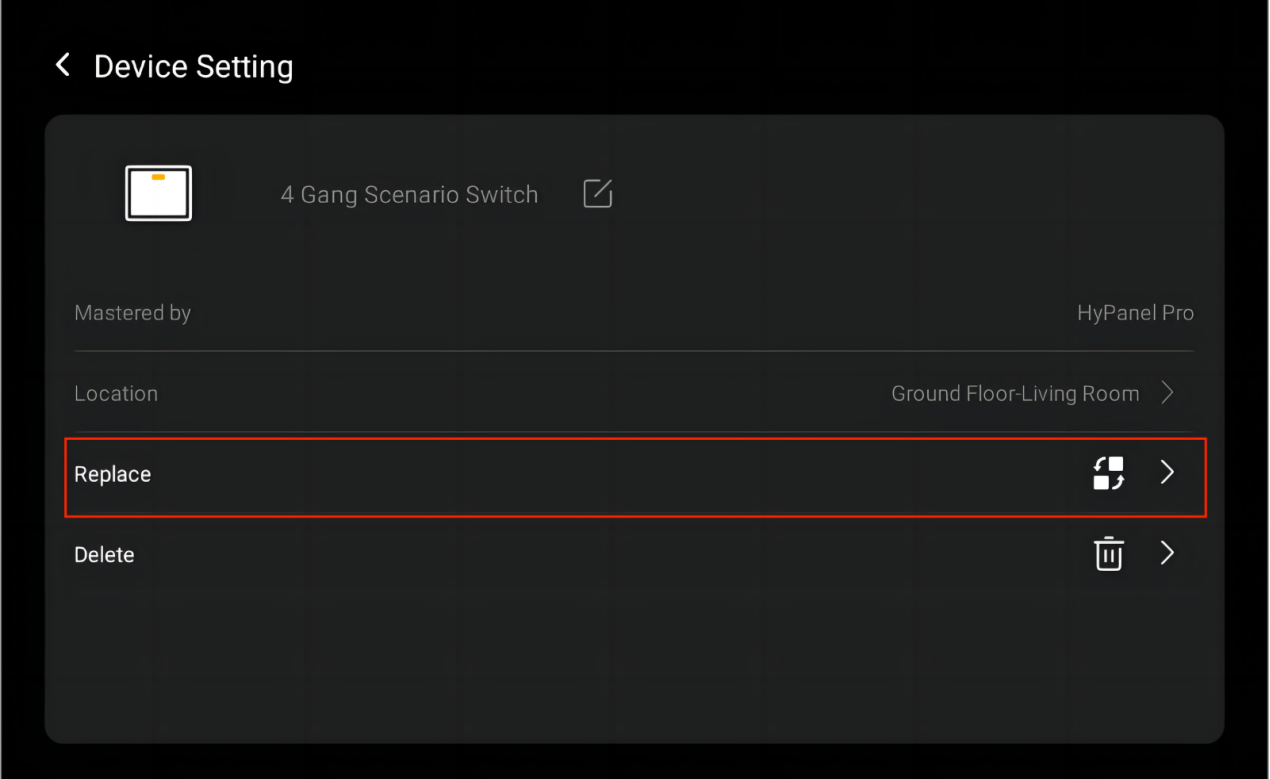
After replacement, the new device will retain the existing settings such as its name, relay type, and any linked scenes.
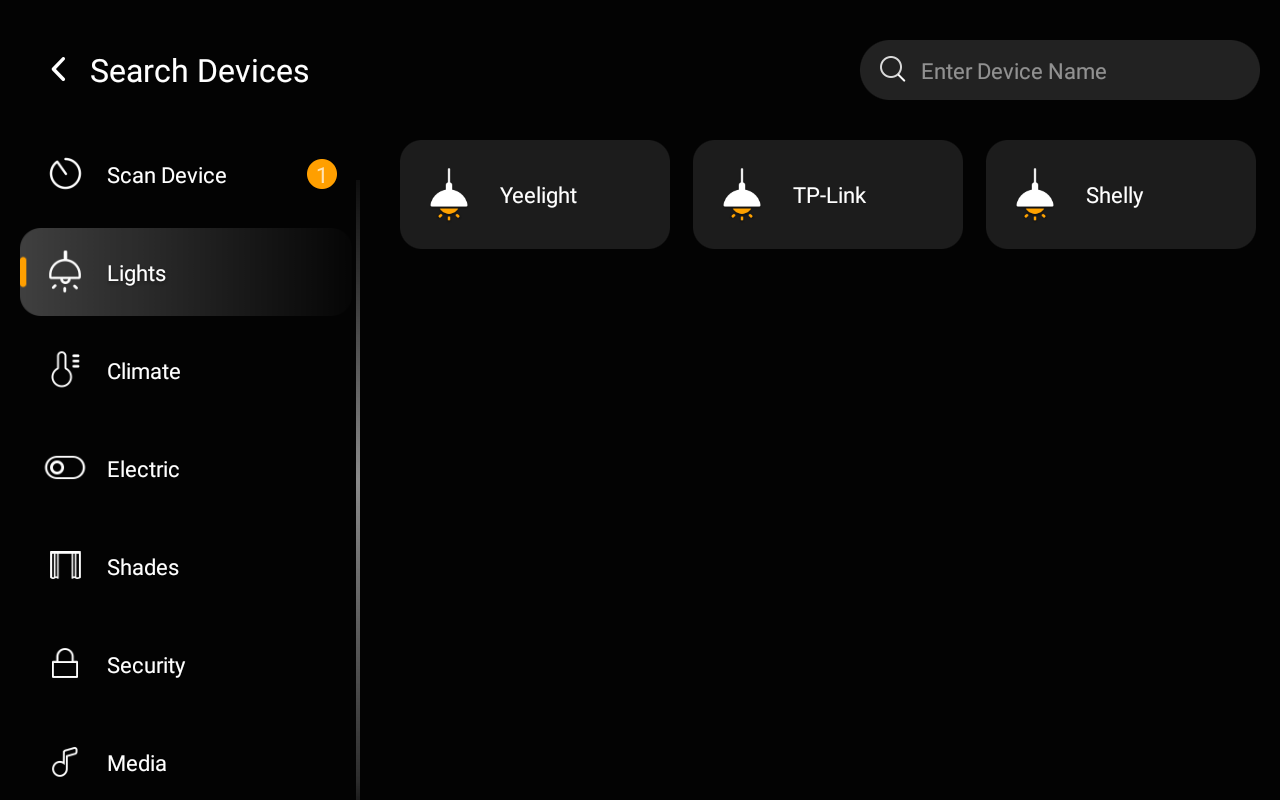
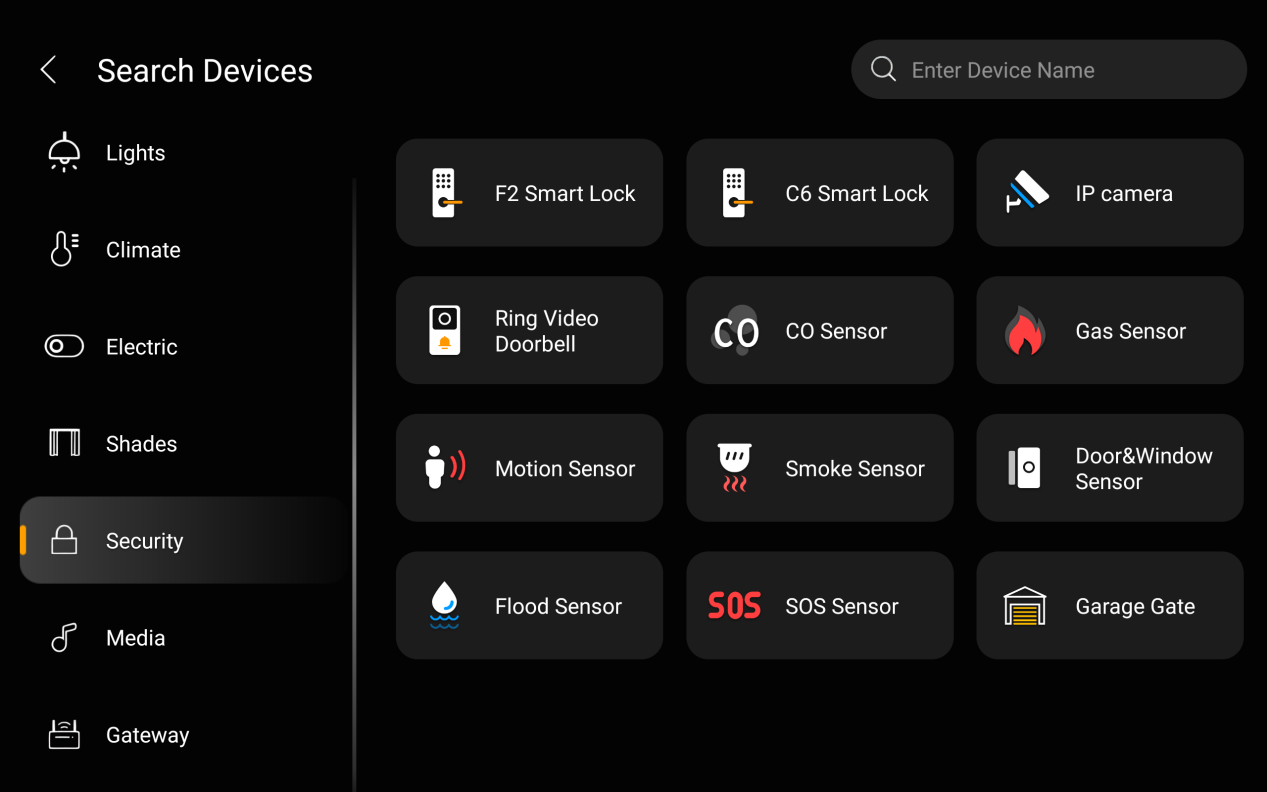
Third-party smart home devices
TIP:
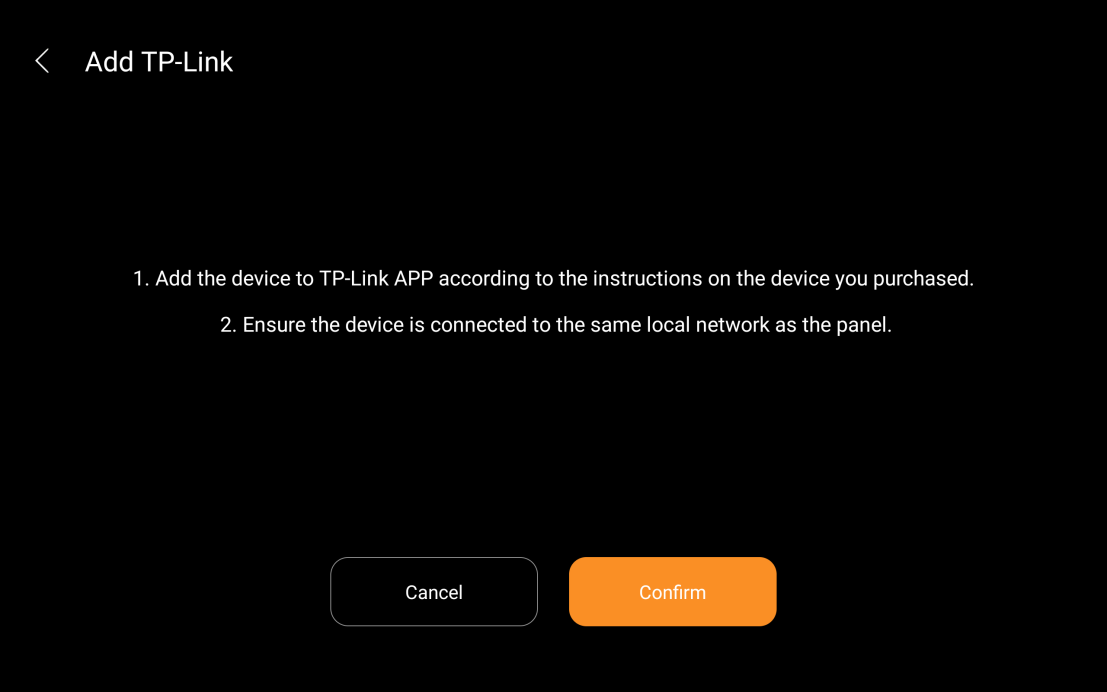
You can add third-party smart home devices, such as Philips Hue, Ecobee thermostat, Lutron Caseta, TP-Link kasa, Sonos, and more, directly with the HyPanel Pro, or via BelaHome App. Click here to learn how to add popular smart home devices on BelaHome app.
Tap
 at the top of the Home screen.

Select the room where you want to add the device.

Tap the add icon
 in the upper right corner.
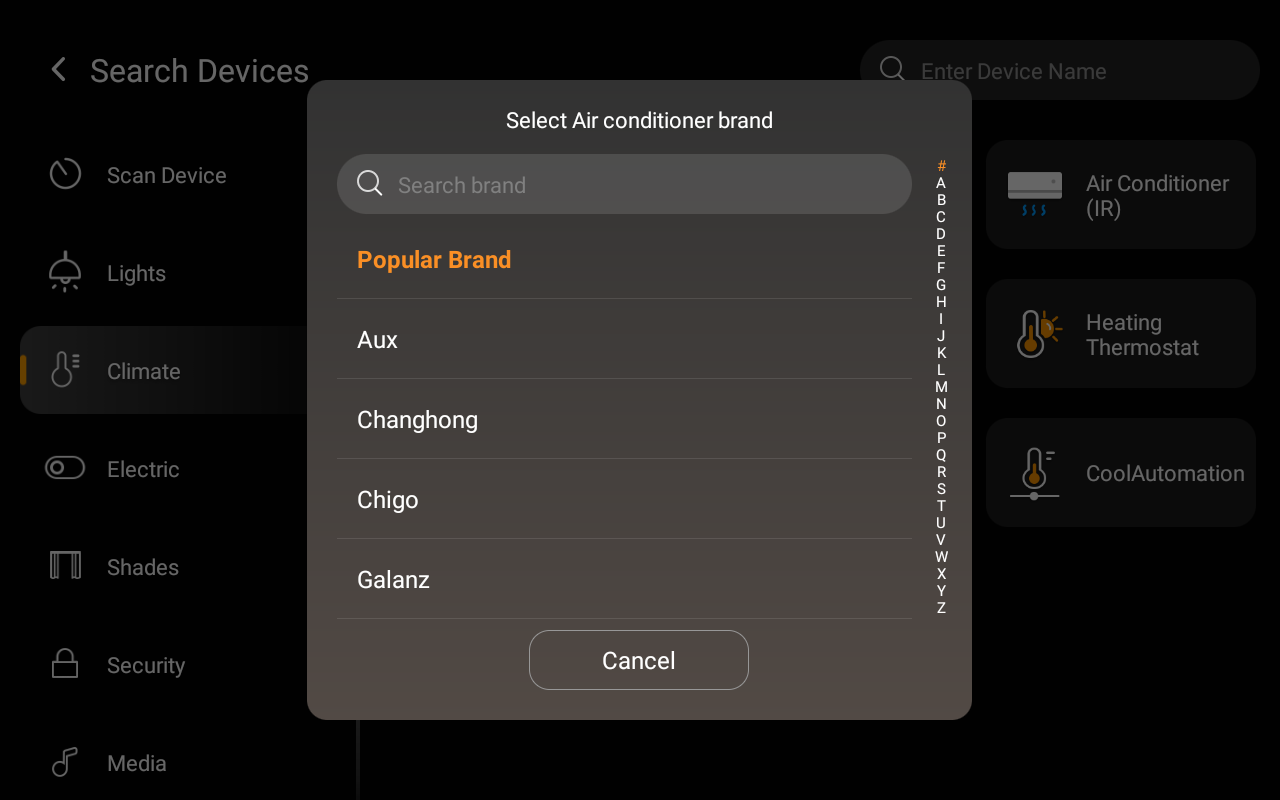
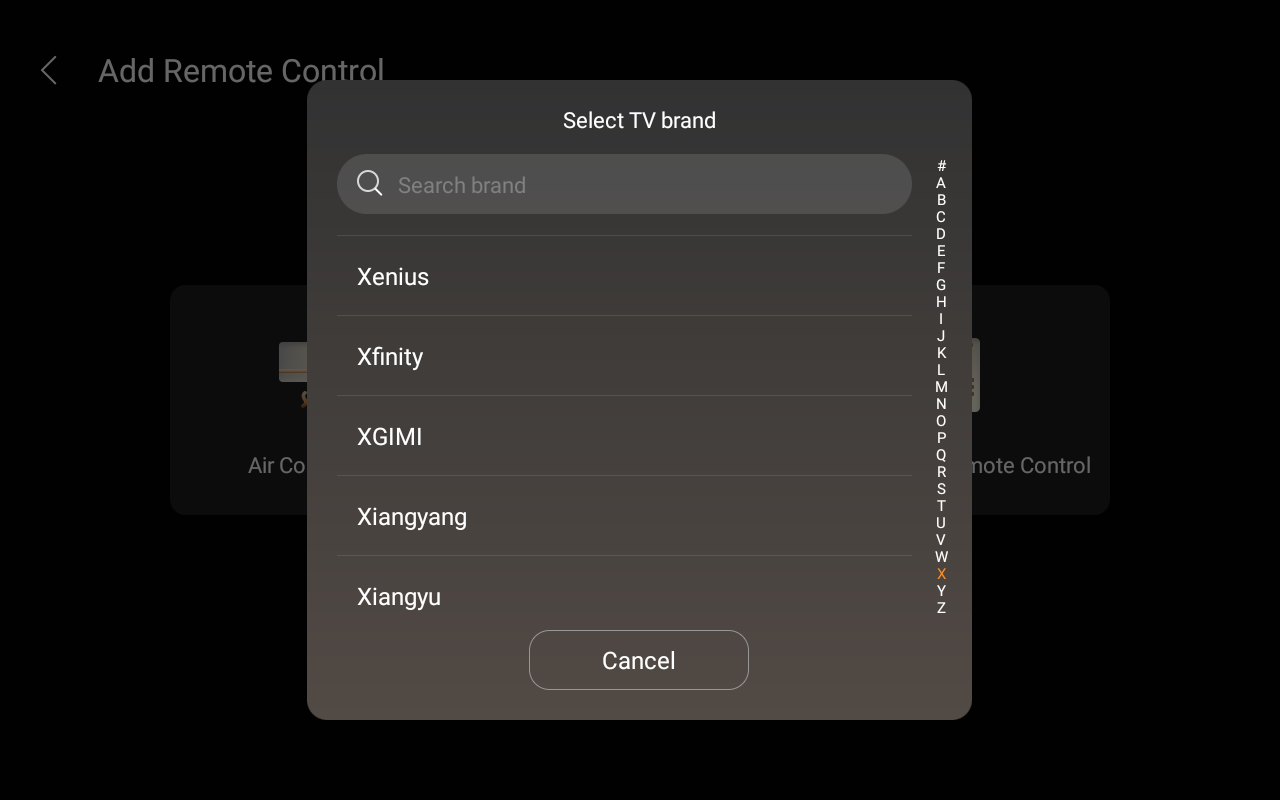
From the left-side menu, choose the device type. Then, on the right-side screen, select its brand.
Follow the onscreen instructions to get the device ready.
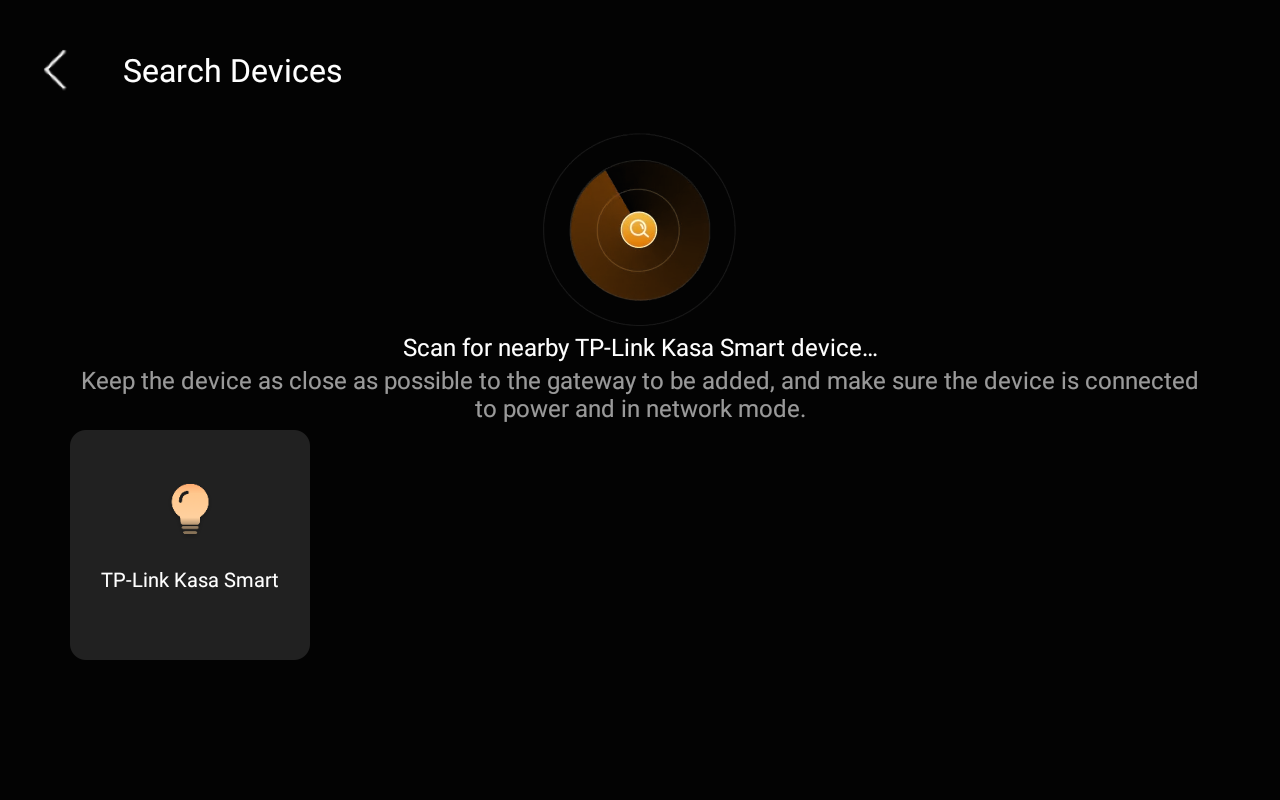
Wait for HyPanel Pro to detect the device. Select it.
Name the device and choose its location, tap Done.
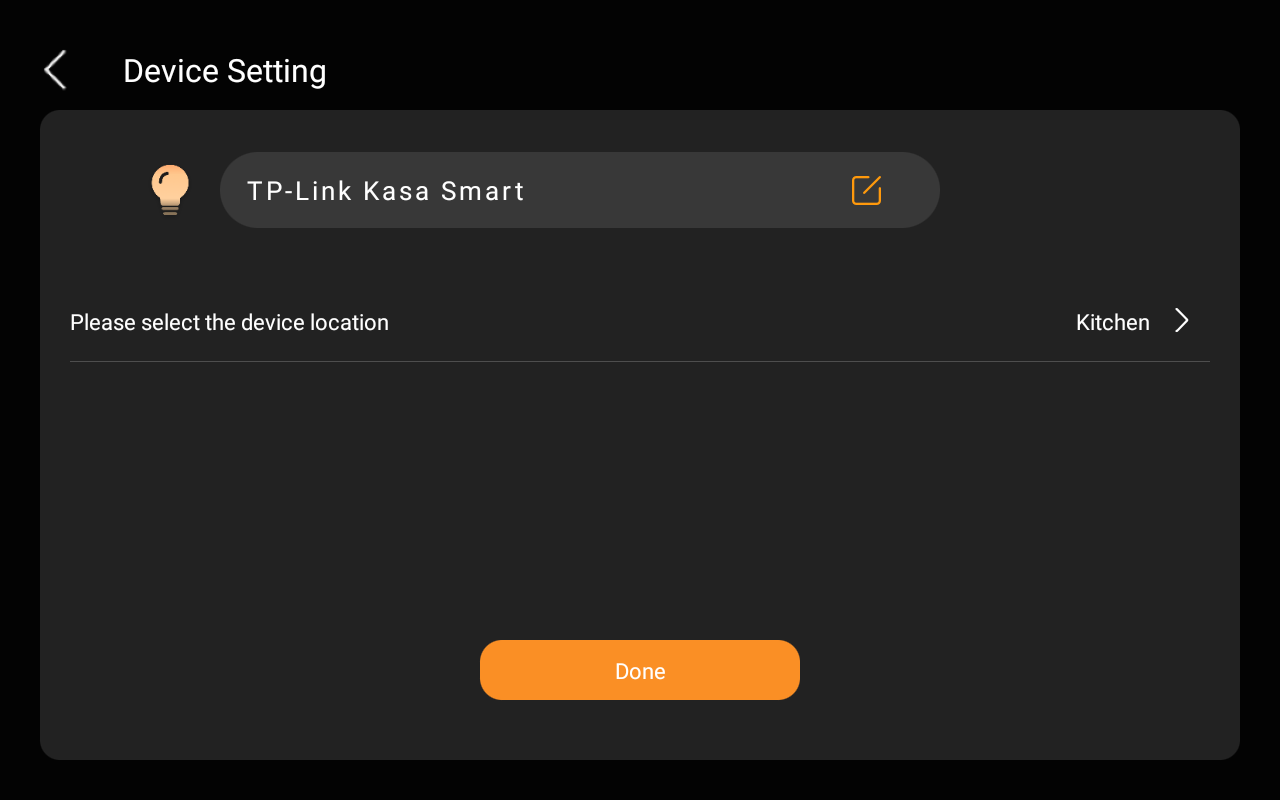
The newly added device displays on the corresponding category screen.
IP cameras
You can directly add IP cameras and door phones surveillance that are on the same network as the HyPanel Pro.
Tap
 at the top of the Home screen.

Select the room where you want to add the device.
Tap the add icon
 in the upper right corner.

Do any of the following.
Auto scanning
Wait for the HyPanel Pro to auto-scan for ONVIF cameras and list them.
Select the desired one and follow the onscreen instructions.
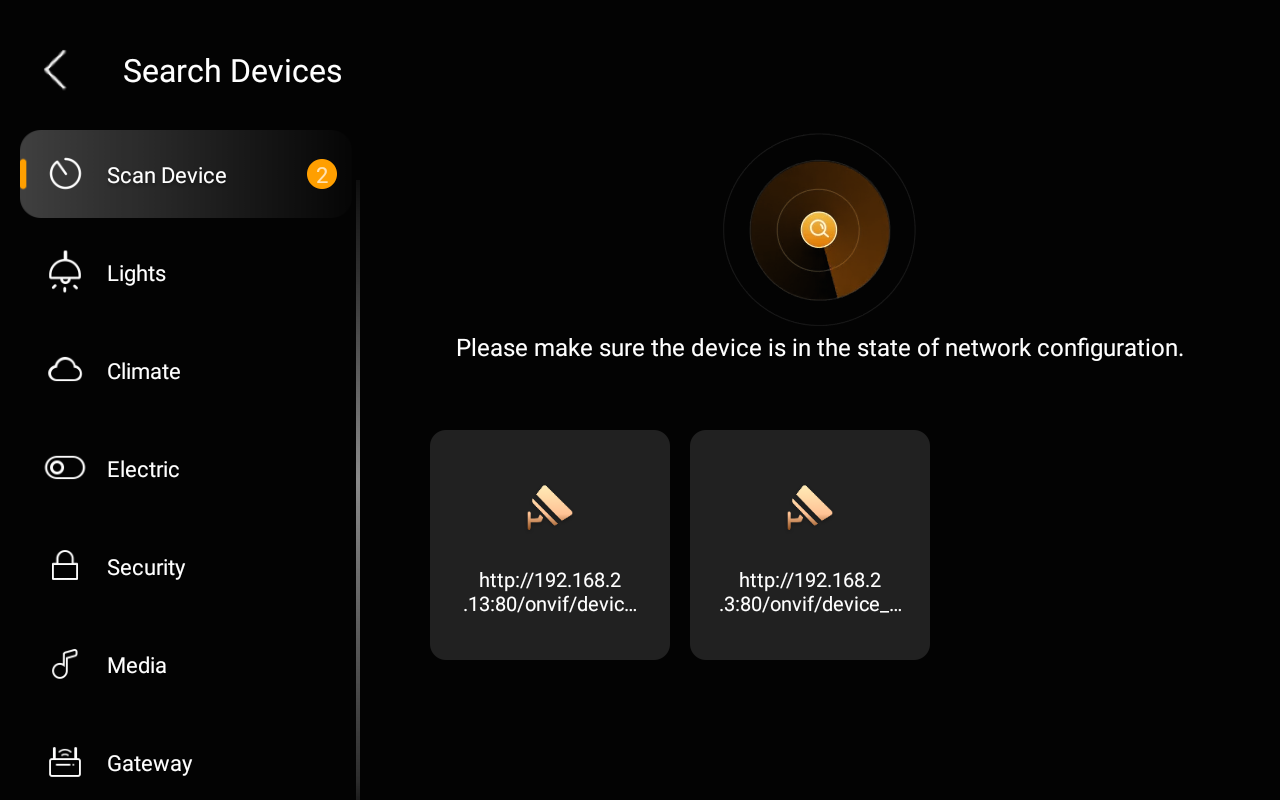
Manual addition: Select Security > IP Camera and follow the onscreen instructions.
Cameras you've added will be displayed on the Security screen.
IR-based appliances
Using the infrared remote, HyPanel Pro can integrate IR-based devices, and function as a remote controller.
Add TV and AC directly
Tap
 at the top of the Home screen.

Select the room where you want to add the device.
Tap the add icon
 in the upper right corner.

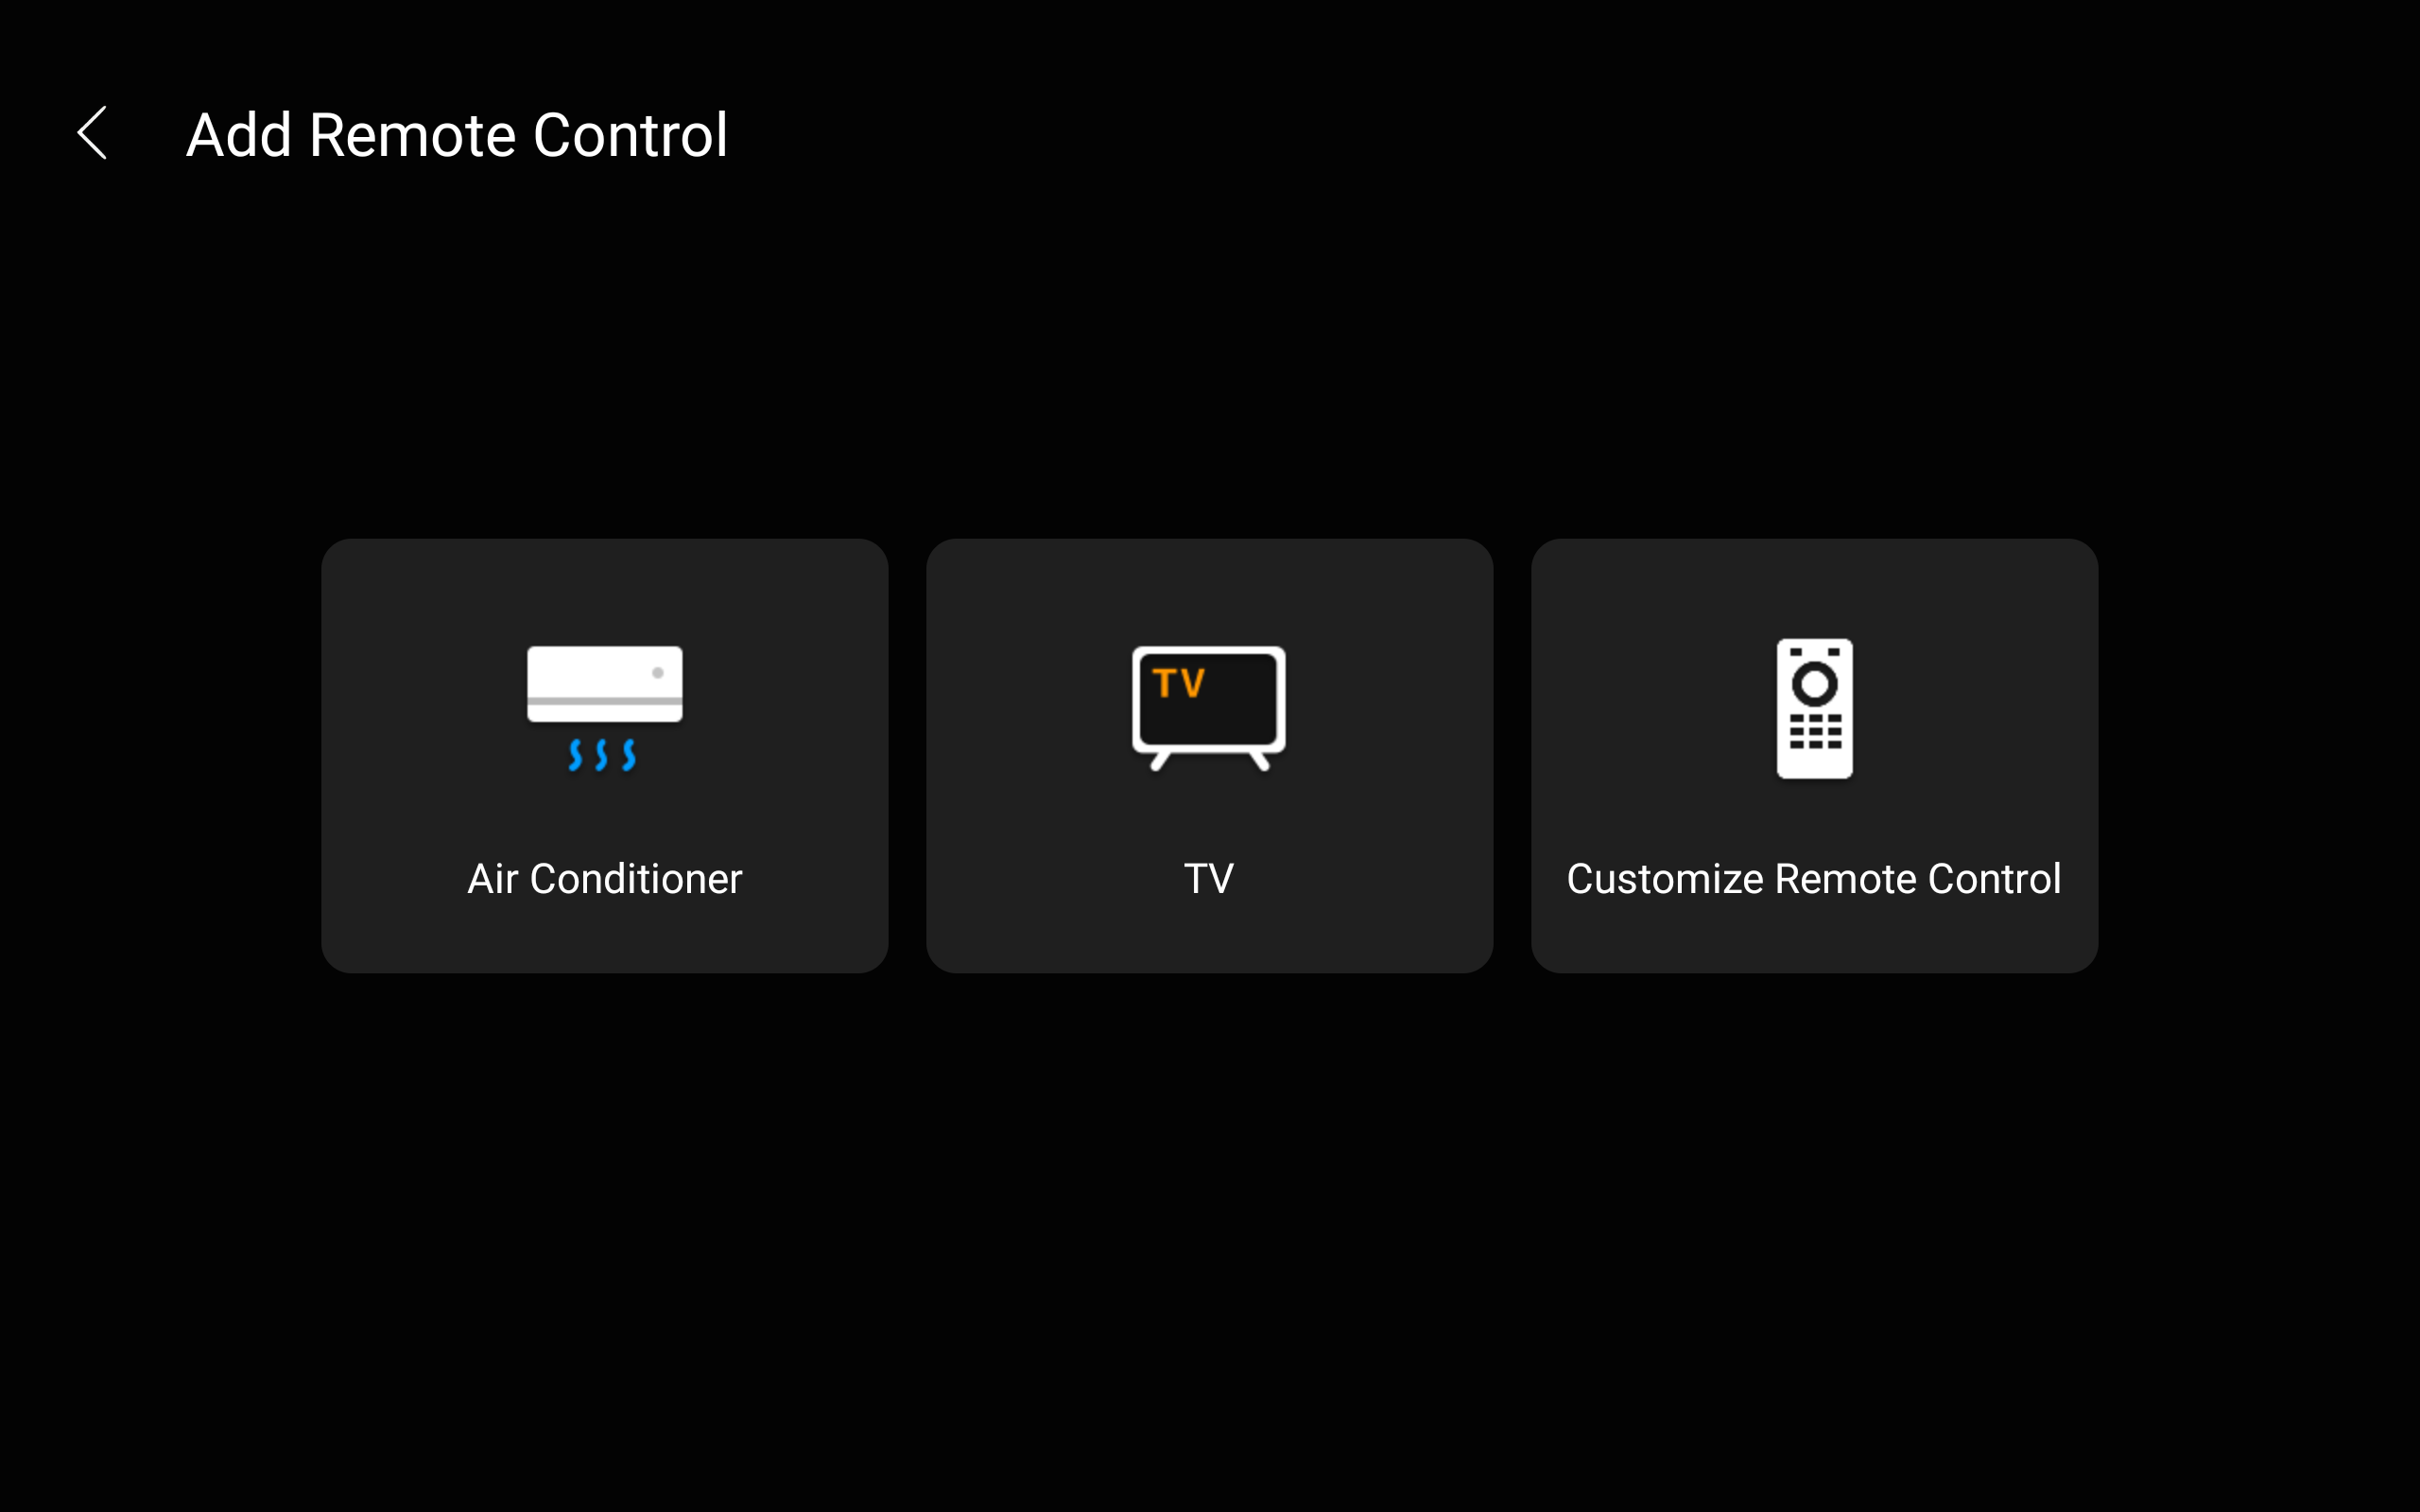
Choose the category on the left and tap the corresponding device type.
AC: Climate > Air Conditioner(IR)
TV: Media > TV(IR)
Choose which device in the home to link the device to.
Choose the device’s brand. Here we take the AC as an example.
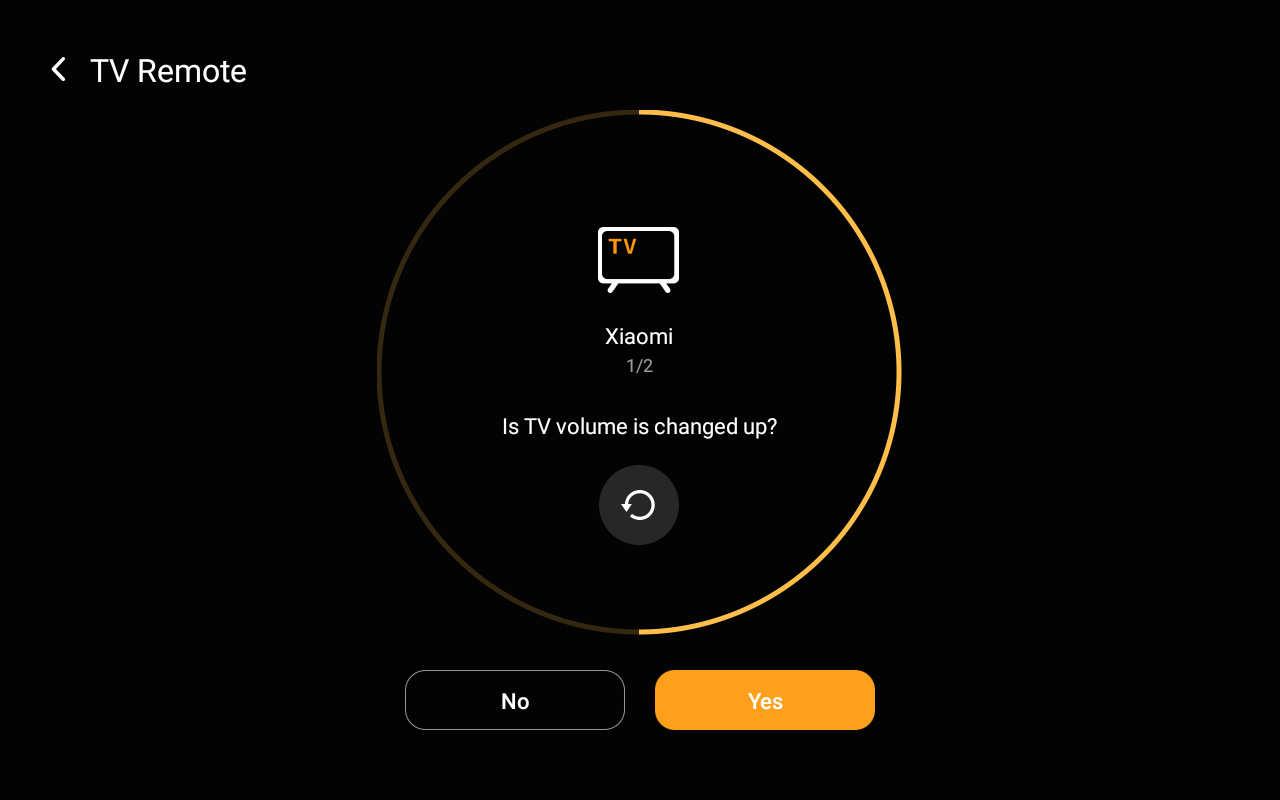
Check that the device status matches the prompt. Tap Yes to confirm the right device or No to go to the next one.
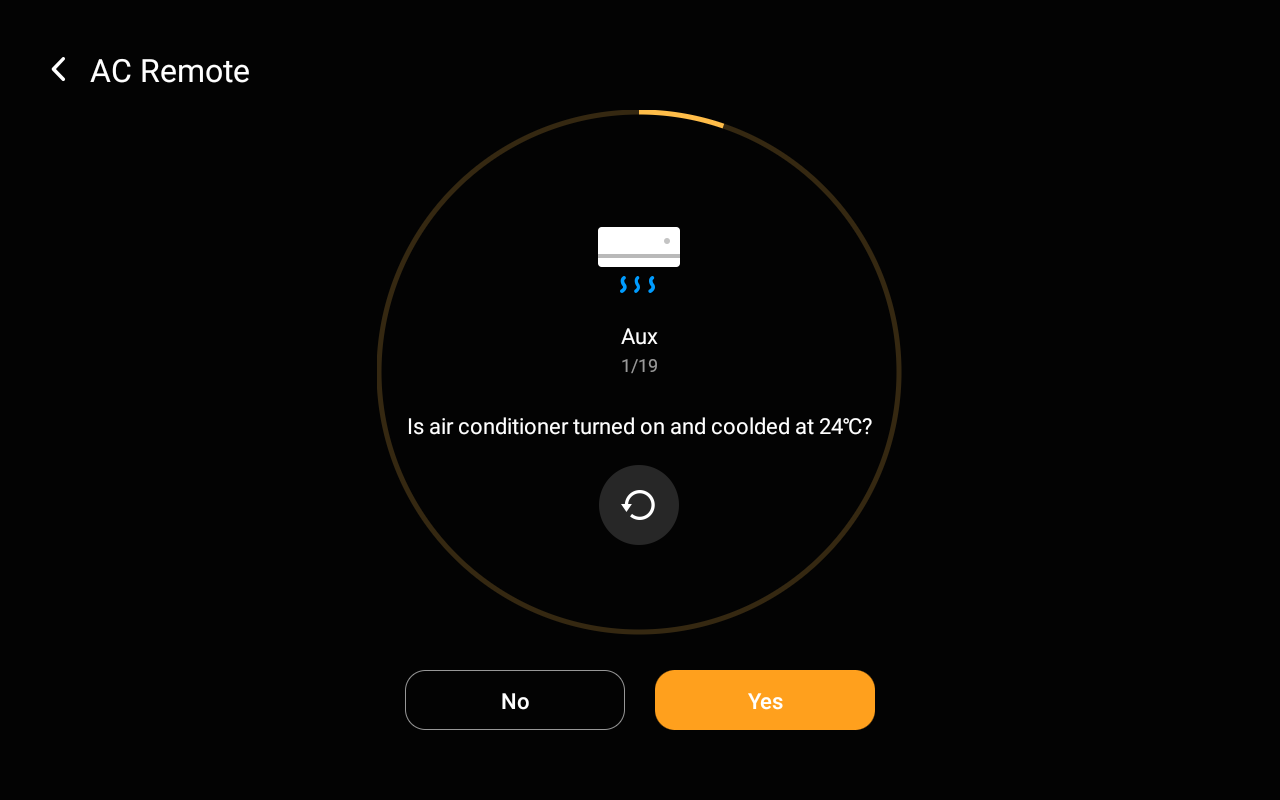
TIP:
If the air conditioner you want to control did not respond, tap
to try again.
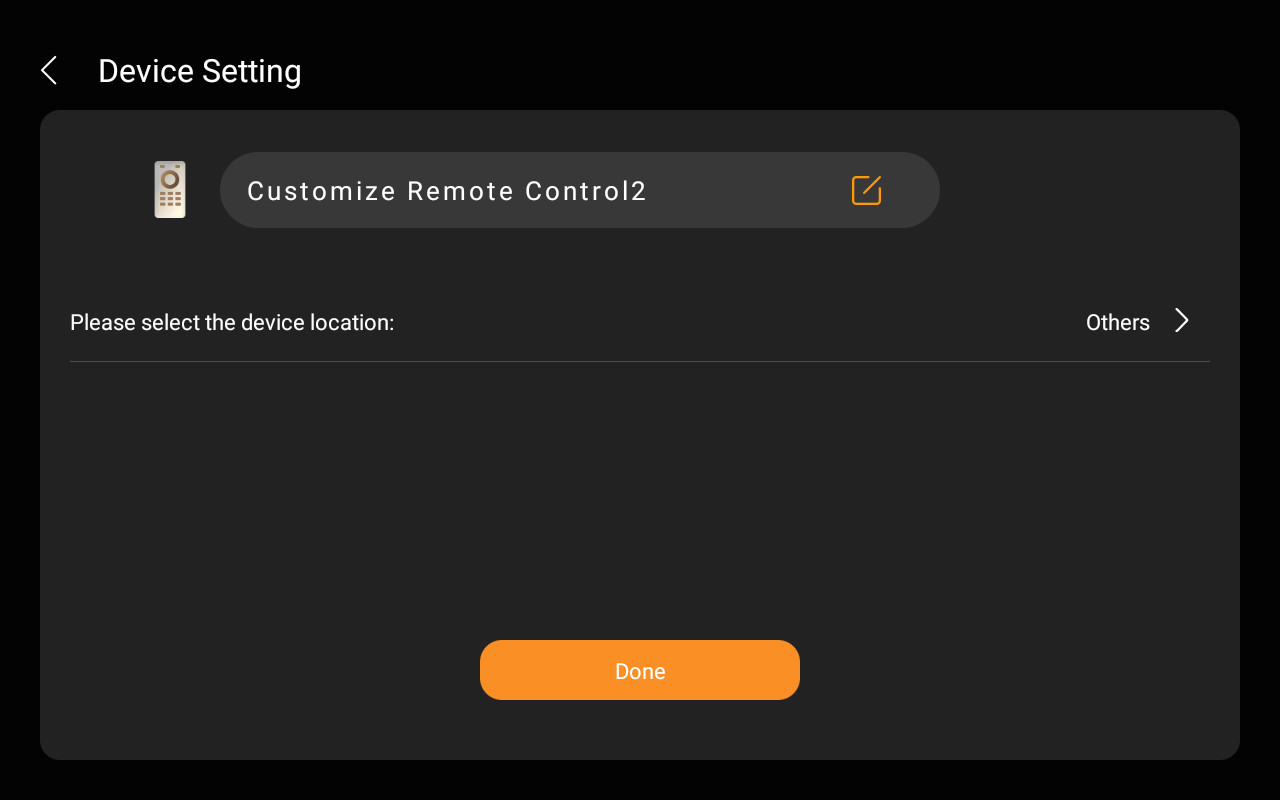
Name the device and choose its location, tap Done.
Add TV and AC to IR controller
You can use an IR controller to control TVs and ACs, with a maximum limit of 30 devices.
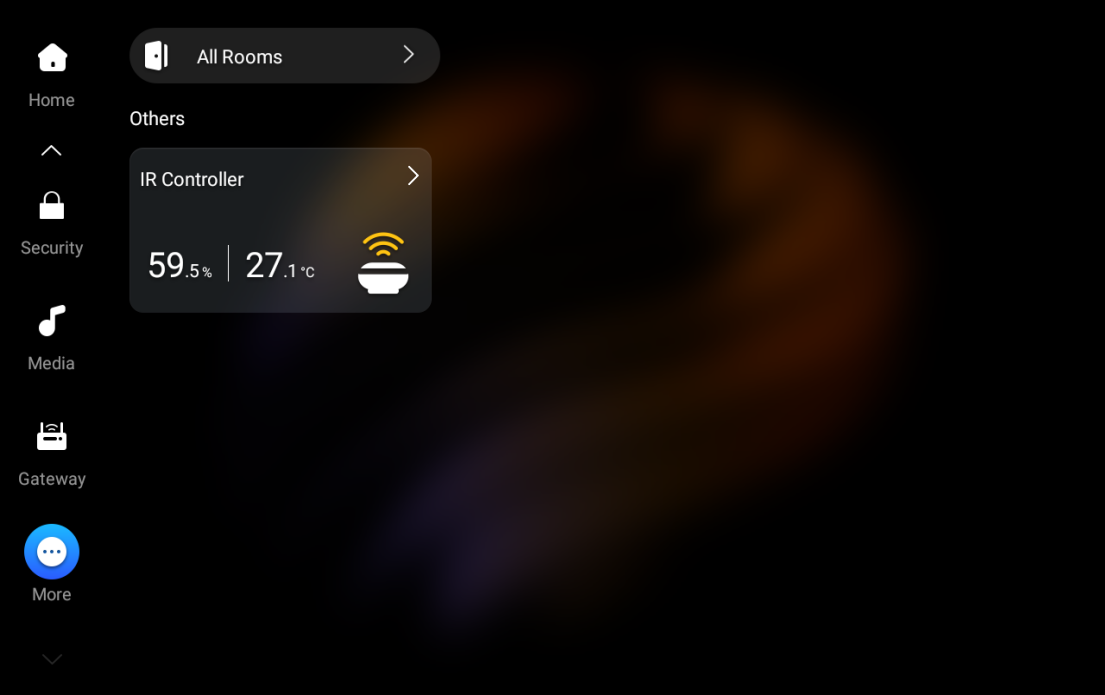
Add IR controller. The added controller is displayed on the More screen.
TIP:
You can see Pair devices with HyPanel Pro for detailed instructions.
Tap the IR Controller card, then tap
 in the upper right corner.
Select the device type. Here we use TV as an example.
Select the device’s brand.
Tap Start Matching.
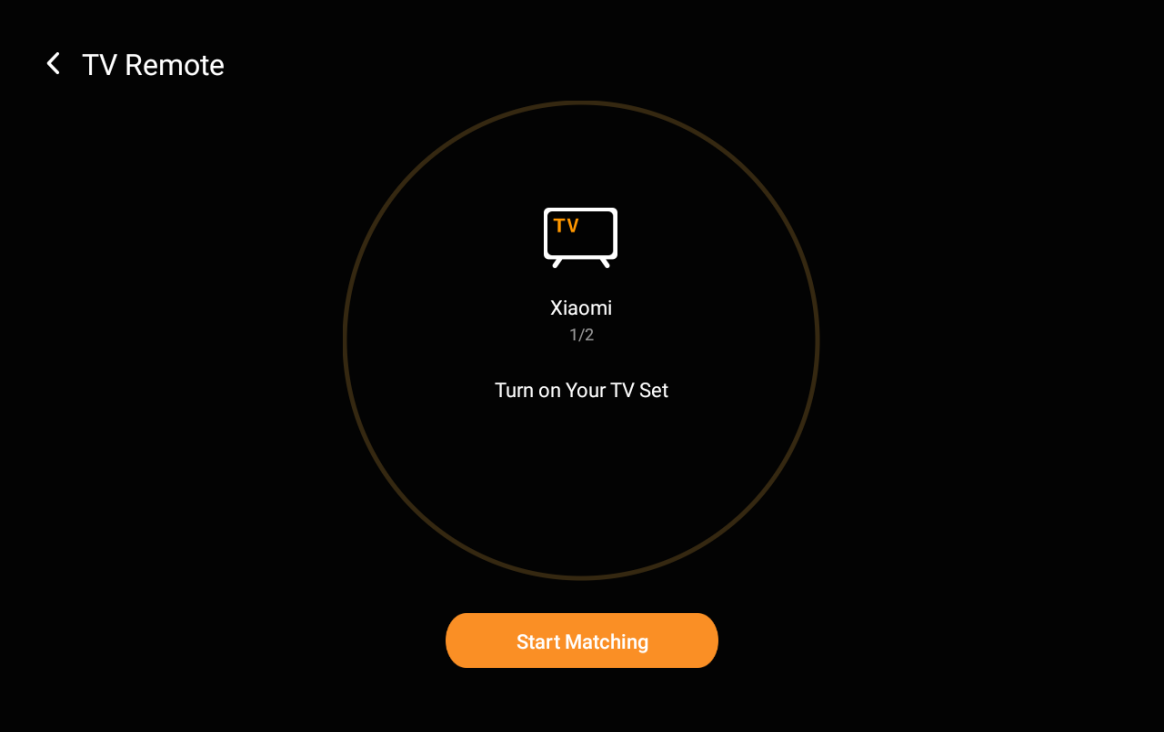
Check that the device status matches the prompt. Tap Yes to confirm the right device or No to go to the next one.
Name the device and choose its location, tap Done.
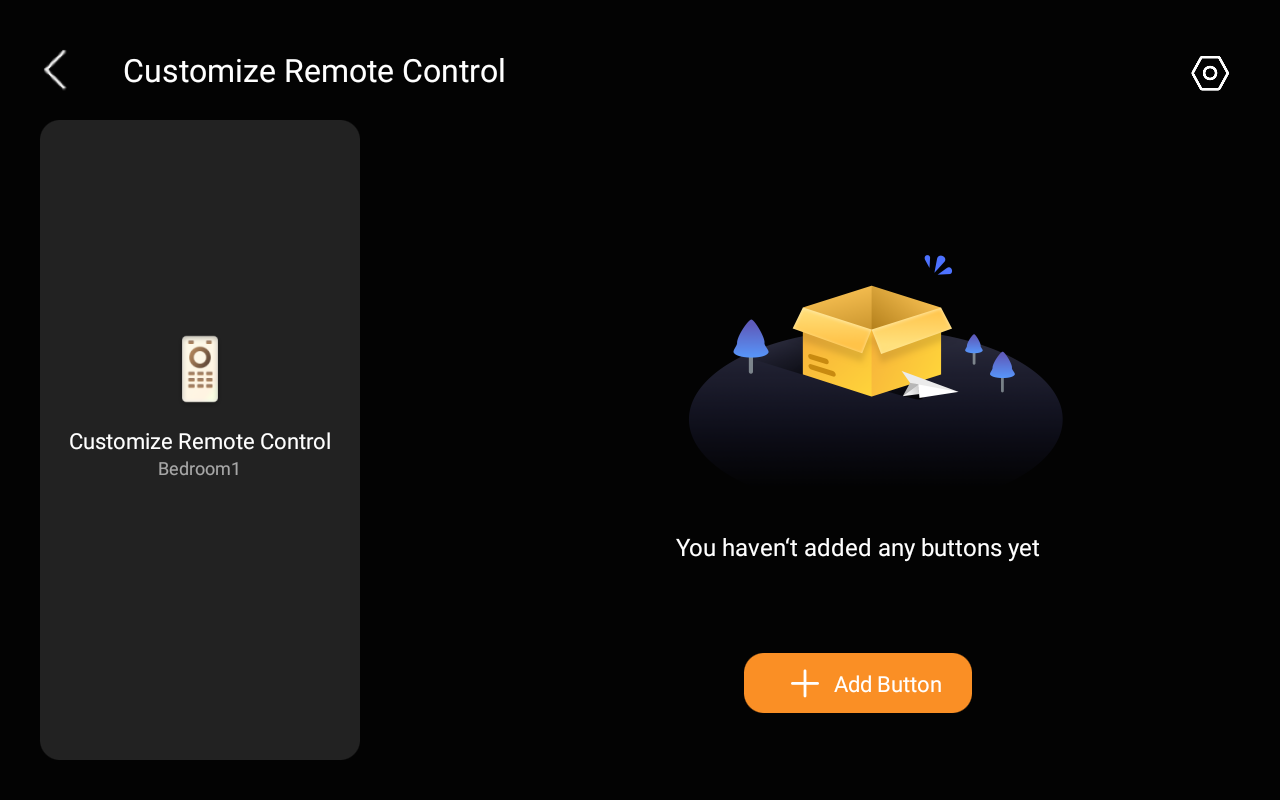
Add remotes to IR controller
The IR Controller allows you to add and learn remote functions. Please be aware that each remote supports a capacity of up to 100 keys.
Select the desired IR controller on the More screen.
Tap
 > Customize Remote Control.

Name the remote and choose its location, tap Done.
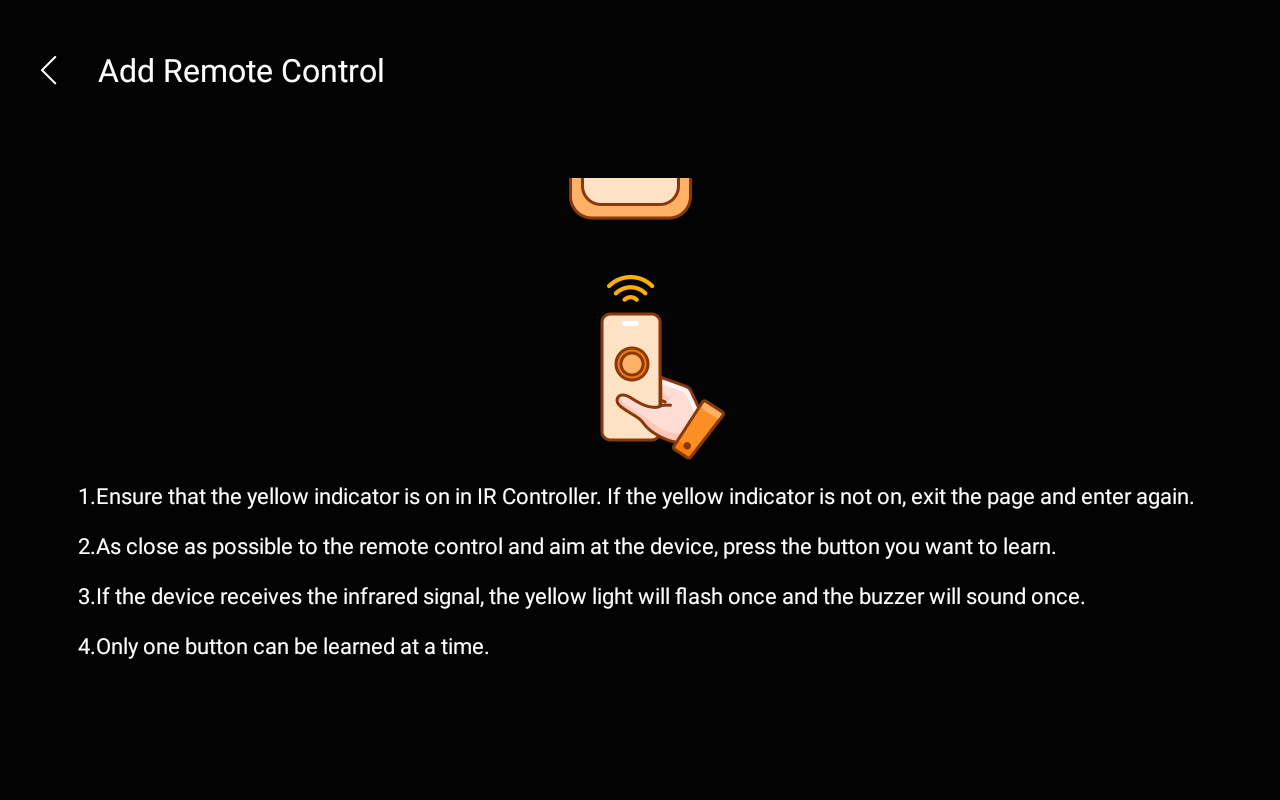
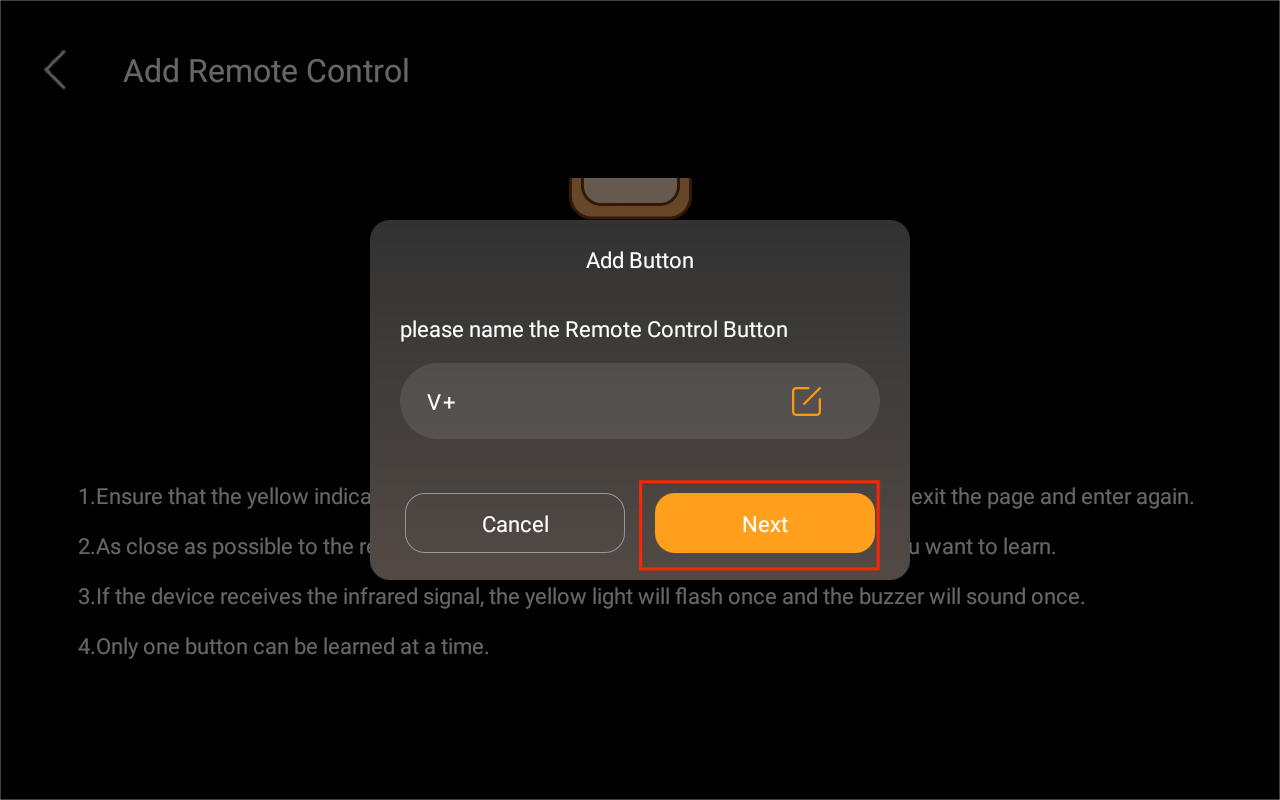
Tap Add Button, and follow the onscreen instructions to learn and add the button.
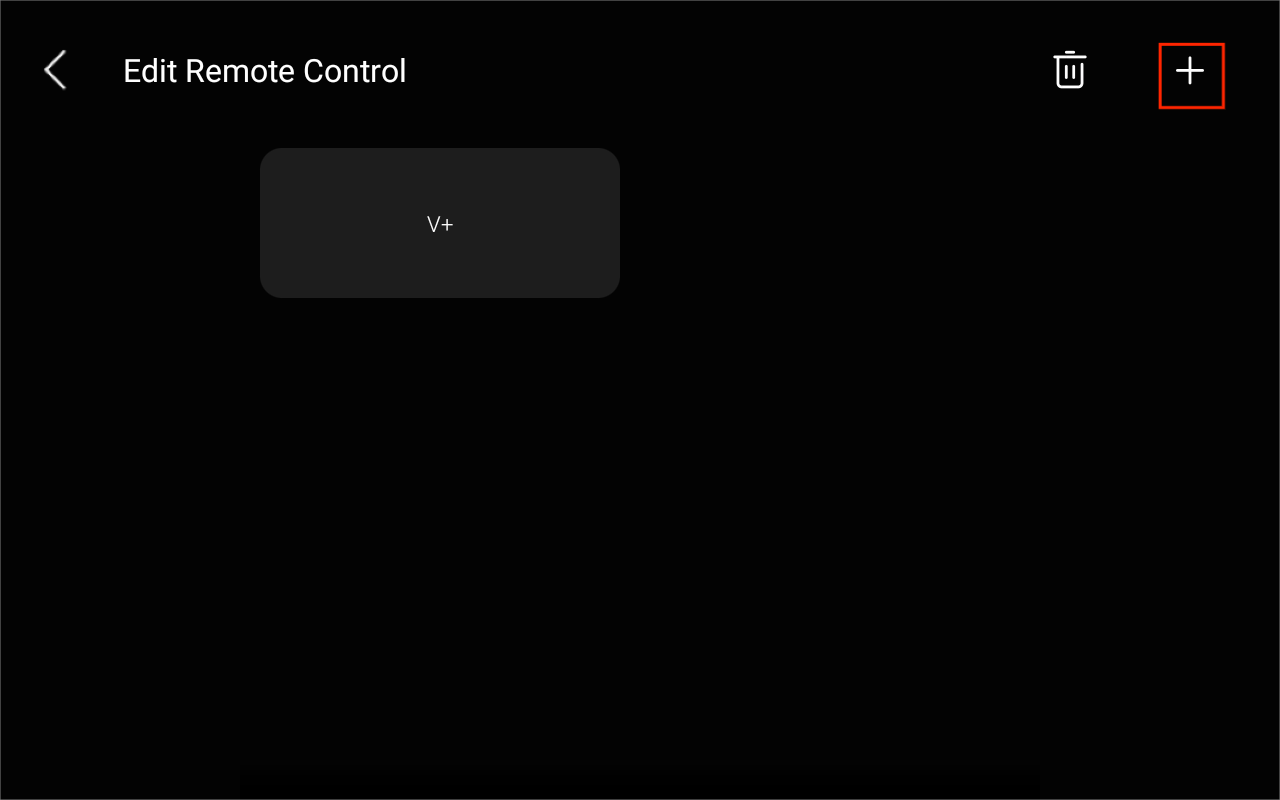
Name the key. To continue to add keys, tap Next >
 .
.
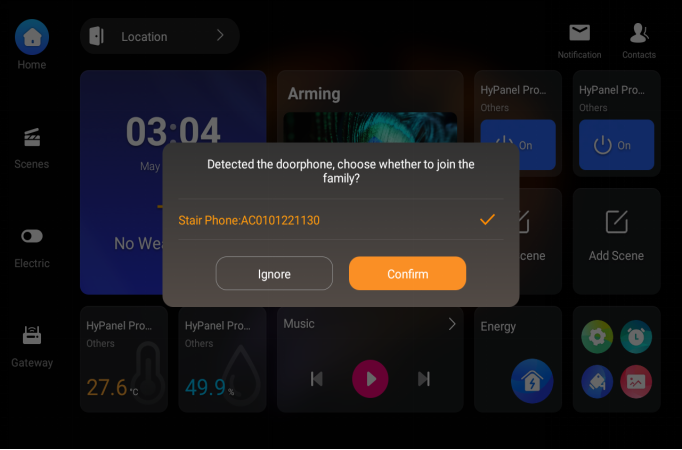
Door phones
HyPanel Pro supports an auto-discovery function for door phones, which is enabled by default. After a reboot, initialization, or network change, the panel will automatically scan for door phones on the same LAN. Simply tap a detected device and confirm to add it.
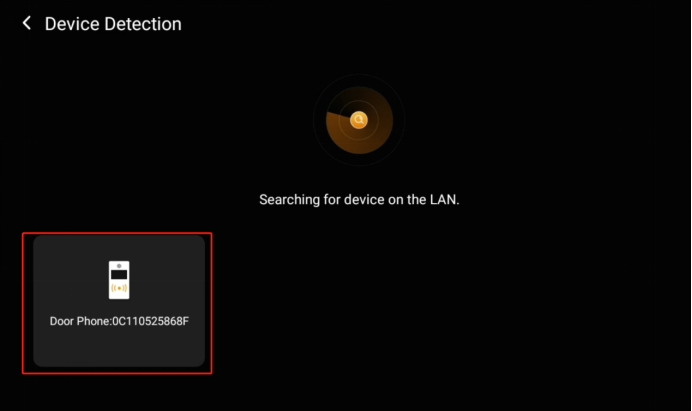
Manual search
If you skipped the auto-search, go to Settings > Advance Settings > Discovery Settings > Device Detection to scan manually. Then tap detected devices to add them.
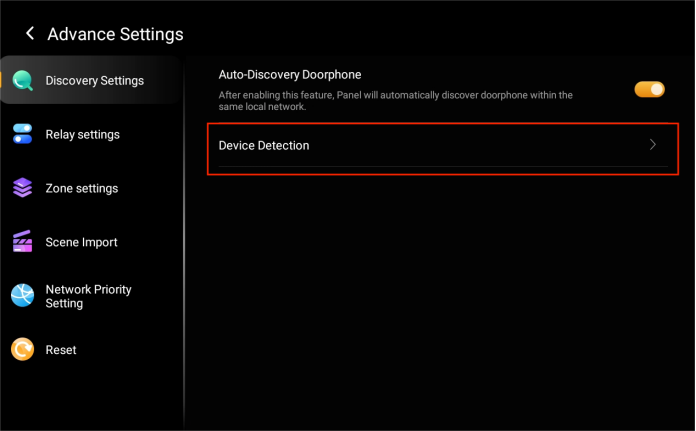
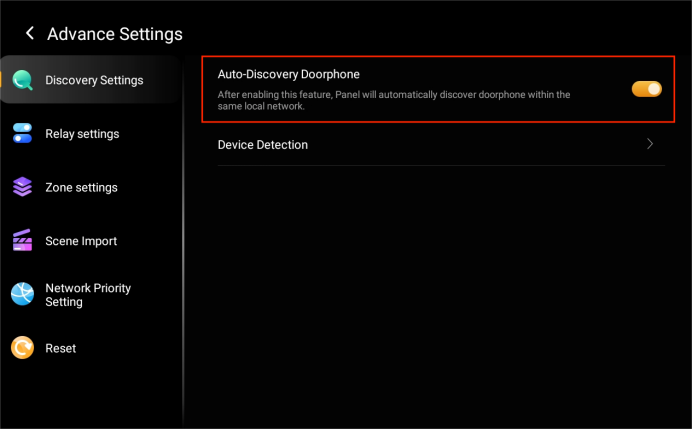
Disable auto-discovery
To turn off this feature, go to Settings > Advance Settings > Discovery Settings, and toggle off Auto-Discovery Doorphone.
Bluetooth devices
HyPanel Pro supports pairing with Bluetooth devices, such as speakers, for music playback.
To pair with a Bluetooth device:
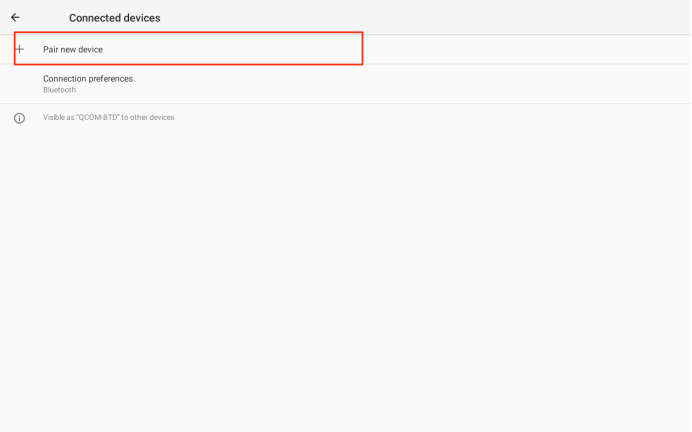
Go to Settings > Bluetooth > Pair new device.
Wait for the device to be detected.
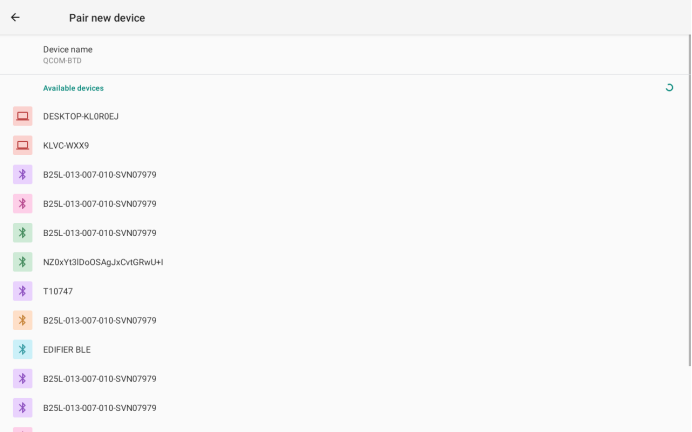
Select the device and follow the onscreen instructions to complete pairing.
See device logs
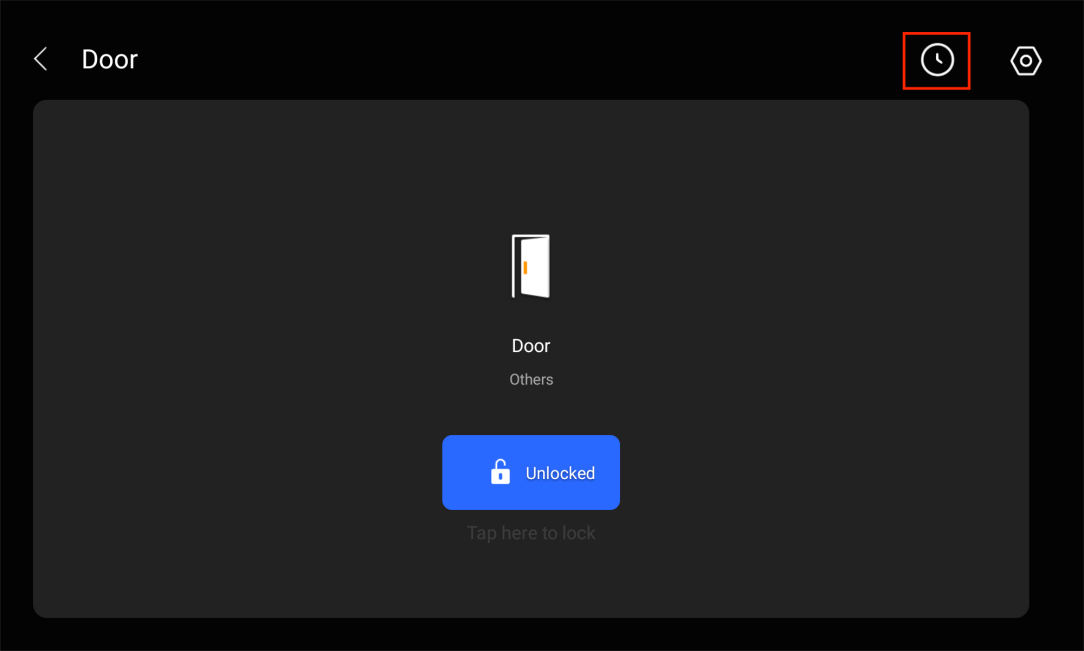
To see trigger histories of sensors or locks, tap the desired device, and tap ![]() .
.

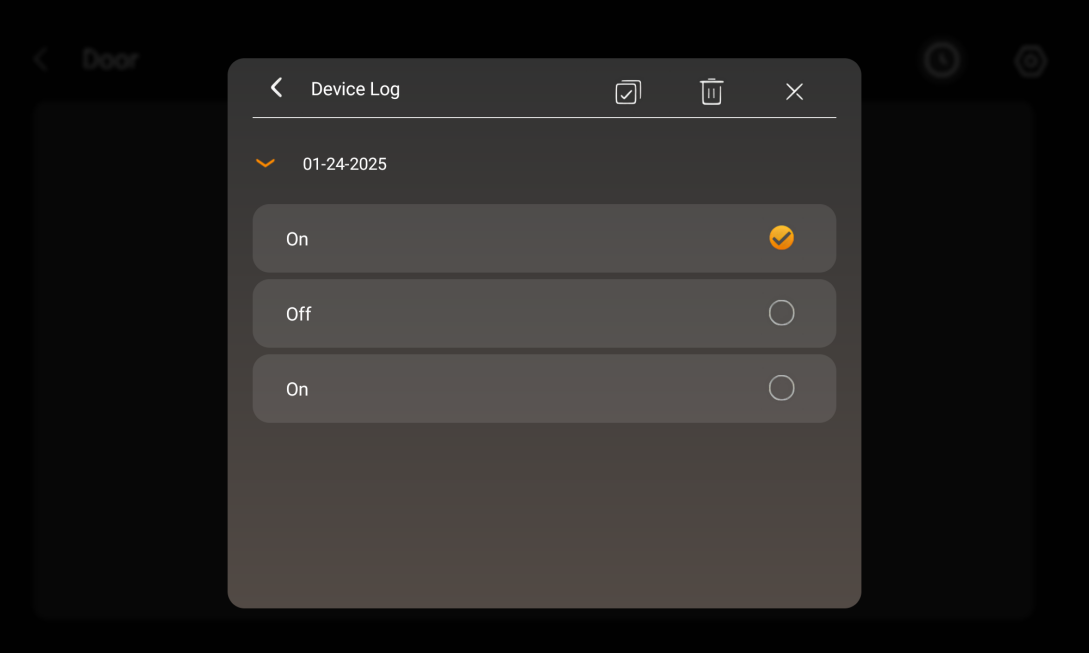
To delete logs, tap the Clear icon ![]() , and check specific logs. Or tap
, and check specific logs. Or tap ![]() to choose all and tap
to choose all and tap ![]() .
.
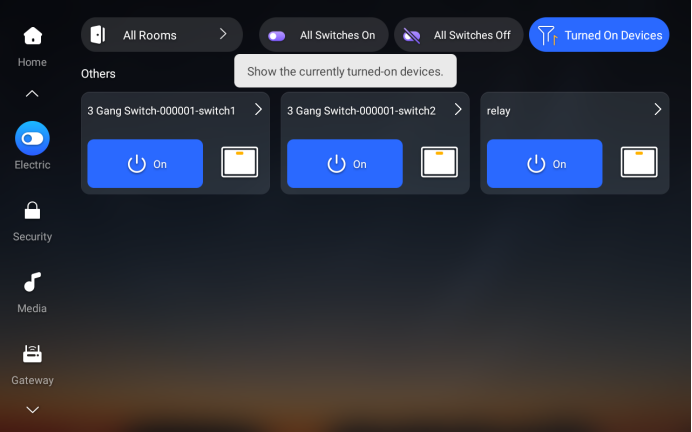
Filter devices
Panels allow you to filter and display only the devices that are currently turned on. This works for Lights, Shades, Climate, and Electric Screens.
To enable this feature, tap the filter button in the upper right corner.
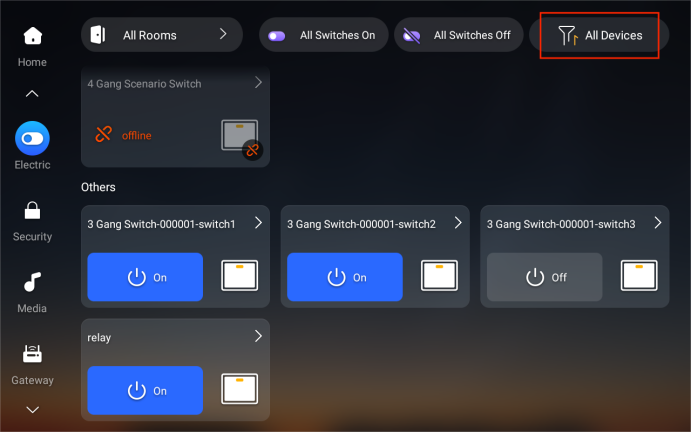
When the filter is active, only devices that are turned on will be displayed. To view all devices again, simply tap  to turn off the filter.
Relocate devices
To move the device from its current installation location to another, do the following.
NOTE:
The device must be online.
Tap the desired device category on the Home screen.
Find the desired device, and tap
 .
.
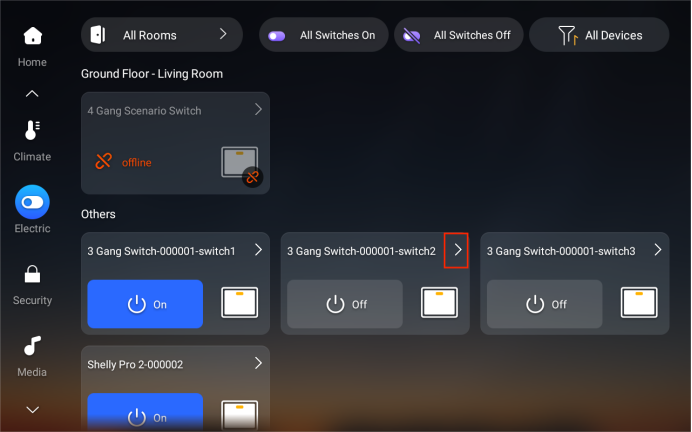
Tap
 in the upper right corner.
Tap Location, then select the new room for the device.
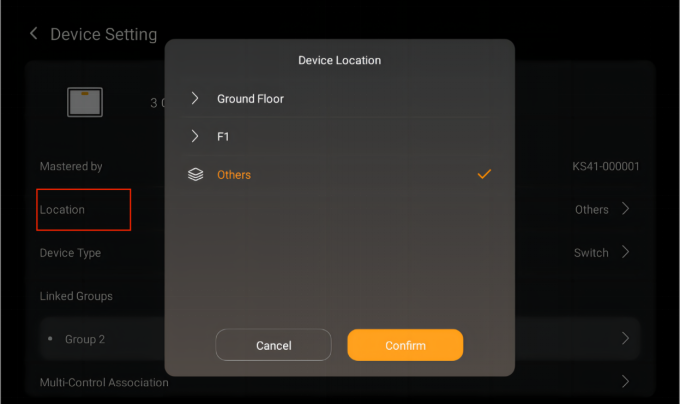
Tap Confirm.
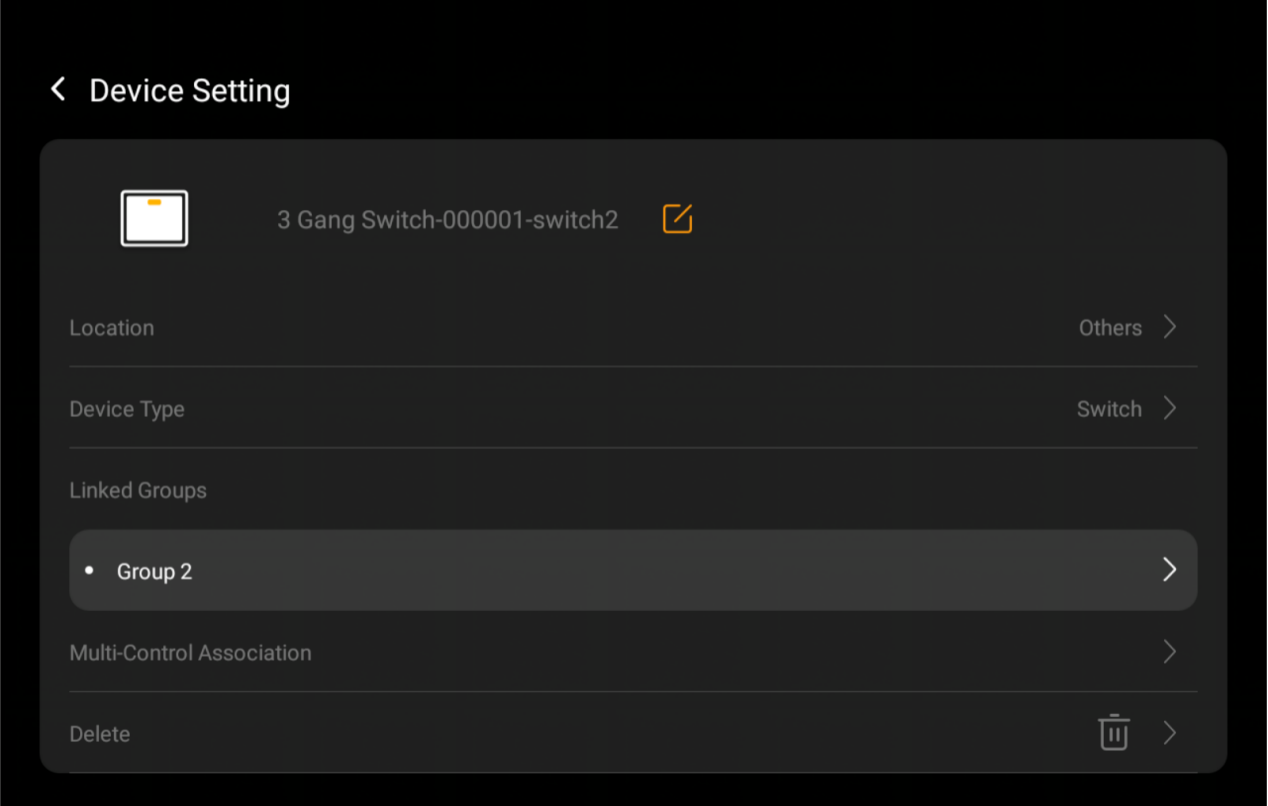
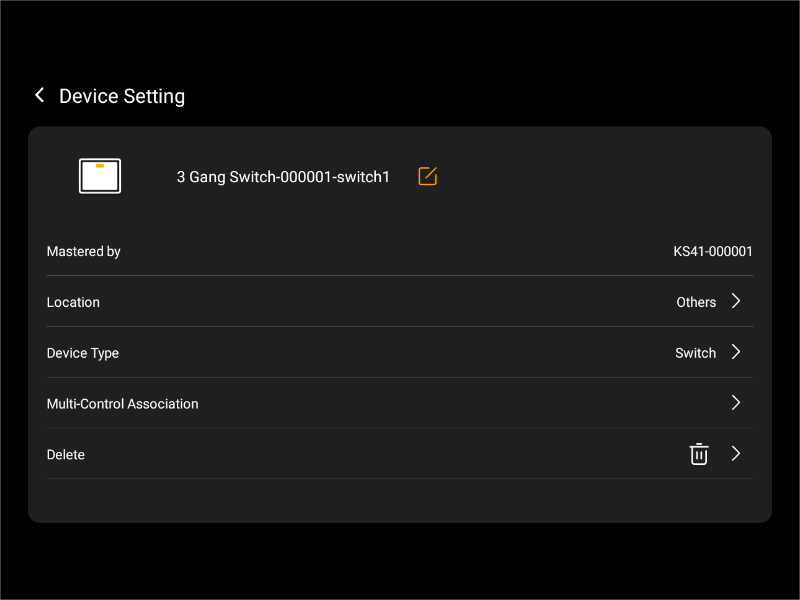
Modify and delete devices
To view the details, relocate, or delete a device, do as the following:
Tap the desired device category on the Home screen.
Tap
 of the desired device.

Tap
 in the upper right corner.

Tap Delete.
NOTE:
Deleting any relay on a device will result in the entire device being removed.
Disable device modification permissions
To prevent unauthorized or accidental changes to device settings, swipe down from the top edge of any screen, go to ![]() > Display, and enable Lock Home Screen Layout.
> Display, and enable Lock Home Screen Layout.
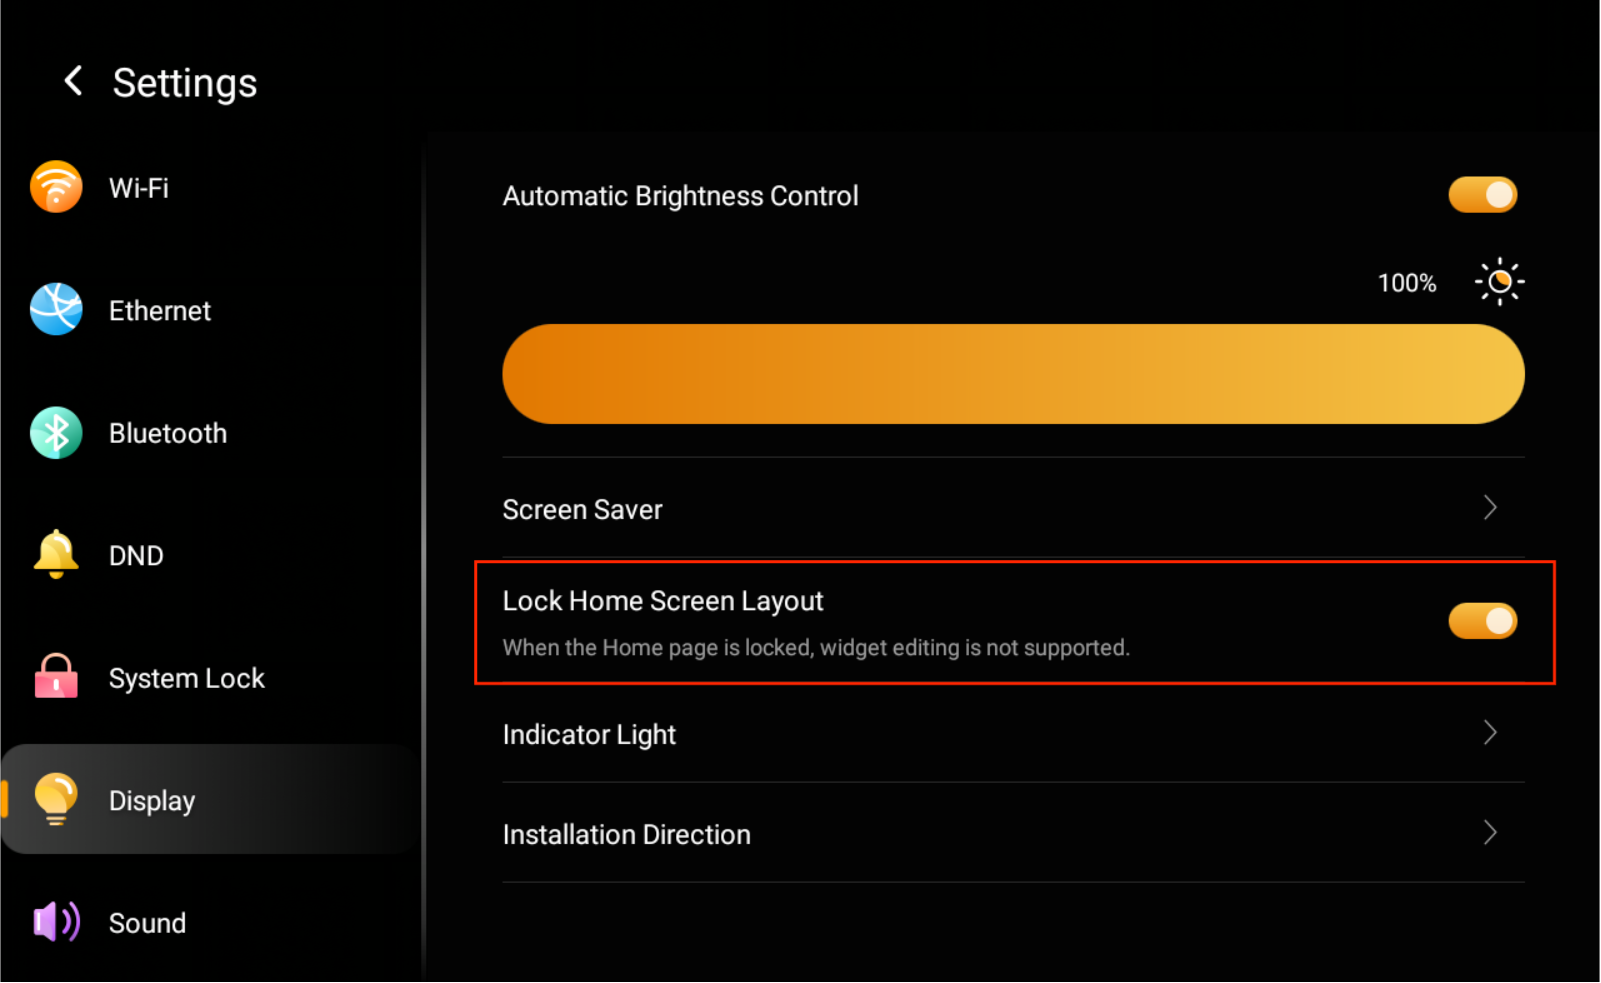
Once enabled, in addition to restricting changes to the Home screen layout, the Device Setting screen will be grayed out. The following actions will be disabled on the panel:
Renaming, relocating, changing relay types, or deleting devices
Configuring lighting group control
Setting up multi-device associations on the panel