Unlock by Public PIN Code
The device supports entering a public PIN code on a third-party reader to open the door.
To set up the public PIN code, go to Access Control > Door interface.

PIN Code: Set a 2-8 digit PIN code accessible for universal use. The default is 33333333.
User-specific Access Methods
The private PIN code, RF card, and license plate should be assigned to a particular user for opening doors.
When adding a user, you can also customize settings such as defining the door access schedule to determine when the code is valid and specifying which door to open.
To add a user, go to Directory > User interface and click +Add. The device supports 100,000 users.
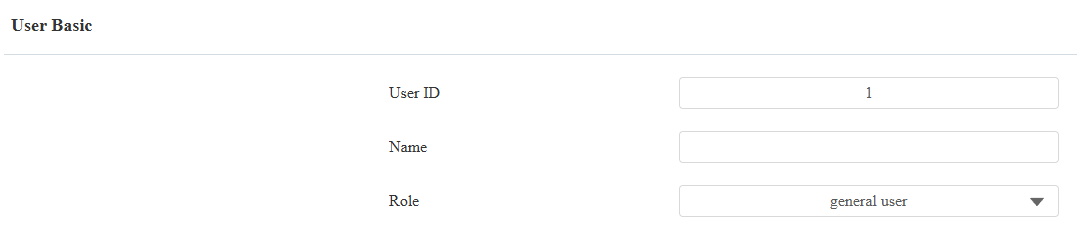
User ID: The unique identification number assigned to the user.
Name: The name of this user.
Role: Define the user as a General User or an Administrator.
Admin Permission: If enabled, when the alarm is triggered, the admin can disarm by using his/her credentials twice within the disarm time, like swiping the card twice, or entering the PIN followed by swiping the card. Click here to view the detailed disarm settings.
Unlock by Private PIN Code
On the Directory > User > +Add interface, scroll to the Private PIN section.

Code: Set a 2-8 digit PIN code solely for the use of this user. Each user can only be assigned a single PIN code.
Unlock by RF Card
On the Directory > User > +Add interface, scroll to the RF Card section.

Code: The card number that the card reader reads.
Note
Each user can have a maximum of 5 cards added.
The device supports 500,000 cards.
RF cards operating at 13.56 MHz and 125 KHz frequencies are compatible with the device for access.
Events Triggered by Using RF Cards
You can set up the events triggered by swiping the RF cards on the Access Control > Card Setting interface.

Action to Execute: Set the desired actions that occur when the door is opened by swiping the RF card.
Email: Send a message to the preconfigured Email address.
HTTP: When triggered, the HTTP message can be captured and displayed in the corresponding packets. To utilize this feature, enable the HTTP server and enter the message content in the designated box below.
HTTP URL: Enter the HTTP message if selecting HTTP as the action to execute. The format is http://HTTP server’s IP/Message content.
Unlock by License Plate
Akuvox offers two main ways to identify vehicles and open gates.
Use a third-party LPR(License Plate Recognition) camera to recognize the license plate of the vehicle.
Use the Akuvox long-range card reader ACR-CPR12 to recognize the UHF card attached to the vehicle's windshield.
To assign the license plate to a user, find the License Plate part on the Directory > User > +Add interface.

Add: A user can have up to 5 license plates.
Duration: Enable/disable Long-term Vehicle. It is enabled by default. If disabled, specify when the vehicle can enter or exit the parking lot.
Access Setting
You can customize access settings, such as defining the door access schedule to determine when the code is valid and specifying which door to open.
On the Directory > User > +Add interface, scroll to the Access Setting section.
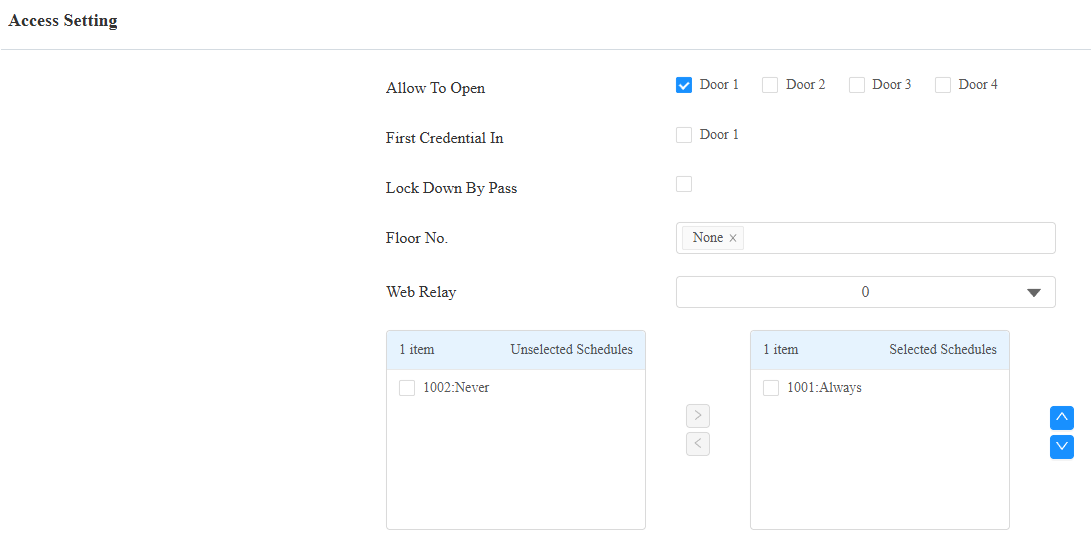
Allow To Open: Specify the door(s) to be opened using the credentials assigned to the user.
First Credential In: This decides whether the user can keep the door open during the scheduled time after activating it.
Lockdown Bypass: This decides whether the user can open the door when the door is locked during the scheduled time.
Floor No.: Specify the accessible floor(s) to the user via the elevator.
Web Relay: Specify the ID of web relay action commands that you’ve configured on the Web Relay interface. A default value of 0 indicates that the web relay will not be triggered.
Schedule: Grant the user access to open designated doors during preset periods by relocating the desired schedule(s) from the left box to the right one. Besides custom schedules, there are 2 default options:
Always: Allows door opening without limitations on the number of door openings during the valid period.
Never: Prohibits door opening.
Import and Export User Data
You can import and export the user data on the Directory > User > Import/Export User interface. The files are in TGZ format.

Unlock by HTTP Commands
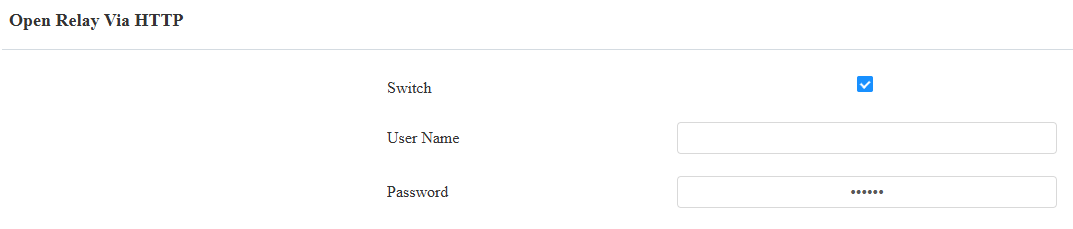
The device supports remote door unlocking via an HTTP command. Simply enable this feature and input the HTTP command (URL) for the device. This will trigger the relay and open the door, even if the users are away from the device.
To set it up, go to Access Control > Door > Open Relay Via HTTP interface.
Tip
Here is an HTTP command URL example for relay triggering.

Note
The HTTP format for relay triggering varies by whether the device's high secure mode is enabled. Please refer to this how-to guide Opening the Door via HTTP Command for more information.
Unlock by Exit Button
When users need to open the door from inside by pressing the Exit button, you need to set up the Input terminal that matches the Exit button to activate the relay for the door access.
Click here to watch the instruction video.
To set it up, go to the Access Control > Door > REX(Request to Exit) interface.
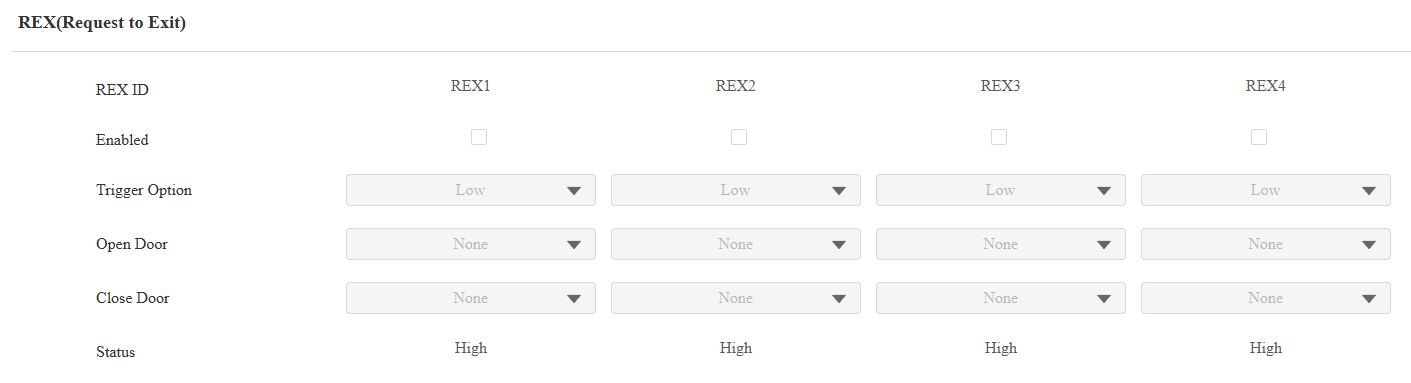
Enabled: Specify the specific input(s) interface used.
Trigger Option: Set the input interface to trigger at a low or high electrical level.
Open Door: Specify the door to be opened.
Close Door: Specify the door to be closed.
Status: Display the status of the input signal.
Unlock by Emergency Button
It is recommended to use auxiliary inputs for fire emergency applications, as they facilitate organizing input connections and prevent miswiring. When the fire emergency button is activated, it will initiate predefined actions like opening doors and activating alarm sirens.
To set it up, go to the Access Control > Auxiliary Input interface.
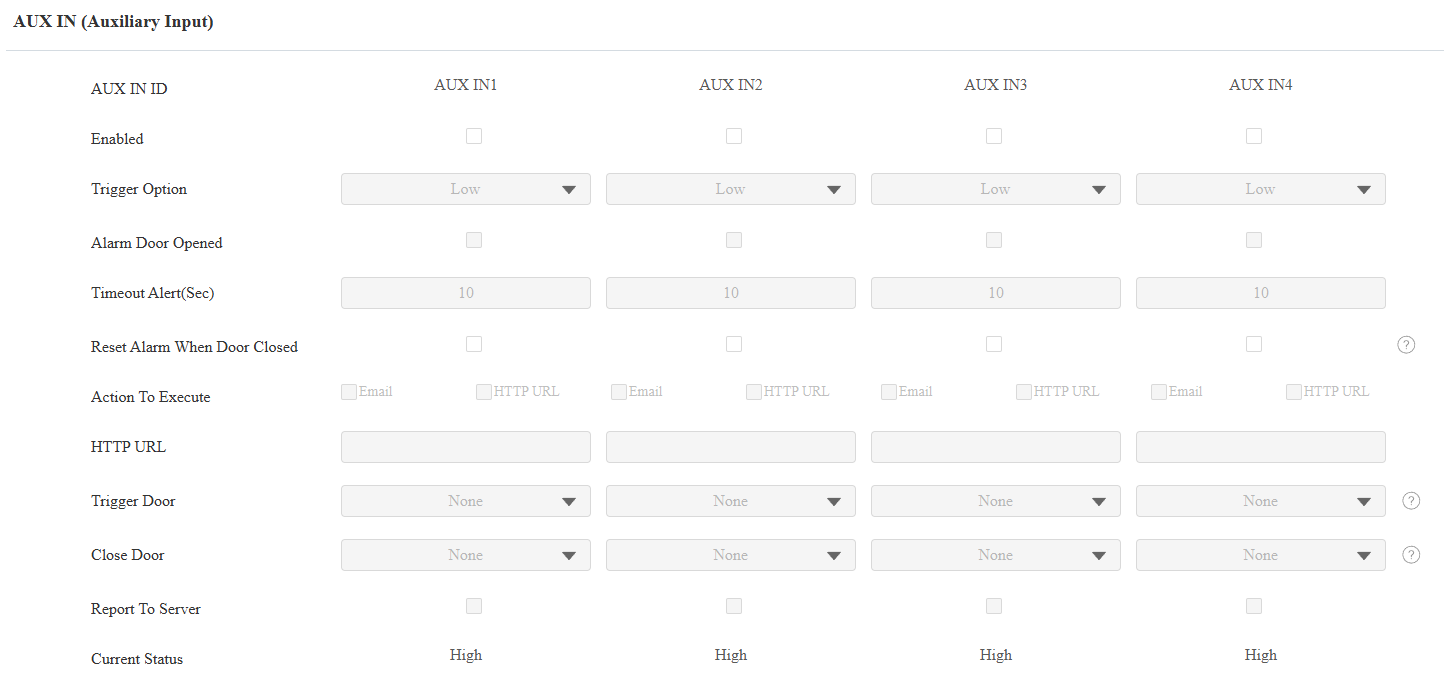
Enabled: Specify the input used.
Trigger Option: Set the input interface to trigger at a low or high electrical level.
Alarm Door Opened: This feature triggers an alarm when a door remains open longer than the configured duration.
Timeout Alert(Sec): The number of seconds a door can remain open before the alarm is triggered.
Reset Alarm When Door Closed: Determine whether the door-open timeout alarm is automatically cleared when the door is closed.
If it is disabled(the default), when a timeout triggers the Output alarm, the alarm duration is determined by the Hold Delay configured for the Output, regardless of whether the door is closed.
If it is enabled, the Output alarm will be cleared automatically when the Input status is reset (for example, when the door is closed). In this case, the alarm stops immediately instead of waiting for the Hold Delay to expire.
Action to Execute: Set the desired actions that occur when this input interface is triggered.
Email: Send a message to the preconfigured Email address.
HTTP URL: When triggered, the HTTP message can be captured and displayed in the corresponding packets. To utilize this feature, enable the HTTP server and enter the message content in the designated box below. The format is http://HTTP server’s IP/Message content.
Trigger Door: Specify a door to be opened along with the input.
Close Door: Specify a door to be closed when the input is triggered. Please note that this feature does not work during the relay schedule time.
Report to Server: Set whether to report the alarm logs to ACMS or SmartPlus Cloud, where the device is deployed, when the timeout alert is triggered.
Current Status: Display the status of the input signal.